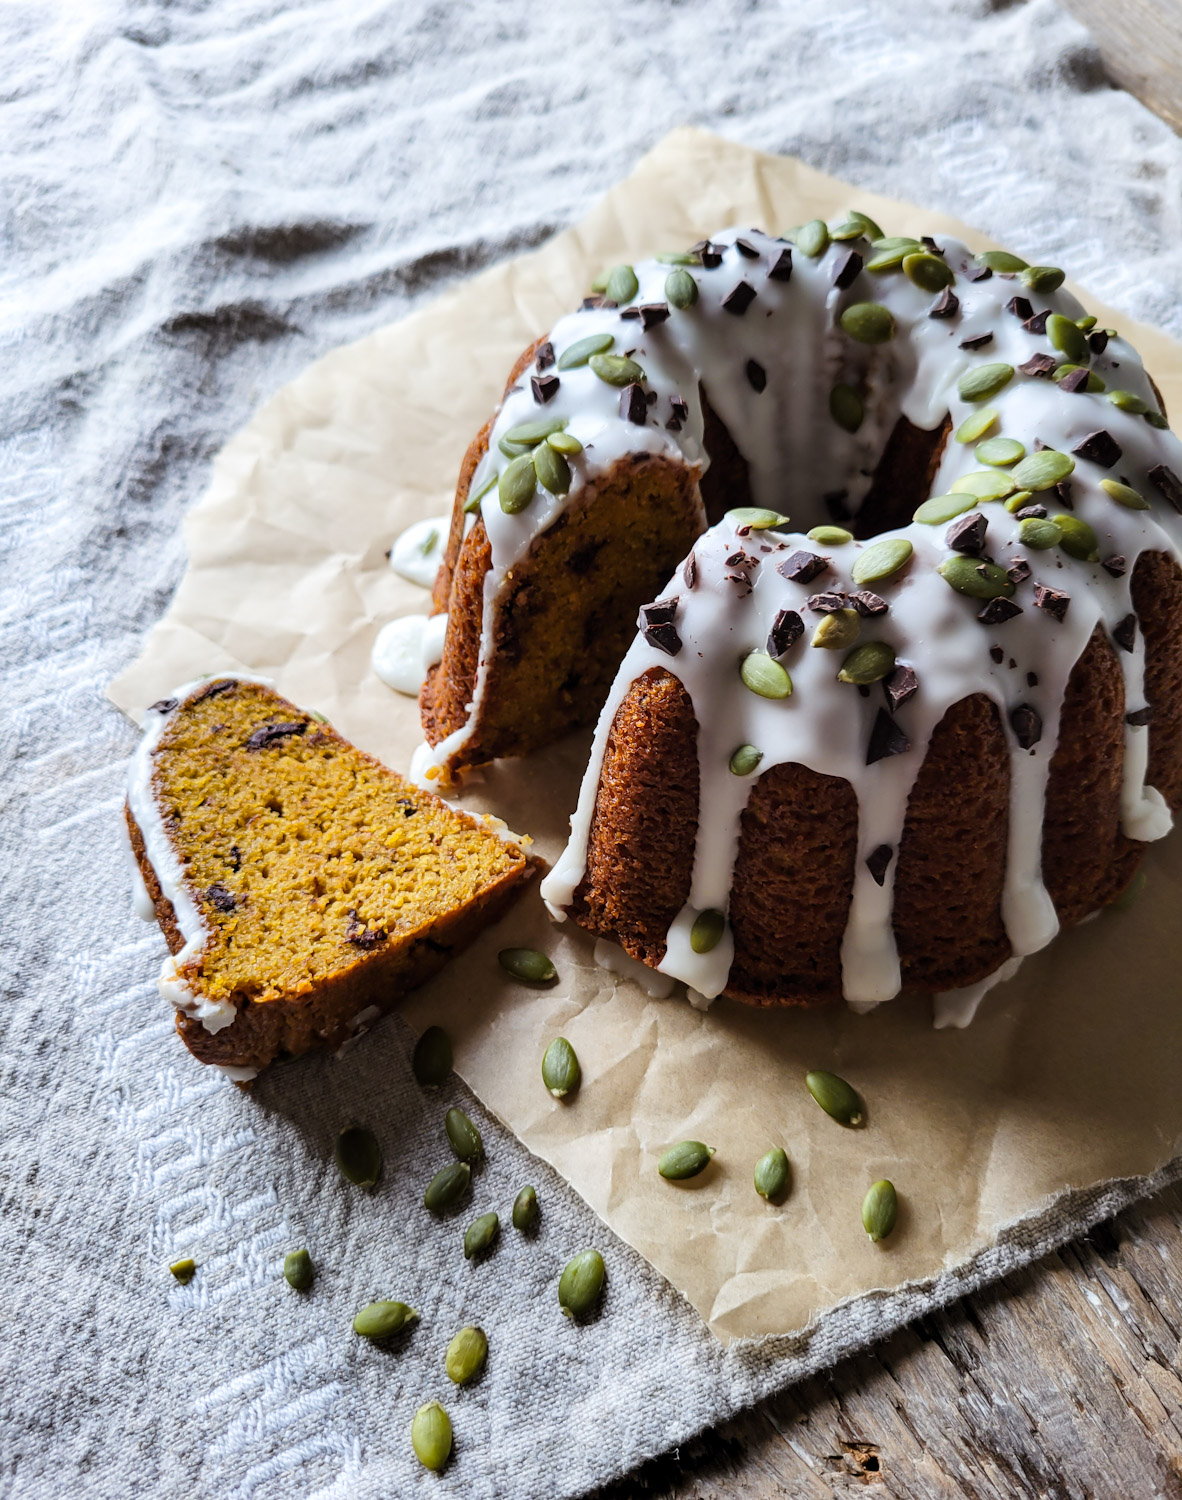
As soon as honeynut squash hits the markets, I pick up copious amounts for roasting.
Honeynut Squash
They look like butternut, but way smaller, almost too cute to handle! They are a cross between butternut and buttercup, and they have the most glorious sweetness, making them fabulous for pies and cakes. Of course they also work great as a creamy soup, or as a sauce for pasta. Or slice them in half and roast them, drizzled with maple syrup, or stuffed with rice and veggies for a wonderful autumn side dish. At first they were hard to come by, with a very small window at the markets, come mid September, but they have become more and more popular, so more farmers have added them to the yearly roster. Here’s a great article on the history of the Honeynut Squash, by Bon Appetit.
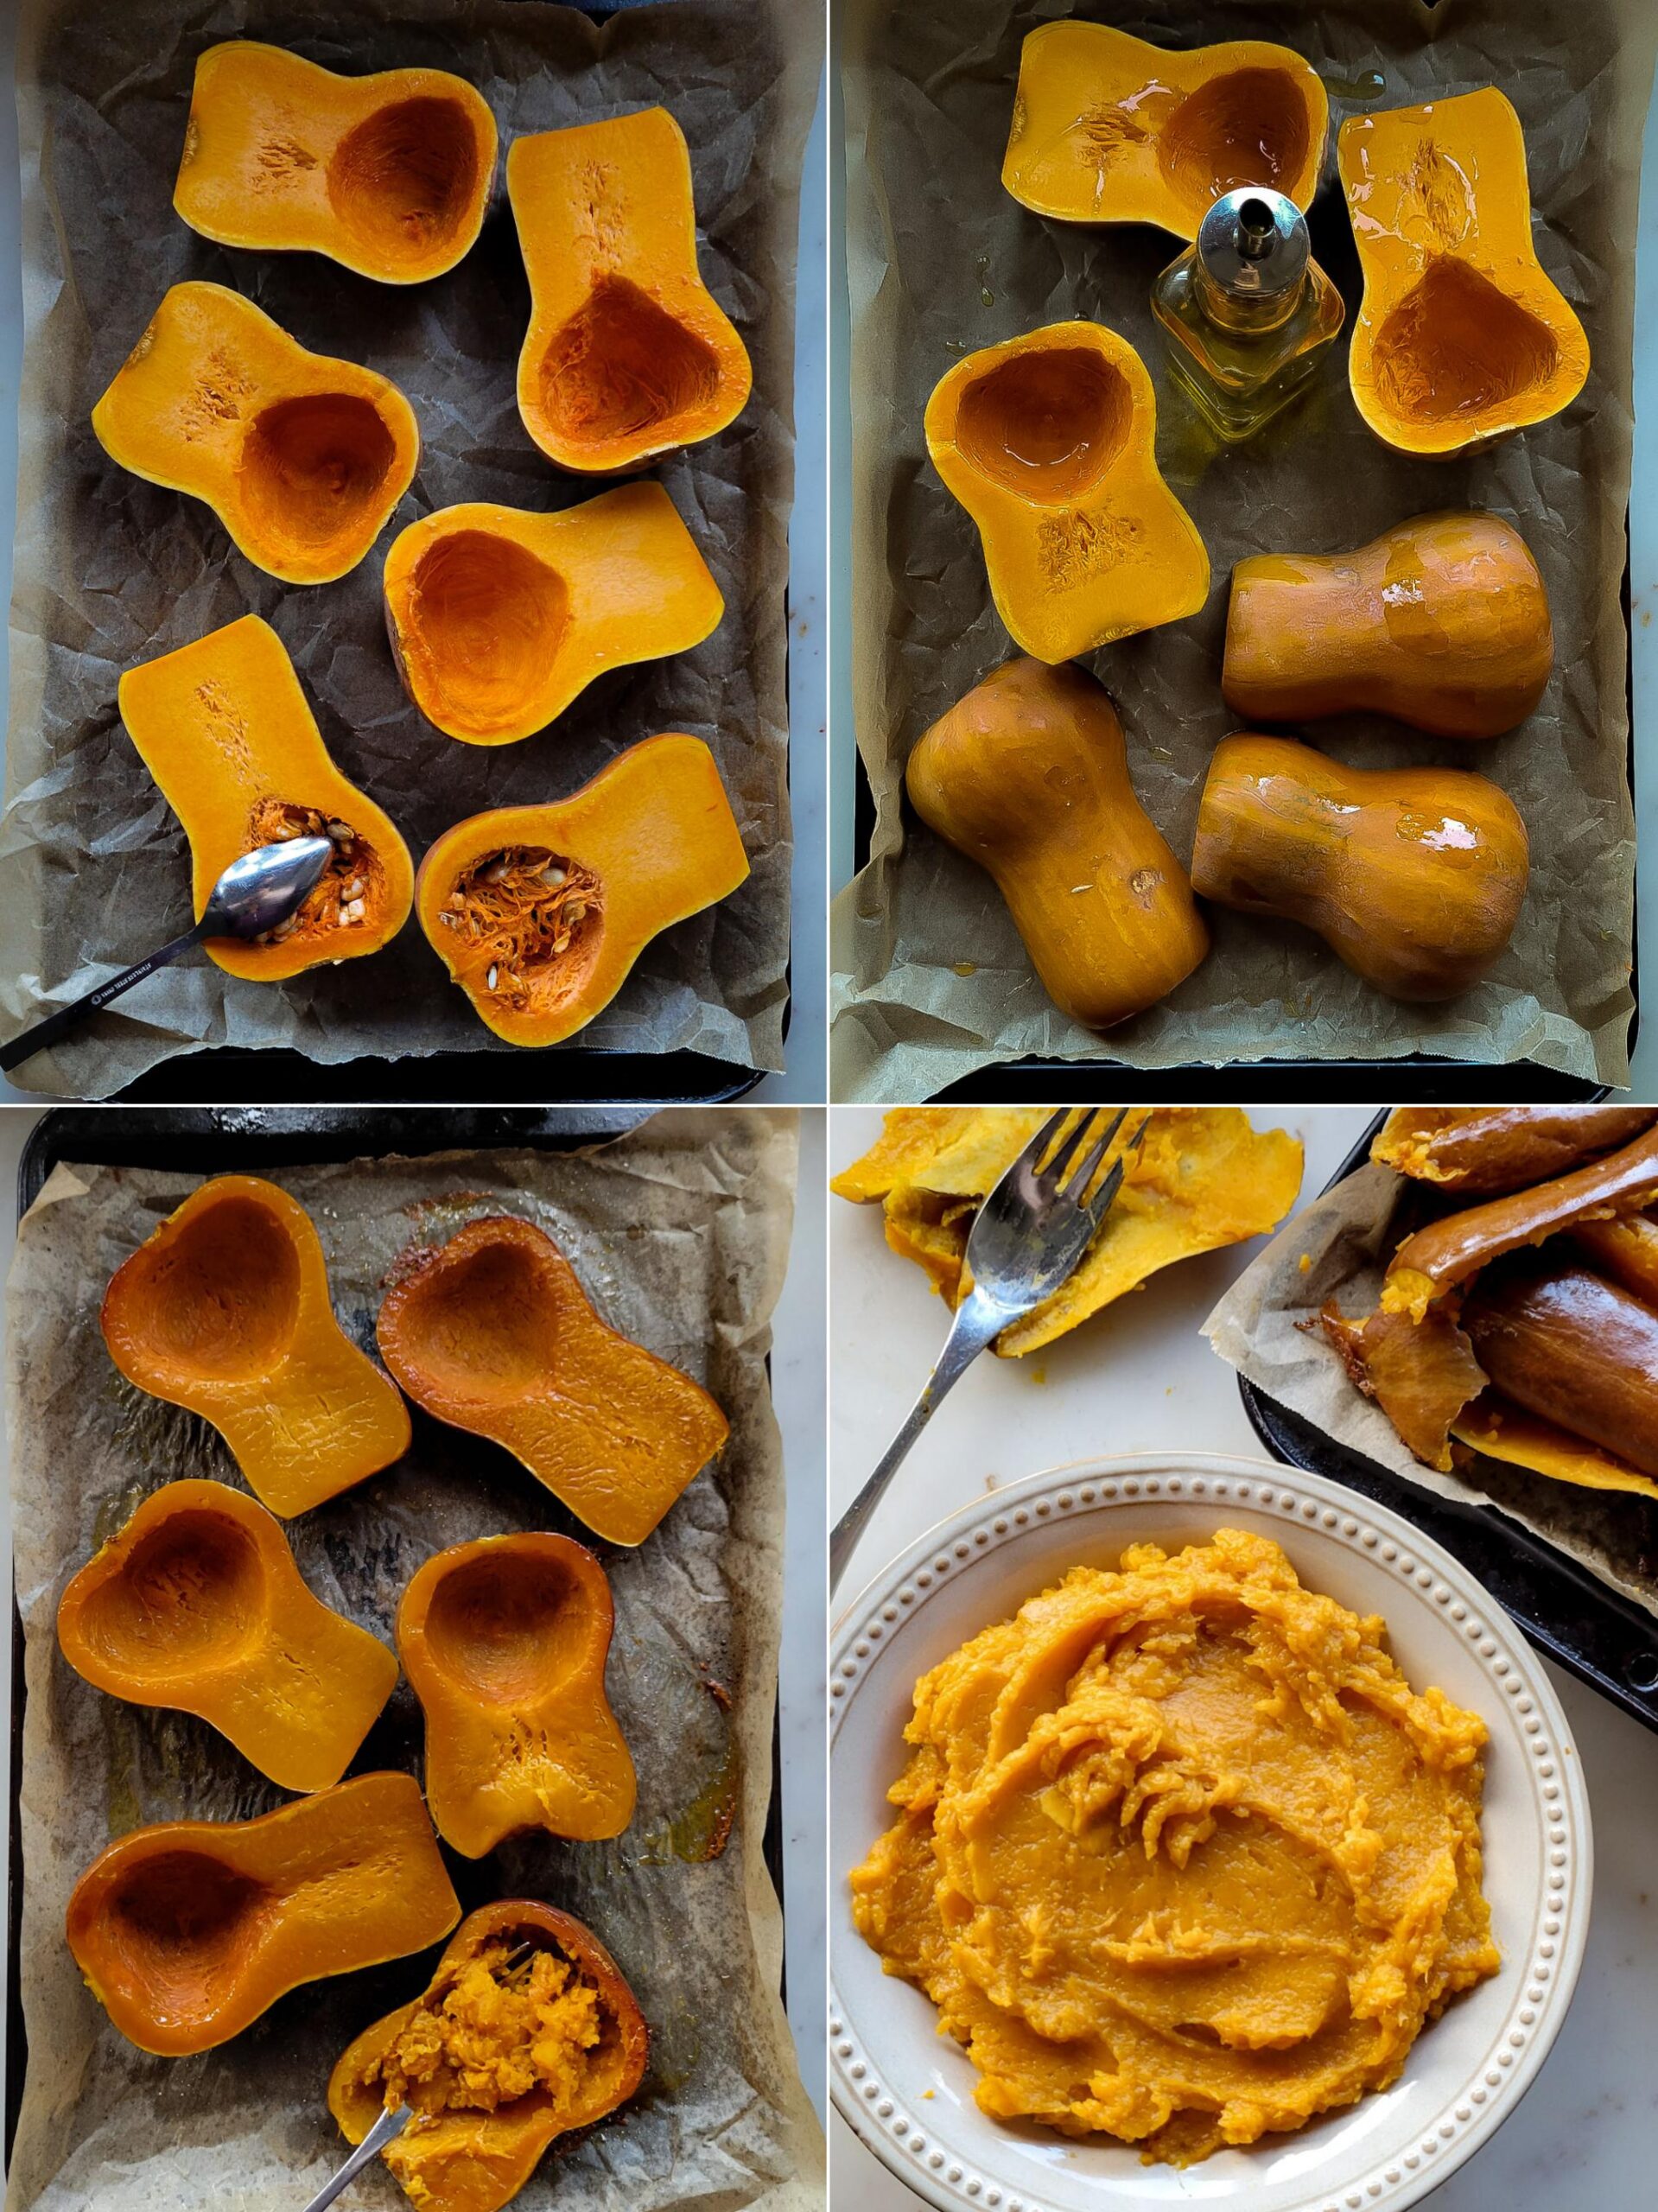
How to Roast off Squash for Baking
This applies to any squash you want to use for baking, whether butternut, honeynut or even kabocha or pumpkin. In order to create a beautiful purée to bake with, we first need to roast off the squash to soften the flesh. Plus roasting really intensifies the sweetness. All you need to do is cut each squash in half, and scoop out the seeds (I use a serrated grapefruit spoon for easy removal of the stringy bits). Turn them over cut side down onto a baking sheet (no need to line it) and pop it into a 400F oven till the skin softens, and the flesh becomes completely soft and tender. Depending on your oven, and the thickness of the squash, this can happen within 45-60 minutes. You’ll know they’re ready when a knife pierces the skin and into the thickest part of the squash easily. Let them cool on the counter and then scoop out the flesh into a blender or food processor. It should be easy to purée the cooled flesh, but if for some reason it is having a hard time become homogenous, just add a spoonful of water. With thicker squash or pumpkin, cut into quarters and adjust the roasting time.
Whatever you don’t use for baking can either be added to soup, or you can freeze in a sealed container for future cakes. It will keep in the freezer for three to four months easy.
How to Brown Butter
One of the great flavours of this cake is brown butter. Once you’ve made it, you will want to brown butter as often as possible!! It is as easy as adding the amount called for to a small sauce pan (I actually have a small butter pot, designed for cooking or heating small amounts of butter etc. Set the pot over medium heat, and allow the butter go from melted to foamy to bubbly to nutty. It will take about 8-10 minutes, don’t rush it, and don’t use too high a heat, or else the butter solids at the bottom of the pan will quickly go from nutty to burnt. Not good. As soon as the nuttty aroma is there, the separate bits are visible on the bottom, and the foaming has started to subside, the butter is ready to cool down. Let it cool before using in your batters.
This is a Gluten Free Cake
That’s right, this is a gluten free Honeynut Squash cake, which always surprises Jim, because it just doesn’t taste like it at all. The texture is lovely. And it’s all due to the almond flour. Almond flour really does give the most tender texture in baking, and I use it all the time, even in recipes that aren’t technically gluten free. The other flour in this recipe is brown rice flour, as well as tapioca starch. Together the three create a wonderful texture that keeps us coming back to this cake as often as possible.
Along with brown butter, you will love the cinnamon, ginger and nutmeg, as well as the apple cider in the batter. Feel free to use apple juice if this is what you have in the fridge. And as a final touch, chopped chocolate is folded into the batter at the end before baking. Because… chocolate!
If you would rather bake this up using an All Purpose wheat flour, you may like the Kabocha Olive Oil Bittersweet Chocolate Cake.
Olive Oil Glaze
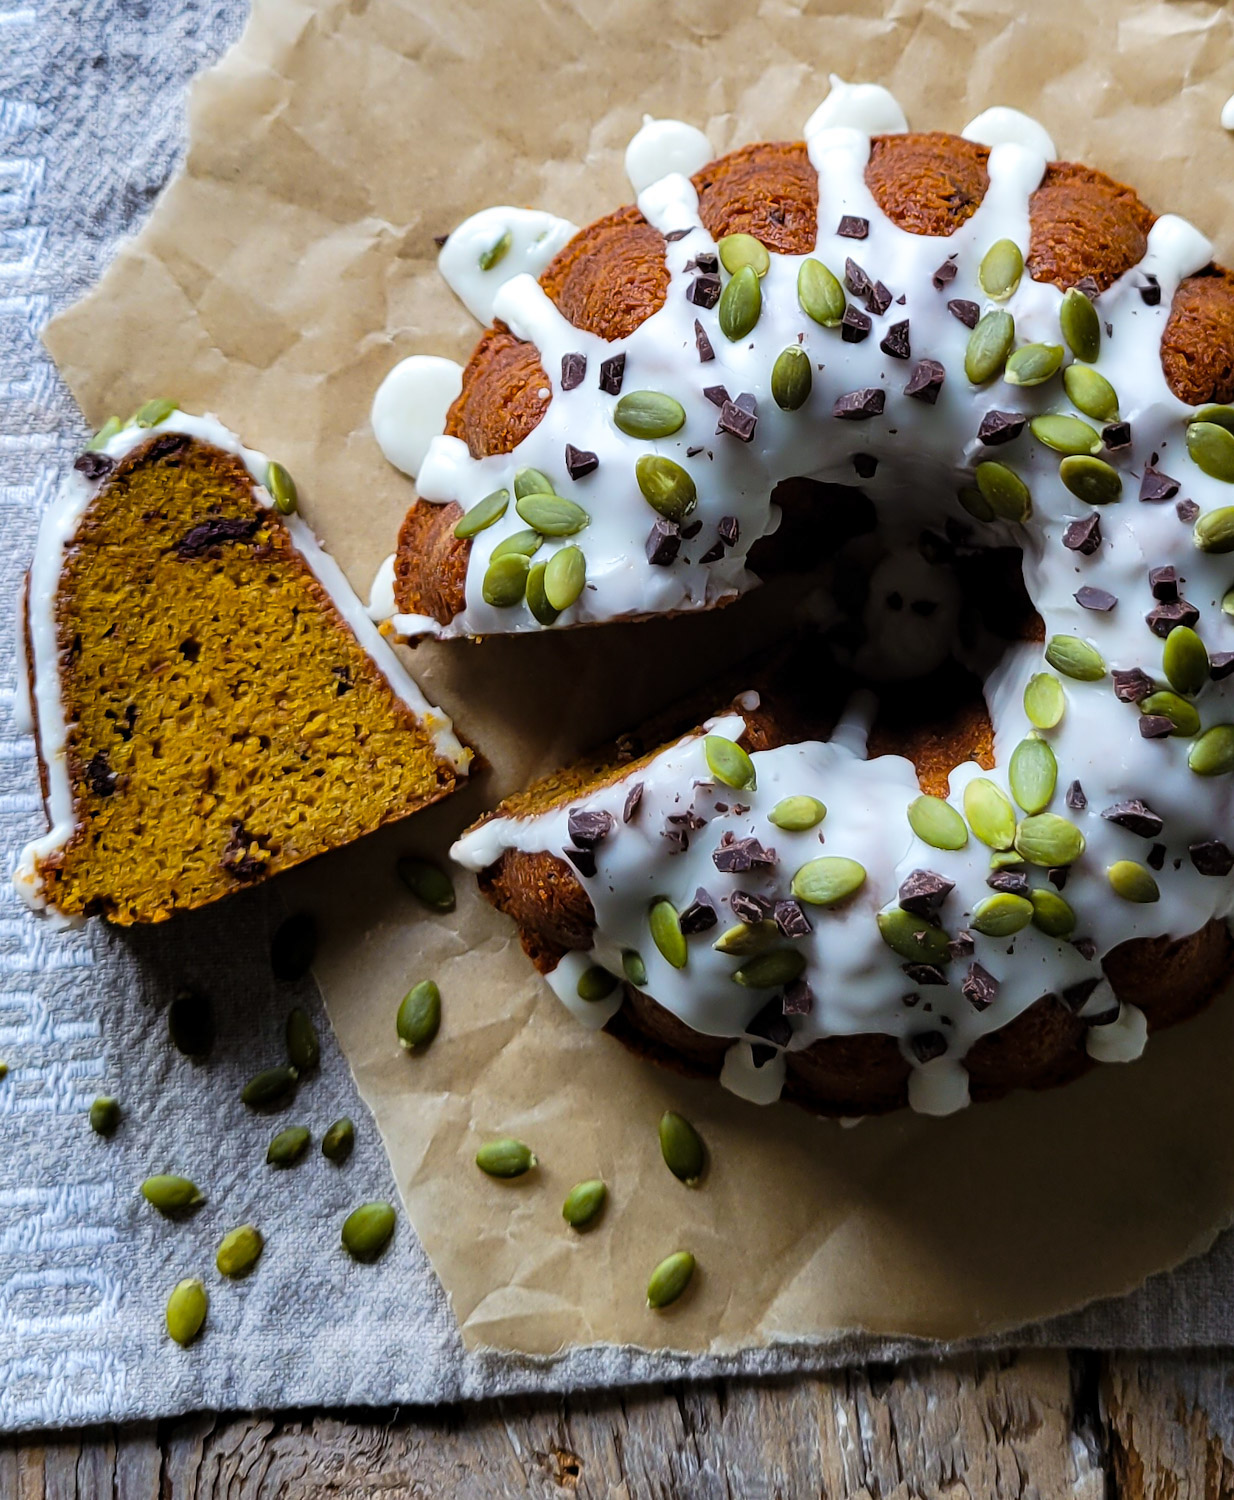
This is one that I am borrowing from an earlier blog post, a Kabocha and Chocolate Loaf, with an Olive Oil Glaze. It’s such a great glaze, that I just couldn’t resist using it again. It’s just icing sugar, olive oil and milk. You can leave it as is, or sprinkle some chopped nuts, cocoa nibs, or even candied ginger as a finish. Or forego the glaze and just dust the cake with icing sugar, it’s all good!
Final Thoughts
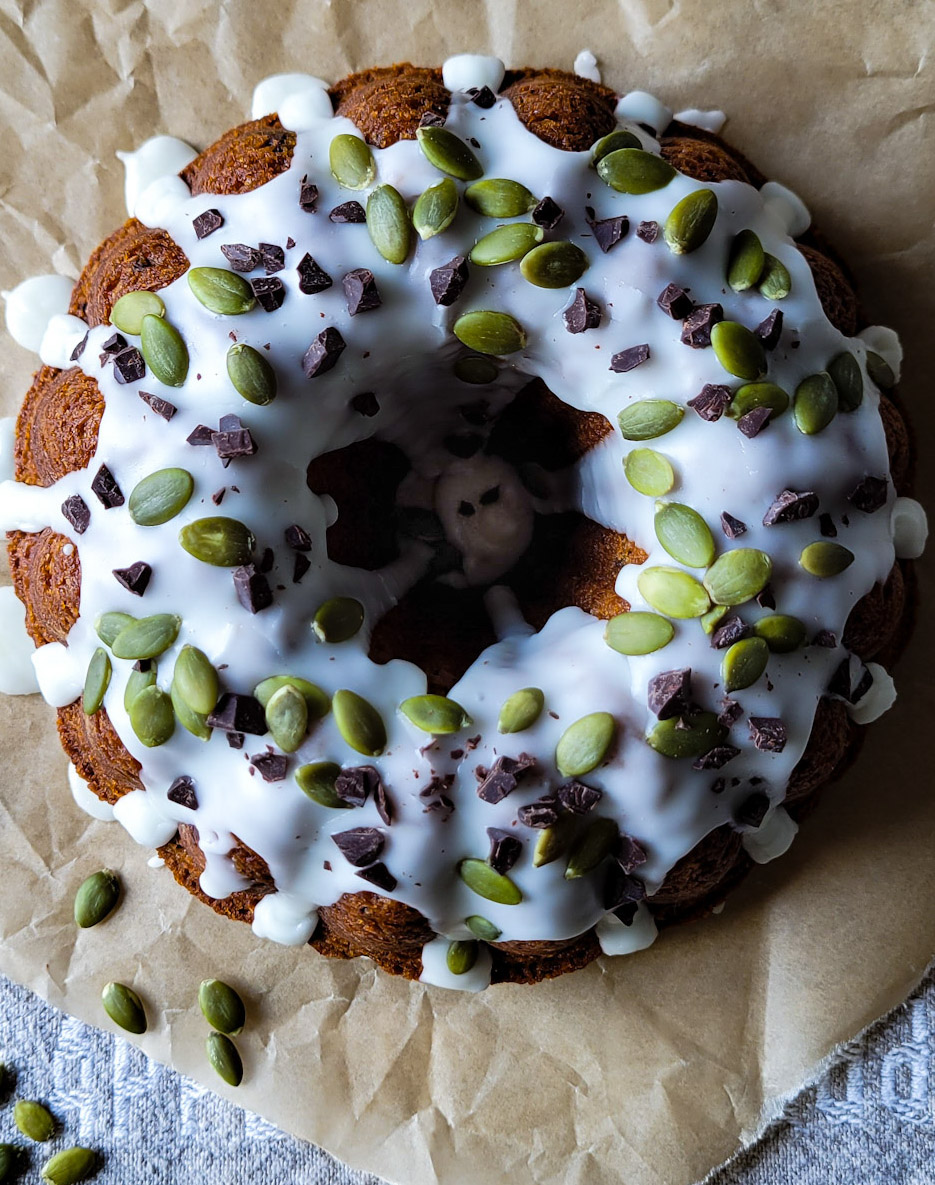
This is a great snacking cake, but can be a legitimate cake for dessert. Or bake it up in a muffin tin and top them with cream cheese icing. Oh yeah baby! See here for my trusty Cream Cheese Icing.
Once you’ve made this once, you’ll be making it weekly, I promise. And yes, feel free to substitute the roasted squash purée with canned pumpkin, it will work great.
Love Jen
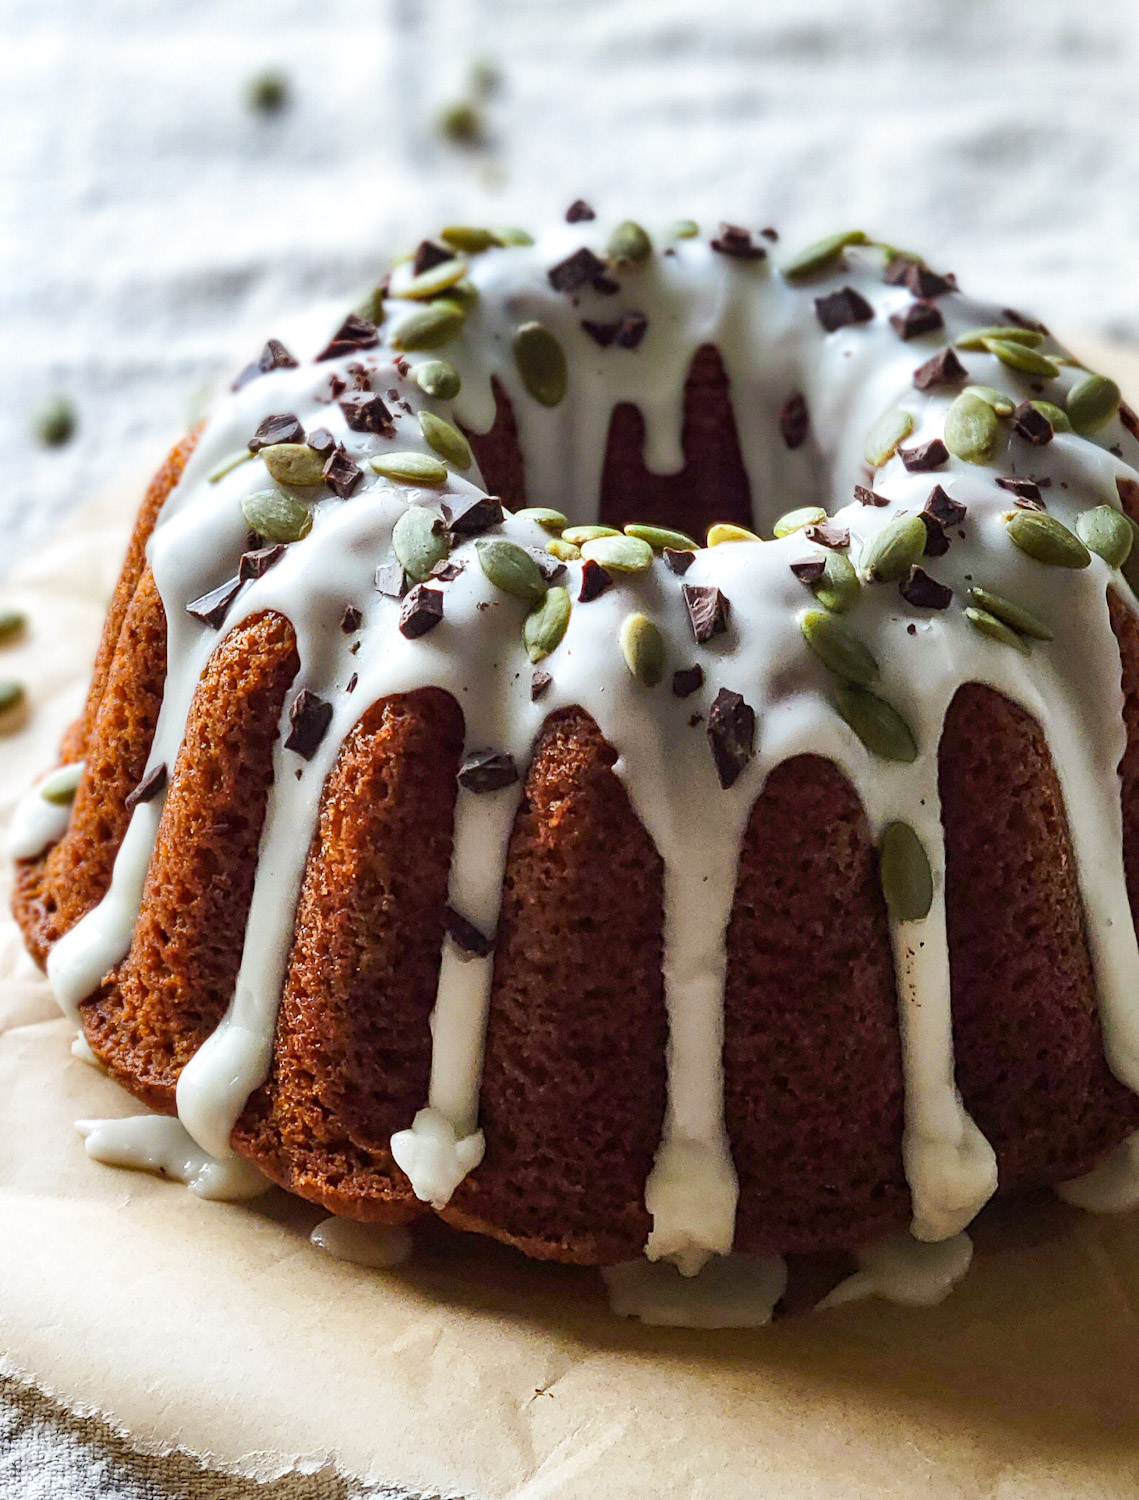

Brown Butter Honeynut Squash Cake
Ingredients
- 2 lb of honeynut squash, about 2 or 3 small ones, or 1 kg
- 1/2 cup butter, 110 grams
- 1 cup brown rice flour, 140 grams
- 2/3 cup almond flour, 65 grams
- 1/2 cup granulated sugar, 100 grams
- 1/2 cup light brown sugar, 100 grams
- 1/4 cup tapioca starch, 30 grams
- 3/4 tsp kosher salt,
- 1/2 tsp baking soda
- 1 tsp ground cinnamon
- 1/4 tsp ginger
- 1/8 tsp nutmeg
- 3 eggs, room temperature, lightly beaten
- 2 tsp apple cider or apple juice
- 2/3 cup chopped dark or bittersweet chocolate
Olive Oil Glaze
- 1 1/4 cups icing sugar, sifted, more if needed
- 2 tbsp hot water, or more if needed
- 3 tbsp olive oil, not too strong or grassy
- 2 tbsp pumpkin seeds
- 2 tbsp cocoa nibs, or chopped dark chocolate
Instructions
-
Preheat the oven to 400F
Roasted Squash
-
Cut the squash in half lengthwise, and scoop out the seeds. Drizzle the interior with a small amount of olive oil and brush it all over. Place these cut side down onto a baking sheet.
-
Bake for 40-45 minutes or until the flesh is completely soft and the skin can be pierced with a knife in the thickest part of the squash.
-
Scoop out the meat into a food processor or strong blender and purée till completely smooth. Measure out 1 cup of this purée the cake, and store the rest in a sealed container in the fridge or freezer for a future cake etc.
Cake
-
Reduce the oven to 350F. Lightly grease a 6 cup bundt pan.
-
Place the butter into a small saucepan and set it over medium heat. Cook the butter so that it melts and goes through all the stages, from bubbling and foamy till the milk solids on the bottom turn a pleasant brown and take on a nutty aroma. Be careful not to let it go further and burn. Transfer to a clean bowl or jar to cool slightly.
-
In a large bowl whisk together the brown rice flour, almond flour, both sugars, tapioca starch, salt, baking soda, cinnamon, ginger and nutmeg. Get rid of any lumps.
-
In a medium bowl mix the cooled squash purée, brown butter, eggs and apple cider till smooth. Pour this into the dry ingredients and blend till smooth.
-
Fold in the chopped chocolate.
-
Spoon the batter into the prepared bundt pan. Place this onto a baking sheet and tranfer this to the centre rack of the oven. Bake until golden brown and a skewer comes out clean, about 45 to 55 minutes, depending on your oven.
-
Cool the cake in the pan for 15 minutes then carefully turn over and release the cake onto a wire cooling rack to finish cooling. Let it cool completely before glazing. It can also be stored at this point, wrapped in plastic for up to 3 days. Or store in the fridge if longer.
Olive Oil Glaze
-
In a small bowl whisk the icing sugar with the hot water until smooth and thick. Slowly drizzle in the olive oil and whisk till completely smooth. Add more water or whisked icing sugar if you want it thinner or thicker. I would rather it be on the thicker side for more control.
-
Drizzle this evenly over the cake. Sprinkle with the pumpkin seeds and chopped chocolate or cocoa nibs.
-
See blog post for more details
Recipe Notes
Loosely adapted from Cannelle et Vanille by Aran Goyoaga
For a non gluten free version, check out Kabocha Olive Oil Bittersweet Chocolate Cake

Can I use the ready made pumpkin cans?
Hi Sharon, most definitely you can used canned pumpkin! You may need to adjust the sugar, since Honeynut Squash has more of a natural sweetness than pumpkin. Enjoy, Love Jen