This is just one of my most favourite ways to use apple butter.
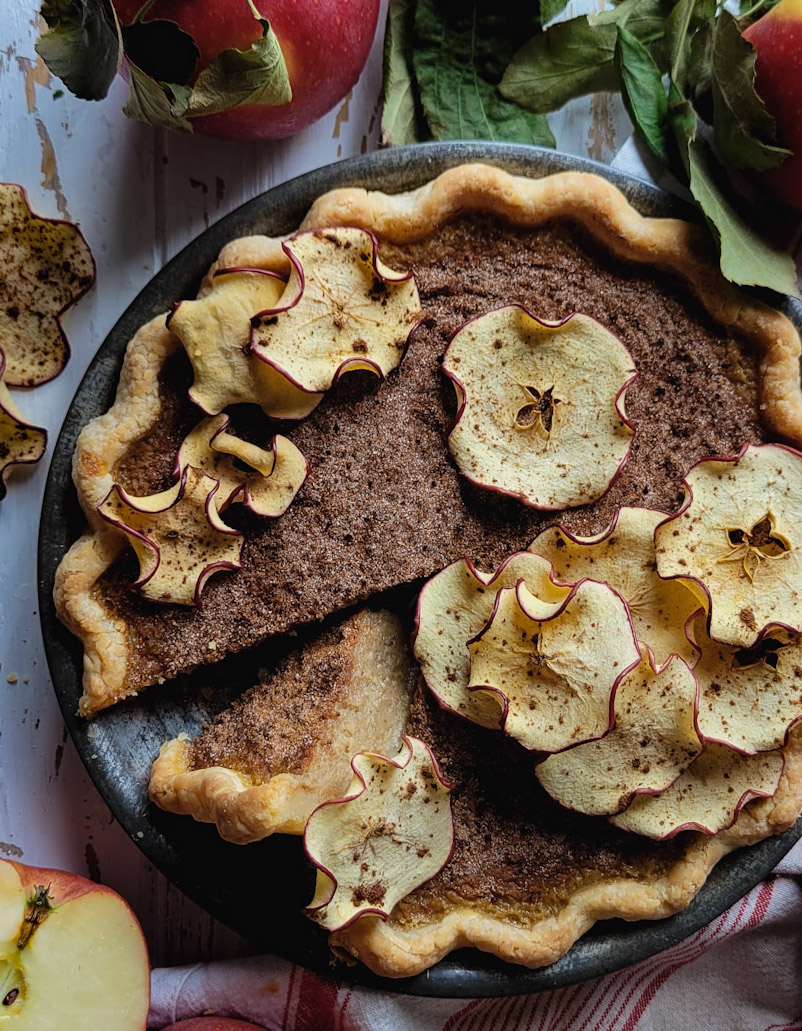 This is a perfect pie for Autumn’s apple bounty.
Apple Butter Custard
I used to make my apple butter custard pie the traditional way, with eggs, cream etc, a more conventional custard method. But in the last few years I have take the cream cheese route. For one simple reason, the cream cheese adds a lovely tang that counteracts the sweetness of the apple butter. It creates a very stable custard that is almost foolproof. Yes, there are still some eggs involved. But the cream has been replaced with the cheese and sweetened condensed milk, and all that’s left is some dark brown sugar and spices.
Can You Use Store Bought Apple Butter?
But while you can totally use purchased apple butter, why? Making up a batch is one of the more relaxing endeavours in the kitchen, right up there with stirring risotto. Make up a couple of batches, and then the next day, or next week you can make the pie. So, you’ve made a batch of apple butter, most especially my recipe for Rich Spiced Apple Butter. What now? Of course it is fabulous on toast, dolloped on cheese, swirled into oatmeal. But one way that really showcases this butter is as part of a most glorious and smooth custard filled pie.
Back to purchased Apple Butter. Yes you can use it. But make sure it is THICK. You don’t want it to be more apple saucy than apple buttery. If it appears on the looser side, transfer it to a small pot set on medium heat and cook it down to release some of the liquid. Ideally you should be able to place a spoonful onto a plate, and not have liquid release to create a puddle around the blob. Also, taste it, depending on its sweetness, you may need to adjust the amount of brown sugar in the filling. It may not be as spiced as you like, so be ready to add a little cinnamon, allspice and cloves if needed.


Pie Crust
My pie pastry is perfect for this pie, but of course these days I need to use a gluten free recipe. My recipe allows for substituting the AP flour with a gluten free blend cup for cup flour. Here are two great options as well The Bojon Gourmet, and The Loopy Whisk. And yes, you can use a purchased pie crust. In all cases the pie shell will need to be par-baked before filling. Use a fork to create holes evenly all over the bottom and sides of pastry. Line the pie shell with parchment paper, and fill it so that the paper is right up against all the walls of the pie. I use dried beans that I keep in a jar for just such purposes. You will bake in a 400F oven for 20 minutes on a rack in the lower third of the oven till just starting to set and turning pale golden. Remove the paper and beans, and return the shell back to the oven now set at 375F for another 10 or so minutes till the bottom is dried out and the entire crust is taking on a warm golden hue. If it puffs up at all, just use a fork to gently release any air bubbles. Cool till needed. The best tip: place a baking sheet onto the rack to warm through completely so that when you place the pie plate onto it, it will have a great head start in baking the bottom. Avoiding the dreaded soggy crust.
Now Comes the Fun Part!
Once the filling is poured into the par-baked pie shell, before you pop it into the oven, you will cover the entire top with a cinnamon sugar blend. Bake till the edges are set, and only the centre slightly jiggles. It will continue to bake once out of the oven, and set as it cools. Once cooled on a rack, place it in the fridge to really ensure that it sets completely. Before serving, you have the option to take your trusty kitchen torch and gently flame the entire top till the sugar bubbles and melts. Let it cool for a few minutes and then slice. Now, if you don’t have a torch, you can place the pie on a baking sheet, using a metal pie guard to shield the crust and let the broiler gently burnish the sugar. Or you can leave it as is, it will still taste totally fine. It will have gotten a little head start as it baked in the oven to create a lovely contrast to the creamy texture underneath.
This is my opportunity to suggest that having a metal pie crust guard, and a torch are great kitchen additions if you don’t already have them. I use both regularly. Sure, the torch may not get used as often, but when burnishing meringue, making Crème Brûlée, or even adding a bit of fun crunch to baked mac n cheese, the torch is a fun little tool to have.
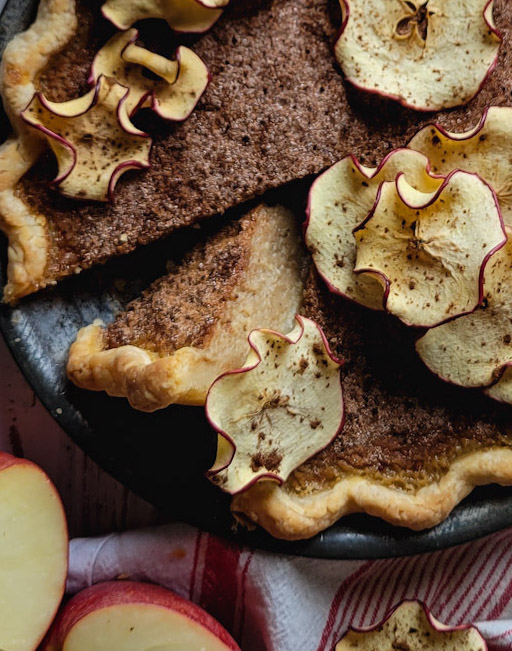
Apple Chips, a Great Garnish
Of course, if you want to add a lovely finish to any custard pie, pie pastry cut outs are always an option. See my No Fail Pie Crust for a complete tutorial on how to make them with ease. But why not try something different, and completely in season? Apple Chips.
While the pie is cooling, you will line a baking sheet with parchment, and use a mandolin to create thin, 1/8 inch thick slices of apple. I used Gala, but any firm apple will work great. Lay them out on the sheet(s) without overlapping, and sprinkle with cinnamon. Into a 200F oven for 1 1/2 to 2 hours, turning half way through till completely dried out. One apple will be fine as a pie garnish, but feel free to make more to snack on.
Final Thoughts
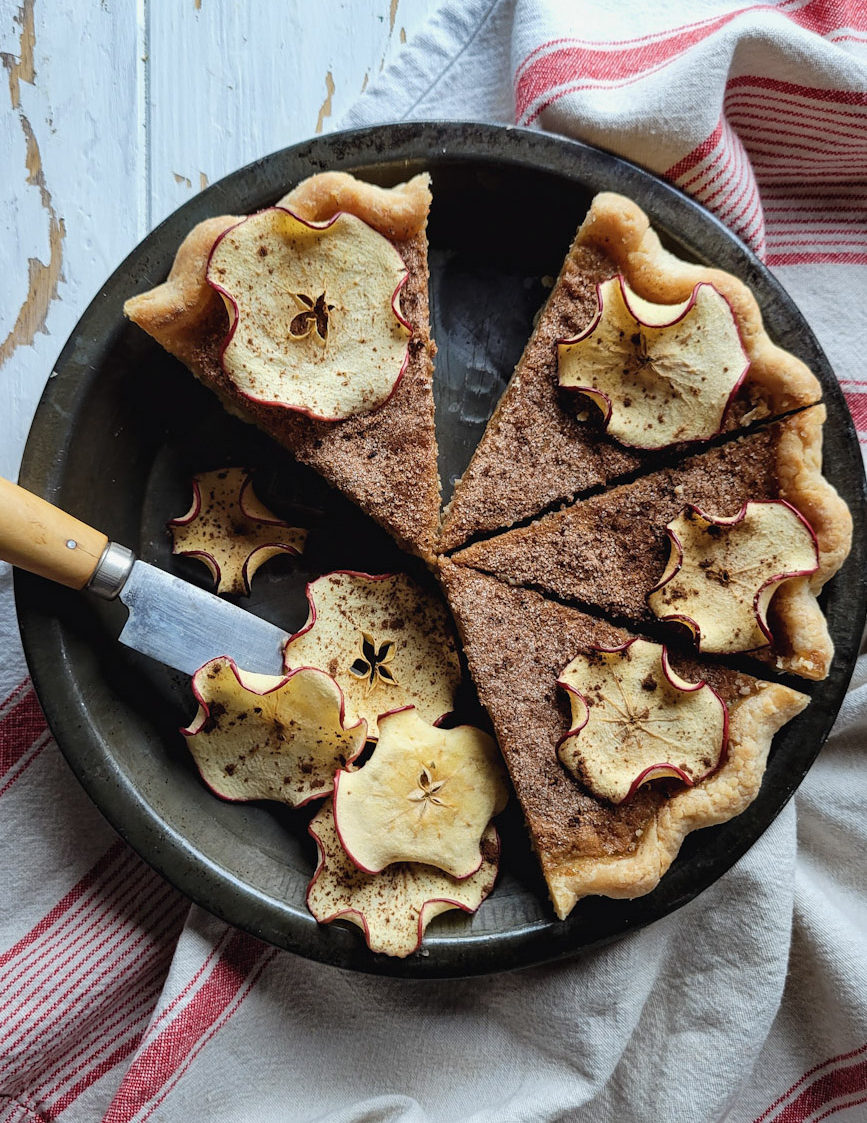
Yes, this has the same vibes as a pumpkin pie. But the unmistakeable apple nature will come through with the very first bite. I think it makes for a great alternative is a world where PSLs and pumpkin baked everything is the norm. Vanilla ice cream as a side is too heavy for a pie like this, finish it instead with some whipped cream sweetened gently with maple syrup or bourbon (if kids aren’t around!)
Love Jen
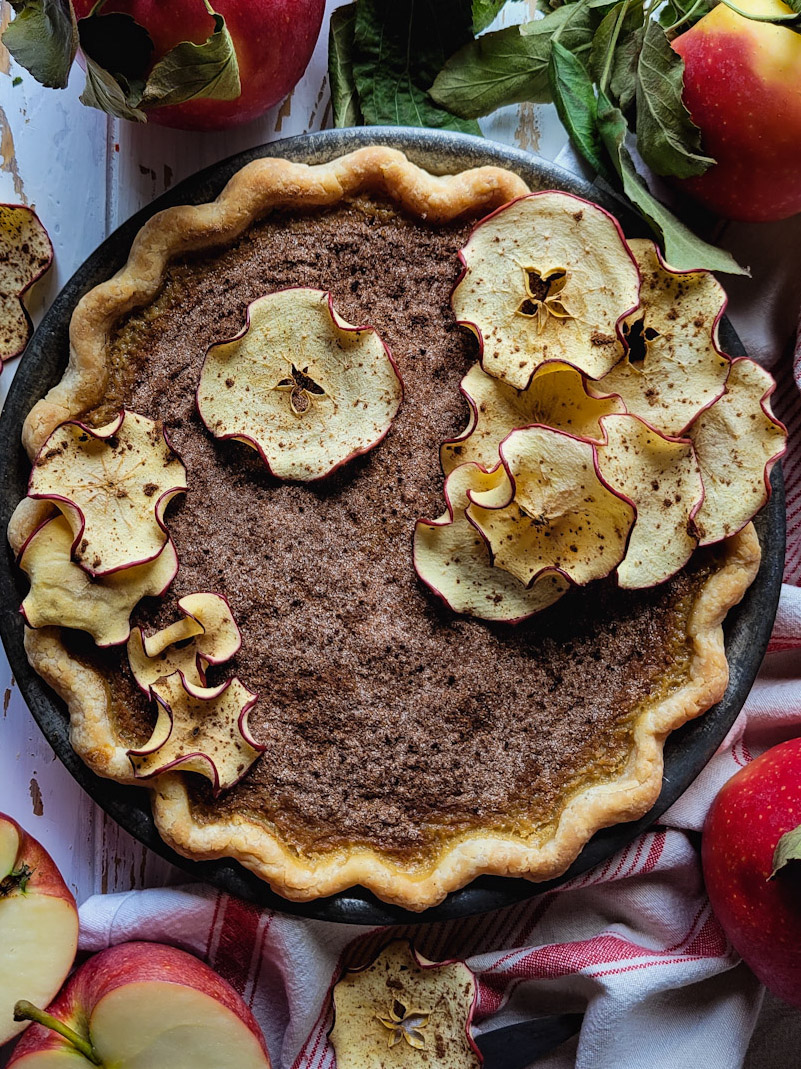

Brûléed Apple Butter Custard Pie
Ingredients
- 1 pie pastry shell, see Notes for my Perfect Pie Crust recipe, can also use a purchased pie shell
Apple Butter Custard
- 4 oz cream cheese, softened to room temperature, or 120 grams
- 2 eggs
- 1 egg yolk
- 10 oz sweetened condensed milk, or 300 ml
- 1 1/4 cups Rich Spiced Apple Butter, see Note for recipe link
- 1/4 cup dark brown sugar
- 1 tsp vanilla
- 1/2 tsp salt
- 2 tsp granulated sugar
- 1 tsp cinnamon
Apple Chips
- 1 firm apple
- 1/4 tsp cinnamon
Instructions
Pie Crust
-
Preheat the oven to 400F. Place a baking sheet on a rack set in the lower third of the oven
-
Have the pie pastry set on the counter for 10 minutes after coming from the fridge to help it soften for rolling.
-
Roll out to fit into the pie plate, allowing the sides to ease down into the bottom, to avoid shrinking as it bakes. Trim to a 1 inch overhang, and crimp as desired.
-
Use a fork to poke holes all over the bottom and up the sides of the pastry. Set back in the fridge while the oven warms up.
-
Cut a piece of parchment paper to fit into and up the sides of the pie shell. Crush it up and unfurl, this will help it fit easier, since it won't be too stiff. Line the pie shell with dried beans or other pie weight, using enough to fill right into all the edges and up the sides.
-
Place the pie plate on the heated baking sheet and bake in the oven for 20 minutes.
-
Remove from the oven and carefully remove the parchment and beans. Drop the heat in the oven to 375F and return the pie shell to the oven. Bake for another 10 minutes, until the bottom is dried out, and the pastry is turning a lovely golden brown. Remove while you make the filling.
Apple Butter Custard Filling
-
Place the softened cream cheese, eggs and egg yolk into a bowl (either on a stand mixer or using a hand held mixer) and use the paddle attachment to whip the ingredients to a softened mound.
-
Add the sweetened condensed milk, the apple butter, the vanilla and salt, and beat till completely blended.
-
Pour the filling into the pie shell. Fill to about 85-90% full. If you have leftover filling (depending on your pie plate size) pour any remaining filling into a ramekin to bake along side the pie.
-
Combine the granulated sugar and cinnamon in a small bowl. Sprinkle this evenly over the filling. Place the pie back onto the heated baking sheet. Bake for 40-45 minutes, depending on your oven. Start checking at 35-40 minutes. You are looking for the outer third of the filling to be set, with only the very centre to be jiggly. You can use a toothpick to test the filling at the half way point between the crust and the centre- it should come out mostly clean. If before the filling is set you find the crust edges to brown, use a metal or silicone pie guard to cover the crimped edges.
-
Set the pie to cool on a wire cooling rack. After completely cooled, set in the fridge to complete set for a good 2 hours.
Optional, just before serving:
-
Take a torch and carefully heat the cinnamon sugar crust till bubbling and melted. Don't rush and be thorough to achieve the best results. Even if you don't torch the sugar crust, it will still add a lovely contrast to the creamy filling underneath.
-
Serve cool or room temperature, with maple syrup whipped cream. Or garnish with Apple Chips
-
Store in a sealed container in the fridge for up to 4 days.
Apple Chips, can be made while the pie is cooling
-
Preheat the oven to 200F. Place a rack in the centre of the oven. Line a baking sheet with parchment paper
-
Use a mandolin set at the 1/8 inch point to create slices from the apple. You can use a sharp knife, but you will need a firm and slow hand to cut very thin slices.
-
Lay out the apple slices without overlapping on the baking sheet. Sprinkle evenly with the cinnamon.
-
Bake for 1 hour. Turn the slices over and bake another 50-60 minutes. Let them cool on a rack. They will get even crisper as they dry out on the rack. Store in a sealed container for no more than 3 days, they will start to lose their crunch after a while.
-
See blog post for more details.
Recipe Notes
My Rich Spiced Apple Butter recipe. If you choose to use purchased apple butter, taste and adjust the amount of brown sugar in the recipe. Make sure the butter you purchase is highly seasoned, or else your pie flavour will fall flat.

Leave a Reply