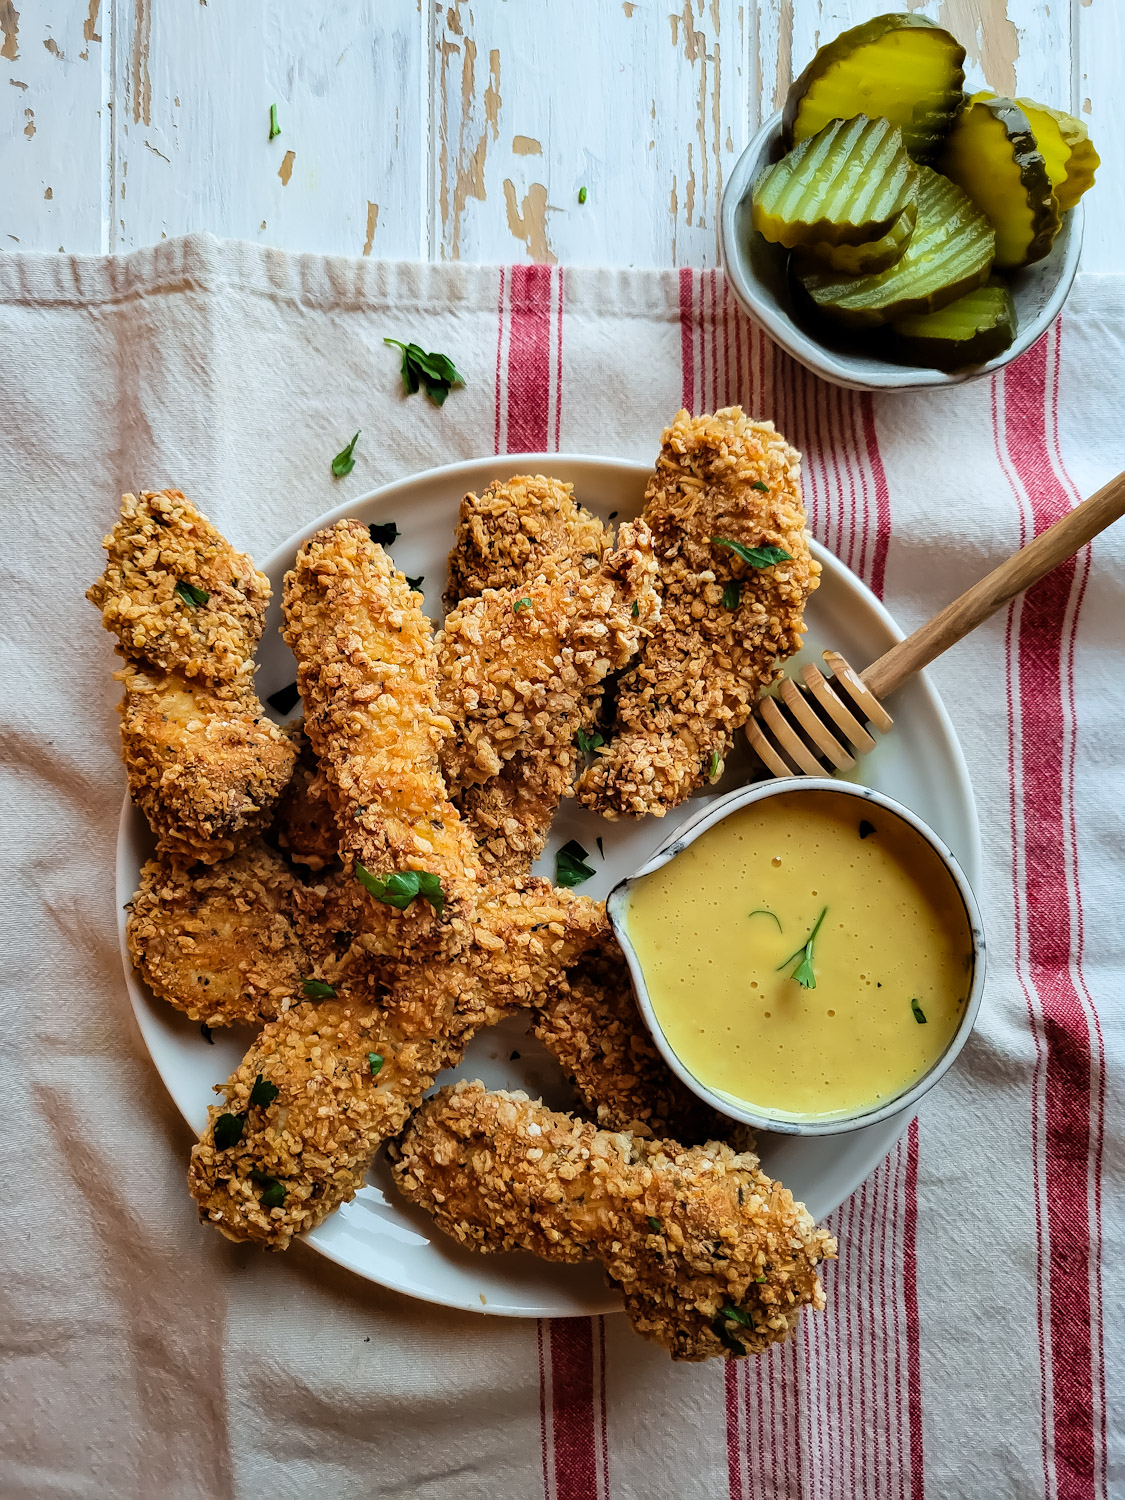
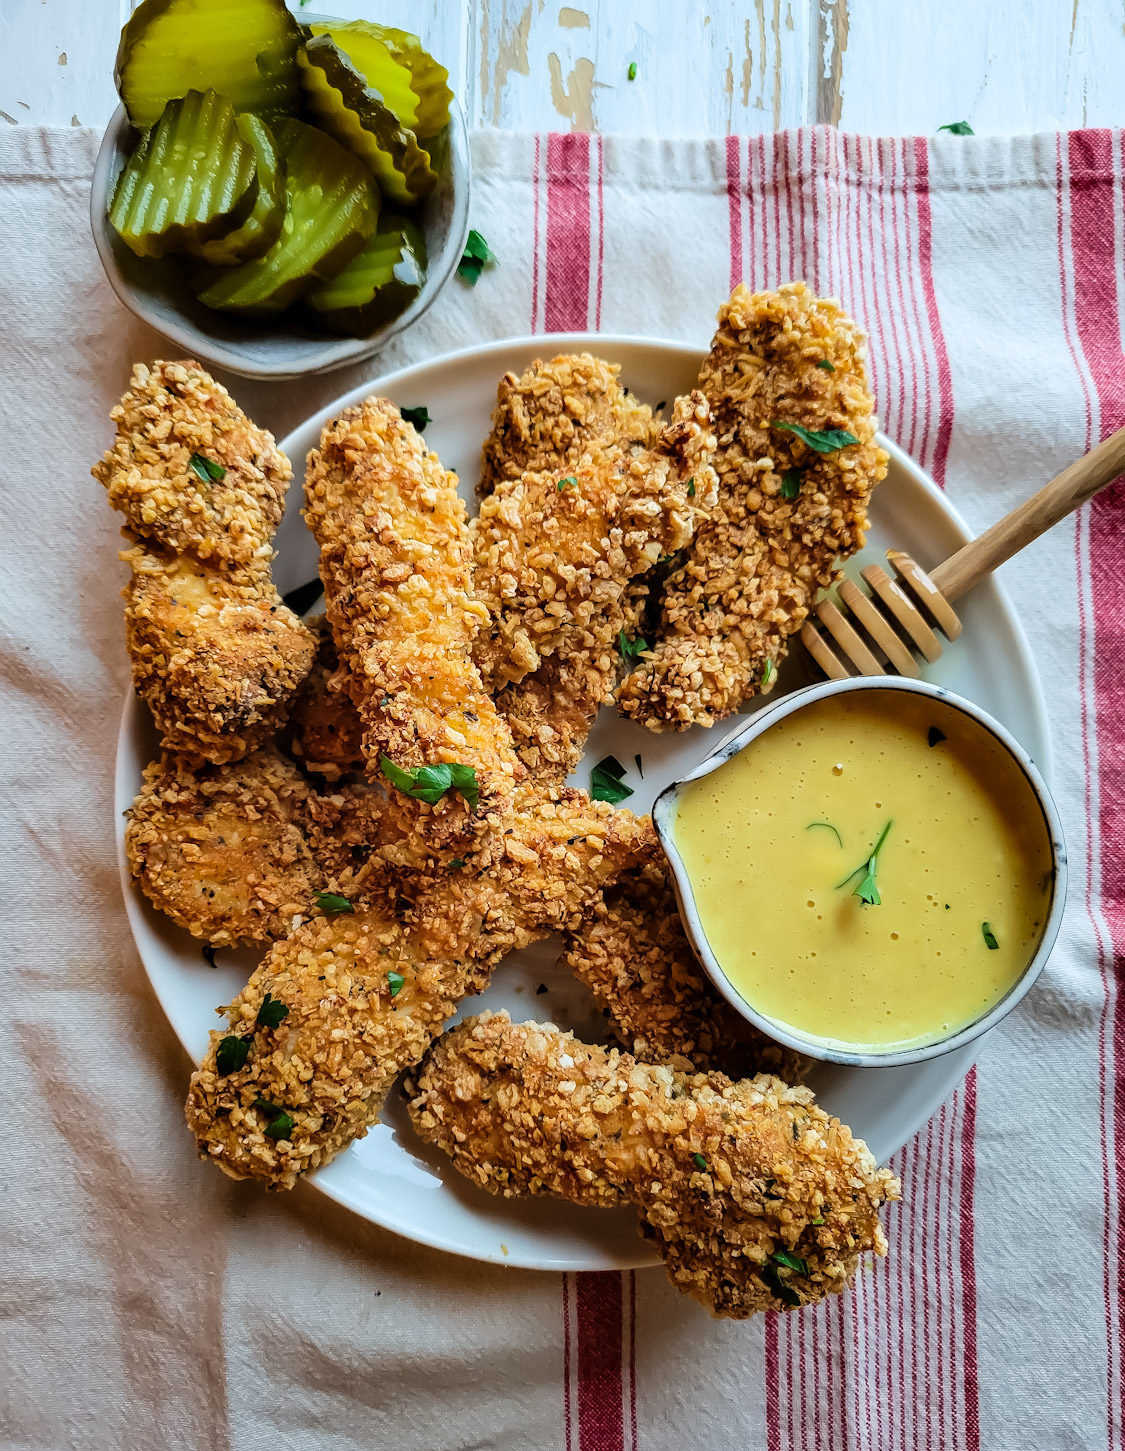
Crispy chicken in any form will satisfy almost anyone, young and old.
 Even though we think of feeding kids when we pull out a chicken tenders recipe, I’m here to tell you that we have no kids, but we eat tenders all the time! Relaxed casual eating, these even work great cold as part of a picnic spread!
Why Call Them Tenders?
Chicken Tenders imply using the small tender section usually attached to any chicken breast. It is the chicken version of the tenderloin. I’m not sure about you, but I rarely see packages of only tenders in the poultry section of my typical grocery stores. And if I did, I’m sure you would tell me that they cost way more than a typical package of chicken breasts. So while most recipes call this dish Chicken Tenders or Chicken Strips, usually most recipes will suggest using the entire breast, not just the tender. But since we all know these as Chicken Tenders, that’s what I’m calling them as well! 🙂
The Coating
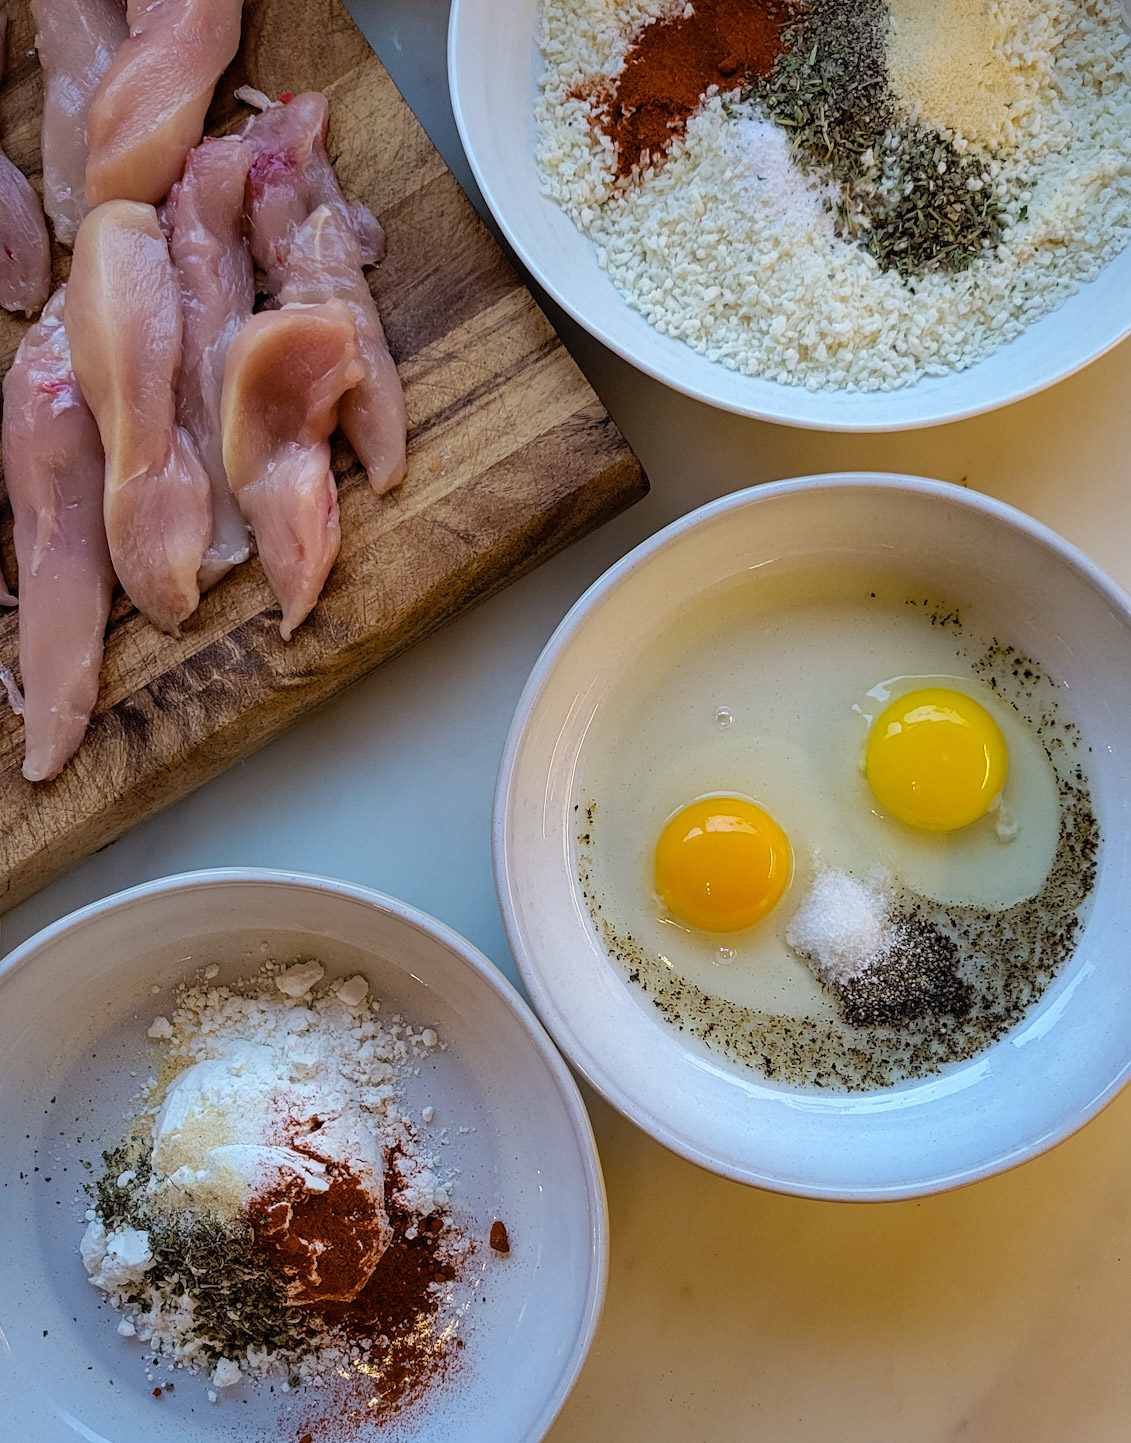
This is a classic method of the three step dredging station: Flour, Egg, Breadcrumbs. But I’m going to ask you to do something that most recipes don’t do, and that is to season every step. Saving the seasoning for only the last part of the dredging, namely the breadcrumb station can leave the flavour a little flat. I contend that the flavour will be more pronounced if the seasonings start at the very beginning. This way, no matter how much may fall away etc during cooking etc, the flavour has had the opportunity to sink in. Try this and you will never go back, I promise. The flavour makers you will be using are parmesan cheese, Italian seasoning, sweet paprika, garlic powder, salt and pepper.
Making These Gluten Free
Starting with the Flour Station, you can easily use a gluten free cup for cup blend. Or use a straight gluten free flour like Cassava. You could also use Coconut flour, but it will add a slight undertone of sweetness, which isn’t really a bad thing. As for the third station, the Breadcrumb Station, these days it is pretty easy to find a gluten free panko style bread crumb. If you can’t, feel free to whiz up your own using leftover gluten free bread and toast them in the oven till crispy. Let these cool down completely and store them in a sealed container, in the fridge or even in the freezer. The other option is crushing up gluten free corn flakes!!
Method
Ideally you will be baking these in the oven on a wire rack set over a baking sheet. Spray the wire rack with non-stick spray. If you don’t have a wire rack that sits over a baking sheet, use the baking sheet alone but line it with foil sprayed with a little oil. Baking will mean that these are healthier than shallow pan fried. But..
Air Fryer
…you can fry them in the fryer if you want! Gently spray both sides of the breaded chicken pieces and lay them in one layer in your fryer basket. Fry at 375F until crunchy and golden, about 10-12 minutes, turning half way through.
First of all, set up the dredging station. Use three wide, shallow bowls or pie plates. Fill each with the flour, the eggs, and the flour breadcrumb mixture. Season each and stir to mix.


How to Keep Your Hands Clean!
Cut up the chicken into long strips that are manageable for eating, about 3 inches long by 3/4 inch wide. Dip each piece into the flour station with one hand, shake off the excess, and use that hand to transfer it to the egg station.
Use your other hand to turn the piece in the egg to cover evenly. Lift it up with the second hand and let the excess egg drip away and then transfer it to the third station.
Use your first hand to pat and turn the chicken tender so that both sides are evenly covered. Transfer this to the wire rack set over a baking sheet. You should be able to fit all the pieces onto one sheet, or two if making a big batch, or depending on the size of your wire rack. Continue till all the chicken is done.
Bake until golden brown. Feel free to use the broiler for the last minute or so if you would like more colour. Remove everything from the oven and sprinkle the tenders with salt. Let cool and then serve.

What to Serve with Chicken Tenders
These are a great game day snack, or easy weekday dinner. And dipping them is what we all want to do with them. There are so many dipping options. From classic BBQ sauce or Franks Red Hot sauce, to a Garlic Parmesan sauce, even a curry, pesto, tzatziki, satay or marinara sauce will be great. I’m sharing one of my faves here today: Honey Mustard. I find that most honey mustard sauces are a little bland, with the proportions of honey and mustard to the binder (usually mayo or variation thereof). So my proportions definitely reduce the amount of mayo. And I add a bit of kick, because I think the sauce benefits from it. The sweet honey and warm mustard still stand out, but they are balanced with some paprika and chilli powder.
Other tasty sauces or dips to consider are my Herbed Skyr Dip, Herb Whipped Feta and Olive Dip, Lemon Tahini Dipping Sauce, and Sweet Chilli Sauce.

What to do With Leftover Chicken Tenders
What, they didn’t all get eaten?! No worries, these store well in a sealed container in the fridge for a few days. Re-heat in a toaster oven, air fryer or regular oven for best results. The microwave will only turn the coating soggy. Once warm eat as you want. I actually don’t even mind them cold as a midnight snack, not unlike snacking on fried chicken.
And for a fun option, why not turn the leftover tenders into easy Chicken Parmigiana!? All it means is getting some marinara sauce ready. My classic recipe is linked in the previous sentence, and since you have already got the tenders made, most of the work is done. You may even have some marinara sauce prepped and stored in the freezer. Just pull it out, and pour some on the bottom of a small baking pan. Place the tenders on top. Pour some more sauce on top and cover everything with a copious amount of freshly shredded cheese. You can use mozzarella, fontina etc, even a bag of four cheese blend from the grocers will work great. Bake till bubbling and served over everyone’s favourite pasta, and you will receive a round of thanks from everyone at the table!


Crispy Baked Chicken Tenders
Ingredients
- 3 boneless skinless chicken breasts (about 1.5- 2lbs)
- 1/2 cup flour gluten free if needed, see Notes
- 2 eggs
- 1 1/2 cups panko breadcrumbs gluten free if necessary
- 1/2 cup freshly grated parmesan cheese see Notes
Spice blend
- 2 tsp Italian seasoning
- 1 tsp garlic powder
- 1 tsp sweet or smoked paprika not Hot Hungarian
- 1 tsp kosher salt
- 1 tsp black pepper
- 1/4 tsp chilli powder
Honey Mustard Sauce
- 1/4 cup runny honey
- 1/4 cup yellow or dijon mustard
- 1/4 cup mayonnaise
- 1 tsp apple cider vinegar
- 1/4 tsp paprika
- 1/4 tsp chilli powder
- 1/4 tsp garlic powder, not garlic salt
- salt and pepper
Instructions
-
Preheat the oven to 425F, and place the rack in the upper third of the oven. Place a wire cooling rack over a large baking sheet. Spray the sheet with non-stick spray. If you don't have a cooling rack, line the baking sheet with foil and spray it. See Notes
-
Pat the chicken dry. Slice away the tender from each breast. Cut the remaining chicken into strips, about 3 inches long, 3/4 in wide and thick.
-
Place the flour in a wide, shallow bowl or pie plate. Crack both eggs into a second shallow bowl or pie plate. Combine the breadcrumbs and parmesan cheese in a third shallow bowl or pie plate.
-
Combine the spice blend ingredients in a small bowl. Divide it evenly between the three bowls. Combine the ingredients in each bowl well.
-
Using one hand take a strip of chicken and coat it in the flour. Shake off the excess flour and deposit it into the egg bowl. Use the opposite hand to turn the strip in the egg mixture. Lift and let the excess drip back into the bowl. Transfer the strip to the third bowl of breadcrumbs.
-
Use your first hand to pat and turn the strip into the breadcrumb mixture. Transfer the strip to the wire rack over the baking sheet.
-
Repeat with all the remaining chicken strips.
-
Bake in the oven until cooked through and golden, and the internal temperature is 165F in the centre, about 18-20 minutes. Feel free to place under the broiler for a minute if you want more colour. Sprinkle with salt and serve.
-
Serve with dipping sauce of choice, or the Honey Mustard sauce shown here.
-
See blog post for more details.
Honey Mustard Sauce
-
Combine everything except the salt and pepper. Add a good pinch of each. Taste and re-season as desired. Chill till needed.
Recipe Notes
You can use a gluten free cup for cup blend, or straight Cassava or Coconut flour.
Avoid using packaged in a can parmesan, it has the wrong texture, and no flavour. It will not help in the crisping process
Feel free to replace the parmesan cheese with finely chopped nuts, crushed corn flakes, crushed pretzels.
If not using a wire rack, turn the chicken pieces half way through the baking process.
Other dip options: BBQ, Ranch, Tzatziki, or even good ole ketchup!
Leftovers can be stored in a sealed container in the fridge for 3-4 days. Re-heat in a toaster oven or oven, not the microwave. Set heat at 350F and heat till warmed through.

Very good, we liked the mustard sauce. I was too lazy to do the 3 step dredge. Instead, I added the spice mix to mayonnaise and coated the tenders with that and then dredged them in the panko mixture. We baked them using the air fryer option on our counter top oven