This recipe happened by accident. I was making frico, on the stovetop, in a frying pan.
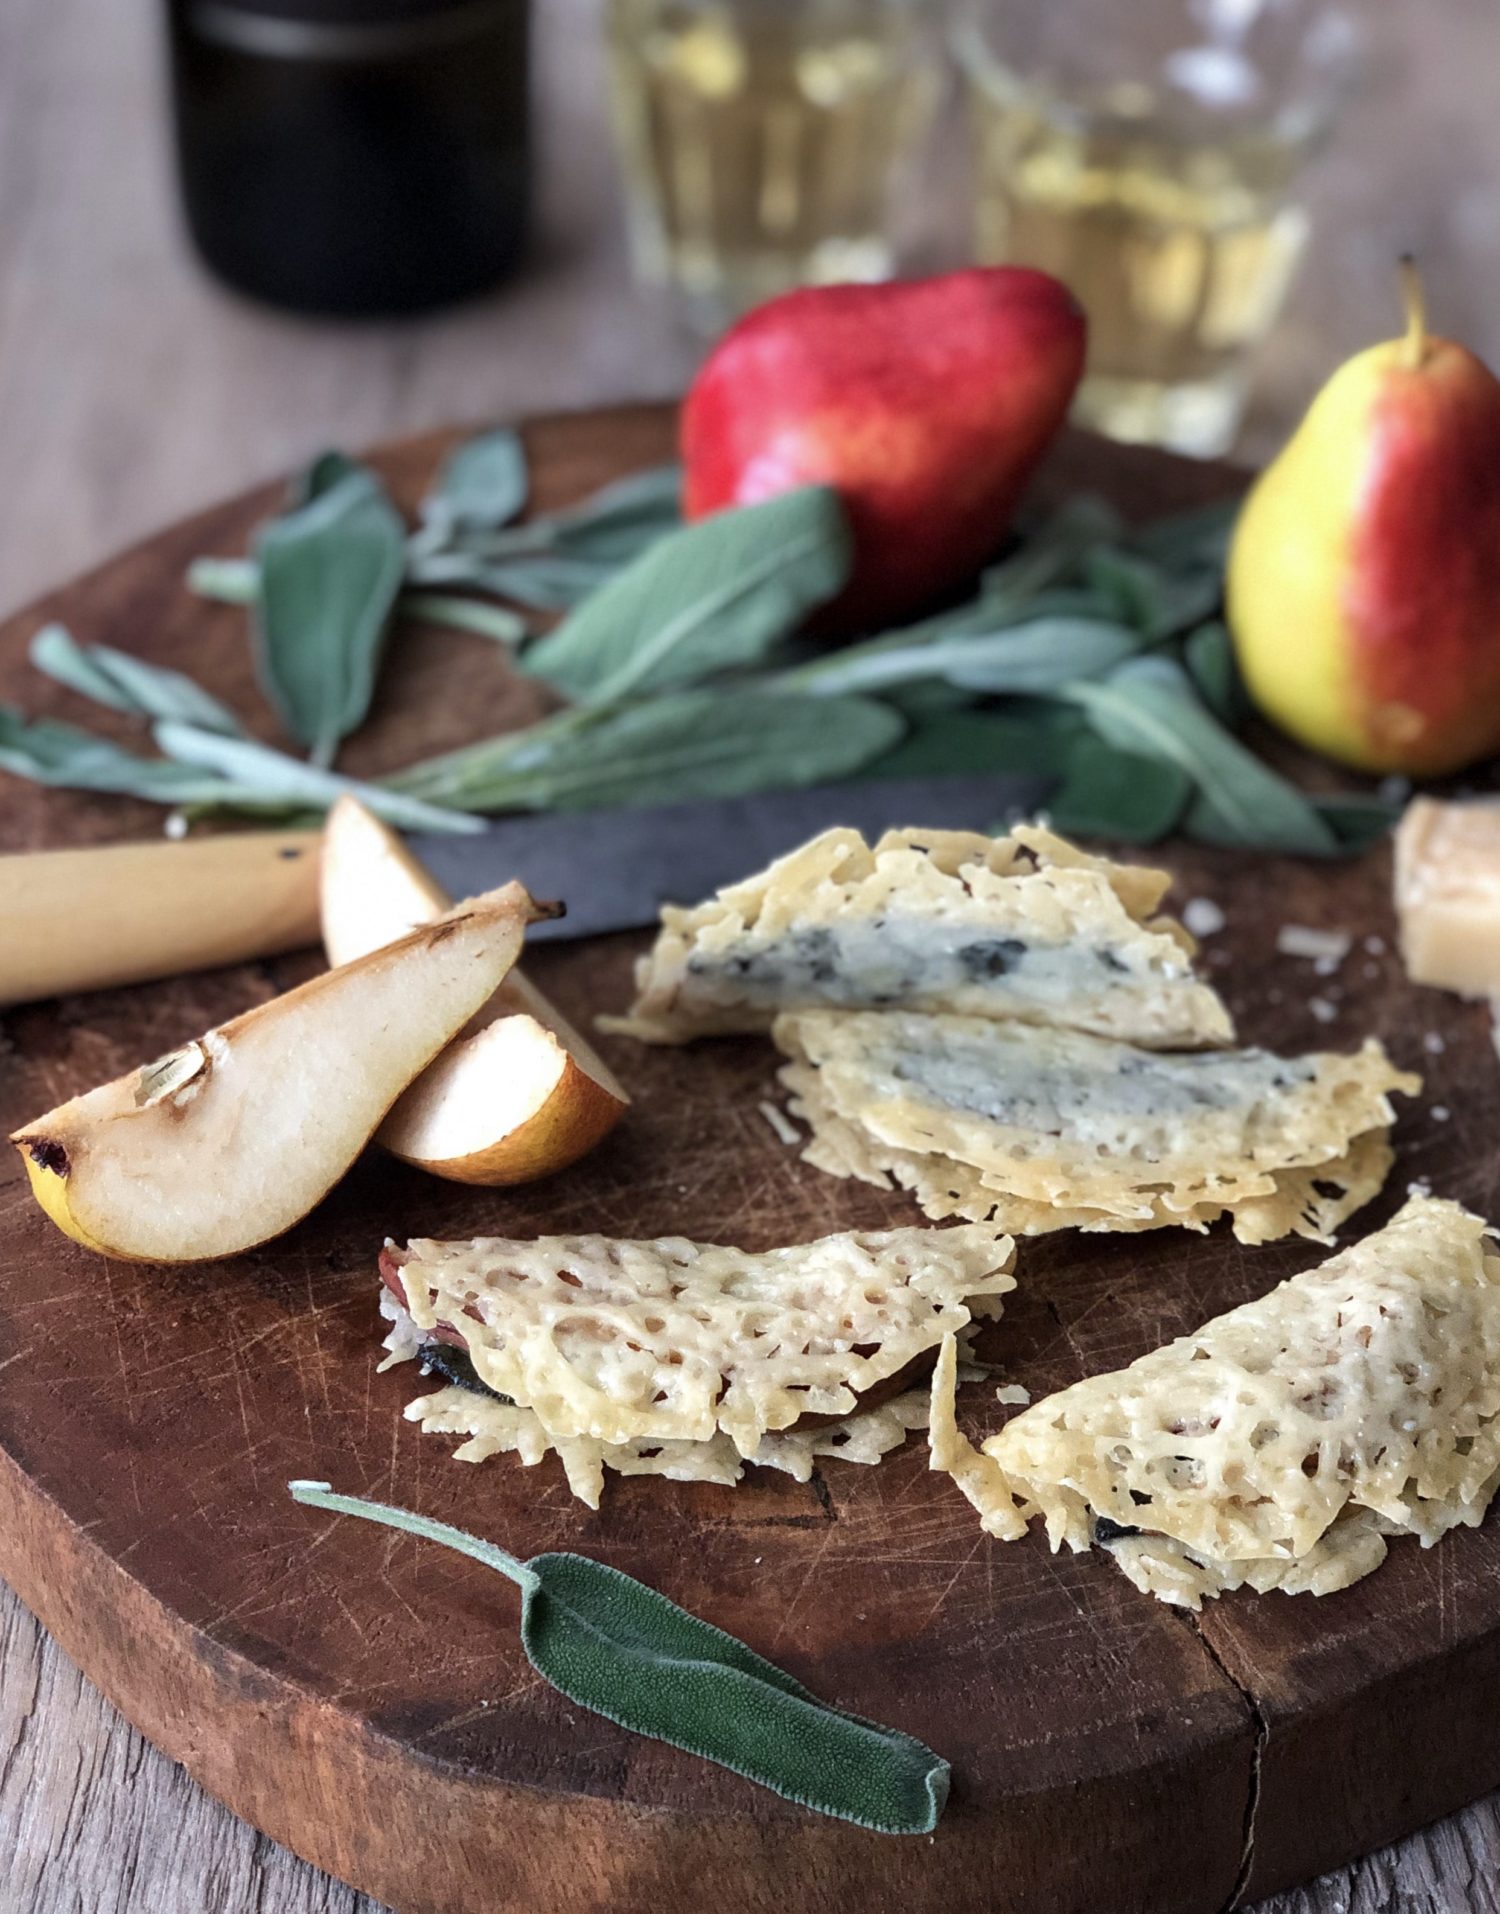 A mess ensued, trying to remove the finished cheese crisps from the pan. They stuck to that cast iron frying pan like glue. I got so frustrated, that I even though it had worked for me in the past, I decided I would never make frico on the stove top again. Oh, by the way, frico are basically cheese chips!! Little mounds of grated hard cheese like parmesan are spread out into discs and slowly sautéed till bubbling and golden. They should release from the pan no problem. Then they cool off on parchment or paper towel till cool enough to handle. They look all lacy and make a lovely side snack to fruit and cheese etc on a charcuterie board.
Anyway, after that last time in a frying pan, I knew there had to be a less stressful way of making them, that would also be full proof. So I knew that a parchment lined baking sheet and the oven would be my next approach. This time it worked, with absolutely no issues. Problem solved, I could now have crispy little cheese chips whenever I wanted! They make for a lovely little crunch as a side to a soup as well. Or just for snacking, if you are gluten intolerant or on the keto diet plan.
But how could I take this simple yet uber tasty chip and turn it into an appetizer worthy of company? I played with the idea and then the cheese chips, until this happened. We already know how wonderful cheese and fruit are together. It was autumn when I first started playing with this idea, so naturally I went to apples and pears for inspiration. So I sliced up some of each and placed them on the cheese while they baked up. I realized that I would have to adjust the baking time. But then I discovered that to get the cheese melted correctly, they would still need some time in the oven before I added the fruit. The next time was better- it would also mean that the slices of fruit would have to be cut thinner.
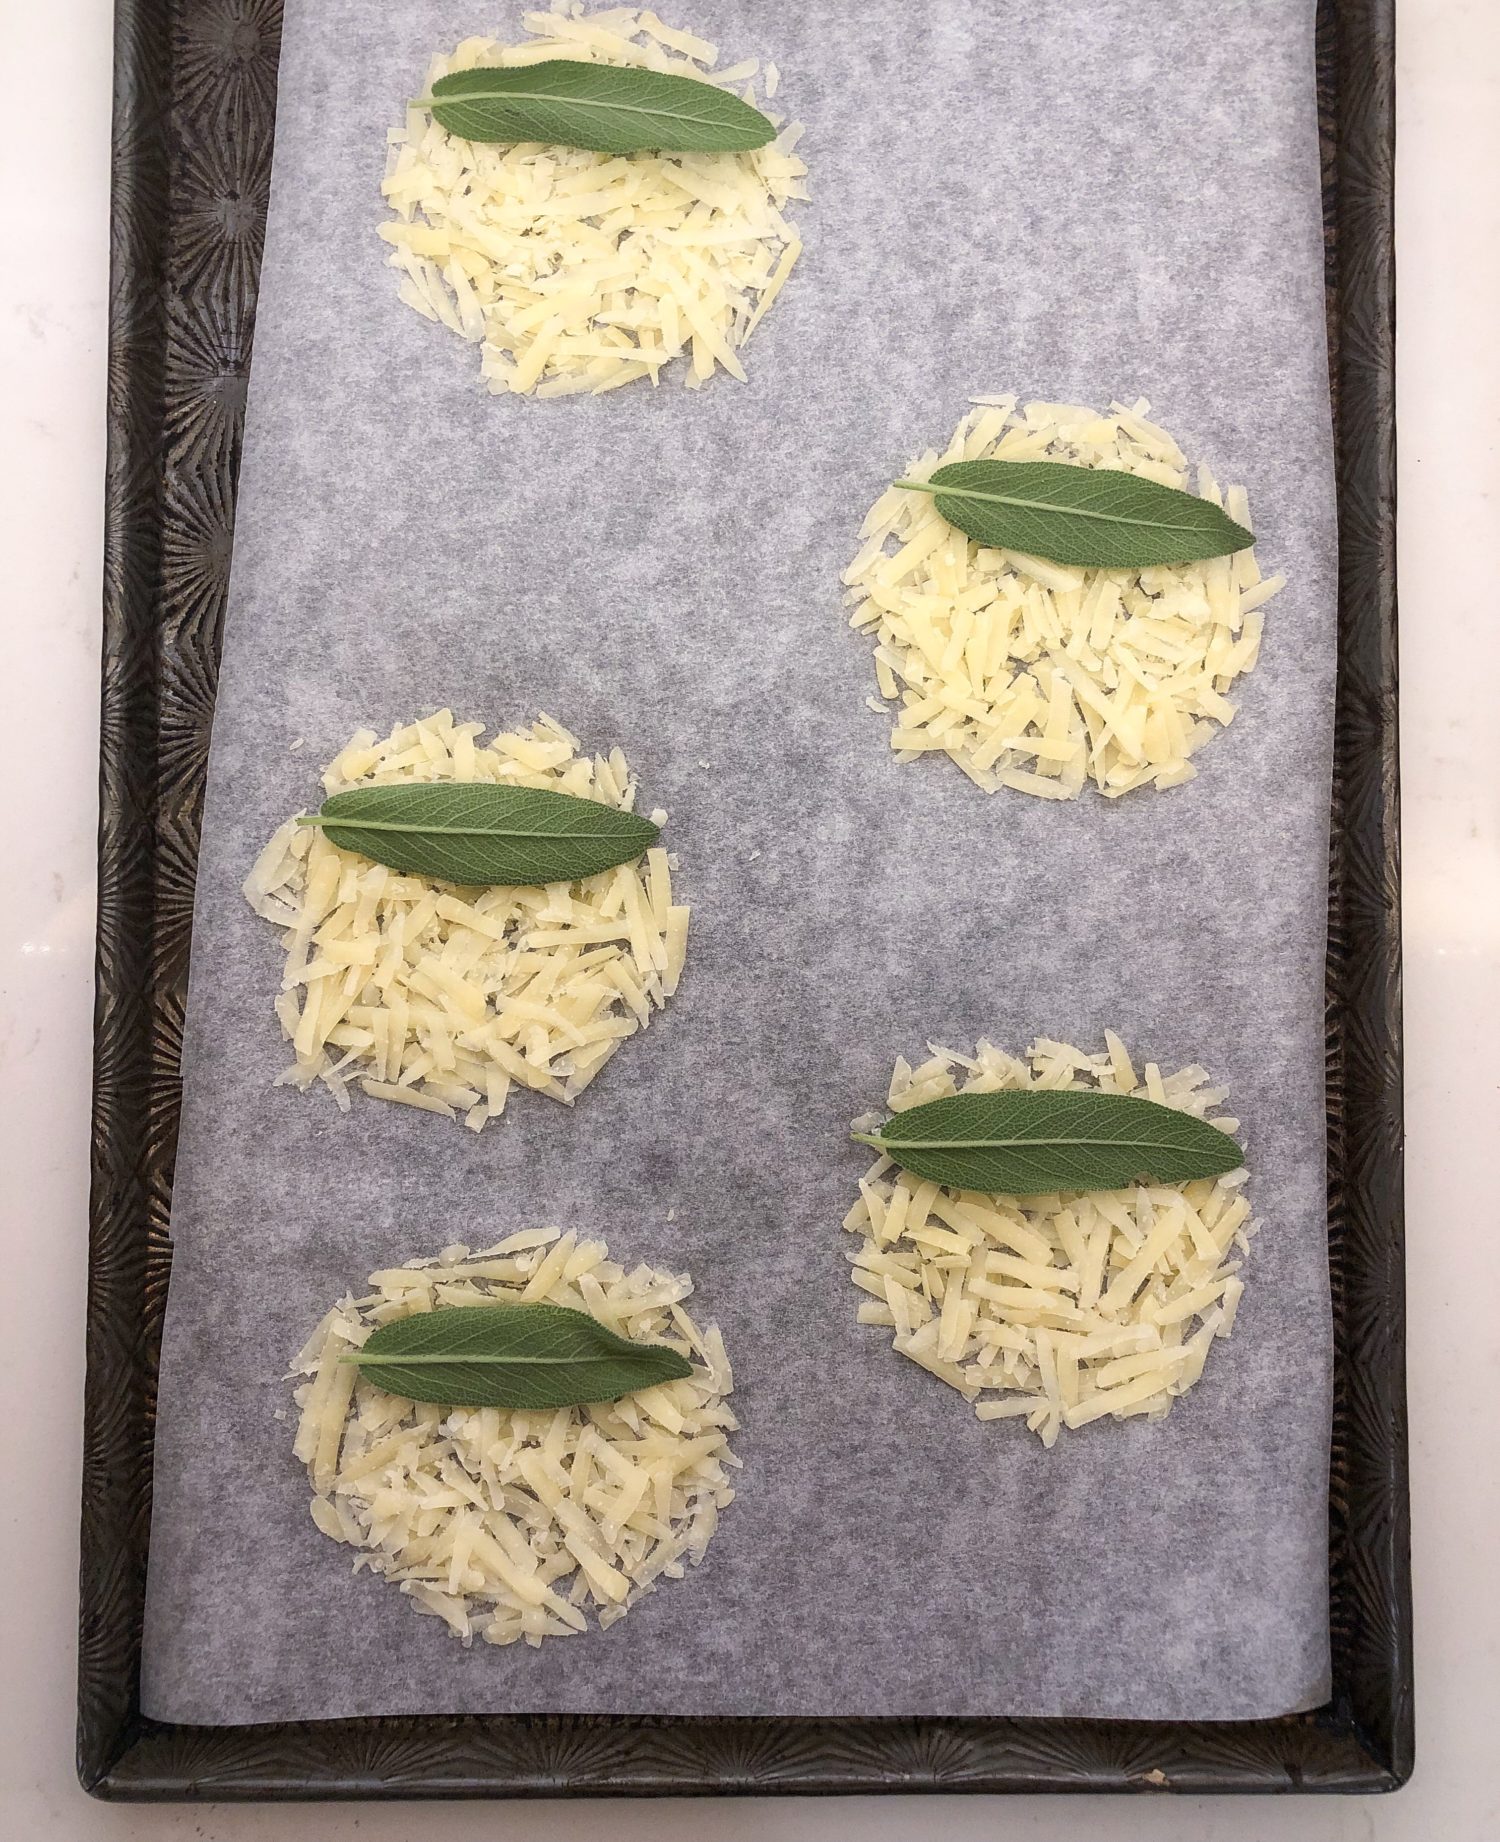
And then the next time I was working on the idea, I noticed that there was some fresh sage in the crisper drawer of the fridge. Lightbulb moment! A sage leaf would be the perfect savoury addition and a lovely contrast to the fruit. So I lay down a leaf onto each mound of cheese. I decided that they should get a little head start before I added the fruit slices, so I let them bake up for a few minutes. When I pulled the baking sheet out, the leaves had curled up. Rats, I wanted them to lay flat. So I fixed this with the next round. Lay the sage leaf onto the cheese, rib side facing the outside. This way, the leaf would ‘curl’ into the cheese, not the air. Half way through baking, I added two thin fruit slices over the sage. Back into the oven. Finish till bubbling and the edges just turning golden. Let cool slightly.
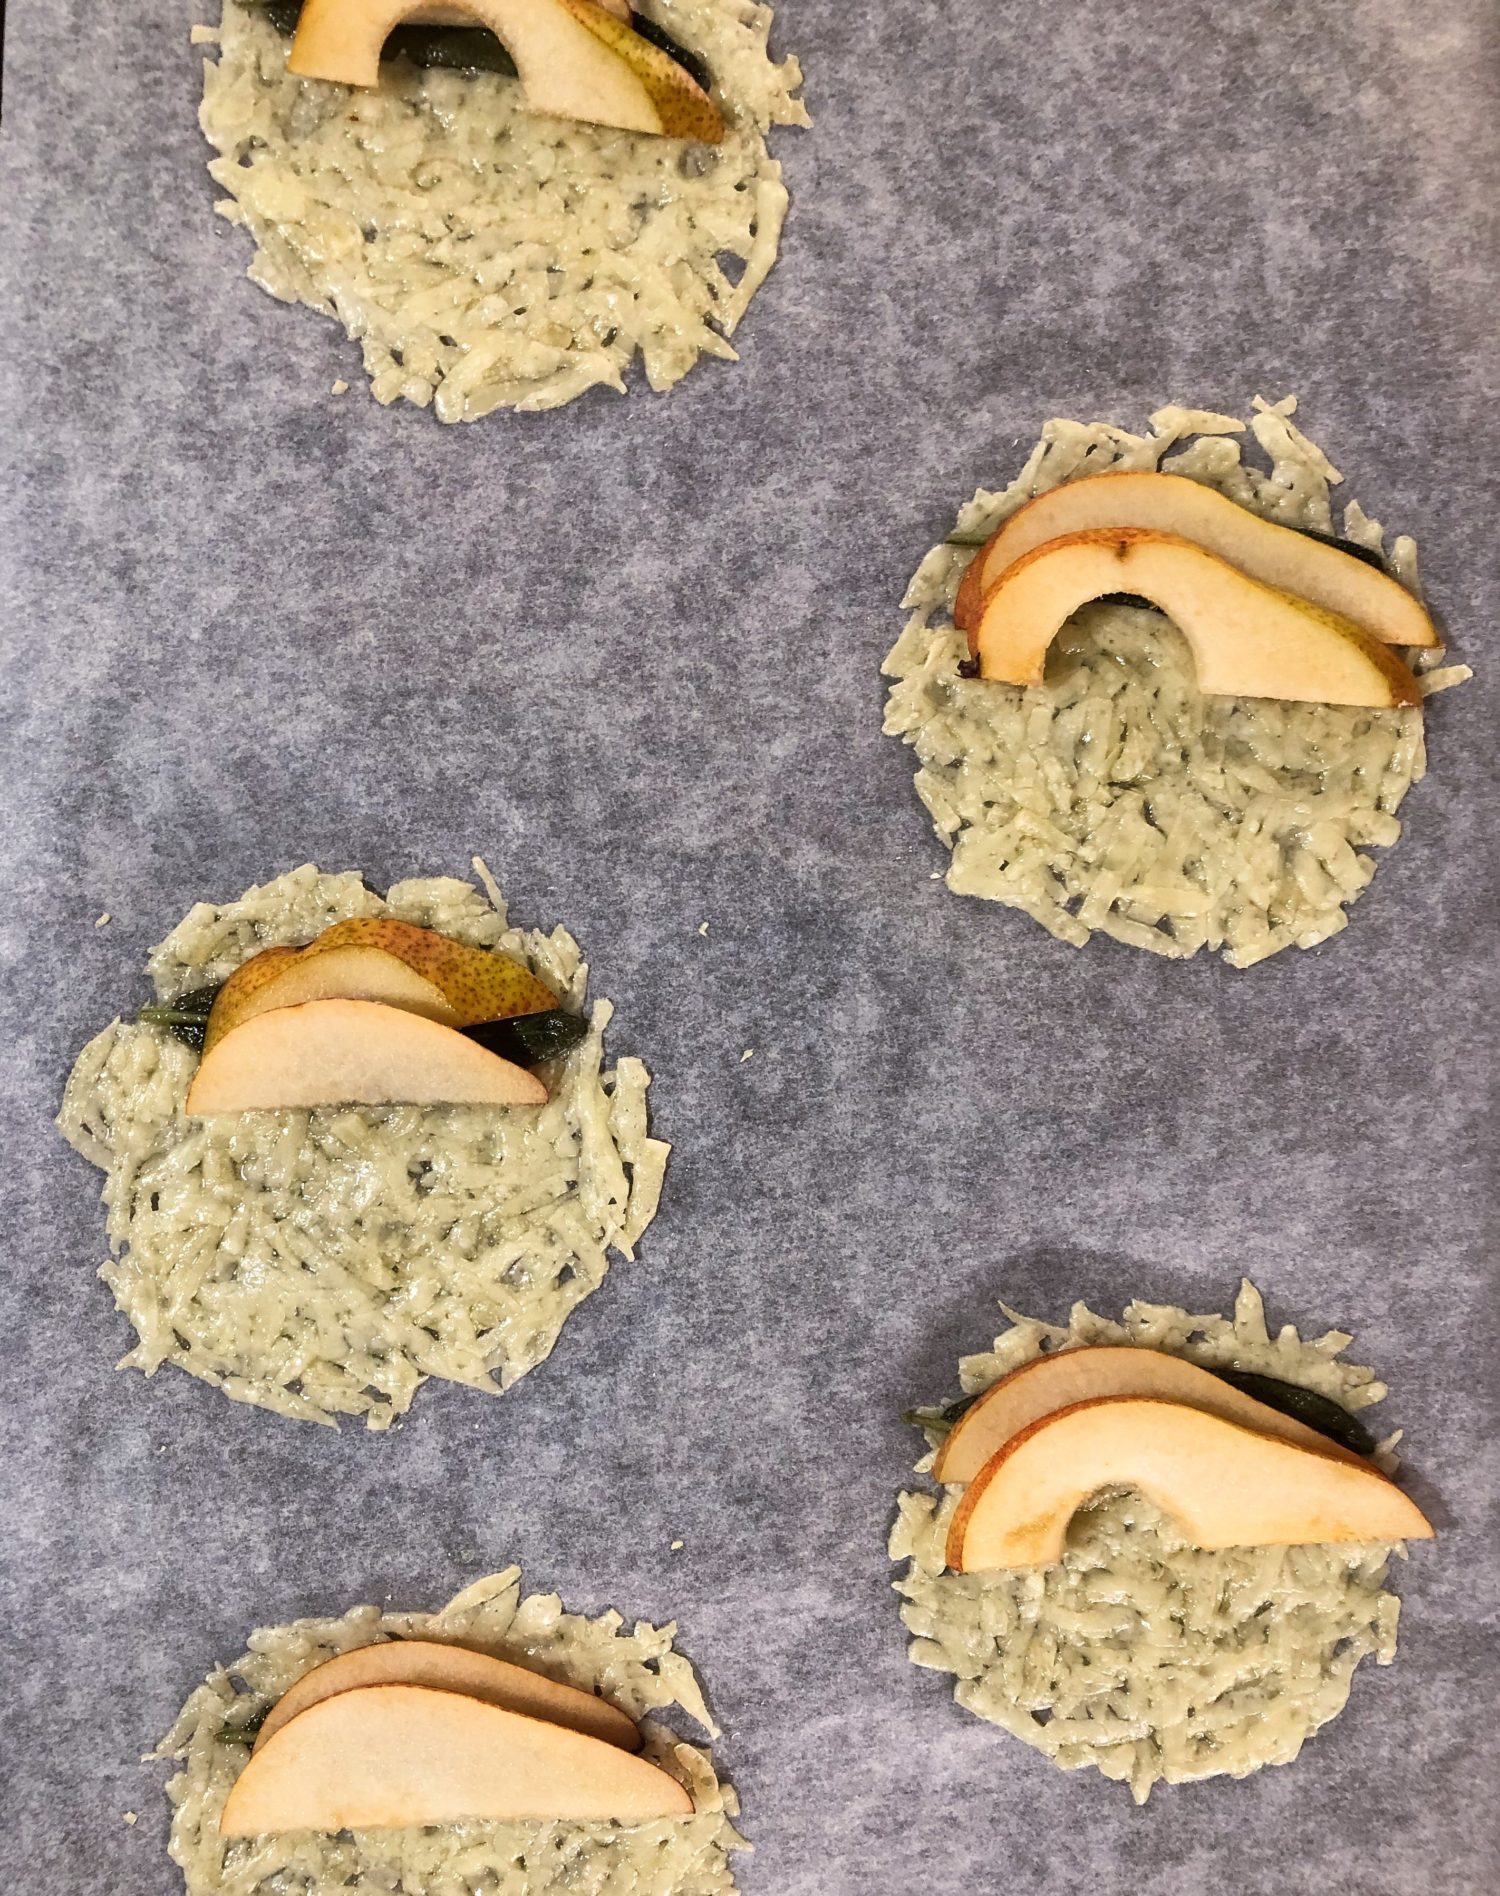
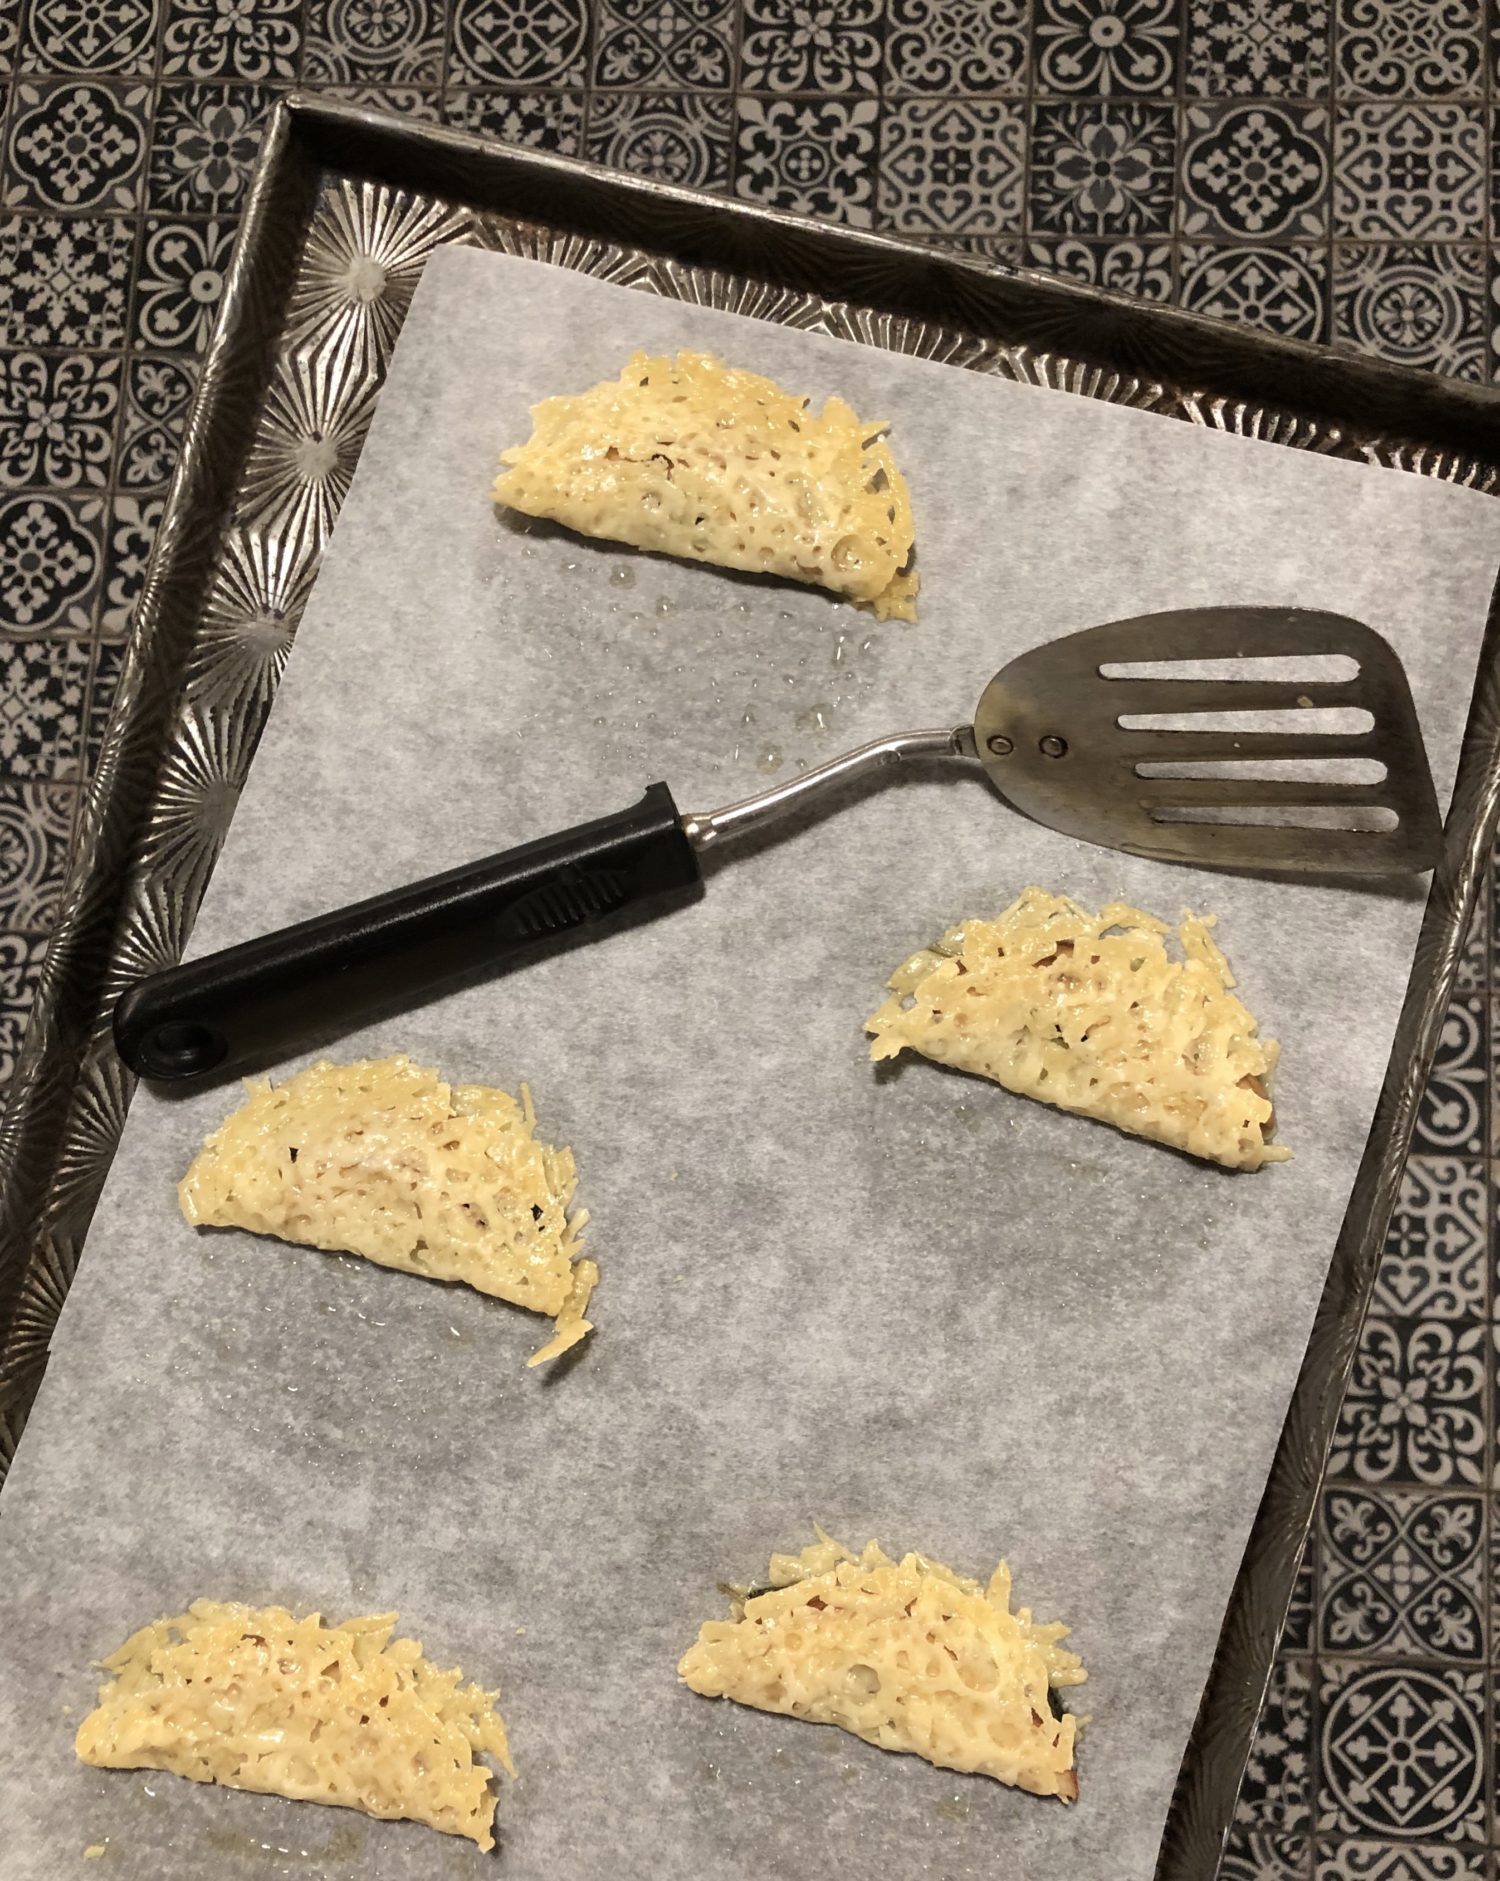
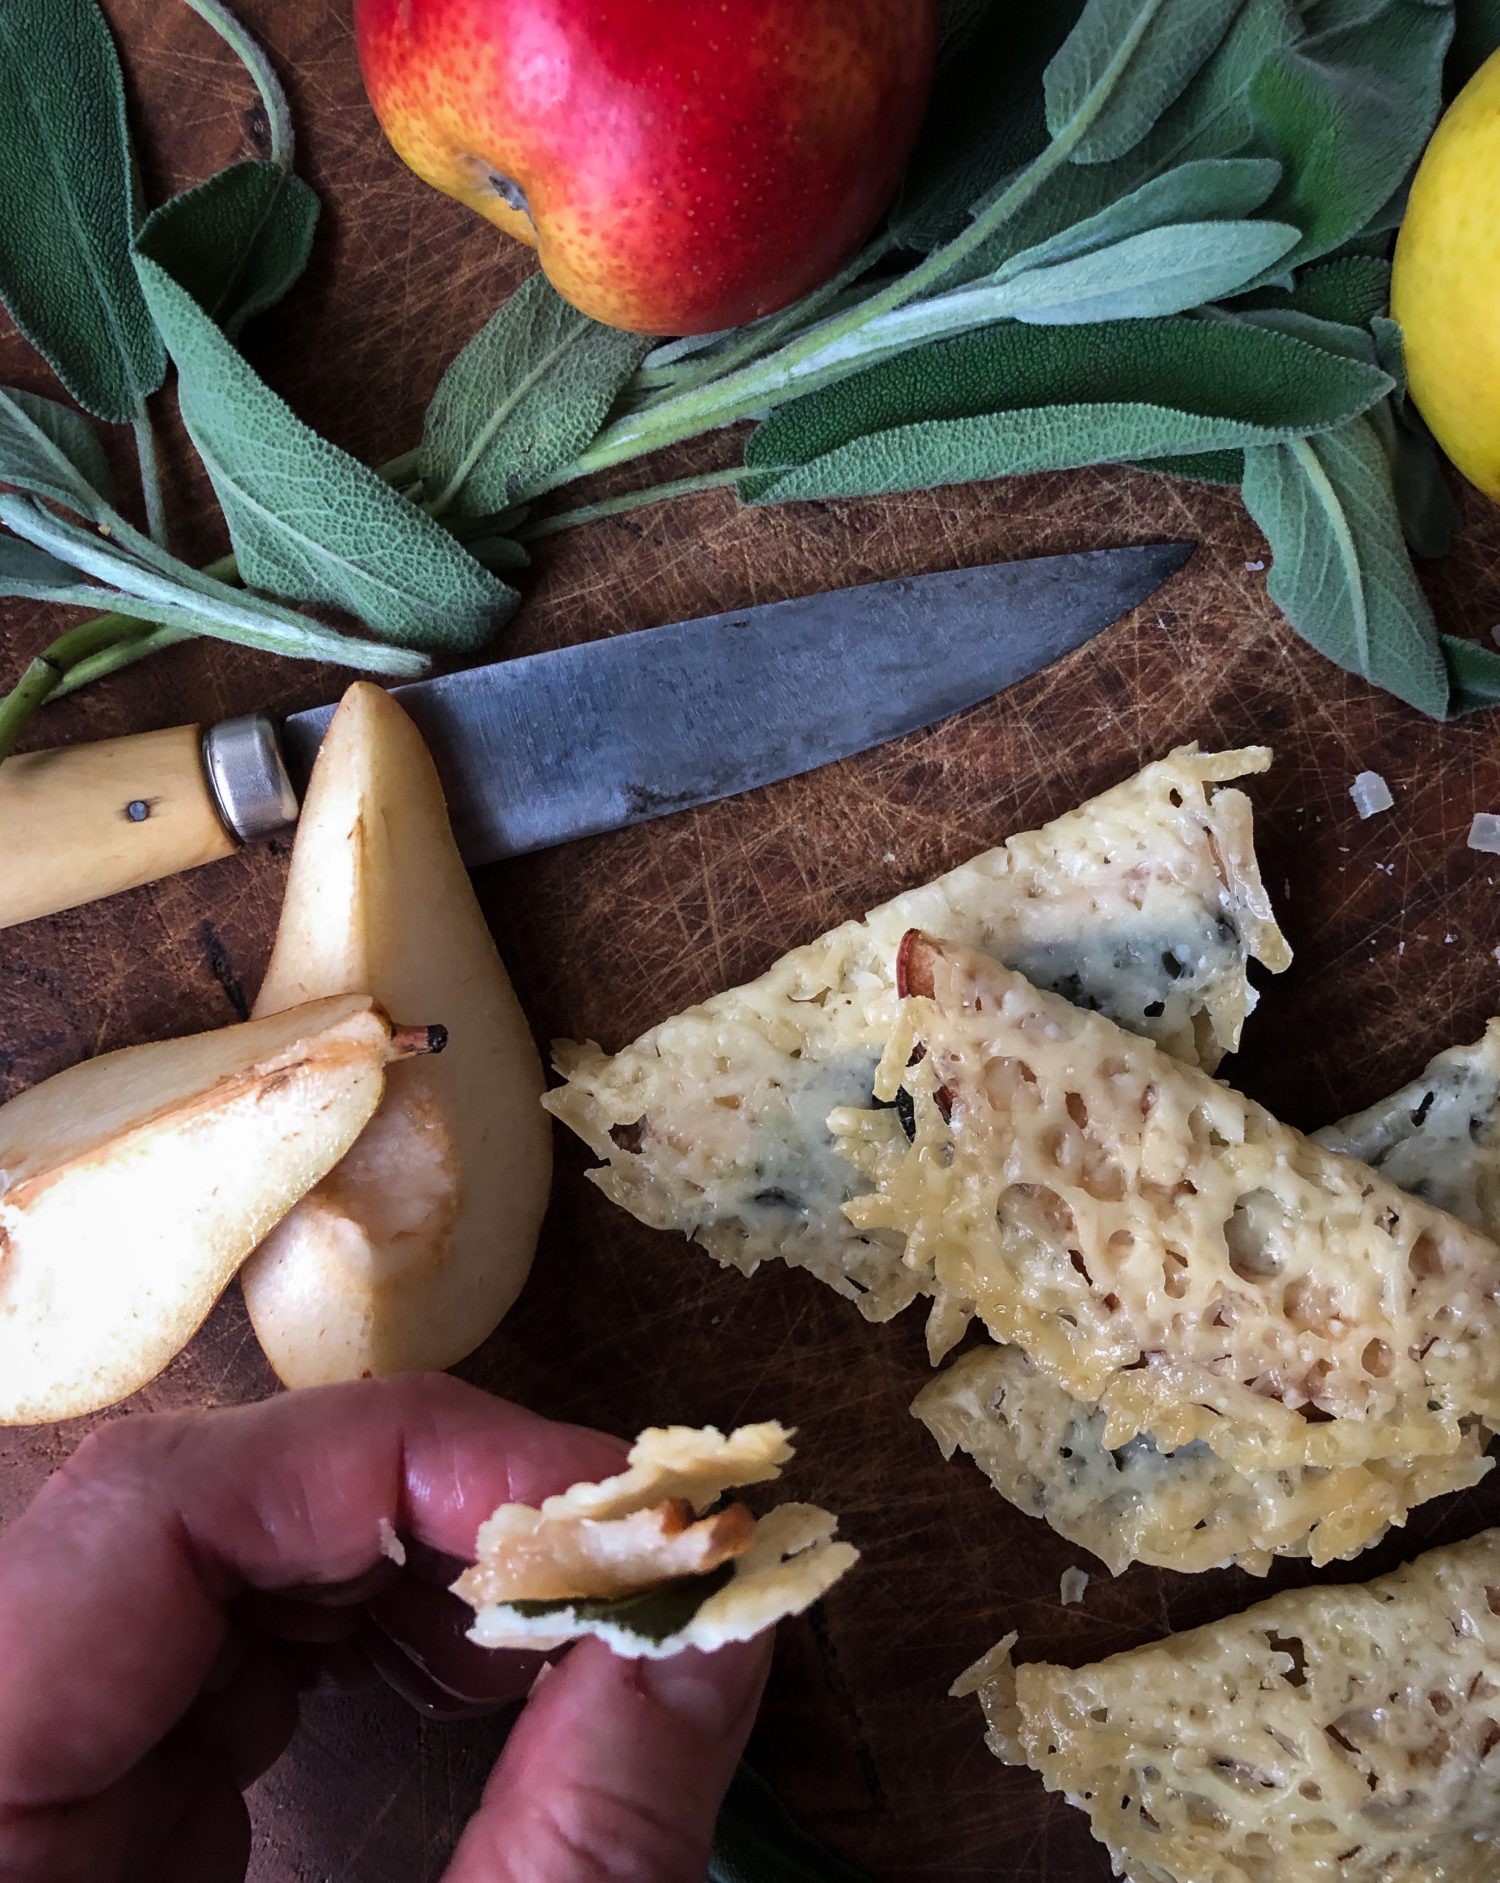
Because I wanted these to become a finger food appetizer, I realized that the cheese crisp with the fruit on top couldn’t stay in the round. It wouldn’t be stable, the fruit would slide off , or the cheese would break away, etc. Too messy. So I opted to turn them into little sandwiches/tacos. The way I prepared for this was to bake the sage and the fruit slices on one side of the cheese disc. Once out of the oven, after about 3-5 seconds, I took a spatula and gently lifted the opposite side and covered the fruit with it. Voilá, instant cheese taco!
The next step is to gently pat off any excess oils that got released during the baking process. Use some paper towels to pat each side dry. These finished little bundles can then be added to a cheeseboard, or piled high on a plate and eaten in front of the tv! They will continue to crisp up as they cool, and are amazing at room temperature.
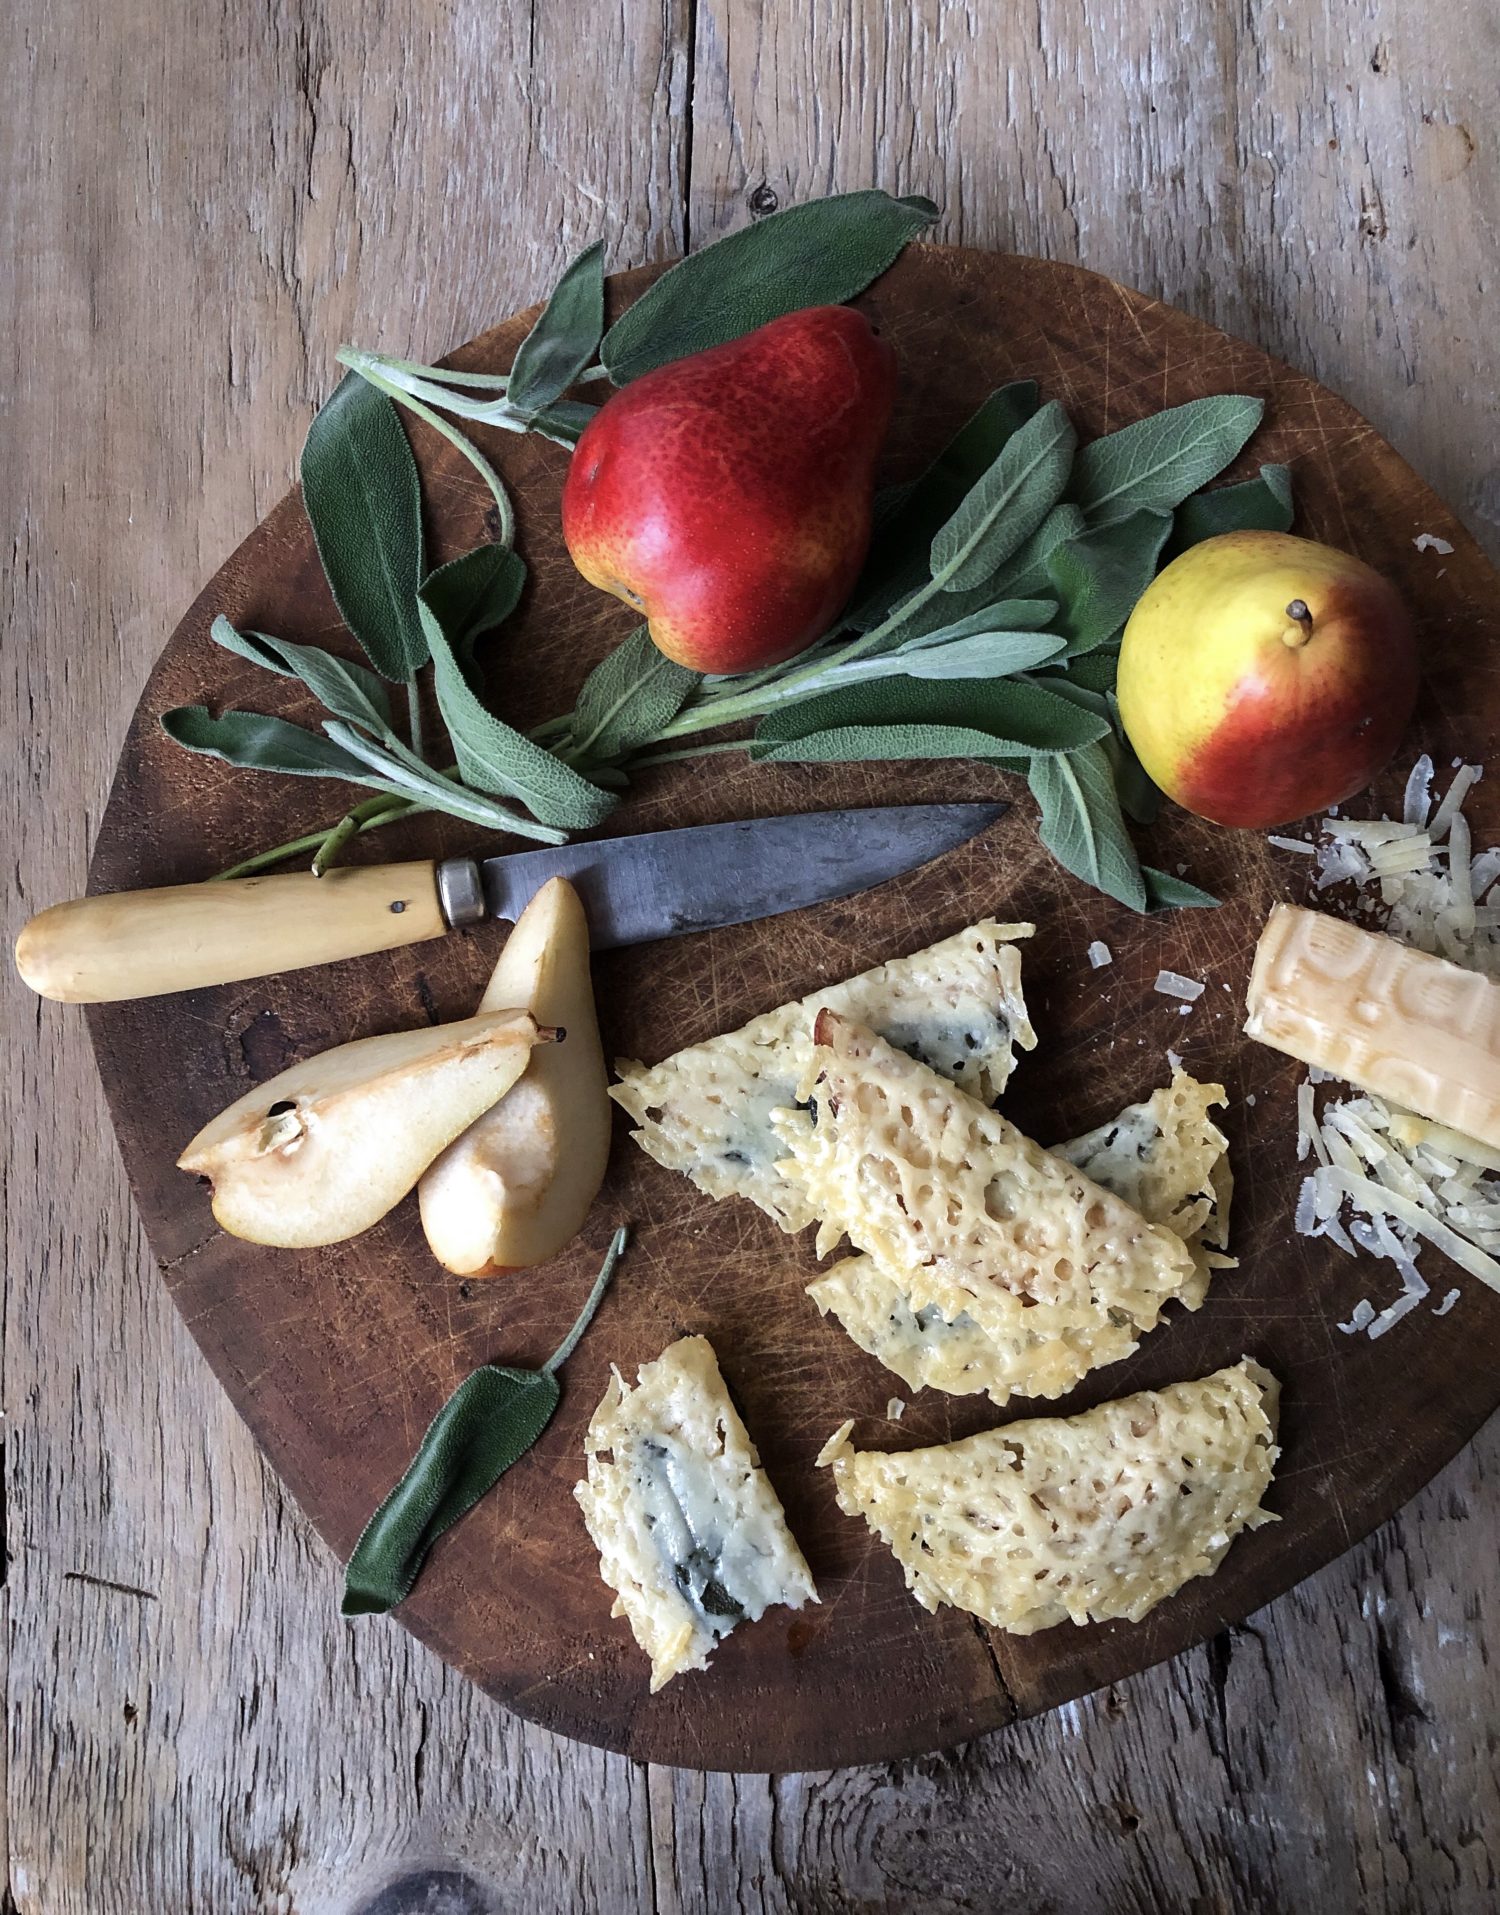
I use a Piave Vecchio cheese. It is similar to Parmesan in flavour or texture. Or how about Assiago? Peccorino? Montasio? Any aged cow’s milk cheese is amazing. You could use a cheddar, but I feel like the oils released from it will keep the crisps from getting…crisp. I guess a blend could also work. At this point, it is up to you to experiment!! And let me know what you come up with. You could even toss fresh finely chopped herbs in with the cheese for extra flavour and colour contrast. Or how about some spices, like dukka or za’atar? Toss these with the grated cheese before creating the rounds. Another flavour profile. At that point you may want to switch up your fruit though. Maybe an orange sliced into half-rounds would be interesting. Or quince or even persimmon!
Add a glass of bubbly, or a late harvest riesling, and you have quite an elegant appetizer for company. The flavour profile is amazing- the pear or apple soften to the perfect sweet creaminess, which is a fabulous contrast to the salty, crisp cheese, and the sage adds the perfect depth. Bonus: these are just fancy enough to make you look like you spent hours slaving for your guests. But we know you didn’t!
Love Jen

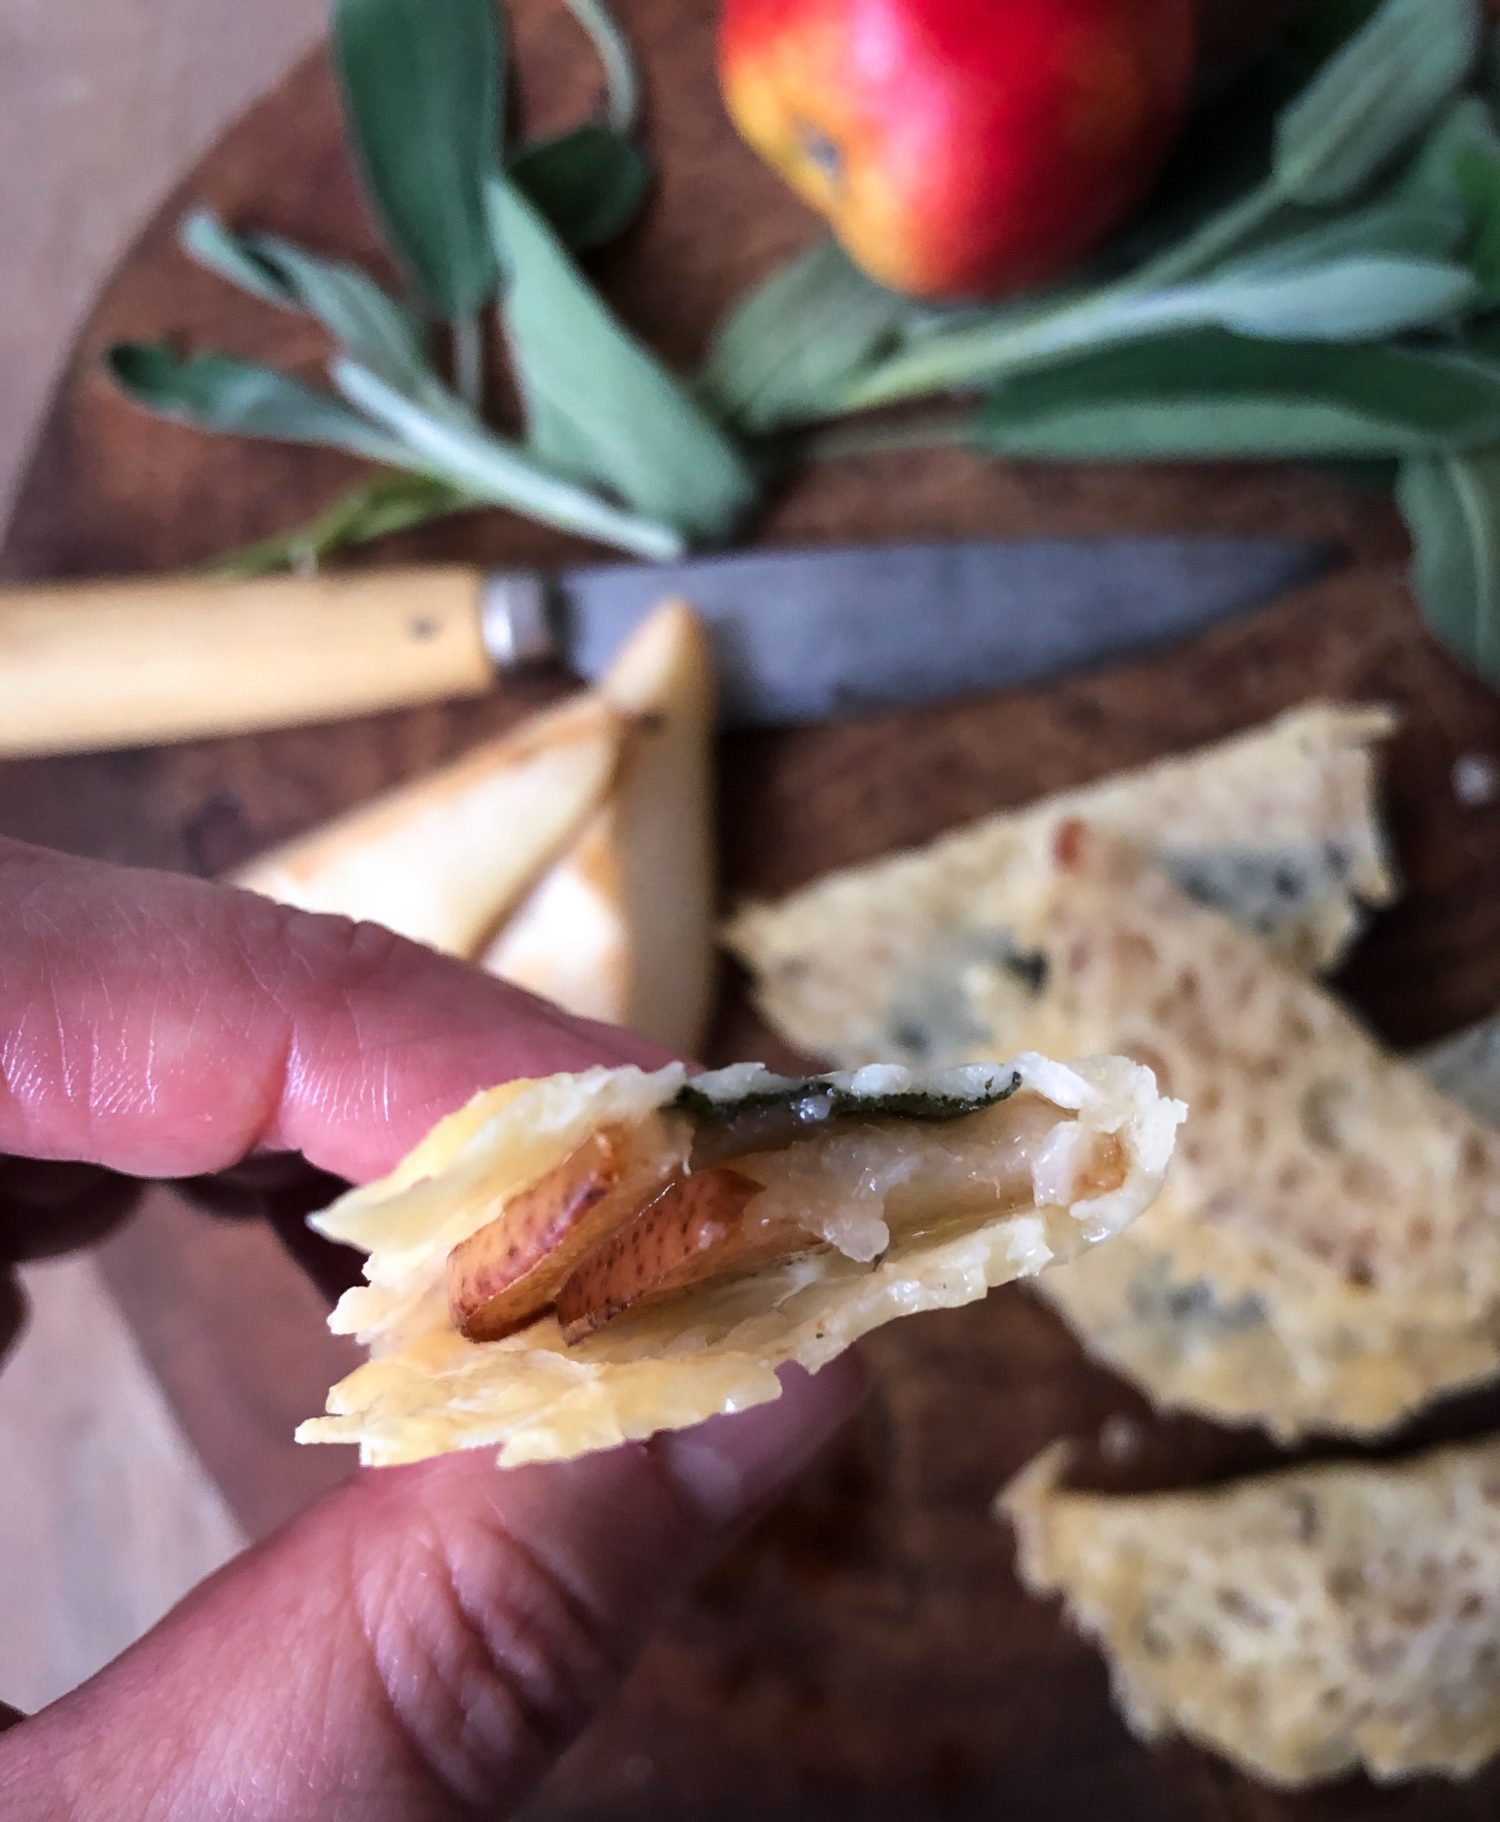

Forelle and Sage Frico
Classic cheese crisps are now the perfect entertaining appetizer. Fresh sage leaves and forelle pear slices are added to the cheese rounds as they bake up in the oven. The contrast between the sweet creamy fruit and the salty crisp cheese is fabulous, perfect with a glass of bubbly!
Ingredients
- 1 cup coarsely grated parmesan cheese or piave vecchio, assiago, or any other aged cow's milk cheese
- 1 forelle pear or 1/2 of a honeycrisp apple
- 8 fresh sage leaves medium sized
Instructions
-
Pre-heat the oven to 375F. Place a rack to the lower third of the oven. Cover two baking sheets with parchment paper,
-
Use the larger holes of your grater to grate up the cheese. If any of the strands are very long, you can break these up with your fingers.
-
Slice the pear (or apple, into thin slices. They should be shaped like half moons- see photos above as an example)
-
Using two tbsp of cheese for each frico, place mounds evenly on the parchment paper and spread them out to cover a 4 inch (10 cm) circle. Use your hand to gently pat the cheese down evenly. If any bits around the edges seemed to have strayed from the disc of cheese, push these back to the cheese pile. You will need two baking sheets to fit four discs comfortably. But if you only have one, no worries, these bake up quickly, and the parchment can be re-used.
-
Place one sage leaf across the top half of the cheese circle. Ensure that the leaf is upside down, the rib of the leaf is facing up. That way, as it dries while it bakes, the edges will curl into the cheese and not up into the air.
-
Place into the lower third of the oven and bake for 4 minutes.
-
After 4 minutes is up, take the baking sheet out, and place two slices of the pear over each sage leaf. Return to the oven for another 4 minutes, or until the cheese is bubbling, and the edges are just crisped and turning golden.
-
Remove from the oven. Wait about 3-5 seconds. Then, using a spatula, gently lift the open end of the cheese disc and fold it over onto the fruit side. Remove the cheese crisps to a paper towel lined plate. Pat both sides dry. Serve.
-
These are wonderful warm as well as at room temperature. They will continue to crisp up as they cool.
Recipe Notes
Feel free to swap out Anjou or Bartlett pears (or whatever pear you like) or Gala apples.

Leave a Reply