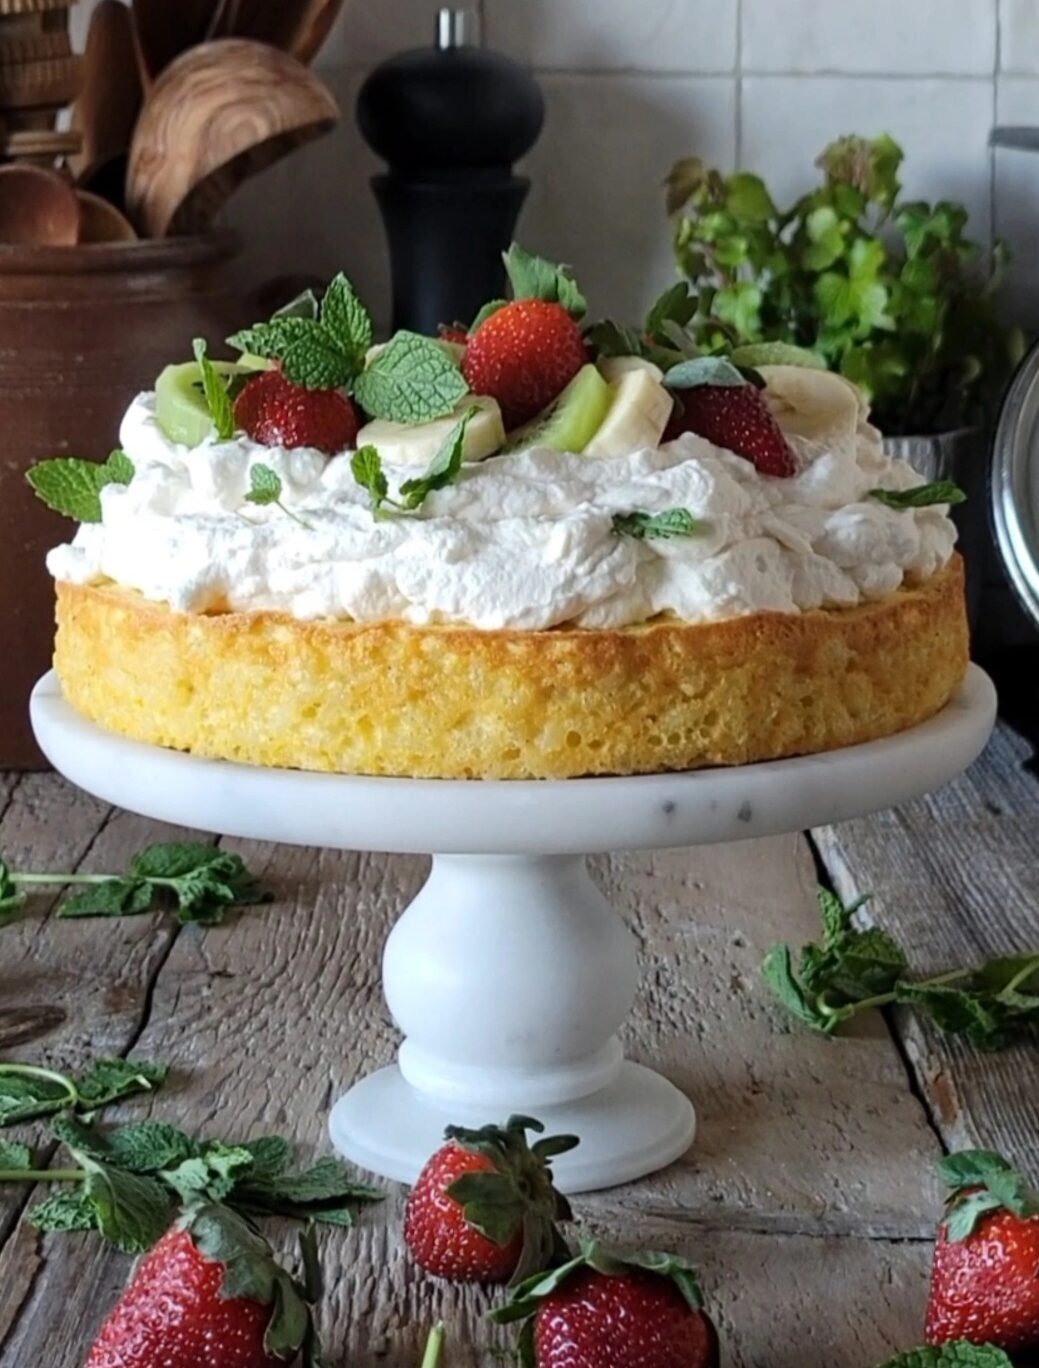
This is a simple cake that you will want to make all year round.

Because, well, rice pudding!! Who doesn’t want a comforting and satisfying bowl of rice pudding, just about any day of the week? Well, can you imagine how good that would be, in cake form? Now you won’t have to imagine it any more.
Rice Pudding Cake
This simple base is a classic cinnamon-y rice pudding, with egg whites folded in, so that there is extra structure to create a perfectly textured cake, once baked. The cake starts with combining arborio or other short grain rice good for risotto etc, cooking on the stove top in milk, sugar, cinnamon, salt and lemon zest. Let it all slowly simmer together till the rice expands and fluffs into that creamy goodness we all crave. Stir in butter to melt and create a glossy finish, and then set this aside to cool. Did you catch it: no flour was harmed in the making of this cake! So it is naturally Gluten Free.
Egg yolks whisked with a bit more sugar and lemon get stirred through the rice pudding mix. And finally egg whites are whisked till a stiff peak is achieved. Gently fold this in increments to the rice pudding mixture. This rice pudding batter will now be transferred to a prepared springform pan. It gets baked till the edges are set, and the middle has only the most gentle little jiggle. This should take about 40-45 minutes, depending on your oven.
Remove the pan to a cooling rack. Once cooled, use a knife to release the edge of the cake from the metal sides of the pan. Remove the sides of the pan, and you can now transfer it to a cake stand or plate. You can also store this in a sealed container till the next day if need be.
Yes, you can just drizzle some Creme Anglaise over it all and call it a day, and it would taste amazing! But how about dressing it up a bit? Hence the cake you see before you now. The original cake is inspired by Nigella Lawson. The first time I made it I found it a little bland, so I adjusted the flavours to give it more oomph. And of course, everything going forward is also my own experimentations!
Whipped Cream Topping
If you stabilize whipped cream with icing sugar which contains cornstarch (instead of granulated sugar), you will create a whipped cream that will not deflate even after a couple of days. And since we are topping the whipped cream with fruit, you want the whipped cream to hold up the fruit. So don’t underestimate icing or powdered sugar.
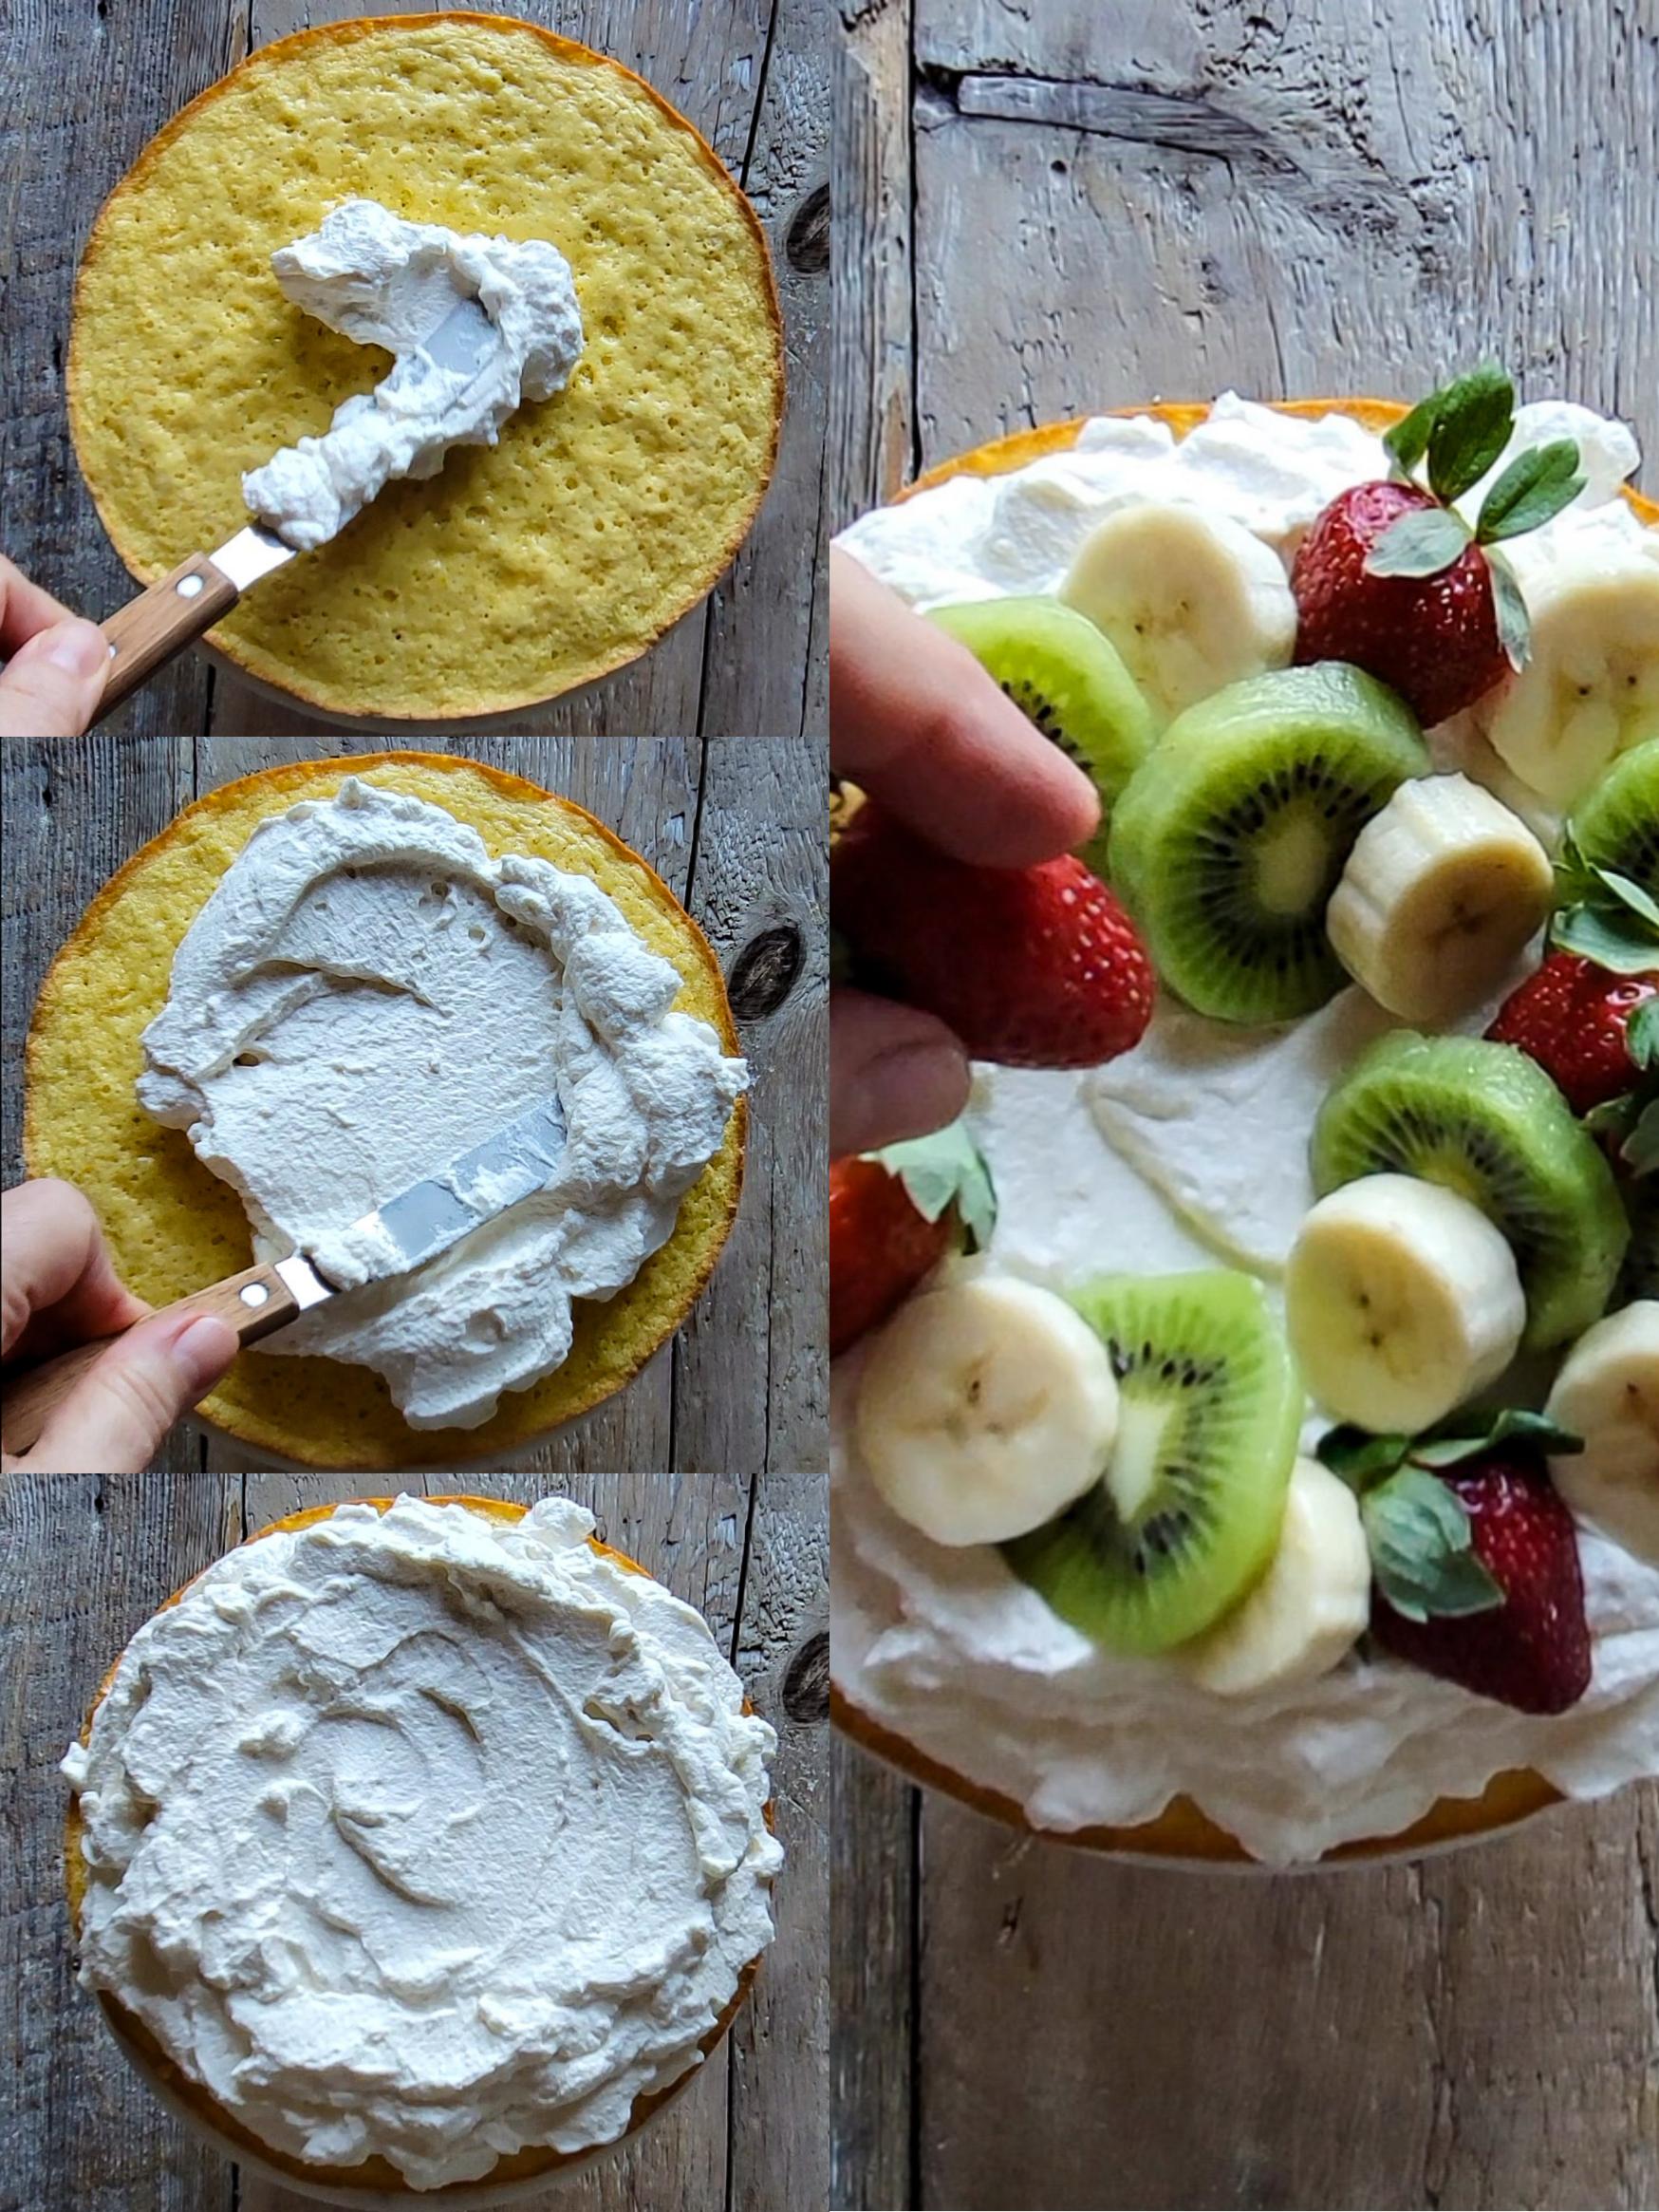
Use a small offset spatula to spread out the whipped cream in layers. With each layer, you want to mound it in graduated layers, so that the top layer doesn’t go the edge the way the first layer will. This will also help the whipped cream stay in place and not spread out over the edge of the cake.

Fruit Topping
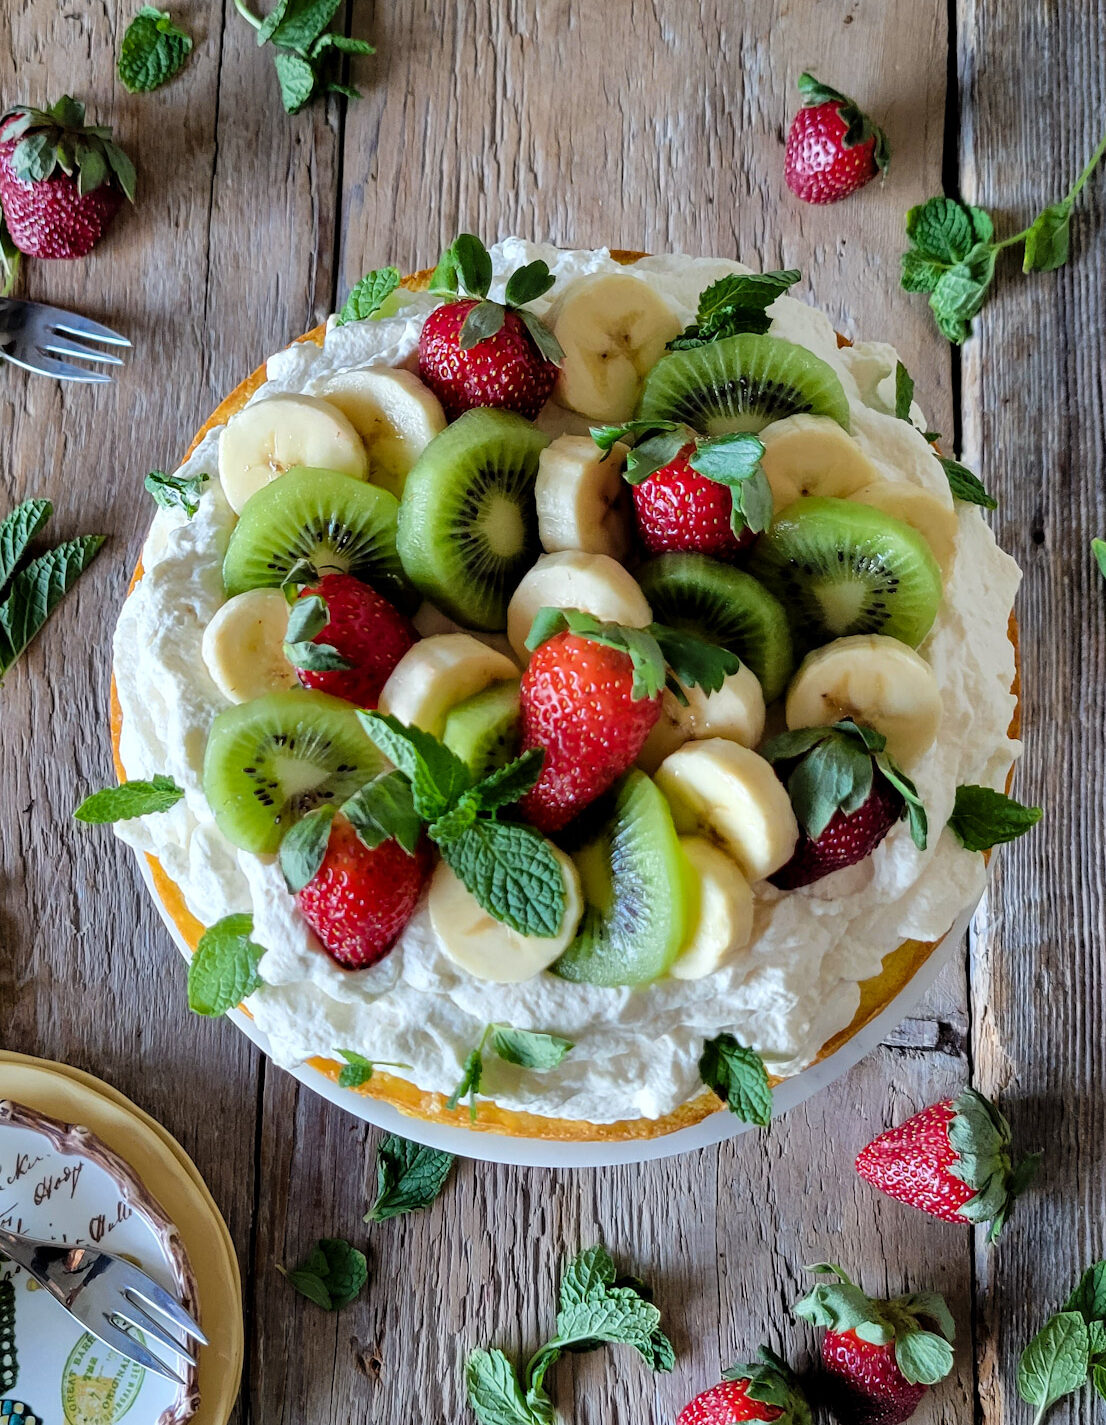
Just before serving you can prepare the fruit you want to use to top the whipped cream. Since this version is a Springtime cake, I went with simple Springy colours and fruit. Clean and slice the fruit. Place the slices onto paper towel to absorb any excess liquid or juice. Then just start laying out the fruit slices in concentric circles till the top is covered.
Fruit options: Spring and Summer berries of all sorts will work great. So will peaches, plums, cherries, kiwi, pineapple, etc. Just be sure to cut the fruit into small enough slices that they won’t interfere in slicing the cake, or you may need to remove them and serve them on the side. If you want to use banana, toss them gently in a little lemon juice to help them from browning or oxidizing after sitting out too long. Along with fruit, small leaves of mint make it look like it’s out of a fairytale!
If you want to use Autumn fruit like pears or apples, sauté them in a little sugar and cinnamon in a skillet first. This will also help them from turning brown. And their firm texture won’t be a harsh contrast to the whipping cream as you try to cut through them into the cake. Just be sure to drain some of the sugar syrup that develops before placing the apples or pears onto the whipped cream, to help keep the cream firm.
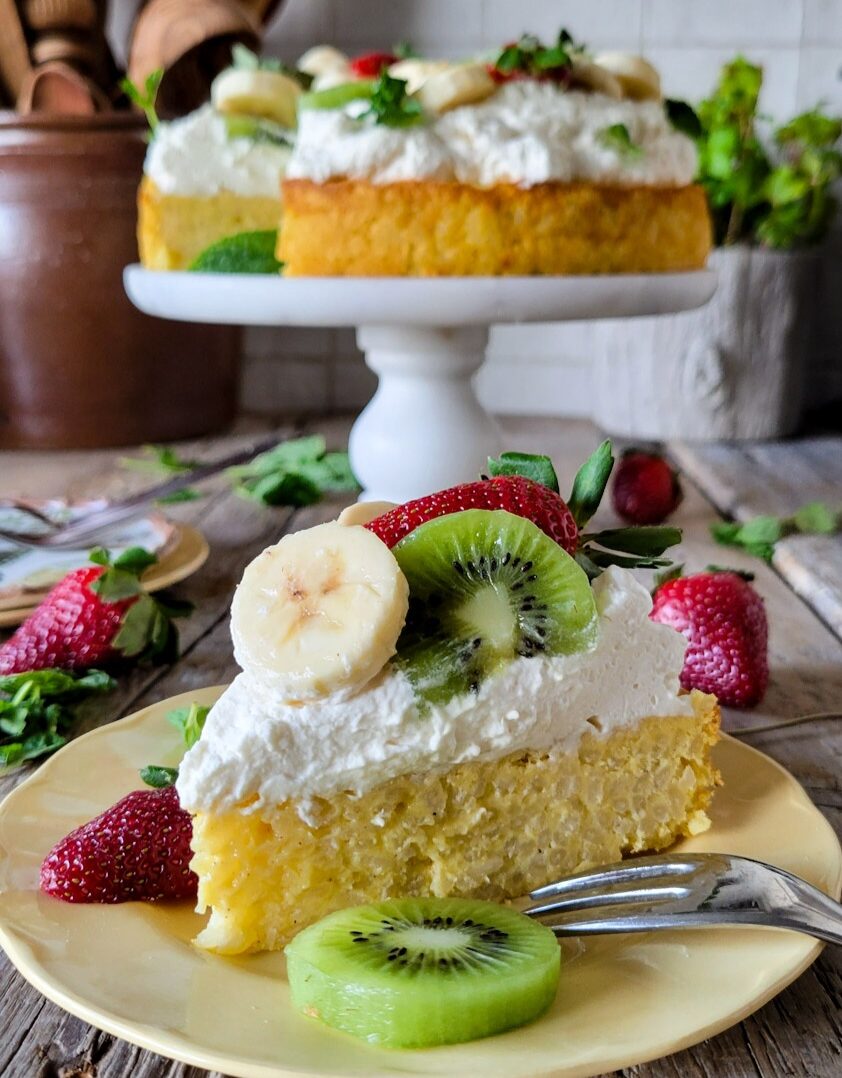
If you have any issues with the fruit on top, or if you want to serve more fruit with the cake, just toss them in a little sugar and let them macerate for about 10 minutes. These can now be drizzled around the cake slices on the plates. For the fruit here, I managed to slice around most of the fruit, only need to remove strategic pieces of fruit to get to the centre of the cake to slice. I just serve these and extra slices on the side as is, without macerating. But macerating, even in a little Prosecco is a lovely garnish to any cake.


For Winter versions of this Rice Pudding Cake, feel free to spread some of your favourite rich jam under the whipped cream. Plum jam or marmalade would be amazing. Take about 3/4 cup with a splash of water, and warm it through in small sauce pan to make the jam runny. If you make enough, you can let it drizzle down the sides. Finish with a dollop of cinnamon whipped cream. As I mentioned at the outset, cream anglaise over this cake would be so good. Or top the cake with a Salted Bourbon Caramel Sauce! Think of this cake as an alternative to a simple sponge cake, which is really a go-to for almost any topping imaginable.
I won’t lie, a slice of this cake for breakfast is a good thing. You can even take a slice, and sauté it in butter till just crisped on each side, and drizzled with maple syrup, and life is good!
For other Rice Pudding recipes, check out Old Fashioned Creamy Rice Pudding, Swedish Rice Pudding with Sour Cherries in Syrup, Matcha Rice Pudding
If you like a simple, versatile cake like this, you should also check out The Lightest Strawberry Shortcake, Zucchini Carrot Cake with Pineapple Flowers, Rhubarb Carrot Coffee Cake
If you make this Fruit and Whipped Cream Topped Rice Pudding Cake, please be sure to leave a comment and/or give this recipe a rating! It’s always lovely to hear from you guys, and I always do my best to respond to each comment or question. And of course, if you do make this recipe, and you post it on Instagram, don’t forget to also tag me so I can see! Looking through the photos of recipes you all have made is such a treat.
Love Jen

Rice Pudding Cake with Whipped Cream and Fresh Fruit
Ingredients
Rice Pudding Cake
- 150 g (5½ oz; 3/4 cup) arborio rice, or other risotto small grain rice
- 700 ml (3 cups) full-fat milk
- 75 g (1/2 cup) granulated sugar, divided
- 1 1/2 tsp cinnamon
- 1/4 tsp kosher salt
- 1 lemon zest and 2 tsp juice
- 75 g (2¾oz or 1/3 cup) soft unsalted butter, plus extra for greasing the pan
- 3 large free-range eggs, separated
- 2 tsp vanilla extract
Whipped Cream Topping
- 350 ml (1 1/2 cups) heavy whipping cream
- 2 tbsp icing or powdered sugar
- fresh fruit, such as kiwi, strawberries, raspberries, bananas, etc. Cleaned and trimmed, sliced into pleasing bite sized pieces.
- fresh mint leaves for garnish
Instructions
-
Put the rice, milk, half of the sugar, cinnamon and salt into a heavy-based saucepan and add the grated lemon zest into it.
-
Place over a high heat, and stirring regularly, bring to just below boiling, then turn the heat down to low and cook for about 30 minutes, stirring regularly, until the rice is cooked and the milk is absorbed.
-
Keep an eye on it, you don’t want the milk to scorch or boil over, or the rice to stick to the bottom of the pan.
-
Take the pan off the heat and stir in the butter. Transfer to a bowl large enough to take all the remaining ingredients and leave for about 1 hour to cool.
-
Preheat the oven to 325F (160C). Butter a 20cm/8in springform pan. You can also use non-stick spray if so desired. Place a piece of parchment on the bottom before closing the sides around the base, trapping the parchment. This will ensure a good seal, and will make it easy to transport the cooked cake off the metal base for serving.
-
Whisk the egg whites in a clean bowl until stiff, then set aside.
In a separate smaller bowl, add the remaining sugar to the yolks, and whisk until pale and frothy. Add the vanilla and 2 teaspoons of juice from the zested lemon to the yolks and sugar.
-
Pour the egg yolk mixture gradually into the cooled rice, folding it in well.
-
Dollop a large spoonful of the whisked whites into the rice and stir briskly to lighten the mixture. Fold in a third of the remaining whites gently but thoroughly. Repeat with another third, and finally fold in the rest. Pour and scrape this mixture gently into the prepared tin.
-
Bake for 40-45 minutes, or until the top has set, with no hint of wobble underneath. Your oven will affect the time needed. Start checking at the 40 minute mark.
-
Leave the tin on a wire rack for at least one hour. It should be room temperature before you proceed. Slide a sharp knife around the outside of the cake to release it from the metal sides, and unclip the tin. Using the parchment paper lift the cake gently off the metal base and transfer it to a cutting board. From here you can gently lift the cake to a cake stand or serving plate before decorating.
You can make the cake the day before you want to serve it. Just cover loosely with plastic wrap or some other sealed container. Make sure it is cooled before you do this.
Whipped Cream Topping
-
Place the whipping cream into the bowl of your stand mixer with the whisk attachment. Start the speed on low, and gradually increase the speed as the cream to starts foam. When it is beginning to look frothy, add the icing sugar carefully so that it gets incorporated, and increase the speed to medium high. Whip until firm peaks are achieved, but not so firm that you are on the way to making butter!
-
Spoon the sweetened whipped cream onto the cake, mounding the sides ever so slightly higher than the middle. This will create a lovely spot to arrange the fruit.
-
If using bananas, ensure that you have sprinkled the slices with a bit of lemon juice to help them to keep from turning brown. Make sure the other berries etc have been dried on paper towel to collect any excess juices that could bleed into the whipped cream. Arrange till the the top is covered, but not loaded down.
-
Finish with fresh mint leaves, cutting larger ones into appealing bite sized pieces.
-
Serve as is, with extra fruit on the side if you desire. If you want, you can macerate fresh berries in a little sugar for about 15 minutes before slicing and serving, this will create a lovely 'sauce' to drizzle around the cake as well.
-
This cake will keep well, covered, in the fridge for a few days. Because we have stabilized the whipping cream with the icing sugar, it will keep its shape. The fruit may need to picked off and eaten though! Just serve with fresh fruit.
-
See blog post for more details and serving suggestions.

Leave a Reply