And just like that, it’s Summer!
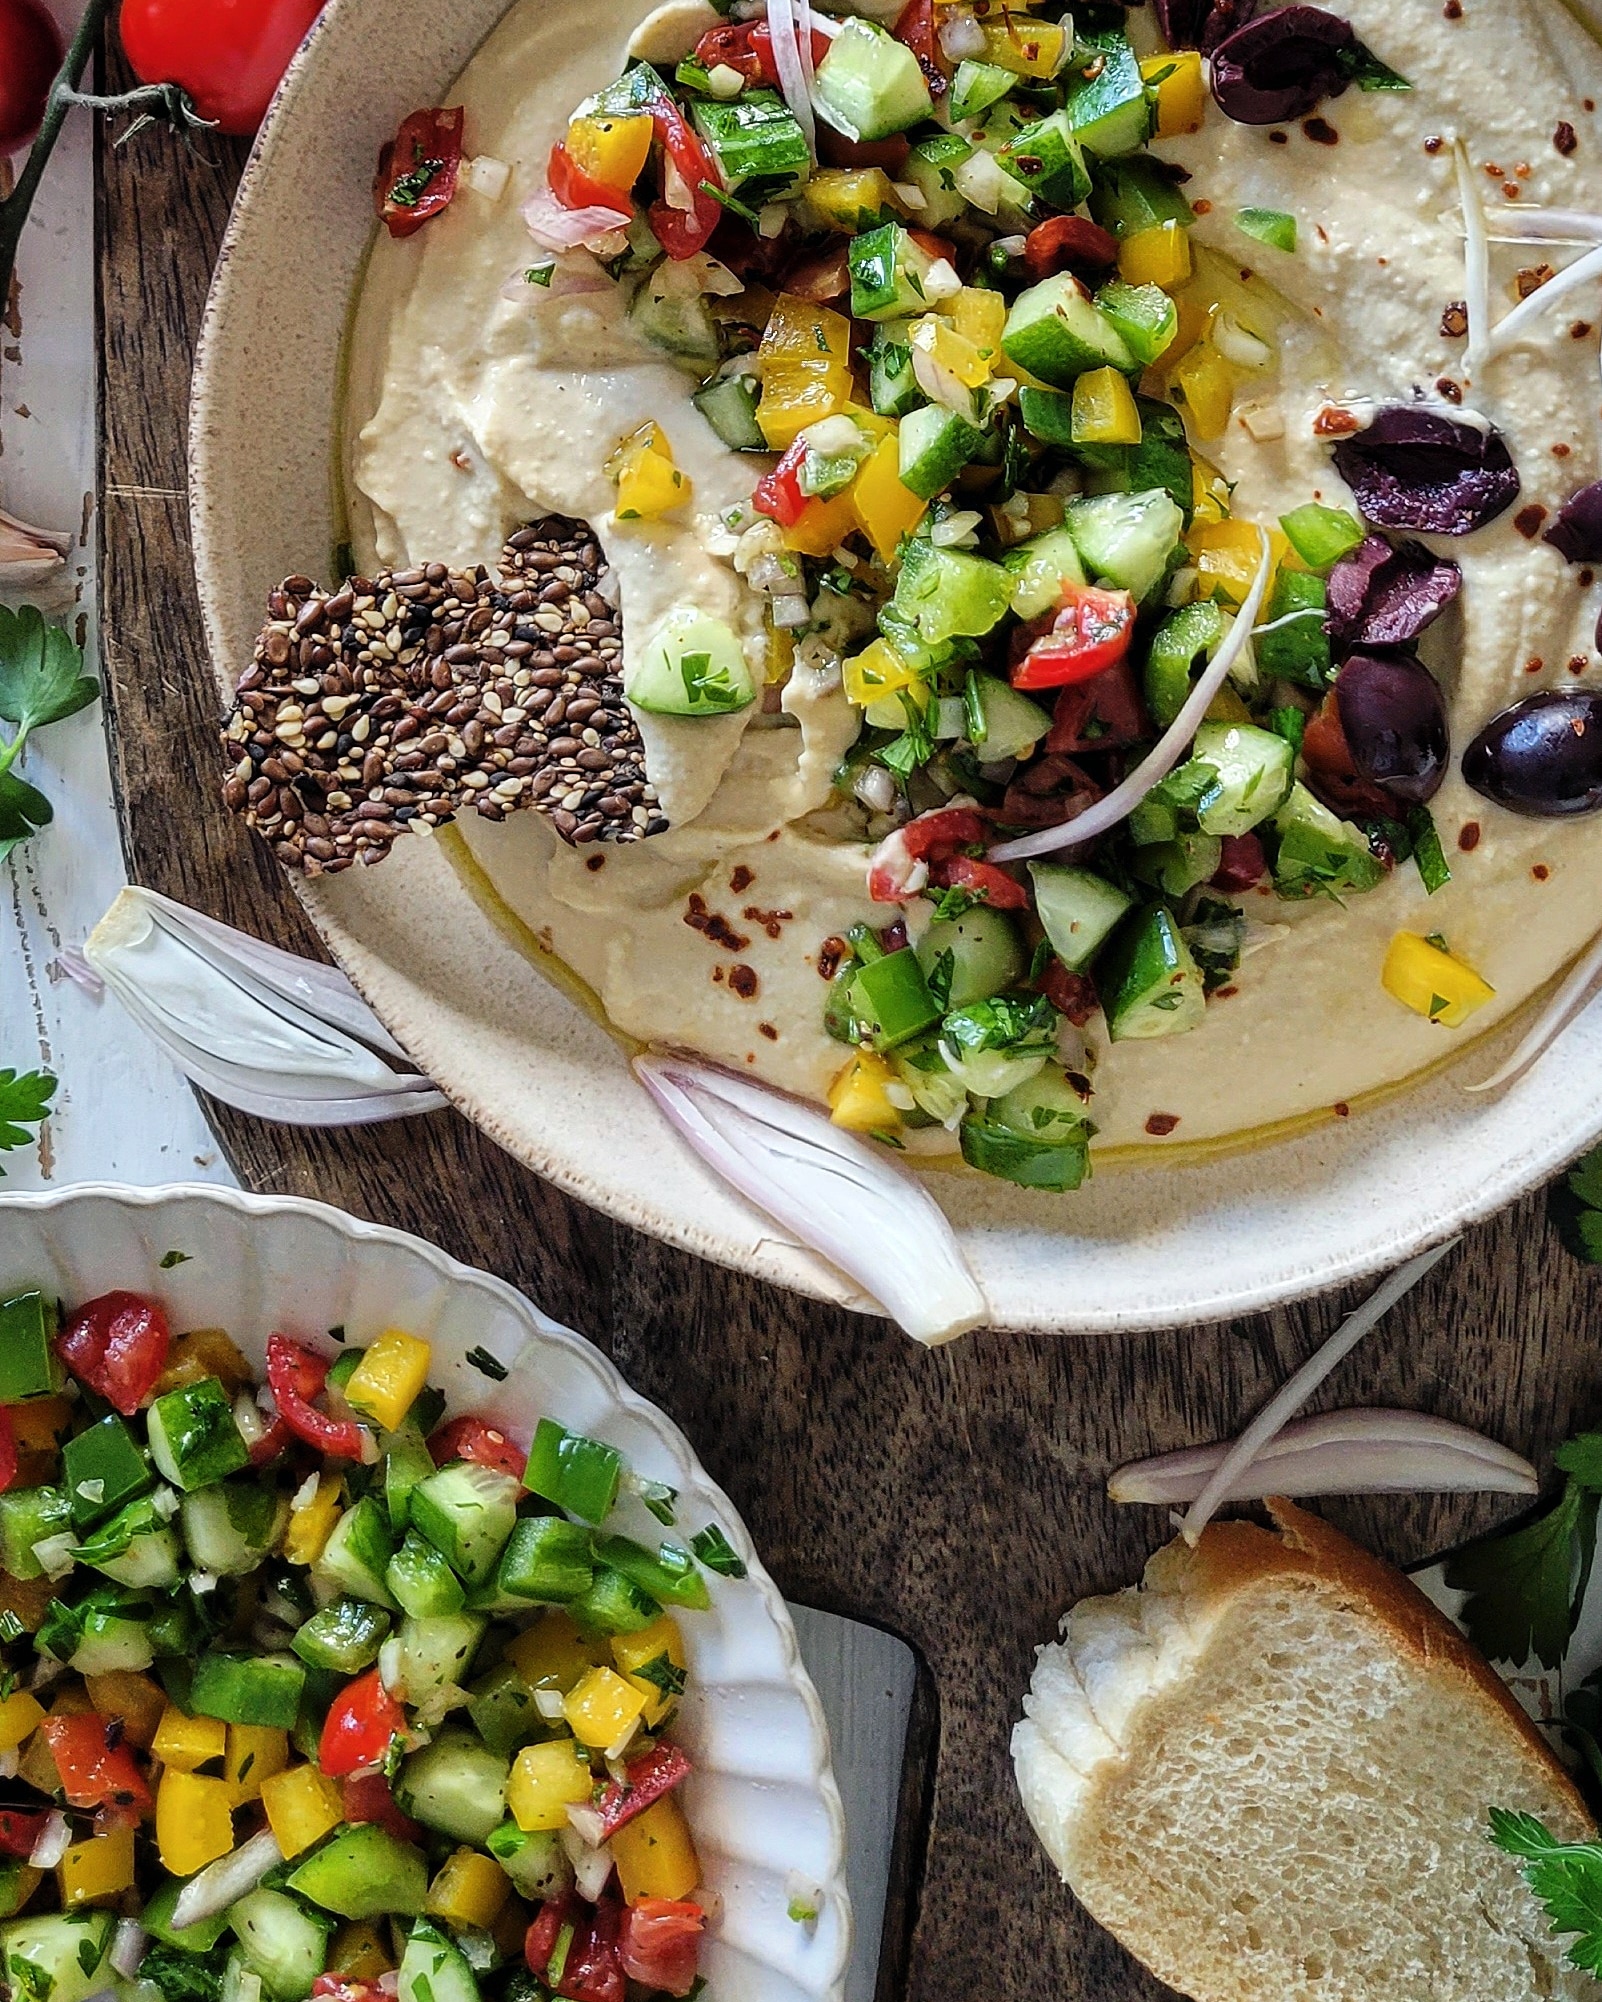 As is usual here in Toronto, we go from chilly, rainy, naked trees to full out humidex, green leaf explosion, soaring temps, all within a week. And with the sudden and drastic change in the weather, our style of eating needs acclimatizing as well. For the time being, the heavy creamy stews and soups will get replaced with easy breezy meals. Just like this one.
This is basically a mashup of two recipes already on the blog: Horiatiki Bruschetta, and the ultimate Hummus Kawarma.
Horiatiki Bruschetta
As the Name suggests, all the best of a bright, fresh and breezy Aegean salad makes up the topping for crusty bread bruschetta.
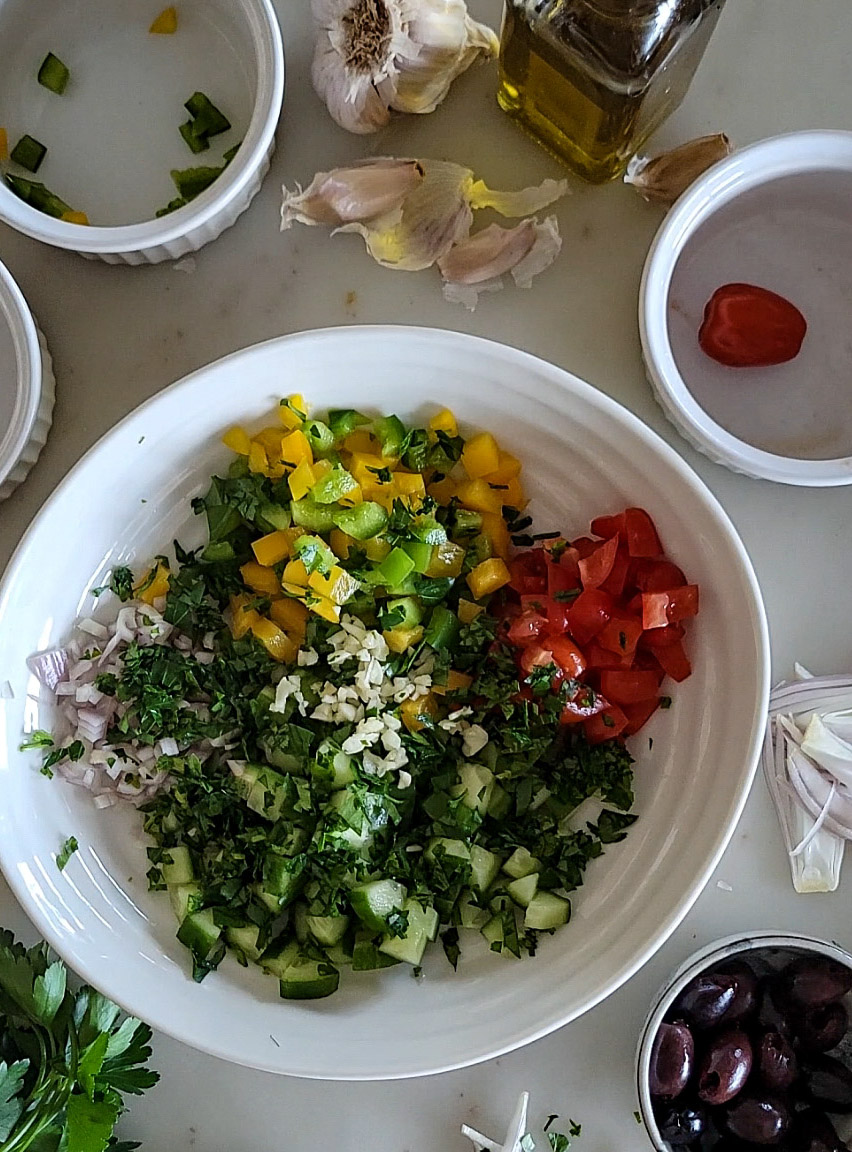
I take all the classic ingredients: onions, tomatoes, cucumbers, peppers, olives, garlic, parlsey and feta cheese but chop them so that they will sit comfortably on grilled or toasted crostini for snacking, or as a light meal. You can easily customize it. No onions? Use shallots. Want to use mint instead of parsley, go for it. Can’t have bell peppers? Try some fresh fennel, or zucchini. Capers instead of olives, your favourite acid, whether champagne vinegar, white balsamic, or even apple cider vinegar.
This salad topping is dressed lightly, just before serving, so that the vinegar and salt don’t pull out too much of the natural liquids in the veggies, and turn it soggy too soon. In fact, you can do all the prep of chopping and store in the fridge, and just dress as you need it. I am keeping the chop size on the smaller side for today’s hummus topping as well, so that they are easily scooped up by crackers, pita bread or other favourite vehicle you use to enjoy hummus.
When you chop up the vegetables for storing, always devein and remove the seeds from the tomatoes. And place them on the bottom of the bowl. Remove the centre seeded portion of the cucumbers as well before chopping an adding them to the bowl on top of the tomatoes. Follow with the remaining vegetables, which don’t release as much liquid. This will reduce the final topping from turning watery.
Add as much garlic as you want, you really can’t go wrong, just do what will work for your family.
Hummus Kawarma
I wish I could take credit for this hummus. But I can’t. I had learned to make hummus decades ago, from a Cypriote friend of mine. But then my technique was improved when I used the method found in Jerusalem by Yotam Ottolenghi. I’ve never looked back, it is creamy, velvety, and perfectly balanced between the garlic, lemon and seasonings. The game changer is using baking soda when boiling the soaked chick peas. This helps tenderize them and release the skins. Follow the method, and you will be forever changed, it is the way hummus is supposed to taste. Not all the red pepper, carrot, beet etc hummus versions. Just the classic recipe, at its best.
The Kawarma portion of the above recipe involves lamb, garlic, lemon and pine nuts, which becomes the topping instead of the way we are using the Horiatiki Bruschetta topping today. I love serving the Hummus Kawarma during the winter months, but it would also make a great meal or first course in the summer as well. A meaty option for you!!
How to Serve
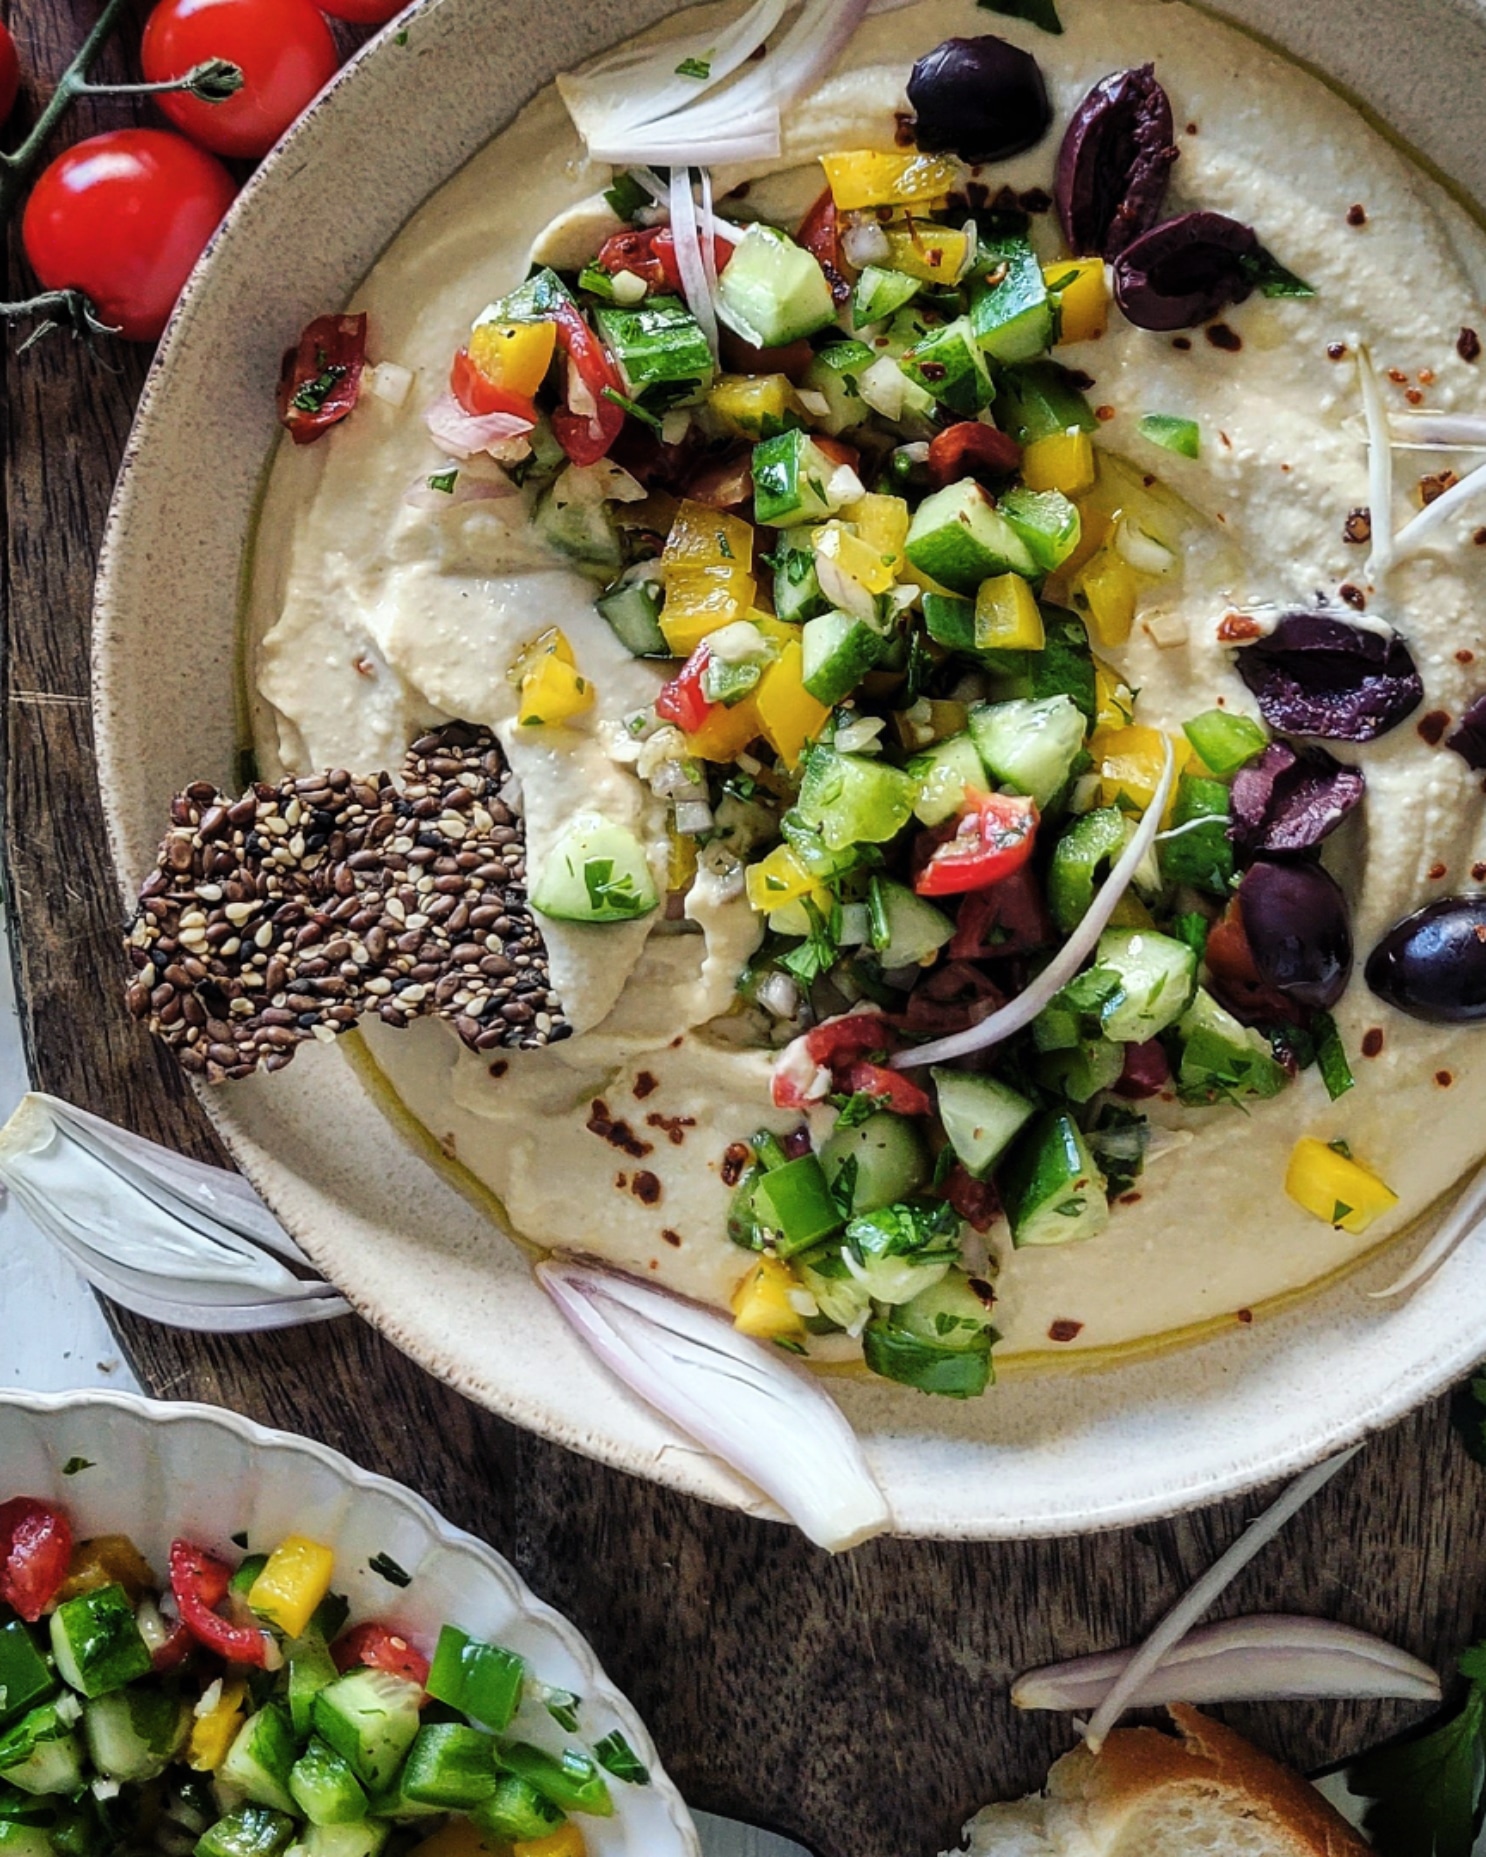
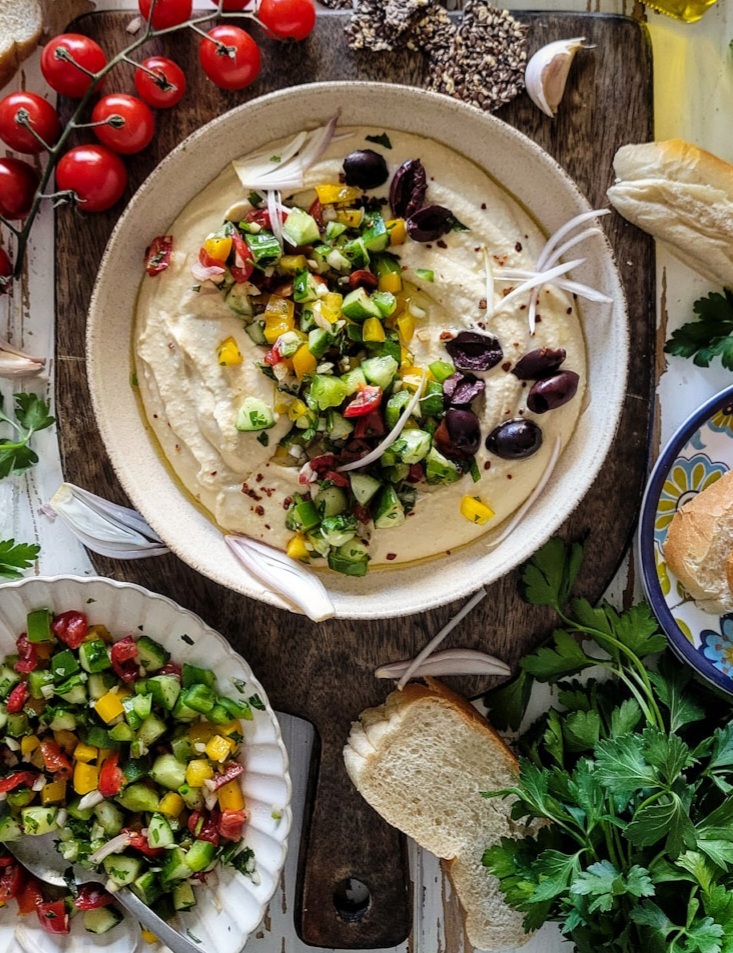
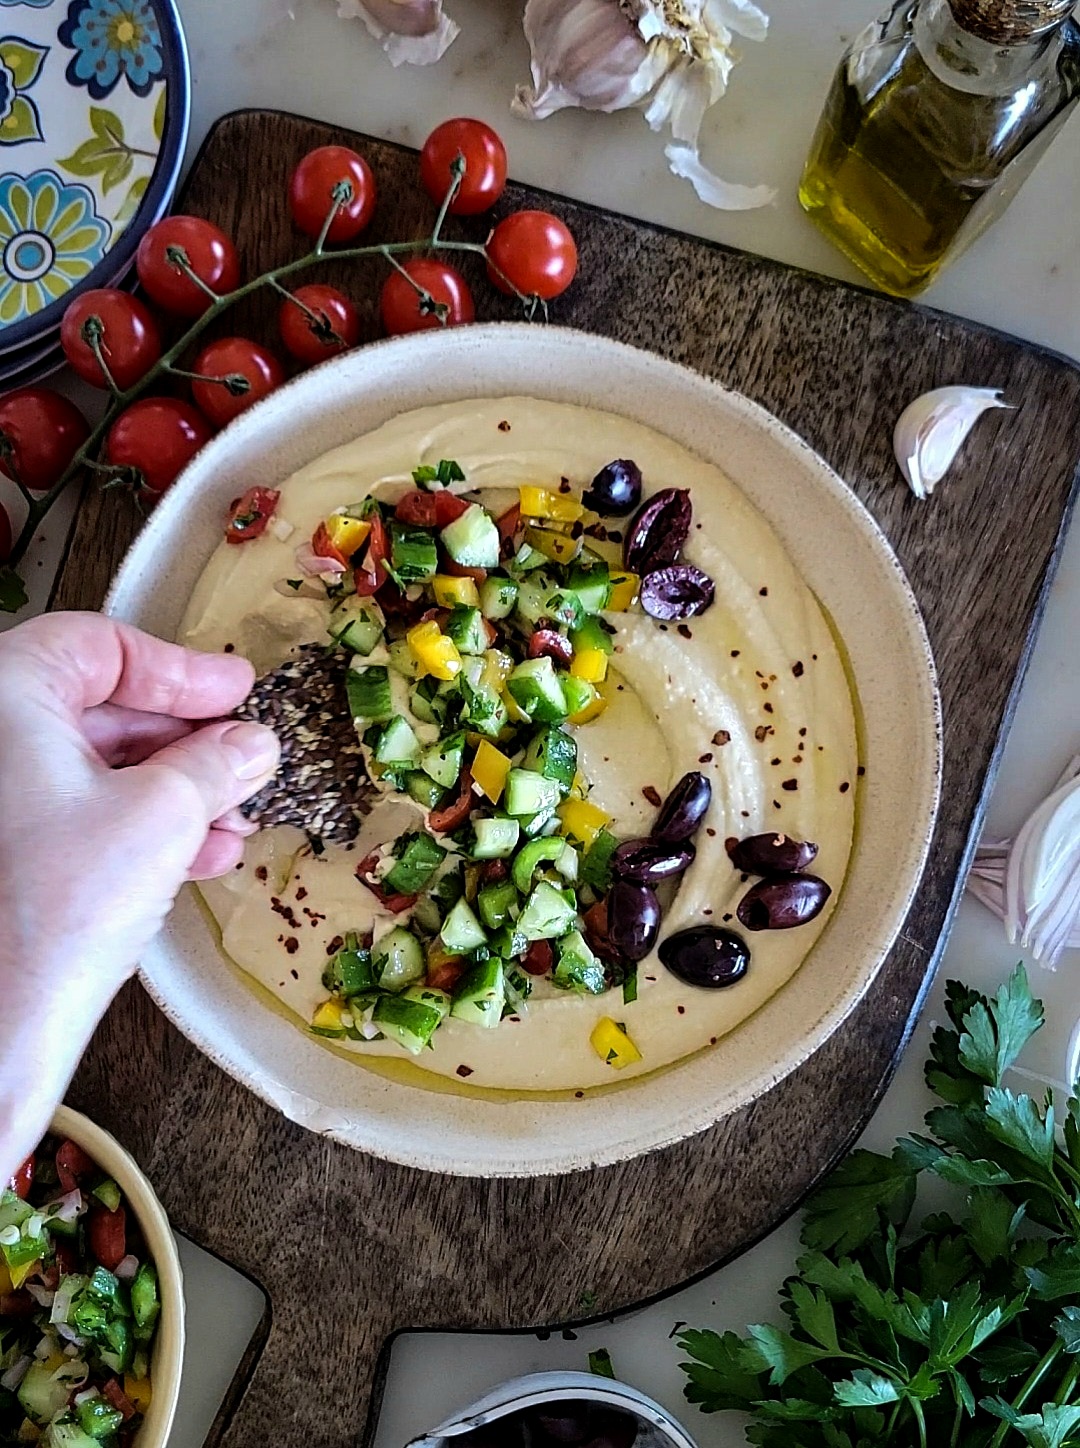
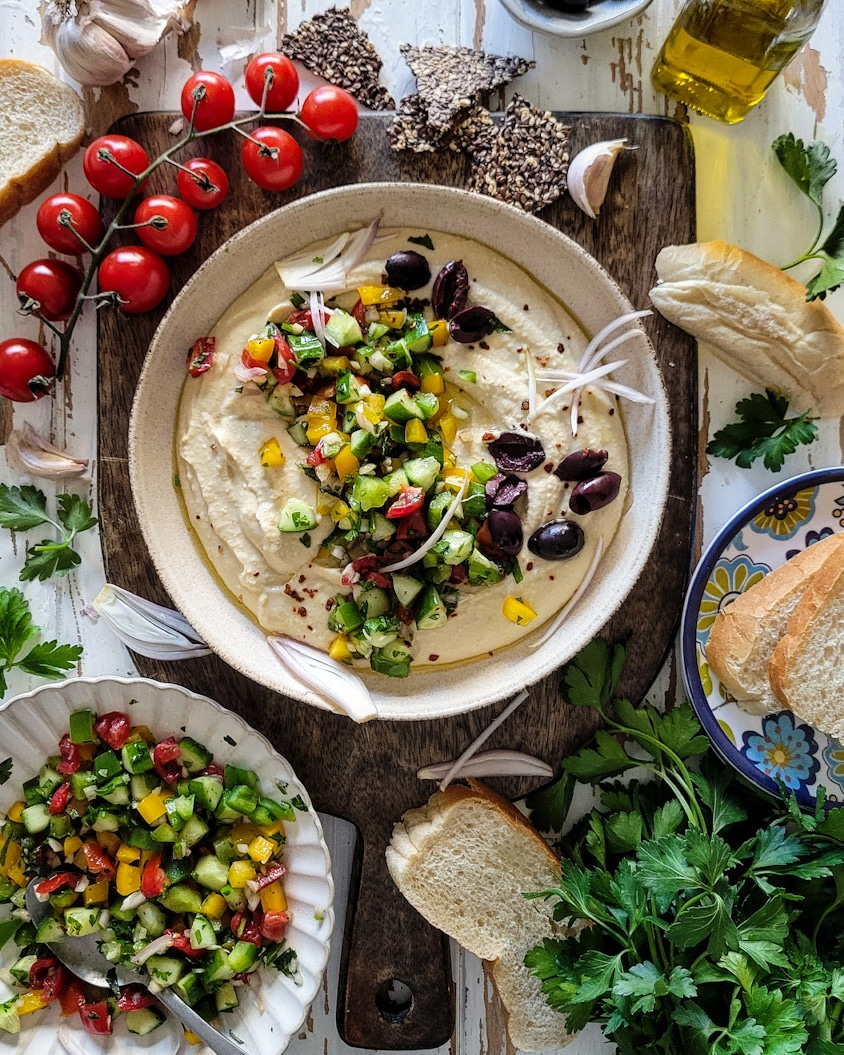
Make up the hummus in advance and store it in the fridge till needed. Just bring it out about 20 minutes before serving, to help it warm up and loosen for easy dipping. Spoon the Horiatiki Bruschetta topping over the hummus. Drizzle a good grassy or peppery olive oil on top, add some olives, and crumbled feta cheese if you want, whatever floats your boat. I like to finish with a sprinkling of Aleppo pepper. Not only does it add a little kick, it adds a visual appeal as well. Serve it with gluten free seed crackers, grissini, grilled pita bread, or crostini. Pick your favourites.
Add grilled meats, like Harissa Chicken Thighs or Pork Skewers/Souvlaki, or Lamb Meatballs, or even roasted Spiced Cauliflower Florets to help flesh this hummus to become a full meal. This Horiatiki Hummus makes a great meze or tapas dish, a fabulous lunch, or even snack while watching tv.
Final Thoughts
Make up the full batch of hummus, truly, it will get eaten through out the week, whether as part of a sandwich, or as an easy dip with cut up veggies. I usually make up a batch as part of my Sunday prep day to keep us for the week.
You will love how easy this is to whip up for entertaining out on the deck. This is summer on a plate, thanks to all the fresh flavours of the Horiatiki Bruschetta topping.
And if you want more details on how to turn this topping into the best Horiatiki Pasta Salad, check out my Horiatiki Pasta Salad.
If you make this Horiatiki Hummus, please be sure to leave a comment and/or give this recipe a rating! It’s always lovely to hear from you guys, and I always do my best to respond to each comment or question. And of course, if you do make this recipe, and you post it on Instagram, don’t forget to also tag me so I can see! Looking through the photos of recipes you all have made is such a treat.
Love Jen

Horiatiki Hummus
Ingredients
Hummus
- 1 1/4 cups dried chickpeas
- 1 teaspoon baking soda
- 6 1/2 cups water
- 1 cup plus 2 tablespoons tahini, light roast
- 4 tablespoons freshly squeezed lemon juice
- 4 cloves garlic, crushed
- 6 1/2 tablespoons ice cold water
- Salt
- Good quality olive oil, to serve (optional)
Horiatiki Topping
- 1 English cucumber
- 2 Roma tomatoes, if small use a third
- 1/2 medium bell pepper can be green red or yellow;
- 1/4 cup finely diced red onion
- 1/4 cup chopped parsley
- 2-3 minced garlic cloves
- 1 1/2 tbsp good olive oil
- 2 tsp red wine vinegar
- 1/2 tsp dried oregano
- 1/4-1/2 tsp kosher salt, if using sea salt if using sea salt, start with less
- 1/4-1/2 tsp black pepper
- 1/4 cup chopped kalamata or black olives
- 1/4 cup finely crumbled feta cheese
- 1 tsp Aleppo Pepper, for garnish
- Grilled pita bread, grissini, seeded crackers, crostini etc for serving.
Instructions
Hummus
-
The night before, put the chickpeas in a large bowl and cover them with cold water at least twice their volume. Leave to soak overnight.
-
The next day, drain the chickpeas. Place a medium saucepan over high heat and add the drained chickpeas and baking soda. Cook for about three minutes, stirring constantly
-
Add the water and bring to a boil. Cook, skimming off any foam and any skins that float to the surface.
-
The chickpeas will need to cook for 20 to 40 minutes, depending on the type and freshness, sometimes even longer. Once done, they should be very tender, breaking up easily when pressed between your thumb and finger, almost but not quite mushy.
-
Drain the chickpeas. You should have roughly 3 2/3 cups now. Place the chickpeas in a food processor and process until you get a stiff paste.
-
Then, with the machine sill running, add the tahini paste, lemon juice, garlic, and 1 1/2 teaspoons salt.
-
Finally, slowly drizzle in about 2/3 of the ice water and allow it to mix for about five minutes, until you get a very smooth and creamy paste. Once you have tested it, use more water as needed to get it creamy and to the consistency you like.
-
Transfer the hummus to a bowl, cover the surface with plastic wrap, and let it rest for at least 30 minutes. If not using straightaway, refrigerate until needed.
-
Make sure to take it out of the fridge at least 30 minutes before serving. If it has stiffened up too much, feel free to add a bit of water and stir through very well.
-
Optionally, to serve, top with a layer of good quality olive oil.
-
This hummus will keep in the refrigerator for up to five days.
Horiatiki Topping
-
Prepare the cucumber by slicing it in half lengthwise and then in half again. You should have four spears (you can do this in sections of the whole cucumber).
-
Remove the centre seeded section by running a knife down the centre. Then chop each spear into small 1/4 inch or less cubes. Place in a large bowl.
-
Prepare the tomato by slicing it in half and then in half again. Remove the centre seeds and liquidy portion. Then chop the firm tomato flesh into the same sized cubes as the cucumber. Add the finished tomato pieces to the cucumber.
-
Devein and chop the pepper and add to the bowl with the rest of the veggies.
-
Add the chopped parsley, and minced garlic.
-
*Do not dress in advance
-
Whisk the olive oil, vinegar, oregano and salt and pepper in a small bowl. Taste and see if you need to re-season. Dress just before serving.
Serve
-
Spoon out the hummus into a medium shallow bowl. Top with as much of the Horiatiki Topping as you like. Serve the rest on the side in a separate bowl.
-
Add some of the chopped olives over the hummus. Crumble some of the feta over it all, if desired. Sprinkle the Aleppo pepper over everything for a bit of kick.
Recipe Notes
The topping can keep in the fridge till needed as long as you don't dress it ahead of time.
Feel free to use more of the various components as you see fit. Just adjust the dressing to accommodate the additional amount.
I state that this serves 4 as an appetizer, depending on how much of the hummus you choose to serve. It will feed 6 if you have other dishes as well.

Leave a Reply