A friend reminded me that I have never shared the recipe for my favourite lemon squares. So this post is to fix that!
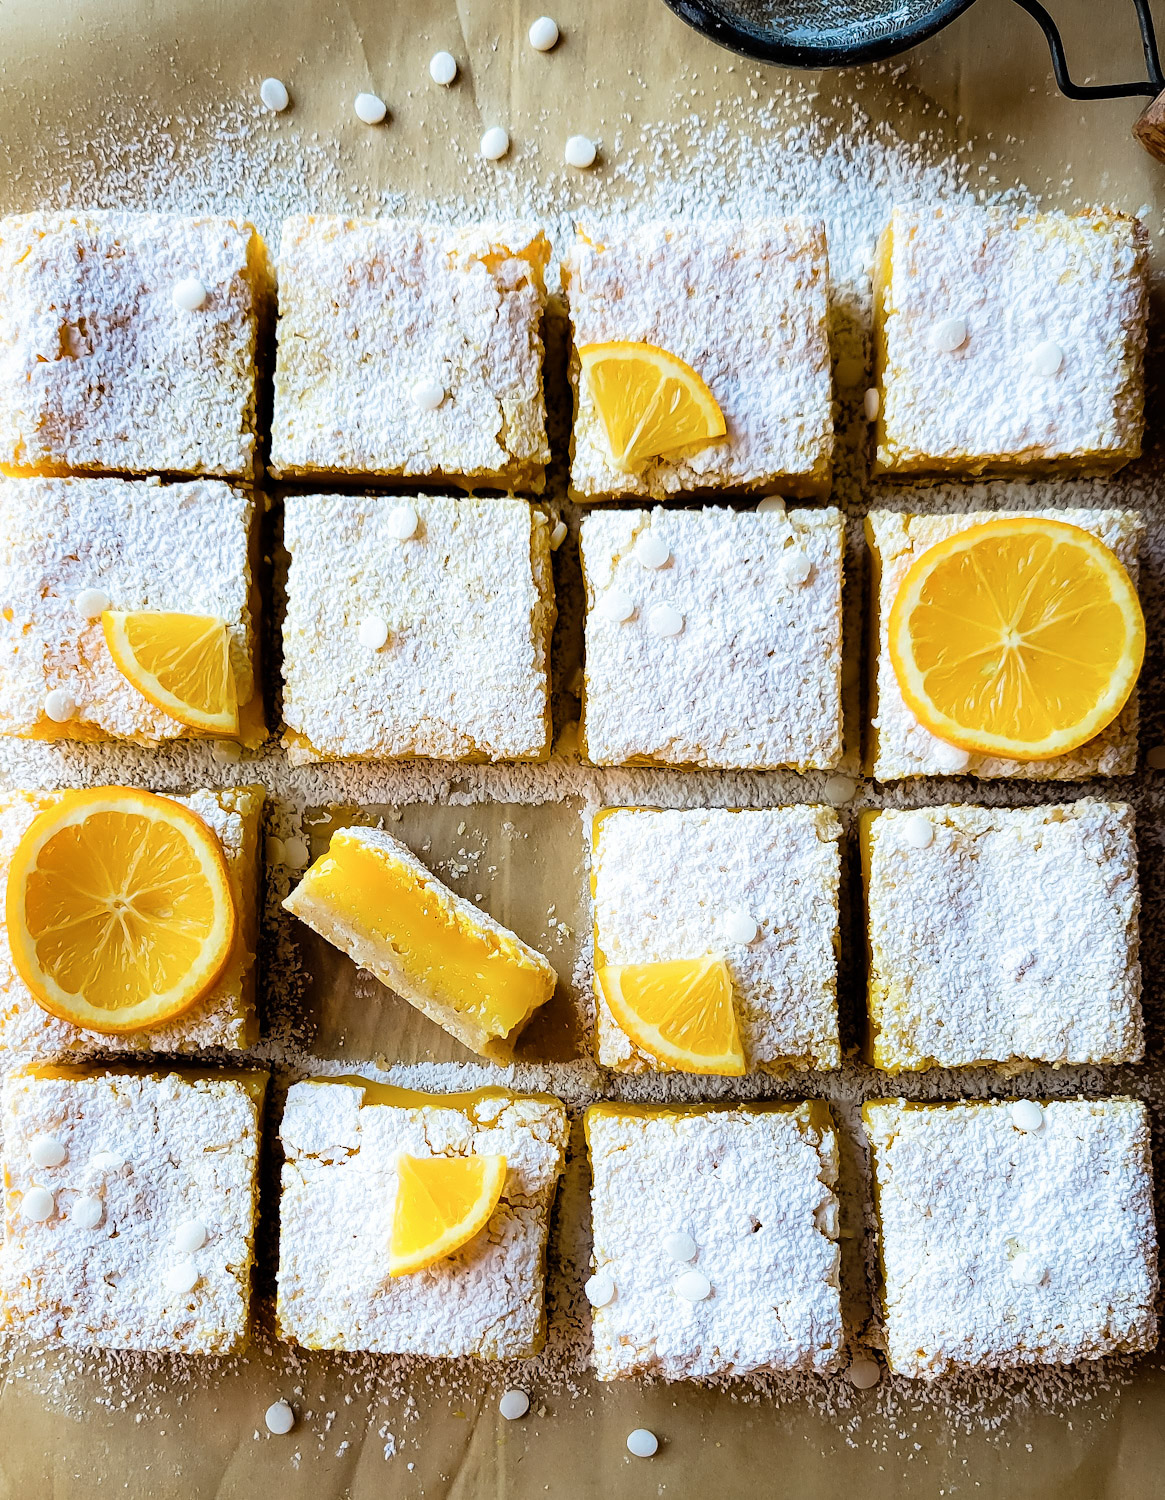 I’ll let you in on a little secret, the recipe isn’t mine… it’s Ina Garten’s recipe from her 2001 book, Parties. It’s Ina Garten, so you know that the recipe is already a tried and tested success.
I do take some liberties with the recipe (I don’t think Ina would mind) that make it my own.
My Take on Ina
First off, Ina’s recipe makes enough to fill a 9 x 13 inch pan. That’s a lot of lemon squares. So this here is half of the recipe. I’m sure you would agree that 16 squares is still plenty! Of course, if you are feeding a crowd (whether family, guests, potluck or bake sale) then just double the recipe below.
Ina’s base is a classic shortbread crust. Doesn’t need any changing. Except… cardamom! I find that this little punch of citrusy, slightly floral cardamom makes the base just as tasty as the filling, and not just an afterthought, or necessary but unflavoured part of the lemon square.
Ina’s recipe calls for 2 tbsp of lemon zest for the whole recipe. I like to use this much for half the recipe! You want to taste lemon first and foremost, am I correct? Then don’t hold back on the zest.
Whenever possible, I like to use Meyer lemons. Their bright, pleasantly tart sweet nature is just perfect in this setting. Of course, if you can’t find Meyer lemons (or they are out of season) regular lemons will be a worthy substitute. Just use two tablespoons of fresh squeezed orange to replace two tablespoons of the fresh squeezed lemon juice to help mimic the flavour of Meyer lemons. You can also replace some of the lemon zest with orange zest, but maybe only 1/4 of the total.
Noteworthy in it’s Simple Ingredients
Flour: You can use either AP or a gluten free cup for cup blend. I usually have either Cup4Cup from Thomas Keller, or Bob’s Red Mill 1:1 blend in the pantry, both are great. Butter, sugar, salt, and my addition of cardamom are all you will need for the buttery shortbread crust.

The filling is the best combination of eggs, sugar, lemon juice and zest, and flour. No stabilzers like gelatin needed. This is not the time to use bottled lemon juice. Please use freshly squeezed. Lemons are the star of the show, so don’t skimp by using bottled.
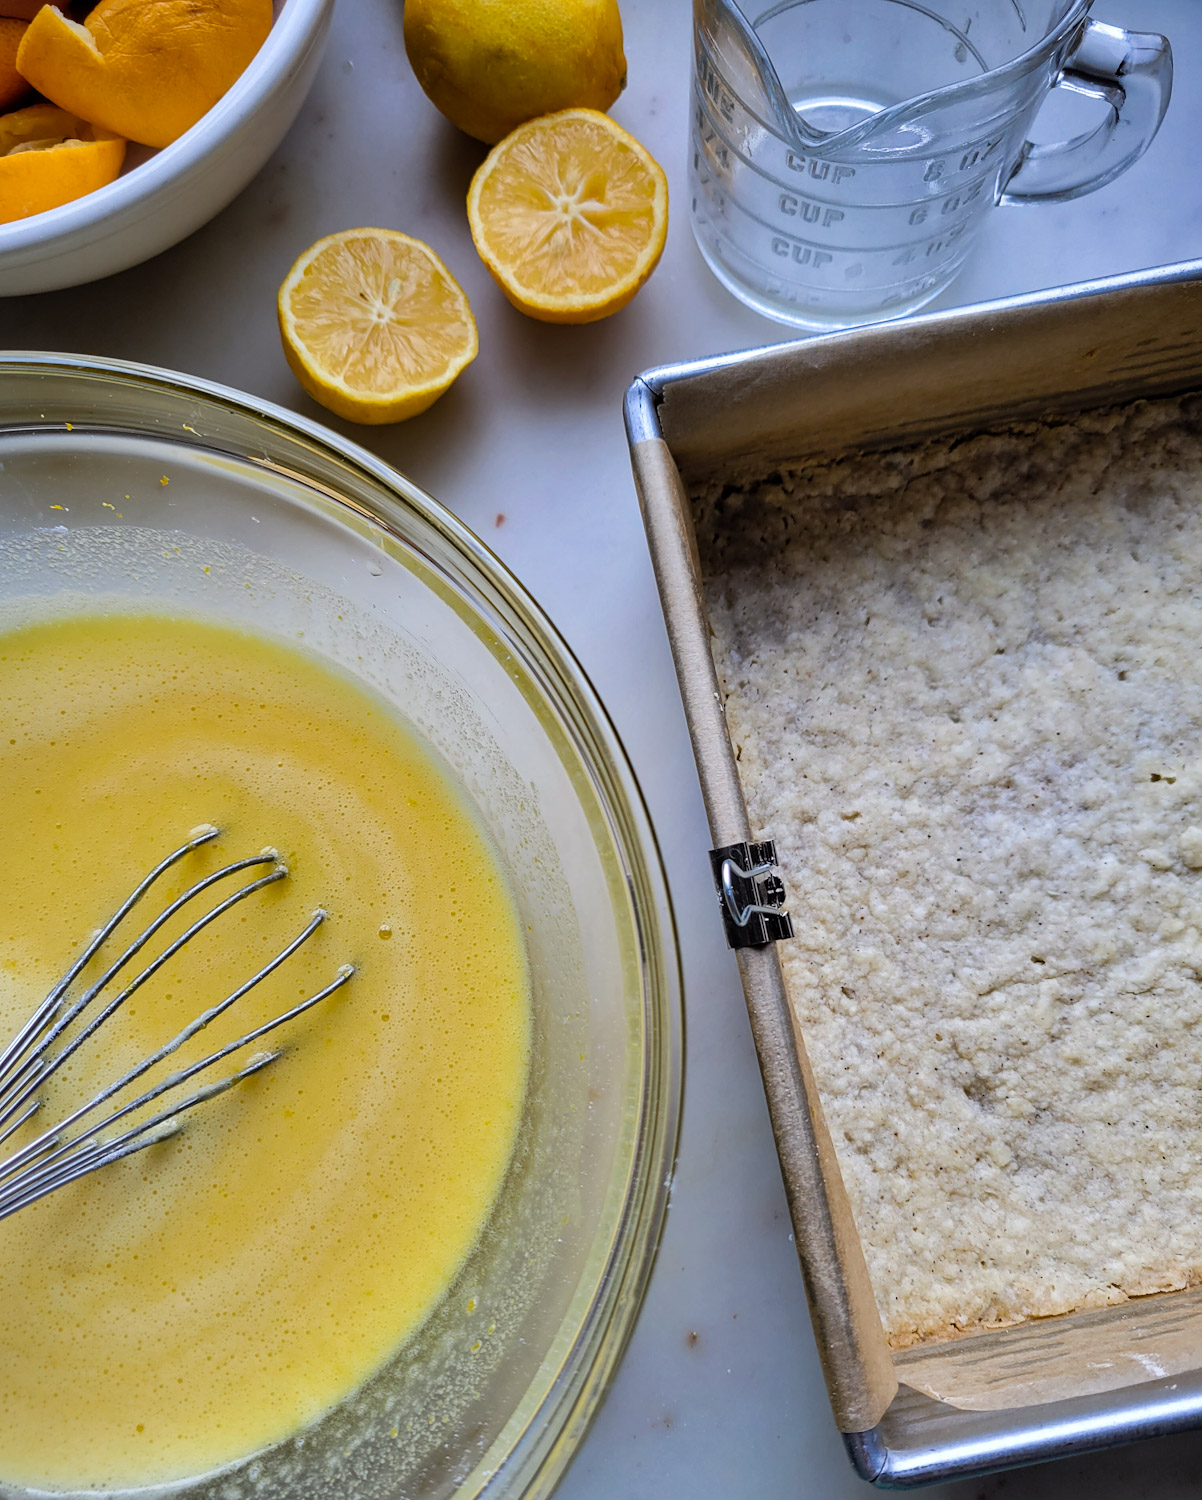
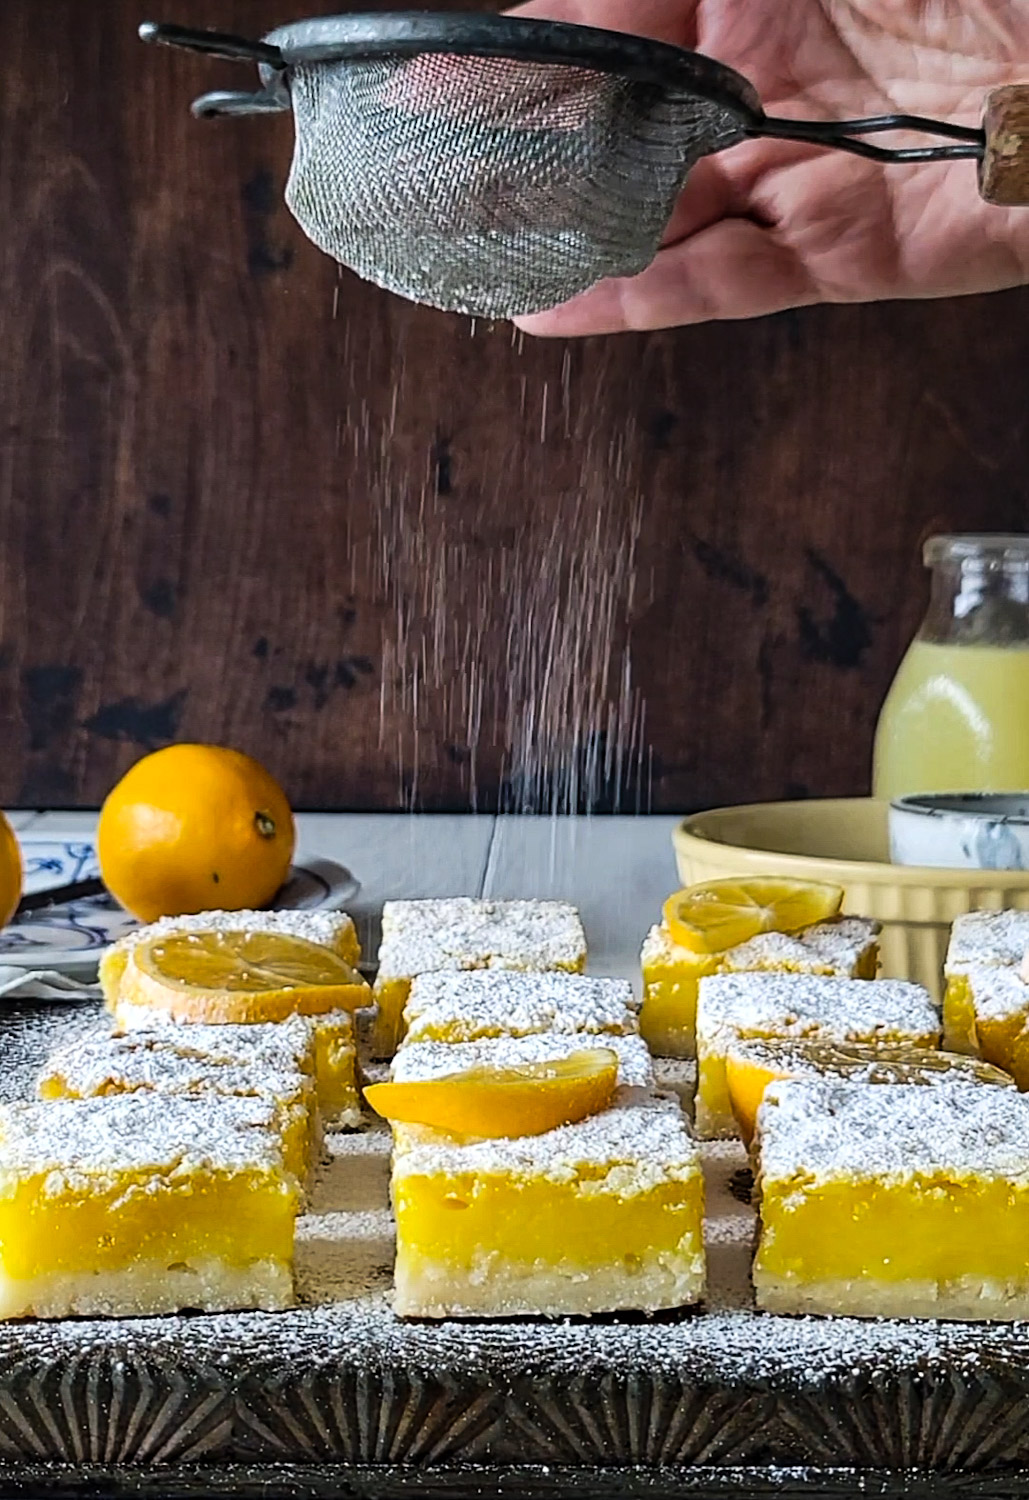
Once you pour the filling in, give the pan a few gentle shakes just to get out any air bubbles. Having said that, the filling may puff up in areas as it bakes. I actually find this charming. The fillings that set with absolutely no bubbles on top always look a little fake to me. Sometimes the bubbles appear, and sometimes they don’t. It’s just the air from the eggs rising to the surface. That’s where a great dusting of icing sugar comes in handy.
Pro Tips
Line the baking dish with parchment paper. This makes for easy removal once they are completely cooled and set. To ensure that the paper doesn’t fold back into the batter, use metal clips to hold the lining in place. Don’t use clips that have a painted or plastic finish, only metal ones are safe. You can find them at most stationary supply shops.
The squares are done when the filling is set, no more jiggling. If after the described baking time they are still slightly runny, just let them bake a little longer, no harm. They will continue to set as they cool on a wire rack. Setting is actually complete after several hours in the fridge. Don’t be tempted to take a knife to them any sooner.

In fact, these are best made ahead of time! Bake them the day before you want to serve them. This will give them plenty of time to chill and set. Your cuts with the knife will be even cleaner this way. Speaking of which, use a sharp knife, cleaning it between each slice. When slicing into the crust, use a sawing back and forth motion to break through, you don’t want to press down and shatter the top too much. Once inside, use a clean cut to the bottom and across to the edge of the pan.
These can easily be frozen. Cut into squares and place on a wax paper lined baking sheet. Once frozen through, wrap each square individually and store in the freezer for up to three months. Thaw and dust with icing sugar before serving.
Store in the fridge after a couple of hours, if you are leaving them out for everyone to enjoy. This helps the filling stay put. Thankfully these taste amazing right out of the fridge!
For a fun twist, feel free to replace the lemon juice with grapefruit or orange juice!
For other great lemon baking ideas, check out my Uber Lemony Lemon Curd, Lemon Meringue Cups with Gingersnap Crust, Lemon Mint Yogurt Pound Cake, Lemon, Blueberry and Basil Bundt Cake, Lemon Poppyseed Ice Cream
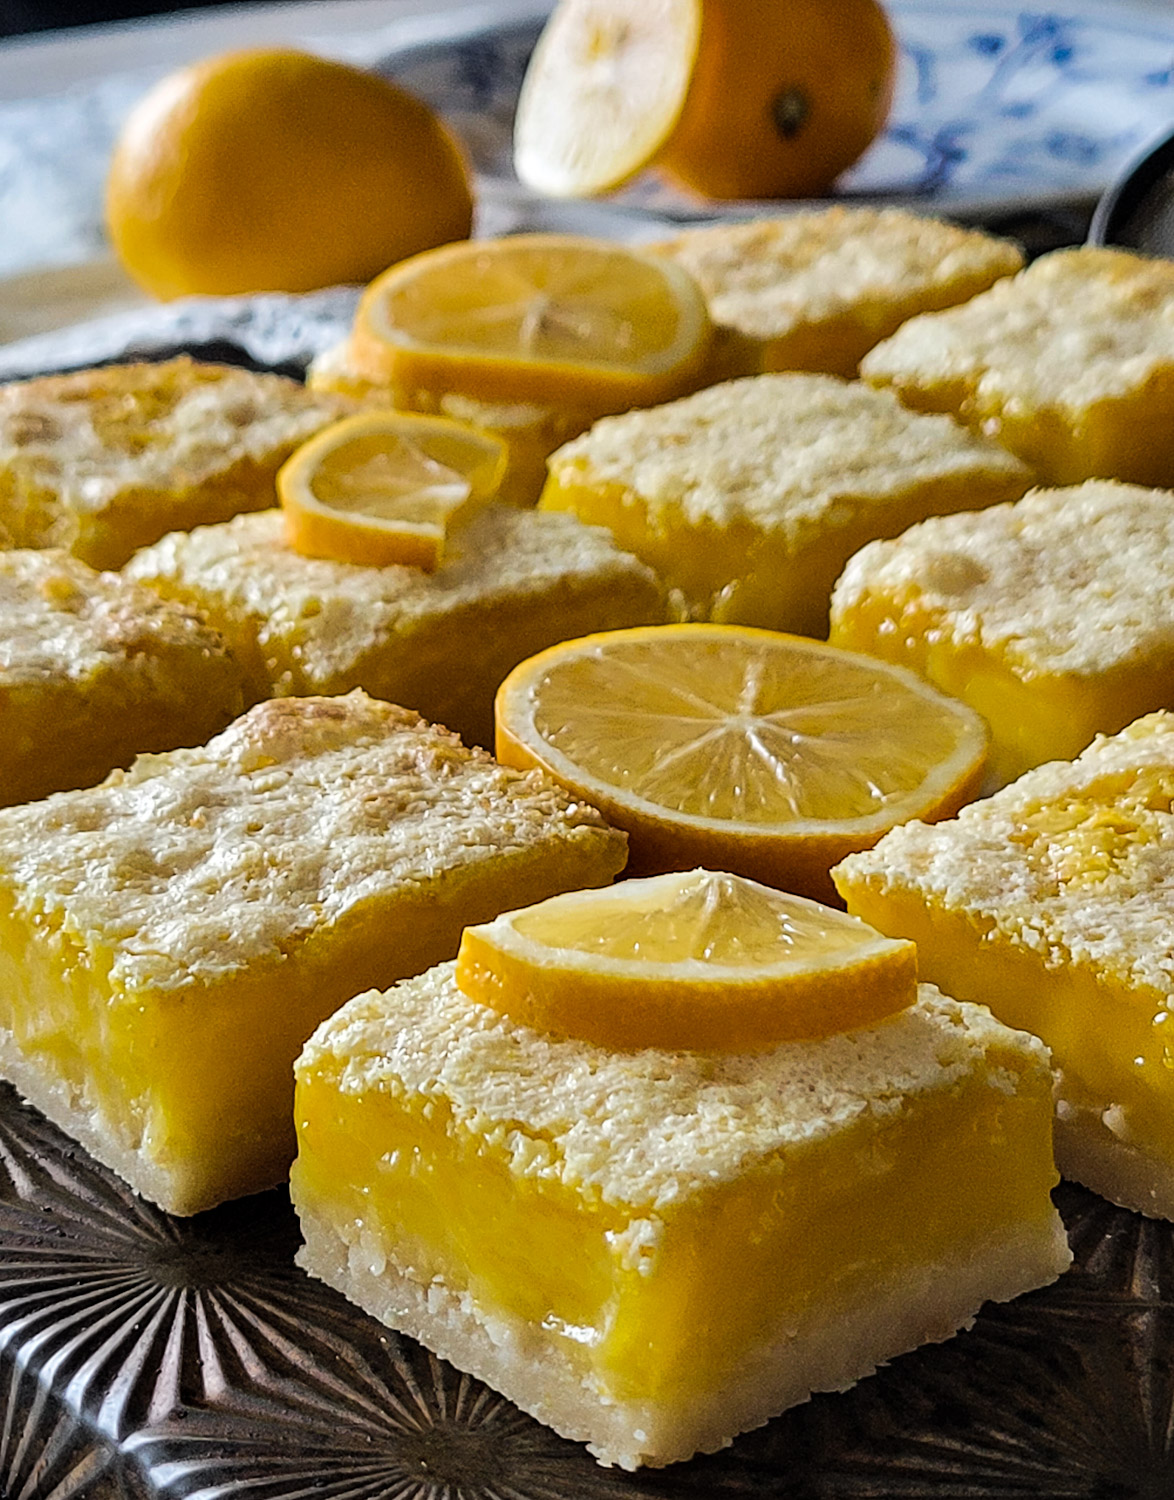
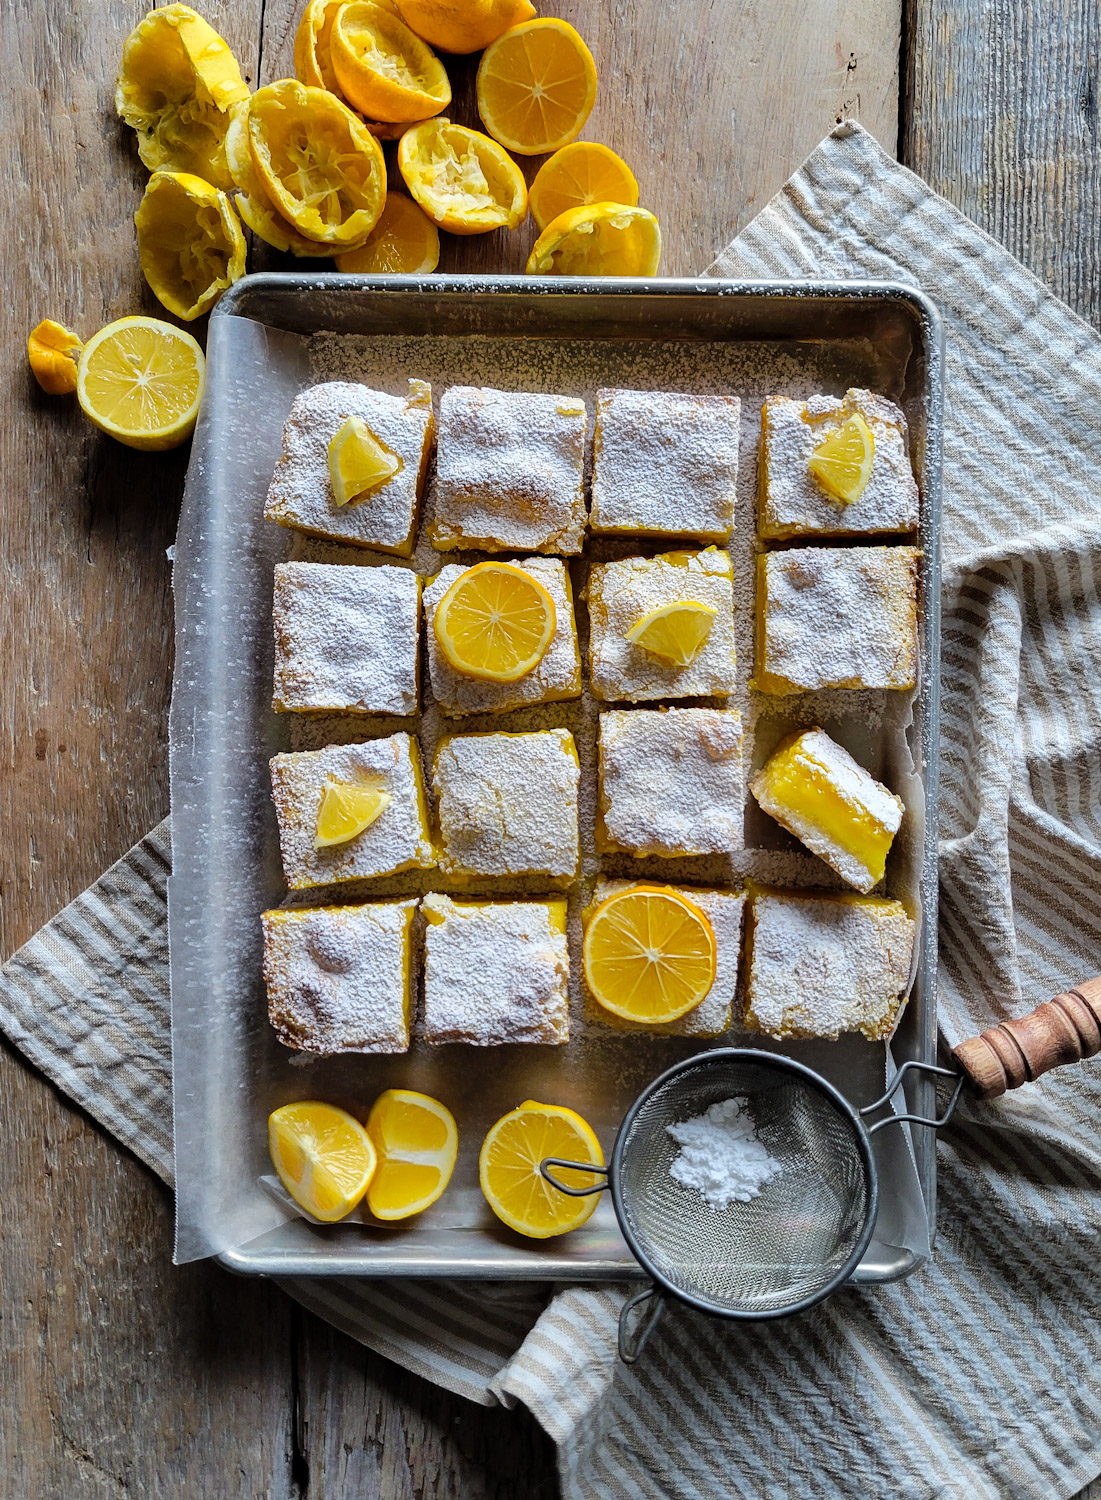

Meyer Lemon Squares on Cardamom Shortbread
Ingredients
Cardamom Shortbread Crust
- 8 tbsp softened room temperature butter, or 1/2 cup (1 stick) or 115 grams
- 1/4 cup granulated sugar
- 1 cup all purpose flour, or 135 grams, see Notes
- 1 tsp cardamom
- pinch salt
Meyer Lemon Filling
- 3 large eggs, room temperature
- 1 1/2 cups granulated sugar, or 340 grams
- 2 tbsp lemon zest, from the lemons below
- 1/2 cup freshly squeezed Meyer lemon juice, see Notes
- 1/2 cup all purpose flour, or 68 grams
Instructions
Cardamom Shortbread Crust
-
Preheat the oven to 350F. Line an 8x8 inch pan with parchment paper.
-
Cream the soft butter with the sugar in bowl of a stand mixer (or hand held mixer) with the paddle attachment. Make sure the mixture is light and fluffy, about 2 minutes.
-
Whisk the flour, cardamom and salt together. Add it slowly to the butter mixture and continue to mix until all is incorporated. Gather the mixture together with your hands and transfer it to the prepared baking dish. Flatten the dough with floured hands, spreading it out evenly, with the edges just slightly higher. Chill for 15 minutes.
-
Bake on the centre rack for 15-20 minutes, or until lightly browned. Let this cool down on a wire rack while you work on the filling. Leave the oven on.
Meyer Lemon Filling
-
Whisk the eggs and sugar together in a large bowl. Combine the zest and flour in a small bowl and whisk to get rid of any lumps.
-
Add the lemon juice to the eggs and sugar. Mix well. Gently add the flour mixture to the liquid, ensuring that you whisk out all the lumps. Pour this over the cooled crust. Tap gently to cause any air bubbles to rise to the surface.
-
Bake until the filling is set. It should set through to the centre. This should take 30-35 minutes, depending on your oven.
-
Let it cool to room temperature on a wire rack. Transfer to the fridge to finish chilling, for another 2 hours.
-
Use a sharp clean knife (wiping after each slice) to cut into 16 squares. Dust with icing sugar.
-
Leftovers can be stored in a sealed container in the fridge.
-
To freeze, place the cut slices on a baking sheet lined with wax paper, and place this into the freezer. Once the squares are frozen through, wrap individually and store in a freezer bag for up to one month.
Recipe Notes
Feel free to use a gluten free cup for cup blend that contains xanthan gum or other binder
If you can't find Meyer lemons, replace two tablespoons of the lemon juice with orange or tangerine juice, and replace some of the zest with orange zest.
If you want to make these for a crowd, double the recipe and use a 9 x 13 inch baking pan.

This looks beautiful, can you use the cup for cup flour in the filling as well as the shortbread? Thanks