How is summer going by so fast??
 We’re already over half way through August. But August just started?! I’m trying so hard to cram in all the summer bounty before the world suddenly starts craving apple pie and Pumpkin Spice Lattes. I think I’m fighting a losing battle though.
We are still enjoying a delicious Niagara Peach season here in Ontario. We really grow fabulous peaches. So it’s time for a Peach Pie. Yes I already have a couple of peach and stone fruit pie recipes. But this time I thought I’d switch it up a bit.
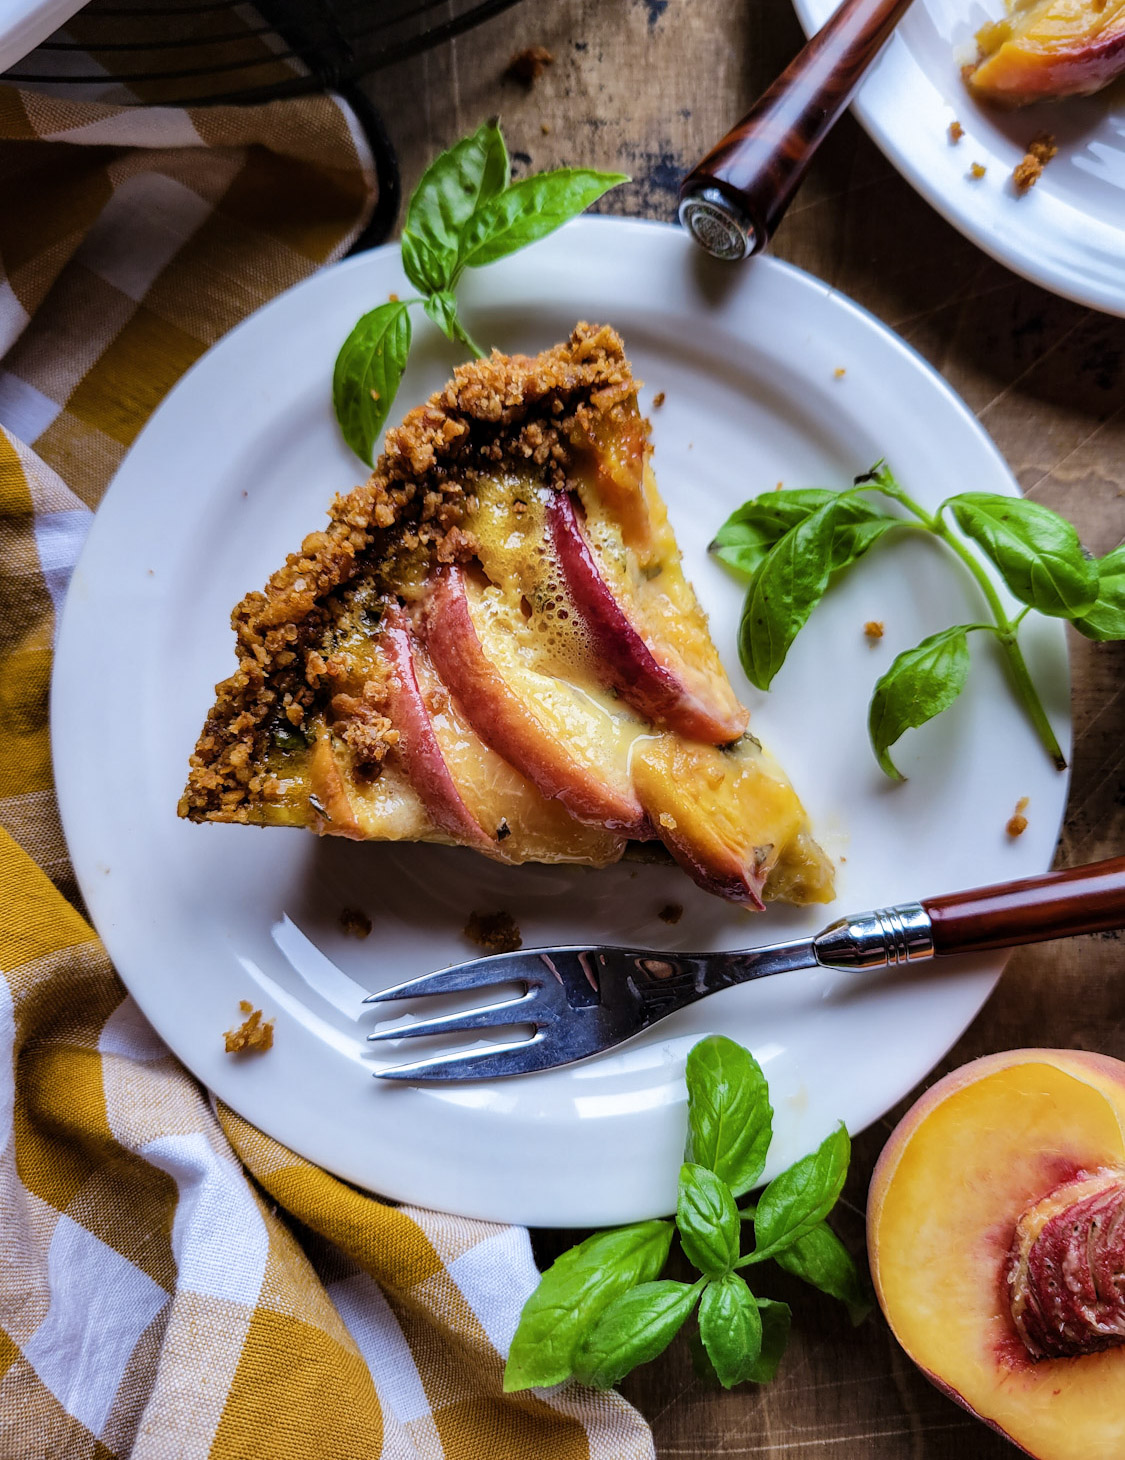
Peach Sour Cream Pie
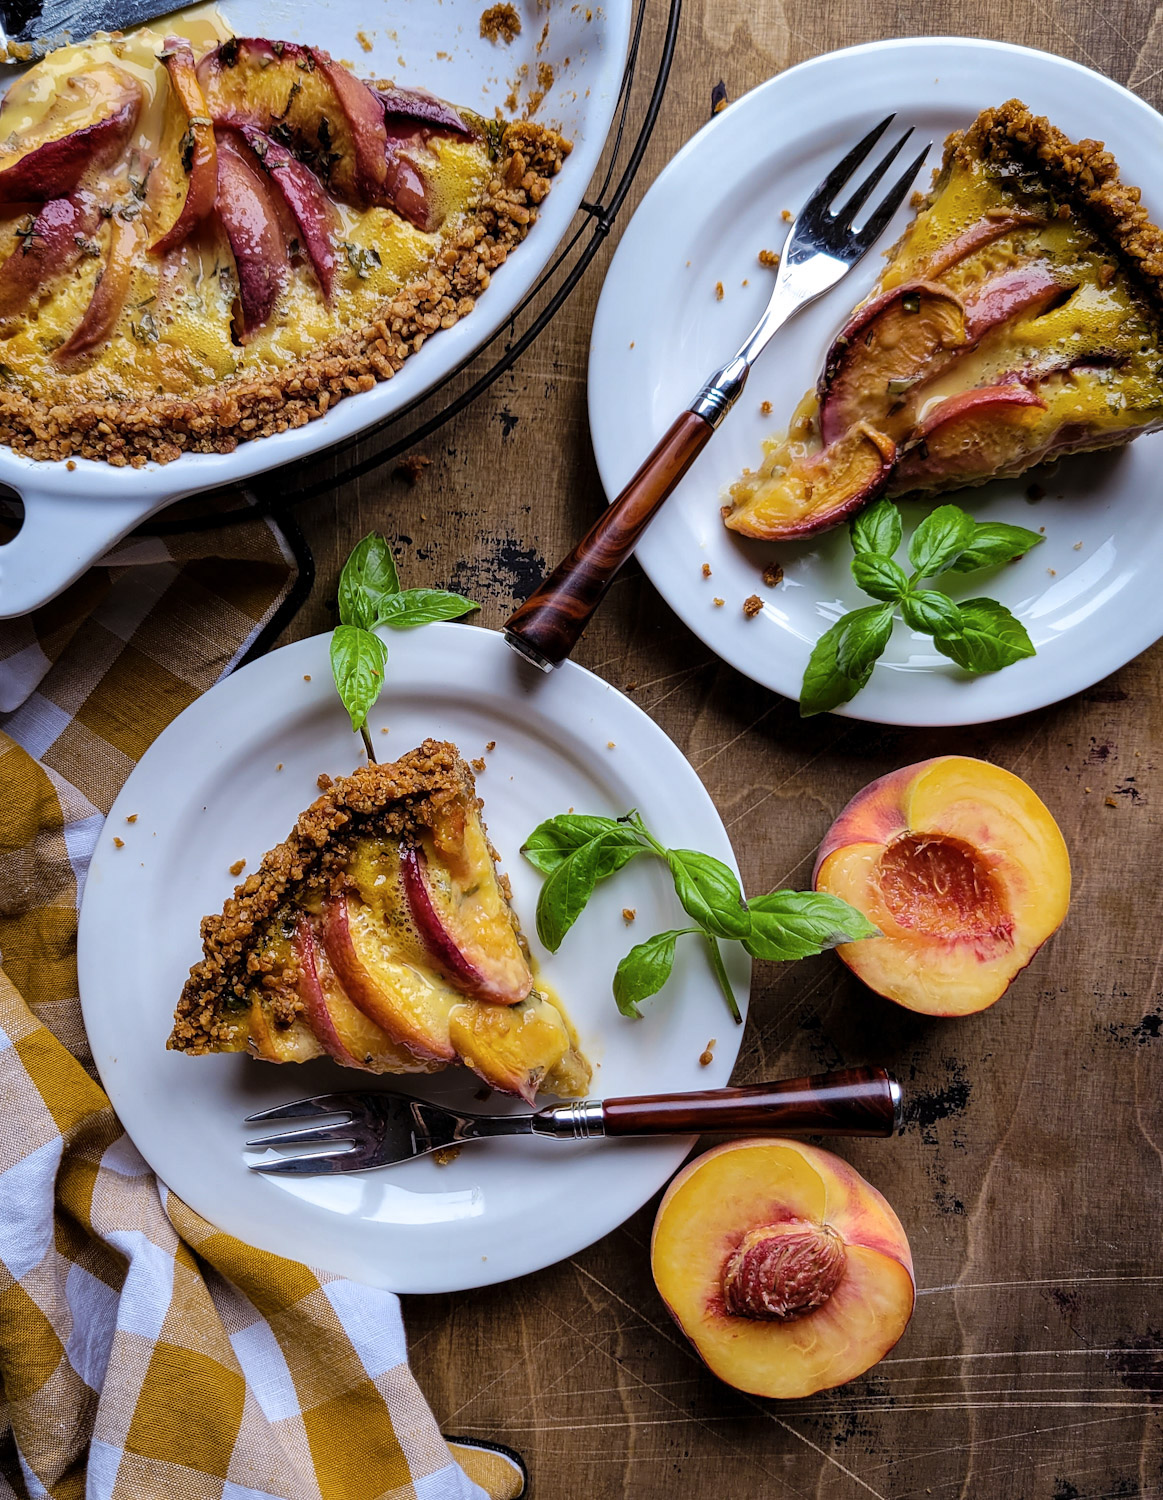
One of the first pies I ever made was a peach sour cream pie. I loved the play of juicy fruit against the creamy texture of the filling. The sour cream added just enough tang, and I was so excited that a pie had turned out! It had that retro old fashioned diner pie vibe, which just sings nostalgia. So it is time to bring it into 2021.
Yes, there are still fresh peaches. But back in the day, when peaches had rougher, fuzzier skin, they had to be blanched and peeled before they would be baked up. This is just no longer the case. Peach skin softens and almost melts into the flesh, so bye-bye to that time consuming step! Just rub away any fuzz with a tea towel before slicing up. If you are using homegrown peaches with a thicker, fuzzy skin, you may want to blanch and peel them. Here’s how:
Bring a large of pot of water to a boil. Reduce heat slightly. Cut a small X into the bottom of each peach.
Gently drop into the simmering water and allow to simmer for 30 seconds or so. Immediately remove to a ice water bath to stop the cooking. Allow to sit in the cold water for a few seconds. Remove and dry off. Using the back of a paring knife, remove the skin which should already be pulling away from the flesh. Let cool before slicing and removing the pit.
Along with the egg custard sour cream base, I decided to add chopped fresh basil. It adds a subtle savoury sweet accent. I just love fresh herbs in fruit pies, I hope you do too. Of course, you can leave it out, but really, try it out first!
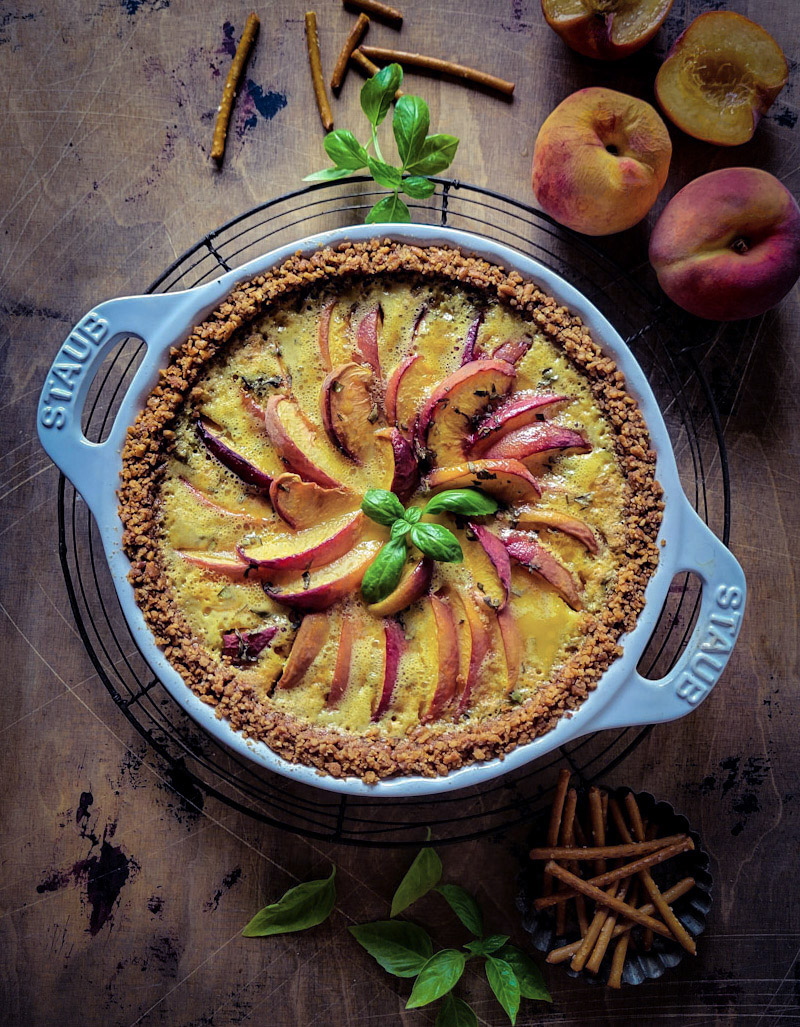
And my final switch-up to that original recipe: a Pretzel crust! Instead of fussing with pie dough on a hot and humid summer day, I decided to take the easy way out and do a press in crust that will never flop or get too soft as I’m working with it.
Pretzel Crust
This is the crust that you will want to use for all sorts of pies. The coarse salty nature of pretzels creates a perfect flavour contrast to sweet fillings. And of course, it has great texture and crunch to play against creamy cheesecake fillings. And these days, it is so easy to find gluten free pretzels, which is why I love making crusts this way. Purchase bags and keep them handy for impromptu pie crust moments.
Pretzel hack: Purchase 7 oz bags of gluten free snacking pretzels and whiz them up in the food processor and freeze them so that there are always pretzels ready to be made into a crust.
Amount of Ground Pretzels Needed for the Average Crust
Like I mentioned above, a 7 oz bag of pretzels (the brand I like is this one) will whiz down to about 1 1/3 cups of ground. This is perfect for a 9-10 inch pie plate. If your plate is on the smaller side, you can use 1 1/4 ground pretzels. If for some reason you ground up 1 1/2 cups worth, the crust may be a tad thicker. It will still be fine.
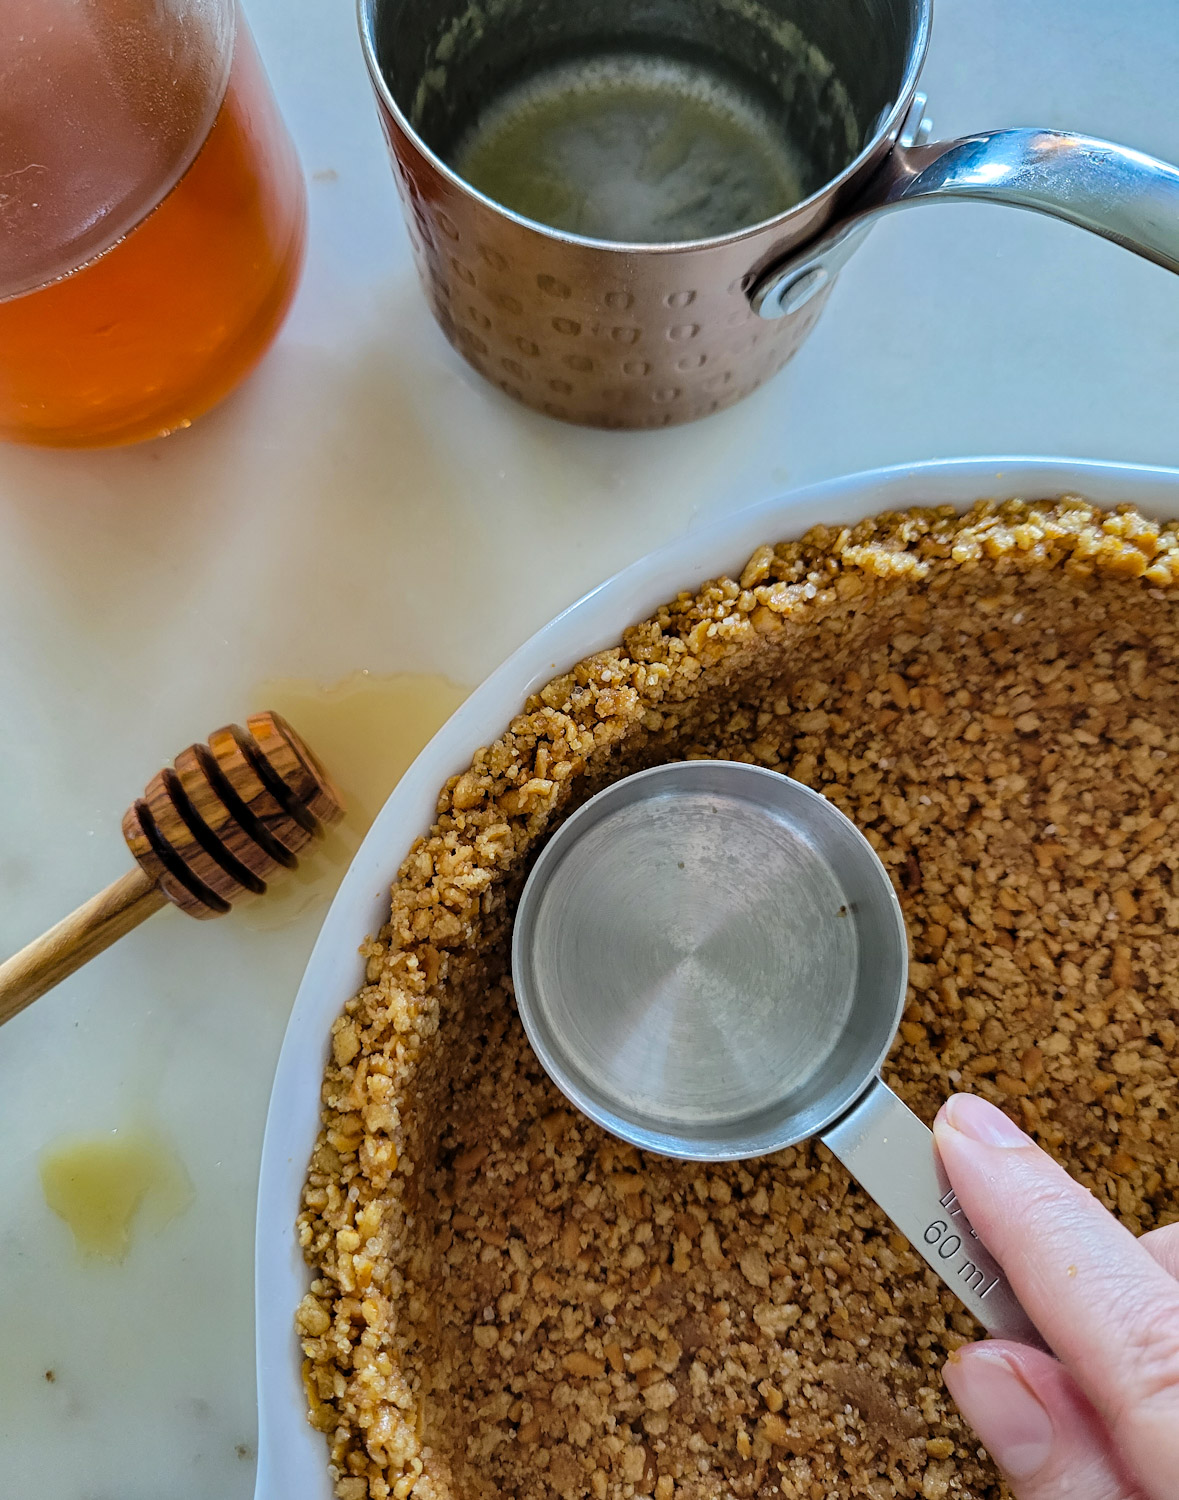
Add melted butter, sugar and a drizzle of honey for the best sweet salty flavour combo. Combine into a moist sandy texture, and spoon it all into your pie plate. You will want to work on the sides first, getting an even amount pressed all the way around. Only then will you work on the base or floor of the pie plate. This will ensure that the crust is more even and you aren’t trying to push the mixture around to fill in areas that are too thin on the sides. Use a small measuring cup to press gently around to smooth out the sides and bottom. Chill or pre-bake as per your desire and the pie you are making.
Pre-Bake The Crust
If you want to pre-bake the crust, you will be in for the best flavour. The time in the oven caramelizes the sugar and honey into the crust, creating the best intense caramel flavour. Salty caramel crust, what could be better!? It only needs about 10 minutes in the oven. Let it cool before you fill it.
Sour Cream Pie Trouble Shooting
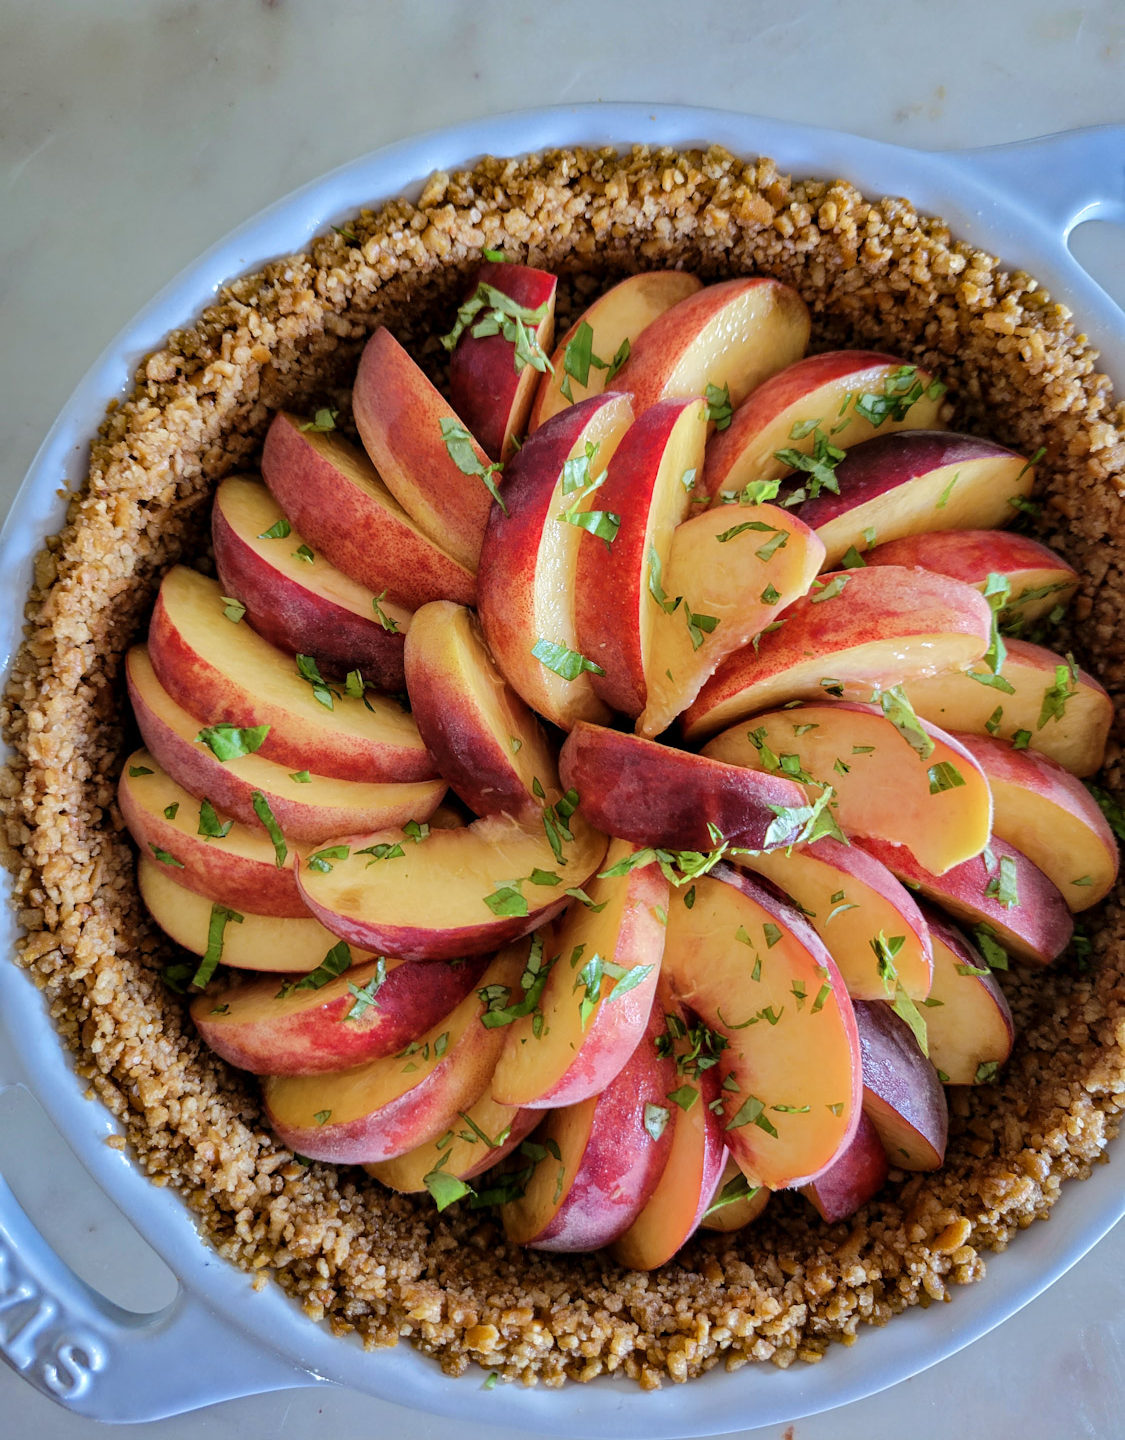
Peaches will release juices as they bake, so I suggest tossing the peach slices in a little cornstarch or arrowroot starch before adding them to the pie base.
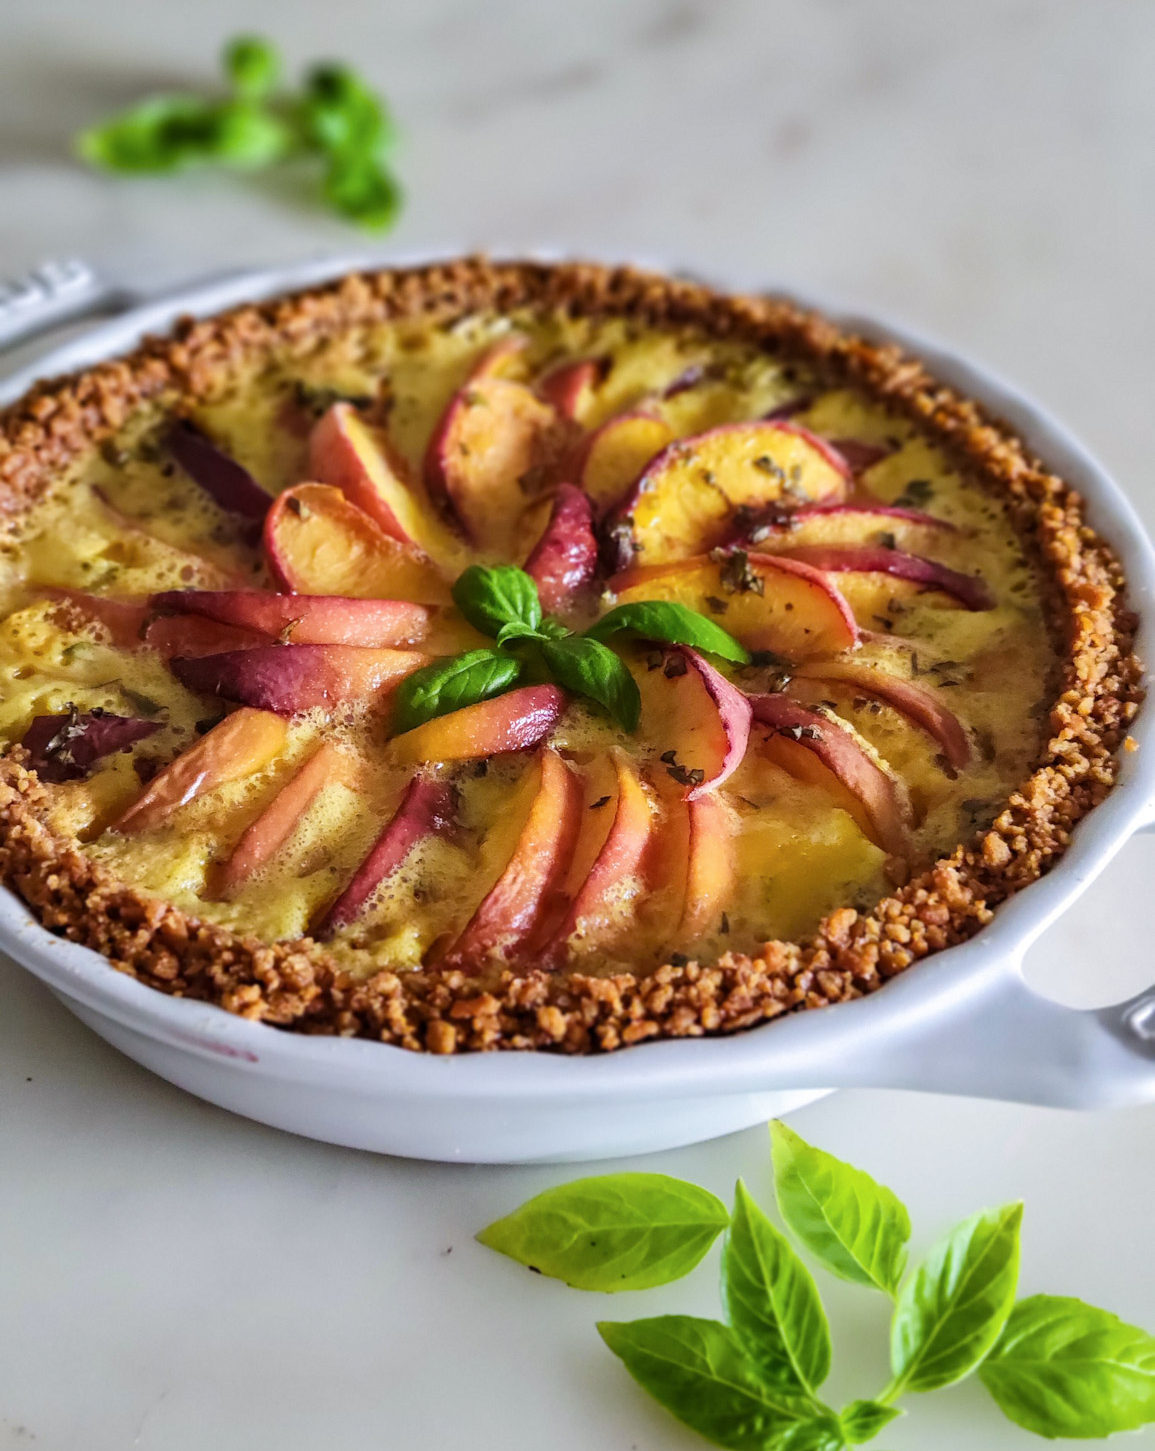
Don’t be in a rush to cover the pie if you are worried that it will over-brown. The low temperature that the pie is baking at will keep that from happening too quickly. If you do decide to tent it with foil, ensure that it is very loose over the pie, or else the steam will go back into the pie and water down the filling which is trying to set.
If the edges are set, and only the very centre of the pie is jiggly, it is time to come out of the oven. As it cools, the filling will continue to set. Do not cover it with plastic wrap, for the same reasons as above.
Once it is completely cooled, it can be stored in the fridge for a day or so, with plastic wrap gently placed on top.
This pie is best served at room temperature or only slightly cooled. You can serve it with whipped cream or vanilla ice cream, but not totally necessary. Unless you ask Jim.
Feel free to use the Pretzel crust with my Bourbon Salted Caramel Cheesecake or my Balsamic Strawberry No Bake Cheesecake It will also be great as an alternative to the oat crust in my Summer Berry Tart

Peach Sour Cream Pie with a Pretzel Crust
Ingredients
Pretzel Crust
- 7 oz pretzel sticks, or 198 grams
- 2 tbsp sugar
- 6 tbsp butter, or 78 grams
- 1 tbsp honey
Peach Sour Cream Filling
- 3-4 peaches, pitted and sliced into 8-10 slices each (see Notes)
- 1 tbsp packed chopped fresh basil
- 1 tbsp cornstarch or arrowroot starch
- 2 egg yolks
- 1 egg
- 3 tbsp flour, can use gluten free one for one blend
- 1/3 cup sour cream
- 2/3 cup sugar
Instructions
Pretzel Crust
-
Preheat the oven to 350 F
-
Whiz the pretzels in a food processor till fine crumbs are achieved and place them in a bowl along with the sugar.
-
In a small pot melt the butter and honey over medium heat. Let cool slightly and add most of the butter to the pretzels. If they aren't holding together add the final tbsp of butter.
-
Pour the crumbs into your pie plate. Start with the sides pressing the crumbs up firmly till you have gone all the way around. This shouldn't be rushed, it should take a few rounds to get the sides even. Then press the bottom of the pie evenly, pushing down any crumbs from the side if needed. Finish by using a measuring cup to smooth out the sides and bottom.
-
Bake in the preheated oven for 8-10 minutes depending on your oven, till fragrant and just turning golden.
-
You can refrigerate, covered, till needed.
-
See blog post for more details.
Peach Sour Cream Filling
-
Place the peach slices in a bowl and toss with the starch and chopped basil.
-
In a separate bowl, whisk the egg yolks, egg, flour, sour cream and sugar together.
-
Place the peaches in the cooled pretzel crust, fitting in as many as are reasonable. Don't force more than will fit in 3 or so concentric circles with a little overlap. Place the pie plate on a baking sheet.
-
Pour the filling gently over the peach slices. Bake on the centre rack.
-
Bake for 50 minutes. Check to see if it is browning at all. If so, LOOSELY tent some foil over the pie, with room for any steam to escape. Continue baking for another 15-20 minutes, or until the edges are set and only a little jiggle is left in the centre of the filling.
-
Let the pie cool on a rack. As it cools completely, the filling will set. Once completely cooled, it can be stored in the fridge loosely covered with plastic wrap for up to two days.
Recipe Notes
Depending on the size of your peaches, you may not need all the slices, just rub away any fuzz with a tea towel before slicing. If your peaches are home grown and have a thicker or fuzzy skin, you will want to blanch and peel them.
To prep peaches for peeling: Bring a large of pot of water to a boil. Reduce heat slightly. Cut a small X into the bottom of each peach.
Gently drop into the simmering water and allow to simmer for 30 seconds or so. Immediately remove to a ice water bath to stop the cooking. Allow to sit in the cold water for a few seconds. Remove and dry off. Using the back of a paring knife, remove the skin which should already be pulling away from the flesh. Let cool.

Leave a Reply