Jim is always very happy when I make cheesecake. Because I don’t make it often. I do love it, but after two pieces I’m set for another six months or so.
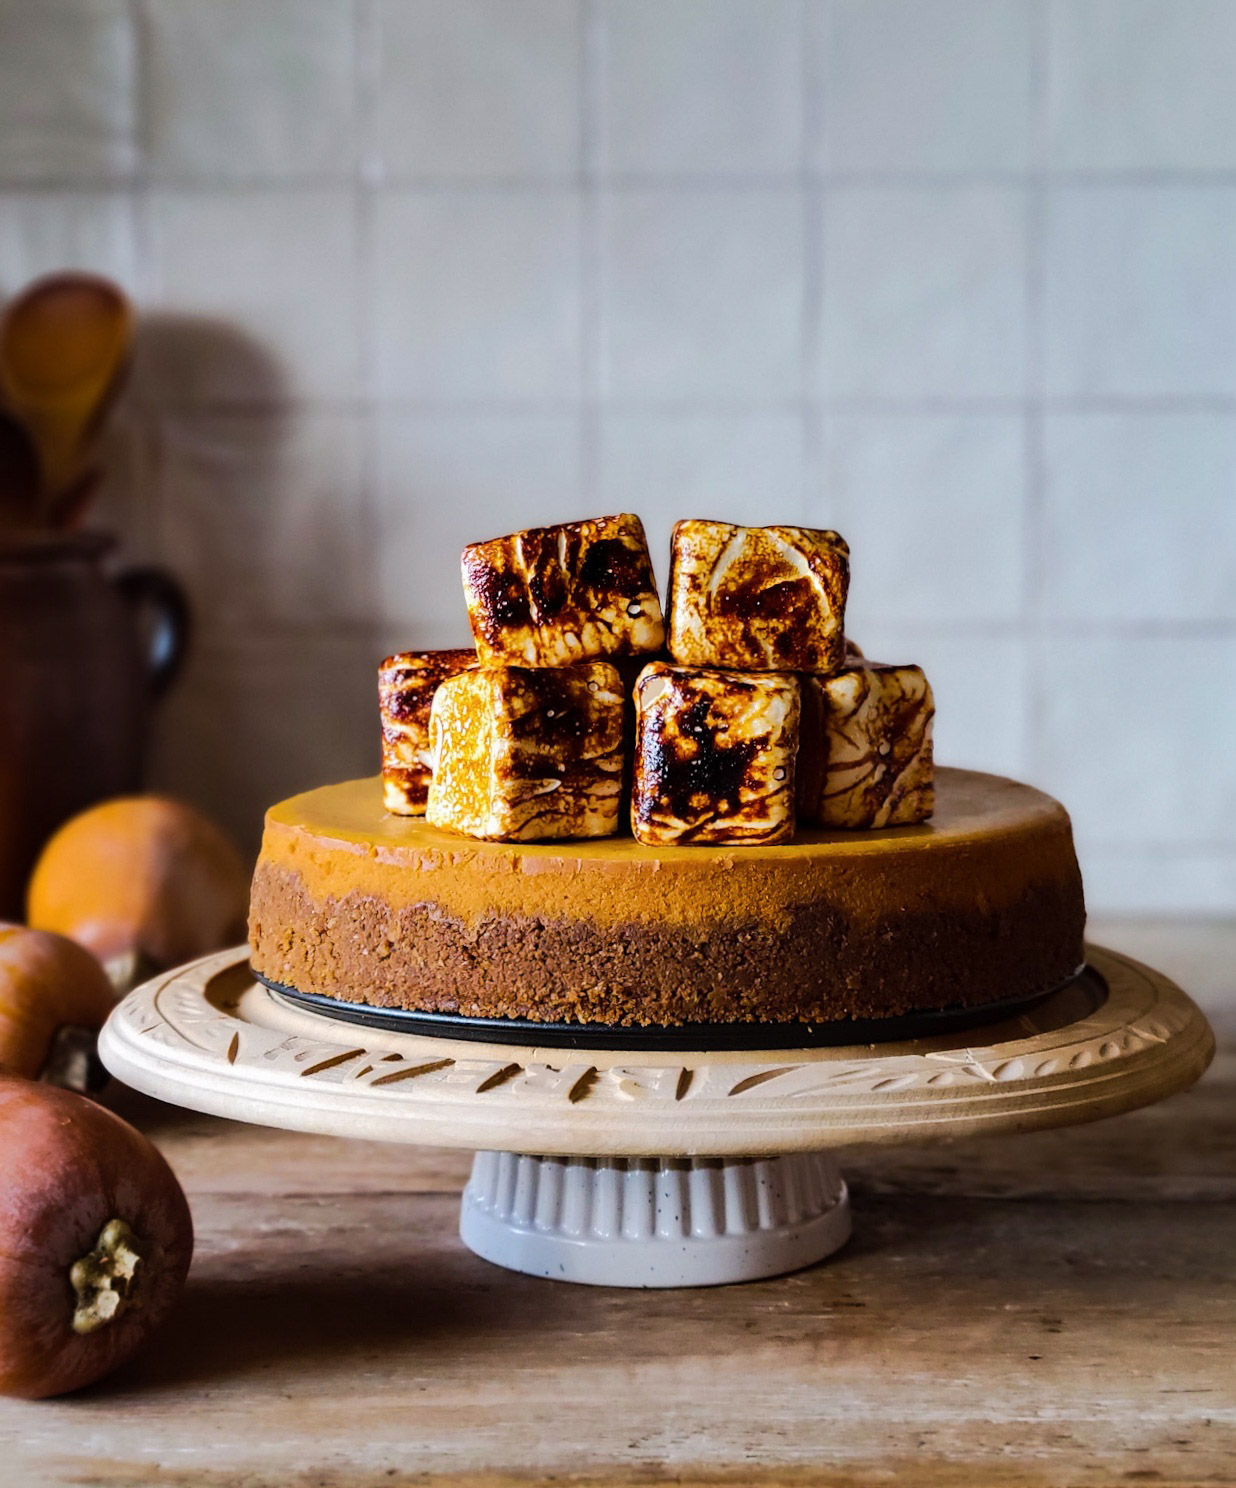 So I either halve one of my recipes, or I wait till we’re having company to share it with. Which is what happened last weekend. We had family over, so this meant I could make a full size cheesecake! Yay!
Pumpkin Cheesecake
Yes, the title has Pumpkin in it. But I make it with roasted honeynut squash as well, and turns out fabulously. You can roast the squash or the pumpkin off (here is my Brown Butter Honeynut Squash Cake recipe for directions to roast off any squash for purée), or you can use canned pumpkin, they all work fine. My go-to recipe is one by Junior’s Restaurant in Brooklyn. They make the best cheesecake, hands down! Their pumpkin cheesecake is no exception. Most of their cheesecakes are not overly sweet. They have a perfect texture, somewhere between creamy and crumbly. If you ever get to visit NYC, make sure to grab a slice, your belly will thank you.
Along with cream cheese, the ingredients are simple: sugar, pumpkin purée, eggs, some cornstarch, vanilla and whipping cream. I do add a few more spices than their recipe, for a bit of depth. Blend them well with a mixer, but once blended, stop. Avoid over blending. You don’t want to keep blending only to incorporate more air into the batter than needed, this may cause the dreaded rise and then cracking.
My Go-To Gluten Free Crust
Yes, you can totally use your favourite gingersnap or graham wafer cookies. What I like to use is a blend of cookies, and pretzels!! The pretzels give a great salty accent to contrast against the sweetness of the cake. Whether gluten free or not, why not try adding crushed pretzels to your crust next time!? The bottom line: you need two cups of finely crushed crumbs, no matter what they are made of. You will blend them with melted butter, and 1 tablespoon of maple syrup or brown sugar. Mix it all together and press into a 9 inch springform pan. Bake it off till golden and set, about 15 minutes in a 350 oven is all you need. Here are the pretzels I use. I will often blend up a couple of bags and then freeze the crumbs for when the mood strikes.
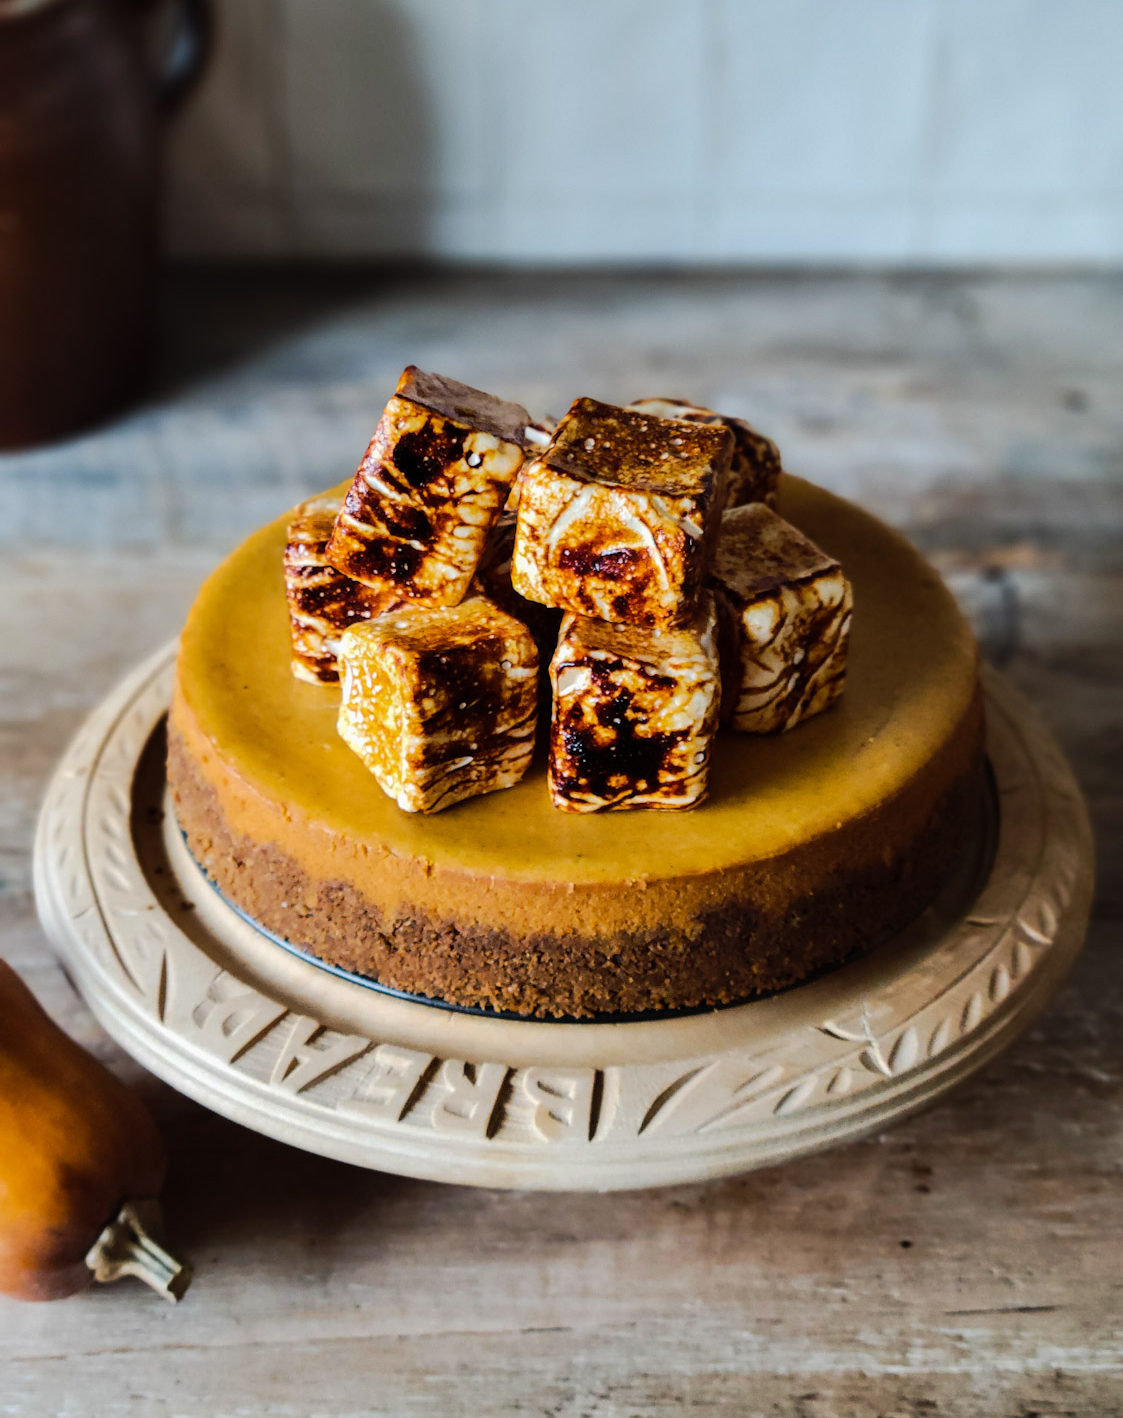
No Water Bath Needed
Yes, most classic cheesecakes are baked in a water bath. This means that the pan must be wrapped in foil, and then placed in an even larger roasting pan etc which will also hold water. The water will warm up in the oven, giving the cake an even moist heat in which to cook. And yes, it does work in minimizing the chances of a crack or two appearing on the surface. Some recipes give the alternative of placing a pan of water on the rack below the cheesecake as it bakes.
But here is a method that I learned from Ashley over at The Recipe Rebel. Cook the cake on a really low temperature, 275F, for a longer period of time, and then leave the cake to slowly cool down in the oven after the heat has been turned off. No water involved in any way. It really works! NO Cracks! But you can’t be in a rush. In fact, as is the case with all cheesecakes, bake it the day before you want to serve it. Not only should it come to room temperature, it should actually be chilled. This will help set the interior, so that the texture is even from edges to centre. Over night in the fridge is ideal. Then no matter which type of cake you are making, if you want to top it, it will be firm and ready to accept any type of ornamentation. Which brings me to the next step!
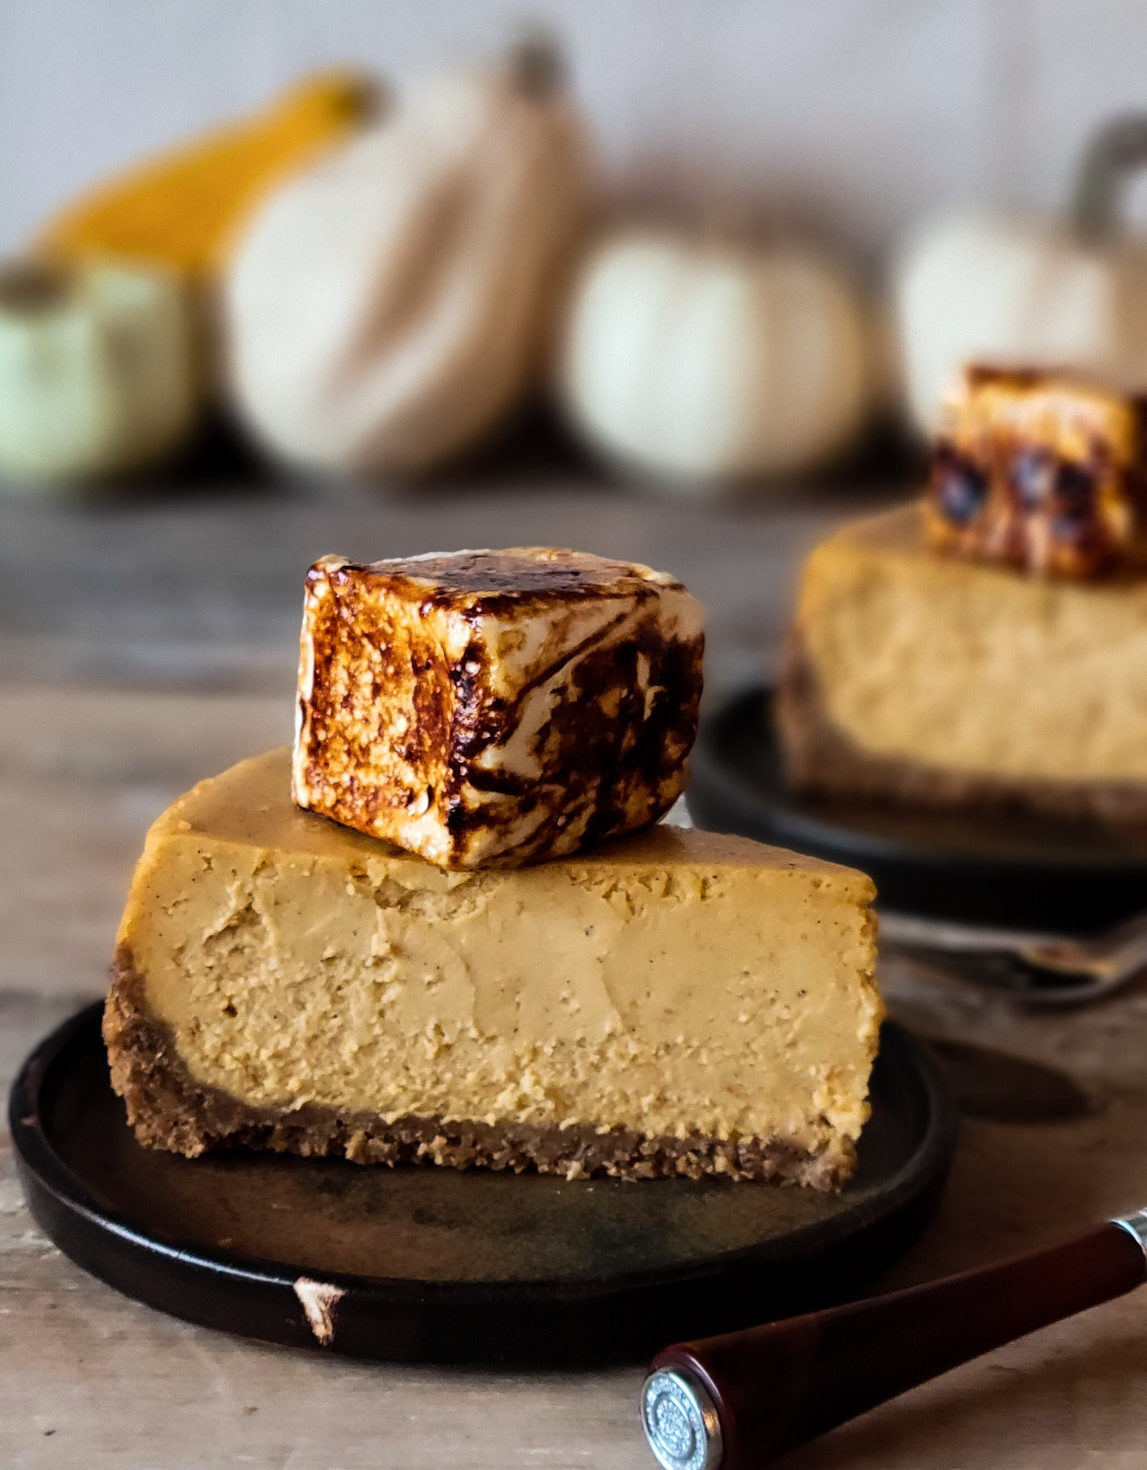
Toasted Marshmallows!
Yes, this is totally gilding the lily, but it is so worth it!! The smokey flavour of the torched marshmallows is such a wonderful contrast to the sweet creamy cheesecake. Have you ever made homemade marshmallows? You really must give it a go. The only thing you really need is a stand mixer, and a thermometer which can go up to 300F. There was a time that only a professional candy thermometer could give you these readings. But these days, an all purpose instant read thermometer will do the trick. I use my ThermoPop. So this means I only need one thermometer in the cutlery drawer.
You really only need light corn syrup, sugar, and gelatin. And some flavouring, like vanilla, almond extract etc. I use powdered gelatin, it’s just less messy and fussy than having to deal with the sheets. The gelatin is blended with water right in the bowl of your stand mixer and firms up while you heat the corn syrup, sugar and some water in a pot on the stove. Once the sugar melts and bubbles and comes up to 275F it is slowly poured into the stand mixer with the gelatin, and whisked up till it starts to cool down. As it cools it turns opaque, then white, and starts to firm up. Stop whisking before it cools down too much because then you won’t be able to spread it into a pan to firm up and cool down.
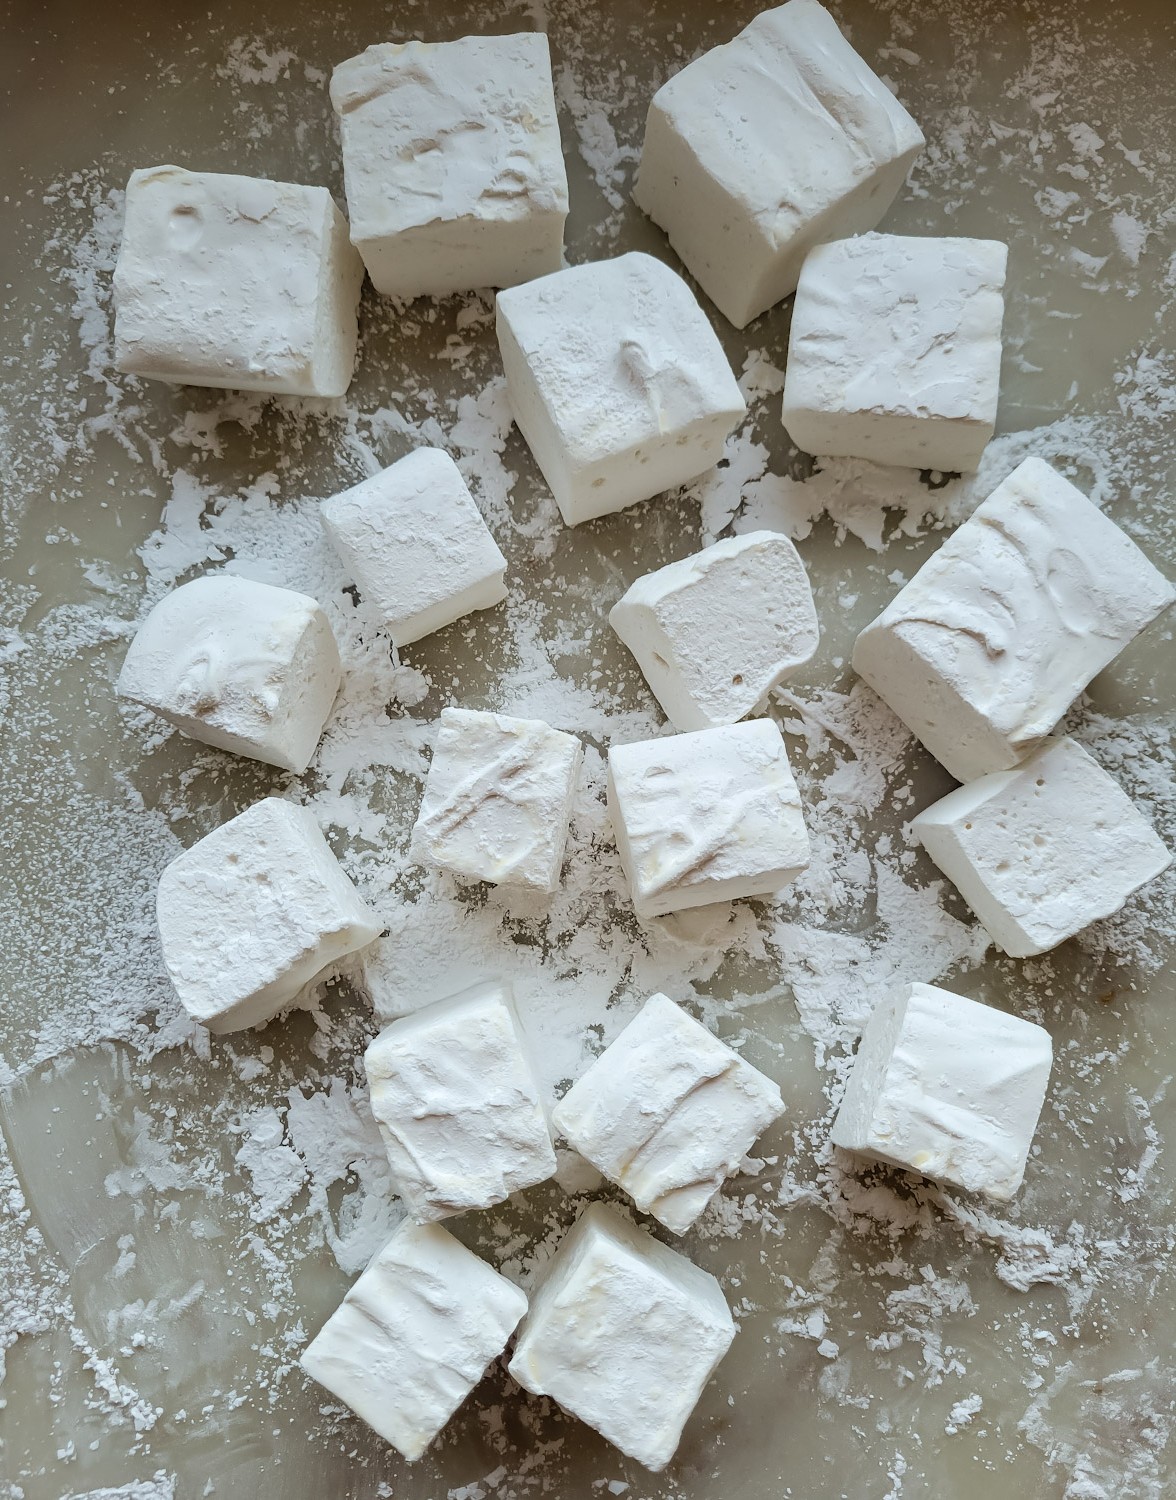
Spoon the warm marshmallow into a well buttered baking dish, and smooth the top. After 6 hours or even overnight, you can gently pry it away from the sides of the dish, and lift it up onto a counter dusted with icing sugar. Take a buttered knife and cut the slab into the size of marshmallows you want. I like larger ones for hot chocolate. But for to top this cake I used ones a little larger than 1 inch cubes. Dust all sides with icing sugar to keep them from sticking to each other and store in a sealed container till needed. I learned all I needed to from Zoë Bakes, here.
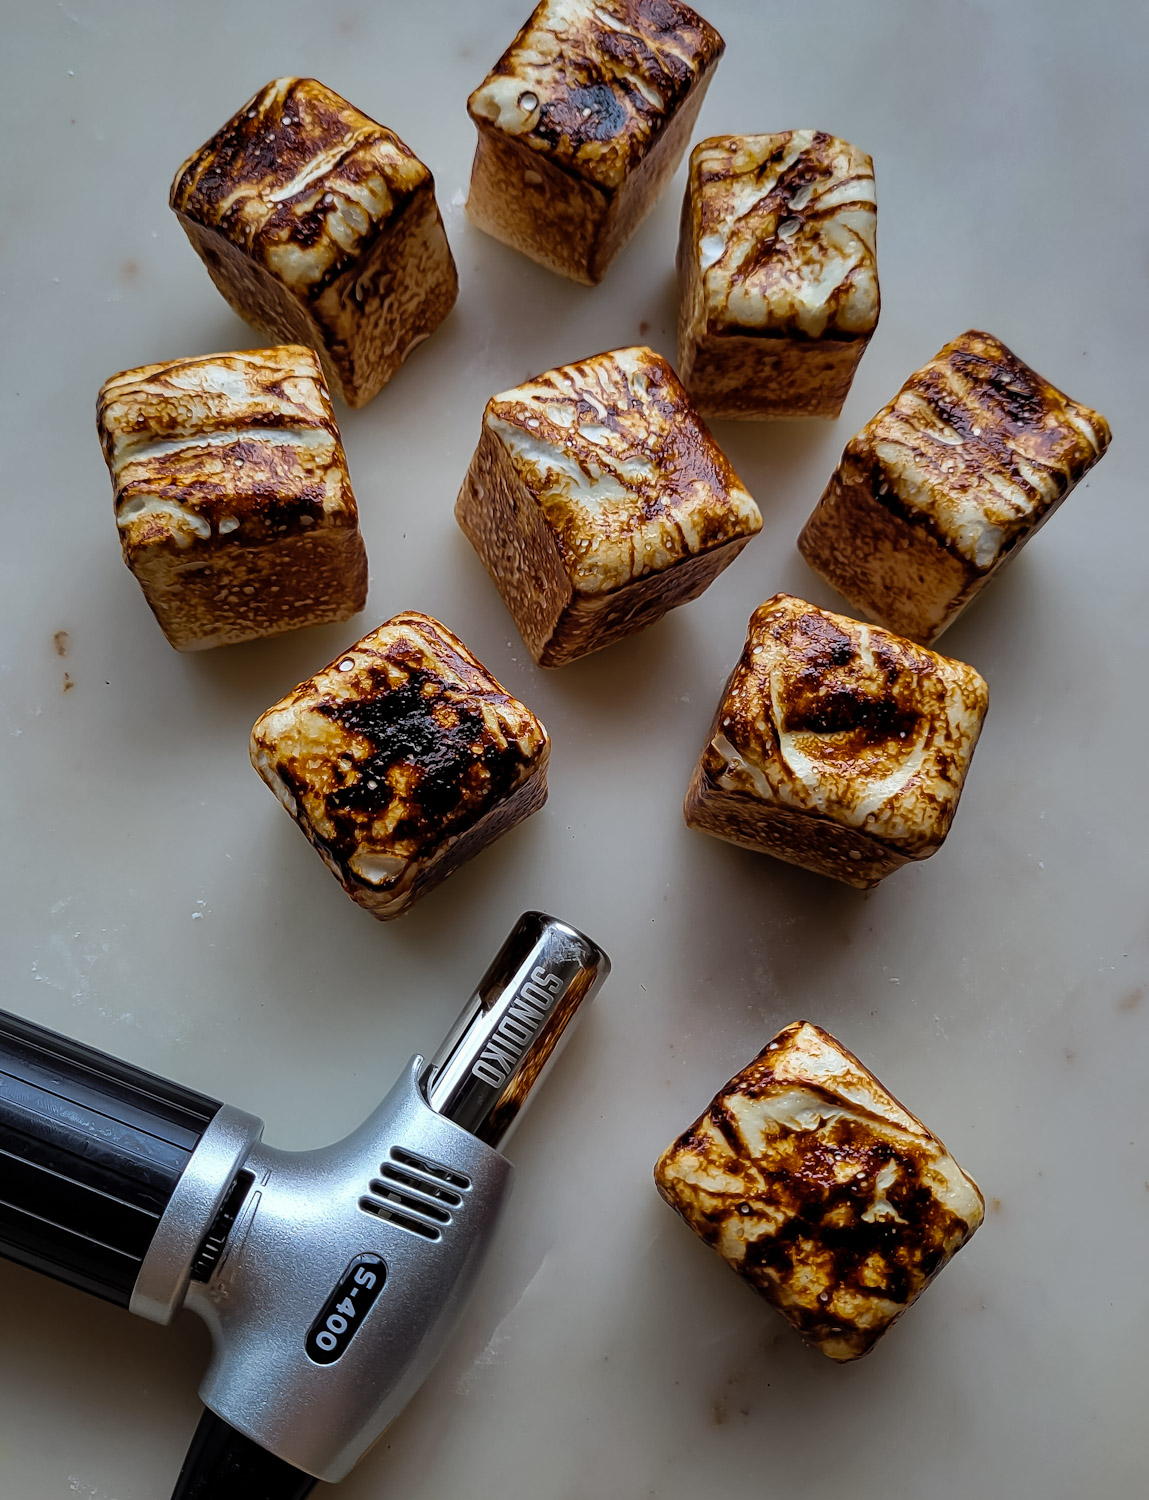
To Torch
This is one of those times I will say it is worth it to have a tool that you won’t use every day. But when you do use it, you will be so happy you did! Creme brûlée, meringue etc all benefit from a little scorching! They aren’t that expensive, and make for fun times in the kitchen. Just pull it out, and torch all sides of the marshmallows slowly till you get that perfect smokey burnish. Do it just before you plan on serving the cake, so that the marshmallows will be easy to cut into with a fork. The cake should be cool, but the marshmallow should be warm, if you know what I mean. Perfect gooey contrast!
Final Thoughts
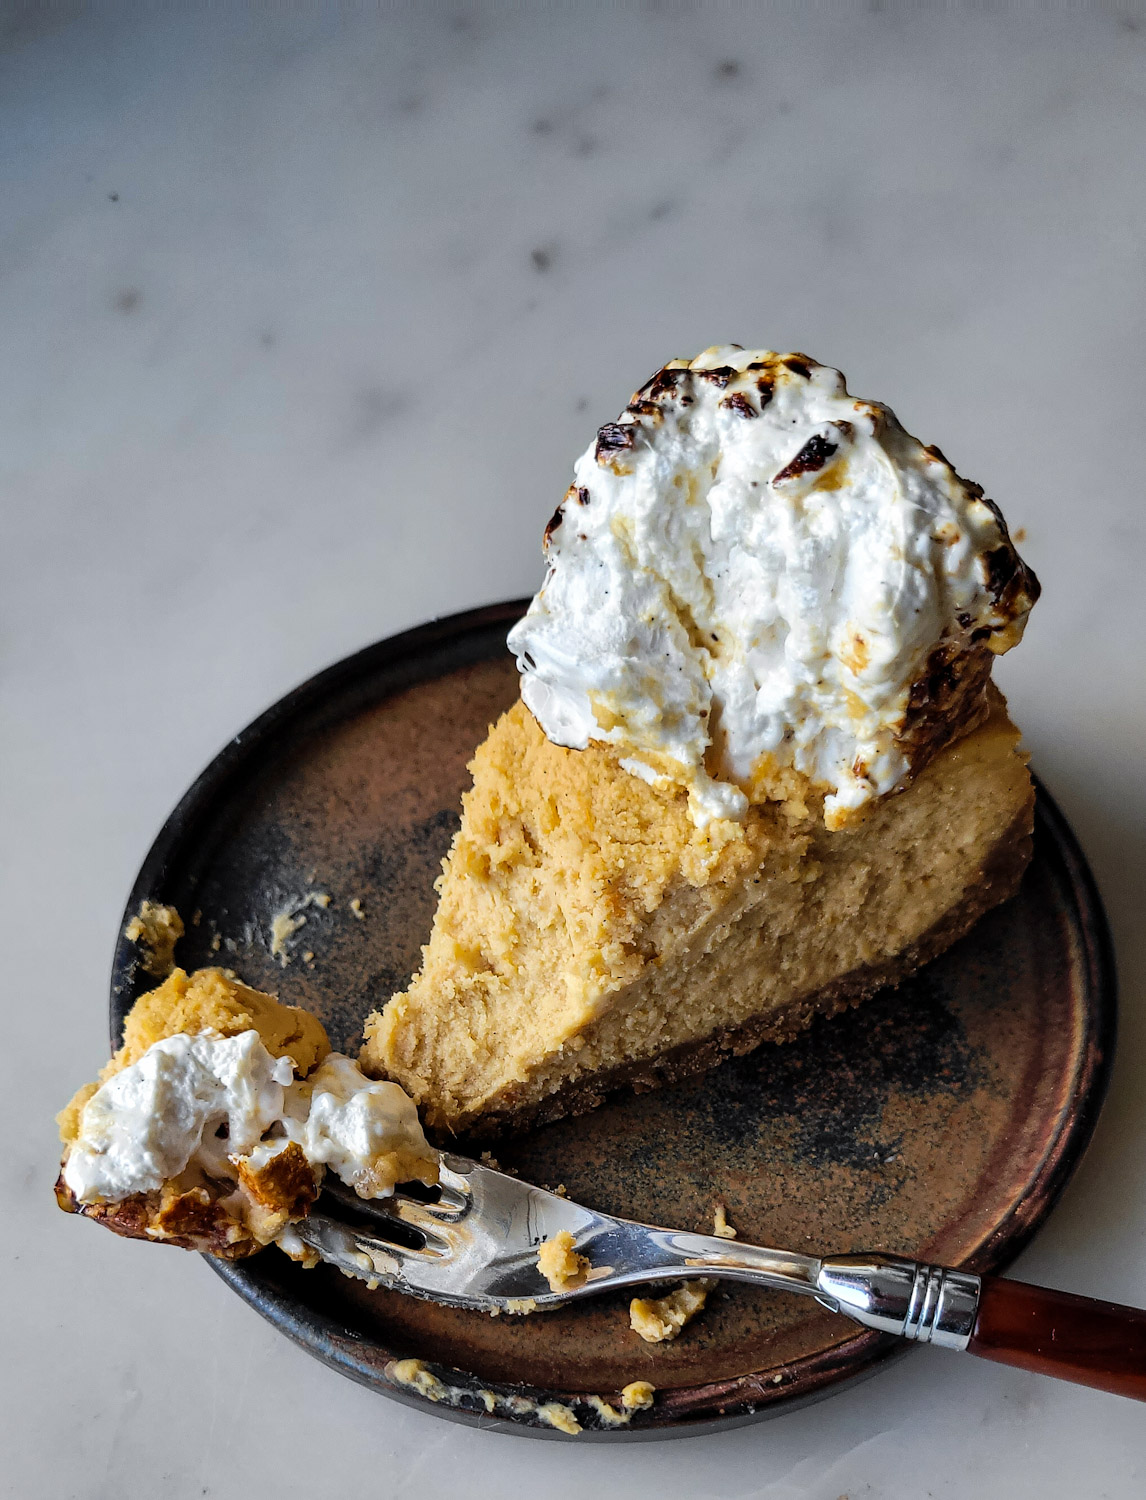
This cheesecake is luscious, an easy straightforward recipe. Follow it, and it will always work. Halve it and use a 6 or 7 inch springform pan if you want all the flavours of autumn but less of a commitment. Adjust cooking times of course, use the visual cues of set edges and jiggly centre. Don’t worry if you omit the marshmallow topping, whipped cream will be fabulous. Add a bit of bourbon to the whipping cream for that smokey effect, and sweeten the cream with a couple of tablespoons of icing sugar (icing sugar gives it stability so that it won’t fall apart and melt too quickly) as it is whipping. Chill your cake before you plan on serving it. You can make the cake in advance, but don’t decorate it till ready to serve.
Yes, it can be frozen, once completely cooled down. Just wrap it a few times before placing it into a freezer bag. It can be wrapped tightly right in the springform pan, or individual slices can be wrapped and frozen for easy access. It will be good for a couple of months in the freezer. Thaw in the fridge overnight for the entire cake, or a few hours for an individual slice.
I hope you try making your own marshmallows, once you do, you will never stop, I promise! They taste SO MUCH BETTER than store bought!
Love Jen

Pumpkin Cheesecake with Toasted Marshmallows
Ingredients
Crust
- 2 cups (336 grams) crushed gingersnaps, graham crackers, honey pretzels, or your favourite gluten free cookie crumb option
- 6 tbsp (85 grams) butter, melted and slightly cooled
- 1 tbsp brown sugar or maple syrup
- 1/4 tsp salt
Filling
- 3 packages (750 grams/24 oz) regular Cream cheese , AT ROOM TEMPERATURE
- 1 1/2 cup sugar
- 3 tbsp cornstarch
- 2 tsp vanilla extract
- 2 extra large eggs, AT ROOM TEMPERATURE
- 1 cup pumpkin purée, firmly packed, or roasted squash purée, or even canned pumpkin purée (not pie filling)
- 1 tbsp cinnamon
- 2 tsp ginger
- 1 tsp allspice
- 1/4 tsp cloves
- 1/2 cup whipping cream, AT ROOM TEMPERATURE
Marshmallows
- 3 packets powdered gelatin
- 1 3/4 cups sugar
- 3/4 cup light corn syrup
- 1/2 cup water
- pinch of salt
- 1 tbsp vanilla
- icing sugar
Instructions
Crust
-
Preheat the oven to 350F.
-
Combine the cookie crumbs, melted butter and brown sugar or maple syrup in a bowl. Stir together till completely blended and holds together. Press the crumb mixture into a 9 inch springform pan with high sides. Start with the edges first to ensure that you have enough to go up at least 1 1/inches. Go slowly, and then pull the excess from the bottom edge and pull it towards the middle. Fill in the bottom.
-
Bake in the centre of the oven for about 10 minutes till fragrant and golden. Take out, cool and set aside while the filling is being prepared.
Filling
-
Reduce the heat to 275F.
-
Place one of the packages of cream cheese (8 oz) along with 1/2 cup of sugar, and the cornstarch into the bowl of your mixer. Beat on low until creamy, about 3 minutes. Then beat in the remaining cheese.
-
Increase the speed and add the remaining sugar. Then add the vanilla. Blend in the eggs, one at a time, scraping down the sides as needed.
-
Combine the pumpkin purée with the cinnamon, ginger, allspice and cloves till blended. Add this to the cheese mixture and beat through. Add the heavy cream. Mix only till completely blended, but no further. Do NOT over-mix the batter.
-
Gently spoon the filling into the cooled down crust. Give the pan a couple of gentle taps to release any air bubbles.
-
Bake in the centre of the oven till the outer 2 inches of the edges are set, and the centre is still slightly jiggly, anywhere between 1 hour 15 minutes to 1 1/2 hours. Turn off the oven. Leave the cake in the oven to cool down as the oven cools.
-
Remove the cake from the oven to a wire cooling rack. After 15 minutes gently run a knife along the outer edge of the cake to loosen it. Keep the pan intact and once cooled place in the fridge to chill (overnight is best) Then you can remove the sides before serving.
Marshmallows
-
Dissolve the 3 packets in 1/2 cup of water in the bowl of your stand mixer.
-
In a saucepan combine the sugar, corn syrup and 1/2 cup water. Cook until it reads 245°F on a candy thermometer. Turn the mixer on low-speed to start breaking up the gelatin, and carefully pour in the hot sugar syrup along the side of the bowl, being careful that it doesn't hit the whip attachment.
-
Once you have all the syrup in the bowl, add the salt, turn the speed up to high and let it mix for about 8-10 minutes.
-
The marshmallow will be light, fluffy and almost cooled down. Add the vanilla now. It shouldn't be too cool or else it will not be malleable and spreadable.
-
Meanwhile, lightly grease a baking dish with butter. Pour the marshmallow into the pan and smooth the top. Allow it to sit for 6 hours or overnight.
-
Generously dust a parchment lined baking sheet with powdered sugar.
-
Gently pry the cooled marshmallow away from the sides. You should be able to easily pick it up and transfer it to sugar dusted baking sheet.
-
To cut, dust the marshmallow with powdered sugar. Carefully butter the blade of a knife and cut into desired cubes. For this cake, keep the cubes at around 1 1/4 inch in size. Dust with more sugar to prevent them from sticking to each other.
-
The marshmallows will hold their shape and can be stored in an airtight container for a week. These can be made in advance of the cheesecake.
To serve
-
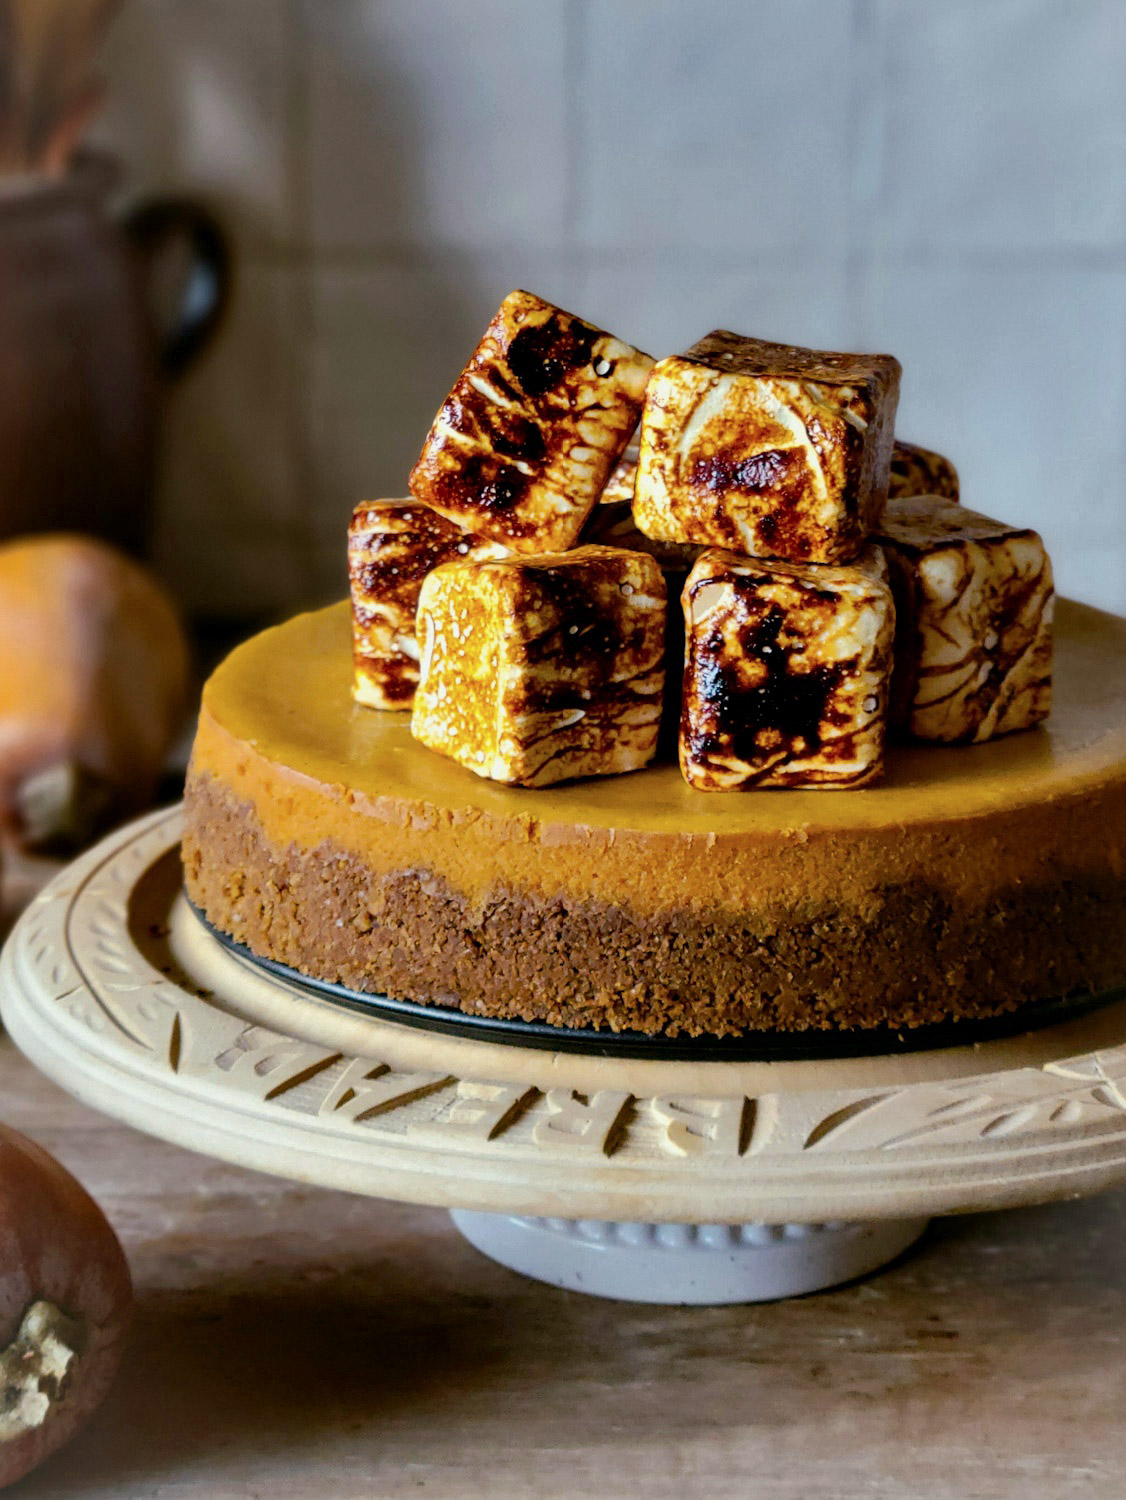
Use a torch to burnish all the edges of the desired amount of marshmallows you want to serve with the cake. For instance, if you are feeding 8 people initially, toast up 8 marshmallows. As you eat the rest of the cake later on you can always toast up some more marshmallows. You can mound them for the wow factor once they have cooled a little, or else you can place one warmed marshmallow onto each slice for serving.
-
See the blog post for more details.
Recipe Notes
Here is the link for how to roast and prepare the squash or pumpkin if you are doing it from scratch: Brown Butter Honeynut Squash Cake
Leave a Reply