Our anniversary was coming up last week. We had just gotten home, tired from a lovely trip abroad. Jim and I viewed the trip as our anniversary present to one another, but that didn’t mean I was off the hook from cooking him something he would love!
 Usually our anniversary dinner is Jim’s favourite Pepper Crusted Chevre Stuffed Chicken, with roast onions, garlic and potatoes. But neither of us was in the mood for a large meal. I think it was all the carb-heavy meals in Europe that we were still paying for. But seeing that there is always room for dessert, perhaps we could just have dessert for dinner. I could make Jim an Apple Pie. He loves apple pie. Or Coconut Cream Pie. He loves that as well.
But I decided that Jim deserved a cheesecake. Considering that I hadn’t made him one in like 15 years, it was about time! It’s not that I don’t know how, it’s just not something I crave to make. It’s not pie!! And then about 12 years back we became friends with a lovely family. She is an amazing cook and baker in her own right. And she adores making cheesecake. So, even though it kind of started out as a joke, I would just say, “Oh, you feel like cheesecake? Go visit Marla!” And I totally bowed to her cheesecake making skills. So Jim got spoiled. Especially with Marla’s White Chocolate Raspberry Cheesecake.
When I first started out making cheesecake (I won’t tell you how far back that was) finding that sweet spot where the inevitable crack hadn’t formed on the top, simply eluded me. I tried everything (water bath, lower temps, leaving it in the oven to cool down etc) And then I discovered Juniors Cheesecake. If you have been to Juniors Restaurant in Brooklyn, New York, you know exactly what I am referring to. I am referring to the BEST cheesecake in North America. Truly. Their plain cheesecake is so wonderful, that it needs no embellishment. When we are visiting, we just order a naked slice to share. It is so large, and so rich. But it isn’t too sweet or cloying. It has that perfect texture somewhere between creamy and crumbly. These days, a trip to NYC isn’t complete until we have polished off that slice and downed it with some single malts!
Back about 12 years ago, I picked up their cookbook. There are so many great recipes, as well as the history of the family business in the book. But I got it mainly for the cheesecake recipe. Now, you can follow this recipe to a T and it will still be slightly different from the cheesecake burned into your tastebud memory. Why??? They explain: it has to do with the cream cheese.
They source their fresh cream cheese from somewhere undisclosed (I guess they get to keep some secrets, right?!) So if we try to make this cheesecake using Philly cream cheese bricks from the grocery store, it will definitely fall flat. Yes, it will still taste great. Especially if you don’t have the original to compare it against. Which is fine. But, since I don’t have access to their cream cheese source, I do the next best thing. I pick up my cream cheese fresh from the deli counter at my favourite delis in the city (Schefflers Deli in St. Lawrence Market, or The Cheese Boutique) It is is fresh, creamy (but not too thin) and I get to measure it out into a tub, just as much as I need. I will only use fresh cream cheese these days for a cheescake. It makes the world of difference.
And if you follow their recipe, there will be no cracks! At least I have never had a crack occur since I started using this recipe. It is an easy recipe to follow. I love that they suggest making this the day before and having it rest in the fridge before decorating and eating. So that is what I did. And because it is a naked, pure cheesecake, you get to embellish as you see fit.
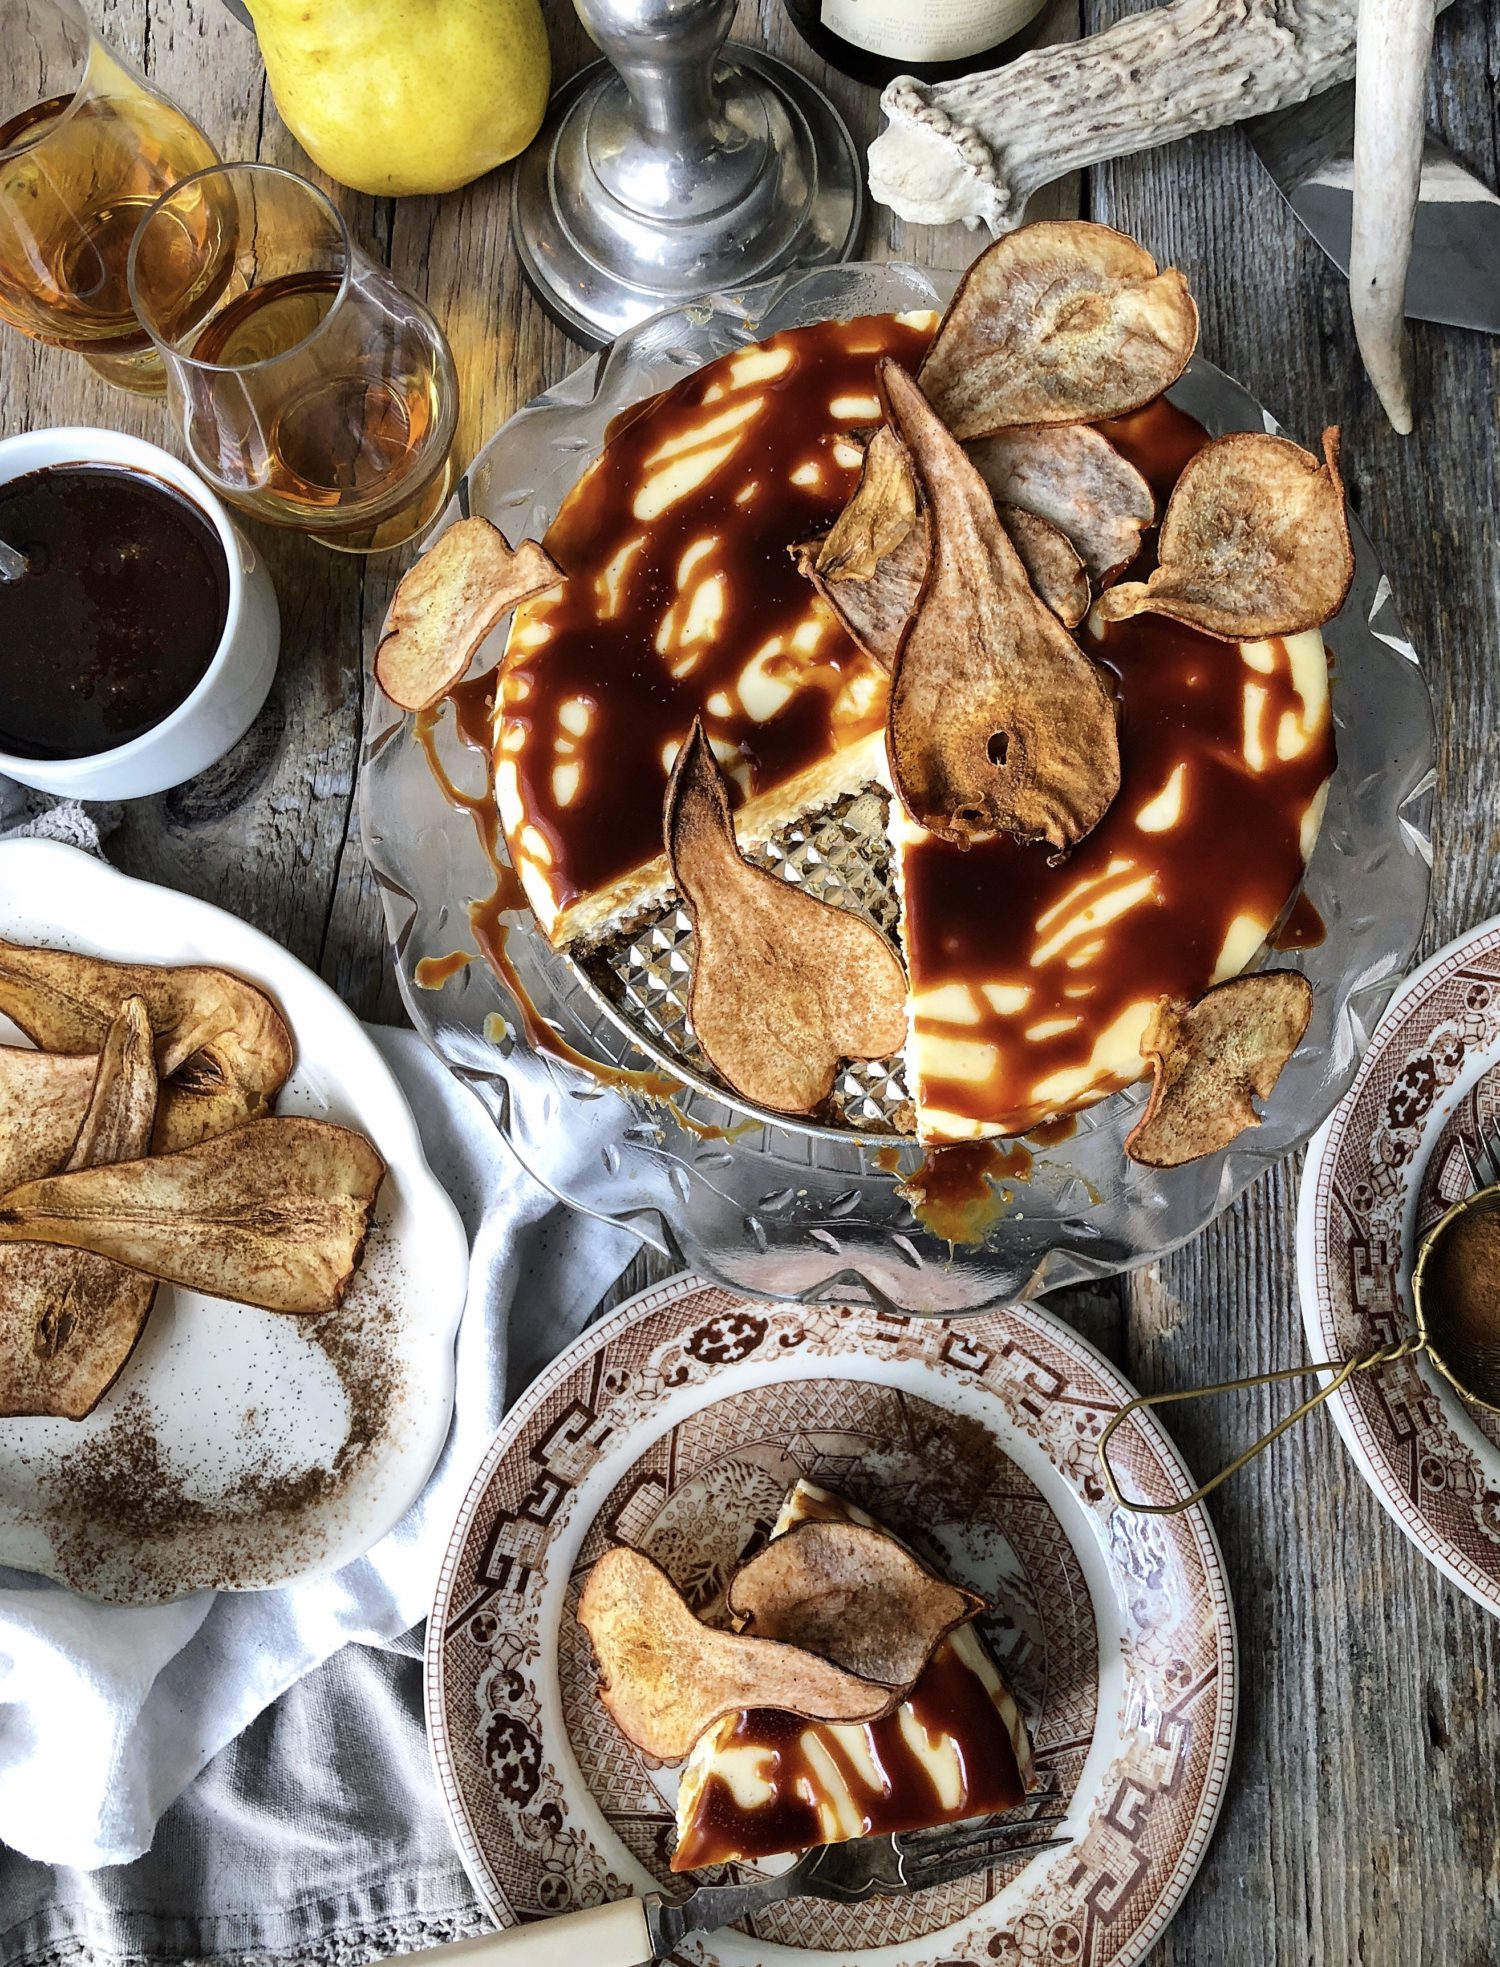
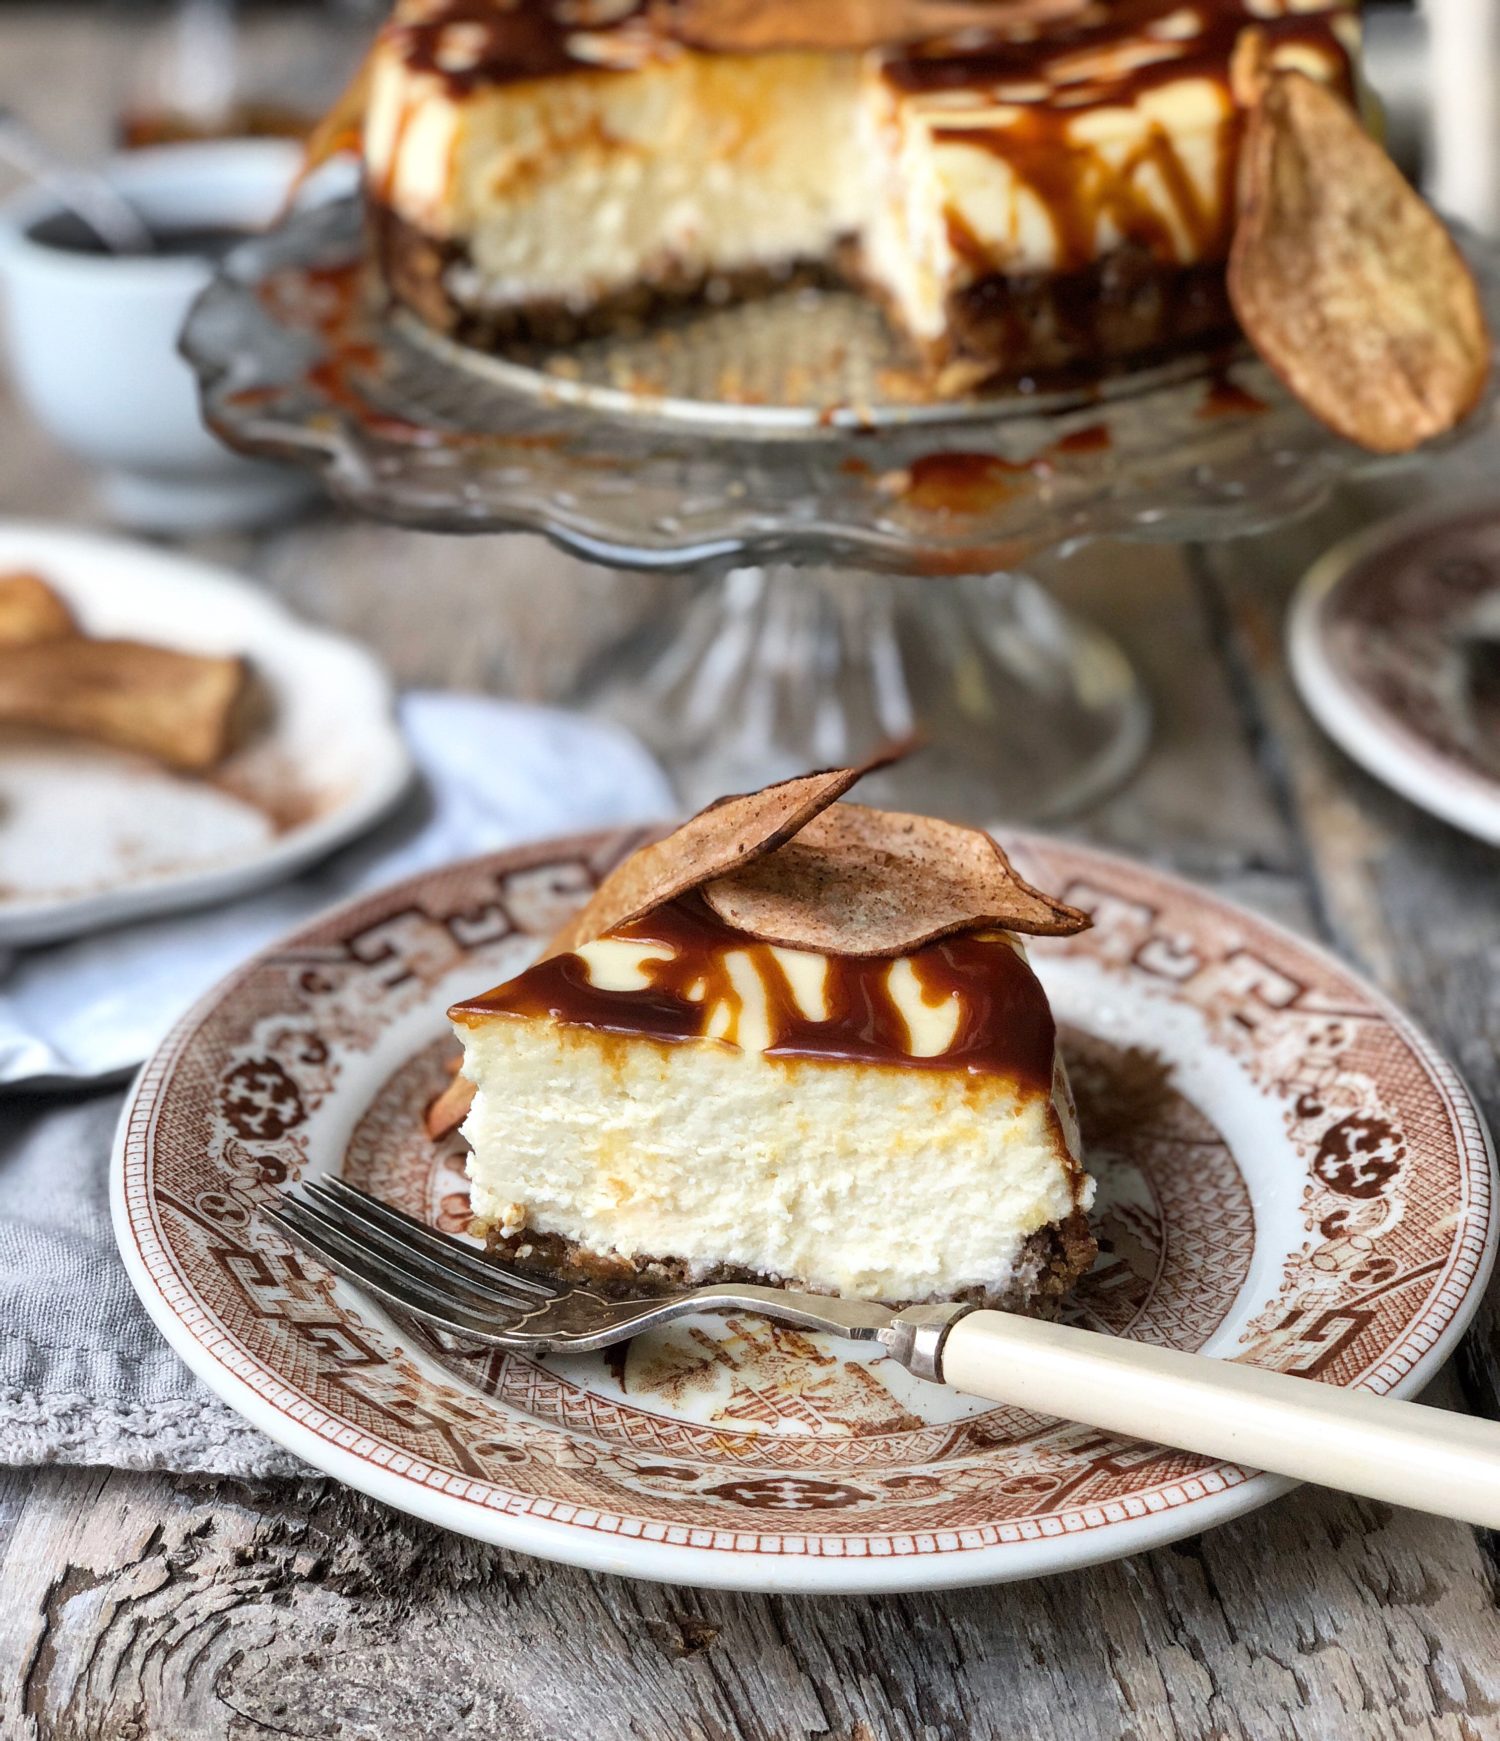
So for this year’s anniversary cake, I embellished with bourbon. And caramel! I took some of my Salted Bourbon Caramel Sauce, warmed it up on low until it was runny, and drizzled it over the cake. I also embellished the bottom of the cake. Instead of a typical graham crust or spongecake crust, I went for a walnut crust. It is autumn after all. So I whizzed up some walnuts, butter, mesquite flour and muscovado sugar in the food processor and then pressed it into the springform bottom and edges. This got baked off and cooled before I poured the cheesecake batter into it for the final bake.
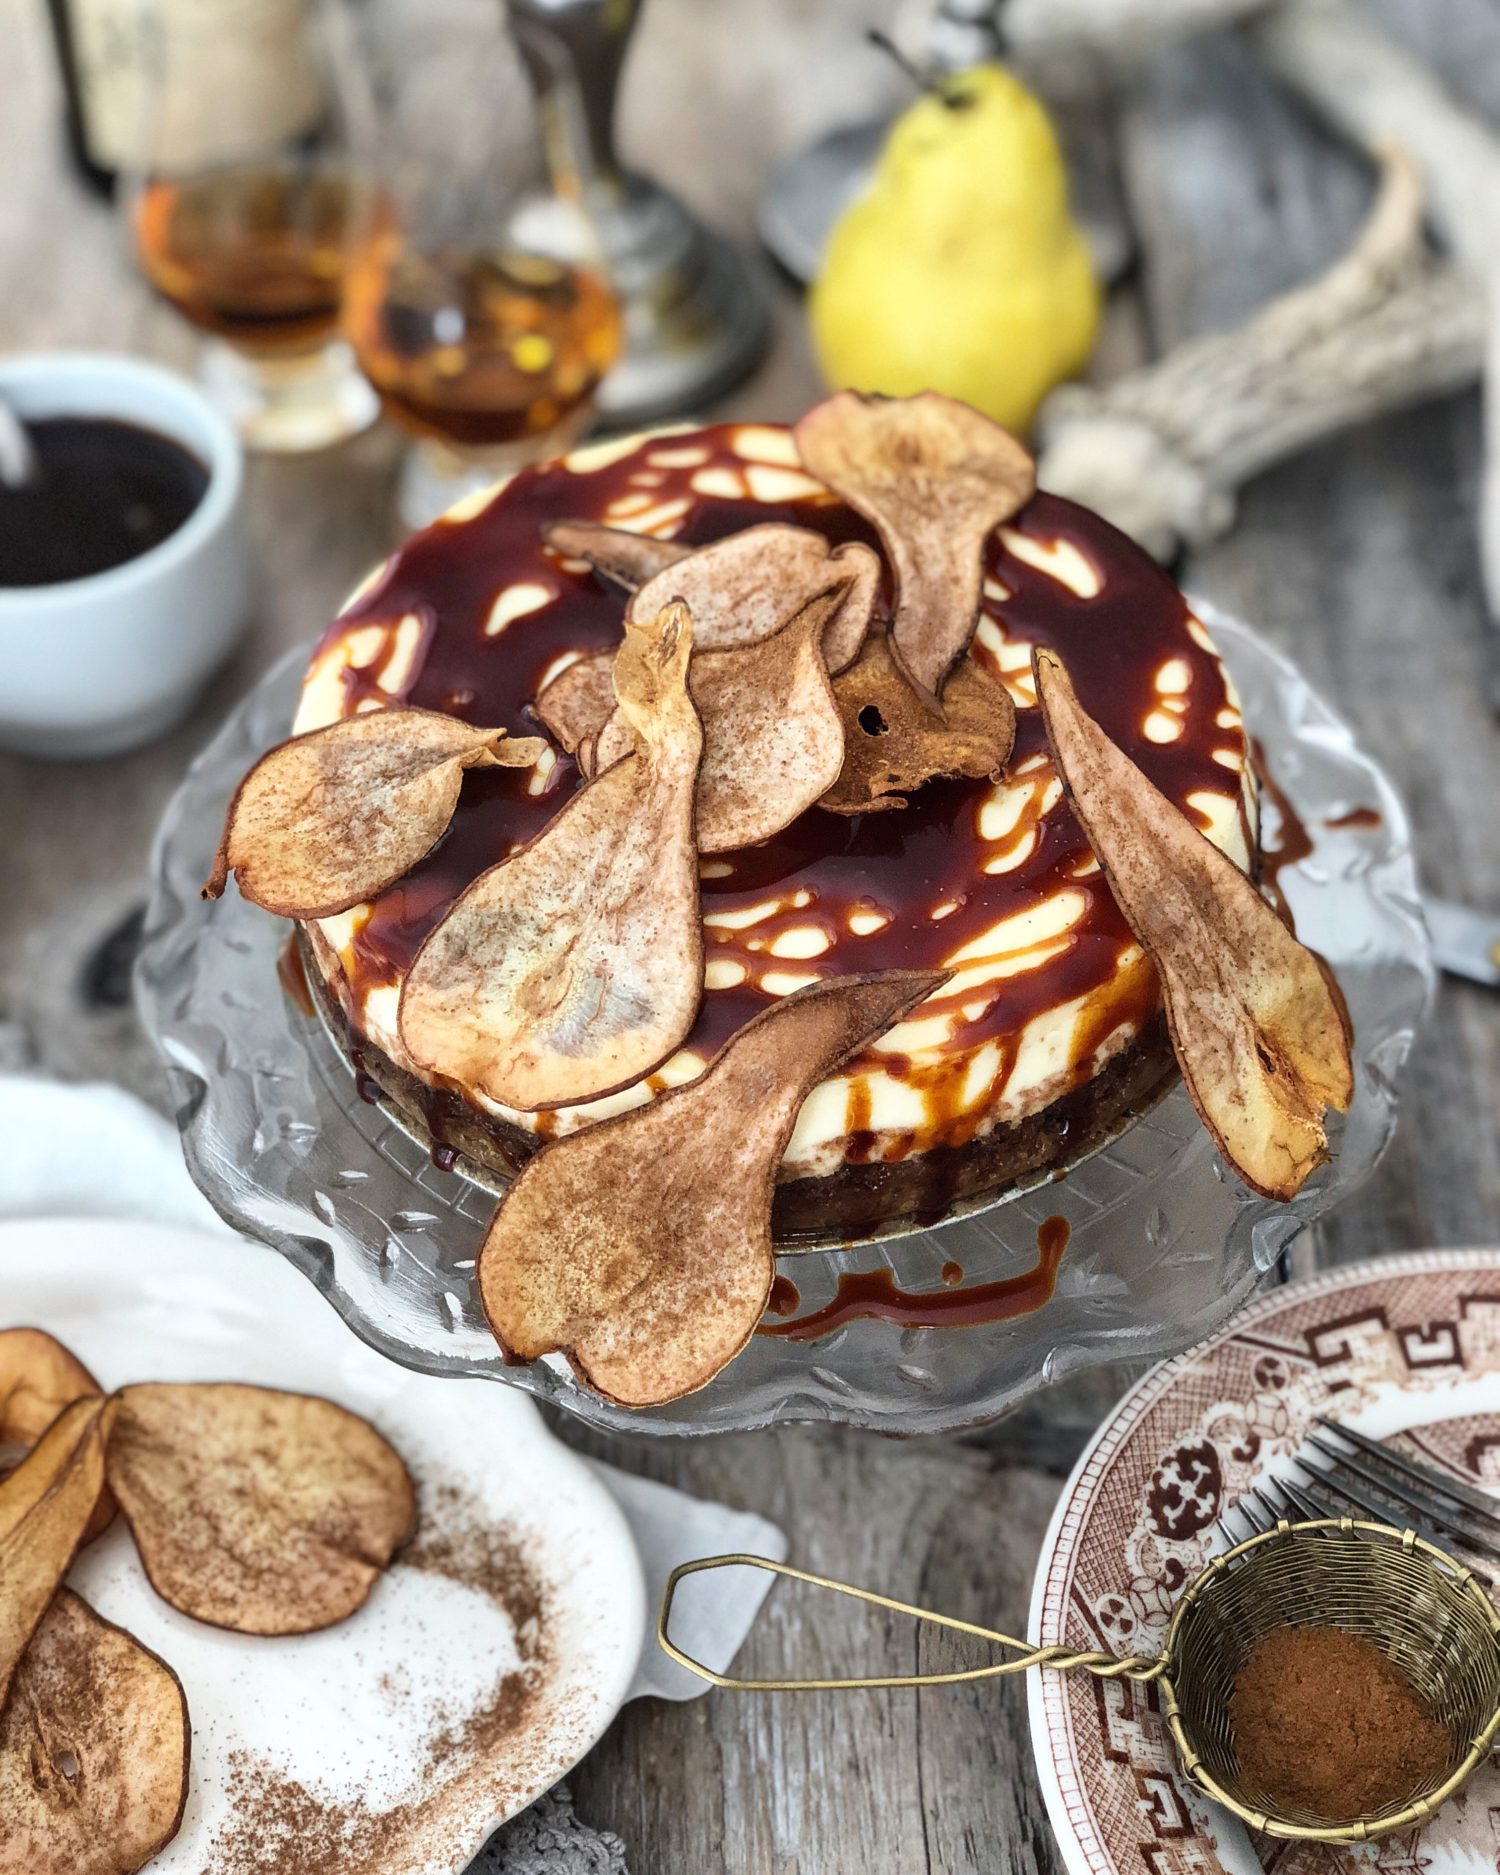
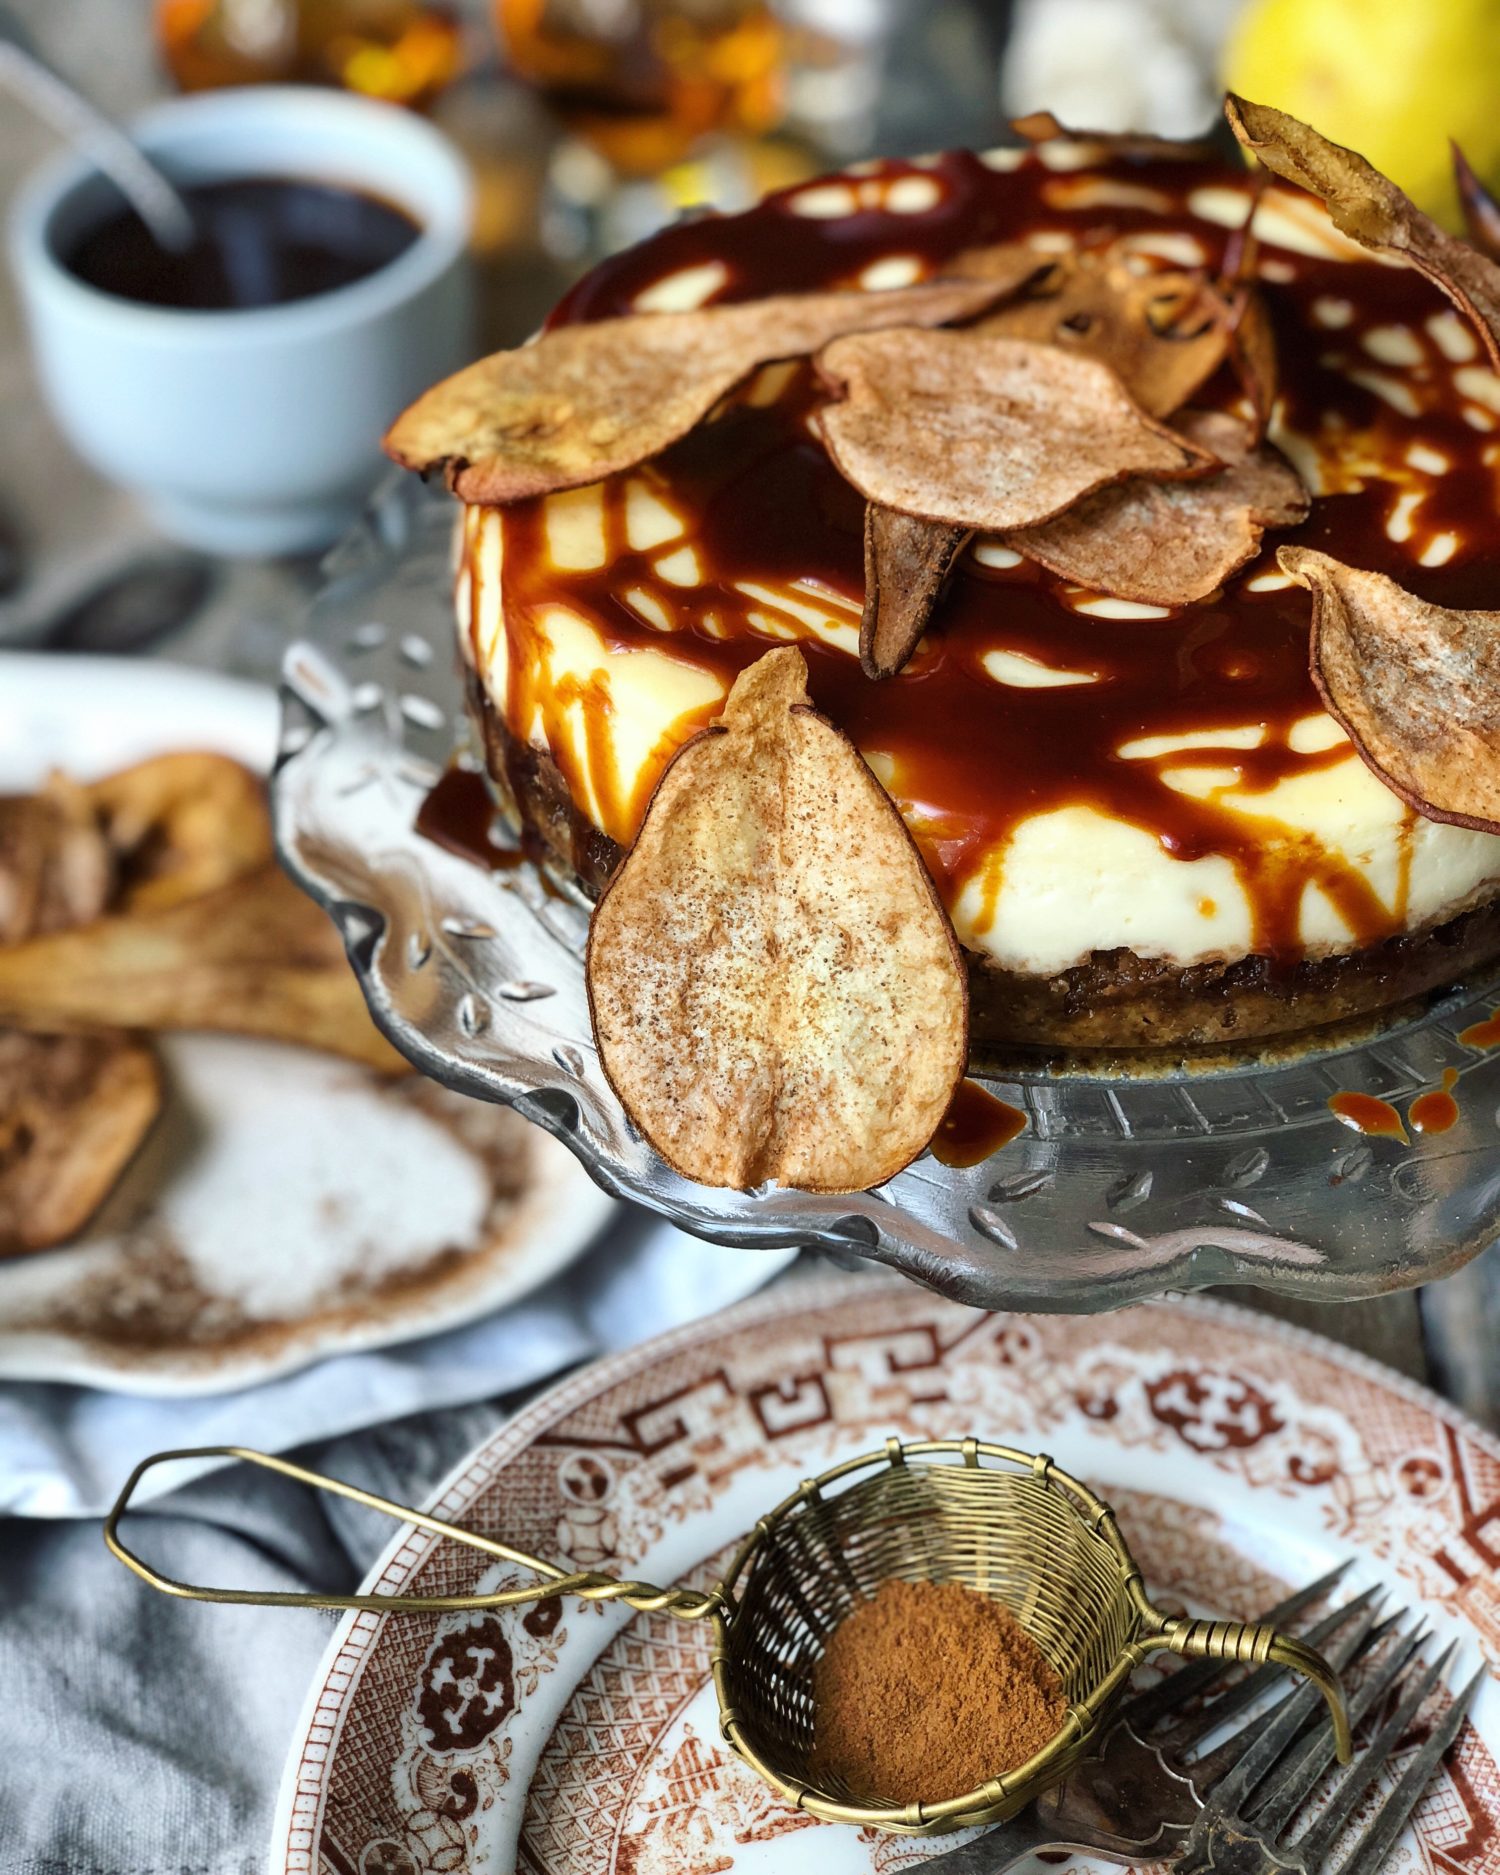
And then, while the cheesecake was cooling in the fridge, I made up the jewelry for the cake. I wanted to serve some type of fruit with the cake. What would go with bourbon caramel sauce? And a walnut crust? Pears! At first I wondered, should I roast off or poach some pears, or make a compote? But then I got all whimsical and decided that pear chips would be fun! So I ran a pear through the mandolin, and slow baked them into chips. Dusted them with some cinnamon, et voila, the perfect garnish! And any extra chips became snacks. These would also be perfect on a cheeseboard, just saying.
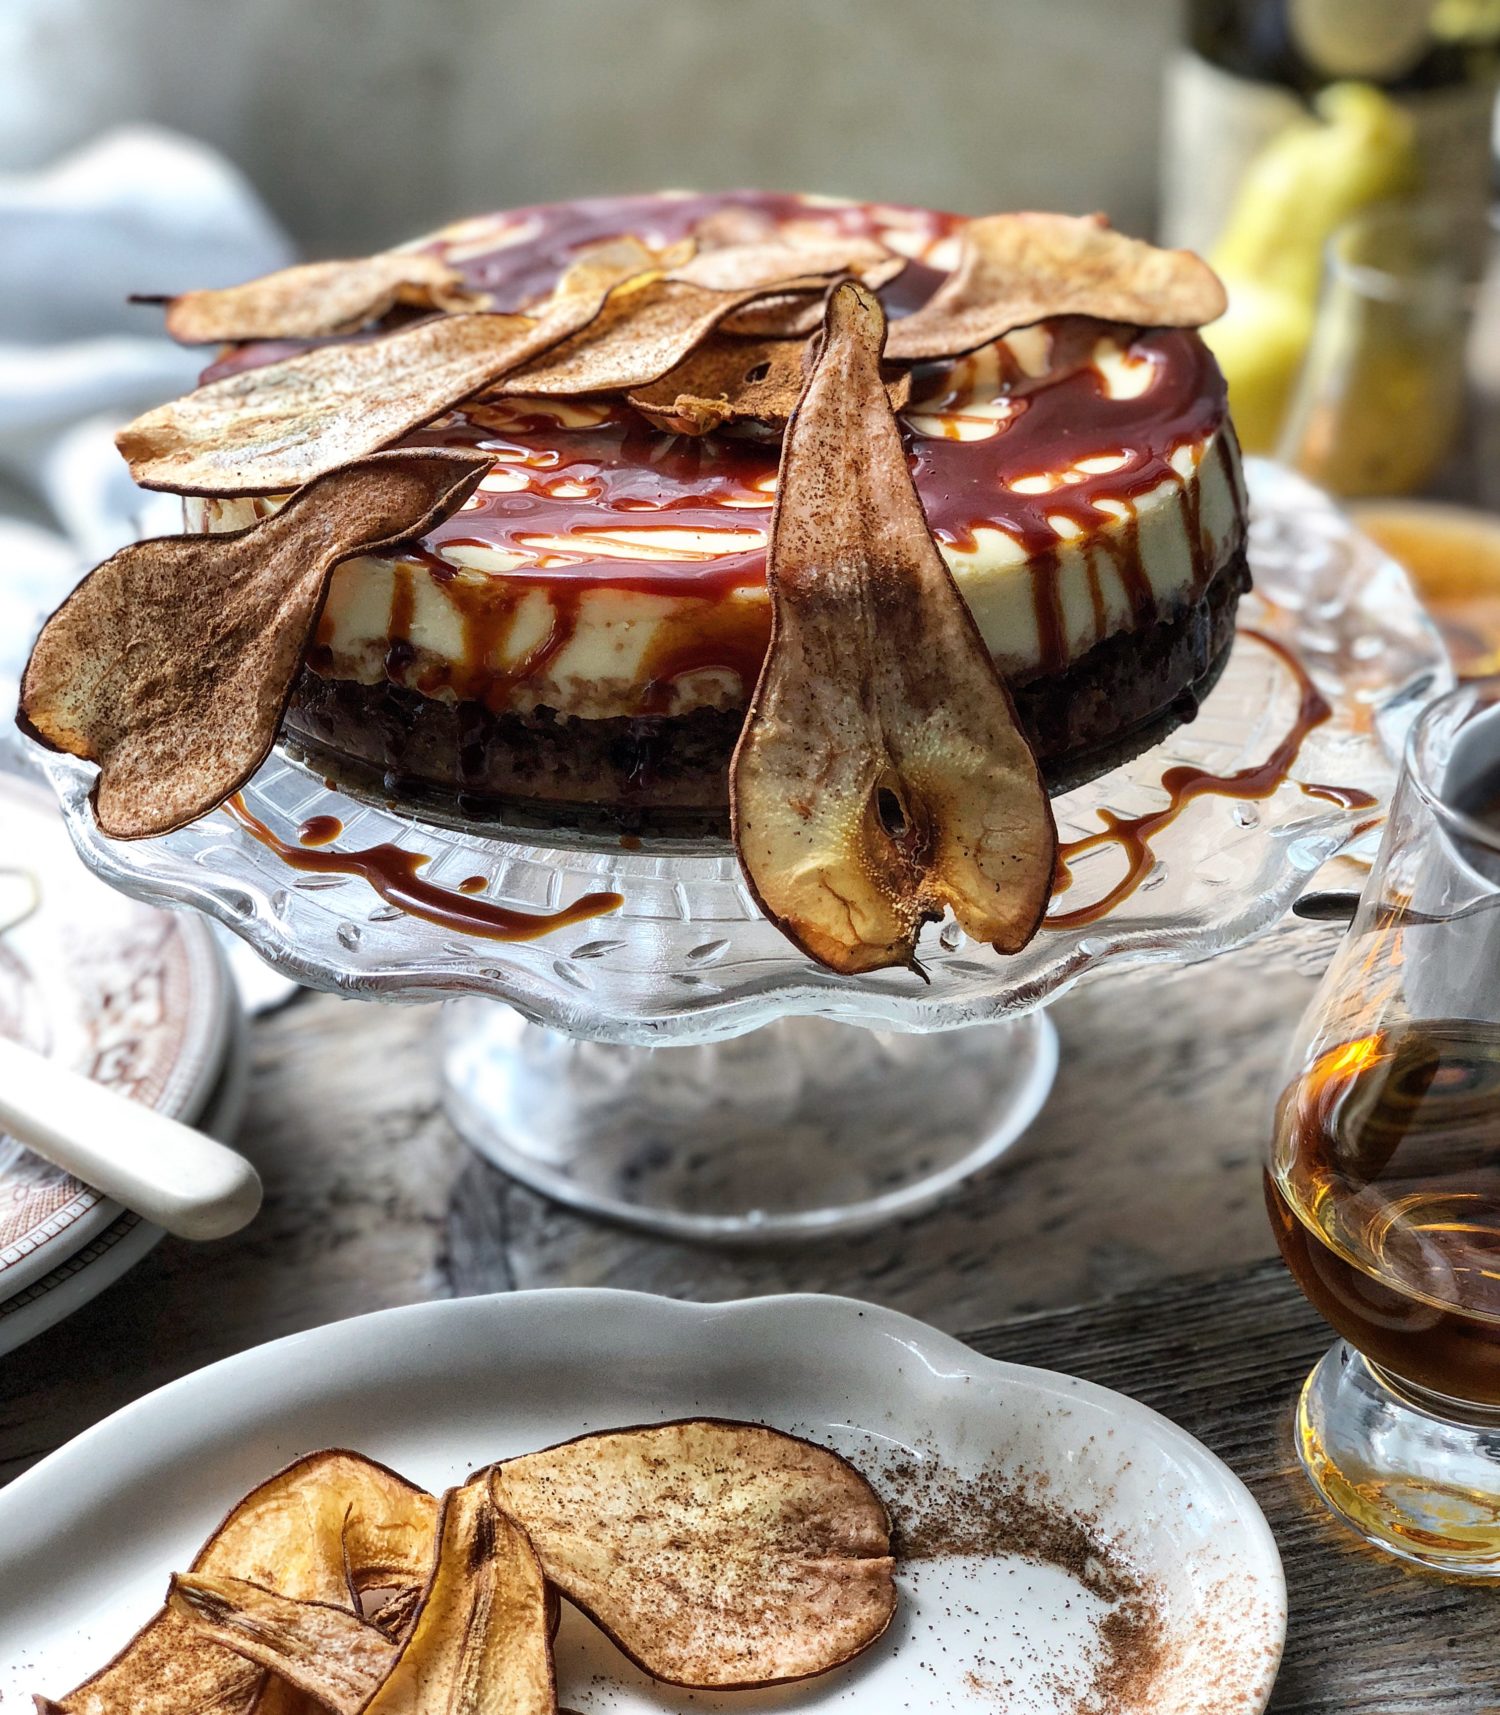
And so, another anniversary is in the books. And it marks another year of laughs, adventures, and the silliness that is us, our cats, and our simple life together. Wouldn’t have it any other way. 🙂
Love Jen
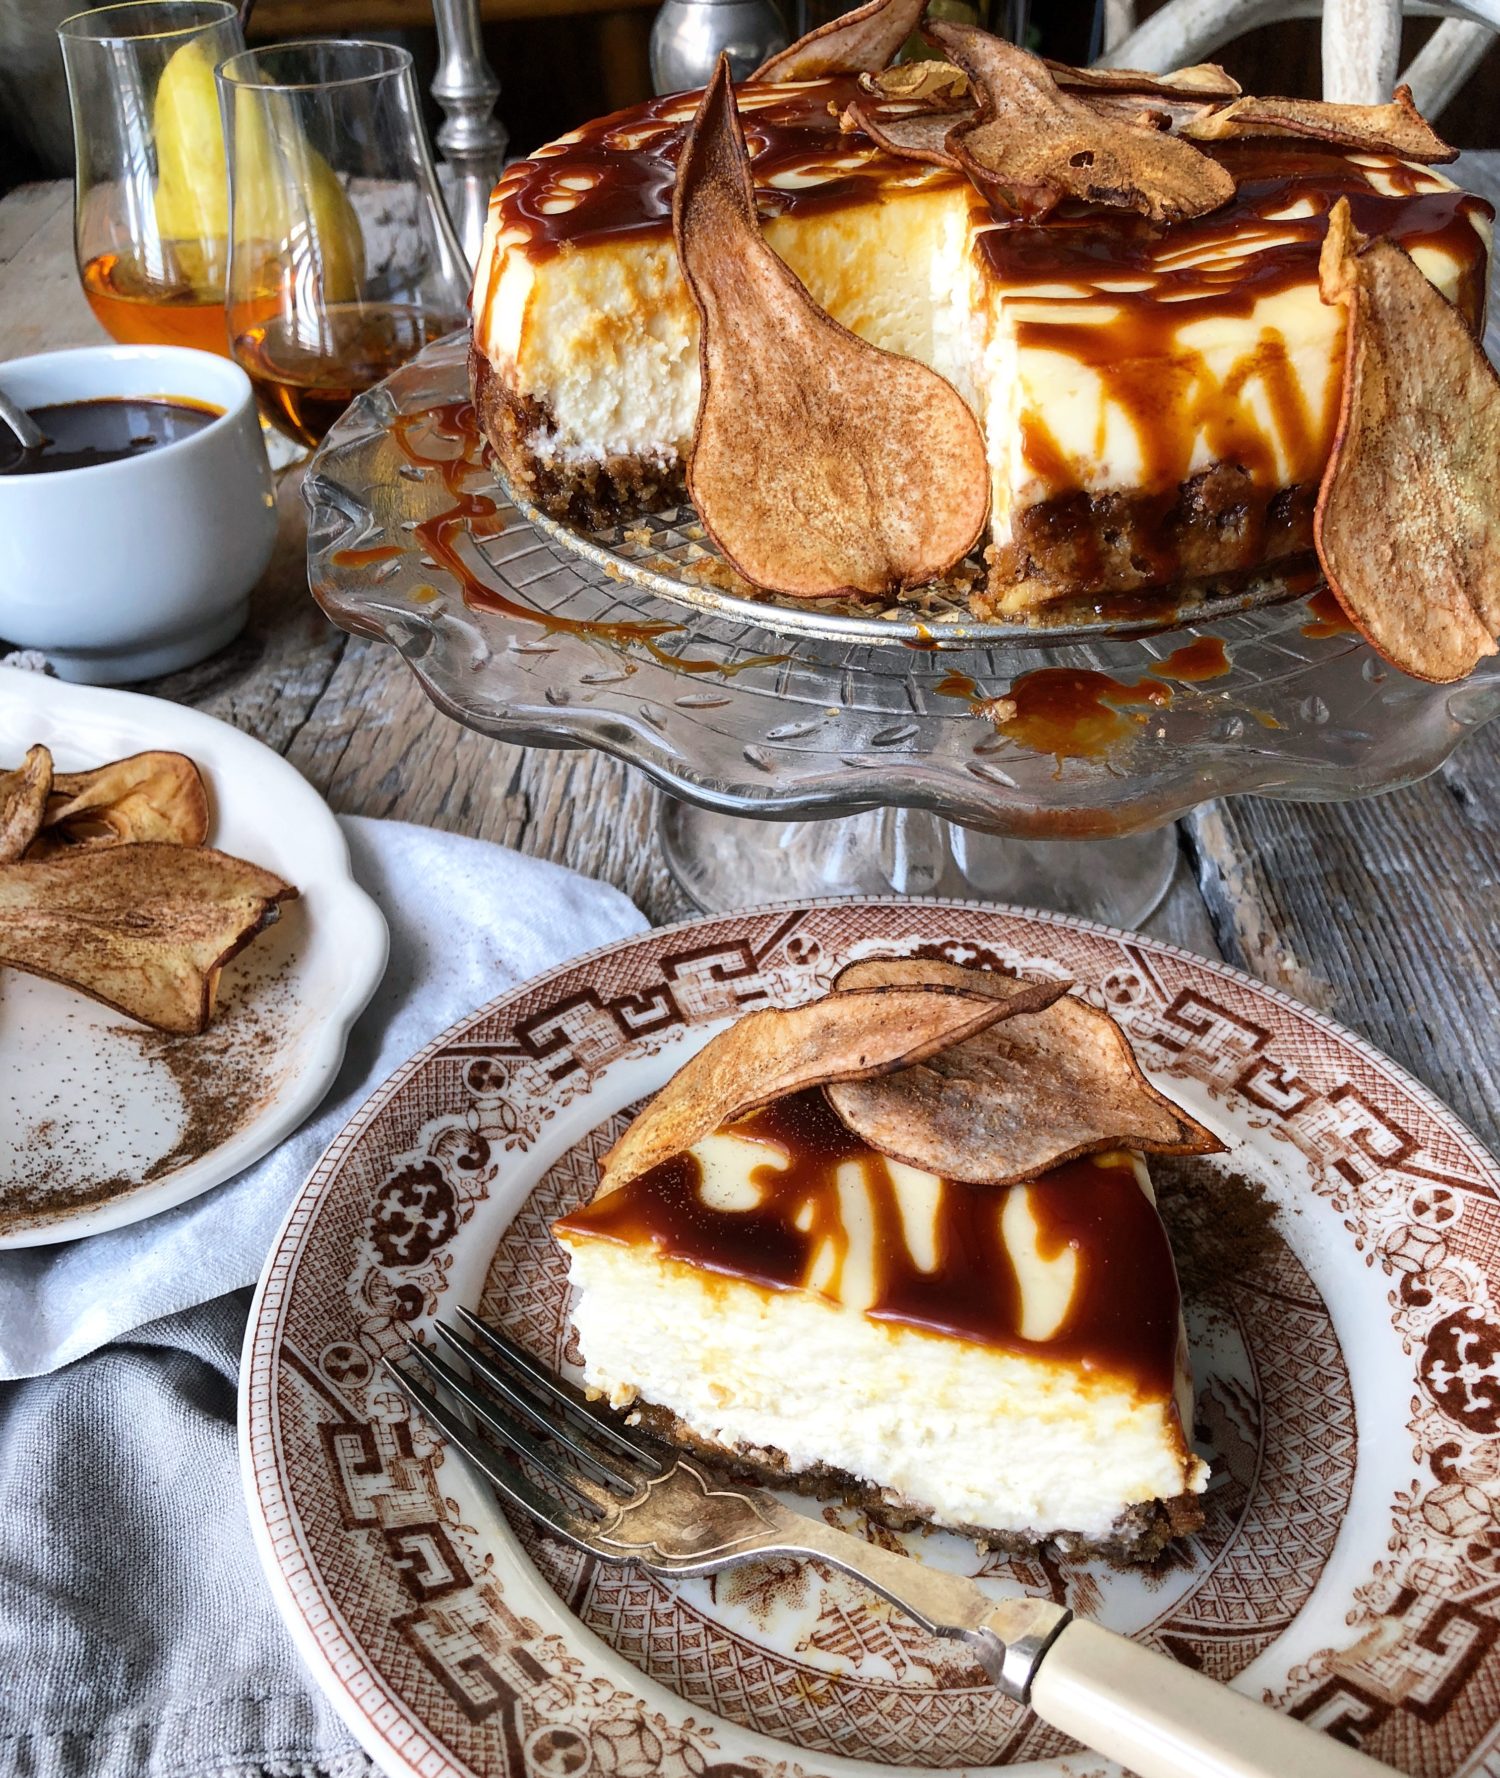

Salted Bourbon Caramel Cheesecake on a Walnut Mesquite Crust
A simple cheesecake to make is gussied up with the best salted bourbon caramel sauce, and baked on a nutty walnut, mesquite flour and muscovado sugar crust. Pear chips dusted in cinnamon are the perfect autumn garnish.
Ingredients
Cheesecake Crust
- 2 cups walnuts
- 3-4 tbsp mesquite flour can substitute rye or buckwheat flour instead
- 5 tbsp unsalted butter softened
- 3 tbsp muscovado sugar or dark brown sugar
- 1/4 tsp salt
Cheesecake Filling
- 4 8 oz packages of cream cheese or 32 oz of fresh cream cheese from your local deli (8 oz equals 225 grams) These must be totally softened to room temperature.
- 1 1/2 cups sugar
- 1/4 cup cornstarch
- 1 tbsp pure vanilla extract
- 2 extra large eggs
- 3/4 cup heavy whipping cream
Salted Bourbon Caramel Sauce
- See link in notes below for the recipe to make up a batch of caramel sauce
Pear chips
- 1-2 bartlett, bosc or anjou pears (choose a pear that is firm but ripe)
- cinnamon
Instructions
Crust
-
Preheat the oven to 375F and grease the bottom and sides of a 9 inch springform pan.
-
Blend the walnuts, flour, butter, sugar and salt in a food processor until finely chopped and sticking together. Start with 3 tbsp of the flour, add the final tbsp of flour if needed to help the mixture from being to wet and creamy.
-
Press the mixture into the bottom and up the sides about 1/2-1 inch of the springform pan.
-
Bake on the centre rack until the crust is richly browned, about 10-15 minutes. Check periodically during the baking: if the crust has slipped down the sides, or is puffing up at all, use the back of a spoon to gently smooth back into shape.
-
Let cool before filling.
Filling
-
Preheat the oven to 350F.
-
Place 1/4 of the cream cheese (one 8 oz container if using separate packages), 1/4 cup of the sugar and the cornstarch in a large bowl. Beat with a hand mixer. Or use a stand mixer.
-
Beat on low until creamy, about 3 minutes. Then beat in the remaining cream cheese.
-
Increase the speed to high and beat in the remaining 1 cup of sugar and then the vanilla.
-
Decrease the speed to medium high.
-
Blend in the eggs one at a time, beating the batter well after each egg.
-
Blend in the heavy cream. Mix only till completely blended. Do not overmix.
-
At this point make sure you have some hot water from a tea kettle ready.
-
Take the cooled crust in the springform pan and wrap the pan with tinfoil, so that the bottom and sides are protected. Place this wrapped pan into a baking pan that will just hold it.
-
Gently spoon the batter over cooled crust.
-
Place the baking pan onto the baking sheet and place everything onto the middle rack of the oven, towards the front of the rack. Take the kettle and gently and carefully pour the water into the baking pan around the springform pan. The water should reach about halfway up the springform pan.
-
Place the baking sheet further back on the rack.
-
Bake until the centre of the cheesecake barely jiggles when you gently shake the pan, about 1 hour.
-
Take the cake pan from the water bath and cool the cake on a wire rack for 1 hour. Remove the tinfoil.
-
Cover the cake with plastic wrap and refrigerate until it is completely cold, at least 4 hours or overnight.
-
Remove the sides of the pan, and place the cake onto a serving plate.
While the cake is cooling you can make up the caramel sauce and pears.
Pears
-
Preheat the oven to 225F
-
Using a mandolin, slice the pear(s) into slices 1/8 inch thick. Using two pears will give you plenty of chips for decor and snacking!
-
Place these all onto a parchment lined sheet (or two if needed- you don't want them overlapping)
-
Bake for up to 1 1/5 hours until crisping up nicely. Turn and bake another 1 to 1 1/5 hours until just curling and crispy. The moisture should be gone, They will firm up as they cool.
-
Using a small sieve, sprinkle with cinnamon.
-
Any leftovers can be stored in an airtight container. They make a perfect snack or serve on a cheeseboard or with granola and oatmeal!
-
To serve the cake, drizzle with as much caramel sauce as you like, and garnish with the pear chips.
Recipe Notes
Salted Bourbon Caramel Sauce recipe here.
The caramel sauce and the pears can both be made up a day in advance. Store till needed.
In the above photos I am showing a 6 inch cake. I divided the recipe above in half. It worked perfectly. It is only the two of us, there was no need to make a large cake!!
Leave a Reply