Cheeseboards, charcuterie boards, snacking platters, crudités and dip, they all have one thing in common:
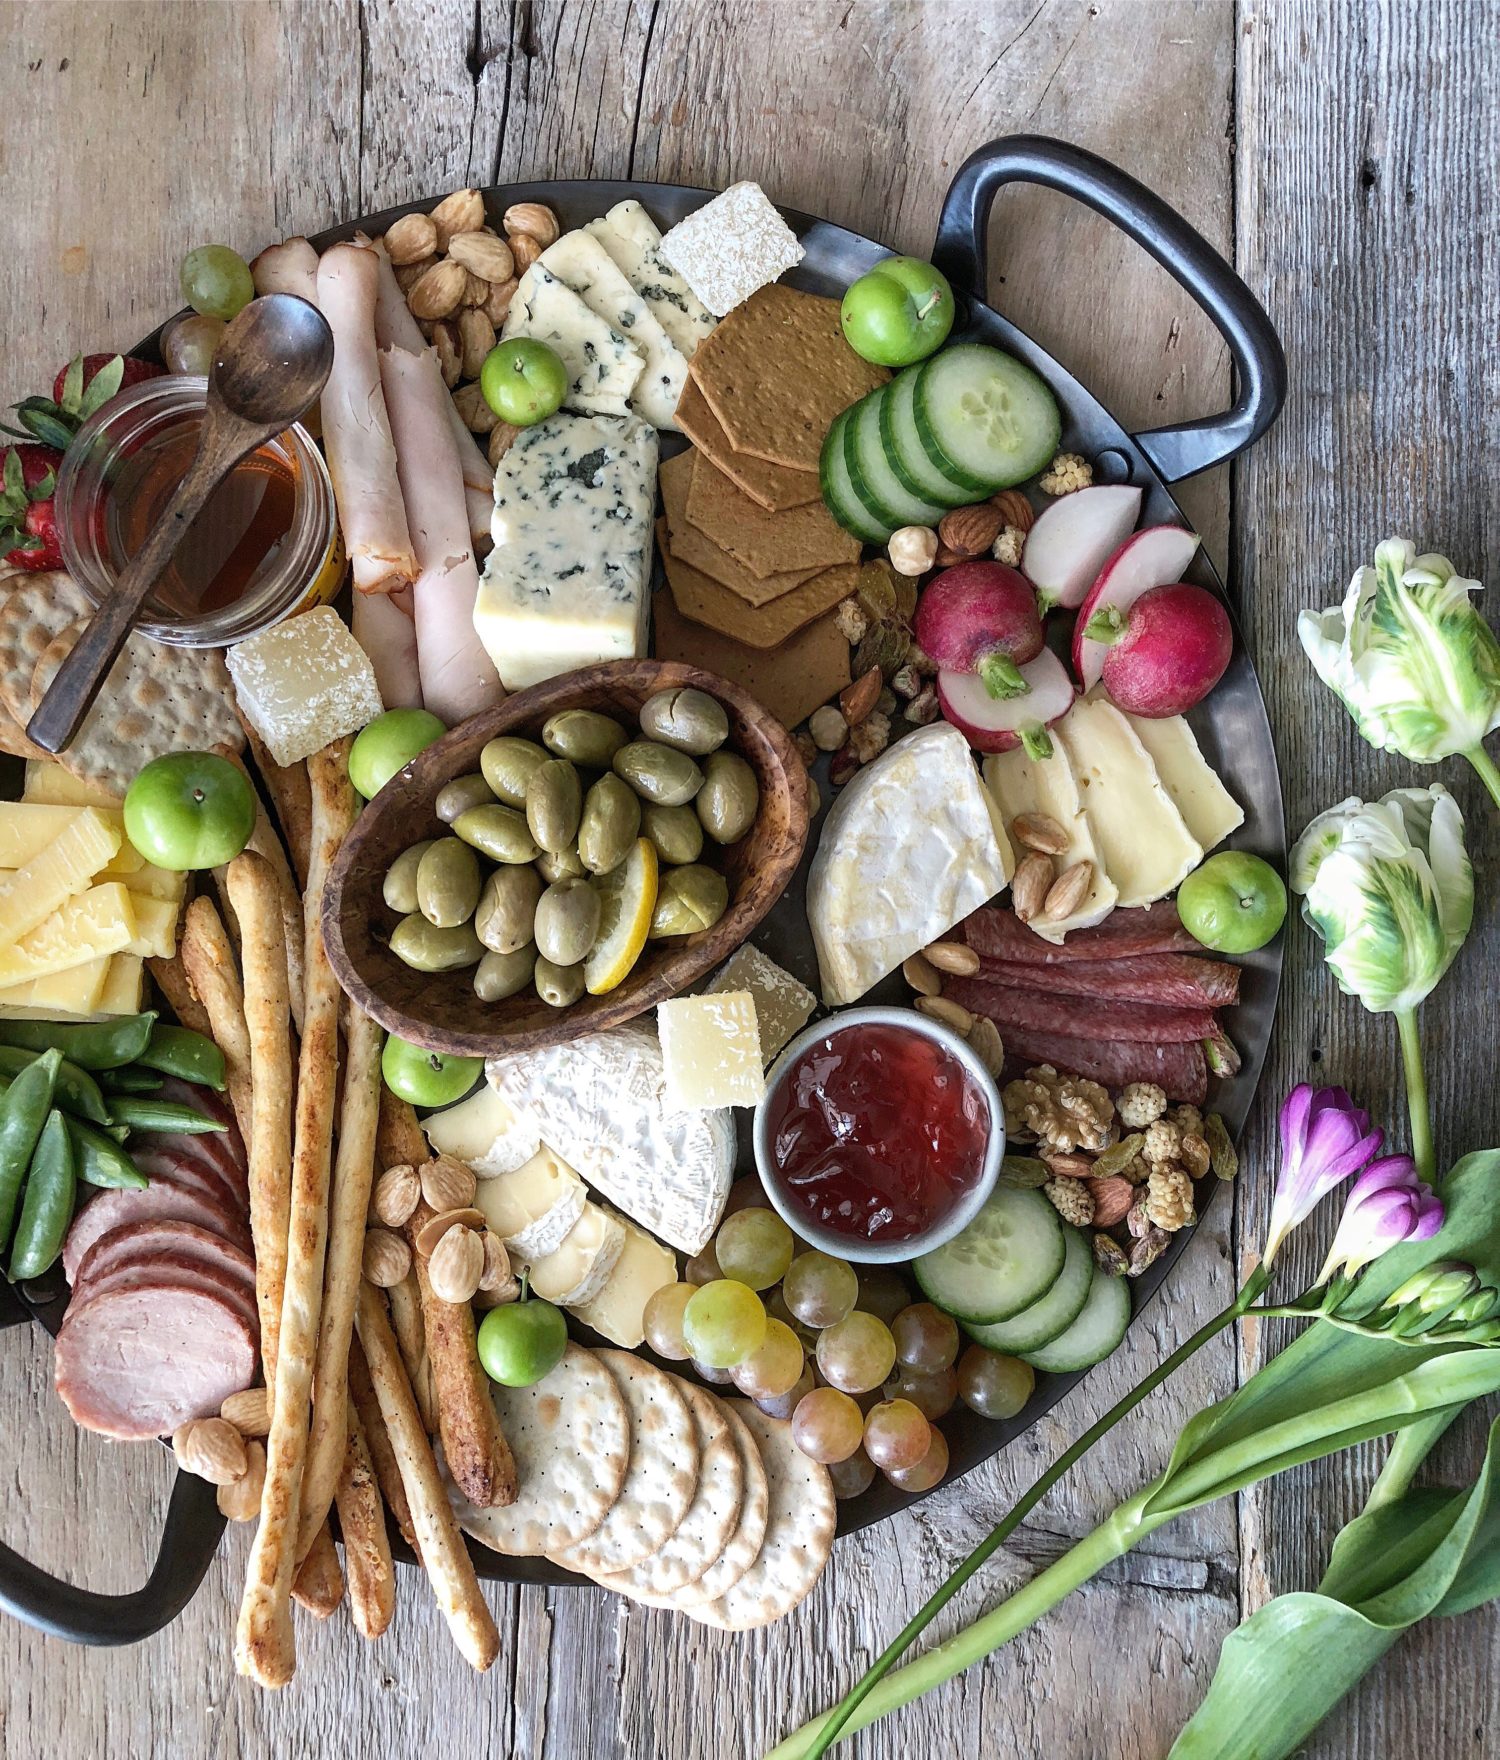 A big platter, tray, or piece of wood, covered in an amazing array of nibbles and bites. This has always been one of our favourite ways to eat. Everyone sitting around, with a massive platter of options. There is something for everyone when you present them with a cheeseboard. Visit, drink, chat, laugh and snack. Repeat!!
We’re well into that wonderful season of spring. All the heavy layers have finally been discarded, the grey and gloom have been replaced with cheery tulips, cherry blossoms and lilacs. Bird song has replaced the sound of the snow plough, and we’re getting excited for spring entertaining and grilling. Springtime brings bridal showers, graduation parties, baby showers, BBQ’s, time with family (kids even giving parents the evening off and offering to cook!), family reunions etc. And what better way to entertain, than by including a cheeseboard or two. In fact, they can even be personalized for different palates! And best of all, no cooking, just assembling 🙂
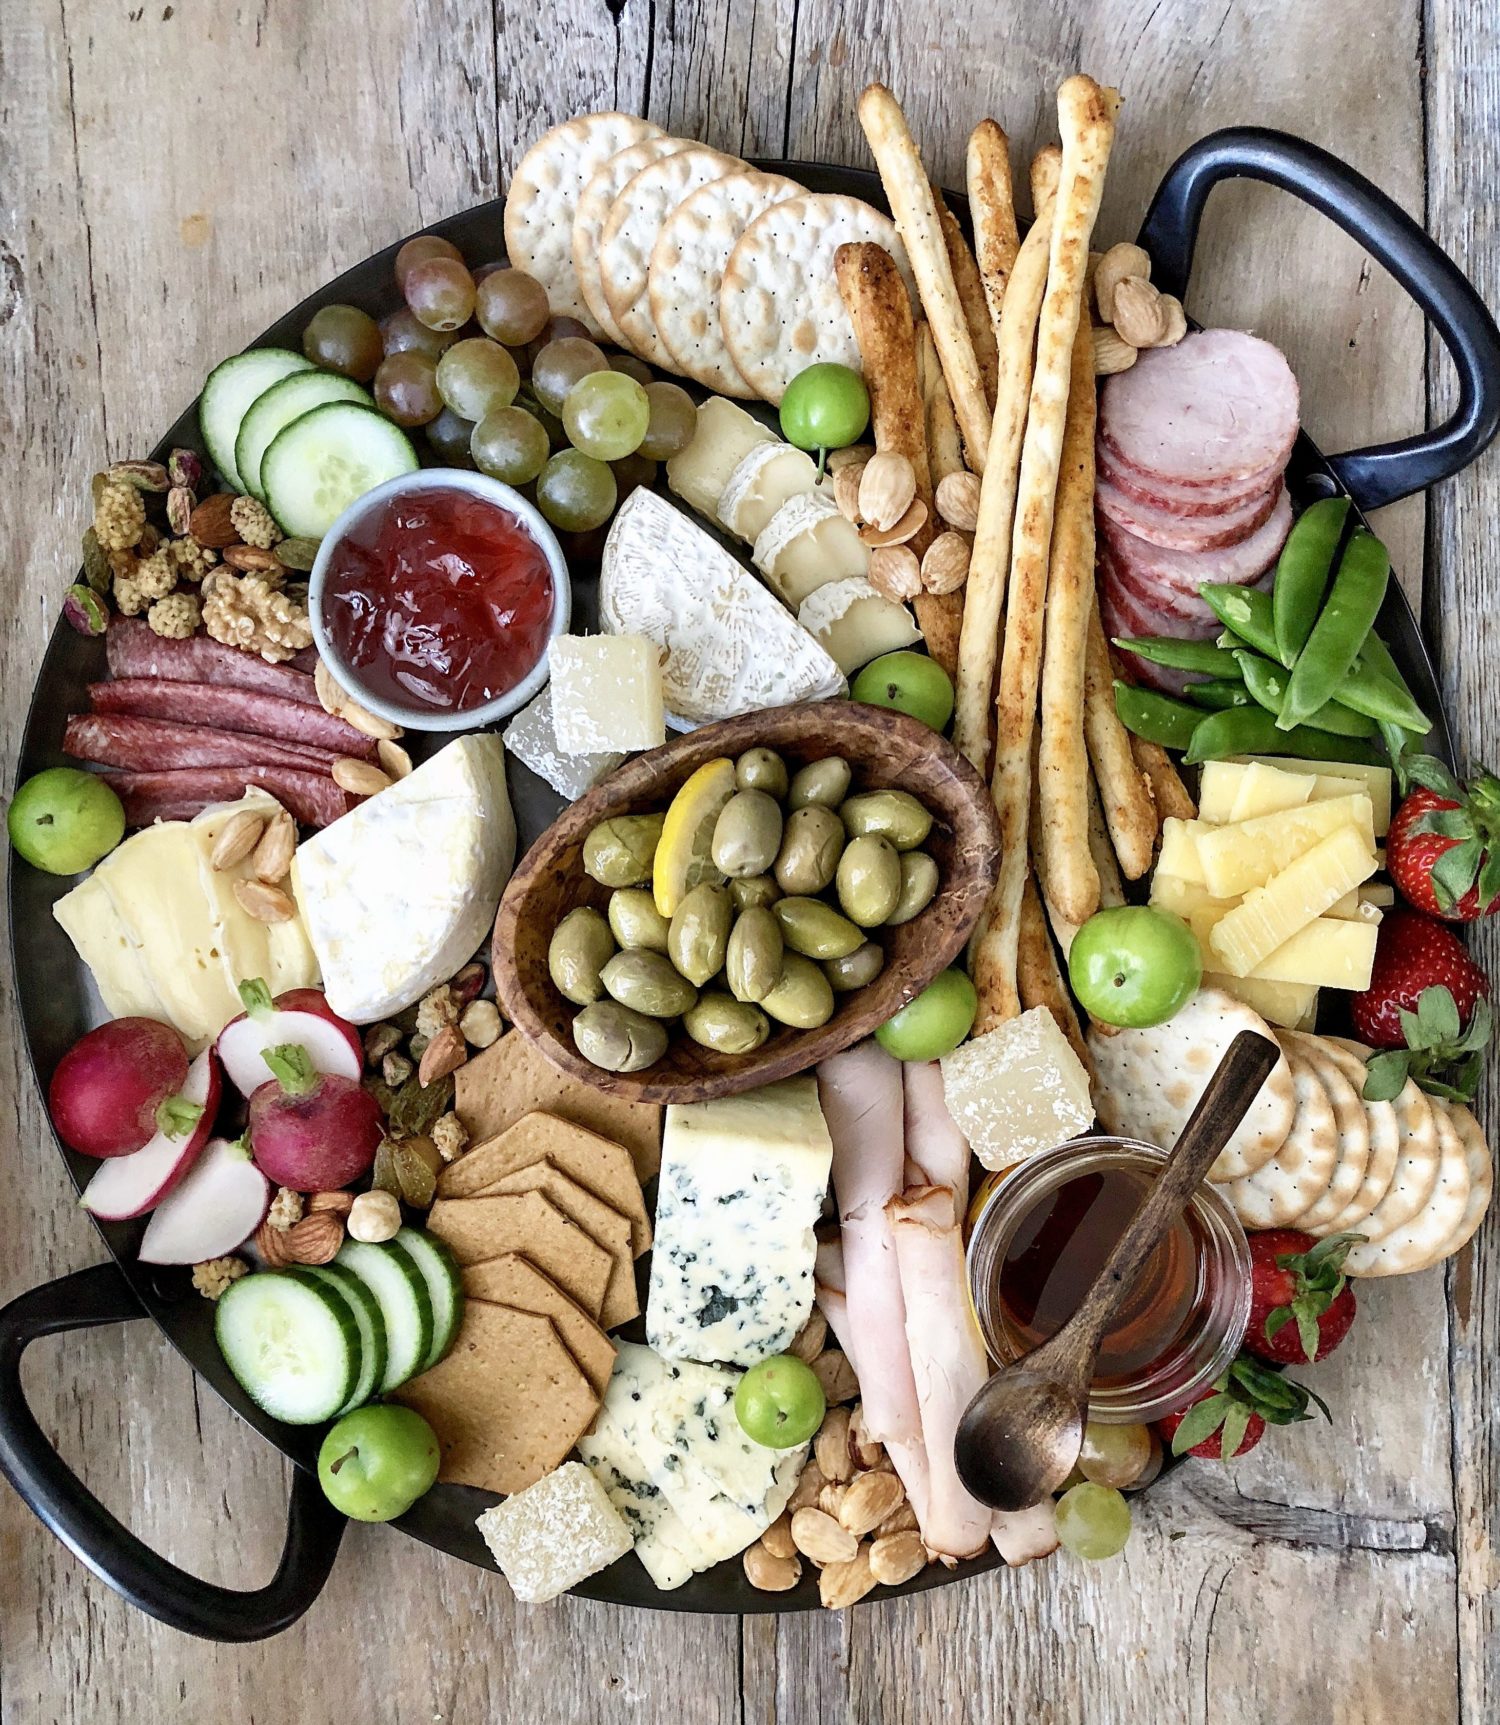
I’m a firm believer in adjusting your cheeseboards or charcuterie platters with the seasons. So for springtime suggestions, you’ll see that I forgo the heavier seeded breads and crackers, the stronger and heartier sausage or meats, and the fruit will reflect the season as well. Instead of autumn pears and apples or plums, or the citrus of winter, I’m looking to use the spring berries, apricots and cherries. Vegetables or crudités help to lighten up what can be a rich ‘meal’, so cucumbers, radishes, snap peas, peppers etc., are perfect for popping into your mouth, or to layer on top of a piece of cheese. In the winter, pickled veggies can also be included on the platter (of course cornichons or olives work wonderfully year round). For spreads or preserves to serve with all the amazing cheeses out there, why not switch to a lighter wine jelly in the spring, instead of a heavier, thicker preserve? Same with the honeys you may want to use to accent certain cheeses: I’ll leave the chestnut honey for the cooler months, and pull out a truffle honey instead.
Many of you have asked how to pull a cheeseboard together, so let’s walk through making a board together, shall we?! This is kinda like Cheeseboard 101, Deconstructed. I promise, no exam at the end- everyone passes with flying colours, and gets to eat their project!
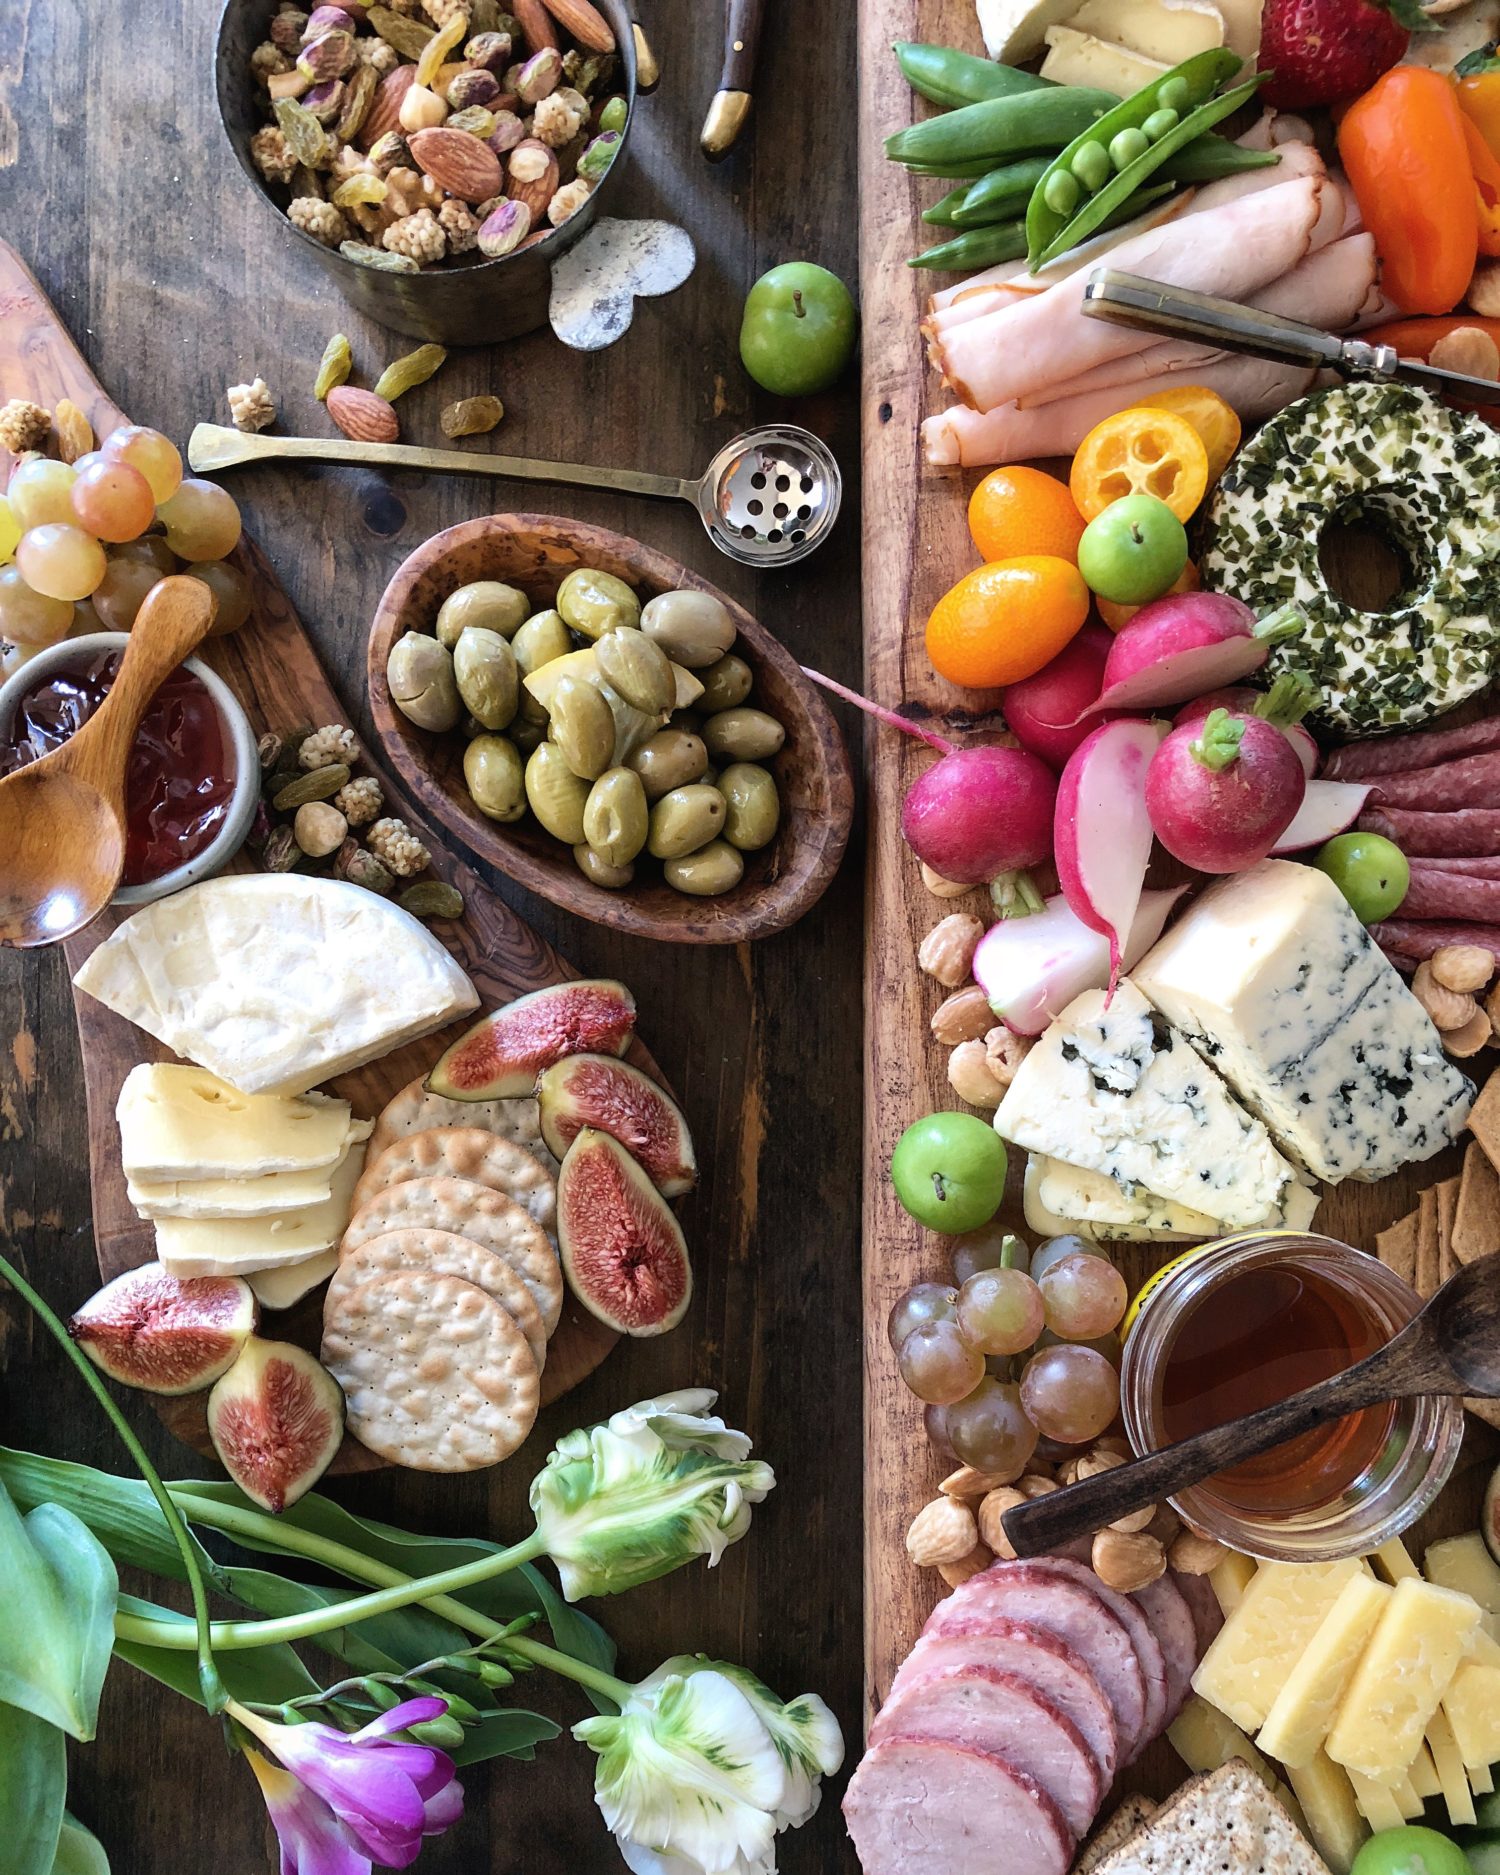
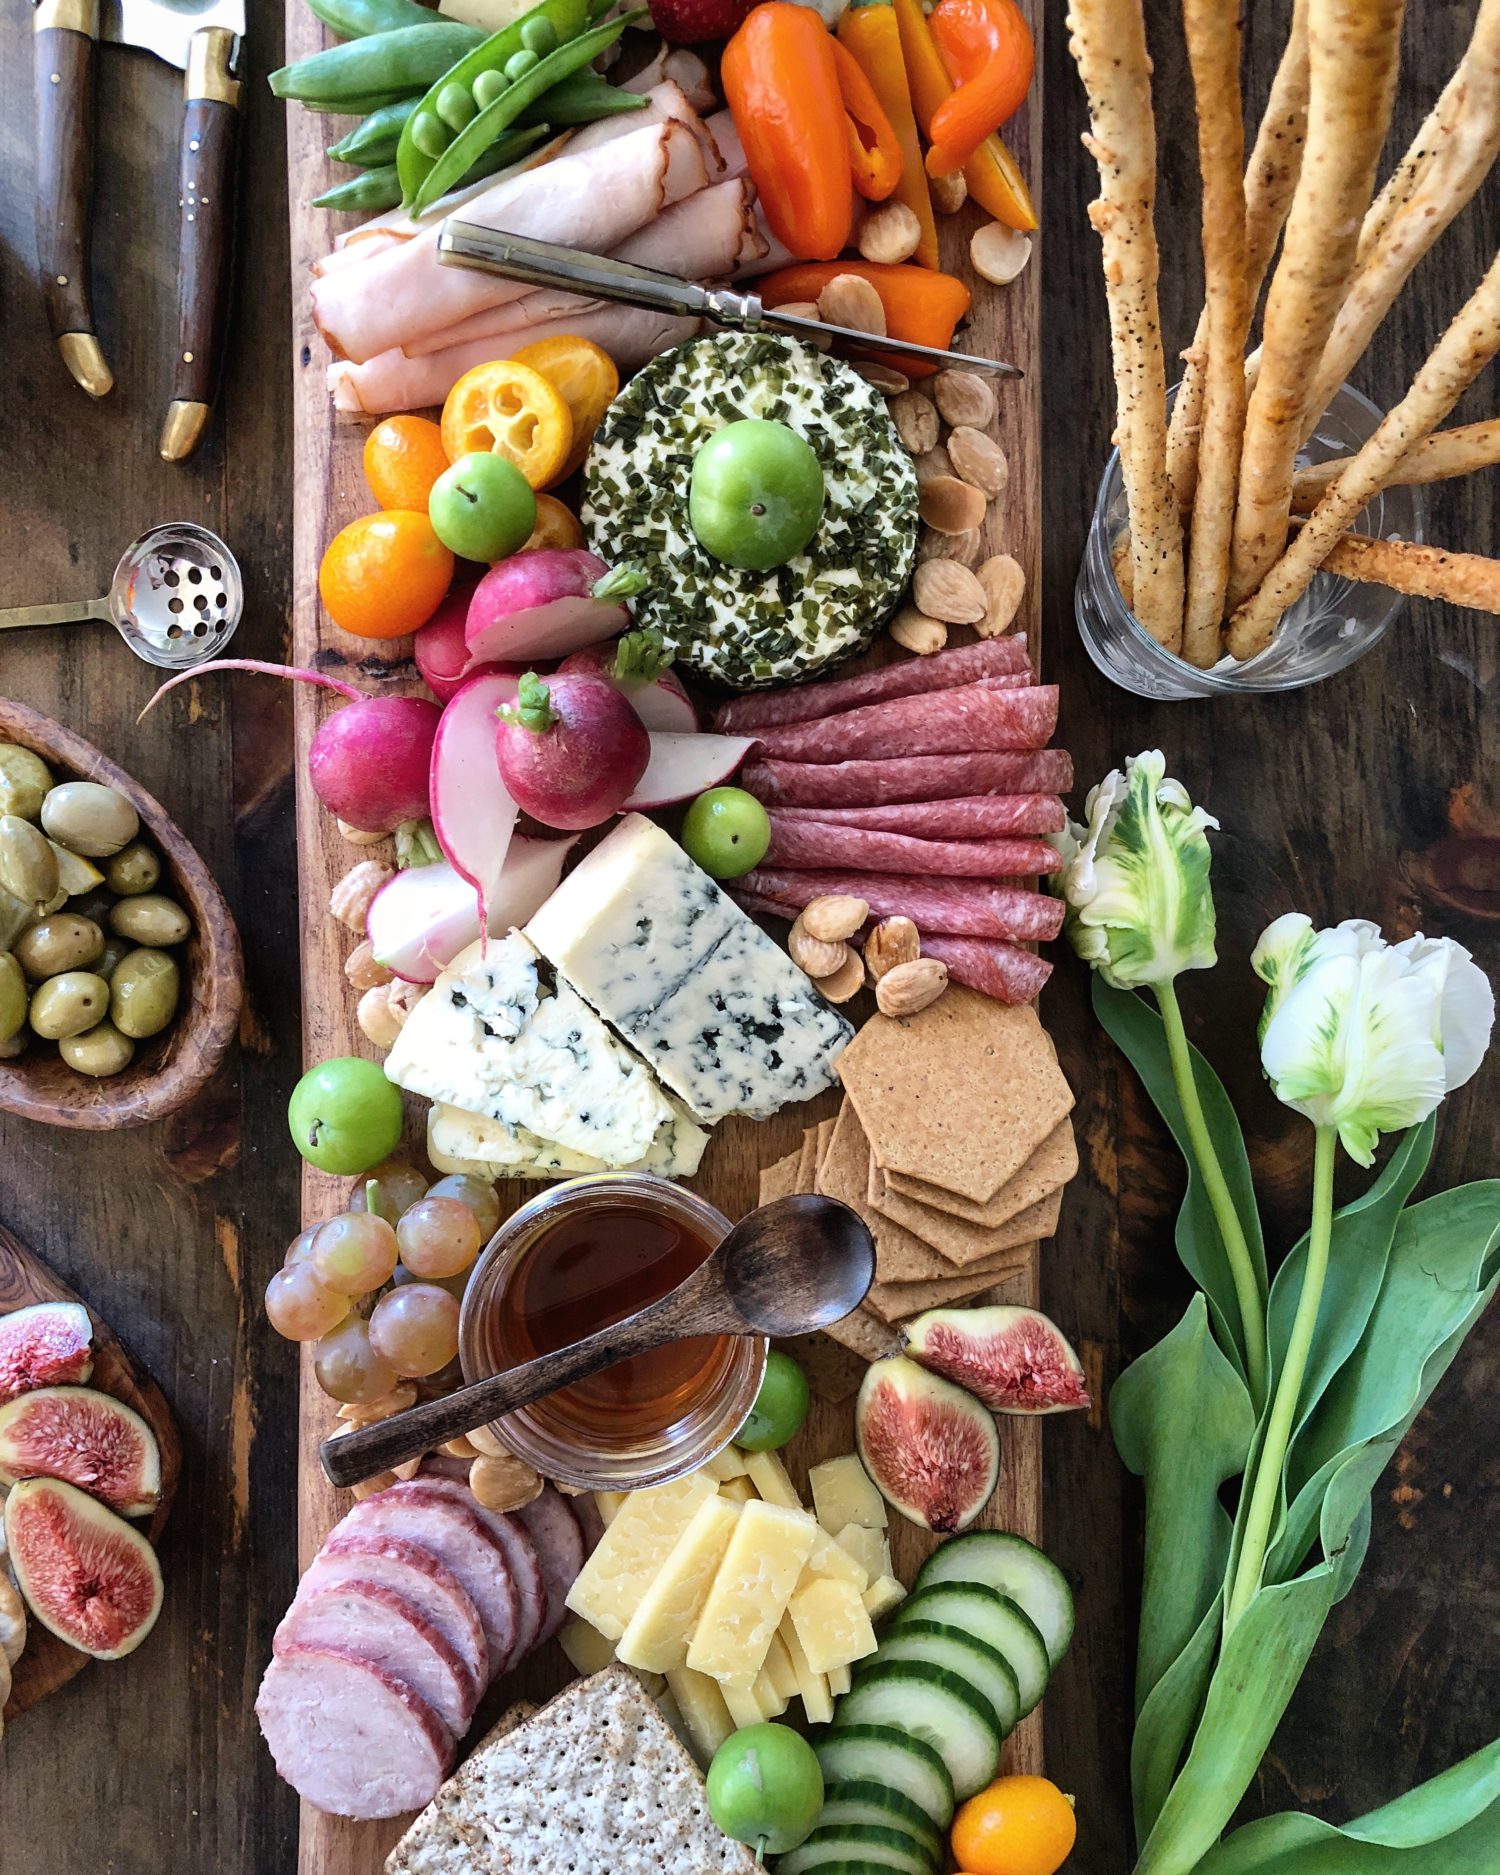
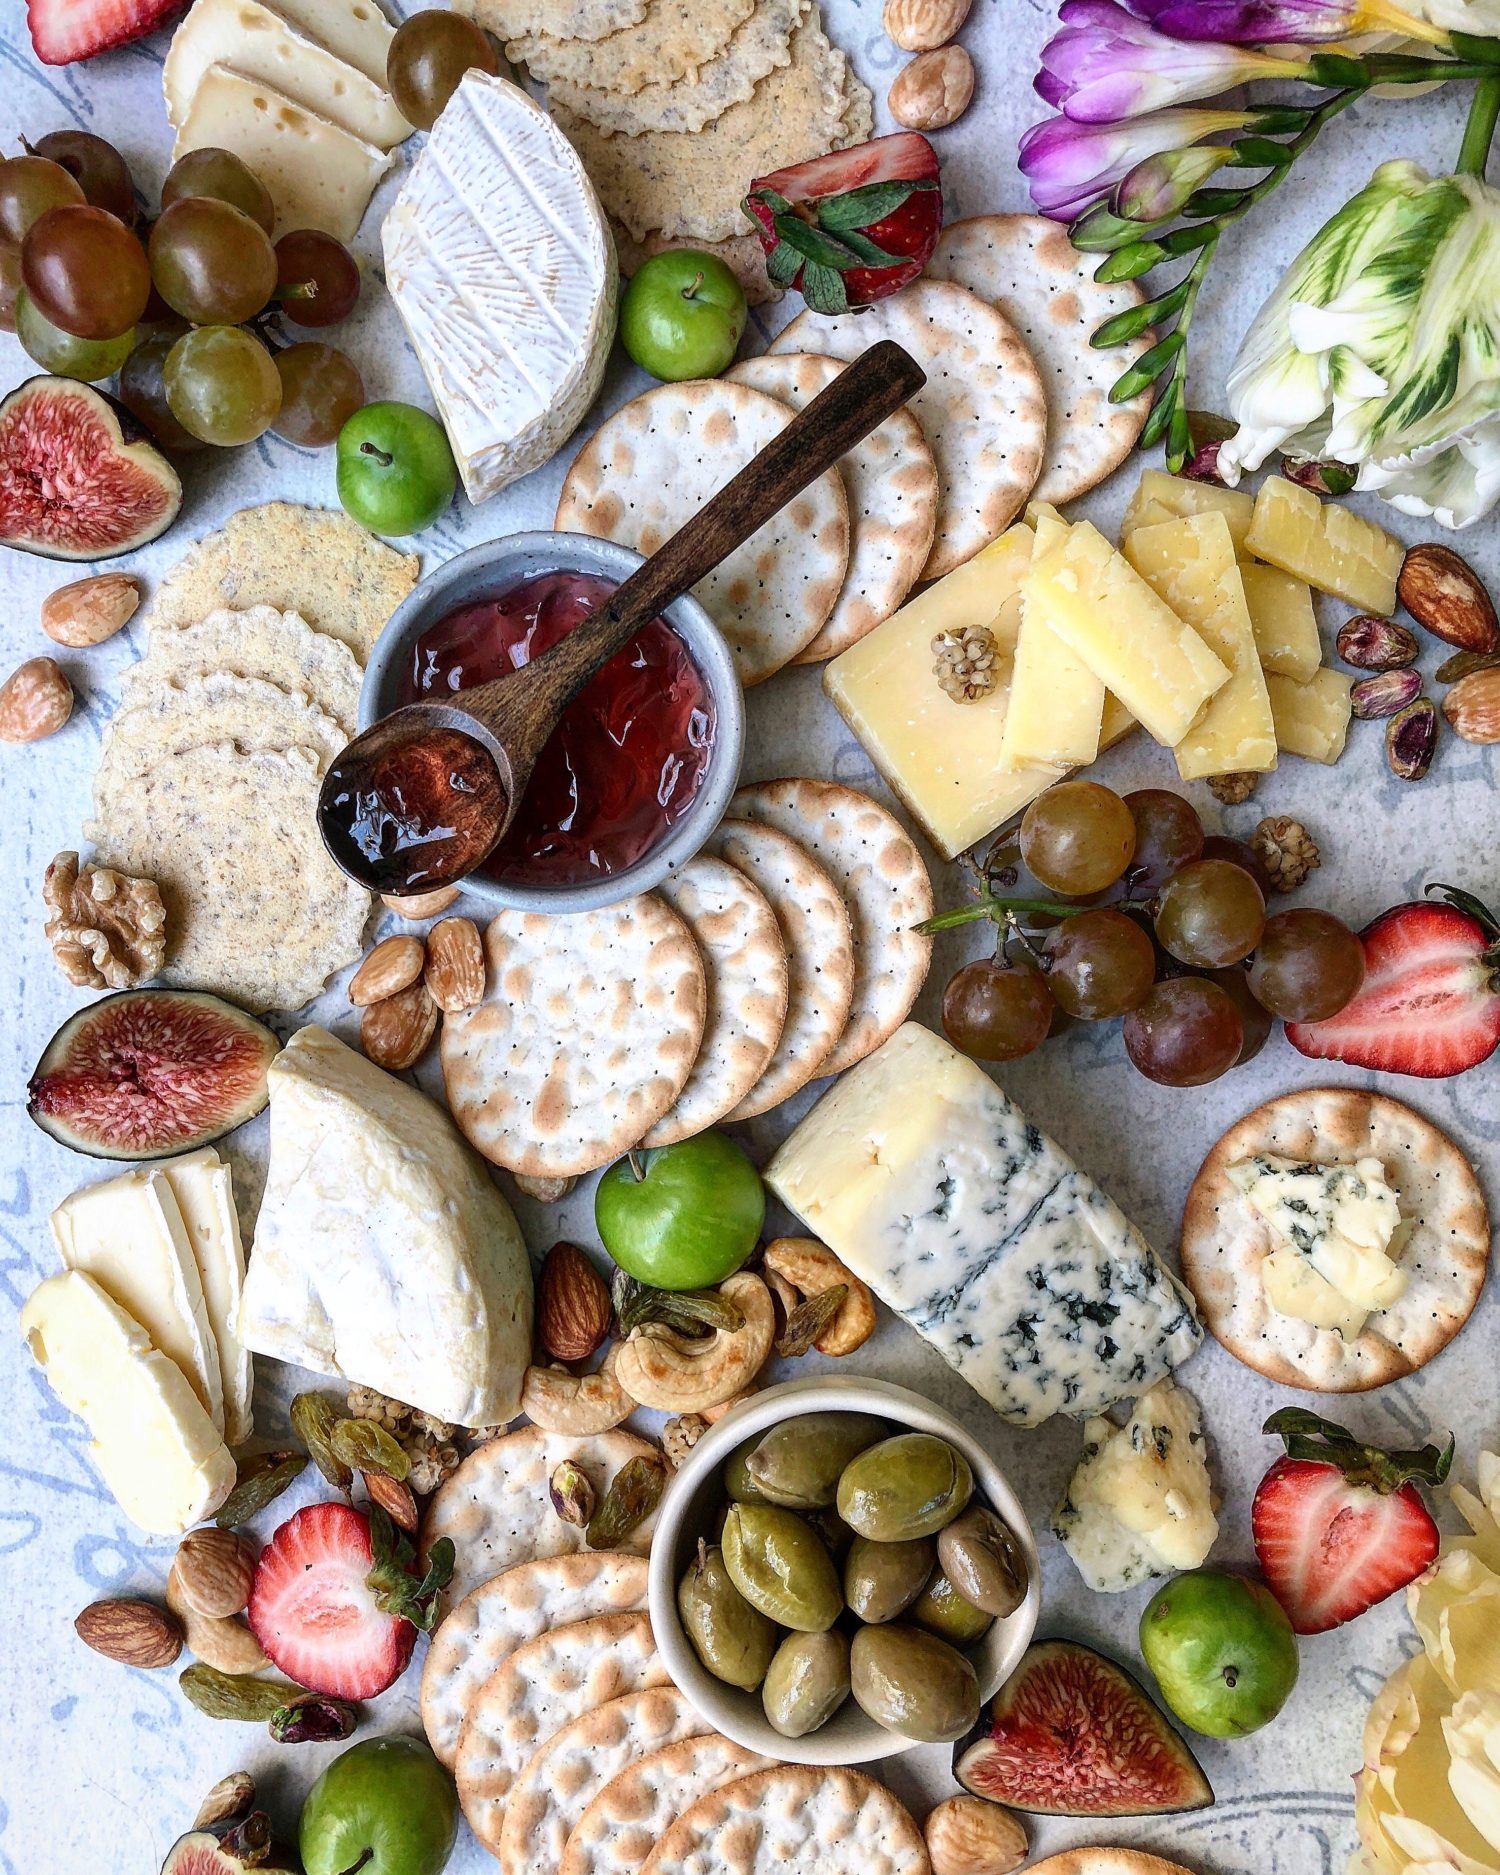
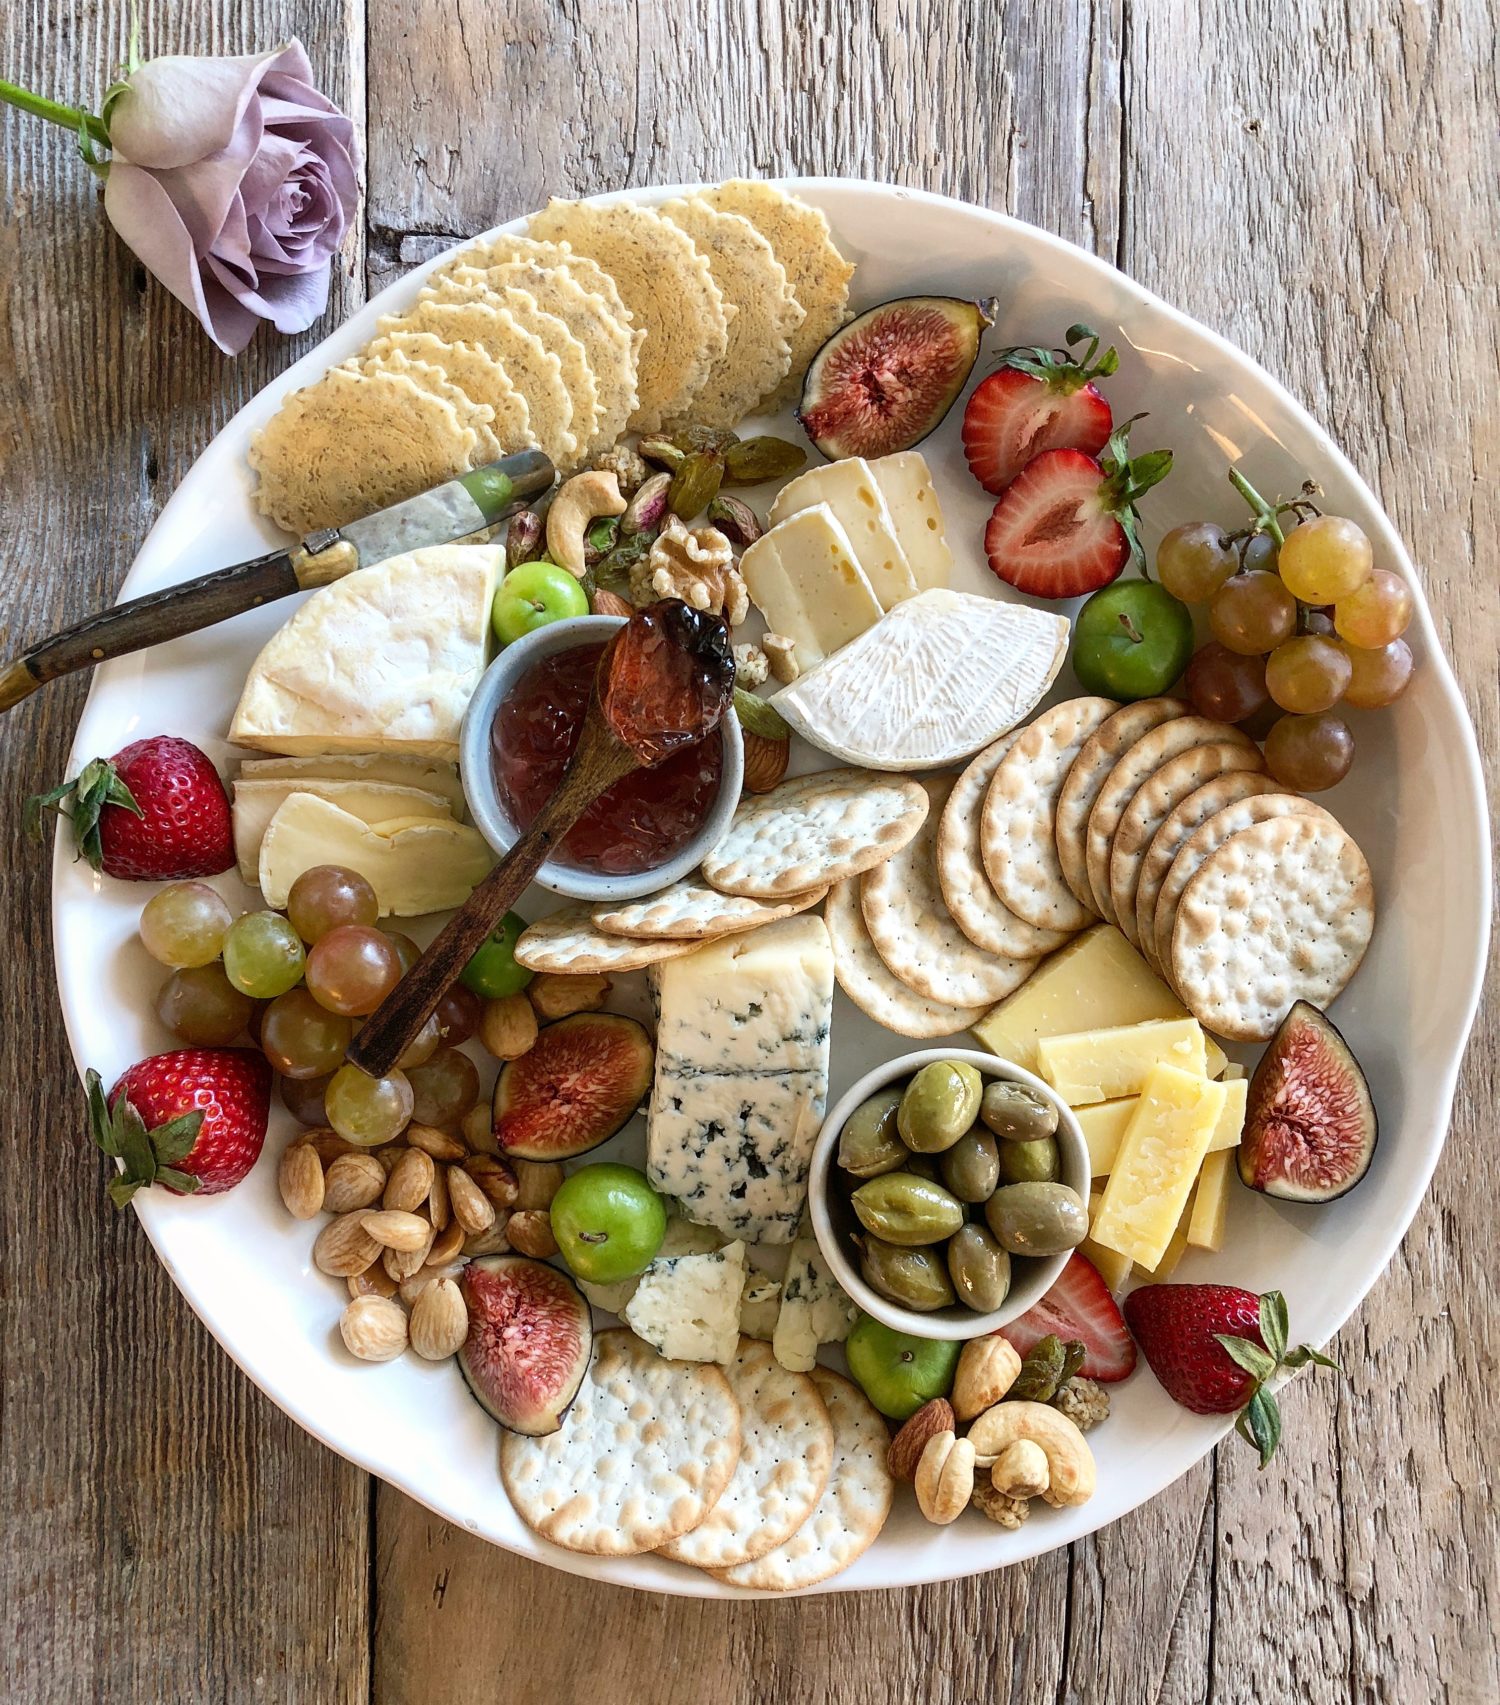
First thing I do is choose my cheeses. I like to have something hard, semi-soft, creamy, and a blue. After that, the options are endless. To create the boards below I’ve partnered with Castello Cheese and their wonderful line of unique, heritage-quality cheeses, so there were plenty of choices of great cheeses to pull from. I opted for Castello Tickler Extra Mature Cheddar (aged cheddar is Jim’s favourite, and must be present on any cheeseboard that leaves my kitchen!), a lovely Camembert (this will always remind me of my childhood- it was a cheese that my parents always had on hand) a Double Crème White (so smooth and not bland like some double cream cheeses), and a traditional Danish Blue (fabulous in its crumbly nature and flavour, and not so overpowering, that guests new to blue cheese would be apprehensive to try it). I also decided to include a Chive Cream Cheese, since a spreadable cheese is always fun to have along for the ride, and the chive just made me think of spring.
The next thing I always do is look at my board, or platter, or plate, or even tile (yes, in one of the photos, I show everything on an old tile that I was gifted by someone who knows me rather too well!) and decide how I want the cheeses to be presented. Give them each a quadrant or section of the real estate. Once that has been established, every accompaniment will correspond to each cheese.
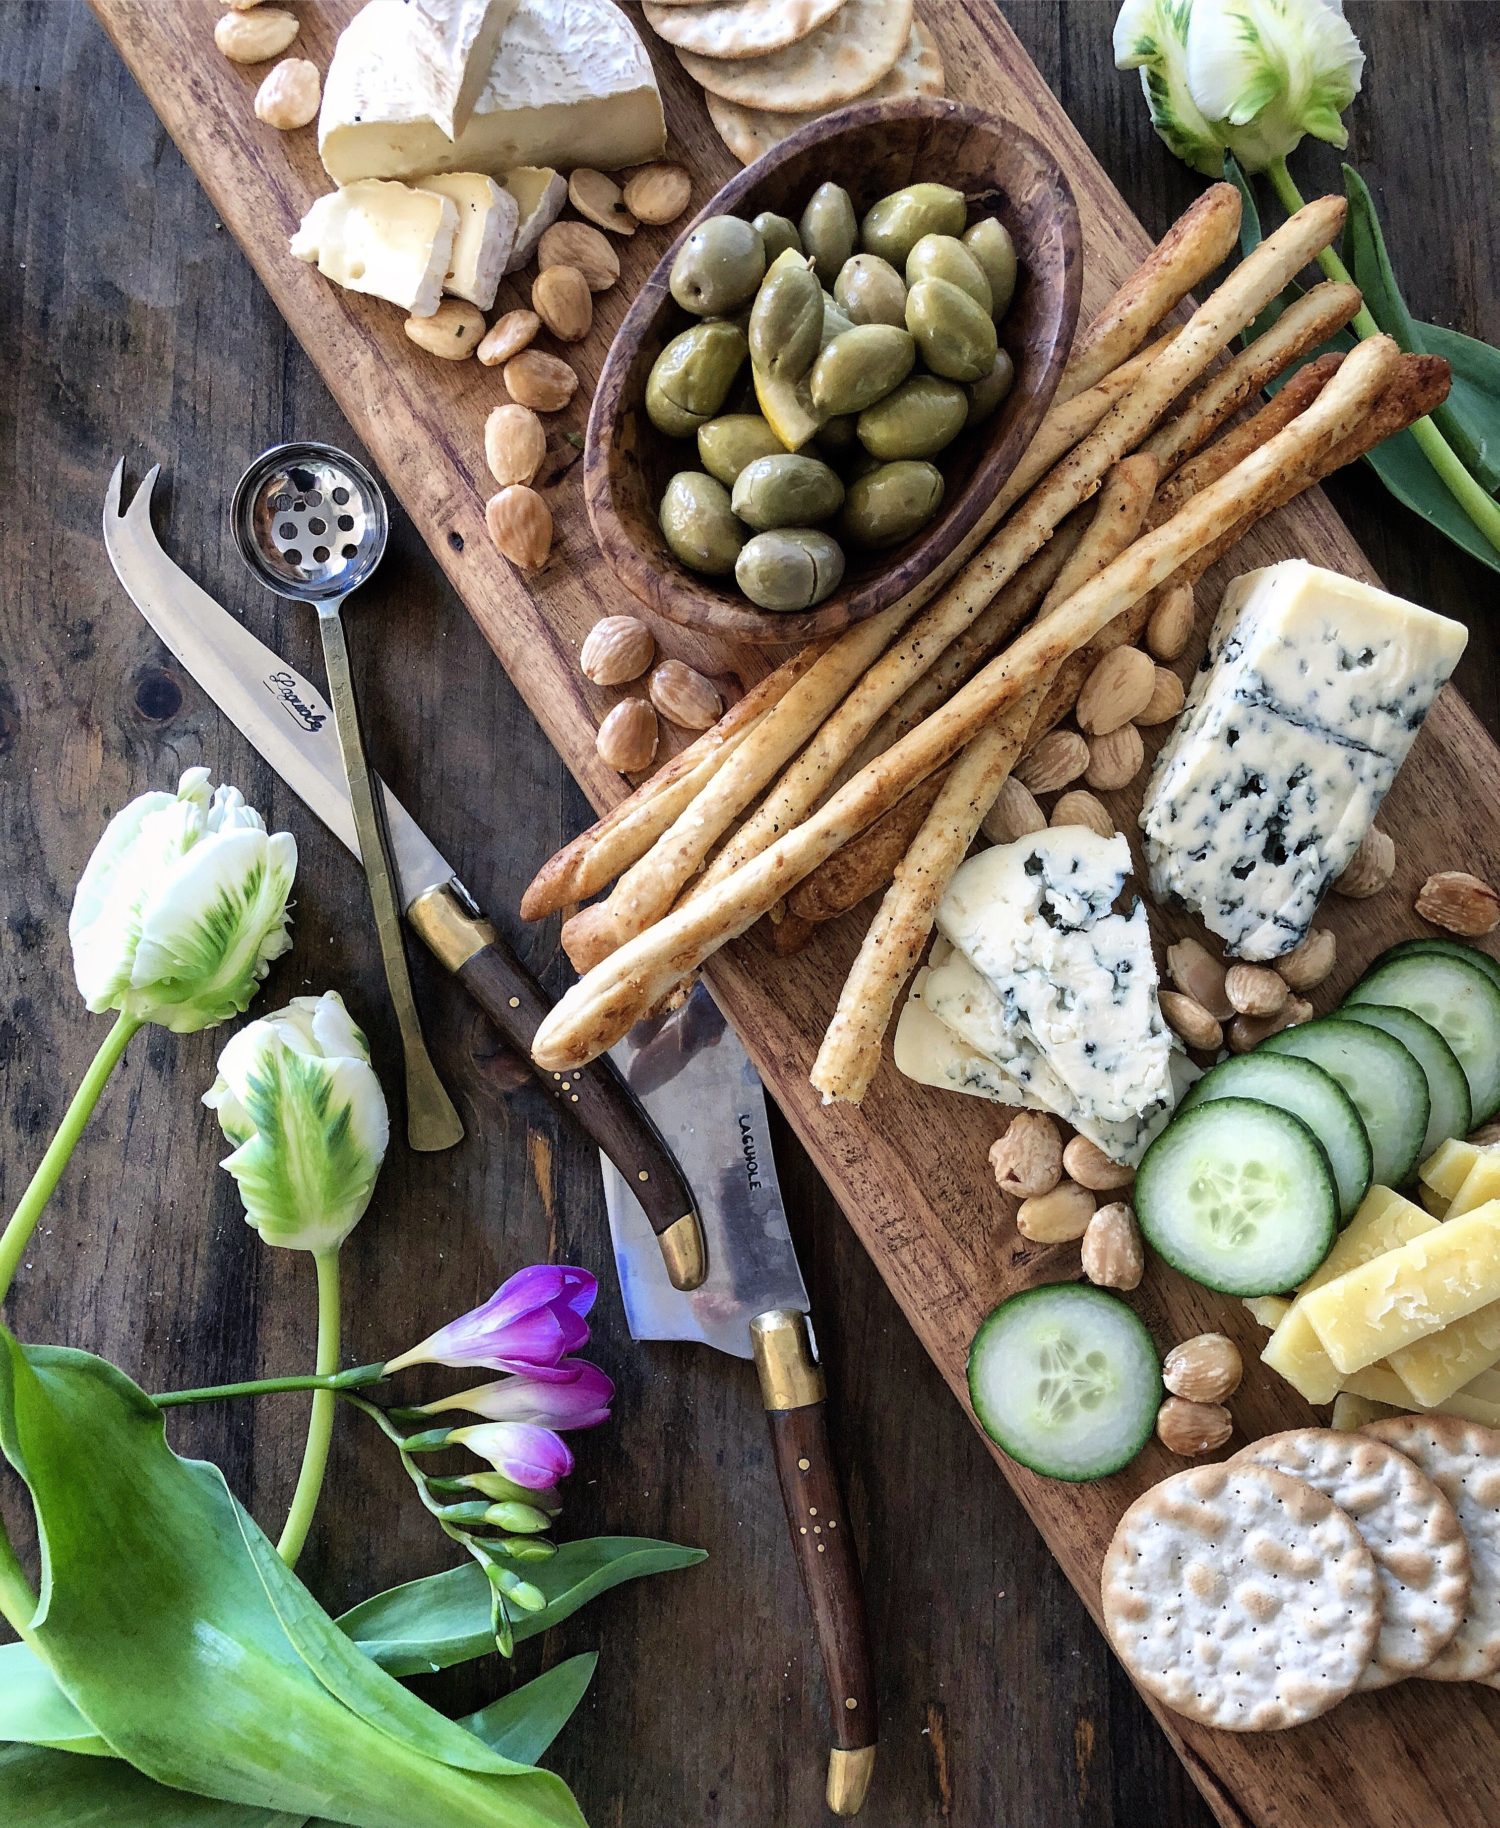
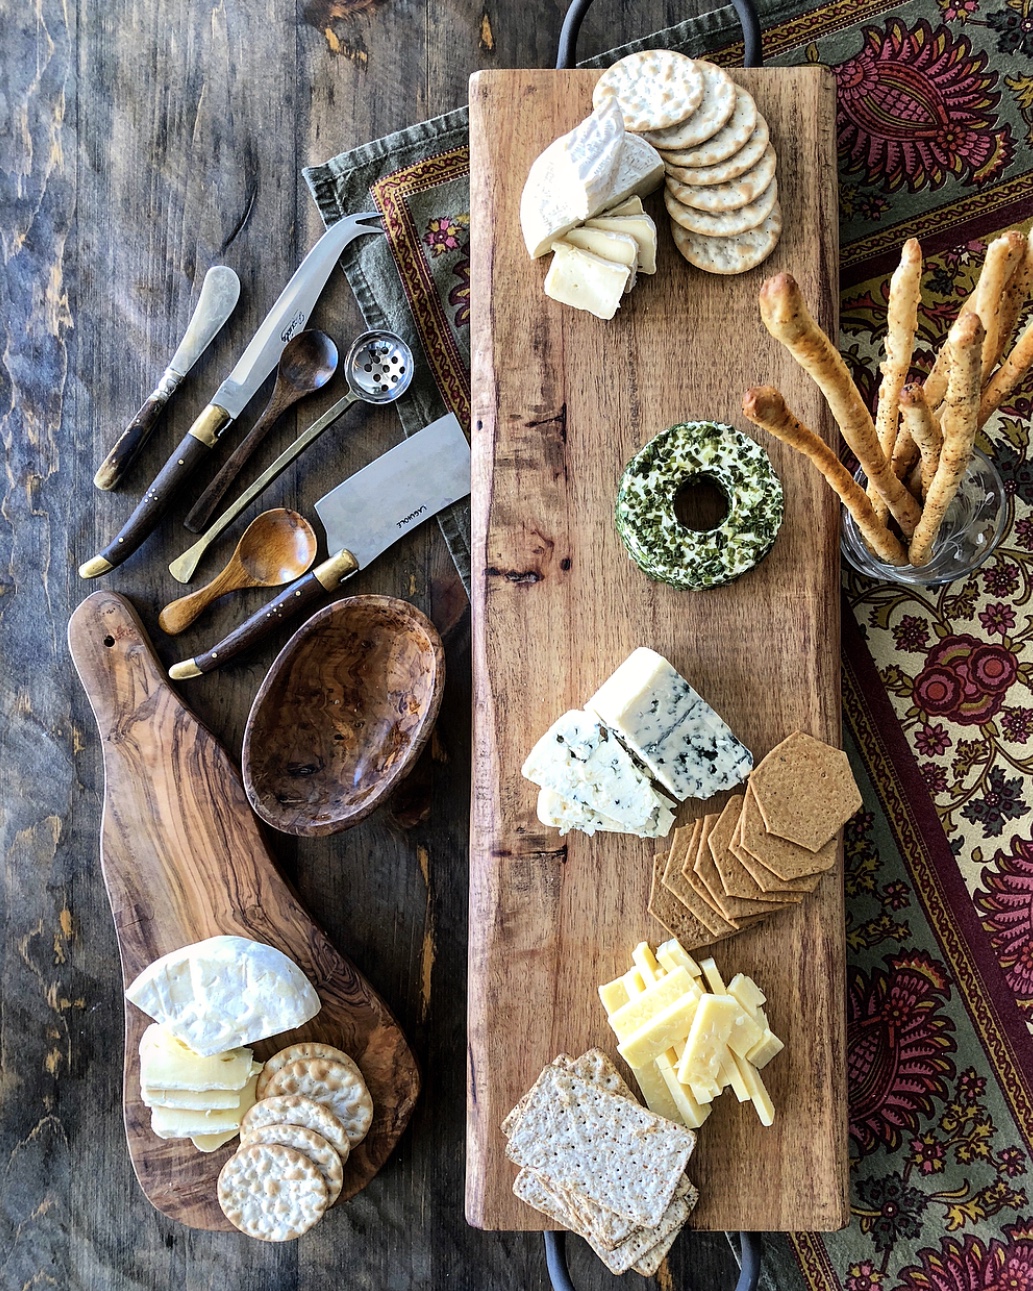 After I know where the cheeses are going, I lay out the appropriate cracker, grissini or baguette slices. Different weights and flavours of cheeses work with some crackers better than others. But hey, if you are opting for a sliced-up baguette for the whole spread, that’s great as well! One less thing to figure out, right?!
After the mediums for transporting the cheese to mouth (the crackers :D) have been laid out near their assigned cheese, you can also lay out some charcuterie (if using, certainly not a requirement for a great cheeseboard) and any bowls of pickled condiments. Try to match the strength of sausage to cheese. A stronger salami might be better with cheddar than say, a mild brie. Then place the veggies, so that there is some near each cheese, as a palate cleanser. If you are using honey or preserves, place these near the appropriate cheeses as well.
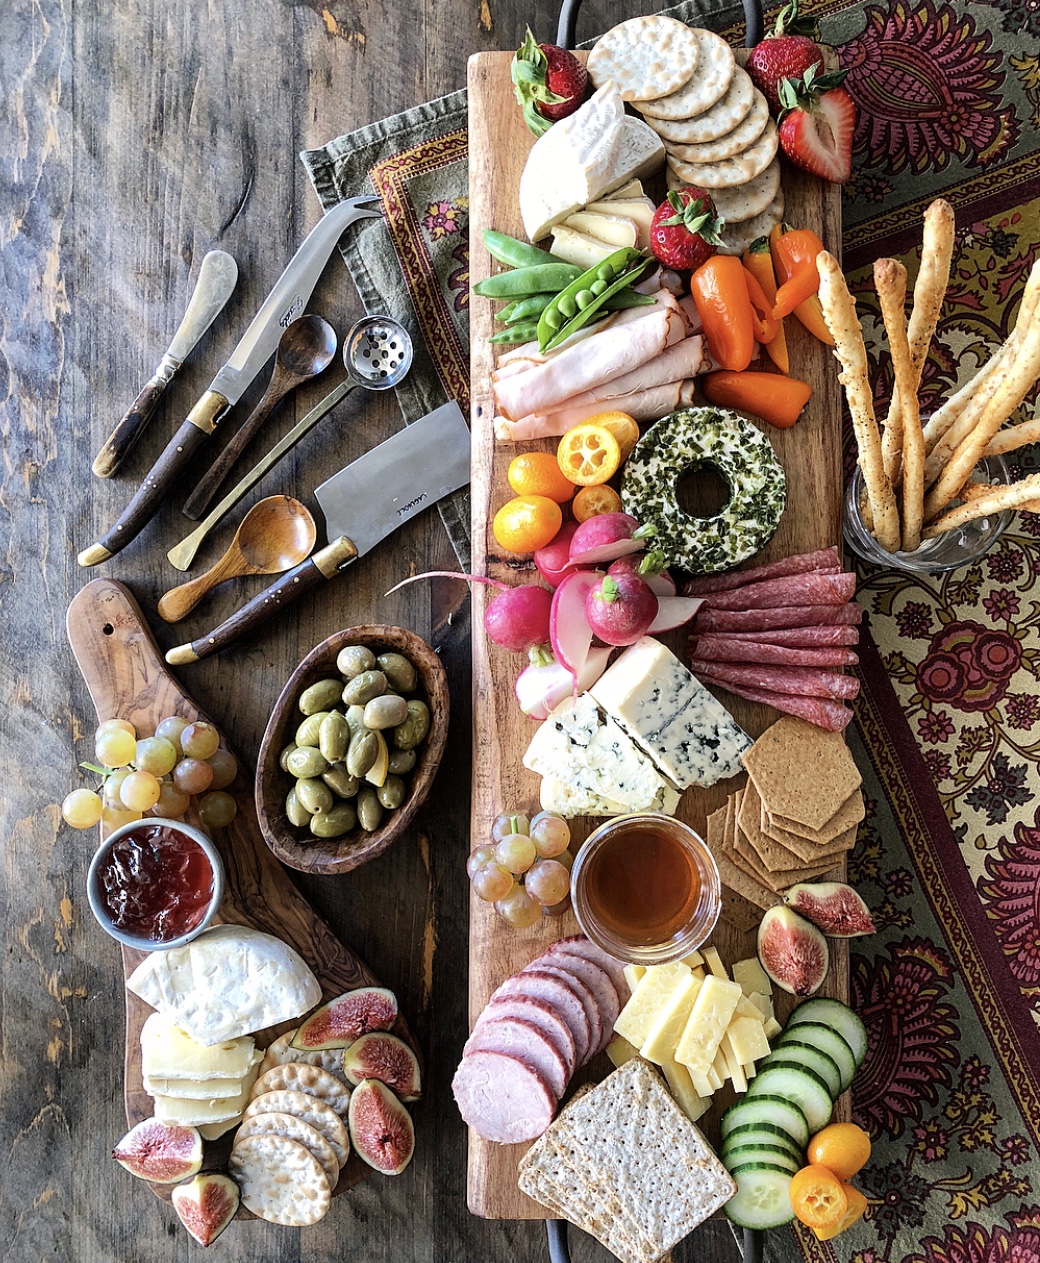
Finally, here come all the garnishes and finishing touches. This is like the jewellery and accessories for an outfit. Just like you would never wear two toned spectator pumps with a frilly cocktail dress (insert appropriate sarcastic sound!) you want to give your garnishes some thought as well. Nuts and fruit are obvious expectations, but think about placement and saltiness. Try and distribute handfuls of both sweet and salty evenly throughout your board, so that everyone has options at their fingertips. Both work so well with cheeses, bringing out the flavours and nuances of cheeses so wonderfully. I love using Marcona Almonds- they have a distinct flavour that can balance out cheeses on the milder side.
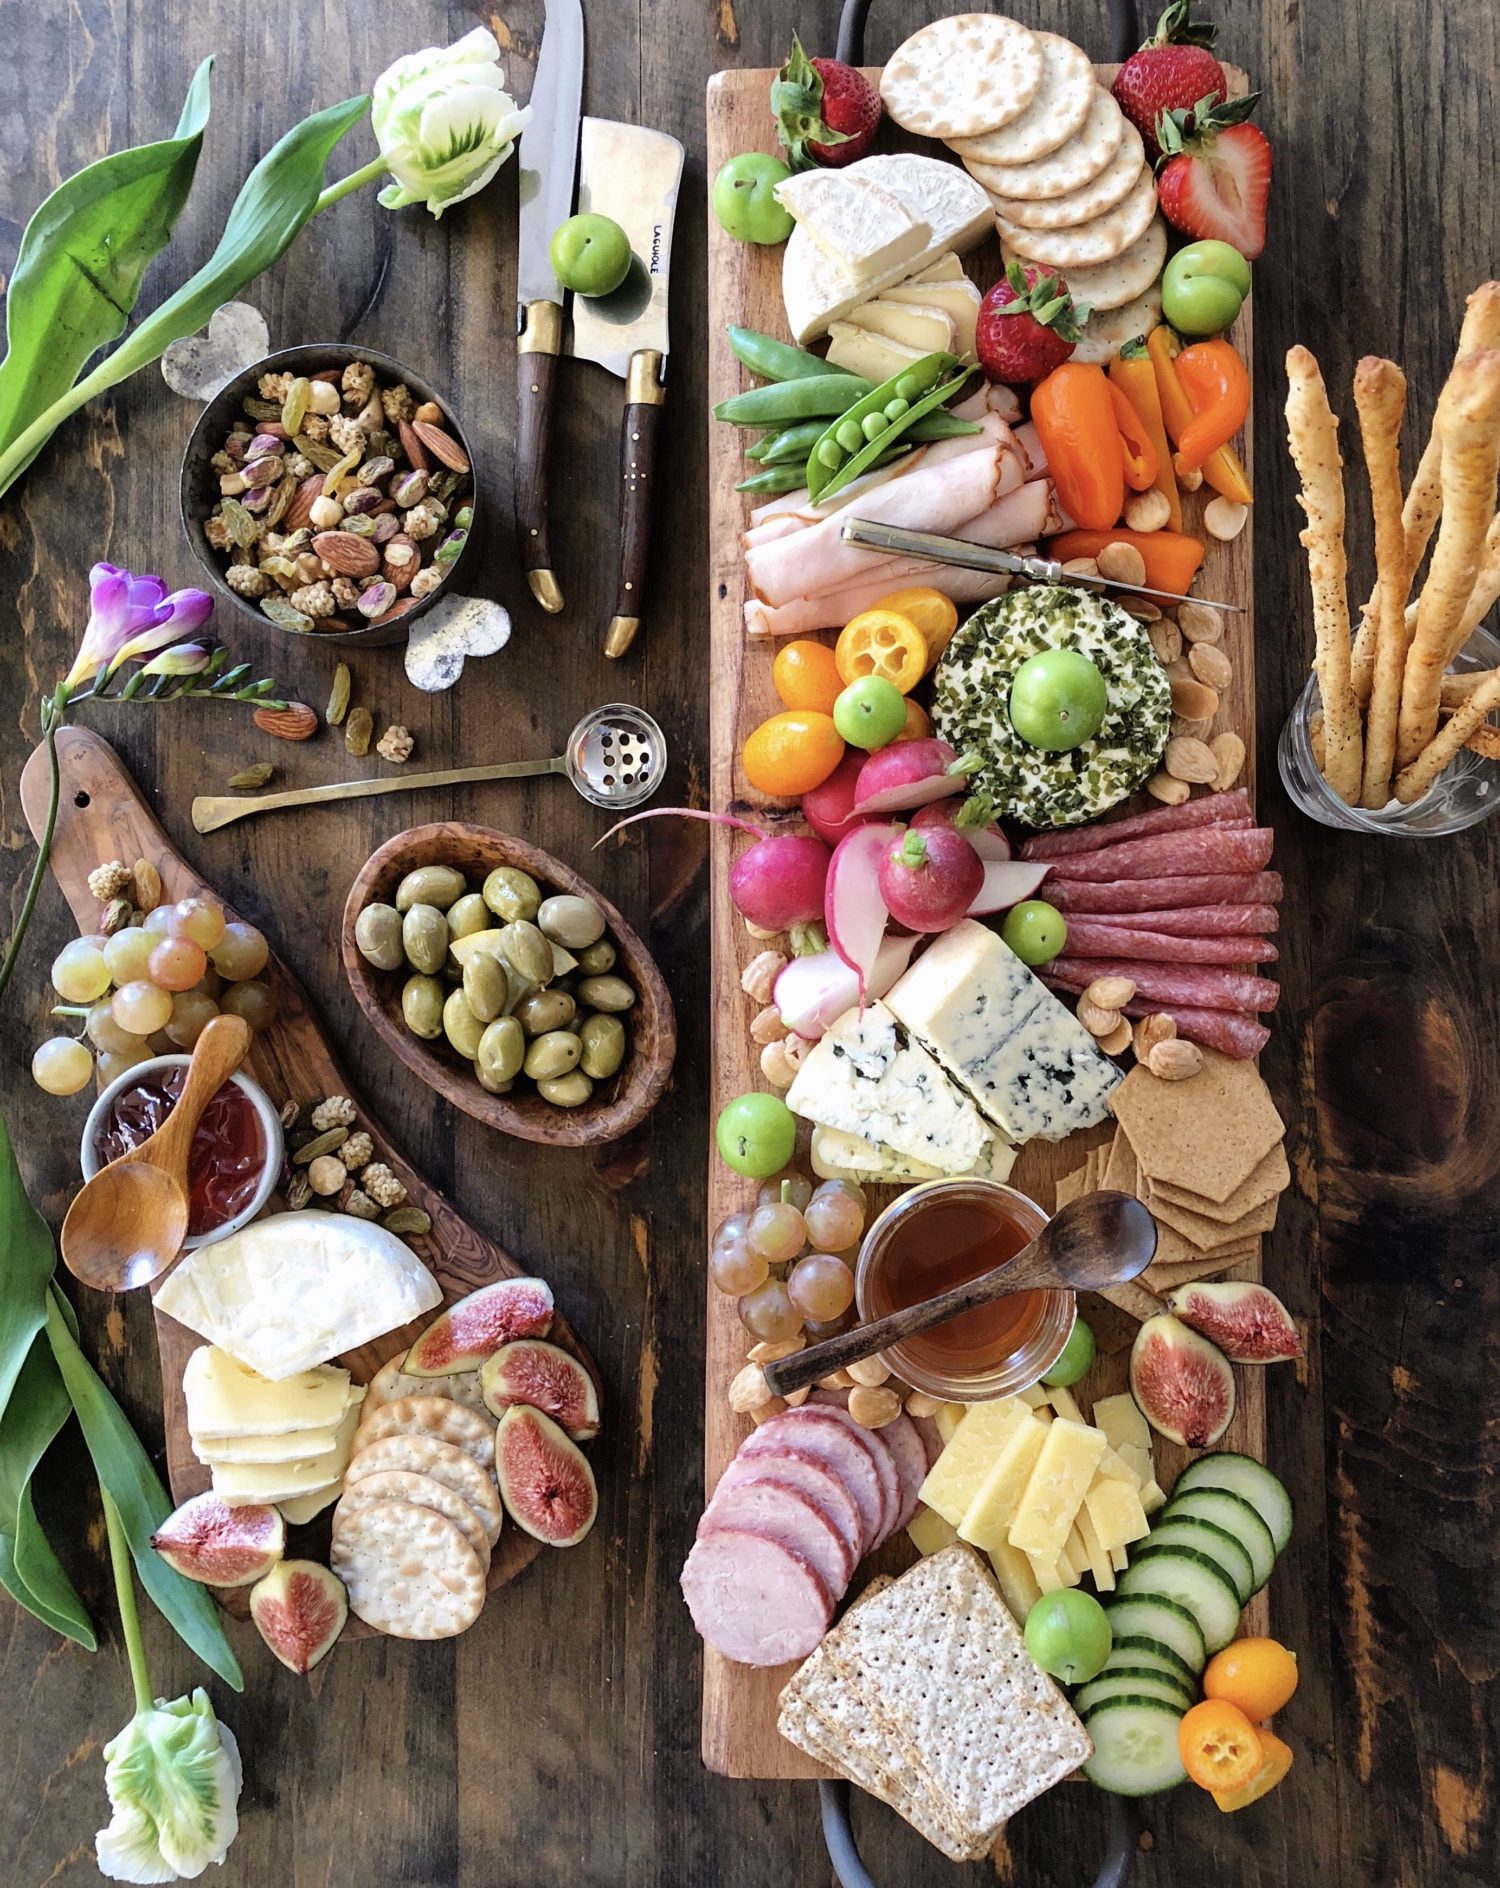 Dried fruit and pomegranate arils in the winter are lovely; fresh fruit at this time of year is perfect! For the boards below I used a lovely spring sweet nut and dried fruit combo from a local nut shop- it has mulberries, dried green raisins, pistachios and cashews- really a lovely contrast of textures to the creamy cheeses on the board. There are Muscat grapes, figs and strawberries as well. I also found some sour plums that are only available in the spring- those are the little green orbs you can see- they are a delicacy in the Middle East. In fact, popping into your local ethnic shops can give you all sorts of ideas you may never have thought of.
And of course, have cutting and scooping utensils on hand. Or, if you know that a larger crowd will be passing by your cheeseboards, say at a bridal shower etc, you may opt to have all the cheeses already sliced up. Cutting as you go is really only better if the group hovering around the board is small, and is making the collective mess together!
Some tips:
- Have all your items measured out and placed into sealed containers in the fridge until you are ready to make the platter. This is especially important if you have a lot of other things to get ready for your gathering.
- A good half hour or bit more, before you are ready to serve everything, bring out your cheeses. Cheeses really need to be at room temperature to taste their best. You can place them where you want to showcase them, and then move on to other jobs. Then come back, slice up (if slicing) and start laying out everything else.
- If at all possible, leave the crackers or bread till the very last minute, so that they won’t dry out, or get soggy, depending on what they are placed near. Try and take this into consideration, especially if the platter will be out for a great length of time. If you are travelling to a location for a party, you might be able to employ all of the suggestions above, if not, try and at least keep the crackers separate till you get there. You can then uncover your wrapped platter and add the crackers or bread.
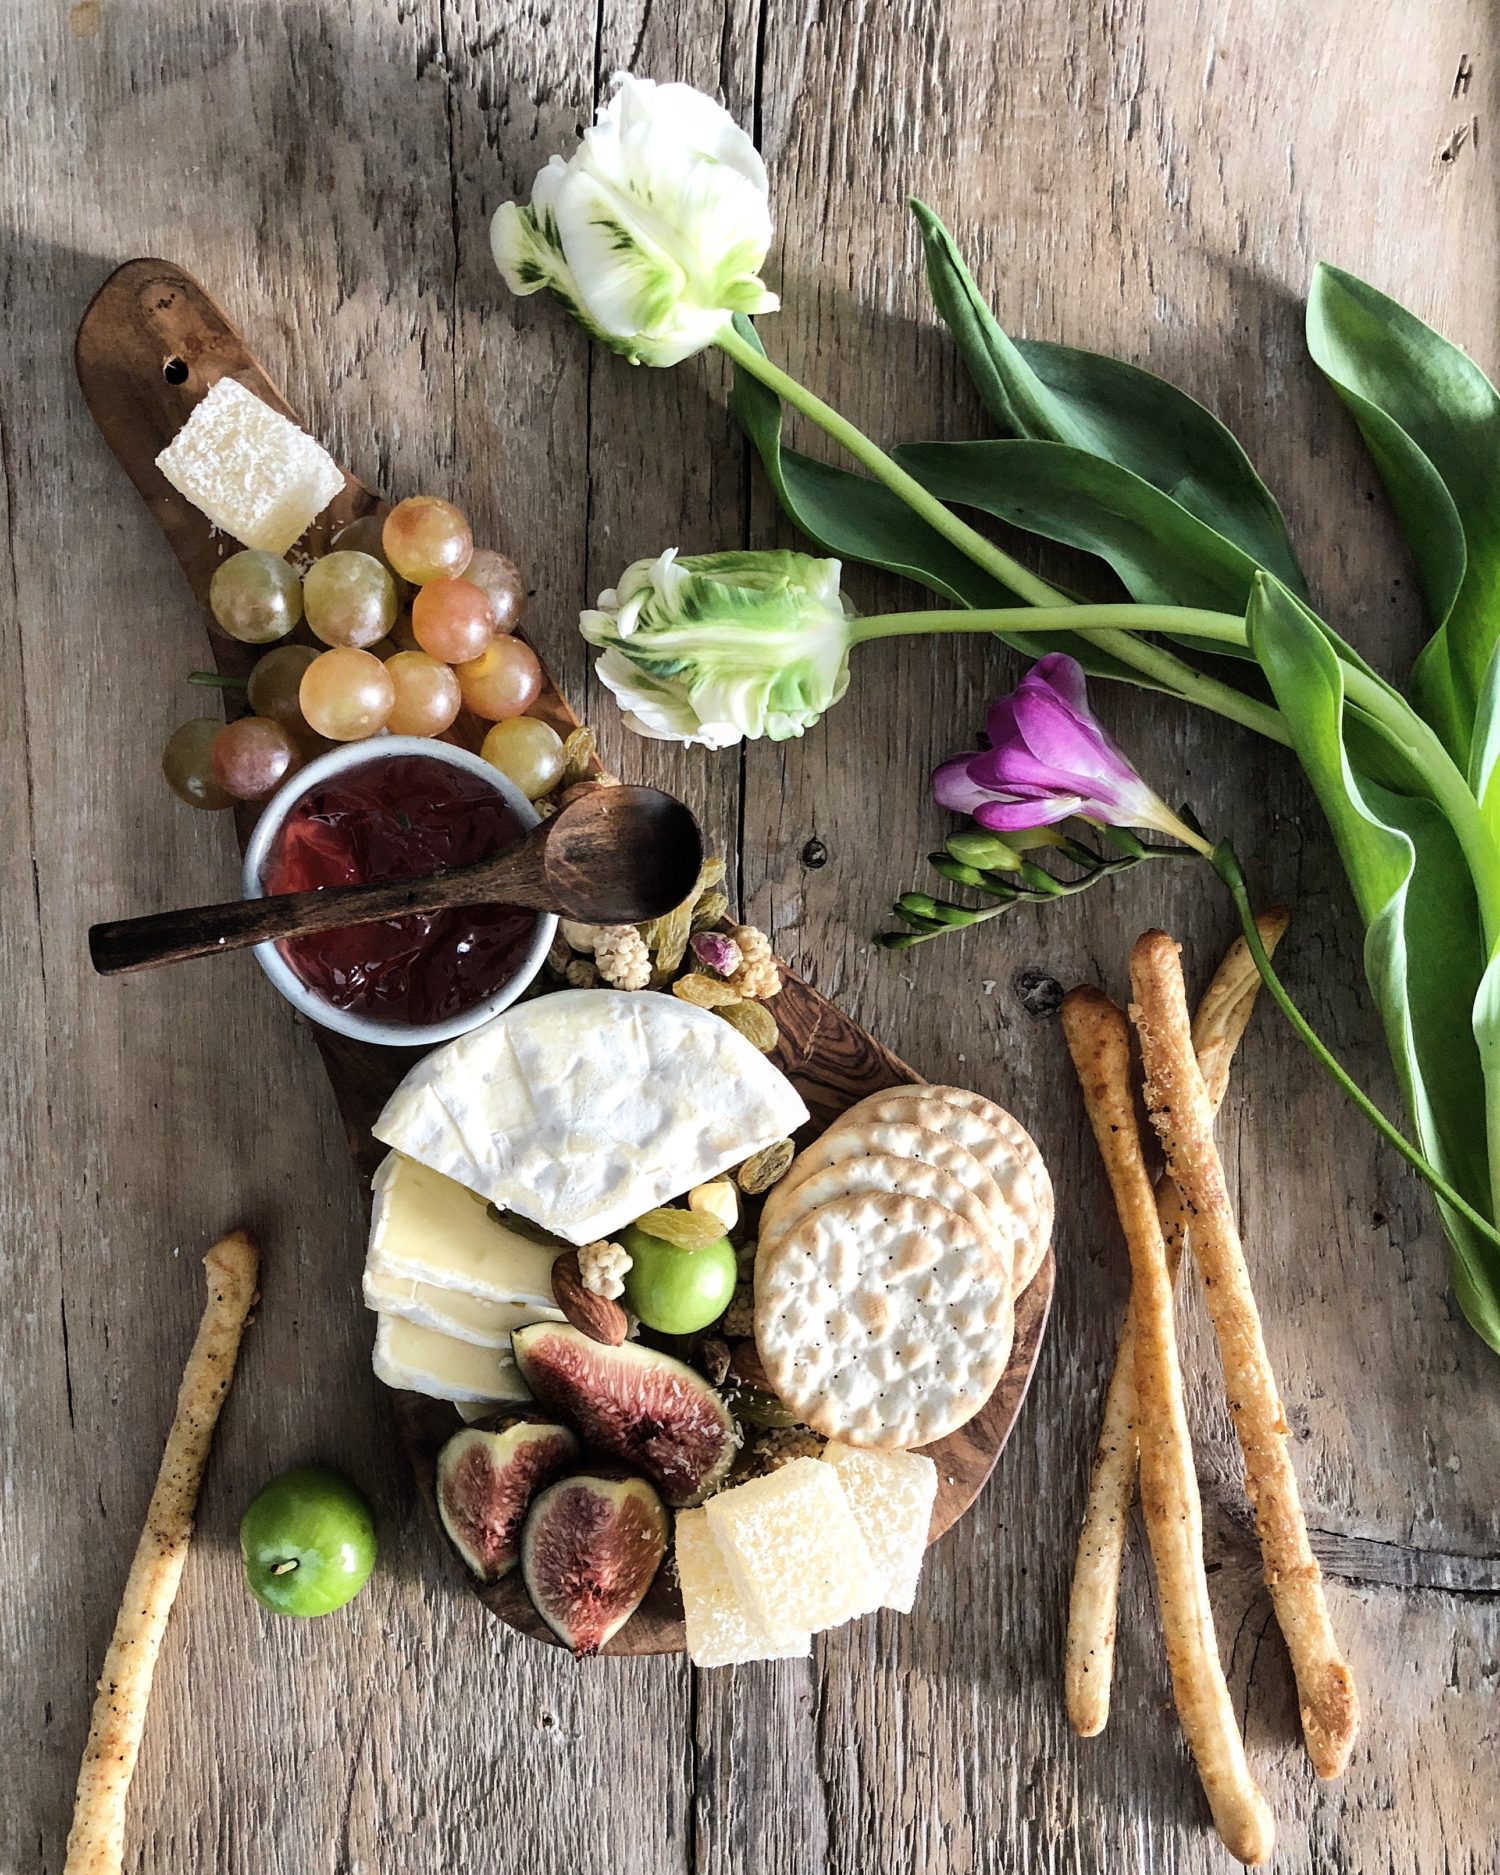
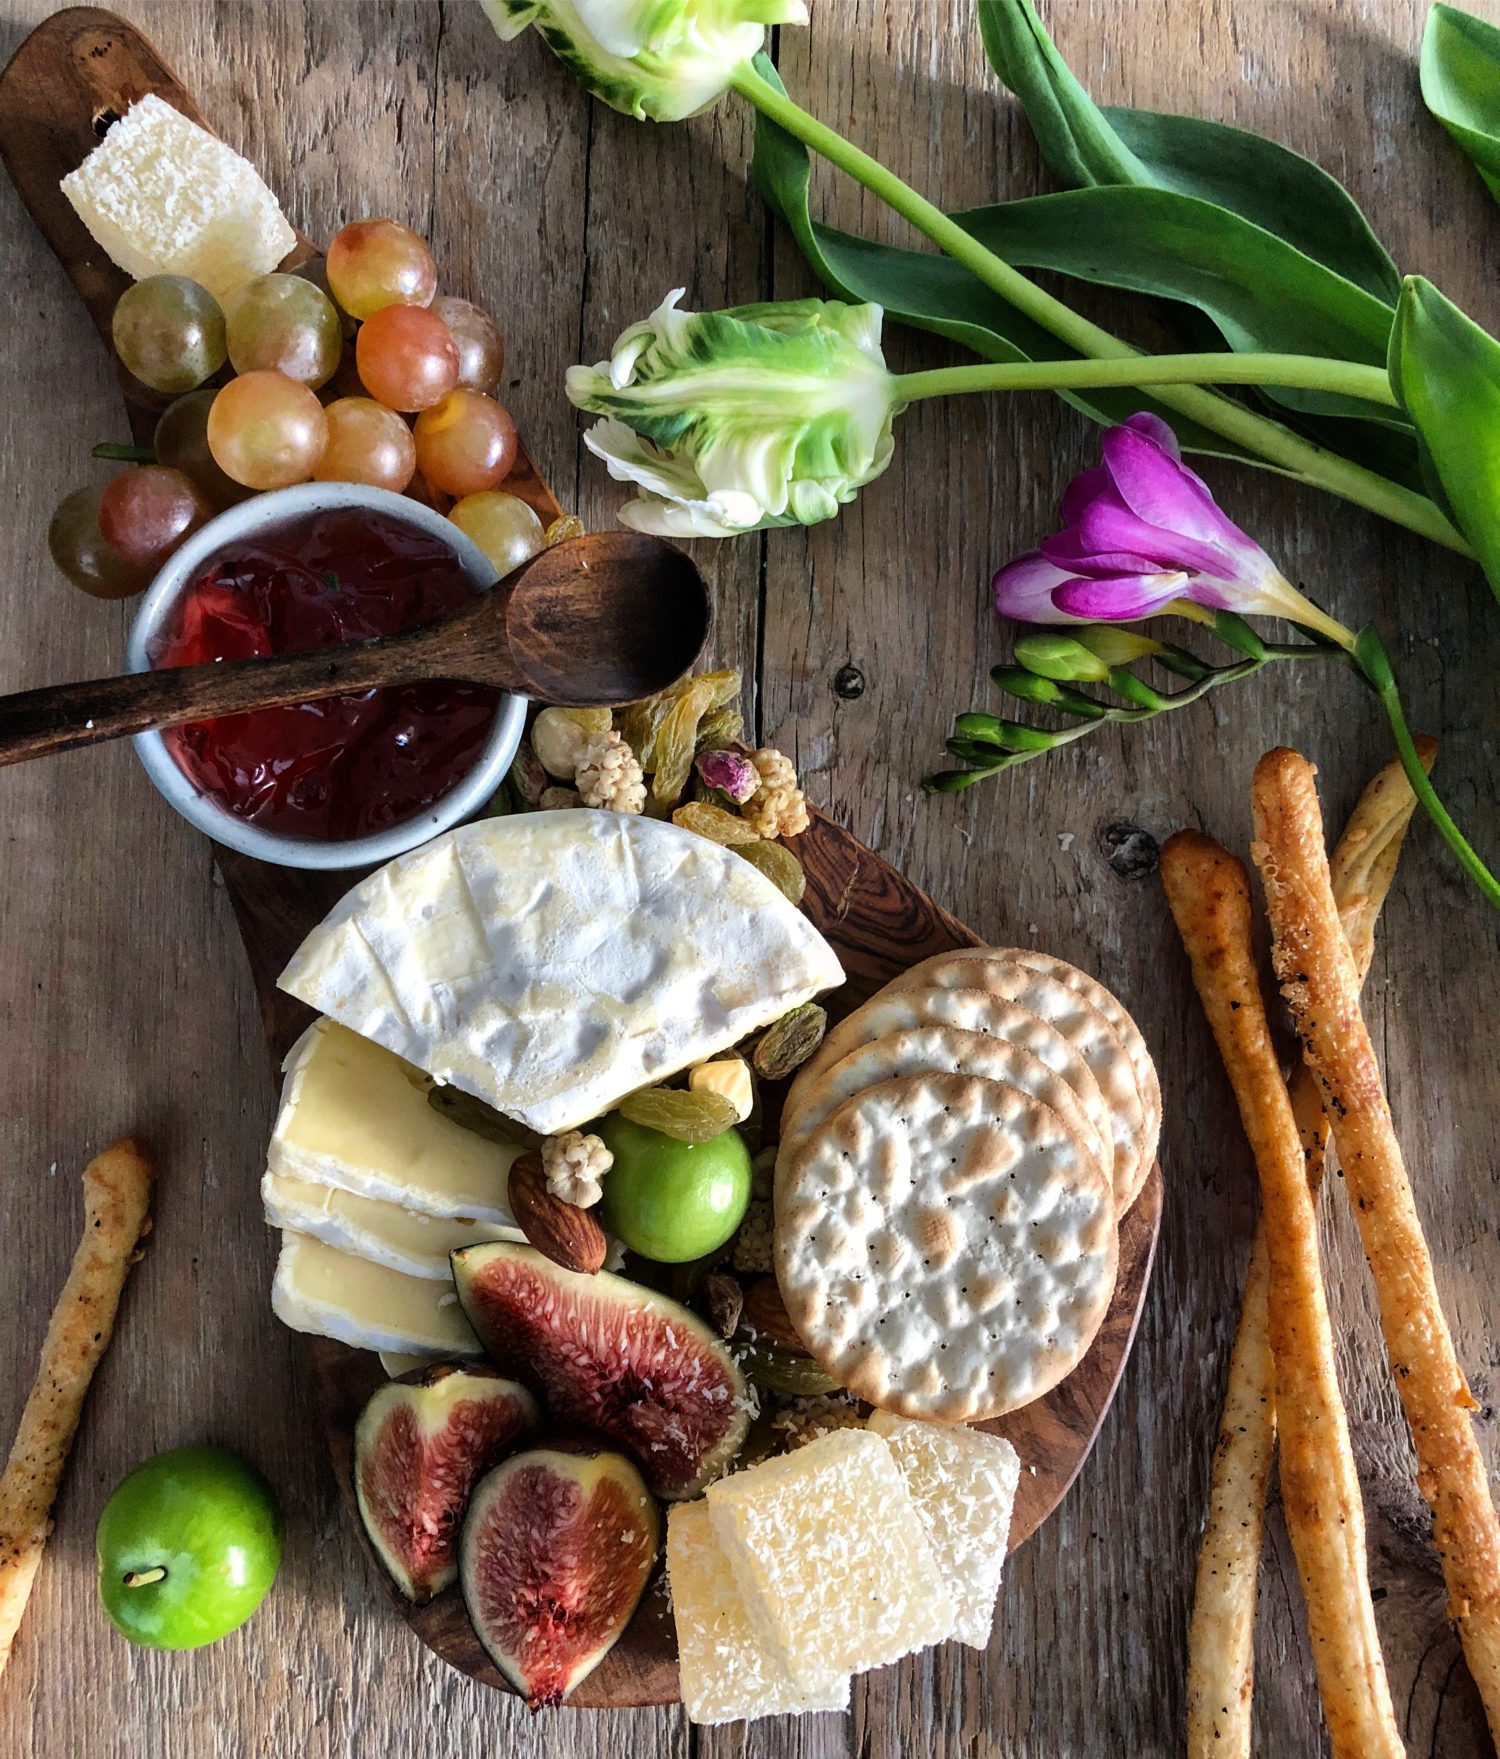
Have you ever thought of a cheeseboard for dessert? I love it! Along with the cheeses, and some crackers, I will scatter dried fruit and nuts, fine chocolate broken up into large bite sized pieces, figs, even Turkish Delight or macarons! Jim likes it if I include chocolate covered nuts or coffee beans. It’s fun to sit around a table, chat and nibble away on a dessert platter, sipping on port, single malt, or espresso!
So, I hope you’ve gotten some ideas from my springtime cheese musings. What are your favourite additions to a cheeseboard? Do share!
Love Jen

Leave a Reply