When we have bits and bobs of fresh herbs left, but they are starting to look past their prime, this is the perfect way to deal with them!
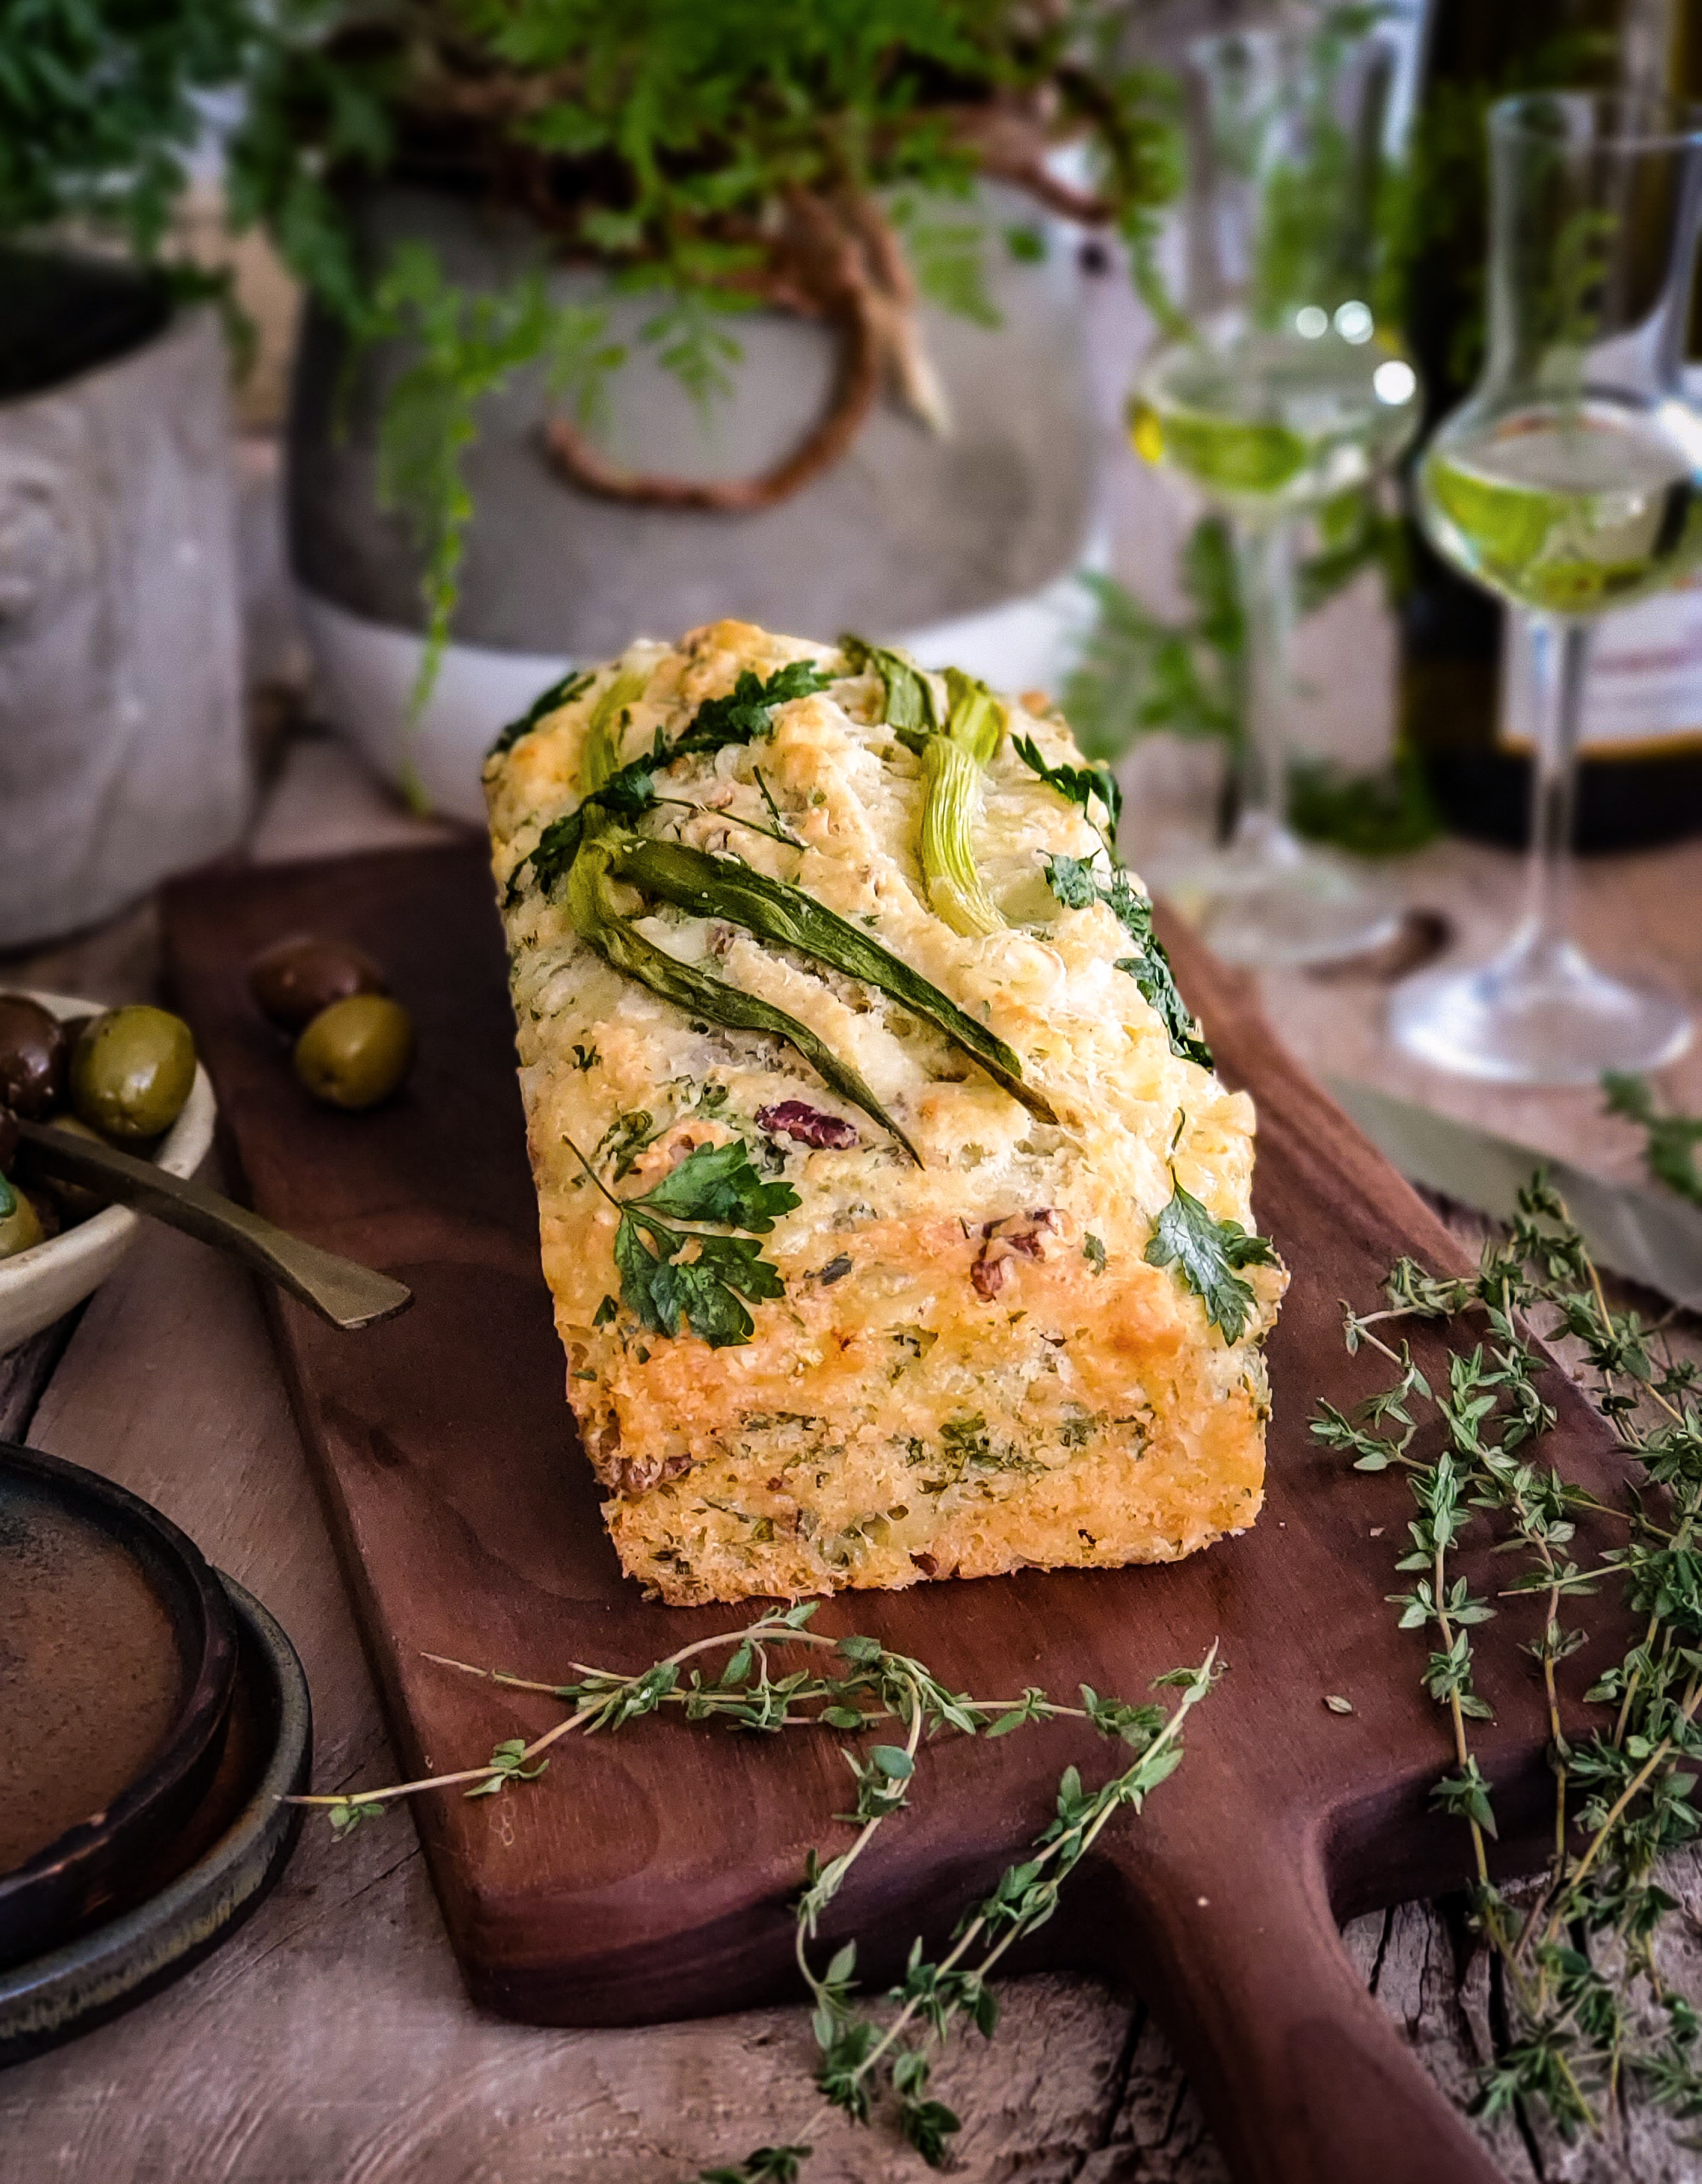
 While I love to use herbs in my salads and egg dishes, eventually I am left with a motley assortment of herbs. Well, step in this little treat. This has been one of my favourite quick breads for years. The recipe is inspired by one in Dorie Greenspan’s book, ‘Around my French Table’. It is a perfect savoury bread to serve with crudités and cheese, with glasses of wine or bubbly. Think of it as gougères, but with less hands on time. It also works great as a side for soup, just saying!
What I love about this bread, is that it is a quick bread at heart, with the only leavening agent being baking powder. So it comes together so quickly. Immediate gratification. A couple of bowls, a wooden spoon, and your imagination are the main ingredients. I say your imagination because the choice of herbs and cheeses in the batter are up to you. Most herbs will work fabulously: thyme, parsley, rosemary, chives, chervil, basil, dill, etc. As for the cheeses, gruyere, emmenthal, fontina, gouda are all great melting cheeses. But adding some oomph with a bit of sharp cheddar, parmesan etc give the final bread some life. As for other optional add-ins, olives, pecans or other nuts, sundried tomatoes, etc all would be great. I just wouldn’t use too many of them all at once, or else the final result will be rather muddy, and no flavour will actually stand out. So for this one I only used herbs, scallions and walnuts. And of course the cheese! Can’t forget the cheese.
Seriously, chopped herbs, scallions, grated cheese, and a bit of heat, and this bread is ready for happy hour. It also freezes well. I slice it prior to freezing, so that I can remove a few slices as I crave them. Slicing and placing the slices flat on a wax paper lined baking sheet to sit in the freezer for a half hour will ensure that when you place them all together in a freezer bag, they won’t stick to each other.
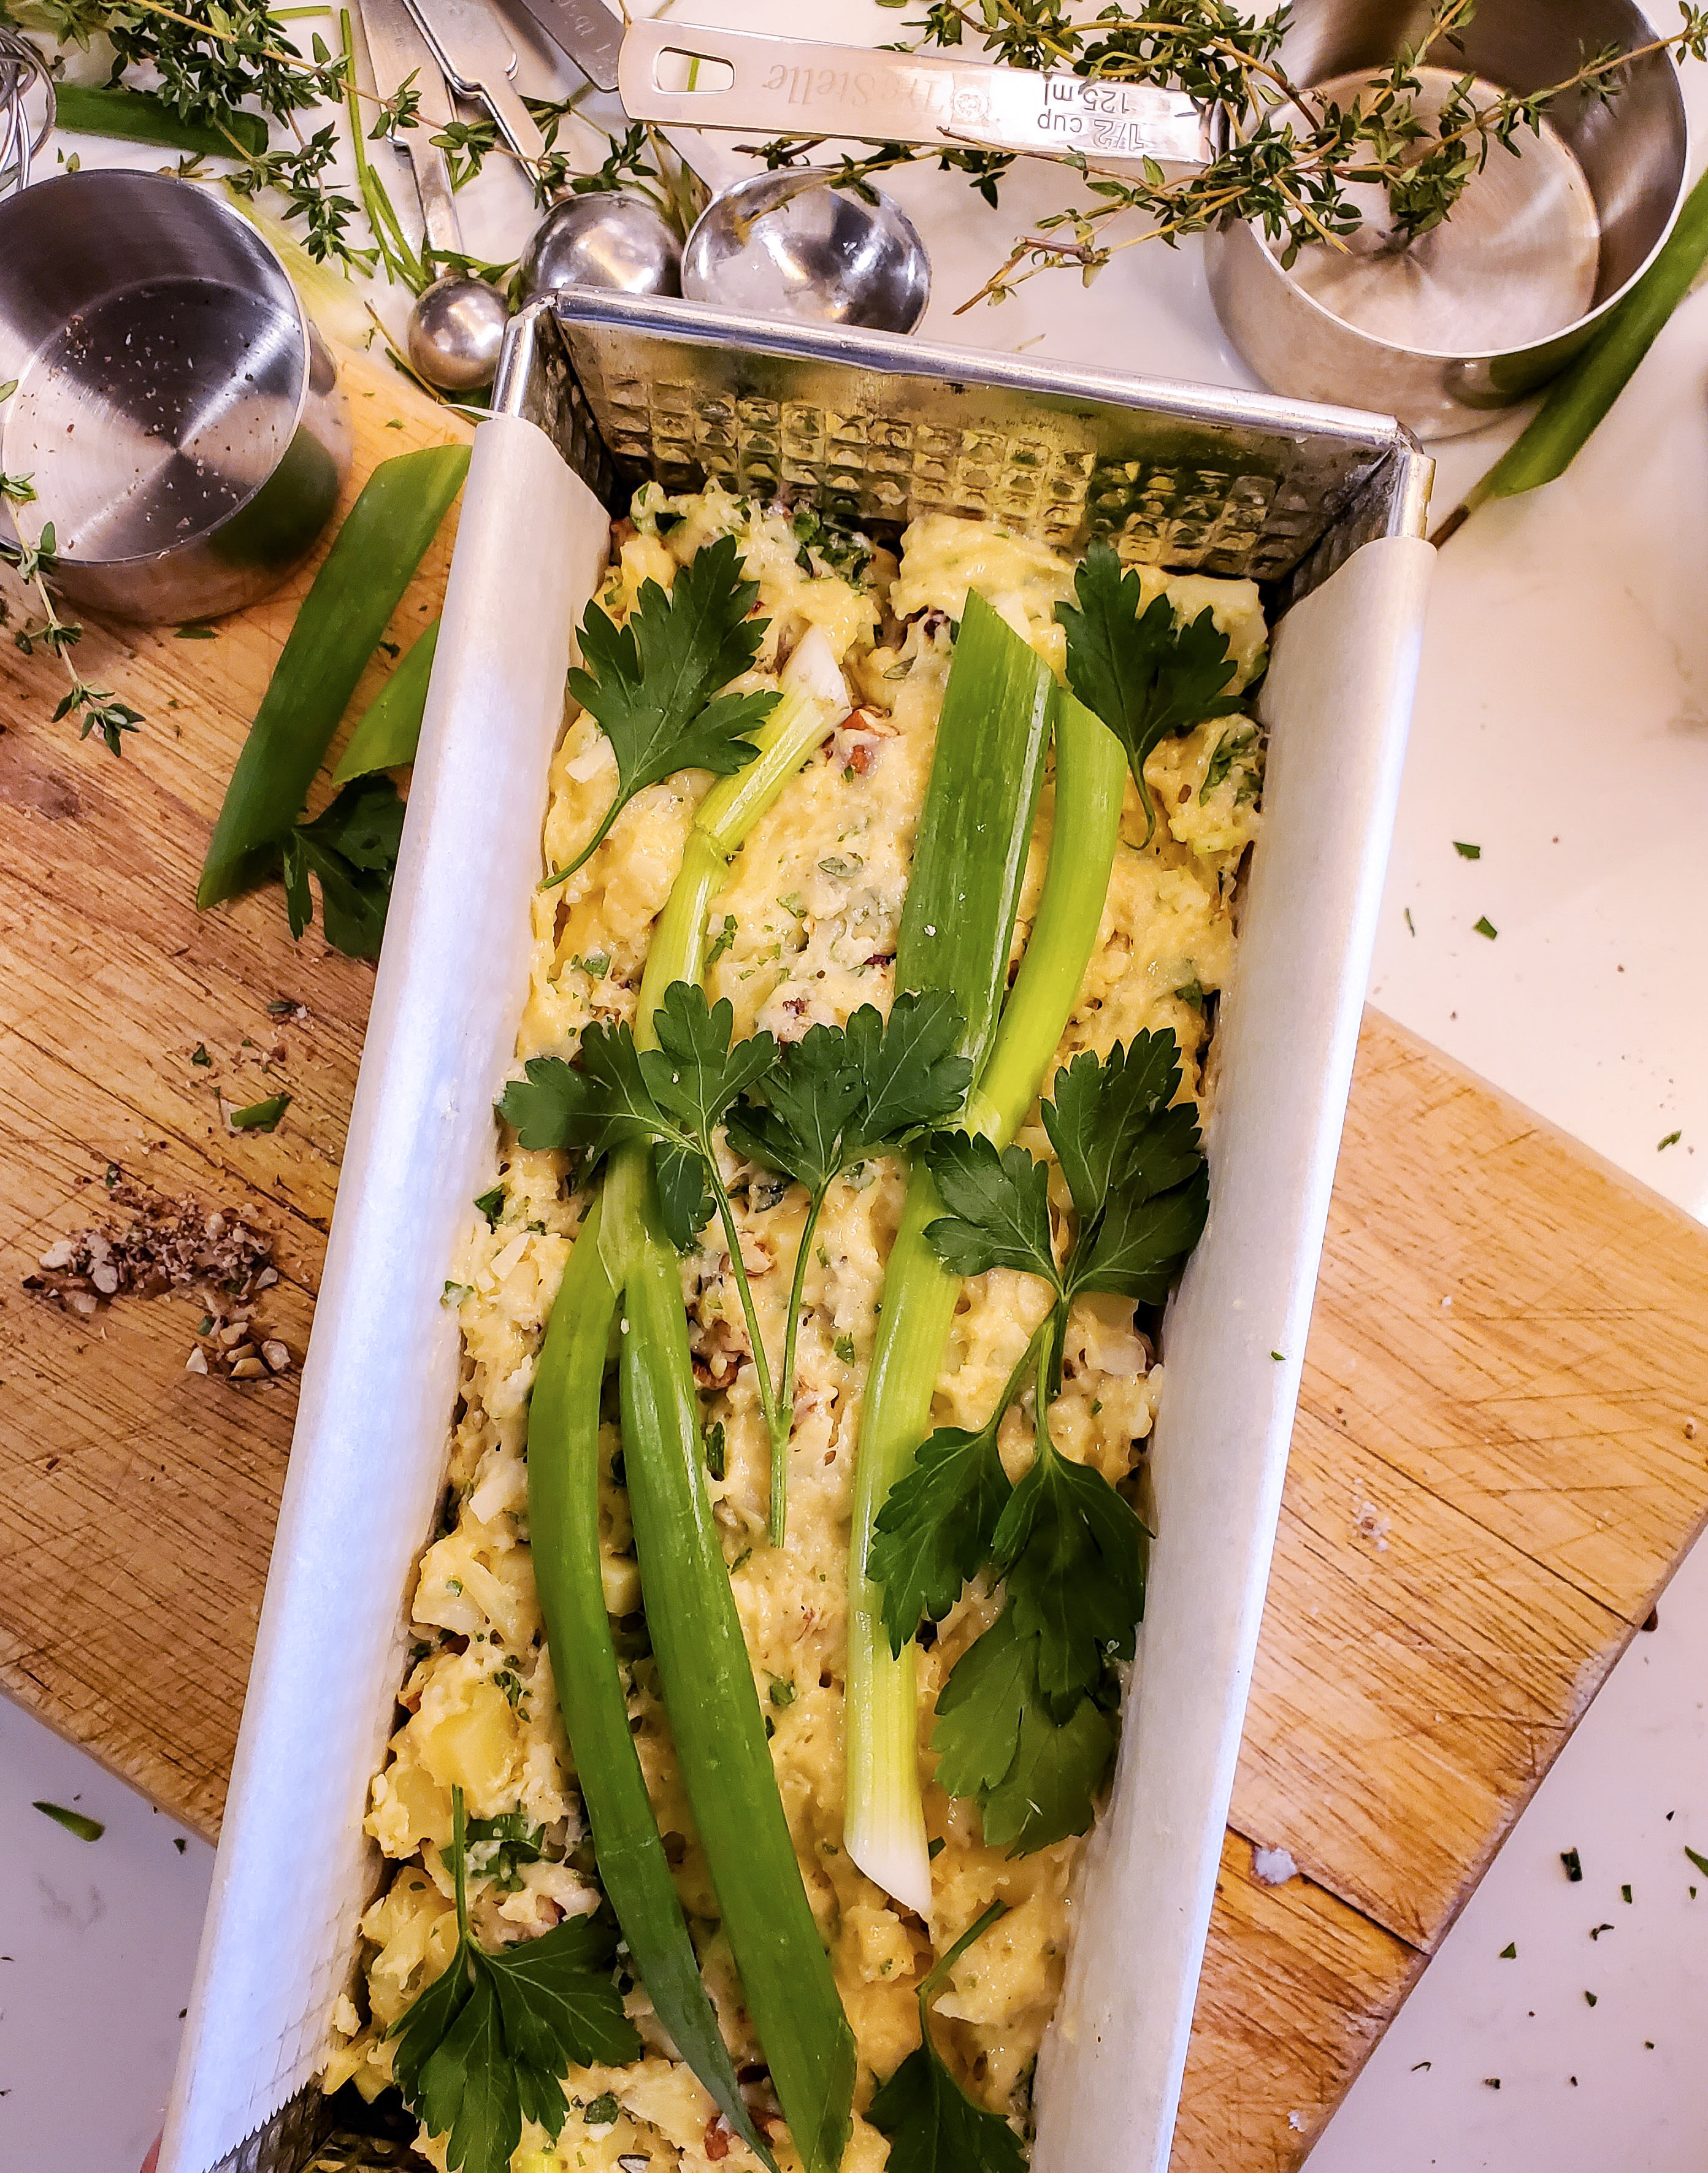
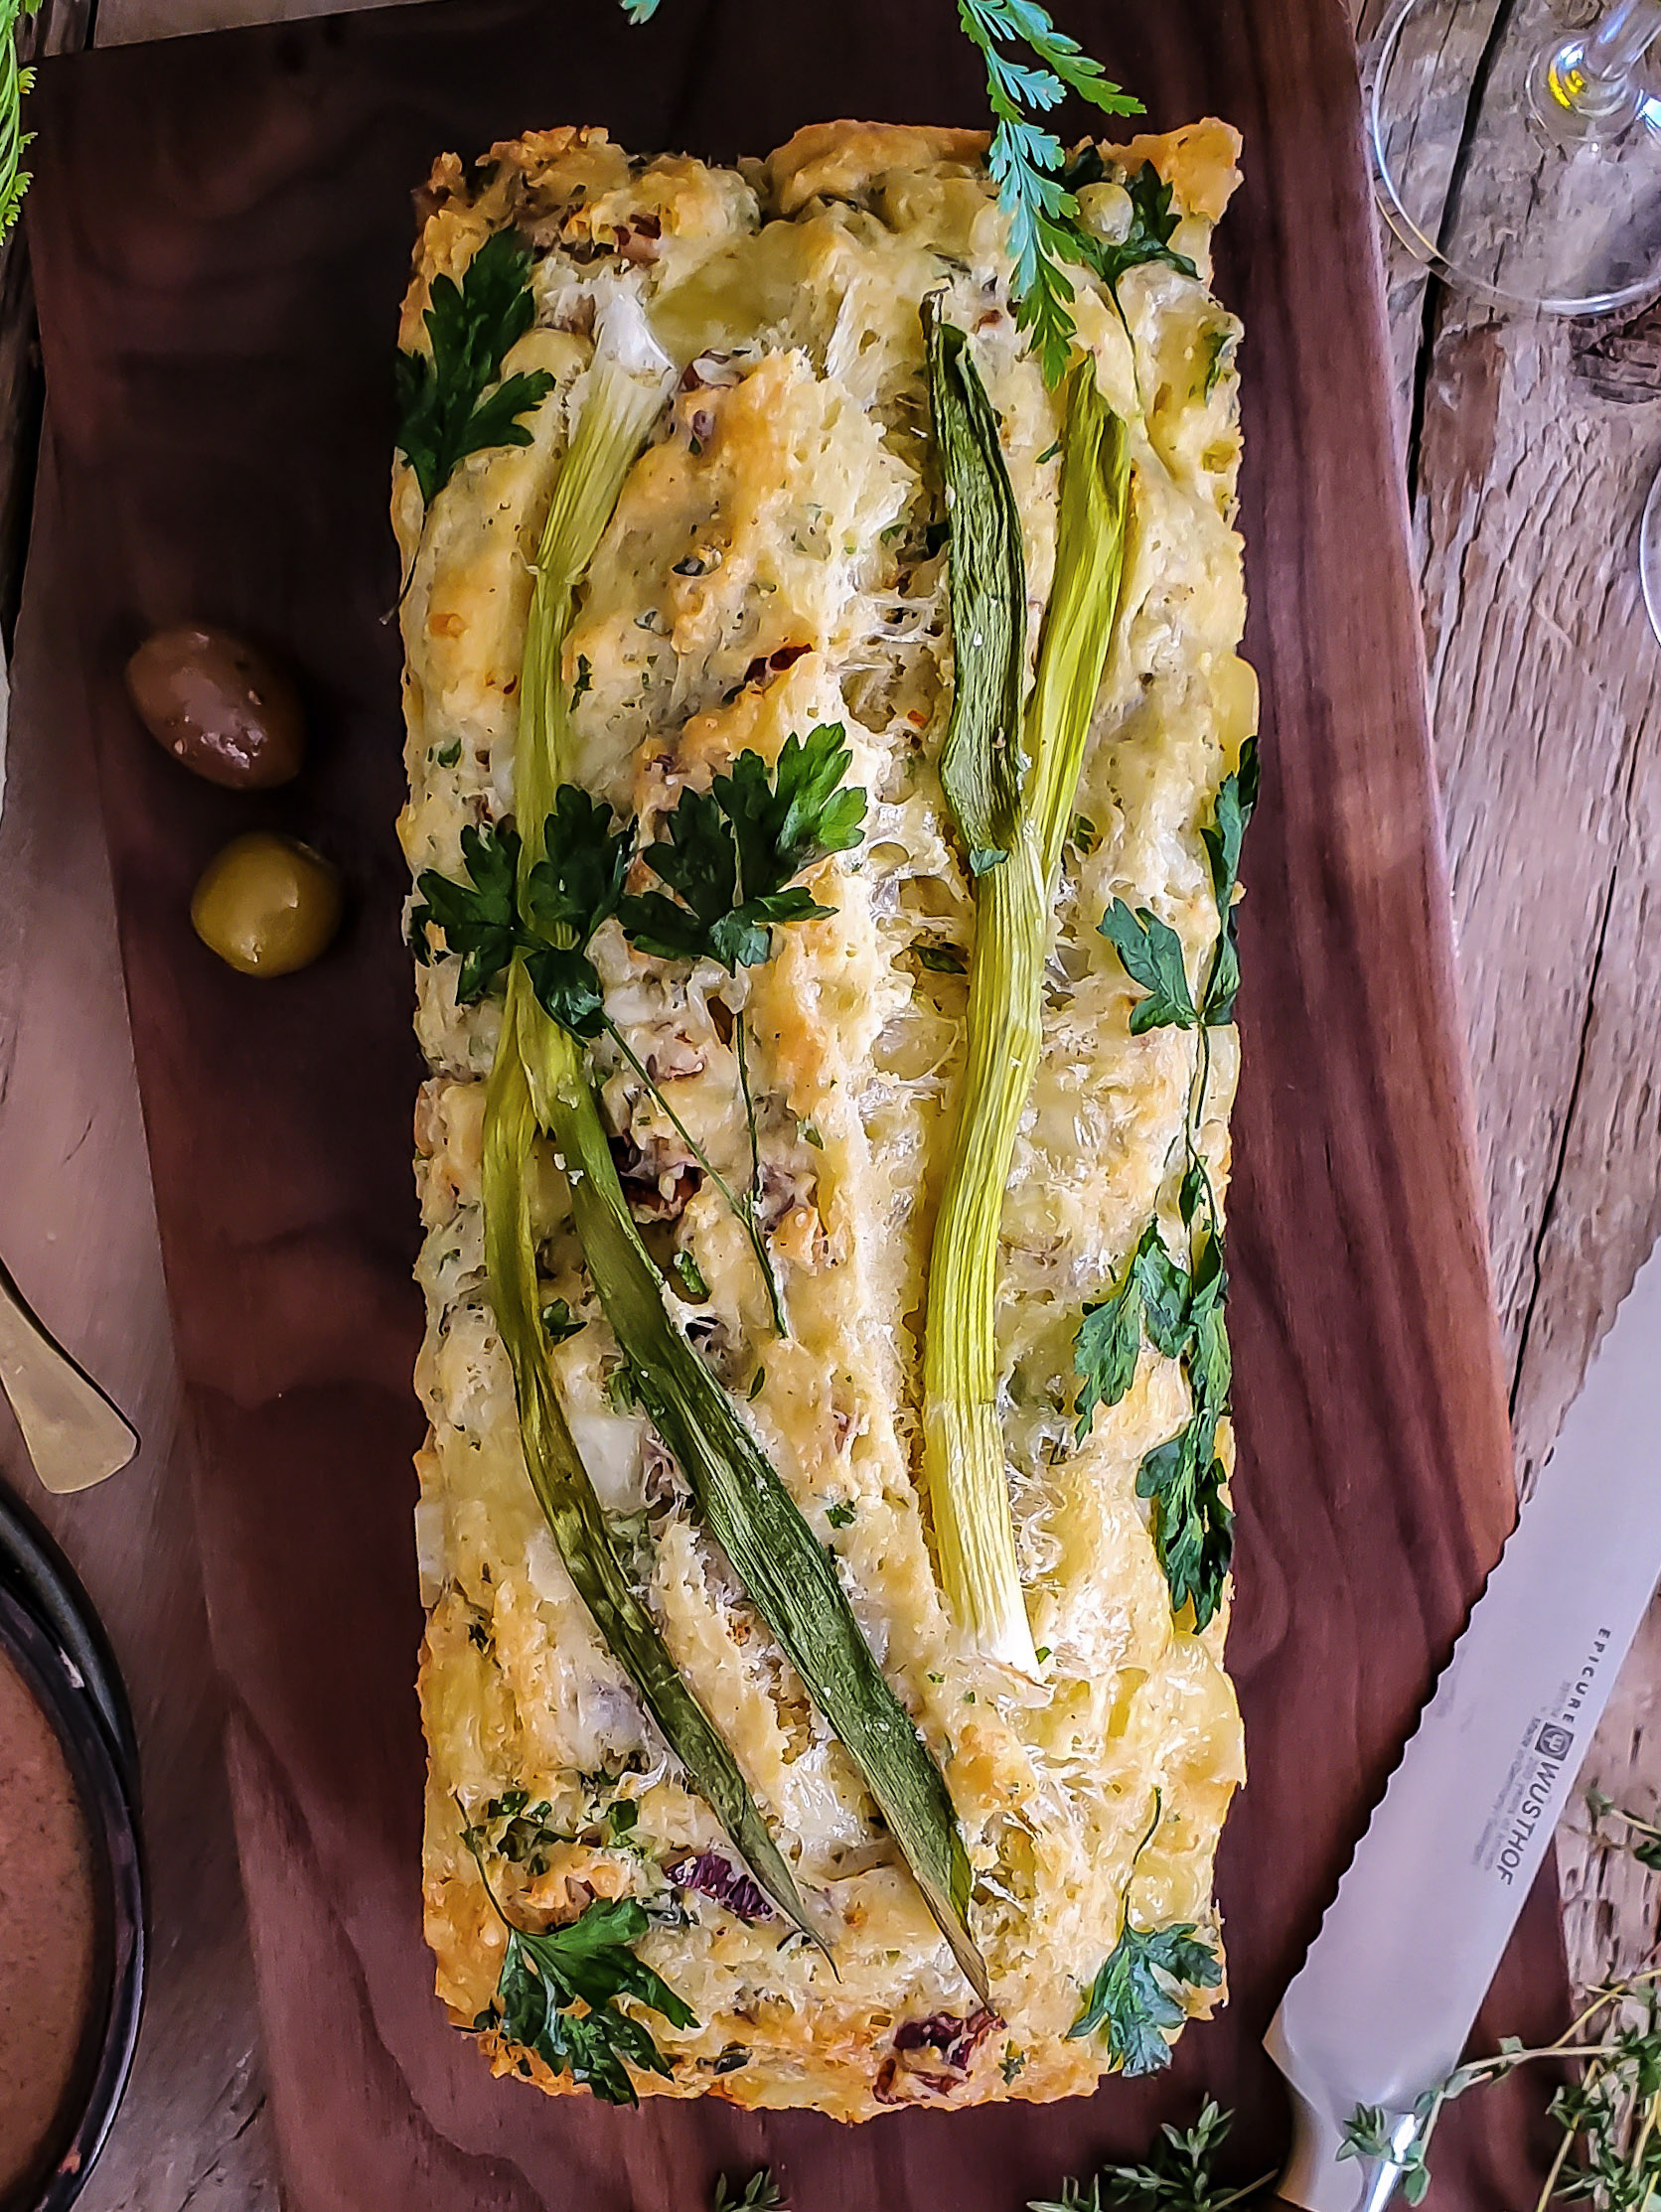
As for the top of this beauty: This step is totally not necessary for a great bread. But if you want to play: Garnish the top top with flat leaved herbs or even scallions for some fun. To make sure that the scallions would rest on the top evenly, not popping up, I placed them on a cutting board, laid a sheet of wax paper on top of them, and then placed a couple of heavy cookbooks on top of them while I prepping everything else. This way they were softened enough to lay flat when it came time to decorate the top. Just push everything gently onto the top of the batter. Flat leaf parsley, nettle leaves, oregano or coriander would also work great. Thyme and rosemary might shrivel up to much to be worth it. And if 10 or 15 minutes into the baking you notice the scallion popping up, just go on in and press it back down!!


As I have said so many times, a good serrated knife is your friend for bakes like this. With the delicate top, you don’t want a dull knife to push the scallions or leaves down into the bread. A sharp knife with a sawing, back and forth motion, will mean a truly clean cut. Please get one, I promise you won’t regret the purchase.
With Spring’s arrival, it’s time to get outside and relax on the deck or balcony. This is a perfect bread to snack on while doing so. But since fresh herbs are at our fingertips all year round now, this bread will be equally delicious in the winter with a baked brie and figs, or even clam chowder!
As for the salad that I mentioned at the outset, here is the recipe for that amazing salad showcasing all things herbs: All Things Green Herb Salad with Champagne Vinaigrette
Love Jen


Spring Herb and Cheese Bread
A perfect savory snacking bread for your next appetizer or cocktail party. It works well with cheeses, fruit and wine. Or toasted on the side of a bowl of soup. It's a quickbread, so it comes together in moments!
Ingredients
- 1 3/4 cup AP flour
- 1 tbsp baking powder
- 1 tsp salt depending on which cheeses you choose, as well as the add-ins
- 1/4 tsp white pepper
- 1/2 tsp cayenne pepper
- 3 large eggs at room temperature
- 1/3 cup whole milk at room temperature
- 1/3 cup extra virgin olive oil
- 1 generous cup coarsely grated Gruyere Emmenthal, Gouda, medium cheddar etc. Or a combo of them all!
- 2 oz Gruyere Emmenthal, Gouda etc, cut into small cubes (about 1/2 heaping cup)
- 1/2 cup chopped fresh herbs such as thyme parsley, dill, rosemary etc
- 1/3 cup chopped scallions
- 1/3 cup toasted walnuts chopped
- 3-4 sprigs of flat leaf parsley optional garnish
- 2 scallions optional garnish
Instructions
-
Preheat the oven to 350F. Prepare a 8 x 4 1/2 inch or up to 9 x 5 inch loaf tin by spraying and lining with parchment paper so that the paper hangs over the sides.
-
If using the parsley and scallions as the optional garnish, lay these on a cutting board. Cover with wax paper and place a very heavy book over them all. This will flatten them out, softening them so that you can mold them, in preparation to cover the top of the bread batter.
-
Whisk the flour, baking powder, salt and white pepper together in a large bowl.
-
Whisk the eggs in a medium bowl. They should be nice and foamy after 1 minute. Whisk in the milk and olive oil.
-
Pour the wet ingredients into the dry, and gently mix with a rubber spatula or wooden spoon. Don't be rough or overmix, it will result in a tough loaf.
-
Add in the cheeses, herbs, scallions and toasted nuts. Fold till just combined. Spoon it into the prepared pan. Decorate the top with extra herbs and scallions if using.
-
Bake for 35-45 minutes on the centre rack. As it is baking, if you see the scallion rising up and away from the batter, you can gently push it back down to stick. The baking time will depend on the size of pan you are using. The bread should be golden brown, and a knife or skewer should come out clean when inserted in the centre.
-
Transfer the pan to a cooling rack. Let it rest for 5 minutes. Then run a knife along either end to loosen the bread. Lift up using the parchment paper. Let it cool completely before slicing. This bread tastes even better cool than warm, I promise.
-
This can be stored at room temperature for a few days in a sealed container. It can also be frozen for a couple of months. See Notes below.
Recipe Notes
To freeze this loaf, slice and place the slices flat on a wax paper lined baking sheet. Place in the freezer for 30 minutes. Then gather all the slices and re-create the loaf in a freezer bag. This way they won't stick to each other from the freezer.
Whatever you don't eat right away will taste amazing toasted lightly, with some cheese and honey!
You can use whatever add-ins you'd like. Bacon, diced ham, olives, sun-dried tomatoes, even dried fruit with blue cheese cubes would be amazing!

Hi. what would be your best recommendation to substitute cheese to make it dairy free?
Hi Marina, I have never used dairy free cheeses, but if you are comfortable using them, then any dairy free or vegan cheese that grates nicely should work fine.