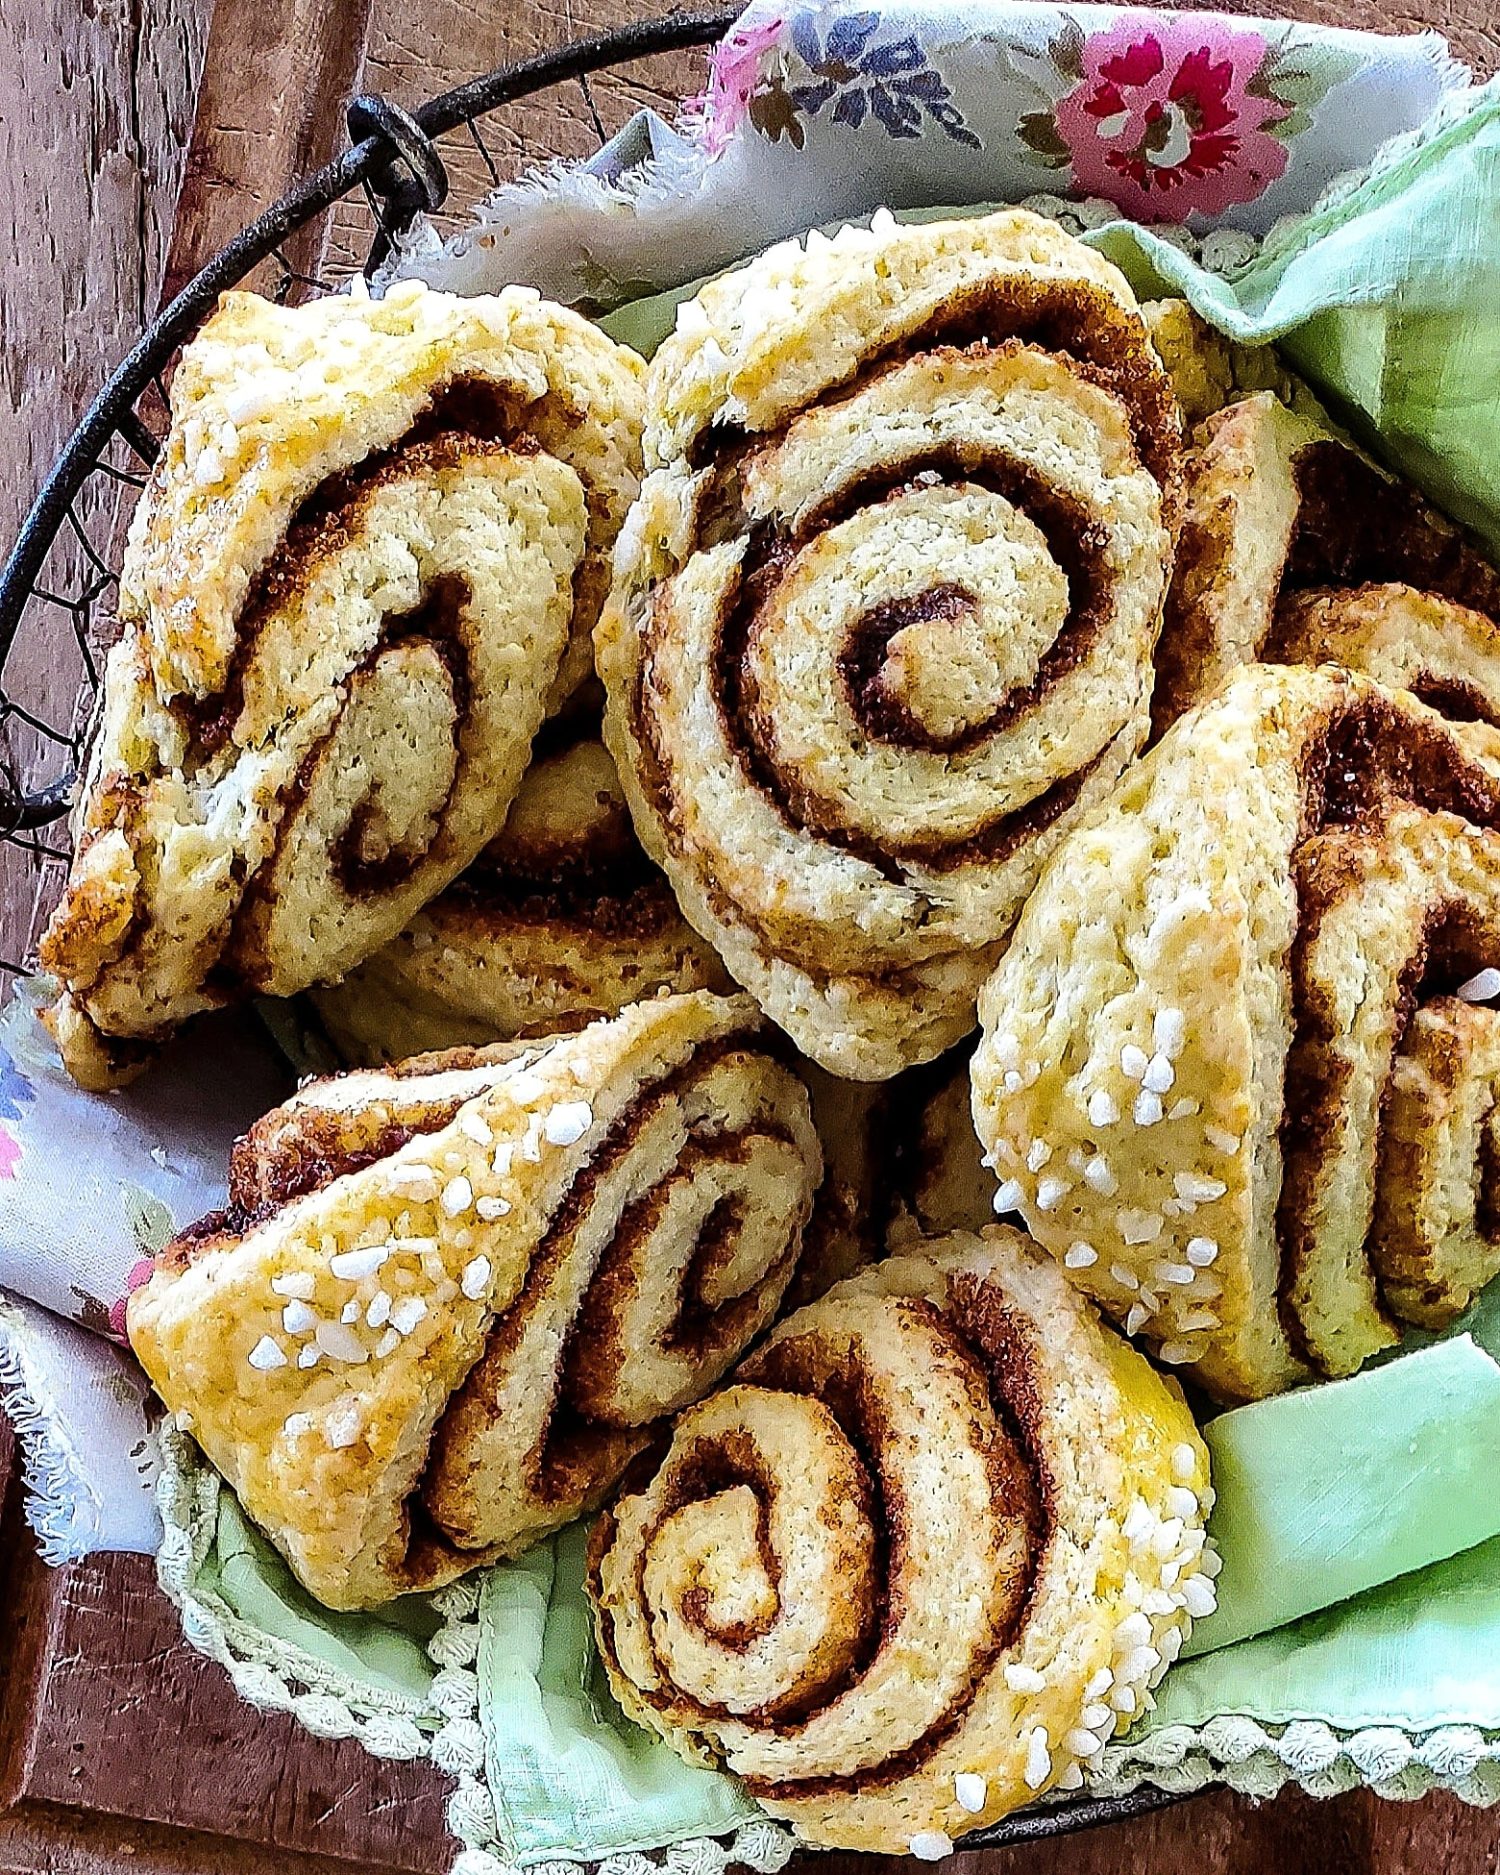
Cinnamon Roll Scones
The most delicate, tender and buttery scone, filled with a superb cinnamon, brown sugar and cardamom filling. Bake them just for the aroma!
Ingredients
- 50 grams (4 tbsp) butter, melted and cooled
- 100 grams (2/3 packed cup) dark brown sugar
- 2 tbsp cinnamon
- 2 tsp cardamom
- 450 grams (4 cups) flour
- 2 Tbsp + 1 1/2 tsp baking powder see below
- 1 tsp salt
- 225 grams (1 cup butter), chilled
- 85 grams (7 tbsp) granulated sugar
- 150 ml (2/3 cup) milk
- 1 egg
- 1 egg for egg wash
- 2 tbsp pearl sugar optional
Instructions
-
Prepare the butter so that it can cool down before using it. Blend the brown sugar, cinnamon and cardamom together in a small bowl. Set aside. Prepare two baking sheets by lining them with parchment paper.
-
Combine the flour with the baking powder and salt in a large bowl with a whisk to ensure it is evenly blended.
-
Grate the butter into the flour, using the large holes on your grater. Gently toss with your finger tips till evenly dispersed and broken down into a sandy texture. Add the sugar and toss through.
-
Whisk the milk and egg together. Add most of it into the flour and blend together with a wooden spoon. If you find that because it is a dry environment that it isn't coming together, add the rest. Finish by using your hands to bring it together into a dough. Go as quickly as you can, so as not to warm the butter too much.
-
On a lightly floured surface, roll out the dough into a rectangle roughly 13 x 17 inches (33 x 44 cm) it should be just over 1/4 inch (8mm) thick. Try to keep the counter dusted with flour, as well as the rolling pin. The long edge should be at the bottom as you look down on it (landscape mode)
-
Brush the surface with the melted butter. Scatter the brown sugar mixture evenly over the butter. Using a bench scraper if necessary to loosen the dough, begin at the bottom end to firmly roll the dough up and over the filling till reaching the top. Press down firmly on the roll to seal the final edge. Trim away either end. Using a sharp knife to cut the roll into triangles. Aim for about 2 inches (5 cm) at the wide end, and 1/4 inch (6mm) at the point. Try to keep the pointed end intact. You should get between 12-14 triangles. The triangle echoes the traditional scone shape. Place all the scones onto a tray and refrigerate while you heat the oven.
-
Preheat the oven to 350F (180C)
-
Once the oven is heated through, lay the scones out between the two baking sheets. Gently whisk the final egg with a splash of water. Using a brush to apply this to the top of each scone. Then sprinkle with the pearl sugar. This step is optional.
-
Bake on the centre rack until the scones are firm and golden, about 18-20 minutes. Check after 15 minutes though. You may find that some of the scones spread out in wonky patterns. That's the joy of the triangle. But no worries, they will still hold together amazingly and taste fabulous!
-
These will last for a few days in a sealed container, reheated in a toaster oven if so desired. They can also be frozen and removed one by one to heat up for a quick breakfast.
Recipe Notes
In the orginal recipe Thilda uses self-rising flour. To make up for the amount of salt and baking powder in ready made self-rising flour, I have shown these ingredients separately along with regular all purpose flour. Yes, this is the traditional amount of baking powder that would be found in self rising flour!