Print


Parsnip and Cheddar Scones
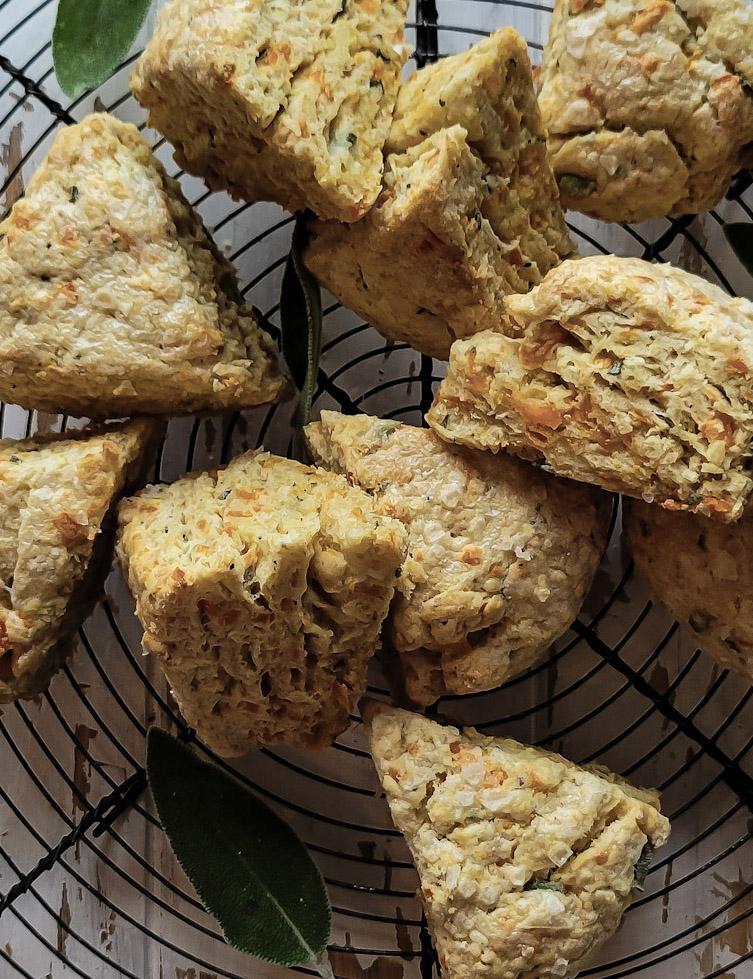
These tender, flakey delightful scones celebrate the unassuming parsnip in the best way. Their hint of earthy sweetness is balanced with the cheddar cheese and fresh chopped sage. Perfect as a morning nibble with eggs, or a side to warm soup, or even as an alternative to dinner rolls. Just slather with butter!
Prep Time 20 minutes
Cook Time 30 minutes
Servings 8 scones
Ingredients
- 1 1/2 cups AP flour, can substitute with cup for cup gluten free flour blend
- 1/2 cup whole wheat or spelt flour, can substitute with a wholemeal cup for cup gluten free blend
- 1 tbsp baking powder
- 1/2 tsp baking soda
- 1/2 tsp dry mustard
- 1/2 tsp salt
- 1/4 tsp pepper
- 1/2 cup cold butter
- 1/2 cup shredded extra old cheddar cheese
- 1 large egg
- 1/2 cup sour cream or sour milk or buttermilk
- 1 1/2 cups peeled shredded parsnips, I shred on the smaller holes of my box grater, to get a finer shred which will bake up better
- 2 Tbsp chopped fresh sage leaves
- 1 Tbsp melted butter or cream I use cream
- flakey salt for finishing
Instructions
-
Preheat the oven to 375F. Line a baking sheet with parchment paper.
-
Stir together the dry ingredients (flours through salt and pepper) in a medium bowl. Use the large holes of a box grater to grate the butter into the dry ingredients. Use your fingers to blend and create small pea size pieces of flour and butter mixture. Toss in the cheese and blend in.
-
Whisk together the egg and sour cream in a small bowl. Add this to the mixture in the medium bowl and stir through a few times. Add the grated parsnip and sage. Use your hands to bring it all together.
-
Dump the mixture onto a lightly floured surface. Knead it all together a few times to blend. Spread out into a rough rectangle. Fold in half. Use your palms or a rolling pin to pound down the dough and form into a rectangle again. Fold again. Repeat once more.
-
Shape the dough into a circle about 1 inch thick. Use a sharp knife to create eight equal triangles. Place these onto the prepared baking sheet. Brush the tops with melted butter and sprinkle with the flakey salt. (see Notes for alternate shaping)
-
Bake the scones for 25-30 minutes, rotating the pan 180 degrees halfway through the baking. The scones are done when they are flakey, puffed up and golden brown.
-
Best served fresh and warm. However, store the uneaten ones in a sealed container and re-warm in a toaster oven or oven at 325F for about 6-8 minutes till warmed through. Don't use a microwave, or the flakes and crispy edges will be lost.
-
To store in the freezer, place the scones on a baking sheet lined with wax paper and place in the freezer. Once frozen, transfer them to a freezer bag. Now it will be easy to remove one or two without them sticking to the others. Thaw and re-heat as described above.
Recipe Notes
To make 12 or even 16 smaller scones:
Divide the folded dough into two sections. Form each of these into a circle about 3/4 to 1 inch thick. Cut each circle into 6 or 8 triangles. Place all of them onto the prepared baking sheet and bake till baked through, decreasing the baking time by about 5 minutes. Check and bake till golden and flakey.
Recipe adapted from Vegetables: A Love Story by Renée Kohlman