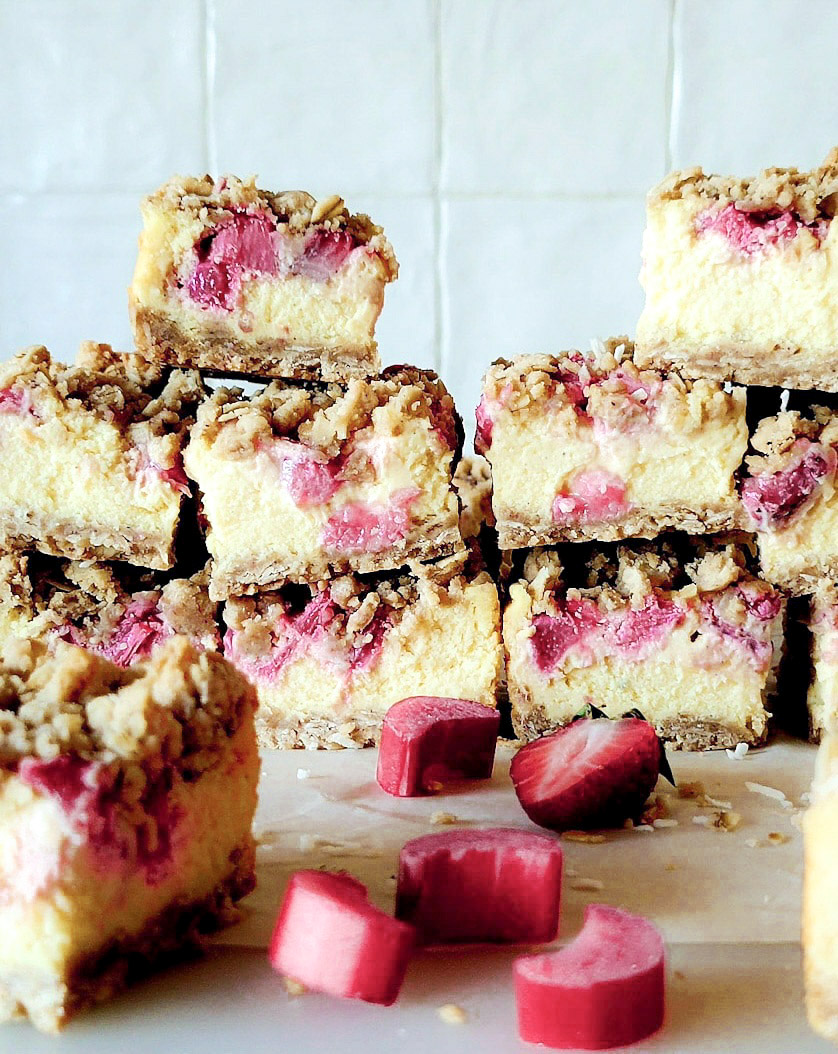
Strawberry Rhubarb Cheesecake Squares with Coconut and Oat Crumble
Ingredients
Base and Crumble Layers
- 1 stick (112g) butter, room temperature
- 1/3 cup (45g) light or golden brown sugar, lightly packed
- 1 tsp cinnamon
- 1/4 tsp kosher salt
- 1 cup (125g) all purpose flour, can use a cup for cup gluten free blend flour
- 1/2 cup (50g) old fashioned rolled oats
- 1/4 cup (22g) flaked or shredded coconut, I use sweetened, but unsweetened is fine as well
Cheesecake Layer
- 14.8 oz (420g) cream cheese, at room temperature (two 8 oz or 250g packages of cream cheese, minus 2.3 oz or 64g)
- 1/2 cup (100g) granulated sugar
- 5 tbsp (70g) greek yoghurt
- 4 tsp (20g) heavy cream
- 2 tsp vanilla extract
- 1 1/2 large eggs, see Notes
- 2 tbsp cornstarch
Strawberry Rhubarb Layer
- 1 cup (115g) chopped rhubarb, lightly packed, see Notes
- 1 cup (115g) chopped strawberries, lightly packed
- 1 tbsp granulated sugar
- 2 tsp arrowroot or tapioca starch
Instructions
Base Layer
-
Preheat the oven to 350F or 180C. Grease an 8″ square baking tray and line with parchment paper, having two ends hanging over the edge by an inch. If you have metal clamps, they will help hold these ends secure.
-
Cream the butter with the brown sugar, cinnamon and salt with a hand held or stand mixer.
-
Add in the flour, oats and coconut until combined and the mixture holds together in clumps.
-
Reserve 1/3 or a less of the mixture for the top crumble and set it aside. I'd rather have a little less on top, just so that the fruit filling can peek through. This will also give you a sturdier base.
-
Take the remaining 2/3 or more of the mixture and spread it evenly over the bottom of the prepared tray. Gently pack it down into an even layer. Place the pan in the freezer for 10 minutes to firm and chill.
-
Bake for about 15 minutes or until the bottom crust begins to lightly brown. Set aside to cool slightly.
Cheesecake Layer
-
While the base bakes, begin on the cheesecake layer.
-
In a large bowl, cream the cream cheese and sugar together until smooth and no lumps remain. You can use a stand or hand held mixer.
-
Add in the yoghurt, cream and vanilla extract till smooth. Mix in the eggs. Lastly, sift the cornstarch overtop and mix until just combined. At this point, do not overmix.
-
Pour the cheesecake layer over the partially baked crust and spread into an even layer. You can do this by gently tilting the pan till the cheesecake is smooth on top.
Fruit Layer
-
Stir together the rhubarb, strawberries, sugar and tapioca starch in a medium bowl. Reserve about 1/4 cup (55g) Spoon the remaining fruit evenly over the cheesecake.
-
Sprinkle the remaining crumble over the fruit. Form some of the crumble into smaller pieces, and other into medium bits, to create that wonderful craggy surface. Gently place the remaining fruit into the crumble, spacing it around. This way you will have some fruit on top showing what is baking underneath.
-
Return the pan to the 350F (180C) oven and bake for another 35-40 minutes or so, or until the crumble is browned, and the cheesecake layer is mostly set (you want all the outer edges set, and only the centre 2-3 inches to have a faint jiggle). This may take up to 45 minutes, depending on your oven.
-
Let the pan cool on a wire rack, and then transfer the pan to the fridge for at least four hours or overnight. Run a knife along the two edges baked directly against the pan to loosen the bars first before removing. Use the parchment paper wings to transfer the cake to a cutting board.
-
Use a sharp serrated knife to cut through the top layer of crumble. I find a serrated knife is most successful, especially when using a gentle back and forth sawing motion. This will ensure that the knife doesn't push the crumble down into the cheesecake. You can switch out the knife after you have gotten through the crumble. Cut the cake into 16 squares.
-
Store in a sealed container in the fridge for up to five days.
-
You can also store the cake in the pan in the freezer for up to one month. Seal well with plastic wrap and foil. Thaw in the fridge overnight before removing and cutting into squares.
-
See blog post for more details and suggestions.
Recipe Notes
To achieve 1 1/2 eggs you will start with 3 eggs. Place these into a measuring cup and whisk well with a fork till completely blended. Look at the measuring line and then determine what half is. Pour this half into the batter, and keep the remaining half for scrambled eggs the next day!
Feel free to replace the fresh rhubarb with chopped frozen rhubarb. Just don't thaw it before adding it to the bowl with the strawberries. Add the sugar at the very end, toss and then spread out over the cheesecake mixture.
I was inspired by the recipe found here