Print
Apricot Hazelnut Pie with Creme Anglaise
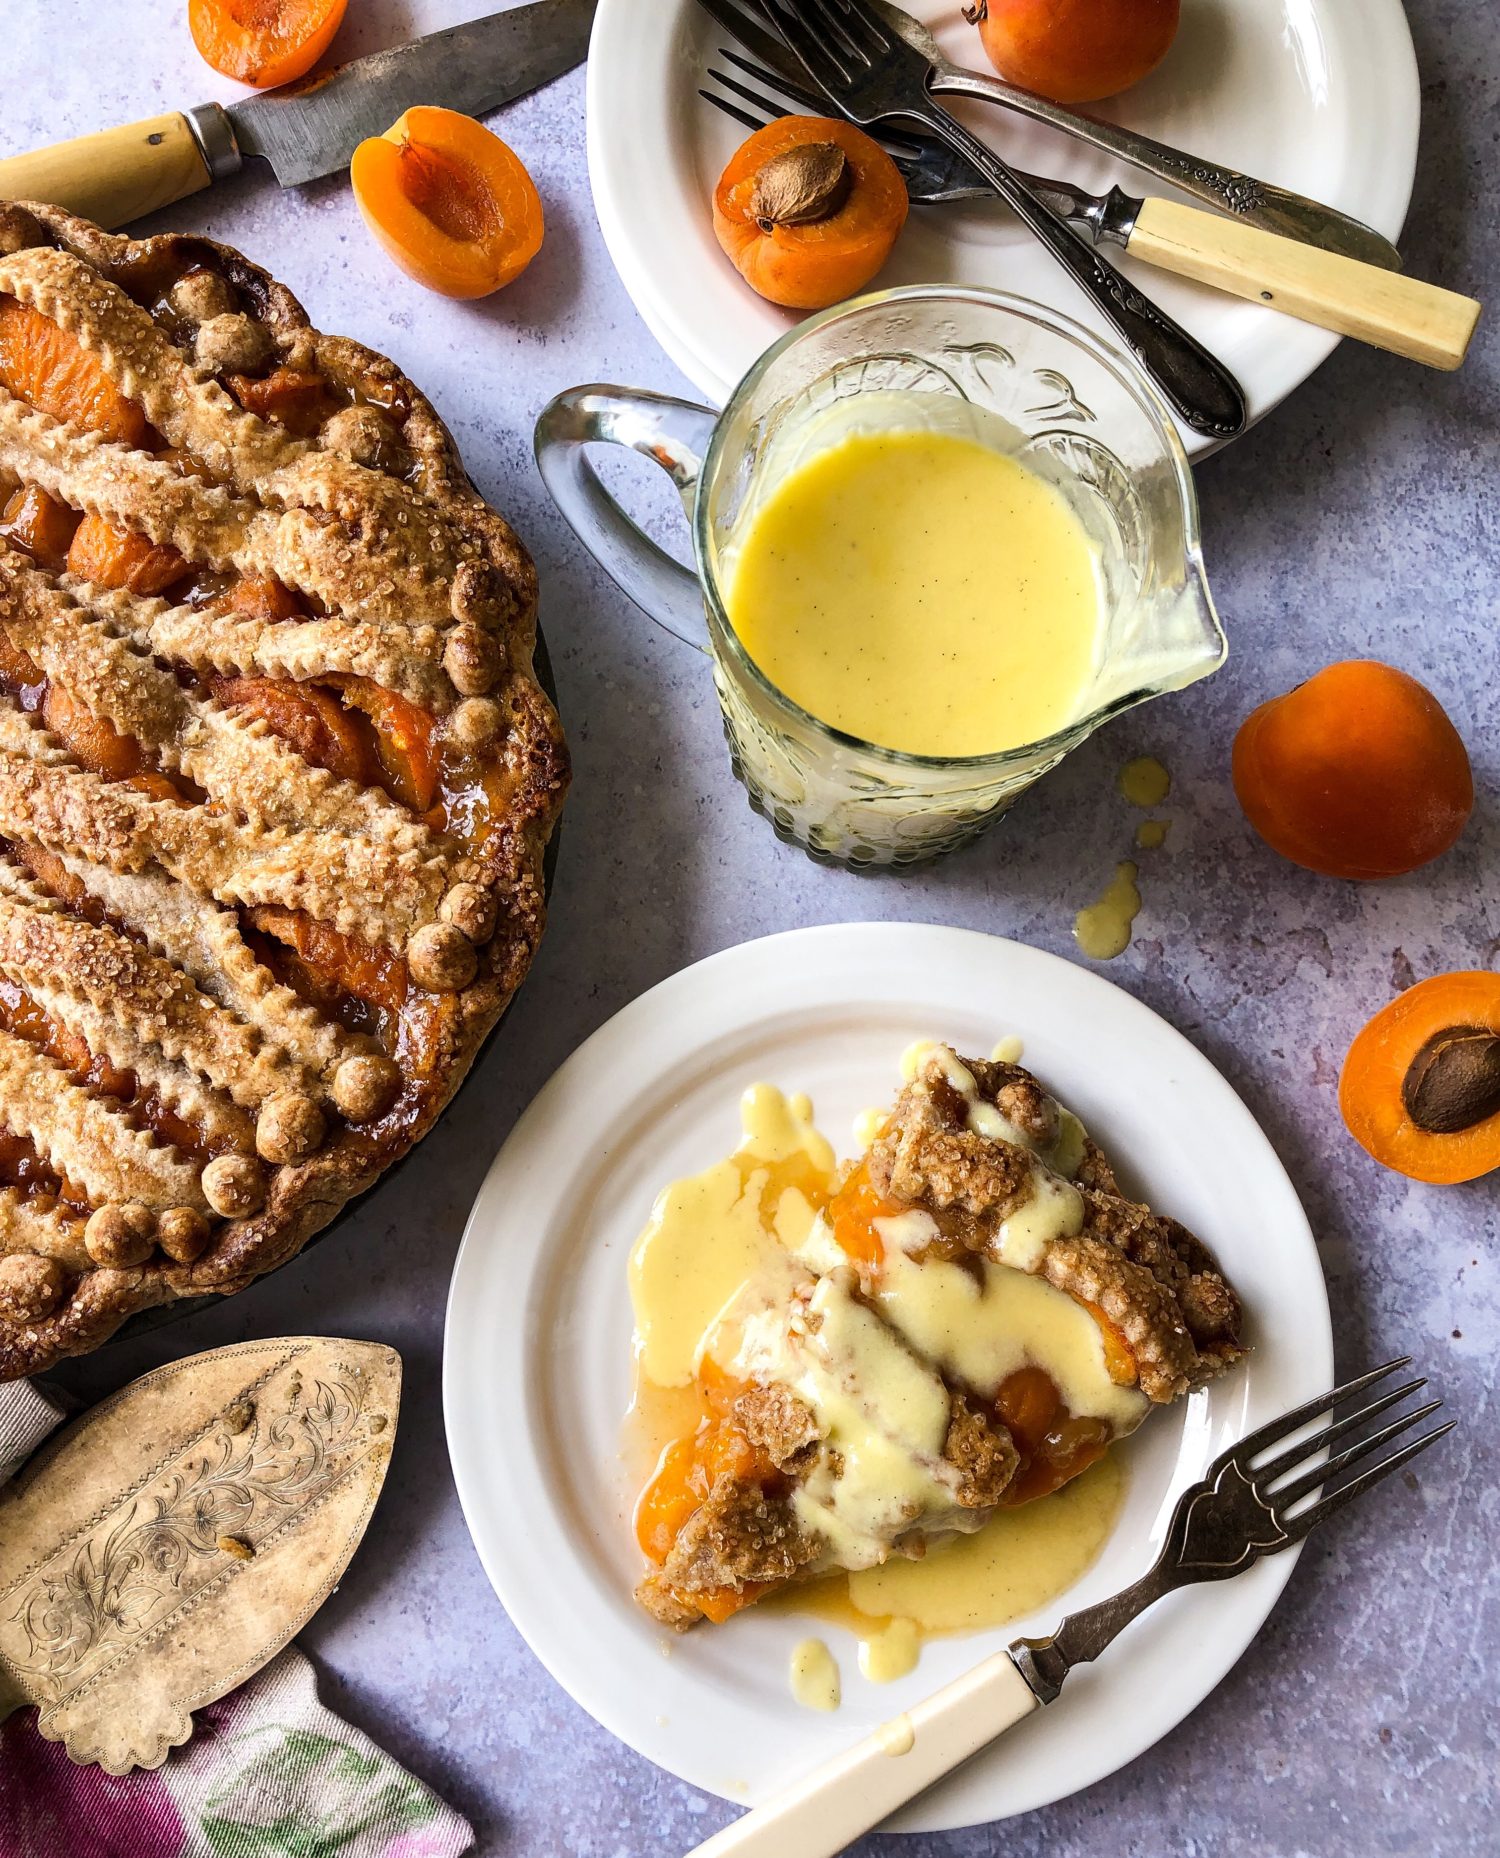
Bright apricots combine with ground hazelnuts and hazelnut liqueur for a tasty summery filling. The crust is a Spelt and cinnamon one. The finished pie is drizzled with creamy vanilla sauce for a perfect early summer pie.
Prep Time 1 hour
Cook Time 55 minutes
Total Time 1 hour 55 minutes
Servings 8
Ingredients
Pie Crust
- 1 cup AP flour
- 1 cup Spelt flour
- 3 tbsp granulated sugar
- 2 tbsp cinnamon
- 1/2 tsp kosher salt
- 1/3 cup unsalted butter chilled and cubed
- 1/3 cup shortening chilled and cubed
- 1 large egg
- 1 tbsp fresh lemon juice
- 1/4 cup ice water
Filling
- 5 cups apricots pitted and cut into quarters
- 2 tbsp lemon juice
- 3/4 cup granulated sugar
- 1/4 cup brown sugar
- 1 tsp cardamom
- 1/4 tsp salt
- 2 tbsp arrowroot starch
- 2 tbsp AP flour
- 1 tbsp Frangelico hazelnut liqueur
- 1/2 tsp hazelnut extract
- 2 tbsp ground hazelnuts you can grind your own if you can't find any pre-ground
- 1 large egg mixed with 1 tsp of water for egg wash
Creme Anglaise
- 2/3 cup (150 ml; 5 fl oz) whole milk
- 2/3 cup (50 ml; 5 fl oz) double cream (heavy cream, like Devon cream, use 35% whipping cream if you can't find double cream)
- 1 1/8 tsp vanilla paste
- 1/4 cup (50 grams; 1 3/4 oz) granulated sugar
- 4 egg yolks
Instructions
Pie Crust
-
Combine flour, sugar and salt. I use a food processor, feel free to do this by hand, using a large bowl and a whisk.
-
Add the cubed butter and shortening and pulse only until blended to a rough, crumbly texture. It should only take 2 or 3 pulses. You still want to see large pieces of butter (the size of marbles). Or use a pastry blender or knife to achieve this. Try not to overwork with your hands though- their warmth will warm up the butter too much.
-
Whisk the egg, lemon juice and ice water in a small bowl.
-
Add to flour mixture and pulse just till the dough comes together into a rough ball. Don't worry about grabbing every little bit from the sides, you can add this to the ball you turn out onto the counter by hand. Ideally you should still see pieces of butter.
-
Shape the ball into two disks and wrap. Chill at least 30 minutes- 1 hour
-
Take out one disk and let return to room temperature. Don't roll a disk that is still cool, it will crack along the edges. Place it on a well floured counter.
-
Flouring your rolling pin, roll the disk out. Decrease pressure as you reach the edges. After each roll, spin the dough 1/4 turn. Keep flouring all the surfaces to keep from sticking. Roll to 2-3 inches larger than the pie plate you are using (should be around 1/8" thick.)
-
Either roll the disk up around the rolling pin and release it over the pie plate; or dust with flour and fold it in half and then in half again loosely and lay across the pie plate and then open it up. (In either case make sure that the dough is floured enough so that it won't stick together)
-
Allow the pastry to fall down the sides of the pie plate, so that there are no gaps between the dough and the pie plate. This will ensure that the dough will not pull up from the base, or shrink during baking. Trim it, allowing enough of an edge to work with the type of crimp you wish to use.
-
Place the prepared pie shell back into the fridge to chill for about 20 minutes.
-
Remove the other disk to warm up while you prepare the filling.
Apricot Filling
-
Preheat the oven to 425F, and place a rack in the lower third of the oven.
-
In a large bowl, combine the apricots with the lemon juice, using a silicone spatula to gently toss to coat. The lemon juice will keep the fruit from browning.
-
In a medium bowl combine the sugars with the cardamom and salt. Stir to combine well.
-
Add the flours to the sugar and whisk to combine well.
-
Pour the sugar and flour mix over the fruit and toss gently to combine. Sprinkle the hazelnut liqueur and extract over the filling and set aside to let the juices start releasing.
-
Pull out the chillied pie plate and dough.
-
Scatter the ground hazelnuts over the bottom of the pie plate.
-
Gently pour the filling into the pie plate, gently pushing down to evenly pack the filling into all the corners. Return the pie plate to the fridge while you work on the top.
-
Roll out the disk of dough as you did for the pie shell pastry: well floured counter and rolling pin. Cut out the decorations you wish to use, whether a lattice design or cookie cutter shapes. If you want to cover with another round of pastry, roll it out to about 10-11 inches in diameter.
-
Retrieve the pie from the fridge and finish with the top layer of pastry as you wish.
-
Return to the fridge to let the pastry set and chill.
-
When ready to bake, pull out, brush with the egg wash, and sprinkle with turbinado sugar.
-
Place the pie onto a baking sheet and bake in the lower third of the oven for 25 minutes, or until the pastry is set and beginning to brown.
-
Move the rack and the pie to the middle of the oven, and reduce the temperature to 375F.
-
Bake for another 30 or so minutes or until the juices are bubbling evenly all throughout the pie. This is key, as the bubbling juices are what indicate that the thickeners have been activated.
-
Cool on a rack for at least 3 hours.
-
Serve with Creme Anglaise
Creme Anglaise
-
Place the milk, cream, vanilla and 2 tbsp of the sugar in a heavy bottomed pot. Gently bring to a boil. As soon as it does, remove from the heat and allow the vanilla to infuse the cream.
-
Place the egg yolks into a large bowl and sprinkle with the remaining sugar and whisk together for a few minutes until they are thickened and have turned pale.
-
Add a little of the vanilla milk to the eggs to temper them, whisk to combine. Then it will be safe to add the rest of the milk mixture. Whisk to combine.
-
Pour the mixture back into the pot and return to low heat. Gently reheat, stirring constantly. After about 3-4 minutes you will see it thicken slightly. Remove the sauce as soon as the back of spoon can be coated with it, and a finger running through the sauce leaves a mark that doesn't disappear.
-
Don't cook any longer, as the eggs may start to scramble and create a lumpy sauce.
-
Strain through a sieve into a small jug or bowl.
-
This will keep in the fridge for 5 days. It can be served warm or cold. Reheat over low heat till warm.