Is it brunch or is it dinner? No matter when you choose to make this, it will be a dish that will put a smile on everyone’s faces and bellies!
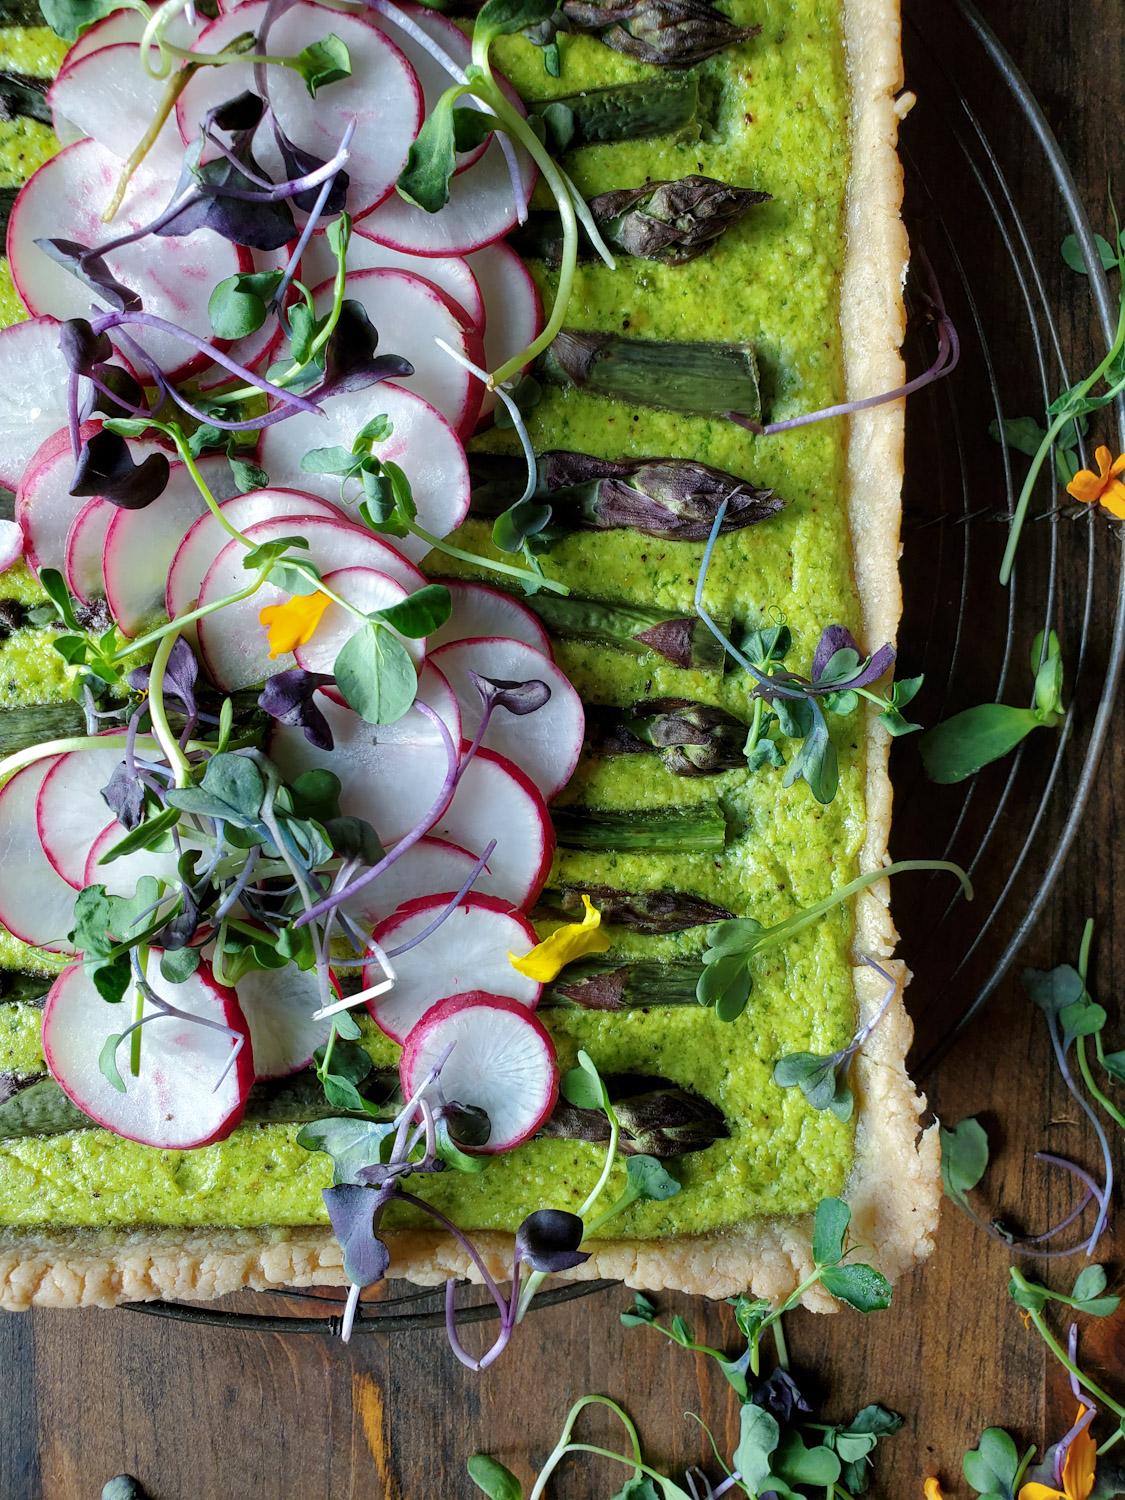
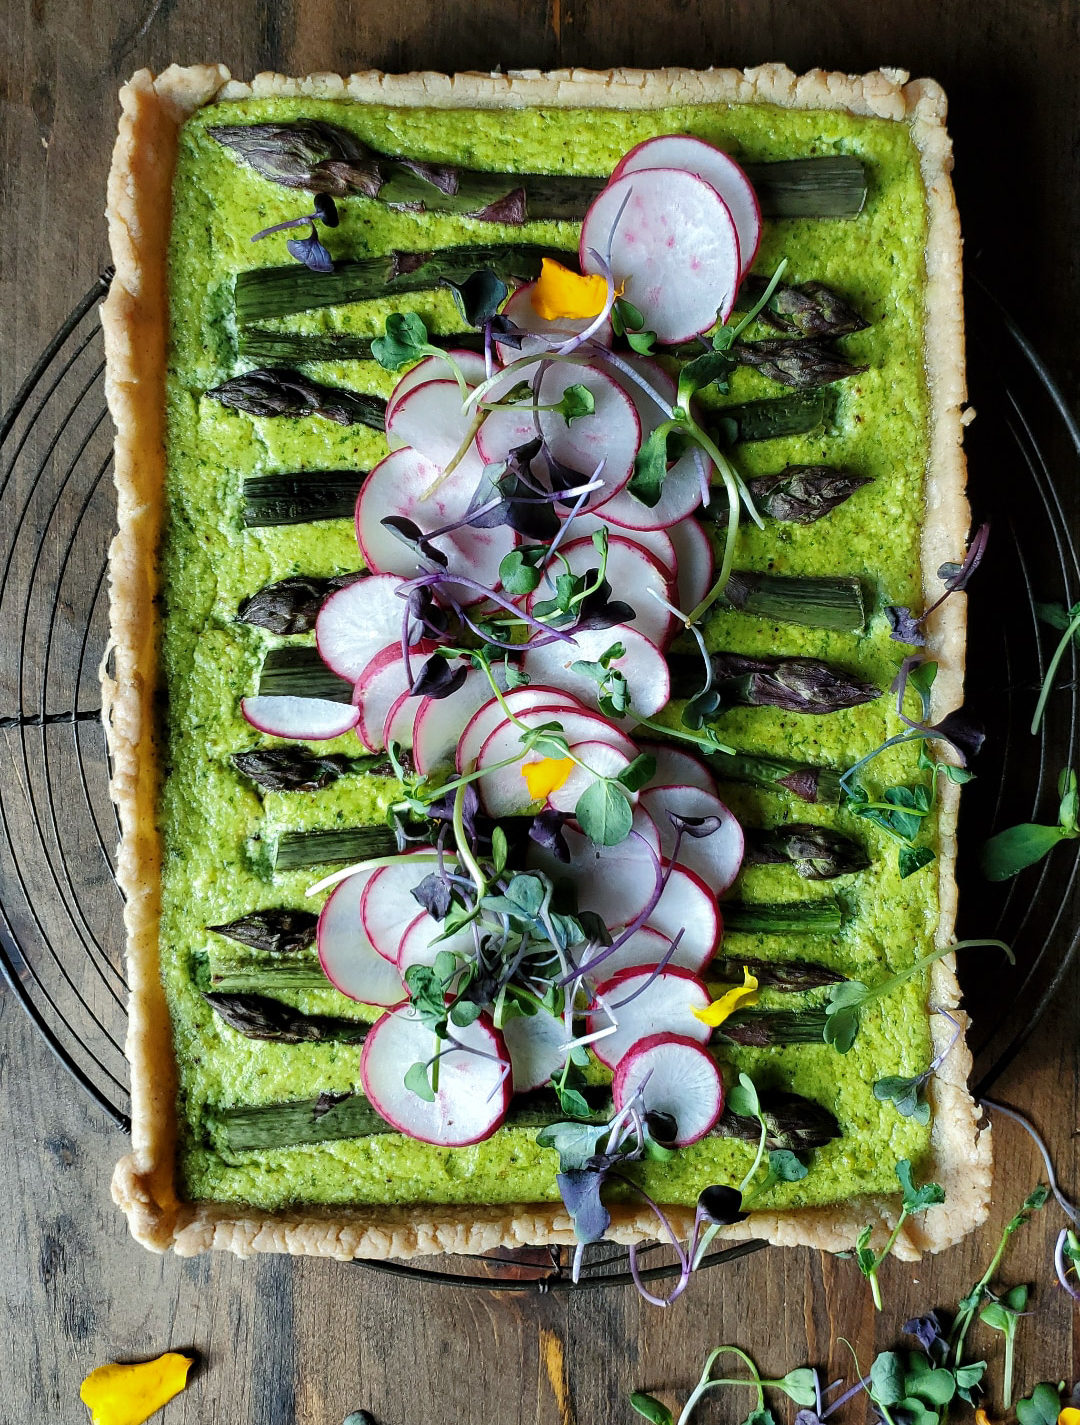
 There are so many variations of a cheesy layer in a crust, topped with veggies of one sort or another. It’s just such an easy way to enjoy vegetables, not just when eating, but also visually, these tarts really show off the ingredients. Especially when it is as dramatic as elegant asparagus spears, no matter the colour, against a pesto hued base. It just makes everything pop! Hopefully you guys like the colour green as much as I do! Or that your kids do as well!!
The Base
Here is where that sheet or package of puff pastry in the freezer will come in handy. Ready made, a single sheet, or about 1 lb of pastry will fit into just about any tart pan with a removable bottom that you might have in your collection. And yes, if you wanted to use pie pastry instead, it would also work, just increase the time in the oven a bit. No matter which one you choose to use, you will be par-baking it to have it set before you add the cheesy layer and asparagus. For the one that I made here, I used a gluten free puff pastry recipe from Aran Goyoaga’s book, ‘Cannelle et Vanille’. You can find a similar version at this link. The pastry is so flakey and tender. It may not have all the layers of a traditional puff pastry, but it sure tastes like it. At for my gluten intolerant body, this is a good thing!
You will lay out the pastry into the tart shell, prick the base with a fork, and then lay a sheet of parchment or foil over it all and fill it with baking weights or dried beans. Bake until set, remove the parchment and beans, and bake until golden. After it has cooled, it is ready to be filled.
Middle Layer
This is where a love of dairy comes in handy. It’s basically ricotta and parmesan cheeses, mixed with an egg and heavy cream. To give it some visual oomph as well as the best fresh and Springtime flavour, fresh pesto is also added in here. You can use homemade like my Ramp Pesto or any pesto that floats your boat. For a really fun totally vegan version, if dairy is a concern for you, check out this great version from Lexi and Beth over at Crowded Kitchen

Asparagus Layer
It doesn’t get easier than spreading out cleaned and trimmed asparagus spears across the the cheesy layer. As long as they aren’t super thick, leaving them whole is just fine. If you have very thick spears, gently slice them in half lengthwise before setting them into the cheese. And that’s it! Bake until the cheesy layer puffs up and turns golden (obviously against the green it may be a bit harder to identify, but you should see a difference in texture. The crust will also be nicely golden. And the asparagus will be just tender. Not mushy.
How to Serve
Let the tart cool till the cheeses have settled underneath, making it easier to slice. Scatter arugula, frisée, or microgreens over the top as a garnish. Thinly sliced radishes also add crunch and visual interest. Or else toasted chopped hazelnuts, pine nuts or almonds would be great. Serve with a salad and eggs, and it makes for a lovely brunch, lunch or light dinner. It can be served sliced smaller to become a tasty first course or appetizer. And of course, leftovers the next day are just great, even at room temperature.

As the summer progresses, feel free to swap out the asparagus for zucchini, tomatoes or even broccolini.
Love Jen
For other asparagus treats, check out
Asparagus Fettuccini with Ramp Pesto,
Asparagus and Prosciutto Crustless Quiche,
Prosciutto Wrapped Asparagus with Sumac


Asparagus Pesto Ricotta Tart
Ingredients
- 1 sheet puff pastry defrosted in the fridge overnight (for gluten free version, see the link in the blog post)
- 1 cup less 2 tbsp fresh ricotta cheese
- 1/2 cup grated parmesan cheese
- 2 tbsp pesto see Notes
- 1 large egg lightly beaten
- 1/4 cup heavy cream
- 12 or so asparagus spears cleaned and ends trimmed
- microgreens arugula, frisée for garnish
- thinly sliced radishes for garnish
Instructions
-
Preheat oven to 425F. On a floured surface and a well floured rolling pin, roll out the puff pastry to fit into a 9 inch round or similar sized rectangle tart pan with a removable bottom.
-
Press the pastry down against the bottom and up against the sides.
-
Pierce the bottom of the crust evenly with a fork. Line the shell with parchment paper and fill with pie weights or dried beans.
-
Bake the shell for 10 minutes, then gently remove the parchment and weights. Continue baking the crust for another 6-7 minutes, or until golden. If the crust bubbled up in areas, just push down gently with a tea towel, and then set aside to cool.
-
Combine the ricotta, parmesan, and pesto in a mixing bowl. Season with salt and pepper to taste.
-
Add the egg and cream in a small bowl and whisk till combined. Add this to the cheese pesto mixture and mix together well.
-
Spread it out gently all over the bottom of the cooled crust.
-
Trim the asparagus to fit, and arrange on top of the filling. If some of the asparagus spears are especially thick you may want to slice them in half lenghwise so that they will bake at the same rate as the thinner spears.
-
Bake until asparagus are tender and filling is lightly browned, about 15-20 minutes, depending on your oven. Cool for approximately 5 minutes. Scatter greens and radishes over the top. If easier, cut into slices and then garnish and serve.
Recipe Notes
For a great tutorial on how to make pesto out of the greens of your choice, see my Ramp Pesto, a master recipe.

Hi Jen:
I just love your recipes and this one is standout. I am going to try it as an appetizer for 3 people. We have a friend coming over and I love to impress her.
So, your recipe only calls for 2 tbsp if PESTO? Is that enough to make the base that green? That is where I am confused. I love the contrast of color. Plus I don’t have a tart pan. Can you recommend something else I can use instead? Thanks.
Hi Maureen, thanks so much for your kind words! Honestly, it really depends on the pesto you are using. The one that I made and used that day is pretty intense. Once you combine it with the ricotta, and you would like it have more intensity, feel free to add another tablespoon of whatever you are using. It’s a pretty forgiving filling. As for the pastry and pan, as I mention in the blog article, feel free to use pie pastry instead, in a traditional pie plate, just par-bake before filling. See my Quiche Deconstructed blog post for how to prepare the crust. Hope this helps, Love Jen
Thanks Jen, I appreciate your comments. I will make a note of it and try this recipe soon. I also absolutely love your food photography, great job!! I am a photographer also, and try with food, but difficult if you are trying to have dinner.
Thanks again from sunny Scottsdale, AZ
Hi Maureen, thanks so much for your kind words. It’s just me and my phone! For optimum photography though, I actually cook or bake the meals before I want to serve them, photograph them in the best light, and then reheat for eating!! My poor but understanding husband!