Crepes are one one of those brunch dishes that just seems extra special. They’re so delicate, exuding a touch of luxury.
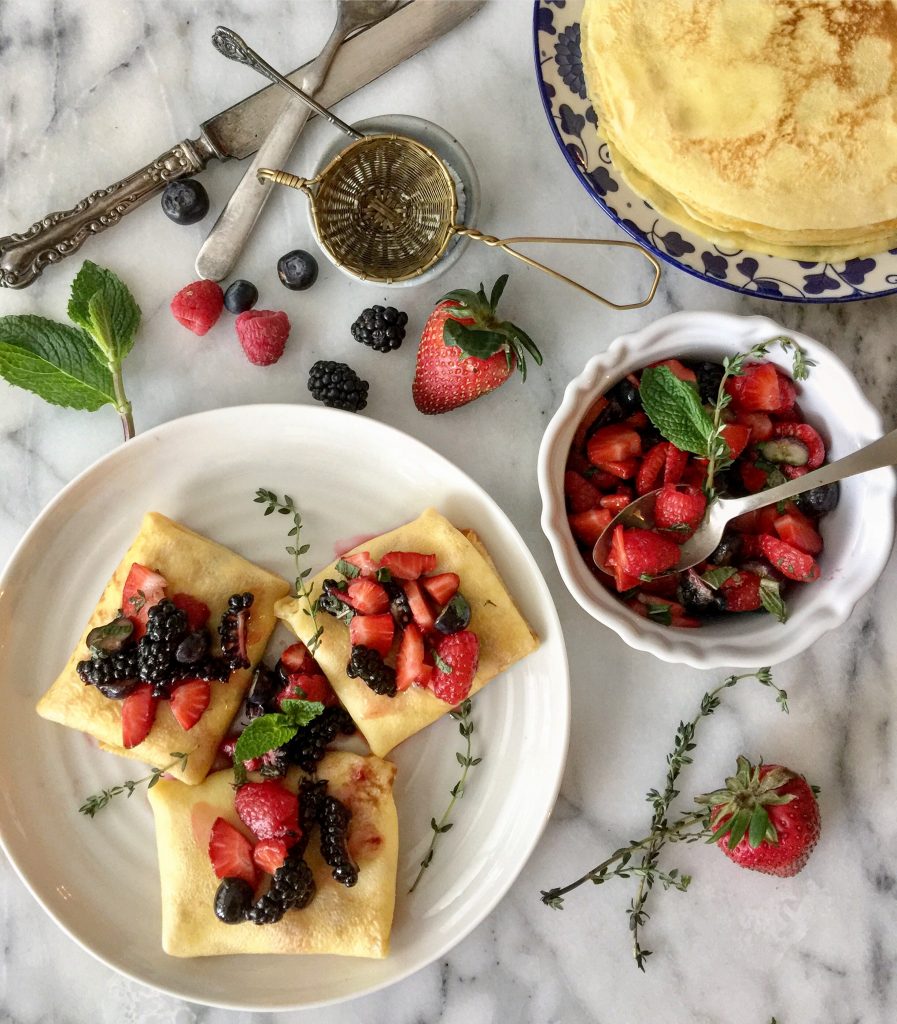
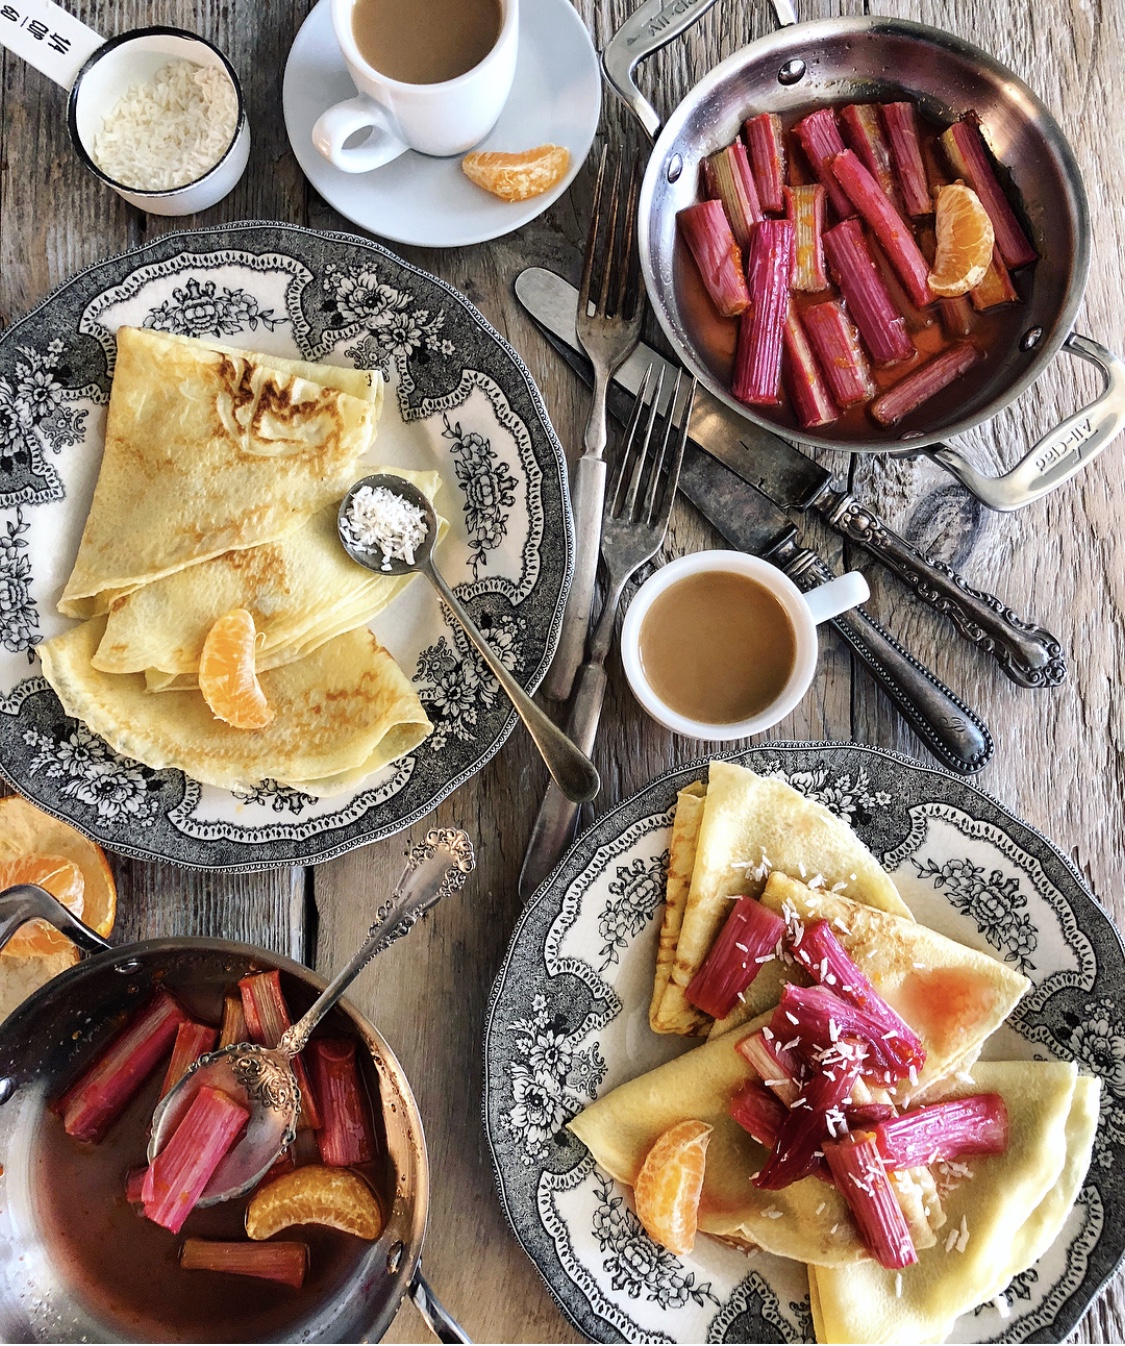 Classically we think of folding fruit or a combo of fruit and perhaps whipped cream or mascarpone cheese inside, and then dusting them with icing sugar.
We grew up rolling them up with jam on the inside. Russian friends of mine roll their crepes up and then dip them into sweetened condensed milk! Personally these days, I just sprinkle a bit of cinnamon sugar on them, roll them up and call it a day. Jim just loves them with maple syrup. But if I’m in Paris, I will look for the first creperie I can find, and get chestnut crepes filled with creme de marron. Dreamy!
For special occasions, or for a lazy day off (because admit it, they do take a little bit of work) I like making up a batch, and letting everyone top them the way they want.
Stuffed crepes, or blintzes are even more fun. It’s a little package just waiting to be opened up. Drizzle some chocolate sauce over them with some spiked whipped cream and all is good in the world.
Retro Eighties Stuffed Savoury Crepes Should Come Back!
Back in the day, when I was waiting on tables, one restaurant I worked at also served savoury crepes. In the 80’s it was so trendy to serve chicken and broccoli in crepes topped with a mornay sauce. Savoury crepes are due for a real comeback, if you ask me!! We also served these amazing savoury stuffed crepes for Sunday Brunch. I loved what the chef did with cottage cheese, peppers and onions. Here is a Savoury Mexican Blintzes version of that beloved dish that I came up a while back!
Basic Crepes Recipe
Below is the recipe for classic crepes that I rely on. I show two ways of preparing the batter. In a bowl with a whisk, or in a blender. I will say, placing all the ingredients in a blender ensures that you will have no lumps in the batter. But even if you do get a lump or two from the hand mixing method, no one will notice! Also, resting the batter for at least 30 minutes before using will allow those lumps to ease out. This rest also allows the flour to fully absorb the liquid and gives the gluten a chance to relax. While it’s not mandatory, it is the secret to the most delicate, melt-in-your-mouth crepes.
Take Note:
You want the batter thin enough to spread out easily, without being so thin that you lose structure. Usually my pan only needs about 1/4 cup or so of batter, and I swirl the pan off the heat to spread the batter out completely. An offset spatula will also help you get the final bits spread out.
After your first crepe you will discover whether you need to thin out the batter with some extra milk, or thicken it with a bit more flour. The humidity of the day, the type of flour, even the size of the eggs can all have a bearing on the batter on any given day.
Crepe Pan
Yes, a crepe pan does make a difference for easy extraction of the crepe. It is a pan with very low, angled sides, so that the crepe can slide out easily. It also makes it easier to get a small spatula etc under the crepe for flipping. My pan is 7 inches (18 cm) across the base, with 1 inch (2.5 cm) sides. Of course you can use whatever pan you would like, but try and stick to a pan no more than 8 or 9 inches in diameter. The crepes will be easier to manage.
Gluten Free Version
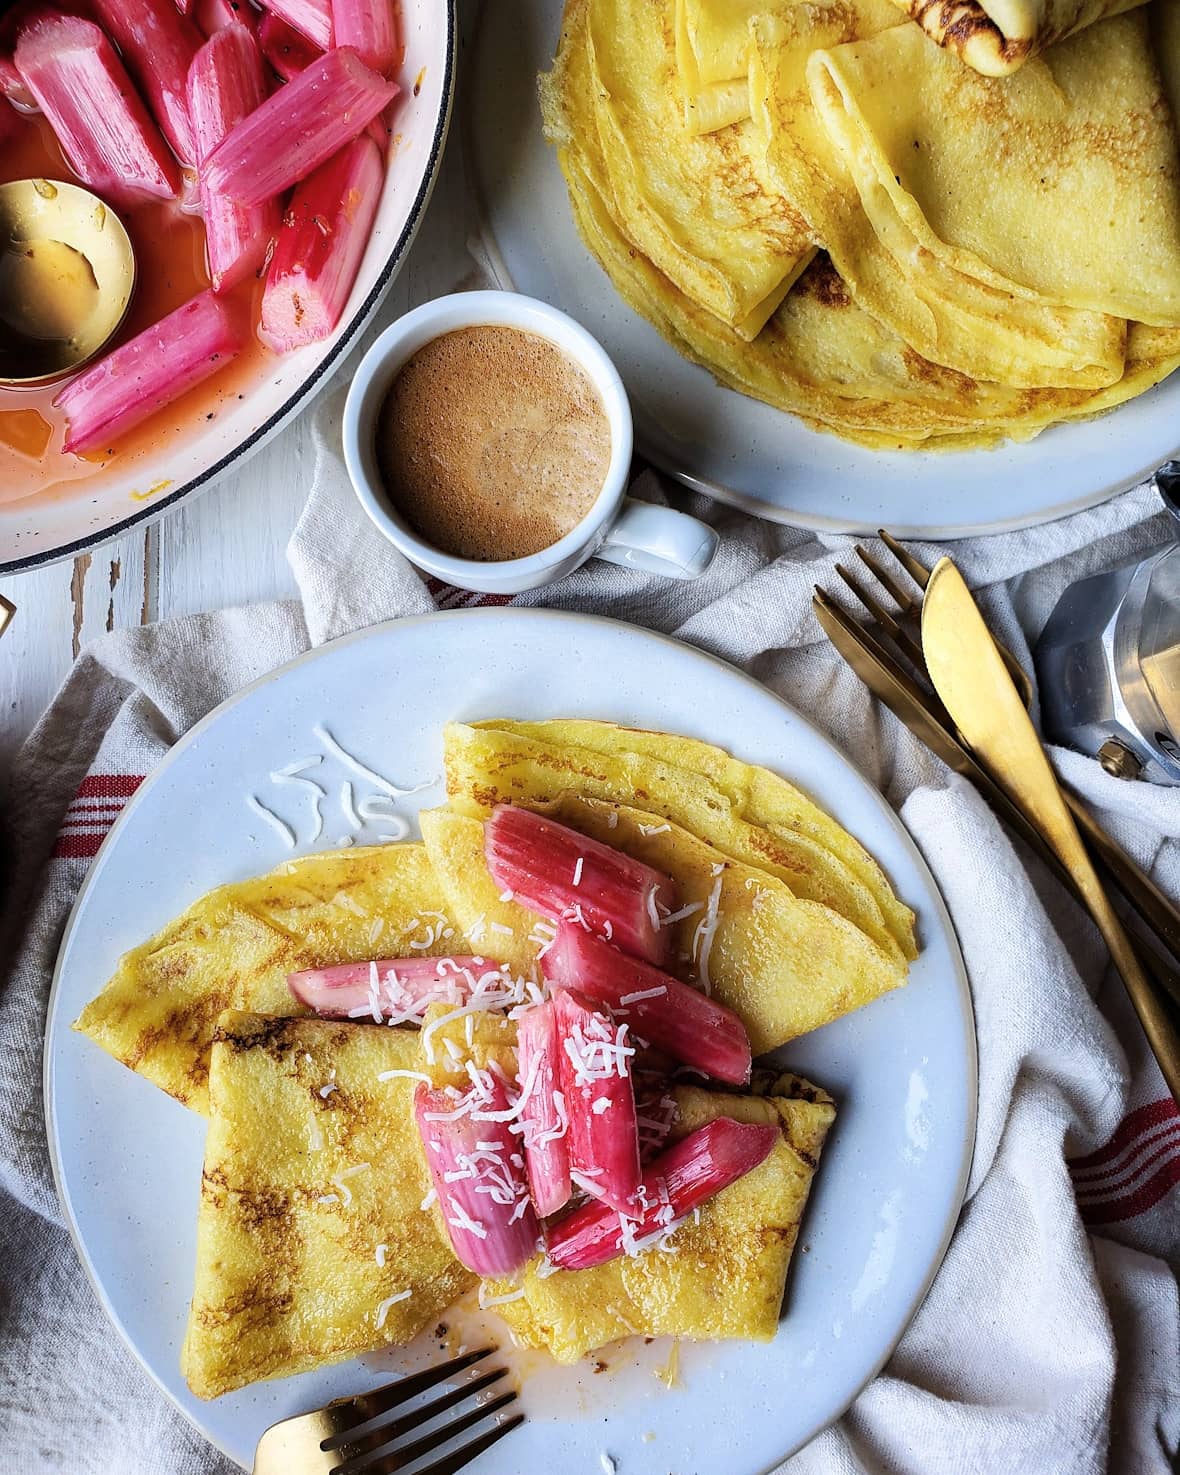
Yes, you can make these gluten free. Using a cup for cup gluten free flour blend does work. You may find that if the blend contains xanthan gum, the batter may congeal just a little. And you certainly don’t need to add any additional binder, whether xanthan gum, guar gum or psyllium husk powder if the blend contains one of these. Just start out with a bit less flour to begin with, or else you will be thinning it out with extra milk. You will find that sweet spot where it is not too thick to spread out. Spreading it out in the pan using a small offset spatula really does make all the difference! The crepes below were made using a gluten free blend, and an offset spatula to spread the batter out evenly in my crepe pan.
Final Thoughts
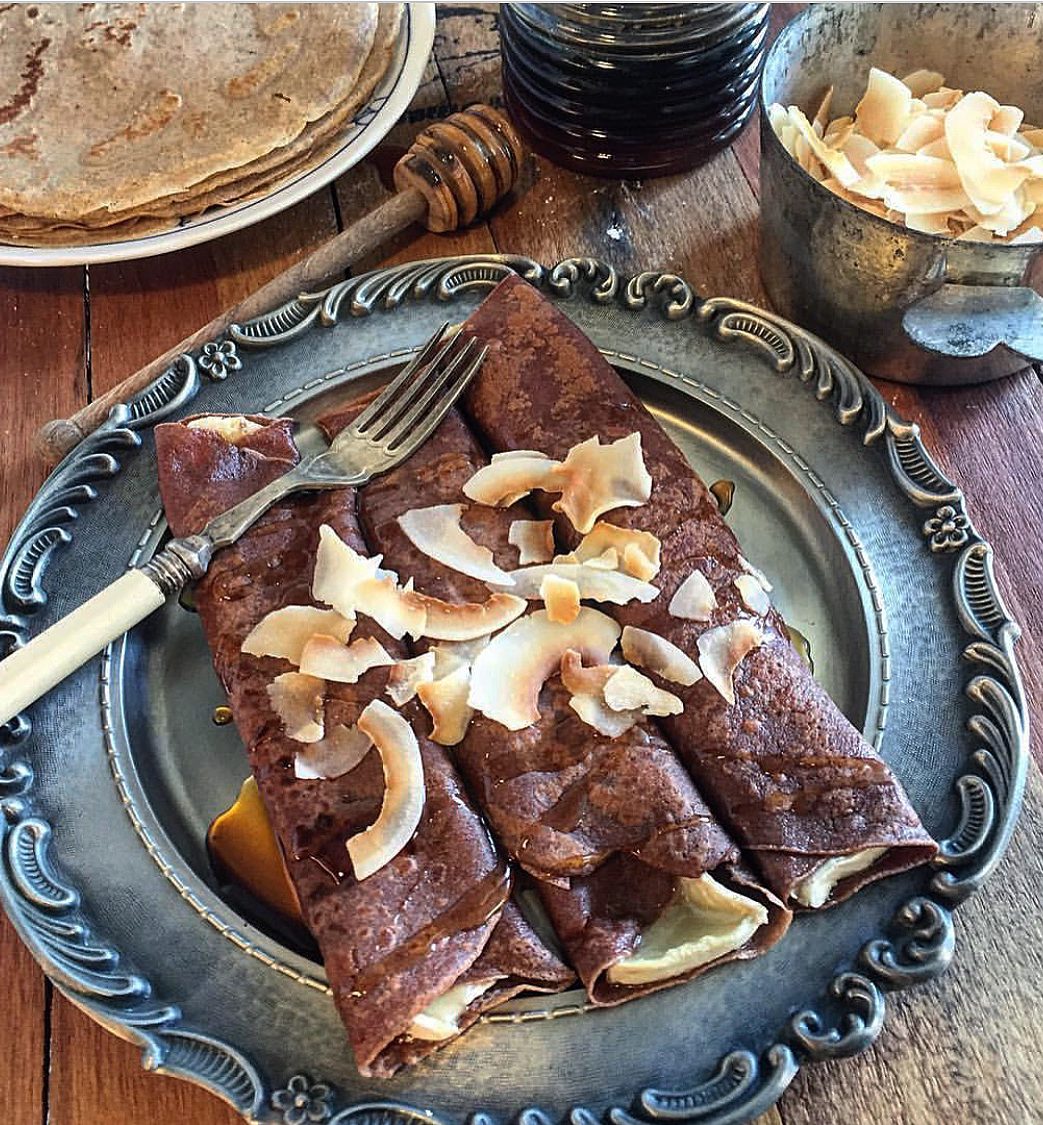
It is so easy to make these savoury or sweet, depending on what you add to the batter. Some chopped fresh thyme and cracked pepper, and these are perfect for savoury blintzes or dinner crepes. Add some lemon zest and extra sugar, and they are lovely wrapped around macerated fruit and sweetened mascarpone cheese. Or add some cocoa for colour! Sometimes I’ll use alternative flours, like chestnut or buckwheat. I’ll share these recipes as well one day soon.
The Most Versatile Flavour Add-ins:
As for the flavourings which will suit both sweet and savoury fillings: lemon zest from one large lemon, and a fresh herb like 1 tablespoon of thyme. Either of these will work with just about any filling imaginable. So if you do make a large batch and freeze some, it won’t matter how you want to use the ones you thaw. Speaking of freezing:
Freeze your Crepes
Make these your own. And make extra to freeze. If you’re going to go to all the work to prepare the batter and stand in front of a stove to make these babies, you might as well make a good whack of them. They freeze beautifully with a piece of wax paper between each one. And then put them all in a freezer bag. Take out what you need, thaw, and reheat in a pan sprayed with veggie spray over low heat. Alternatively you can thaw and then wrap a few in tinfoil and warm up an oven set to 300F.
Love Jen.
Here are some fun recipes using this basic crepe method:
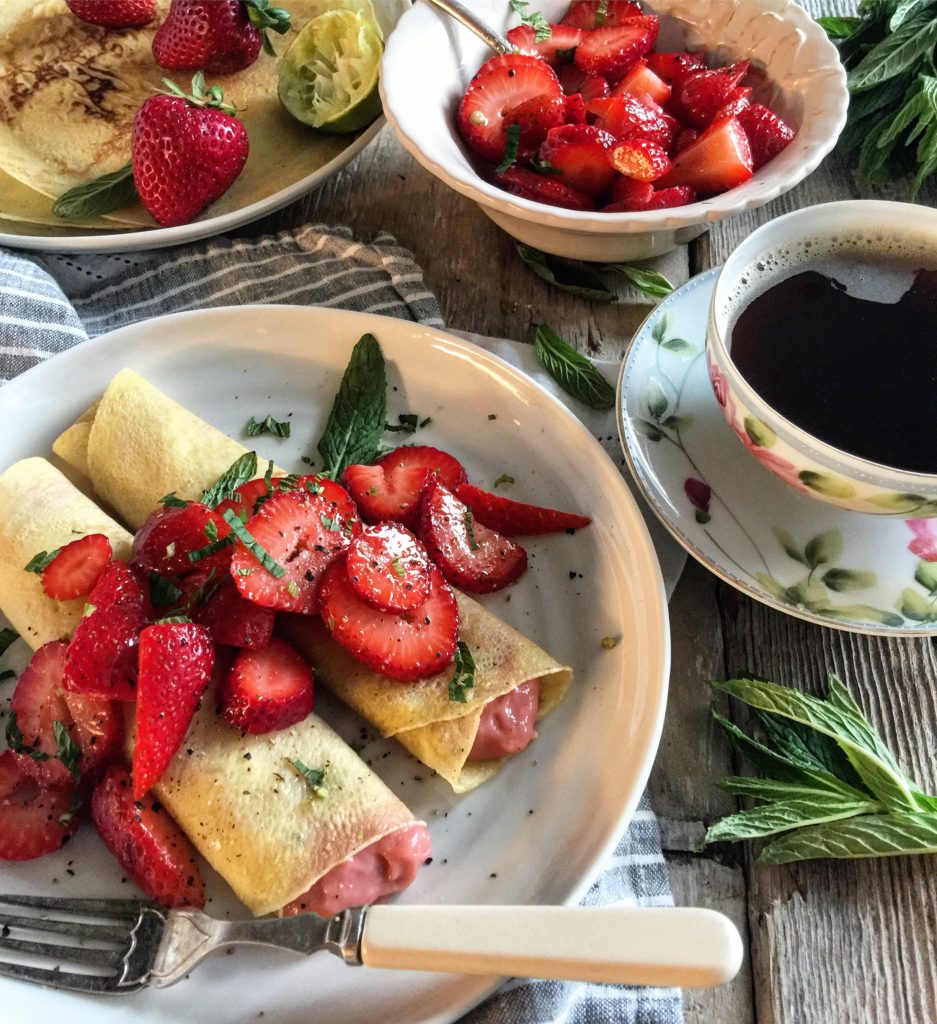
Rhubarb Curd Honey and Lime Strawberry Crepes
Sautéed Maple Pears with Bacon and Walnuts on Crepes

Basic Crepes
The beginning of a beautiful meal starts with these classic crepes. From here the world is your oyster as you transform them into blintzes, or savoury stuffed crepes. Even a crepe cake if you so desire!
Ingredients
- 1 1/2 cups AP flour
- 1/4 tsp salt
- 3 large eggs
- 1 1/2 cups milk plus extra if needed
- 1 tbsp vegetable oil or butter, melted and cooled
- grapeseed, vegetable or avocado oil, or butter for frying up the crepe
Instructions
-
Sift the flour and salt in a bowl.
Break eggs into another bowl and beat lightly with a whisk.
Pour the eggs into a small well you've made in the flour. Stir the flour in the centre to catch some of the eggs, with a spoon. Keep mixing this way until they are all incorporated
-
Slowly add 1/3 of the milk. When the milk is totally incorporated, add the next portion. At this point you can switch to a whisk. And then finally the last portion. Make sure you work out all the lumps.
Add the melted butter or oil. Mix and cover. Let set for at least 30 minutes, or up to overnight before using the batter. See Notes below
-
Blender method:
Add the ingredients in the reverse order listed into a blender. Blend at lowest speed until all starts to incorporate. Scrape down the sides with a rubber spatula. Bring it up to a middle speed and blend until smooth. About 20 seconds. Cover and store until needed.
-
Pour the batter into a pitcher. This is easier than taking a spoon or measuring cup to transfer batter to the pan. If you find that the batter has thickened as doesn't pour gracefully, add a bit more milk to thin it out till it flows nicely. You'll be able to tell after the making the first crepe.
Heat crepe pan over medium heat. (should be around 6-8 inch in diameter with low sides)
Brush the surface of the warmed pan with oil. I keep all the oil I may need in a small bowl by the stove for this process. I use a silicone brush to add oil after each crepe.
Lift the pan from the heat and pour in just enough batter to cover the bottom when you gently swirl the pan around to move the batter to all sides. You will quickly realize if you are using too much or too little. Or if the batter is too thick or too thin. Too much will result in a thick crepe that takes too long to cook; too little, and you won't be able to stretch the batter to fill the bottom of the pan. I find that 3 tbsp of batter is good for the pan I am using.
Return the pan to the medium heat. Cook until the crepe is set and the edges are drying, usually about 20-35 seconds, depending on your stove. Slide the spatula (I use a small offset spatula- it works perfectly) under the crepe to loosen it. Lift it carefully and turn it gently over and back into the pan. In just a few seconds, the second side should start to turn golden brown. Shake the pan to loosen the crepe. With the aid of the spatula if needed, slide it onto a plate. Adjust heat as needed.
Keep doing so with all the batter, adding the crepes to the first one on the plate. This amount of batter should yield 12-14 crepes. It really depends on the size of pan you are using, and how good you are at not overfilling the pan with batter! Don't worry, you'll get the hang of it. The first one is AWAYS lousy! For the cook 🙂
-
If not using right away, use wax paper to separate each crepe and then wrap up in plastic wrap and then aluminum foil. They can be frozen till needed.
You can remove as needed, thaw and reheat in a covered pan over medium low heat. Or you can wrap a few thawed crepes in tinfoil and warm in a 300F oven
-
See blog post for more details.
Recipe Notes
Resting the batter, for at least 30 minutes, or even in the fridge overnight allows the flour to absorb all the liquid, the glutens to relax, and any lumps to smooth out.
Having the oil and brush right there, plus a small offset spatula are key. You can even use this little spatula to spread out the final bit of batter to fill the pan.
If you find after making the first crepe that the batter needs to be thinned out, just add a little milk at a time. Vice versa if too thin, just add a tablespoon of flour at a time to get it to pourable but with enough structure to hold together once cooked up.
SaveSave

What kind of pan do you use? Do you need oil of it is non-stick?
Hi Laura, good question. I use an old crepe pan, metal but not non-stick. I keep a small bowl of canola or grapeseed oil by the pan to brush it before each new crepe goes in. If you have a non-stick, see what happens with your first crepe. Not all non-sticks are all that non-stick!! If after the first one or two, you’ll know whether you’ll need to help it along with a little grease!! Hope this helps. Love Jen
Hello, Jen! Loved this post! I just have a couple of questions: What is the difference between this recipe and a pancake recipe? And why is it needed to be set for an hour?
Hi Carolina, Thanks so much for your question. Sorry for the delay in replying. Life got in the way. Crepe batter is slightly thinner than pancake batter, but that’s it. Oh, and some pancake batters will include a leavening agent of some sort. When you let the batter rest, any lumps will smooth out, the flour will absorb the liquids completely, and the glutens will form properly. It will result in a fluffier, more ‘gentle’ crepe. It’s worth the hour’s wait. I just make the batter and then go make the bed, start the coffee, get dressed etc! Then is it ready to go. And if you make it the evening before, you can just go right on to cooking in the morning! Hope this helps, Love Jen
Dear Jen,
Thanks a lot!!
Best wishes!
Thanks so much Carolina!