I’m sure if you go through this website, you will find a plethora of chocolate cherry desserts. It must be the German in me, but a good Black Forest anything is always a welcome dessert.
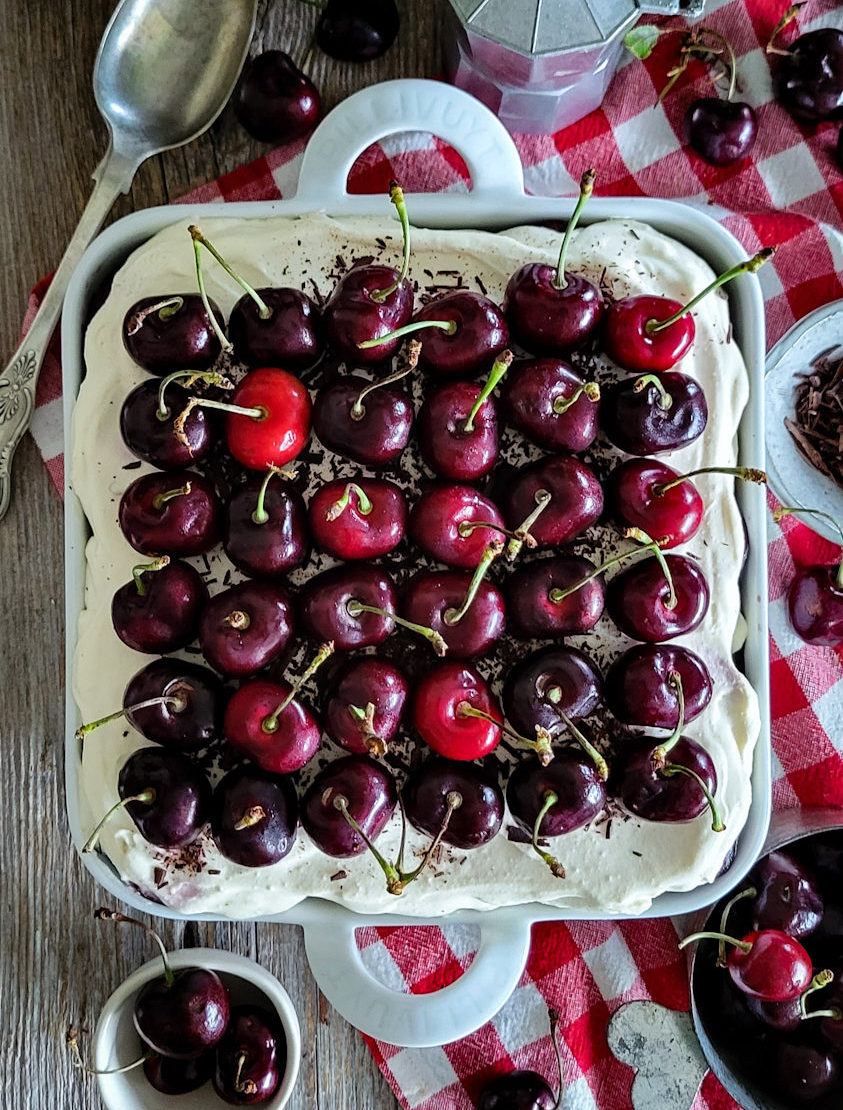 So today, I am sharing my twist on a classic Italian Tiramisu, but with a German spin! Especially since we are in the middle of cherry season, the best stone fruit (in my most humble opinion!)
Classic Tiramisu
Before we can play with this dessert, let’s determine what the classic recipe is. Coming to us via Venice, Italy (although this is in dispute!) it is an iconic sweet treat of coffee soaked Savoiardi Lady Fingers, with layers of mascarpone cheese and an egg Zabaglioni concoction. The eggs are whipped with sugar and rum or marsala to create a creamy texture which then gets folded into the mascarpone cheese. The finished texture is delightfully light and yet rich at the same time. It is customarily dusted with a fabulous thick layer of cocoa powder. Here is a link to a fabulous history lesson, as well as the classic recipe, and variations as needed.
My Black Forest Tiramisu
We will need to incorporate chocolate, kirsch and cherries to give this tiramisu the Black Forest stamp. We’ll put chocolate in the cake layer. And of course freshly shaved chocolate on top as a garnish. As the for the kirsch (German cherry liqueur), some will be used to soak the cake layers, and some will be used to macerate the fresh cherries. And yes, along with the macerated fresh cherries in with the creamy layers, there will also be fresh, crunchy and juicy cherries on top. We will still use the coffee, as a nod to the original version, plus coffee and chocolate, right?! And mascarpone cheese adds its richness to the creamy layers between the cake layers. But instead of fussing with more eggs in the creamy layer, the whipped cream and mascarpone will be be joined by sugar and vanilla. This way the recipe is far less fussy and frustrating.
Chocolate Sponge Layer
All credit to Alanna, The Bojon Gourmet for her chocolate sponge cake recipe, and the inspiration to use it for tiramisu. Her gluten free recipes have never let me down, and this one is no exception. Instead of fussing to make chocolate lady fingers (especially gluten free ones) this idea of slicing a tender sponge cake to imitate the lady fingers is sheer brilliance. So much easier!!
As for the sponge cake recipe itself, it is a joy to bake up. While all you need is a bowl or two, a whisk and a wooden spoon or spatula, the finished sponge cake is light, frothy, tender, and yet holds up well to getting soaked or even frozen if you want to prepare some cake in advance. Today we are baking the batter in an 8 x 8 inch baking pan, but it can easily be baked up in an 8 or 9 inch springform pan or cake pan.
Alanna’s recipe is gluten free, using oat flour and sweet rice flour. Both flours are great to have in your pantry or freezer, since they are easy to work with, and can be used in all sorts of recipes, even if you are not restricted to a gluten free diet. The sweet rice flour is the base for my Brown Butter Espresso Mochi Brownies, so you may already have some in the pantry!
If you are super organized, feel free to bake up this recipe and freeze the rounds, because you never know when company will pop in unexpectedly. Then all you need to do is pull one out, let it thaw, and cover it in whipped cream and fruit. So versatile!
The batter is a simple combination of flours, eggs, oil, cocoa powder and sugar. The egg whites are beaten till stiff and folded into the cocoa hued batter to create the airy nature of this cake. Once all the white streaks of the egg whites are blended away gently with a spatula, it gets spooned into the prepared pan (parchment at the bottom) and baked for about 35-40 minutes till puffed and baked through evenly. Let it cool and then remove from the pan to continue cooling. Once cooled, you can wrap and store in the fridge till needed. I usually bake the cake portion for any dessert the day before I need to work with it. It will handle so much better.
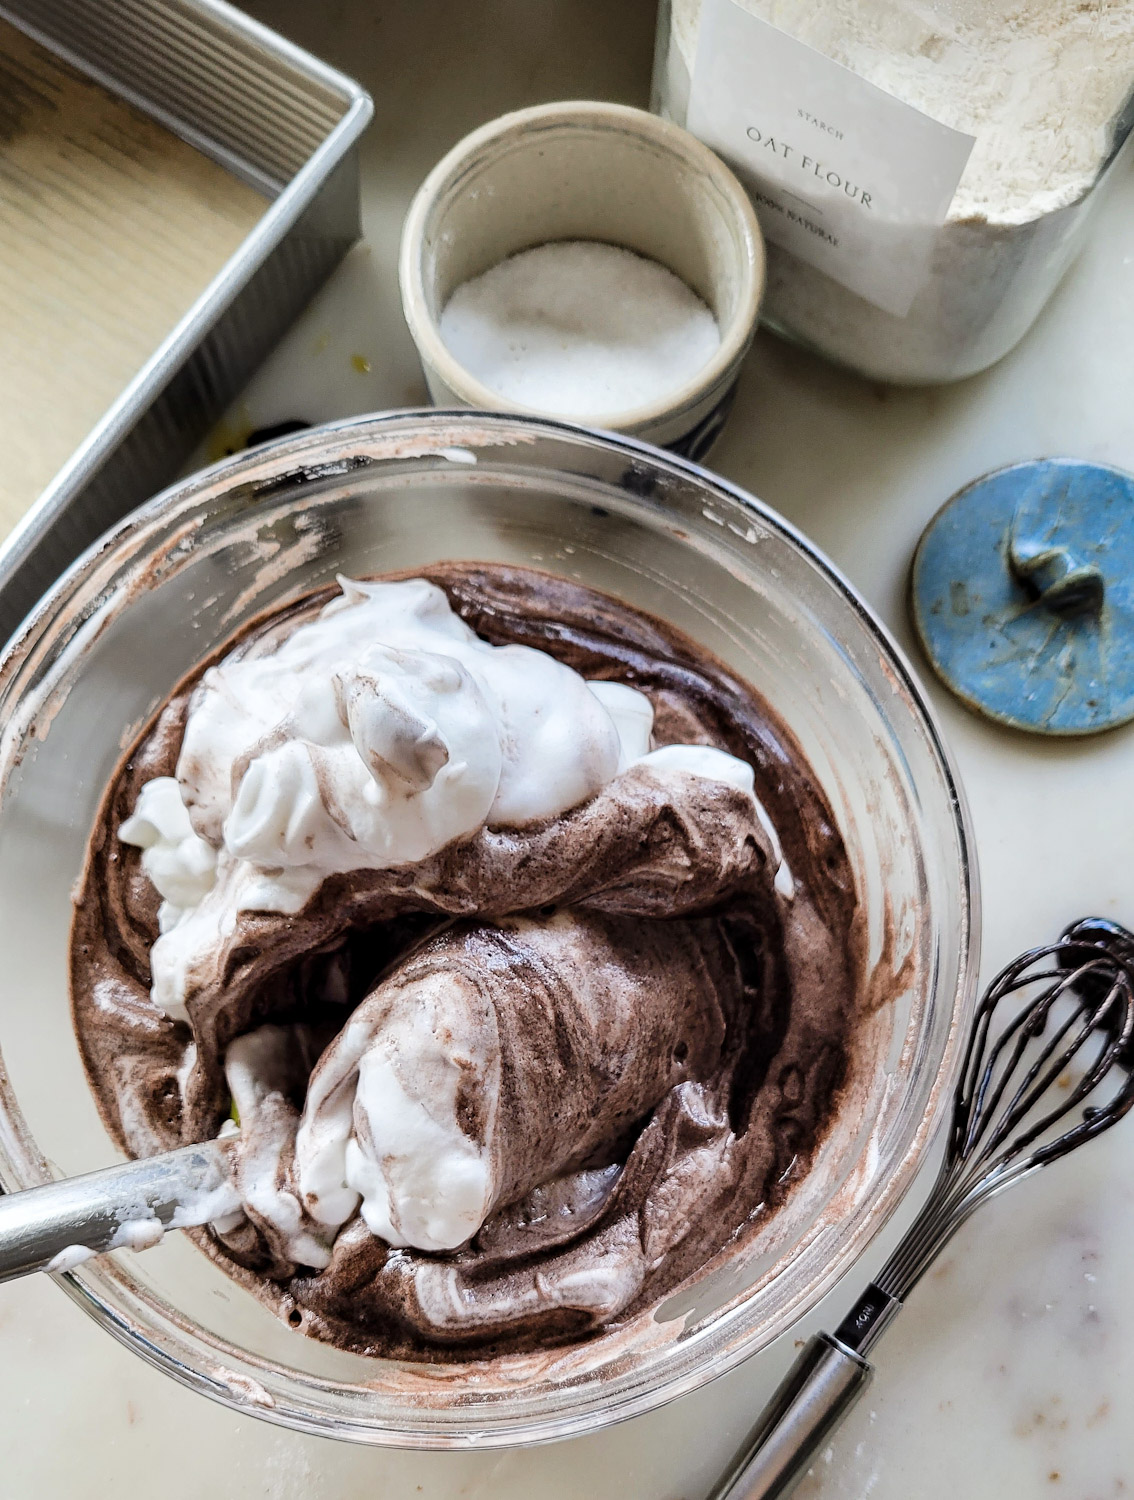
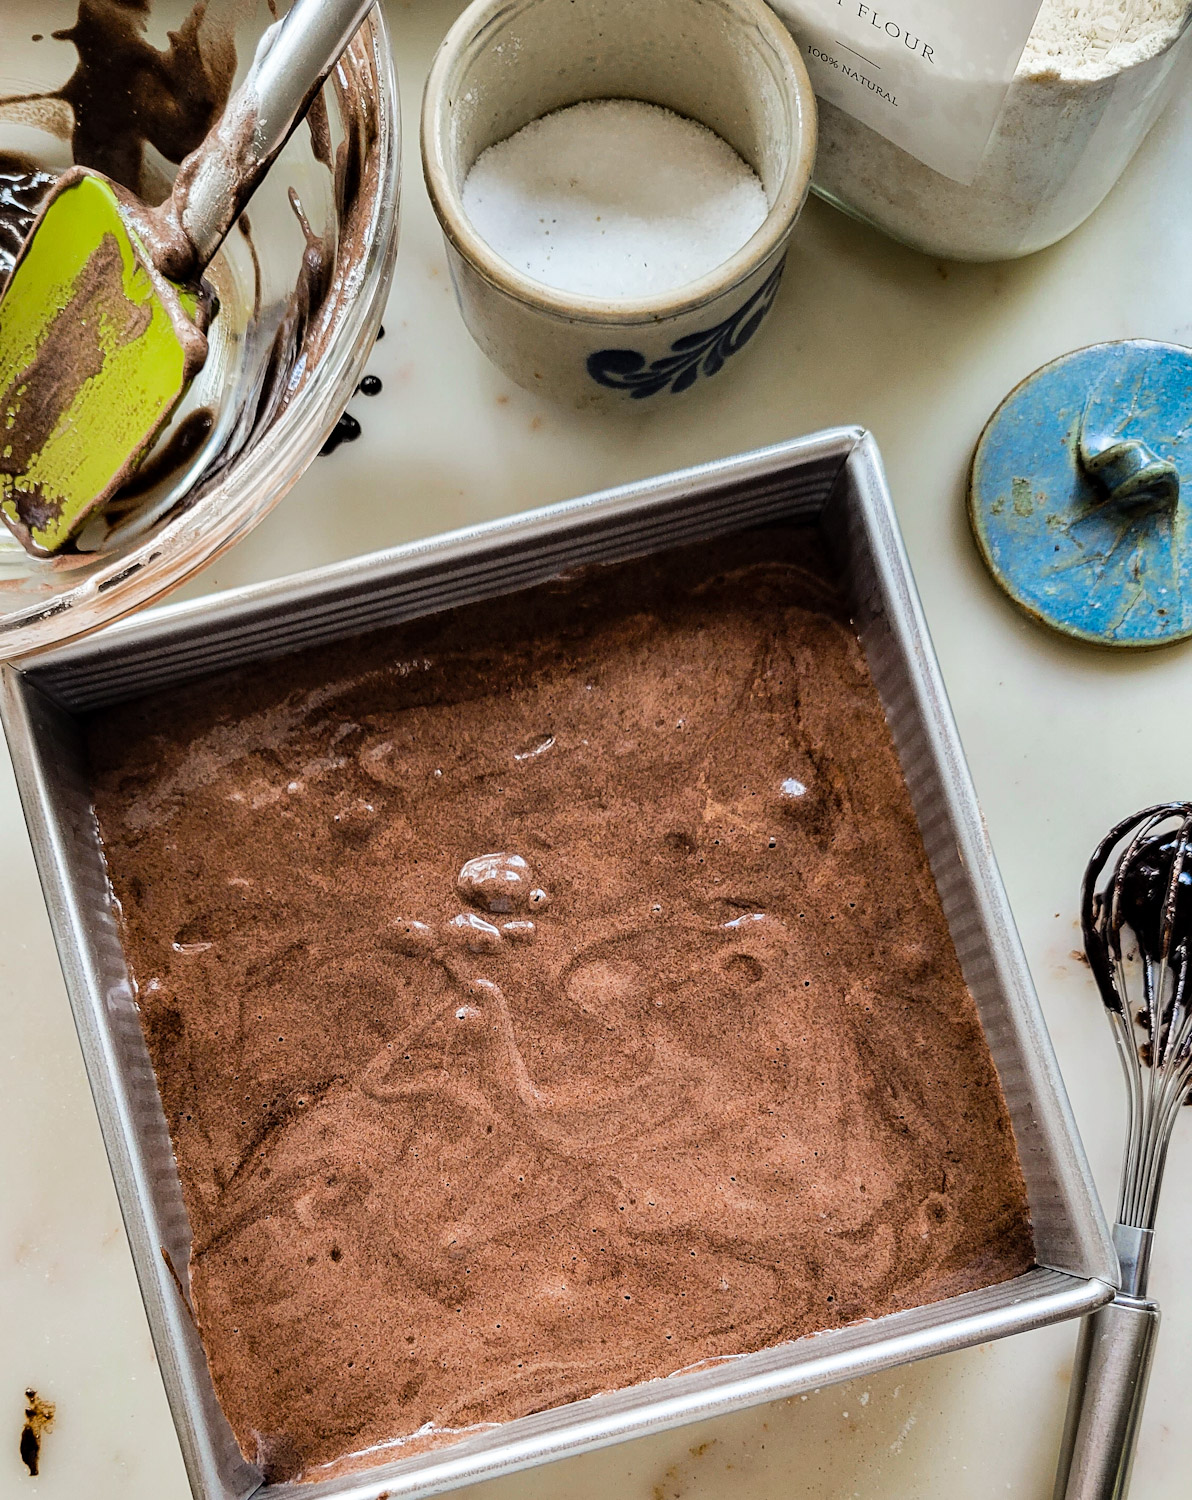
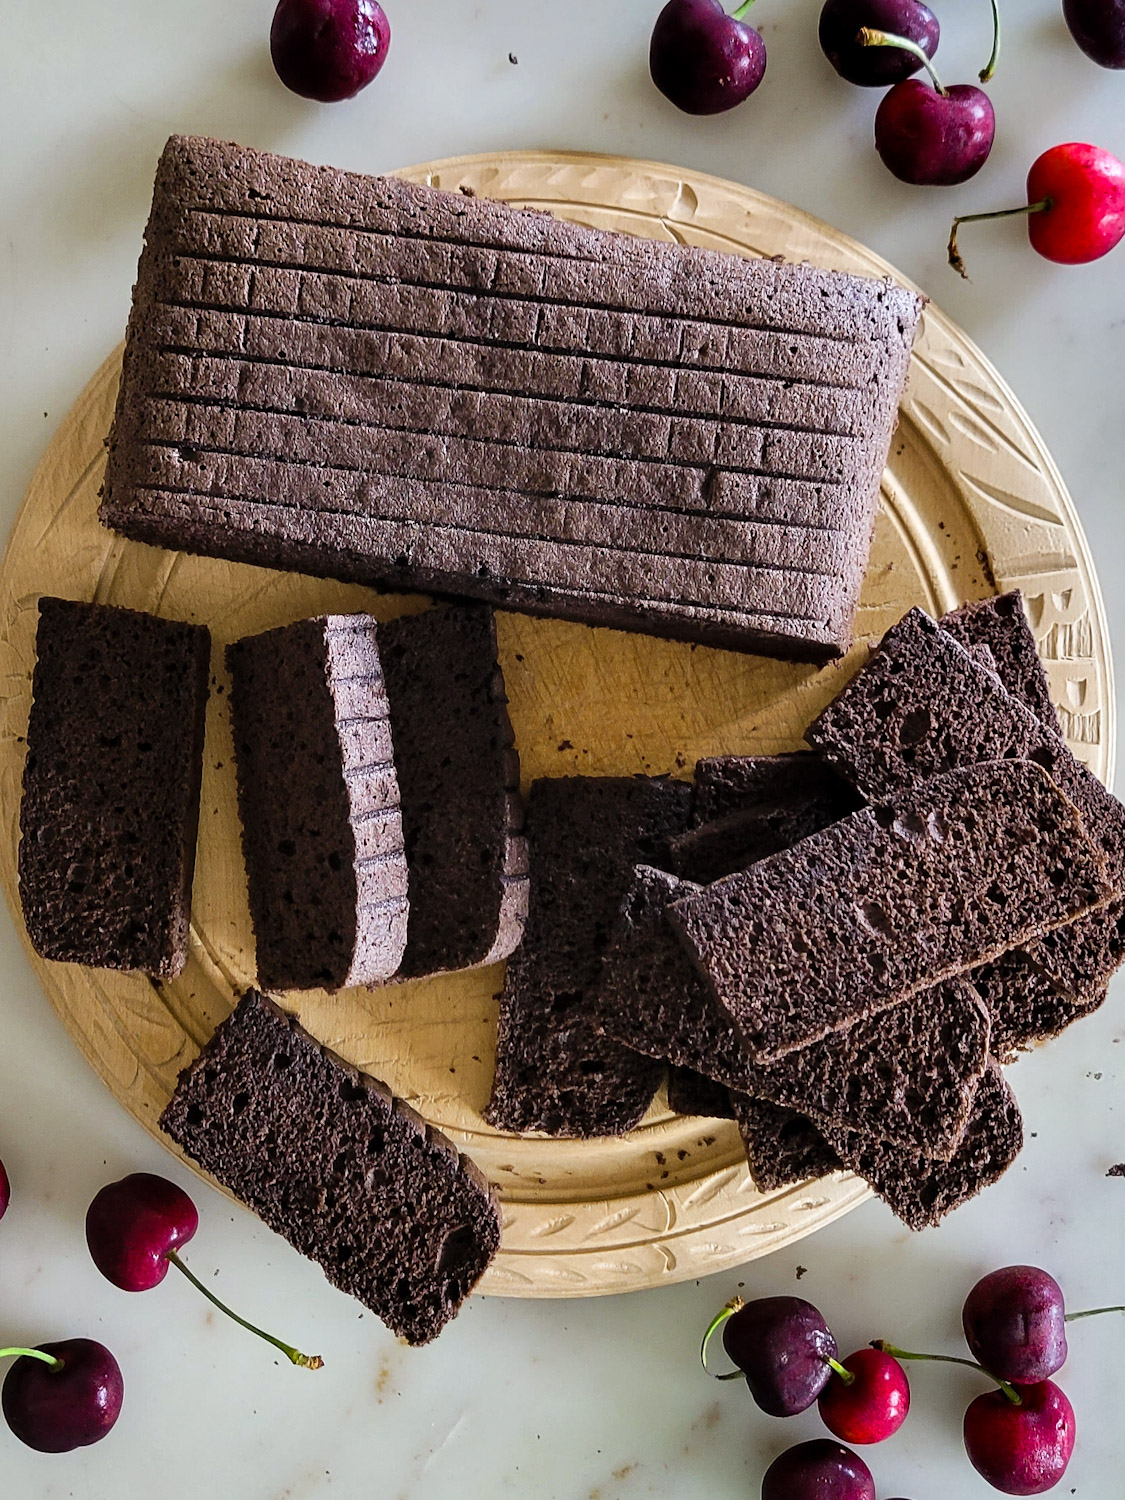
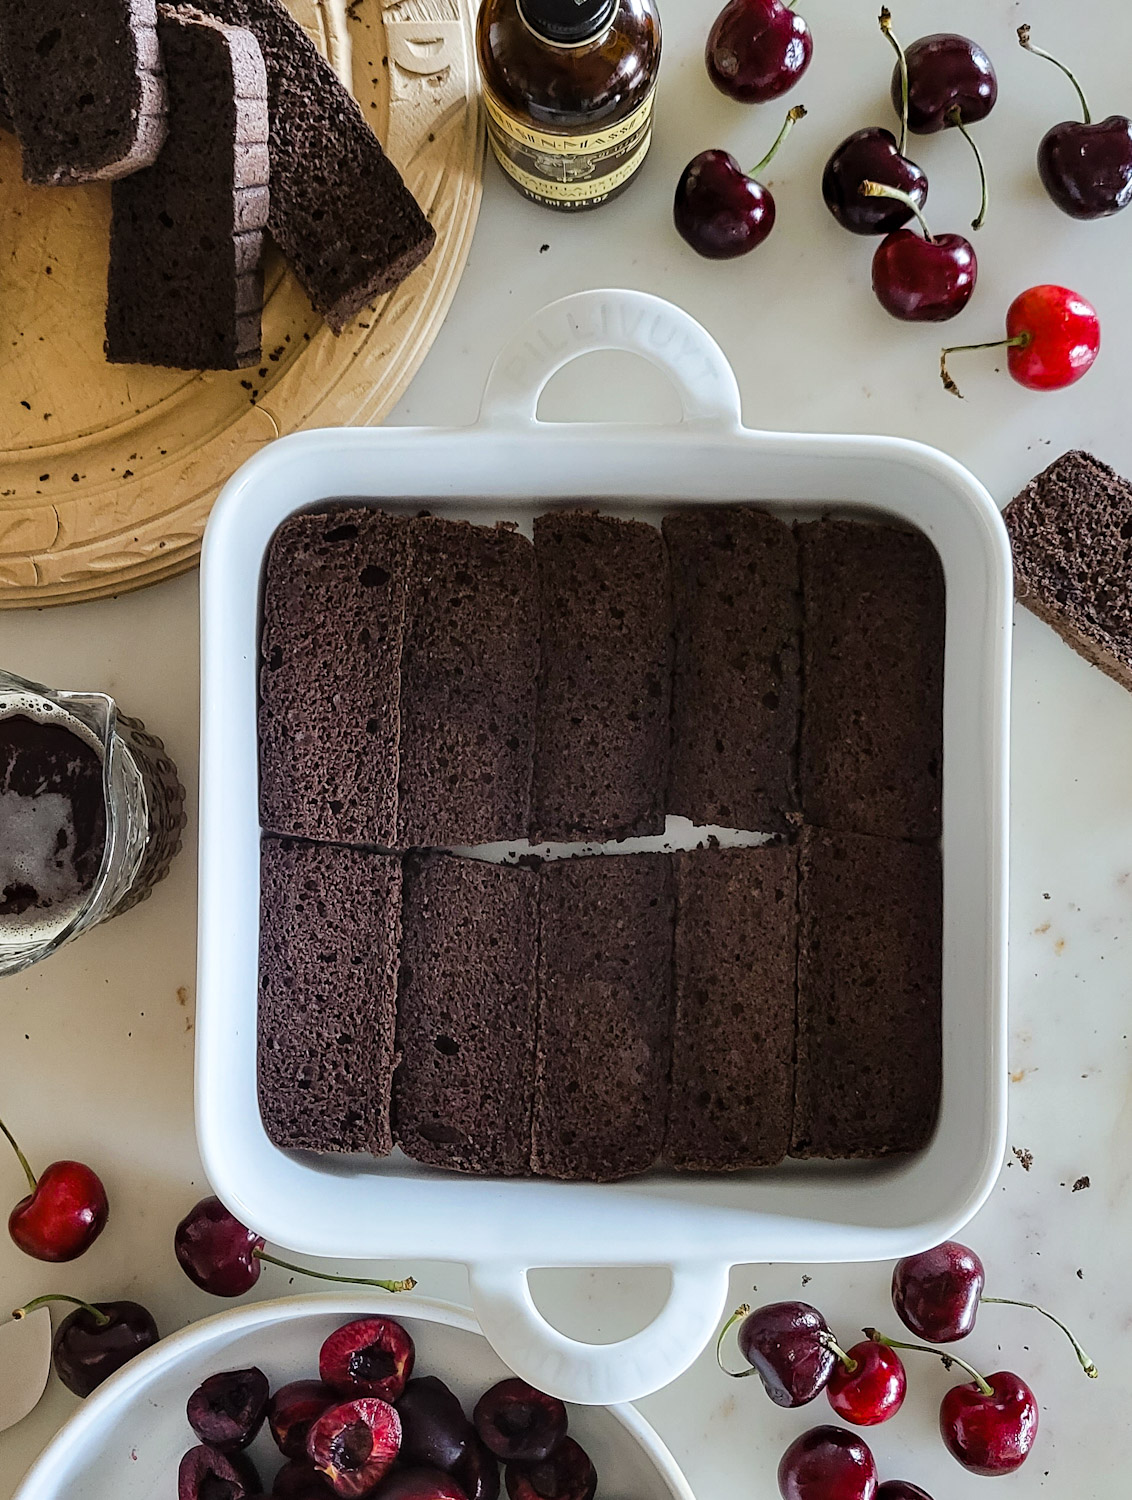
In the photo below, you can see the cooled cake (with the marks from the cooling rack!!) It is sliced in half, and then each half is cut into 12 or so slices. These slices will be placed into an 8 or 9 inch square baking or serving dish with high sides. Of course you can use a differently shaped dish, you may just need to play with the slices to make them fit. Make sure they fit snugly, it will help give the tiramisu stability as you serve it up. I find that there are usually a couple of slices leftover, depending on how thick you slice the cake, and which size serving dish you are using. Don’t cut them so that they are thicker than 1/2 inch though. The remaining slices are for munching on as you assemble the tiramisu!
Fresh Macerated Cherry Layer
Today’s recipe is all about fresh cherries. Their crunchy exterior and juicy interior and special sweetness is to be savoured as long as we have them at the markets. Having said this, you could totally make this recipe in the winter, using homemade or purchased cherry pie filling. And top with purchased brandy soaked cherries for something quite decadent, I’m sure your guests will love it!
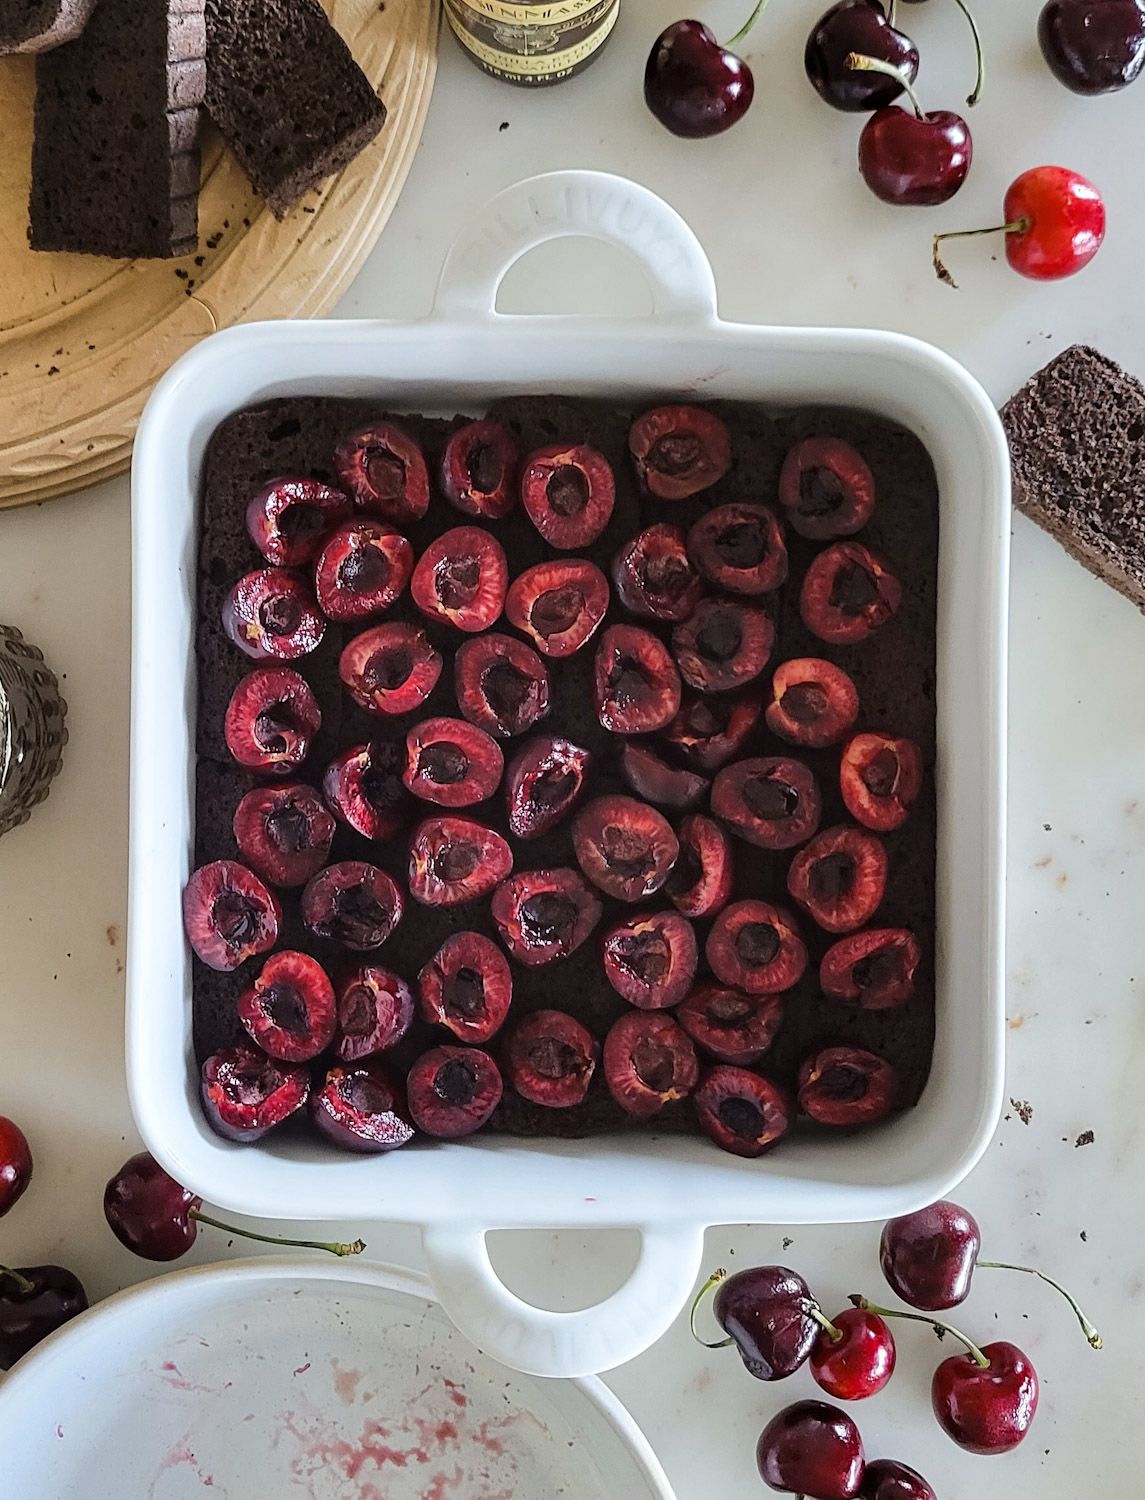
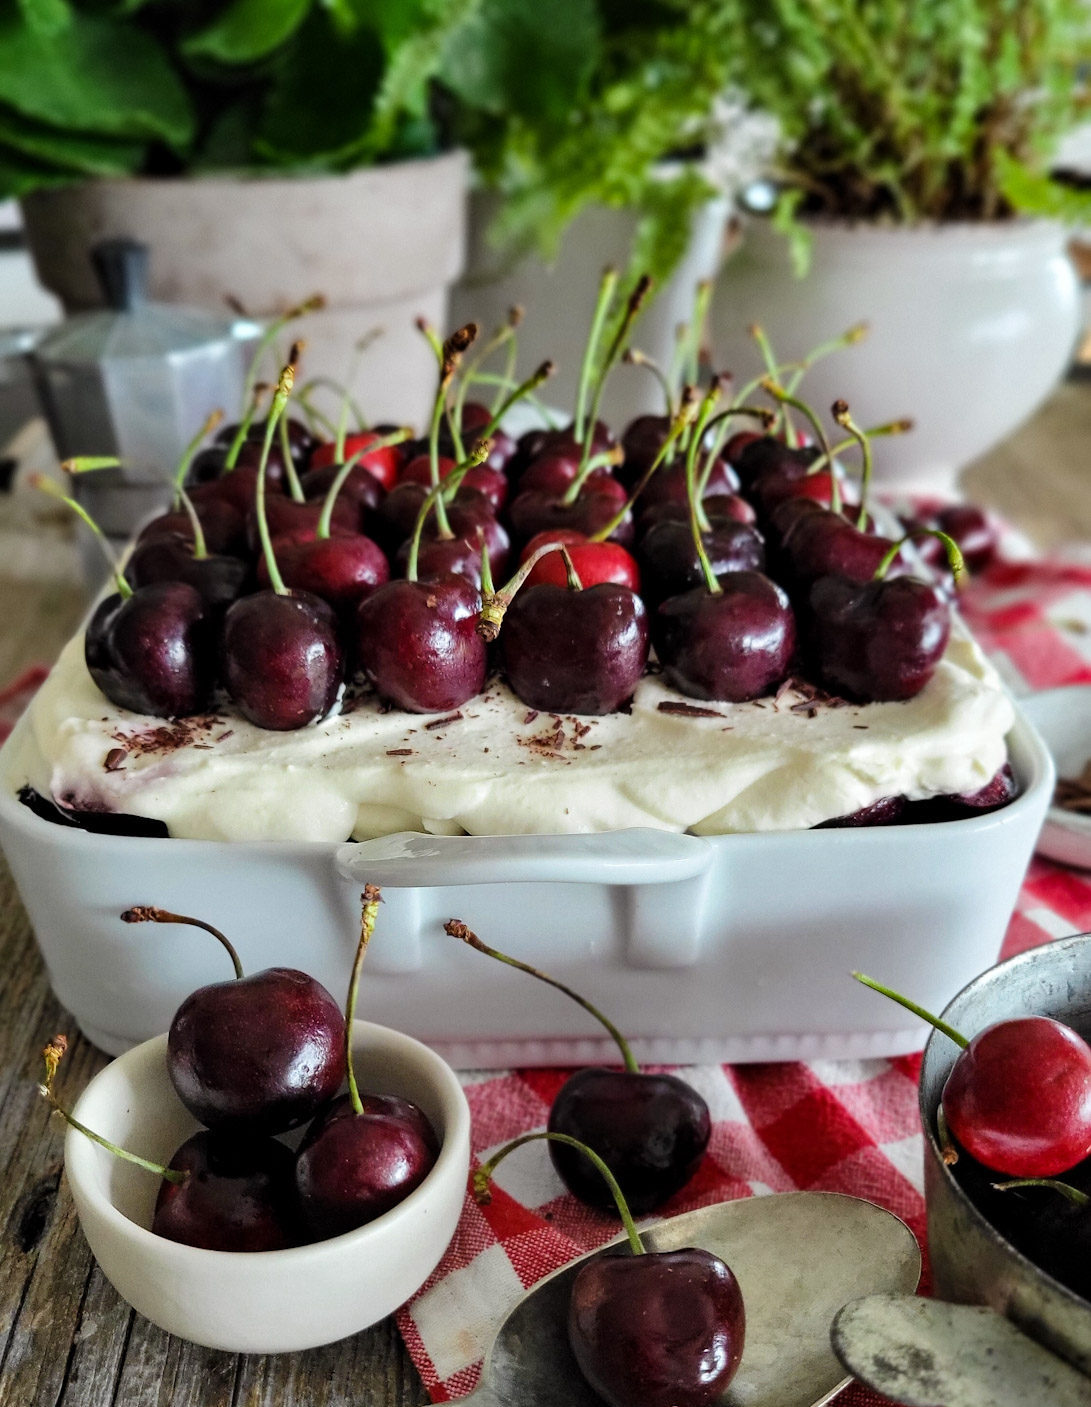
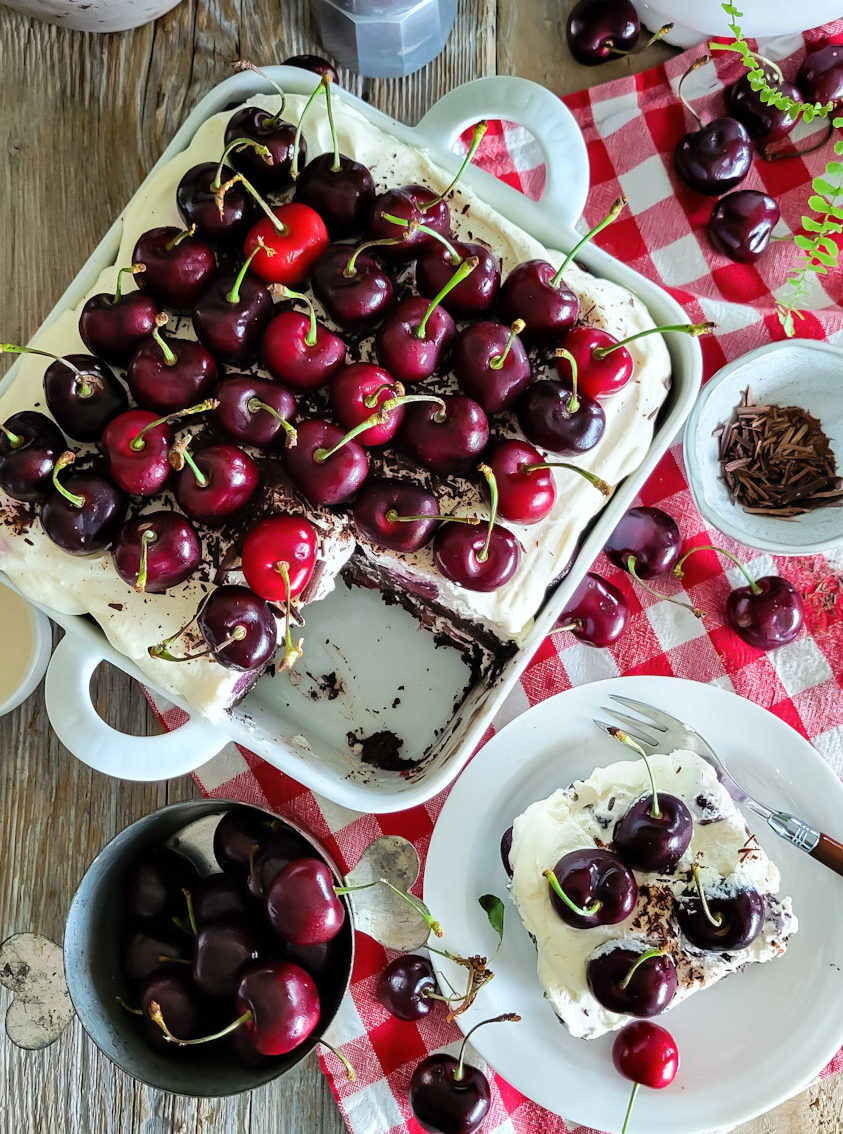
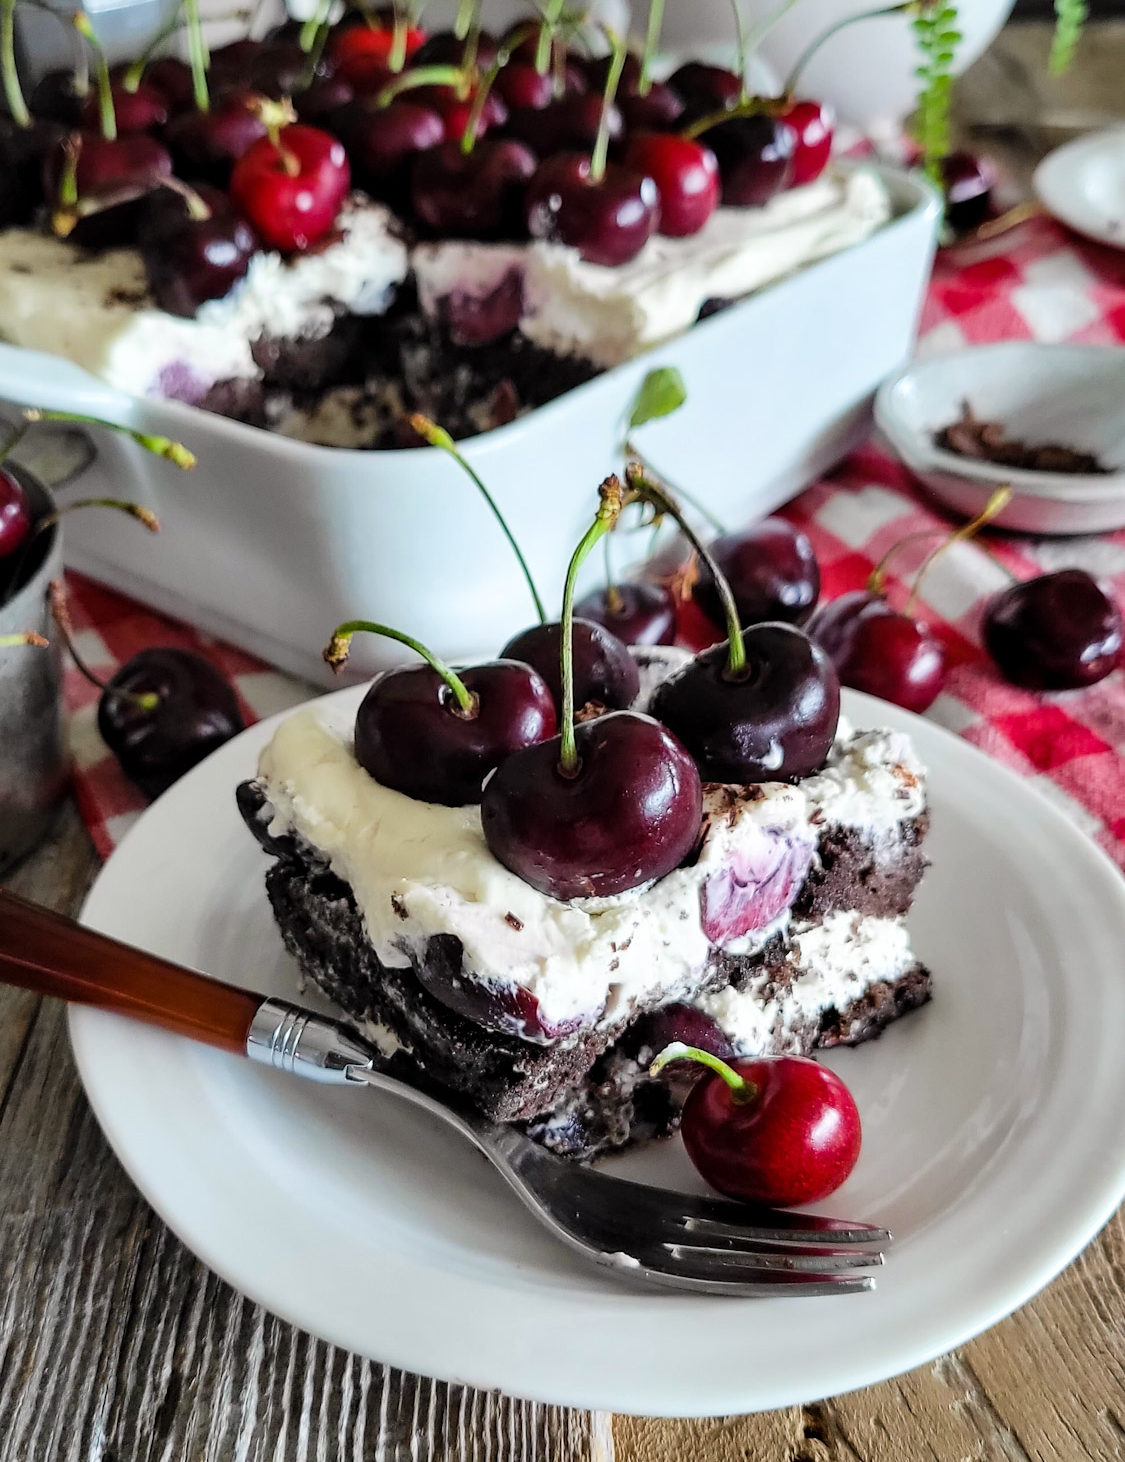
Halved and pitted cherries get macerated in granulated sugar and a bit of the Kirsch. They will just start to break down, which makes for easier slicing. But I still want a bit of crunch of the fresh cherries to remain, so there isn’t too much sugar involved. Save some whole cherries to top the finished tiramisu. Some have questioned this: why put a cherry on top that needs to be eaten with your fingers, and deal with the pit and stem? Oh please. Really, you can’t manage this? Discreetly put the pit and stem on the side of your bowl. It’s fresh cherry season, and I want to see the cherries wherever I can. Lighten up, and eat cherries like we did when we were kids. But if you just can’t manage having to deal with a fresh cherry, just omit and add extra shaved chocolate.
As you can see from the photos below, I squeezed a whole lot of fresh cherries on top! But if you don’t have that many, or just don’t want to deal with that many, just use as many as you’d like.
Mascarpone Whipped Cream Layer
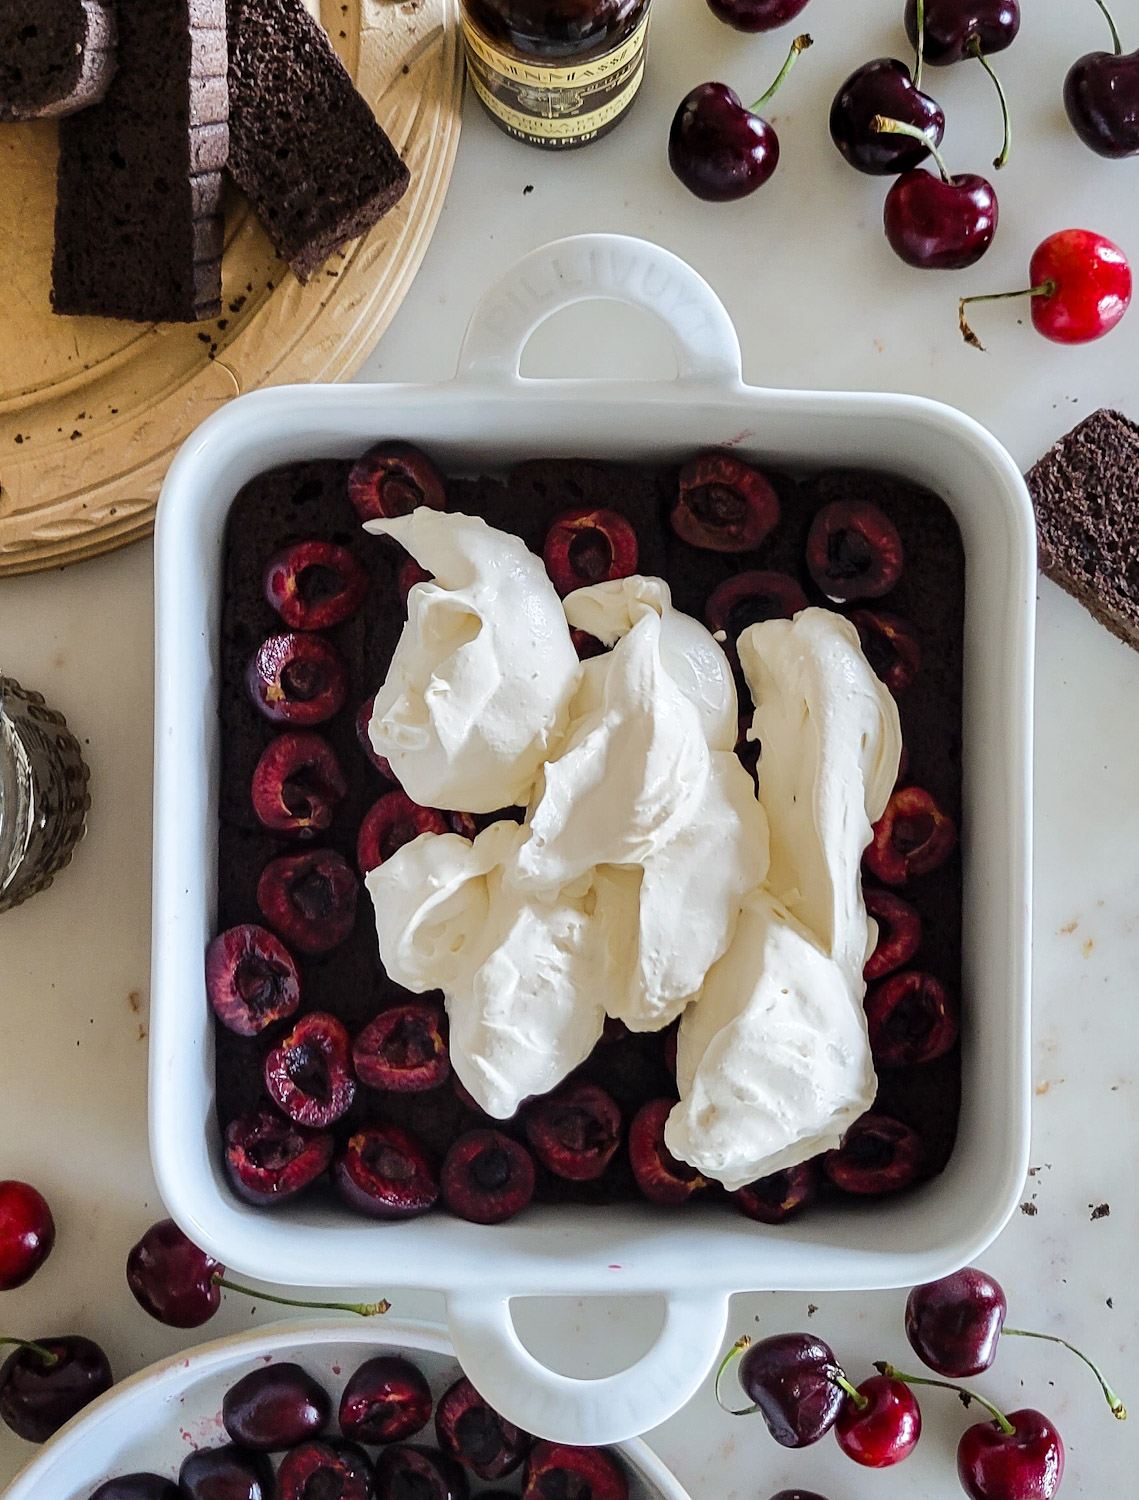
Combining rich mascarpone cheese with whipped cream is one of my favourite combinations. I will often add a bit of mascarpone to whipped cream for desserts, just for the extra stability it adds to the cream, so that it will hold up even after a few days in the fridge. The ratio of mascarpone to cream is more mascarpone than usual, but in this case it is for the rich creamy flavour and texture it brings to the dessert. Flavouring everything with sugar, and a bit of vanilla is all that you need. The kirsch and coffee in the other layers, and the final dusting of chocolate need to have the balance of a layer that isn’t overly flavoured.
Final Thoughts
As I mentioned above, I’m using fresh cherries because they need to be enjoyed every way possible while we have them. But if you want to make this recipe in the winter, feel free to use a homemade or purchased cherry pie filling. I would still add the kirsch to let it flavour the cherries, so stir them together to loosen the filling before spooning it over the cake layers.
This dessert keeps very well, covered in the fridge for a few days. I won’t lie, leftovers have been my breakfast!
You can make the cake portion ahead of time, even freezing it till needed. This recipe feeds 9 to 10 easily. Once made and chilled this is a great dessert to bring to a potluck or backyard BBQ. Your hosts will thank you!
For other Chocolate and or Cherry inspired treats, check out:
No Churn Black Forest Ice Cream
Brown Butter Double Chocolate Cherry Cookeis
Cherry Ricotta Bruleed Cinnamon Toast
Harissa Cherry and Chocolate Brown Butter Blondies
Sour Cherry Cream Cheese Danish Braid
Cherry Poppy Seed and Yogurt Cake

Black Forest Tiramisu with Fresh Cherries
Ingredients
Chocolate Sponge Cake
- 1/4 cup neutral oil like sunflower or grape seed oil
- 1/4 cup water
- 3 large egg yolks, the whites will be used below
- 1 tsp vanilla extract
- 1/2 cup plus 2 tablespoons granulated sugar, divided
- 1/2 cup 80 g sweet rice flour
- 1/2 cup 50 g GF oat flour
- 1/4 cup 25 g dutch-process cocoa powder
- 1 tbsp instant coffee granules
- 1 1/4 tsp baking powder
- 1/2 tsp fine sea salt
- 6 large egg whites
- 1/4 tsp cream of tartar
Black Forest Tiramisu
- 1 1/2 cups strong-brewed coffee
- 1/2 cup Kirsch, divided
- 3 cups pitted and halved cherries
- 1/4 cup granulated sugar
- 10 ounces cold mascarpone, or 300 grams
- 1 1/3 cups cold heavy cream
- 1 tbsp granulated sugar
- 1/2 tsp vanilla extract or paste
- 1/8 tsp fine sea salt
- 3 tbsp chopped or shaved bittersweet chocolate
- fresh cherries on the stem for garnish
Instructions
Chocolate Sponge Cake
-
Position a rack in the centre of the oven and preheat to 325ºF. Line the bottom of an 8-inch square cake pan with parchment paper and leave the sides un-greased. This will help the cake batter to grip the sides of the pan as it bakes, helping it to rise higher.
-
In a large bowl, whisk together the oil, water, egg yolks, vanilla, and 1/2 cup of the sugar until combined.
-
Place a mesh strainer over the bowl and sift the sweet rice and oat flours with the cocoa powder, baking powder, coffee granules and salt directly into the yolk mixture, using the back of a measuring cup or spoon to push the final bits through the strainer. The cocoa powder is prone to clumping so don't avoid this step. Whisk everything until very smooth.
-
In the clean, dry bowl of a stand mixer fitted with the whisk, whip the egg whites with the cream of tartar on medium-high speed until soft peaks form. Slowly add the remaining 2 tablespoons sugar and whip until the whites are glossy and just hold a firm peak when you remove the whisk attachment and turn it up, about 1–3 more minutes.
-
Use a silicone spatula to fold 1/3 of the whipped whites into the batter. Gently fold in the remaining whites until just combined and no streaks remain. Immediately pour the batter into the prepared pan, and quickly but gently use an offset spatula to spread the batter into an even layer.
-
Place the pan in the oven and bake until the cake springs back to the touch, and a toothpick inserted near the centre comes out clean, 25-40 minutes, depending on your oven. Remove to a rack and let cool completely in the pan.
-
Use a small offset spatula or knife to loosen the sides of the cake. Turn out onto a cutting board and peel away the parchment paper. Turn right side up. At this point you can chill or even freeze the cake till needed.
-
Cut the cake in half, then cut each section crosswise into 1/2 inch thick slices. You should get around 12 slices per section.
Black Forest Tiramisu
-
Combine the sliced cherries with the granulated sugar and 2 tbsp Kirsch in a bowl. Let it all macerate till ready to assemble.
-
Stir together the coffee and the remaining 6 tbsp Kirsch.
-
In the bowl of a stand mixer fitted with the whisk, whip together the mascarpone, cream, sugar, vanilla, and salt until the mixture just holds firm peaks. This can also be made in advance along with the cake, stored in a sealed container in the fridge till needed.
-
Using an 8- or 9-inch square serving dish or the equivalent with high sides, lay out half of the cake slices laid out flat to fit snugly in the bottom in one layer. Depending on the dish you are using, you may not be able to use all the slices.
-
Drizzle with half of the coffee syrup. Spoon half of the macerated cherries over the cake layer. Spread half of the whipped mascarpone over the cherries.
-
Repeat the layering process once more. Top the tiramisu with the chopped chocolate.
-
Chill for 2 hours or more for the cake to take on the coffee Kirsch flavours, and the cream layer to settle into the cherries.
-
When ready to serve, garnish with a good layer of the chopped chocolate, and top with the fresh cherries.
-
See blog post for more details.
Recipe Notes
Tiramisu keeps well, refrigerated airtight, for up to 3 days.
As noted, the cake and the mascarpone cream can be made in advance. This dessert is best assembled in the morning if serving in the evening. This will ensure that the flavours will meld for optimum impact!
Depending on the size of your final serving dish, you may have a little cake leftover, snack on it while assembling!
Feel free to leave off the cherry garnish, but I do think it adds charm.
Feel free to use homemade or purchased cherry pie filling in the winter (see blog post for details)
Recipe inspired by Alanna's chocolate sponge cake, over at The Bojon Gourmet!

Great dessert. Can you make it with regular flour or almond flour?
Hi Susan, I wouldn’t use almond flour as the whole substitution. It is too heavy and dense. I haven’t substituted the flours with all purpose wheat flour, but I would think it should work, as I have done so with other recipes. Hope this helps, Love Jen