I truly believe that brownies are one of life’s simple joys. They bake up so easily and have the best texture and richness, easily satisfying even the strongest chocolate craving.
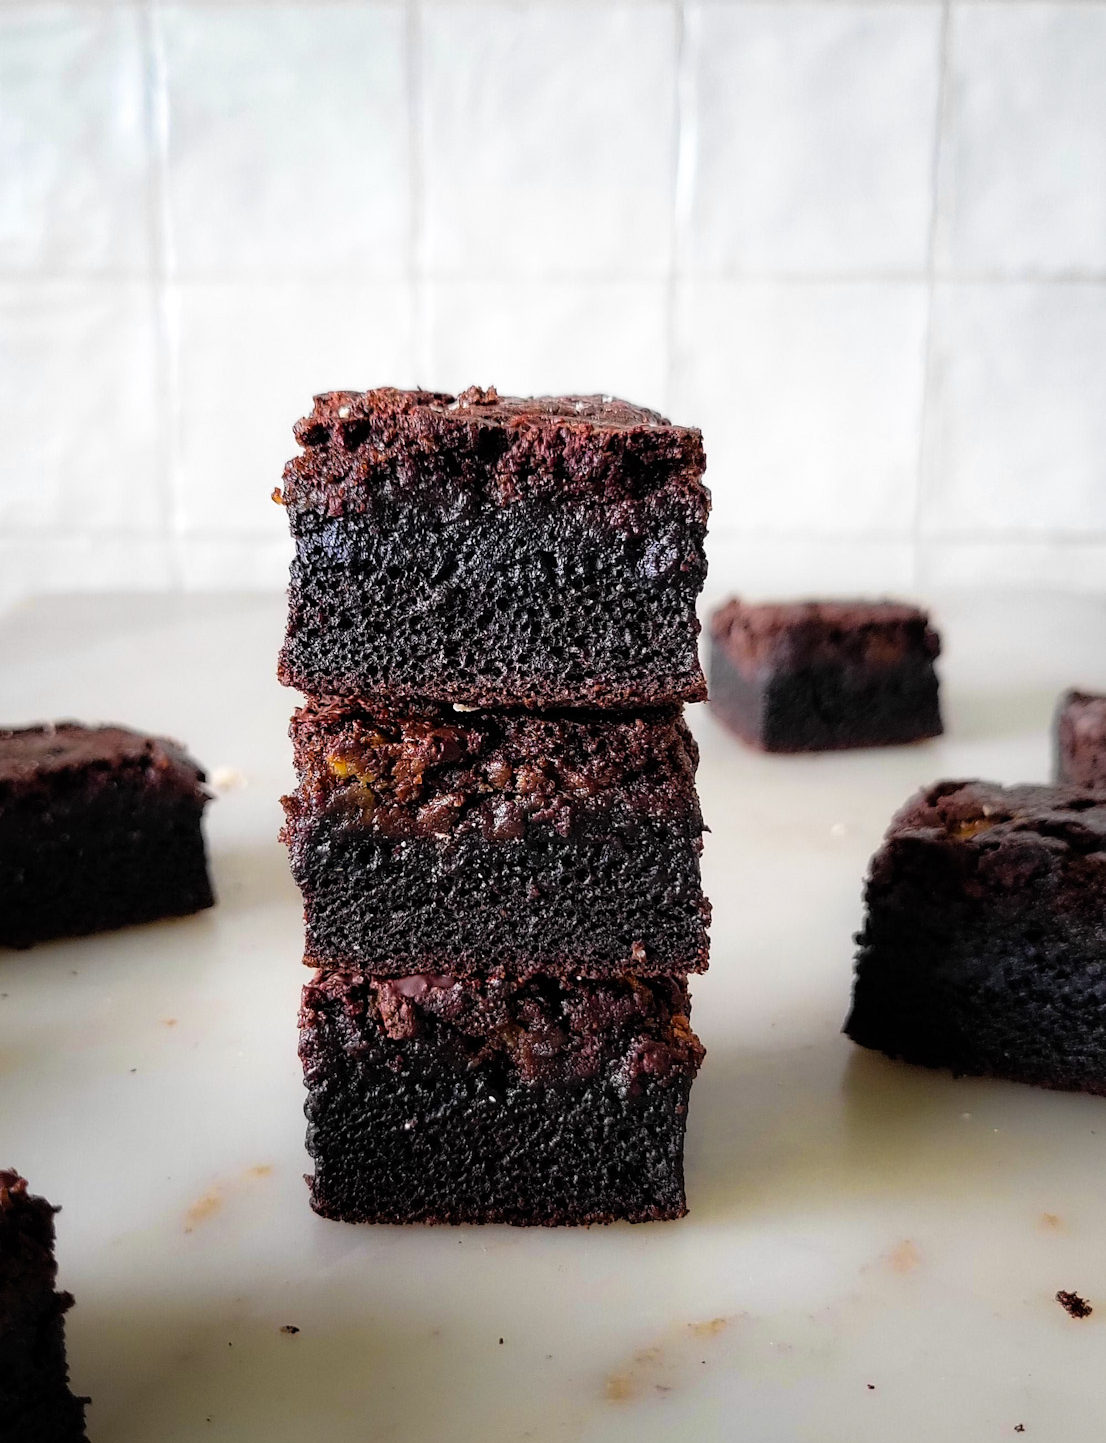 So how do we make a slight improvement on what is already so sublime? Make them Mochi!!
What is Mochi?
We can thank Japan for these squishy, gooey, little rice cakes, made from sweet rice flour, and used these days in cakes, ice cream, and all sorts of small confections. As per Bon Apetit:
Traditionally, mochi is made by pounding steamed short-grain Japanese sticky rice, called mochigome, with a wooden mallet during a ceremony called mochitsuki. This aerates and pulverizes the rice, which is what gives mochi its beloved texture. This process, however, is time- and labor-intensive—there’s a reason it’s typically an annual occasion that friends and family attend to help out.
For a speedier stovetop method that’s perfect for making mochi year-round, turn to mochiko: glutinous rice flour milled from that sweet mochigome rice. And don’t be thrown by the word glutinous. It refers to that stretchy, chewy texture that makes mochi treats so craveable and not to gluten itself (mochiko is naturally gluten-free; just double-check before buying in case it’s processed alongside products containing gluten)
If you are new to this treat, and texture, then these brownies are the perfect introduction! I always use Koda Farms Sweet Rice Flour, since a lot of my gluten free baking relies on it, for it’s sticking properties, so I highly recommend that you find this brand when making these brownies. These days you will be able to find Koda Farms Mochiko at pretty well any good grocer that has a gluten free baking section.
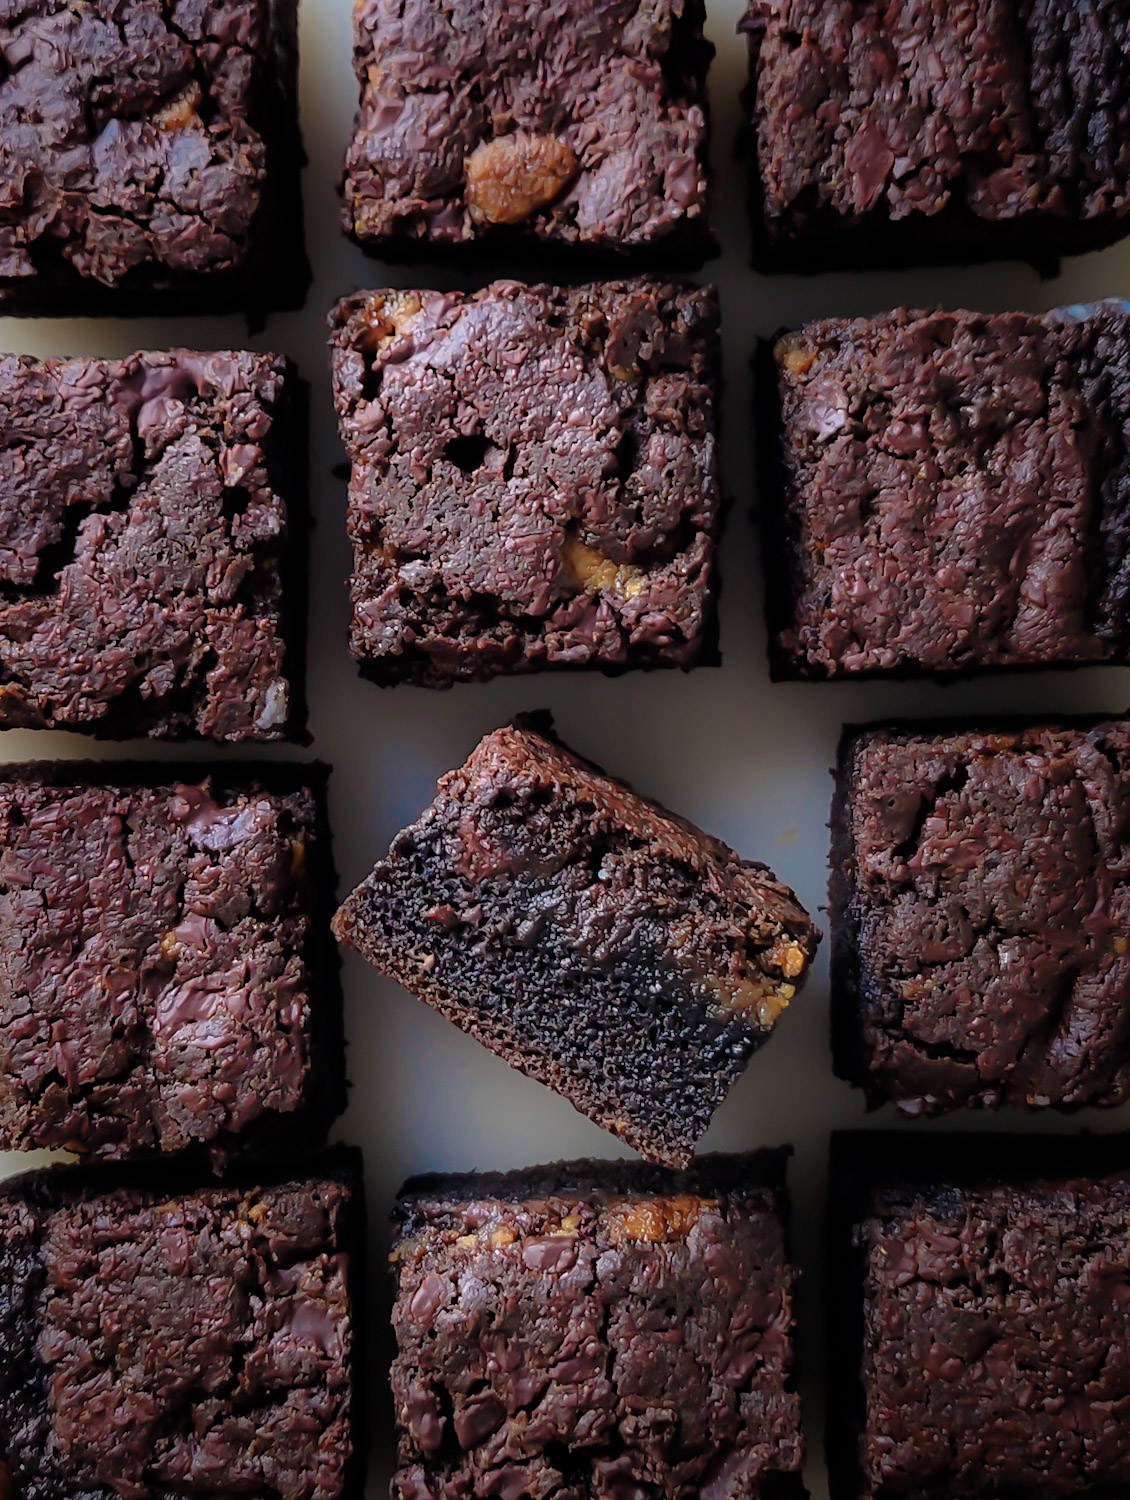
Brown Butter And Espresso
Taking pretty well any brownie to the next level can be done simply by browning your butter, and adding some espresso or instant coffee powder to the mix. Browning the butter is as easy as placing the butter in a small sauce pan and setting it over medium heat. Let it melt down, go through all the stages of foaming and bubbles, and when the bubbles are larger and there are browned bits settling at the bottom of the pan, and the aroma is lovely and nutty it is done. Just set the pan aside to cool down before adding it to the batter. It is that nutty warm depth of flavour that the brownies will love.
Espresso or instant coffee powder added to the dry ingredients will actually intensify the chocolatey nature of brownies. There is something so wonderful about coffee and chocolate together. Only add enough to intensify the chocolate. You could add more coffee flavour, but then you will be making a mocha flavoured brownie, but is not needed in today’s brownie. Between the brown butter, and the halva that I chop up and add in, there are enough flavours going on, so I didn’t want to muddy the waters with yet another flavour.
Halva
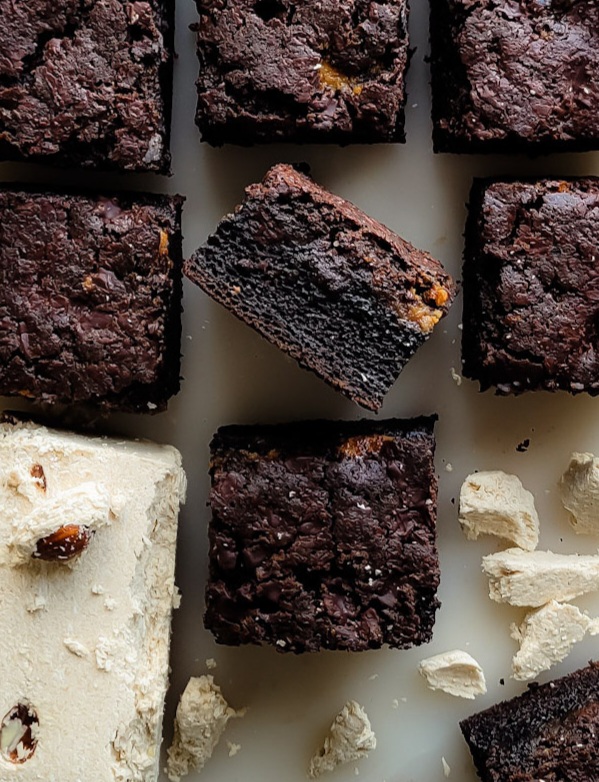
As mentioned above, halva is a lovely addition to brownies. It adds some great contrasting texture and a bit of creamy flavour. Halva is a Middle Eastern confection made from pressed sesame seeds and sugar. These days you can find it at all sorts of great grocers and ethnic food emporiums. You will probably be able to pick from flavours like pistachio or almond, rose water, chocolate, even whiskey! I happened to have some on hand, so I just chopped it up and folded it into the batter once it was poured into the baking pan. Of course, if you don’t have halva in the cupboard, or don’t feel like adding it in, these brownies will still be top notch! I learned this great add-in from Yotam Ottolenghi.
If you don’t have halva on hand, or just don’t feel like using it, I sometimes omit, and just sprinkle finishing salt on top for an equally delicious brownie!
Baking Tips
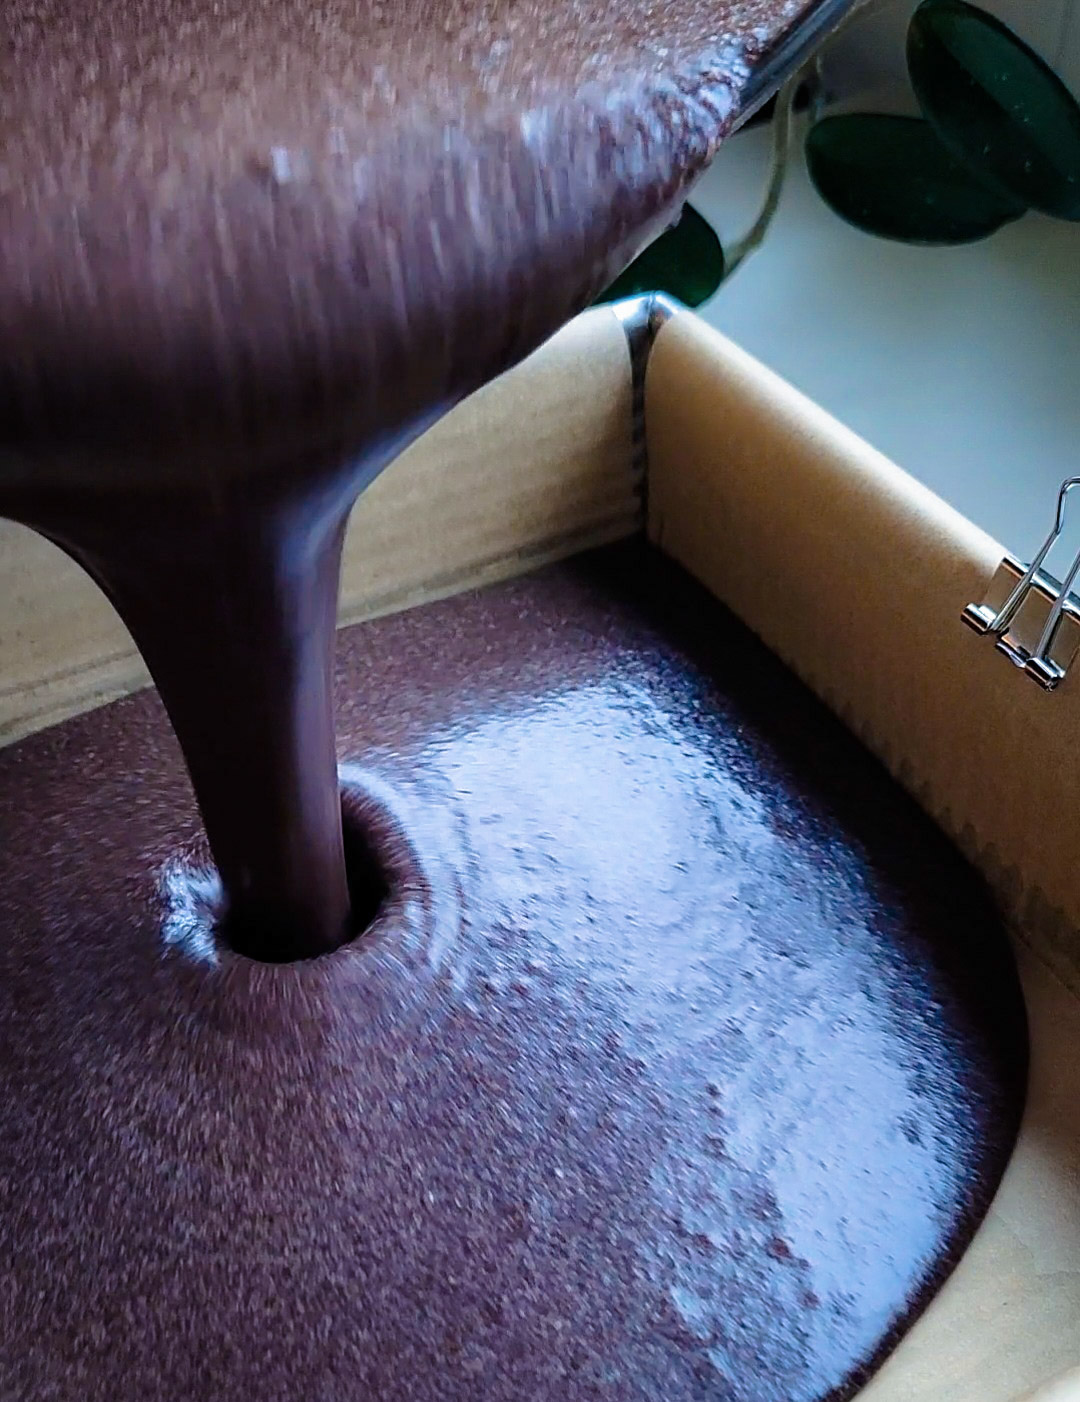
Mochi batter is on the thinner side that your typical brownie batter. Don’t be put off by this. It will bake up just fine, just give it time. It will set after about an hour. Once the top is no longer jiggly, it is ready to come out of the oven and set on a cooling rack. Once cooled, use the parchment paper you lined the baking pan with to lift the brownie cake out of the pan. Use a sharp knife to slice it all only when totally cooled. If you find the sticky consistency sticking to the knife, just run a little butter on either side of the knife (or a neutral coconut oil) before each major slice. This will help the knife slide through.
These will keep in a sealed container for up to four days. But I promise you, they won’t last that long. I cut the 8 x 8 inch pan’s worth into 16 squares. This is enough for a quick chocolate fix, without feeling overwhelmed or guilty!
The first time I made these for Jim, I wasn’t sure what his impression would be. He’s used to all my gluten free baking, but the pronounced texture of these brownies is different from the classic. But he loved them!! These are now my go-to, since the texture is so unique, appealing, in fact rather addictive! And they do meet my gf requirements, but without feeling like I sacrifice anything. This texture is on purpose, not a feeble replacement for a traditional brownie!
For a more traditional, and yet totally satisfying brownie, check out my Triple Chocolate Stout Brownies, Brownies for Two, aka Emergency Brownies, Halva Salted Rye Brownies
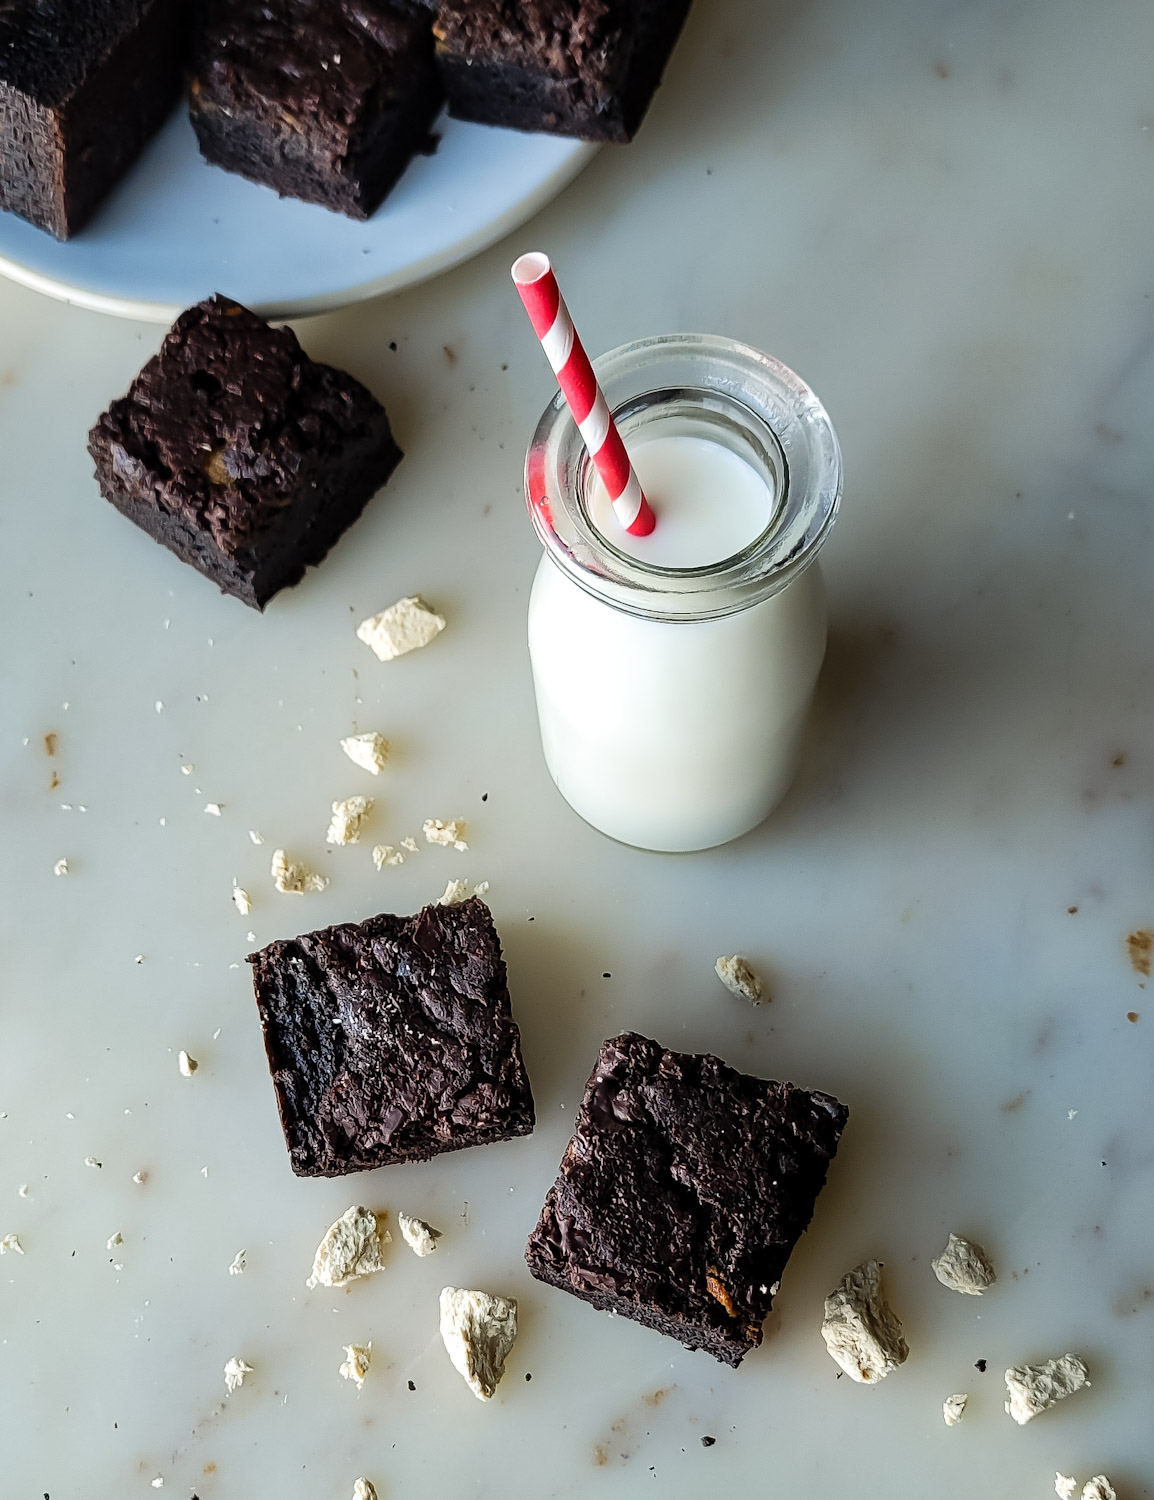
Brown Butter Espresso Mochi Brownies
Ingredients
- 6 tbsp butter
- 2 large eggs, lightly beaten
- 1 1/2 cups whole milk
- 1 tsp vanilla extract
- 1 cup (140g) sweet rice flour, glutinous (Koda Farms is my choice)
- 1 cup (200g) granulated sugar
- 1/3 cup (30g) cocoa powder
- 1 1/2 tsp baking soda
- 2 tsp espresso or instant coffee powder
- 1/2 tsp kosher salt
- 3/4 cup chopped halva, divided optional but oh so good
- 2/3 cup semi-sweet chocolate, chopped, (4 oz or 115 grams)
Instructions
-
Preheat the oven to 350°F. Grease and line an 8 x 8 inch baking pan with parchment paper, with lengths hanging over the edges, for easy removal.
-
Place the butter into a small butter warmer or sauce pan. Set the heat at medium-low and let the butter melt, swirling it occasionally, until all the stages of foaming and bubbles happen, the butter takes on a lovely nutty aroma, and small fat solids settle on the bottom of the pan and turn brown, about 10 minutes. Remove from the heat and let it cool down.
-
In a medium bowl whisk together the sweet rice flour, cocoa powder, sugar, baking soda, espresso powder, and salt. Make sure that all clumps have been broken up.
-
In a large bowl combine the cooled butter, eggs, milk and vanilla extract.
-
Slowly add the dry ingredients into the wet, whisking continuously to help break up any clumps.
-
Once completely smooth, pour the batter into the prepared pan. Rap the pan firmly on the counter a few times to release any air bubbles.
-
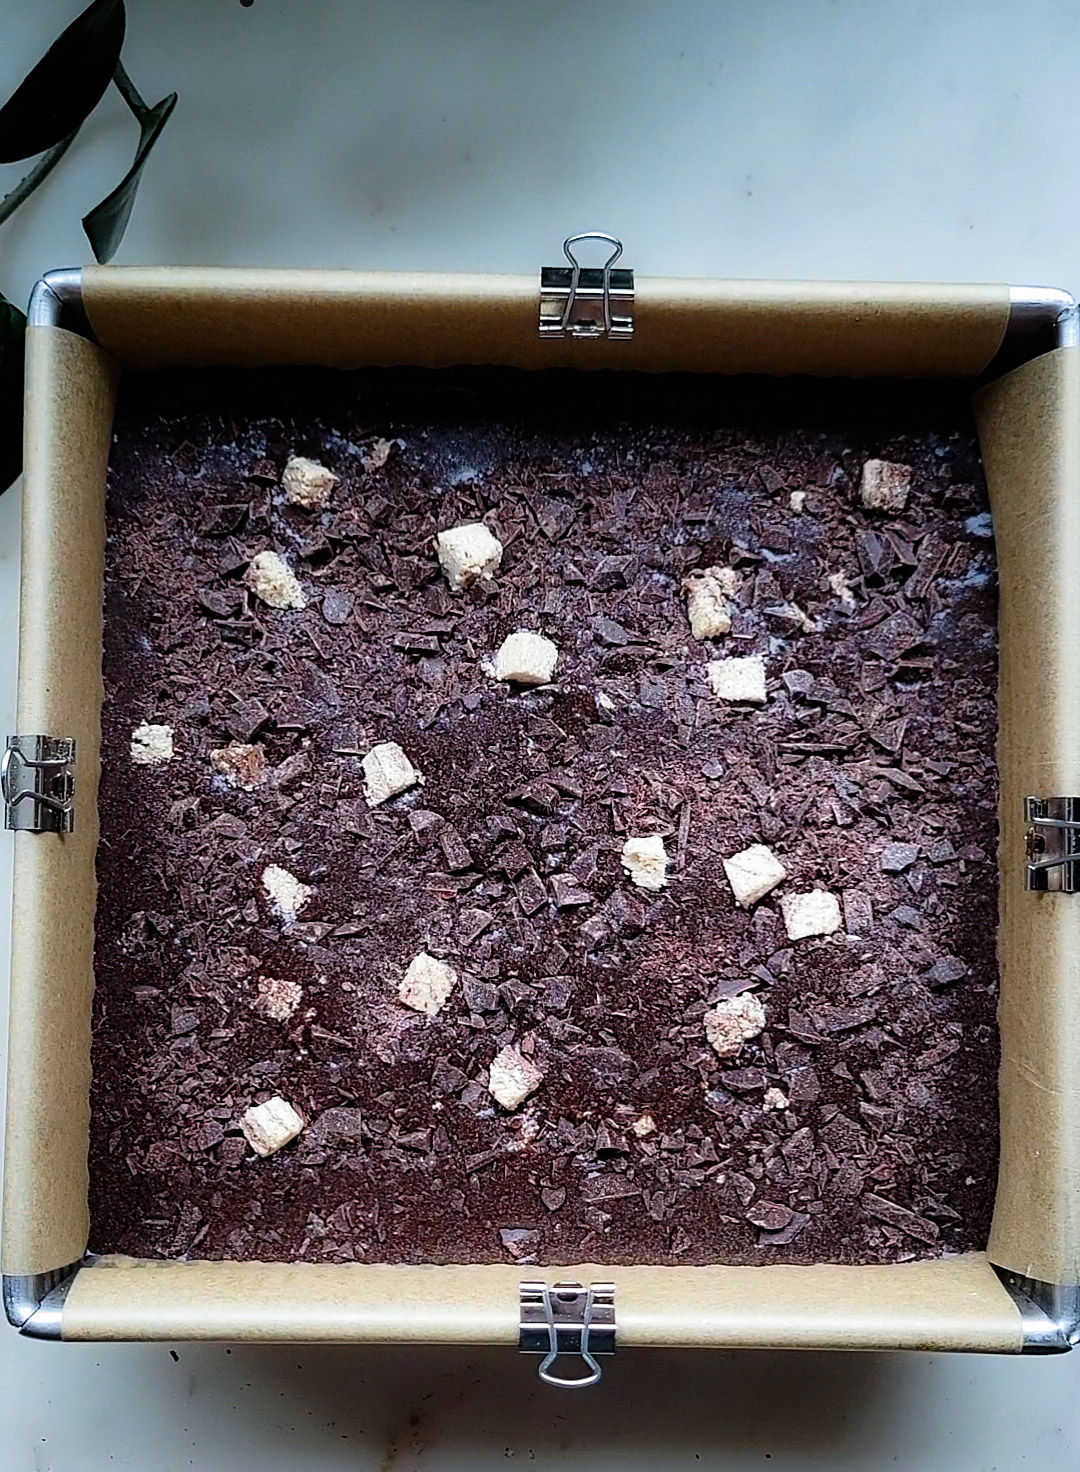
Scatter 1/2 cup of the chopped halva (if using) over the batter, and use a silicone spatula to gently fold into the batter.
-
Sprinkle the chopped chocolate evenly over the top. Scatter the remaining halva pieces over the top as well.
-
Bake until the batter is set and starts to pull away from the edges of the pan, about 65 to 75 minutes. The centre should not be jiggly when it’s baked. A skewer inserted into the centre of the batter should come out clean, or with just a couple of small crumbs. Don't be put off by melted chocolate on your skewer, this isn't an indicator that they aren't done. It is the batter itself that needs to be tested.
-
Set the pan on a wire rack and let cool completely before removing the brownies from the pan using the parchment paper to gently lift them up and out onto a cutting board. Slice into 16 squares using a very sharp knife. If the knife seems to be sticking, rub it with a little unsalted butter or neutral oil.
-
Store in an airtight container at room temperature for up to 4 days.
Recipe Notes
Inspired by a recipe found here

This one not only hits the mark but rises way beyond! This brownie has great flavour that even a non chocolate fan will love and is so light moist. It literally sends you over the moon! Rating is a 10/10 or ⭐️⭐️⭐️⭐️⭐️
Hi Sissy, yes, even my traditionalist hubby loves the texture of these brownies. So happy you agree! Love Jen
These brownies don’t disappoint! Never had any leftovers for the freezer when I make these!
Hi Trish, so happy to hear! Jim loves them as well. A batch never lasts long over here. Love Jen
Excellent recipe! Thank you for sharing. It is the perfect balance of fudginess, moisture, and chocolate flavour, not too sweet and consistent.
Perfect, an addition to my staple recipes. Next time, might you try it with hazelnuts or walnuts?
Hi There, Thanks! For sure, I often add chopped nuts, whether walnuts, pecans or hazelnuts. Enjoy, Love Jen