Ever come across a pastry that seems too good to be true? Flakey, laminated dough, not too sweet, but just sweet enough?
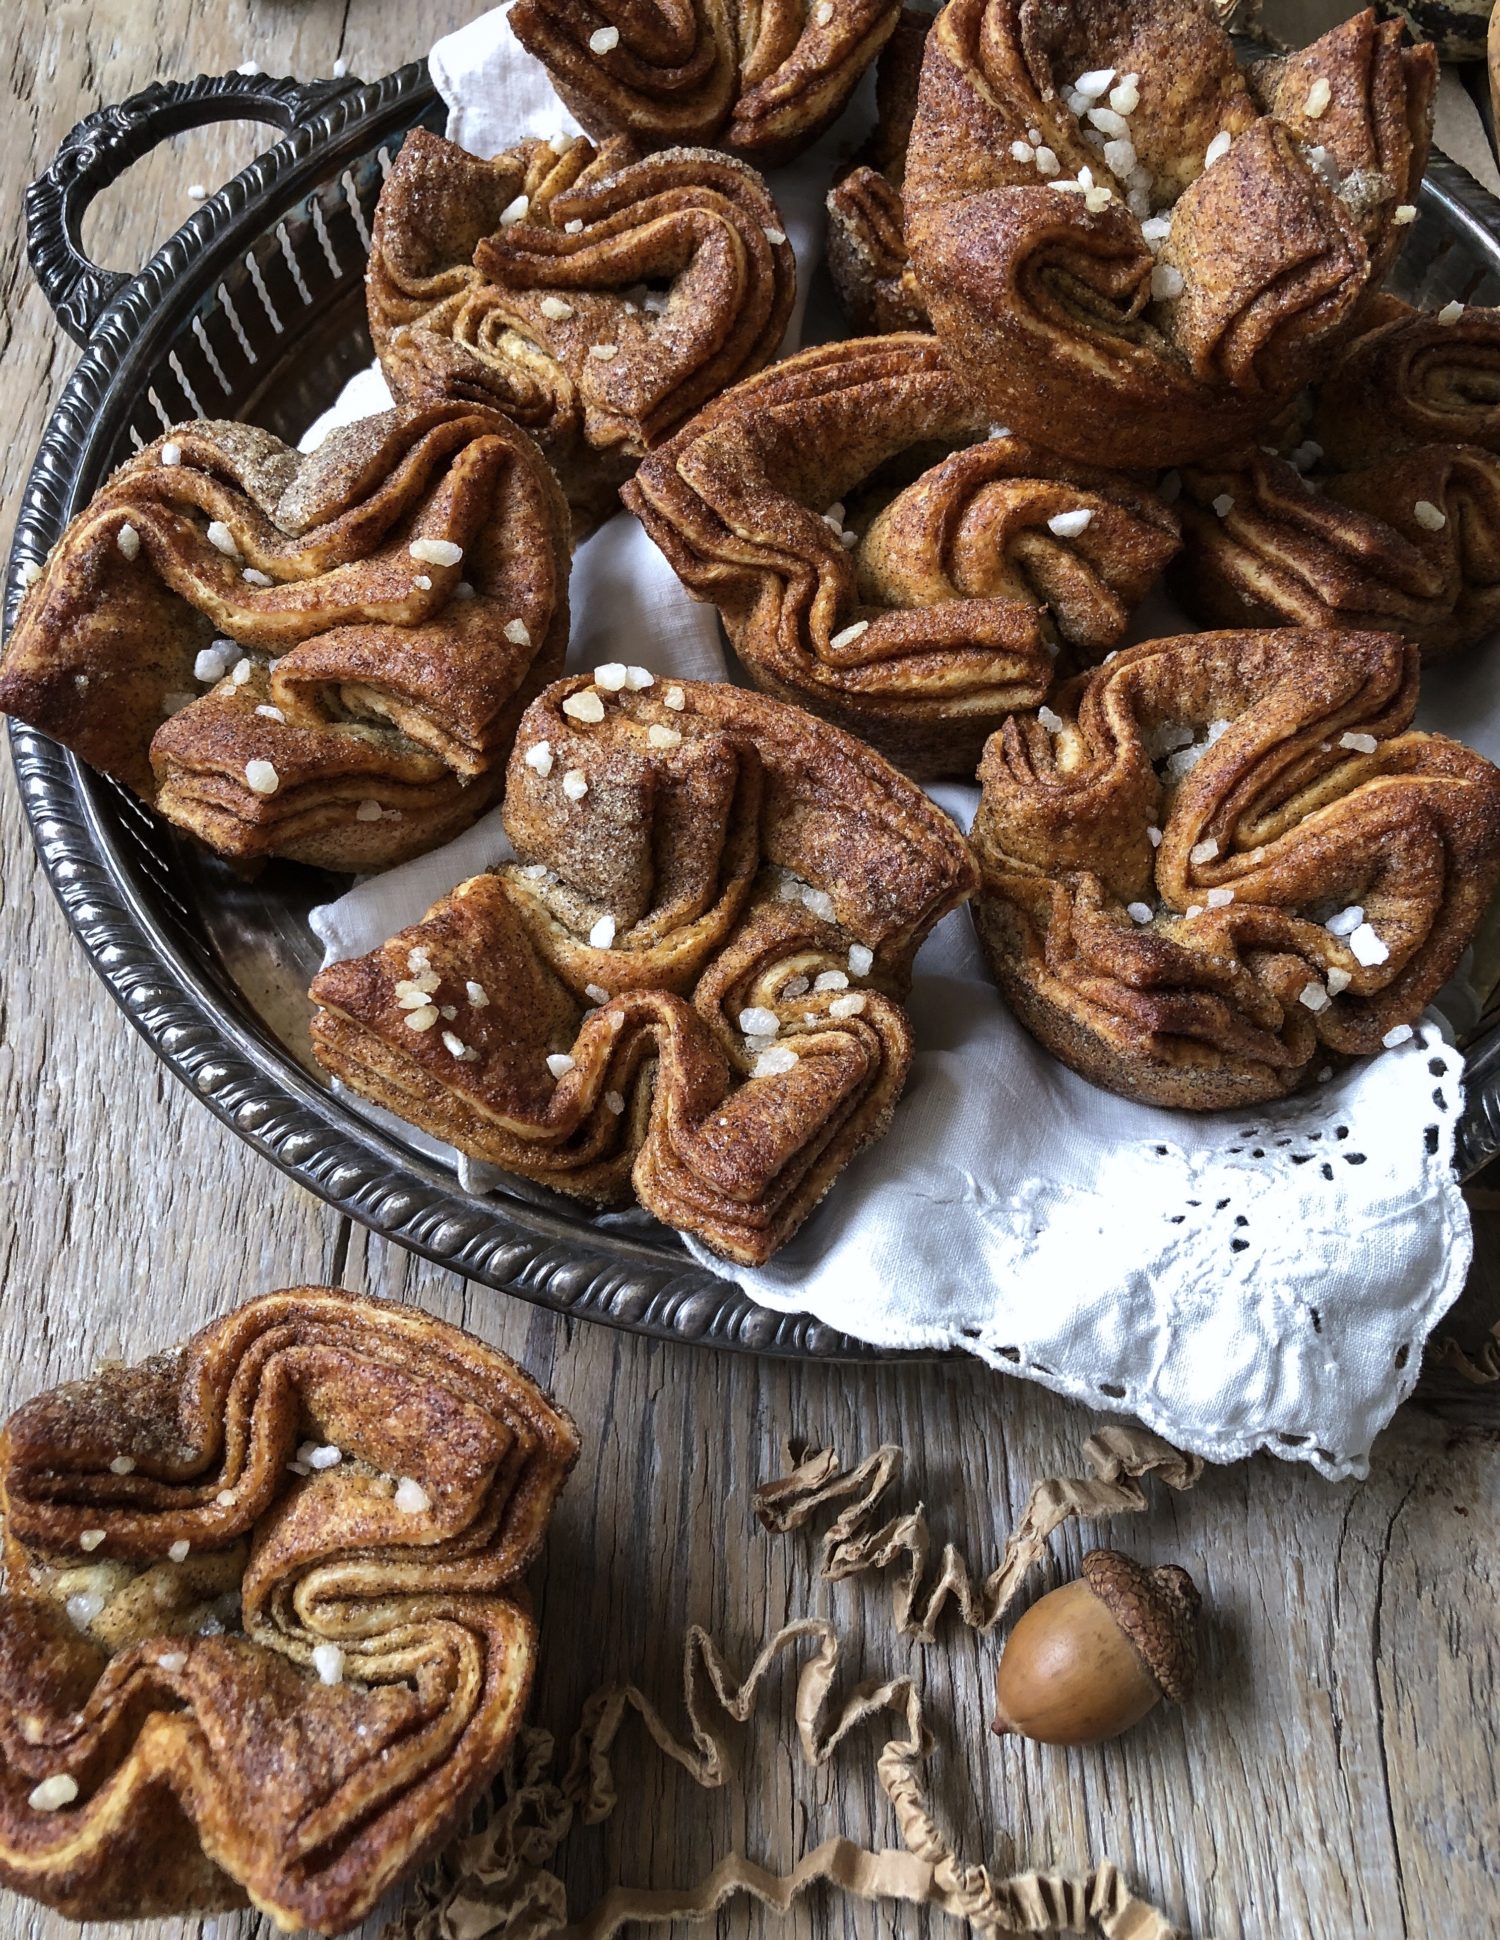 Crispy caramelized outside, but totally tender on the inside? This is what a true Kouign Amann is. It has the weirdest name, I know. Hope this helps: it may look weird, but just say ‘Queen Aman’, and you’ll get it correct.
Of course it’s French. But like all good pastries, from north to south, in Europe, it is layered, buttery, flakey, and irresistible. Sure, they are perfect for breakfast with a hot espresso. But I will gladly indulge in one, any time of day. On a rainy November afternoon, stumbling into a dark and cozy cafe, to sit at a small wooden table with steaming coffee and one of these babies, is pretty well the best way to enjoy a coffee break.
Yes, the dough is laminated. Layers of butter between soft, yeasted brioche style dough. And as the layers are created, they get thinner and thinner, pushed (or laminated) together. Once the heat hits it, the butter will steam and release, causing the layers to expand into light as air pastry. And for years, this process put me off the whole idea of indulging in baking up a batch of these gems. But then I came across the best recipe ever over at ‘Eat The Love.’ Irvin has taken the classic method for laminating pastry, and given us a fabulous shortcut. And it really works. I have used this method so many times, and I’m in awe of how easy and approachable the whole process can be. No more rolling out of pastry, laying blocks of hard, cold butter on top, wrapping, rolling and repeating until layers of butter have been trapped inside. This method is much less labour intensive, but with all the payoff of a traditional buttery pastry.
While a bit of yeast in proofing in some warm water, the flour, salt and butter are being pulsed in a food processor. Briefly pulsed. The dough will not come together during this initial process. But that’s just fine. Then the liquid with the yeast is added, and another couple of pulses brings it roughly together. Because the butter was initially added in larger chunks, you will still have plenty of butter visible. This is a good thing.
We use our hands to bring the pastry together. Then it gets rolled out on a floured surface. Then fold it up in thirds, like a letter. Now we have a skinny long layered dough in front of us. Grab one end and roll it up like a giant cinnamon roll. This gets pushed down gently to flatten the roll, and put into a large plastic freezer bag. Let it proof for a half hour. It will puff up gently. Push it down again gently. At this point it can be put into the fridge to slow proof overnight. Or we could just let it chill in the fridge one hour. Either way, it will eventually come out of that freezer bag.
The second time we put it onto the counter for rolling, instead of flouring the surface, we will cover the surface with sugar. Yep, sugar! And the surface of the pastry itself also gets covered in sugar. So that when the rolling pin is put to it, the sugar gets forced into the pastry. It is really rather a fun step! Eventually it gets rolled out into a large thin rectangle. This gets folded into thirds one more time. And rolled out one more time. So, you can see, just like the laminating of a traditional method, the layers have been created. But without the elbow grease of breaking down that hard cold butter slab!
The final rectangle gets trimmed so that there are no folds. By trimming each side, the layers are exposed, which can then expand as they bake. The key here, is to cut in a clean line, not in a sawing back and forth motion. This would cause the layers to stick together, and sadly won’t allow them to open up while baking. The trimmed rectangle gets cut into 12 equal pieces. Each of these squares gets pinched from the middle in our fingers, and then added to a well oiled muffin tin, layered edges on top, pinched middle facing down.
They are in the oven until the sugars have caramelized, and the outside of the pastry has turned the most luscious caramel brown! They will be crispy on the outside, but oh so fluffy on the inside! I tell you, the very first time I made these, I started eating one, and gasped. Buttery, just sweet enough. Before I was even finished eating it, I had texted friends who live in our complex. I begged that one of them come over immediately and pick up most of the batch!! If they didn’t come and take them away from me, I knew that I would inhale them all! Truly. I think I was so amazed that Irvin’s method was not only easy to follow, but resulted in all the best of classical laminated pastry. Thank you Irvin!
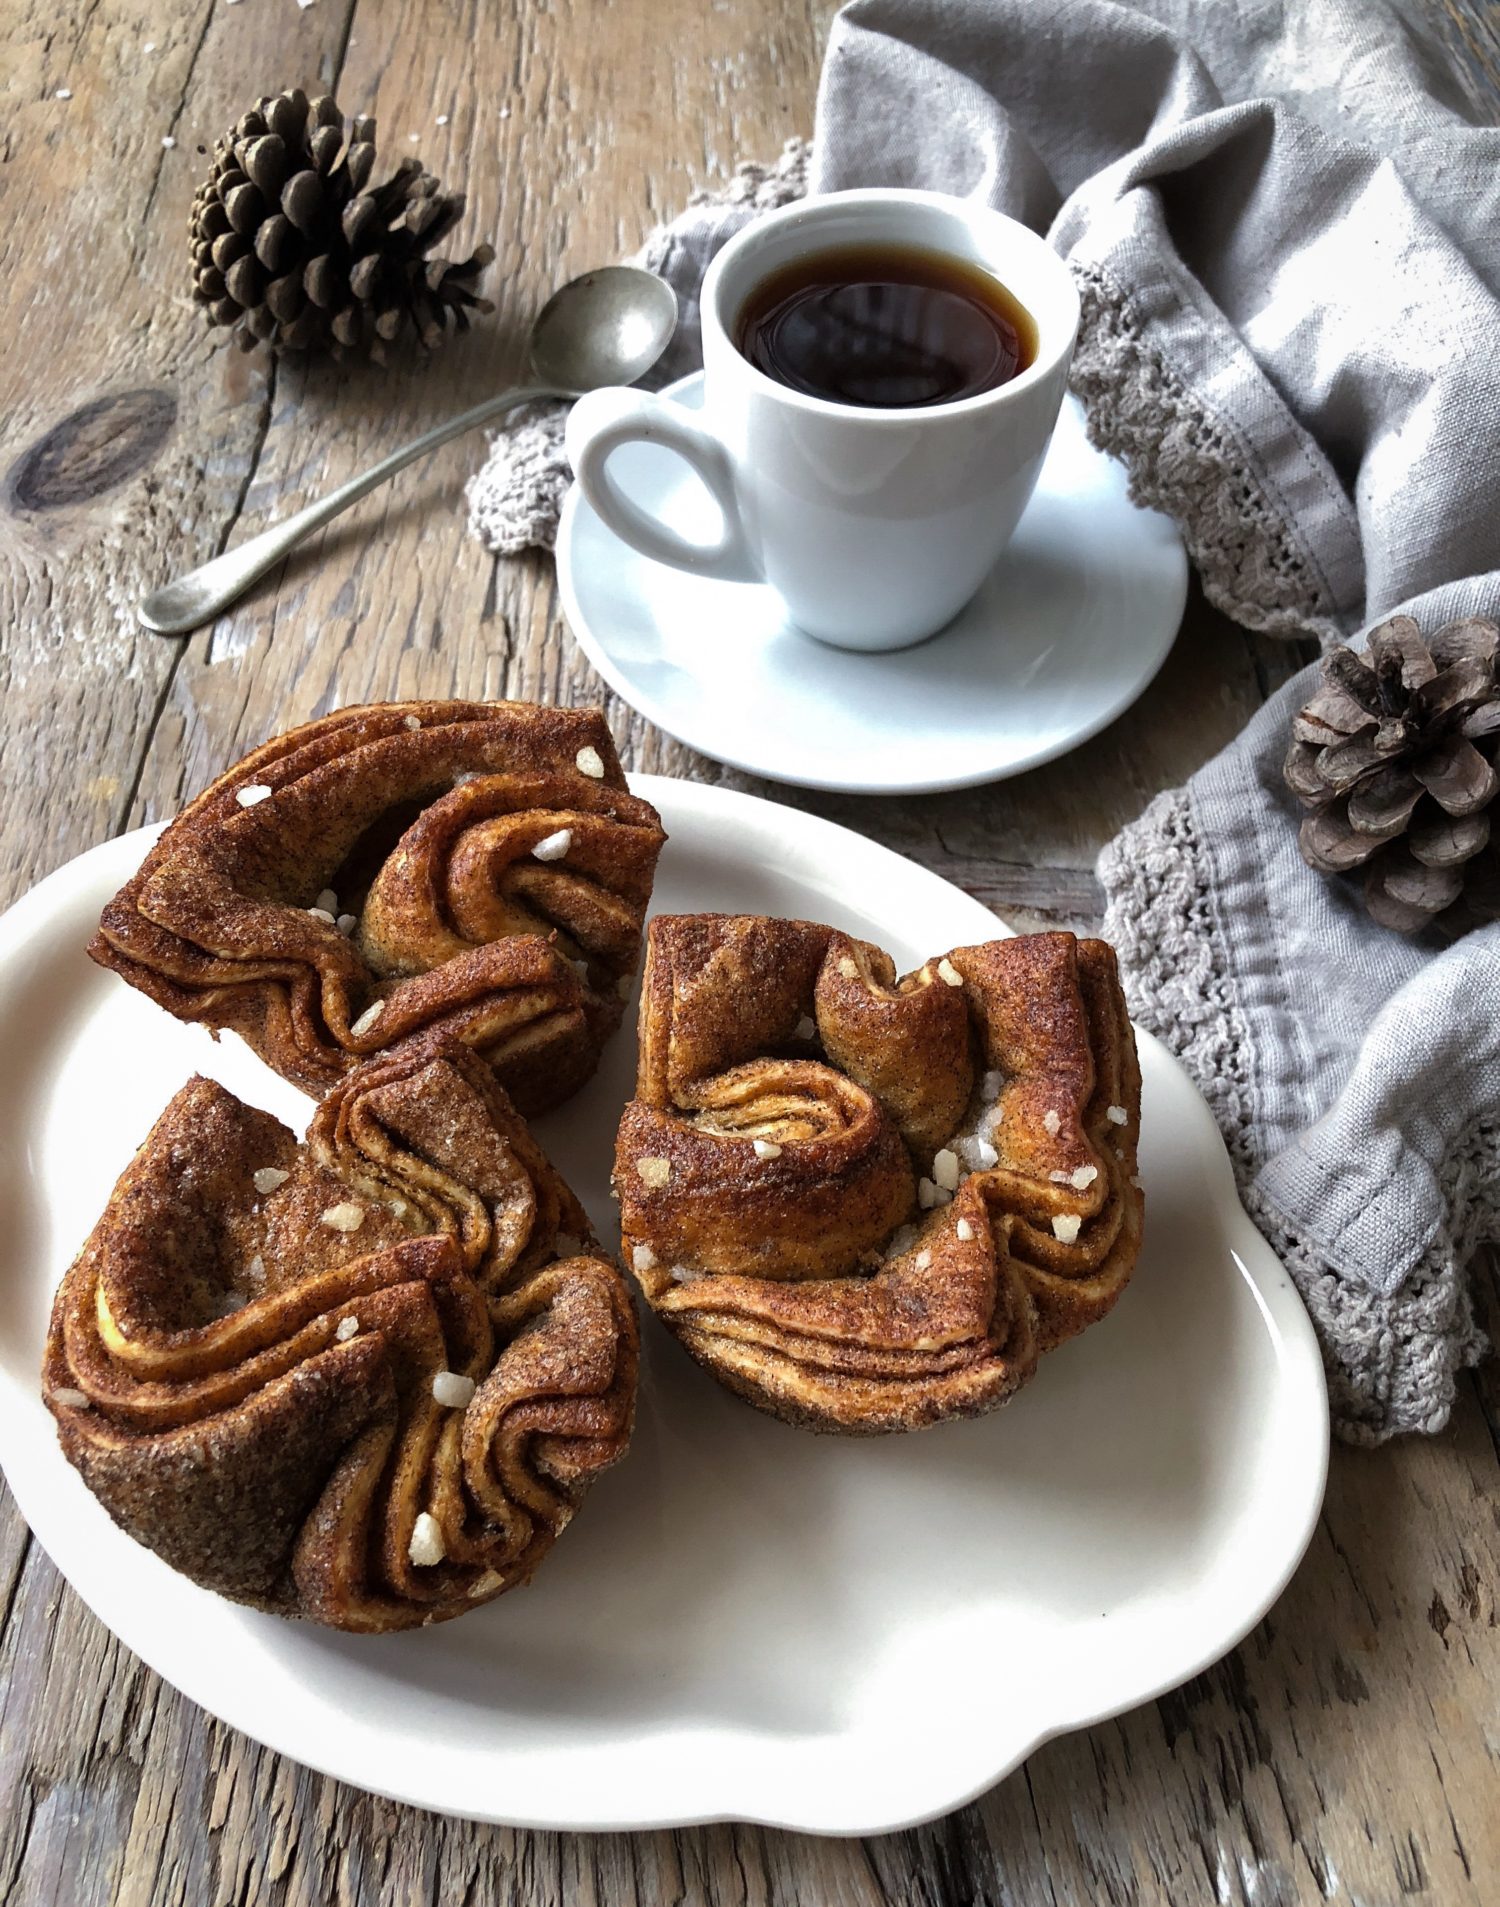
So what makes this new version extra special? It comes from some travelling inspiration. We just got back from an Autumn vacation to Europe a few weeks back. Part of our stay was in Copenhagen. Yes, home to some of the best bakeries and eateries on the planet. Their snegel and danishes are epic. Flakey, laminated pastry reigns supreme in every coffee shop. While we were there, I ensured that I had my fill (and then some) of all that buttery goodness. And while they may be divided by a bit of water, Denmark and Sweden have some similarities when it comes to pastries. So I couldn’t help but compare. You see, when we visited Stockholm about four years back, I totally fell, hook line and sinker, for Kardemummabullar. Or, to put it in english, Cardamom buns. Somewhat like cinnamon rolls, but just some fancier knotting of the pastry. And instead of a thick icing sugar glaze, their cardamom buns get a quick egg wash and sprinkled with pearl sugar. That pearl sugar adds the perfect crunch to the citrusy cardamom scented pastry. My goodness, they are good!!!
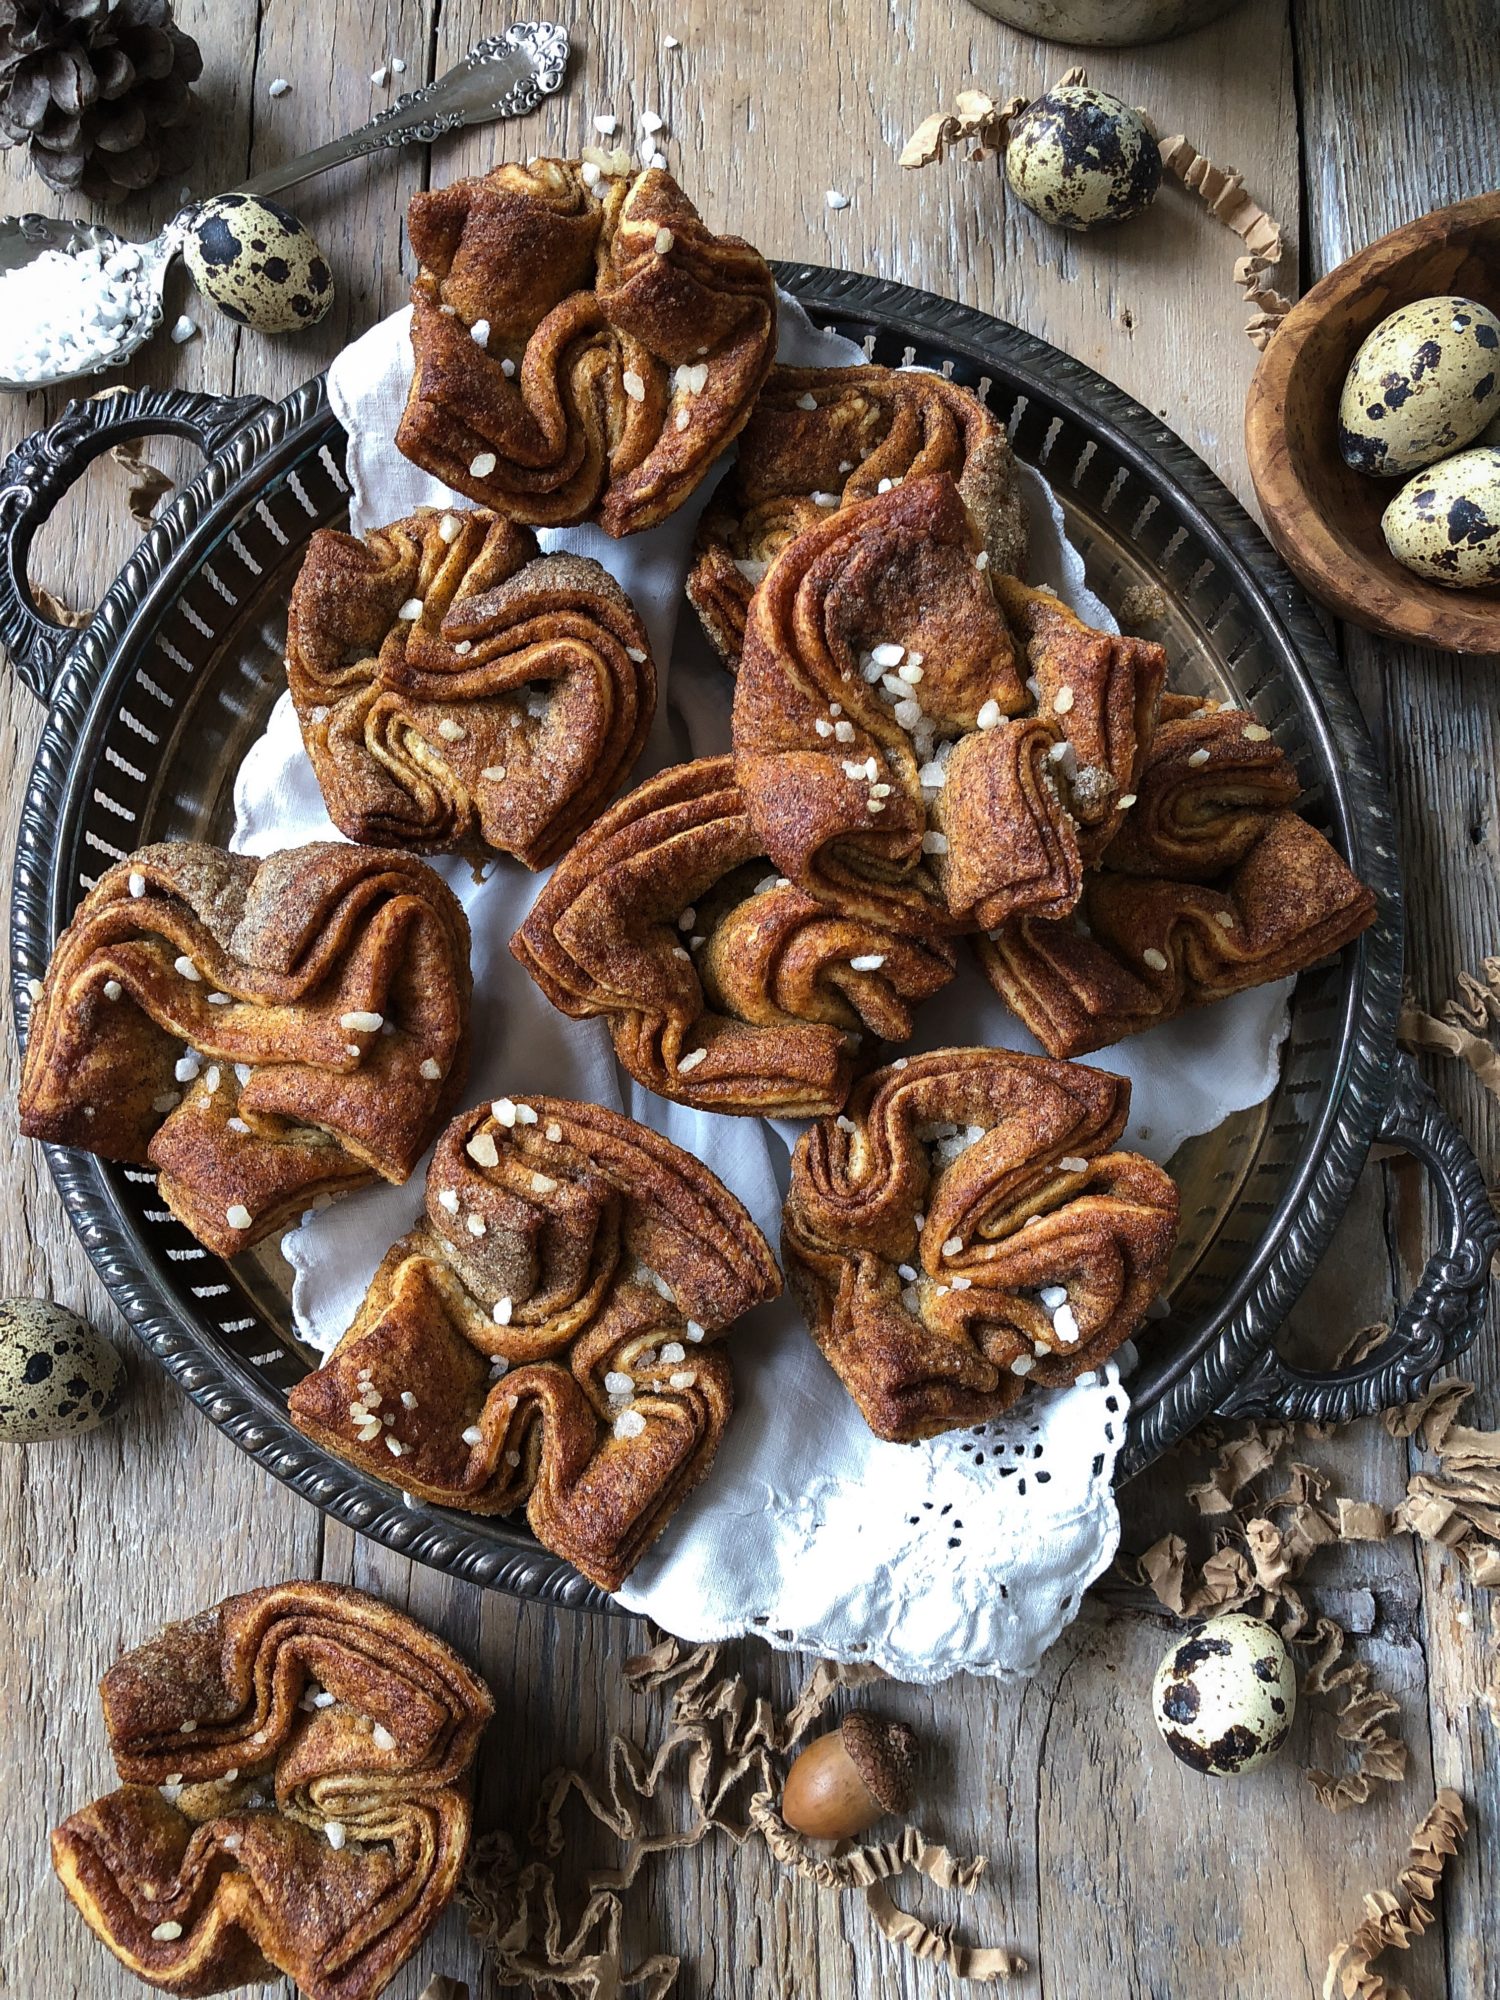
So, like a really weird game of dominos going on in my head, I took all of the above, and landed at this recipe. I decided to take a pastry that I love making, and giving it a Swedish twist. So now, instead of just the sugar that the pastry gets rolled in, I have added a goodly amount of ground cardamom. Just before they go into the oven, I sprinkle pearl sugar over them all. Some falls into the cracks and layers, and some rests on top, but either way, they will add crunch and a bit of visual contrast. The final pastry takes on a darker hue thanks to the cardamom, which makes the bright white pearl sugar stand out perfectly.
Here’s my tip for timing the baking of this recipe. Start it in the evening. It doesn’t take long at all to get it brought together and rolled out into that large cinnamon roll, maybe 20 minutes from start to finish. Let it proof for the 30 minutes. Push it back down, and then place the bag in the fridge. Now you are free to quickly clean the counter etc, and go watch some Netflix, Jimmy Fallon or whatever! In the morning, it will take about 30 minutes to get the sugar and cardamom blended and on the counter, roll, fold and trim the pastry, and get it into the muffin tin. They need to proof in the muffin tin for 40 minutes. But then they go straight into the oven and bake for about 45 minutes.
I like to have fun with the whole process, including the folding of each square. The result is the more rustic shape you see here with these Cardamom Kouign Amann. But to achieve the classic look, see the next paragraph.
How to fold Kouign Amann to achieve the classic shape: To prep each square to fit into the greased muffin tin, grab the square from underneath using both thumbs and forefingers and pinch together (kind of like those paper games we used to make as kids) The four corners should point in each direction. Place this into the muffin tin. Then gently fold the corners toward the centre of the muffin tin. It should like kind of like a flower. Below are photos showing this, as well as the finished pastries. These one are actually a Cinnamon version of the cardamom recipe. And instead of finishing with pearl sugar, I placed a small piece of halva in the centre of the square before folding to encase it. You can see the halva peaking out in some of the unbaked KA.
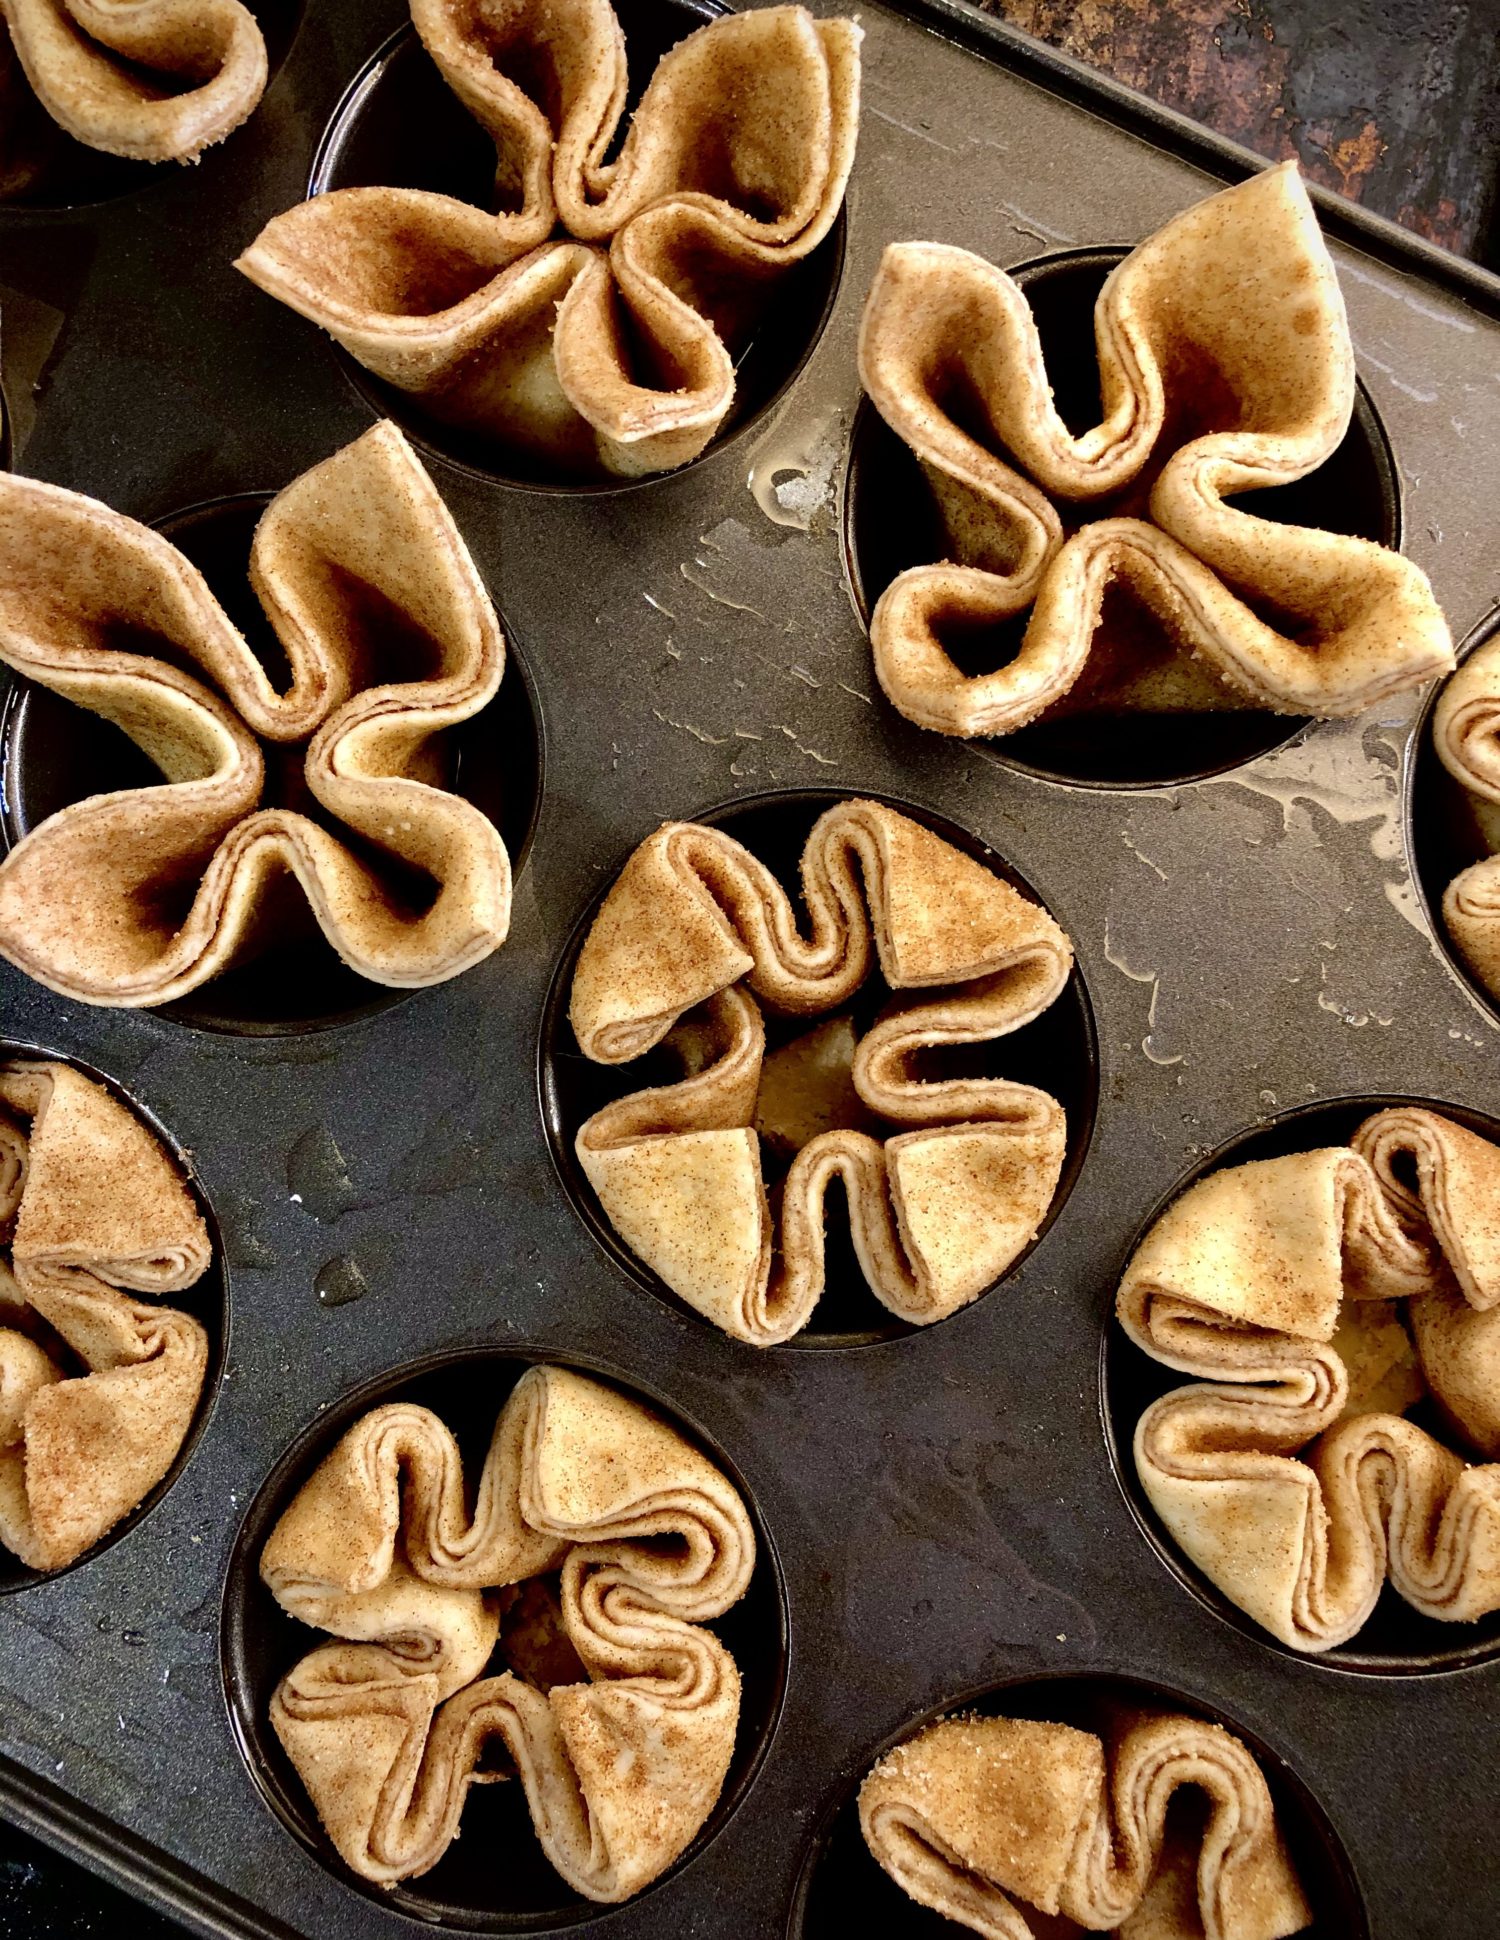
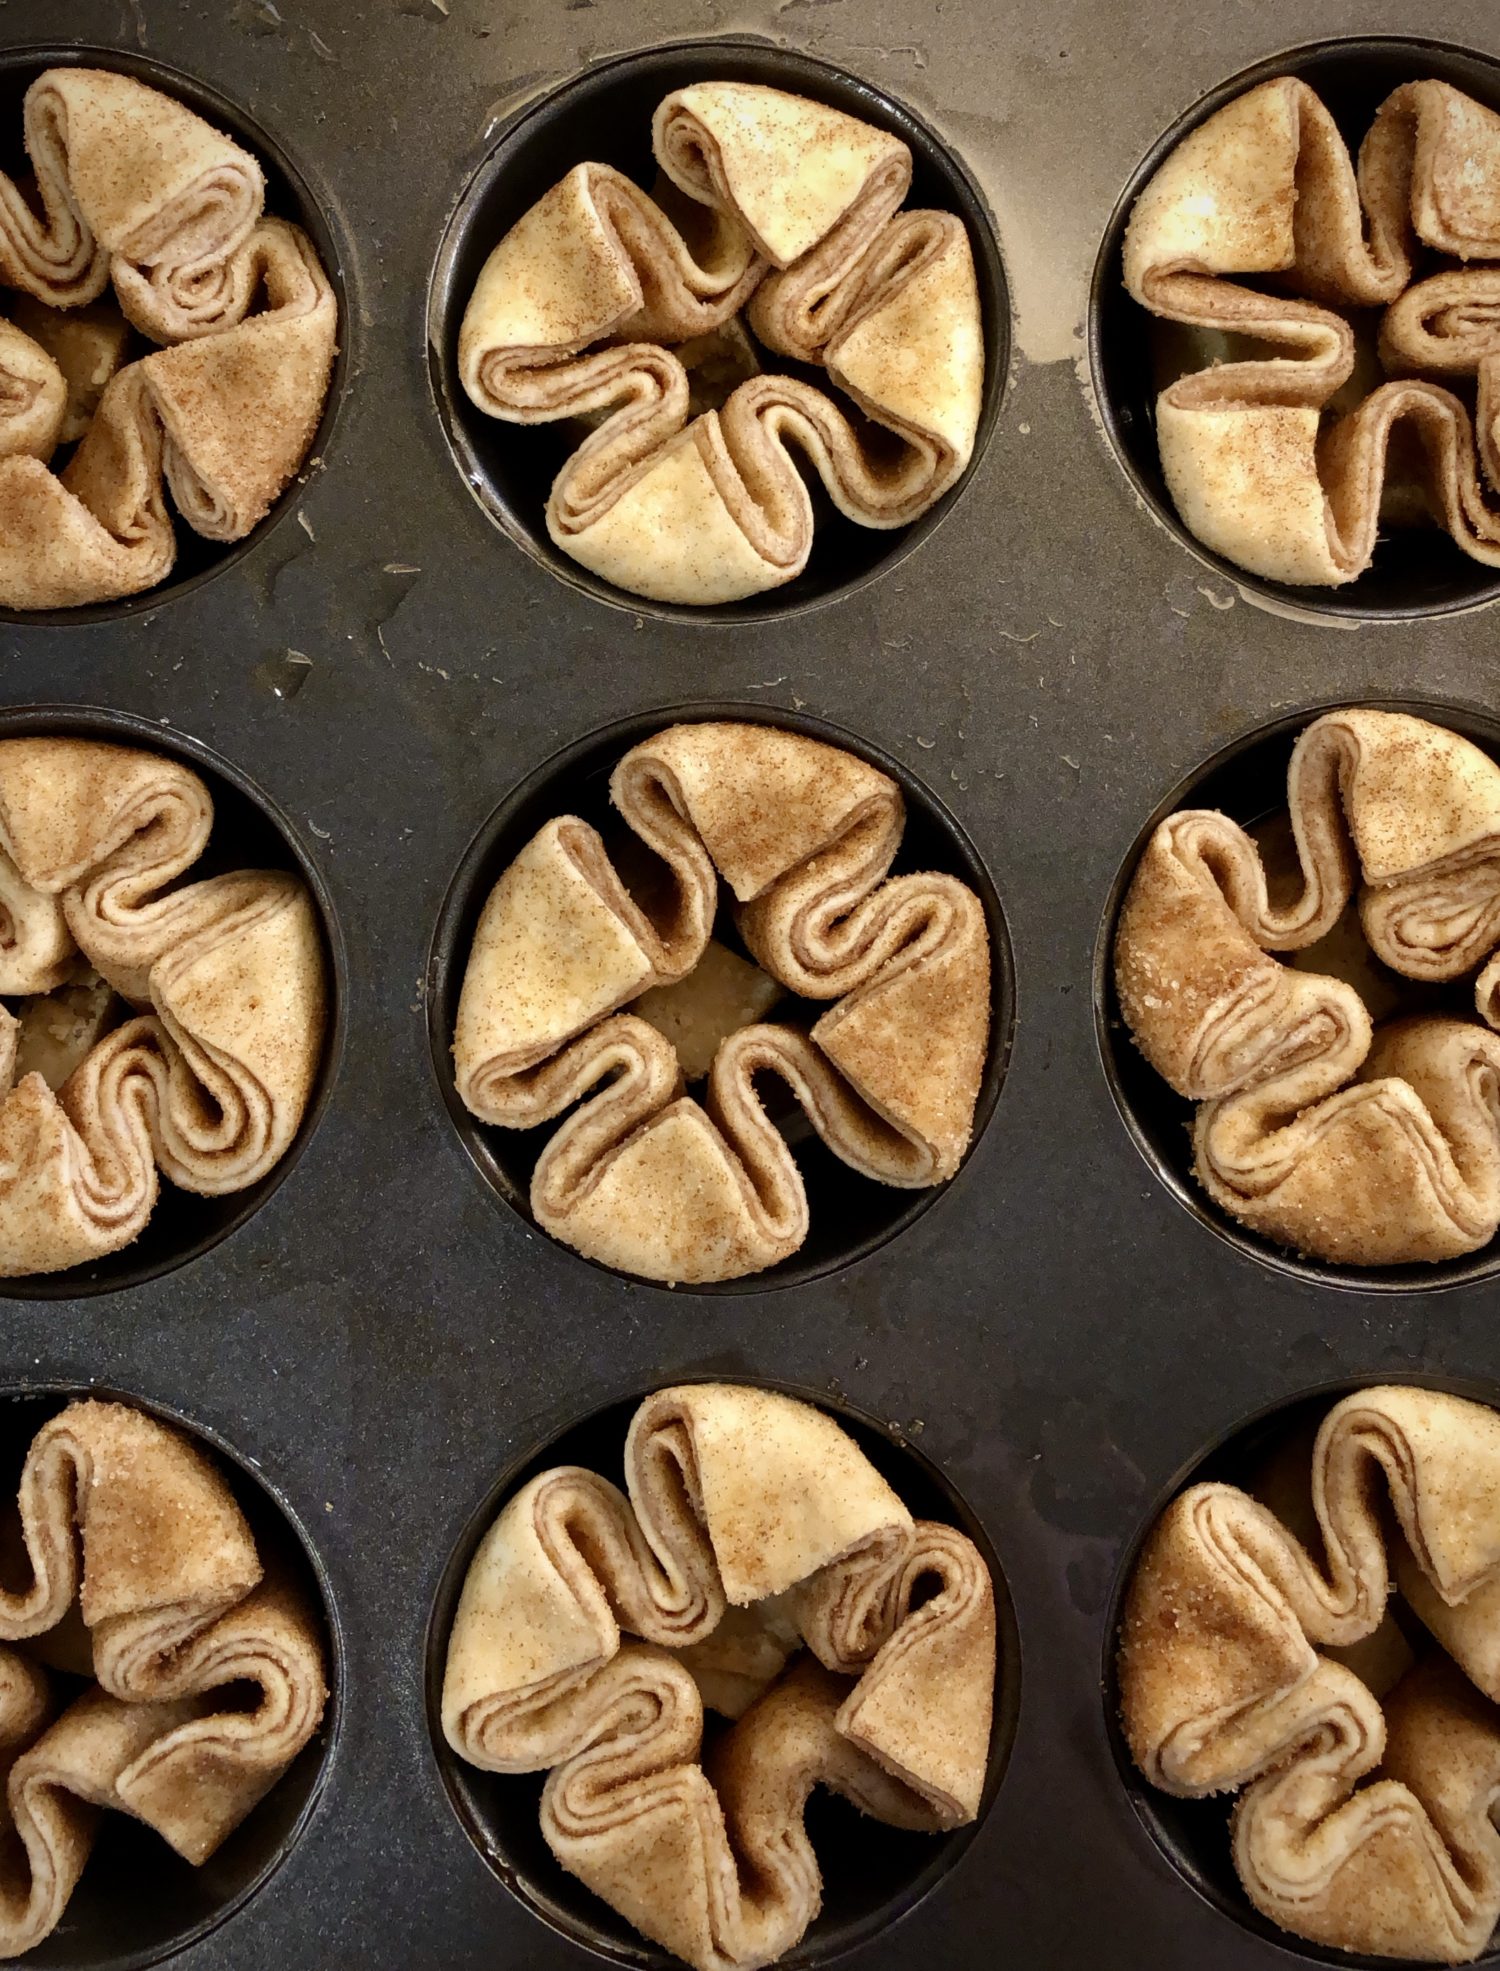
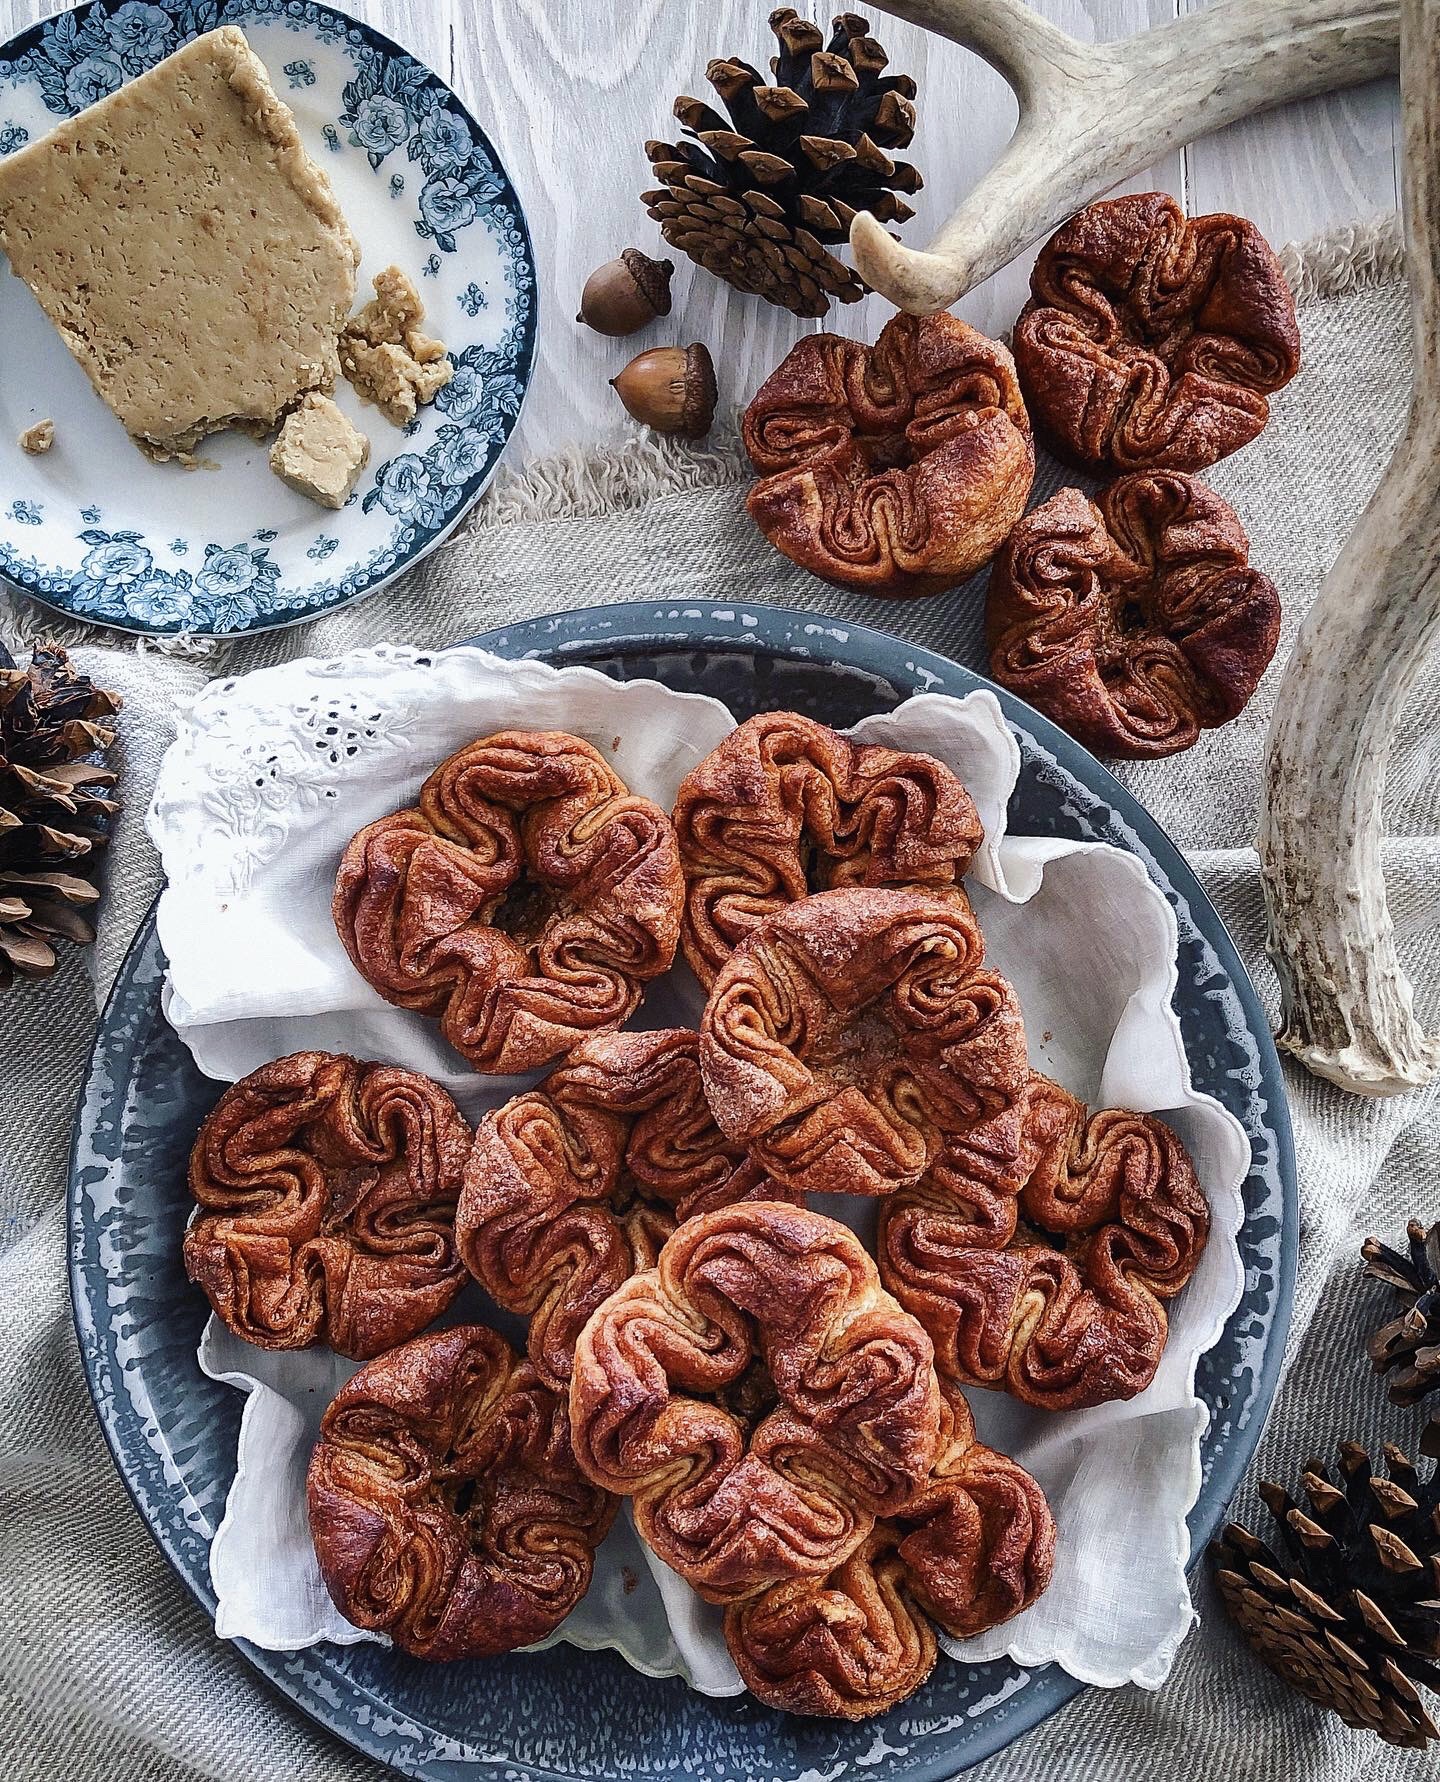
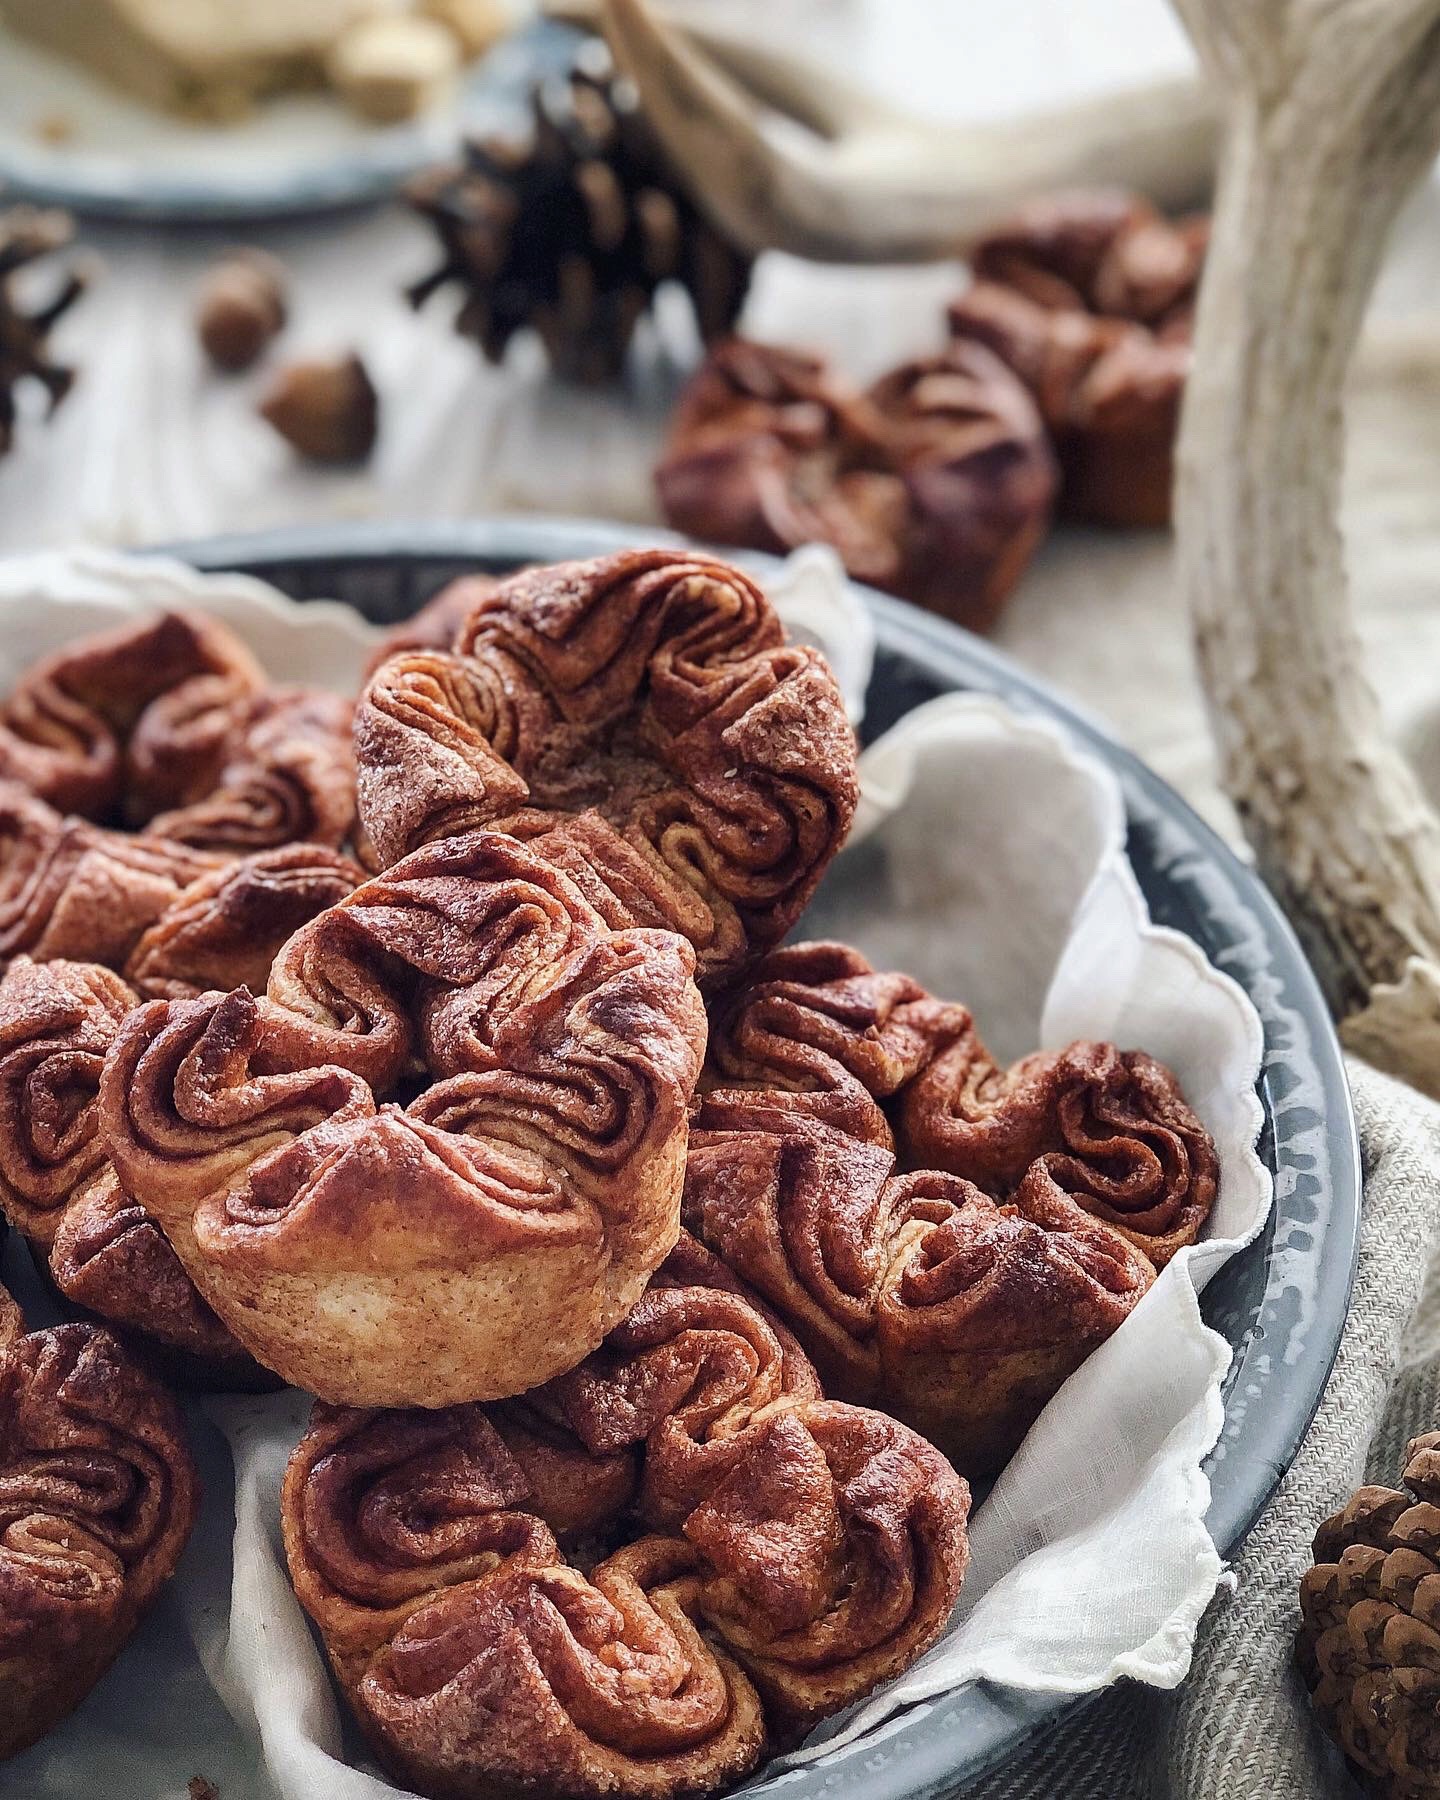
When they come out of the oven, take a sharp knife and release them from the muffin tin immediately. If not, the caramelized sugars will cool down and cause them to totally stick to the tin- killer hard to release neatly! Put them onto a wire cooling rack, and in no time they are ready to eat.
So, if you wanted to serve these for brunch etc, just make sure you start about 2 hours earlier. This will give you plenty of time to get the rolling and proofing done. If you’re like me, and wake up at ridiculously early hours because sleep is so elusive, why not spend that time productively and bake these up for breakfast!
I truly hope you try these. You will be so surprised at how easy this process is. And then you will be very proud of yourself for just producing a pastry that is almost impossible to find in a bakery here in North America! Or when you do, sadly it is hard, dry, and lackluster. Which then makes you wonder what all the hoopla is about. But when you make your own, you will understand that hoopla!!
If you happen to have leftovers, while they are best served fresh from the oven, they do re-heat well. Just use a conventional or toaster oven, never a microwave (it will just turn the pastry soggy) Have the oven set to 400F and re-heat for about 4 minutes. They will re-caramelize (is this a word?) on the outside, and the inside will turn fluffy again. Let them cool for a moment or two to firm up. Enjoy with a morning cuppa!
Love Jen
Disclaimer: Taking photos in my condo kitchen can be challenging at the best of times. In the evenings and winter, it is next to impossible. I would have loved to have taken step by step photos of this process outlined in the recipe below. Not that I think you will need them- I think I describe everything pretty good! (hehe) But for amazing play by play photos, please do check out Irvin’s recipe. The link is below in the recipe.
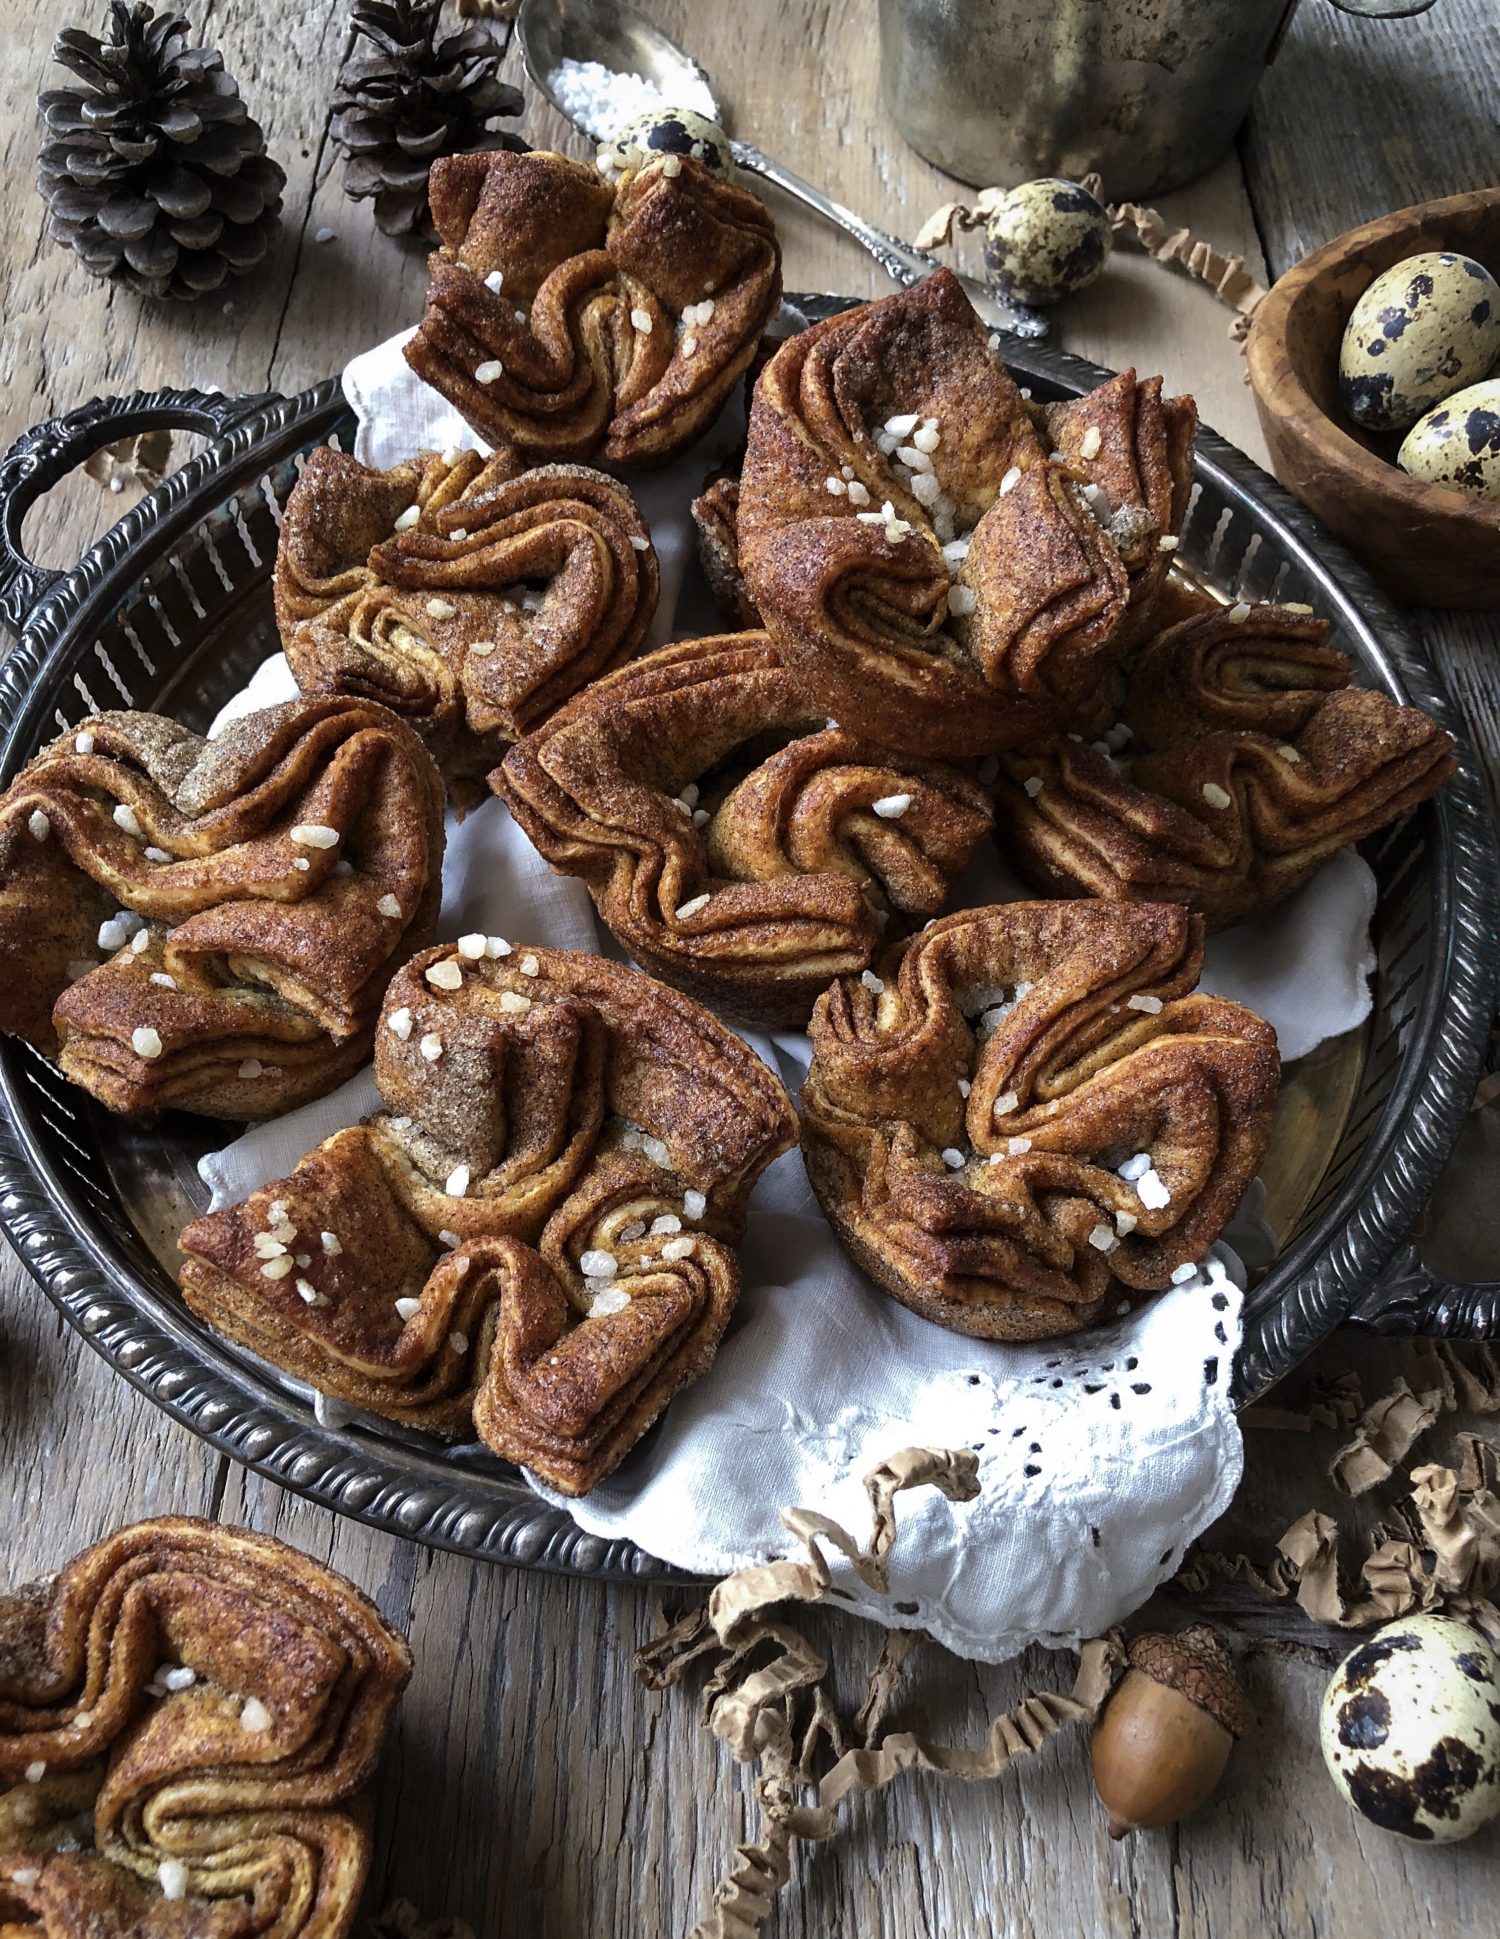
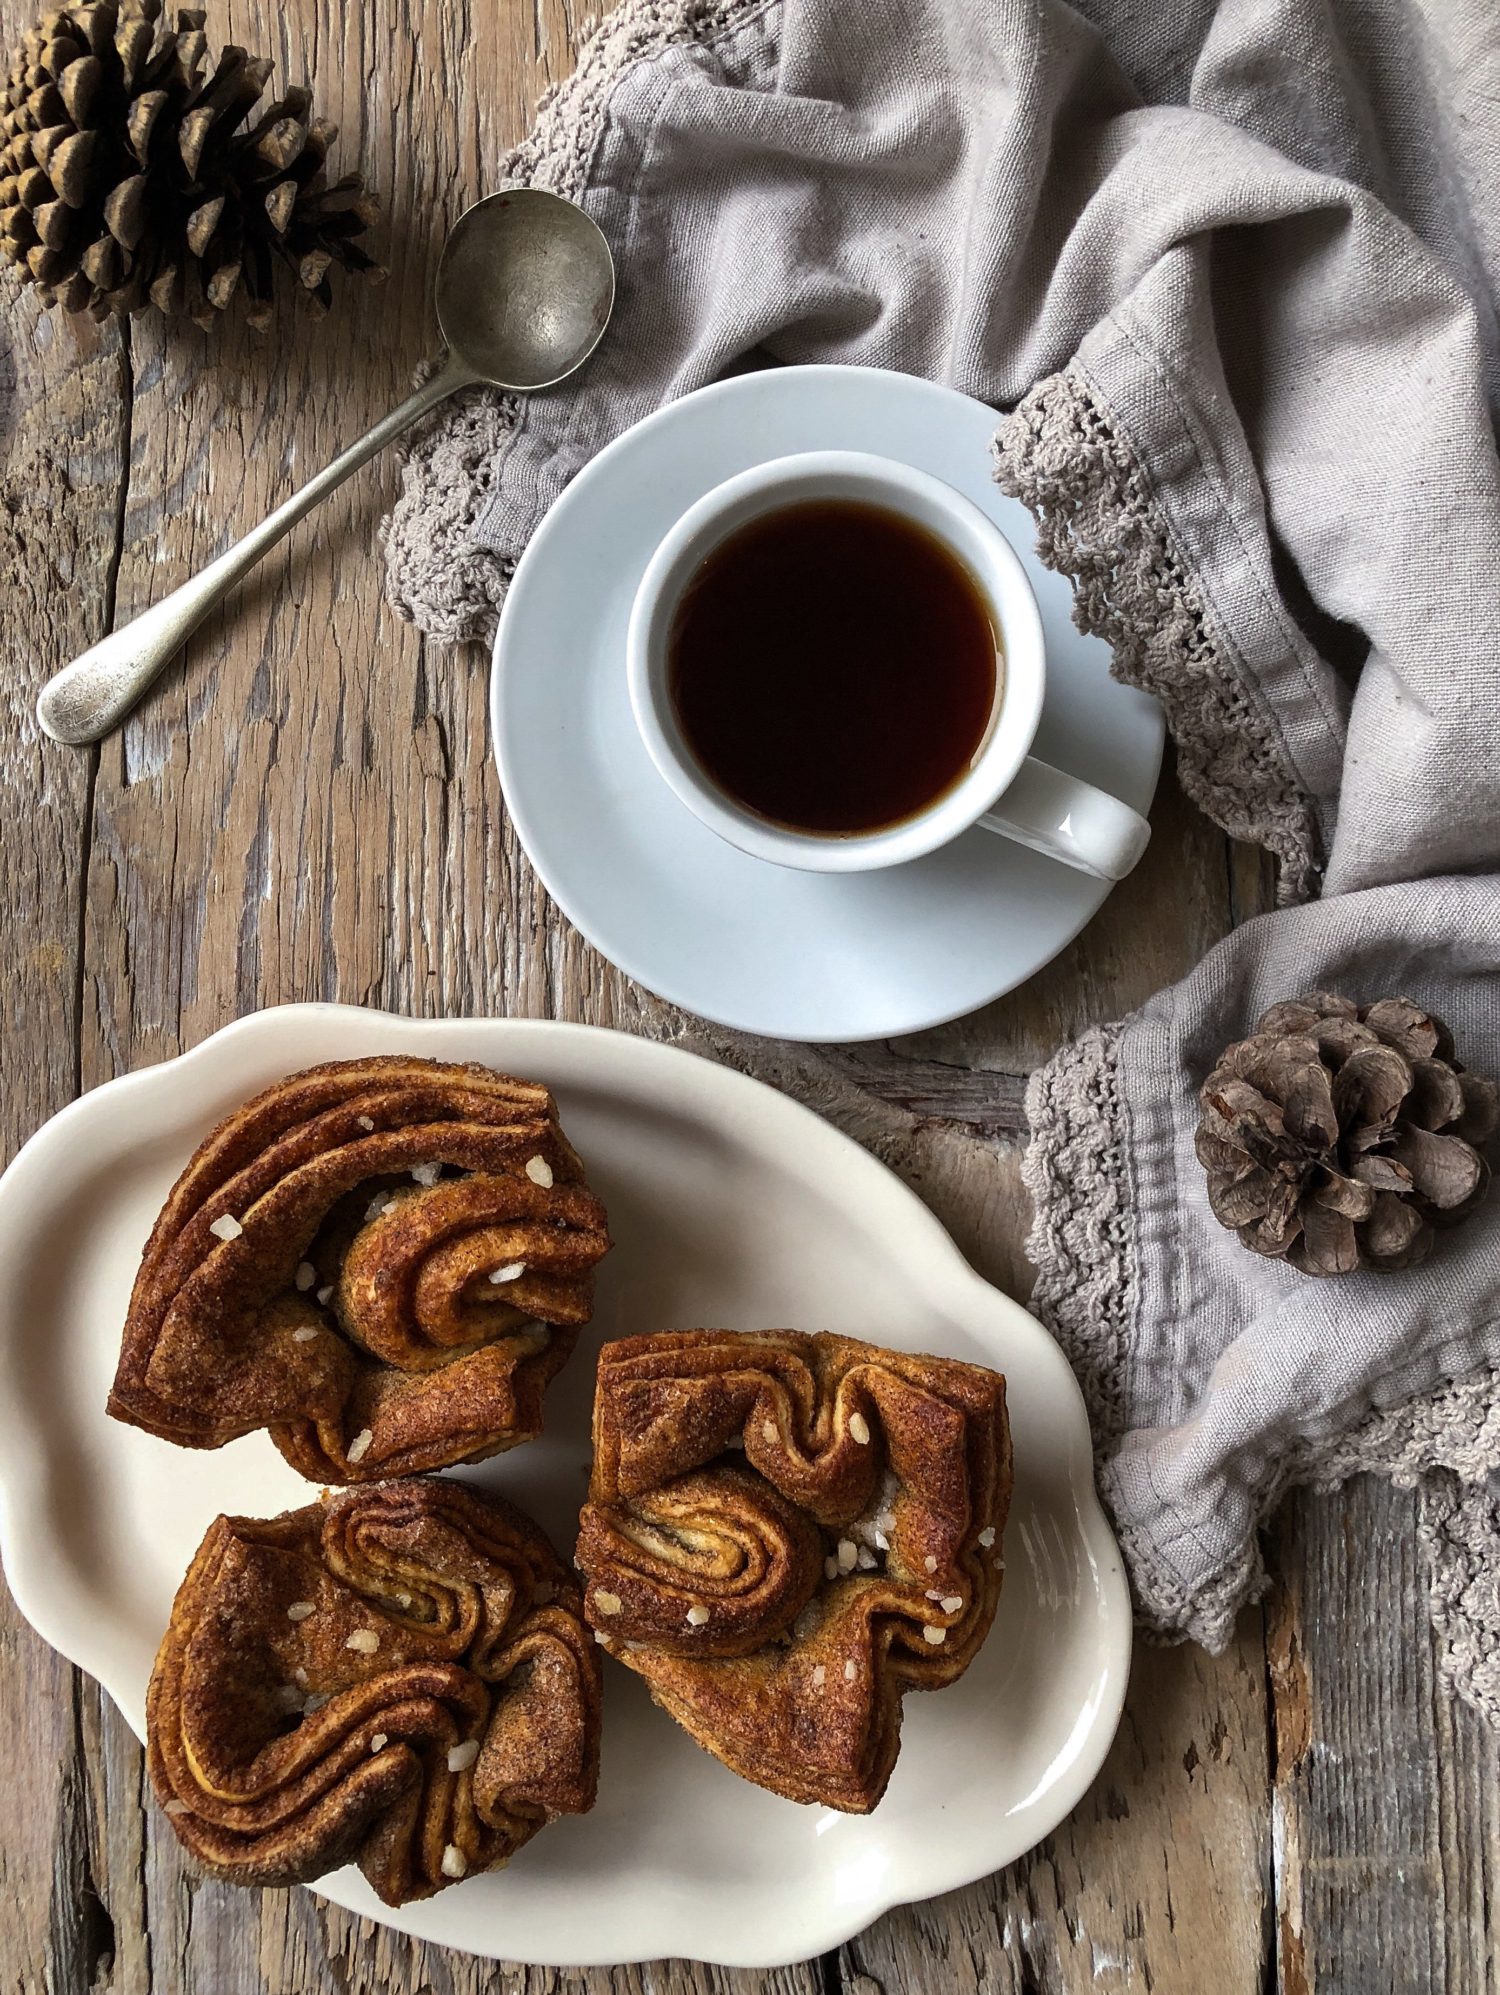

Cardamom Kouign Amann
A classic laminated pastry with a sugary crunchy exterior and fluffy, layered interior is now updated with a decidedly Swedish twist. I've added cardamom and pearl sugar to pay homage to the flavours of amazing Swedish Cardamom buns. Best of two worlds!
Ingredients
- 1 package 2 1/4 teaspoon or 7 grams active yeast
- 1/2 cup 105 g lukewarm water
- 1 3/4 cup 250 g bread flour
- 1 teaspoon 5 g sea salt
- 14 tablespoons 1 3/4 sticks or 190 g cold salted butter, divided
- 1/4 cup 60 g cold water (from the tap)
- 3/4 to 1 cup 150 to 200 g granulated white sugar
- 5 tbsp ground cardamom If you want to do a more traditional flavour, just use cinnamon
- 1 1/2 tbsp pearl sugar for sprinkling
Instructions
-
In glass measuring cup or small bowl, dissolve the yeast into the warm water. Let sit for 5 minutes, until the liquid starts to bubble.
-
As the yeast liquid proofs, place the bread flour in the bowl of a food processor. Add salt and pulse the dry ingredients a few times to blend the salt in.
-
Add 4 tablespoons (1/2 a stick or 57 g) of the butter, cut into 1/2 inch chunks, and pulse until the butter is chopped into small bits and mixed into the dry ingredients (it’s OK if some of the butter is visible, but try to reduce them into small pebble size if possible).
-
Cut the remaining butter into 1/2 inch chunks and add them to the food processor bowl. Pulse 2 times (yeah, there’ll totally be big fat chunks in the bowl, that’s OK).
-
Add the cold water to the warm yeast liquid and mix together. Pour this into the food processor and pulse 3 times. Again, there will still be big chunks of butter and a dough will NOT form. That’s normal.
-
Empty the entire content of the food processor on a clean surface well floured with all-purpose flour, and carefully (don’t cut yourself) remove the blade.
-
Gather the dough into a ball with your hands (forming the dough by pressing it all together firmly), then push it on the surface and shape it into a rough rectangle.
-
Toss some more flour under the dough and, with a rolling pin, roll the dough into a 12 x 15 inch rectangle with the long side facing your (it should be in landscape orientation).
-
Try to make the rectangle edges and corners as even and square as possible. You’ll notice that there are streaks of butter in the dough. That’s totally cool. If the butter gets warm and sticky, just dust it with flour.
-
Brush as much of the flour off of the dough with a pastry brush (or just blow on it if you don’t have a brush). The more dry flour that is on the dough, the harder it is for the dough to laminate.
-
Fold the dough a third of the way DOWN into the centre (this is where a bench scraper would be handy, but you can do it without, try using a spatula). Brush off any flour from the bottom of the dough that you just folded over.
-
Then fold the dough from the bottom side up and over your initial dough fold, as if folding a really long skinny letter. Brush off any flour that you can. You should have three layers and a really skinny 4 x 15 inch rectangle.
-
Now take one end and roll the dough, as if it you are forming a huge cinnamon roll. Brush the dough as you roll it, trying to get as much flour off the dough as possible as you roll.
-
You should end up with a fat roll. Flatten the roll from the top-side down, flattening all the layers, with the palm of your hand.
-
Stick the flattened dough into a large ziplock bag and seal it. Let it rise for 30 minutes at room temperature.
-
Once the 30 minutes are up, squish the dough down (it won’t rise much but it will feel a little squishy) with your hand through the ziplock bag and place it in the refrigerator. Let rest in there for 1 hour or overnight (I like overnight better for time management)
-
Once the dough has rested and chilled, generously spray a standard 12-cup muffin tin with cooking oil. Place on a rimmed baking sheet.
-
Take about 3/4 cup (12 tablespoons) of the sugar and all of the cardamom and blend well in a small bowl. Sprinkle half of this mixture on a clean counter.
-
Pull the dough out of the bag and place it on the sugar. Sprinkle the other half of the sugar mixture on top of the dough.
-
Roll the dough out into a 21 x 15 inch rectangle. Again in landscape position.
-
If you find the dough sticking to the surface of the counter or your rolling pin, either grab any of the sugar mixture that has been pushed out on the counter while rolling, or use the remaining 1/4 cup of sugar (you are basically using sugar as a replacement for bench flour).
-
Try to get the rectangle edges and corners as square as possible.
-
Once you’ve formed the rectangle, fold 1/3 of the dough from the right side to the center. Fold the left side over the two layers of dough, forming three layers, and a 7 x 15 inch rectangle.
-
Roll the triple-layer dough out a bit, flattening it until you have a 13 x 15 inch rectangle. Now trim the edges of the rectangle by a 1/2 inch on all sides with a sharp knife. Use a metal ruler if you have one, or just free form it, cutting evenly in one smooth motion. Don’t saw back and forth. (A pizza cutter works great in this setting)
You should have three layers of dough with no folded edges that is about 12 x 14 inches.
Save the trimmings. Twist and knot them and bake along with the kouign amann.
-
Now cut the dough into 3 x 3 1/2 inch squares; 3 rows and 4 columns.
-
Take each square and “pinch” the dough inward with your fingers and place in the prepared muffin tin. Repeat with the remaining dough. The corners should have created points. For the classic kouign amann shape, take the corners and fold towards the centre. Not absolutely necessary, but looks cleaner.
-
Cover the muffin tin with plastic wrap and let sit at room temperature for 40 minutes.
-
About 20 minutes into the rise, turn the oven on to 400˚F to preheat it (or earlier if you oven takes a long time to heat up). Once the 40 minutes are up, the kouign amann dough should look puffy (but it won’t have risen much).
-
Take the plastic wrap off. Sprinkle each pastry with some of the pearl sugar. Try and get most of them to land so that they are visible! Place in the oven.
-
Reduce the heat to 350˚F and bake in the oven for 45-50 minutes, or until the edges of the kouign amann are a rich dark brown. The sugar should caramelize well.
-
Using an small offset spatula or two butter knives immediately remove the kouign amanns from the muffin tin to a wire cooling rack. Do not let them sit very long in the muffin tin, as they caramelized sugar will start to cool and harden and stick to the pan. Let cool on wire rack and serve.
-
These are best served immediately. However you can successfully reheat them the next morning. Use an oven or toaster oven (not a microwave) set to 400F. Warm through for about 4 minutes. Allow to cool a moment to firm up.
Recipe Notes
You can go a more tradtional route and replace the cardamom with cinnamon. And omit the pearl sugar.
Sometimes I will stuff a little piece of halva in the middle. Or how about Nutella!?
Special Equipment:
Food Processor, Rolling Pin, Pastry Brush, Metal Ruler (optional but recommended), Bench scraper (optional but recommended), Standard 12-cup muffin tin, Wire cooling rack
Recipe inspired by Eat The Love's Kouign Amann

I’m in the process of making these and want to point out that- for the cold water- 35g is NOT a 1/4!! (more like 60g) and a 1/2 c is NOT 105g (more like 120g). I’m really hoping the dry measure weights were right as I bake by weight.
Also, in step # 14 you say ‘you should have a tall skinny roll’, so I put it up on its end and squashed it down. Later- when I found the original the picture is not up on the end, so I ended up squashing twice.
Just thought you and others might like to know.
Not sure how these will turn out…. fingers crossed XX . Yours look divine!
Hi Lynne, Thanks so much for your feedback. This is definitely a case of me giving credit to the author and not changing his recipe. And yet, you are correct, the 1/4 cup of water is 60 grams. Funny, I always weigh my dry ingredients, but use cups for my liquid measurements. I would have caught this if I did as you and weighed the liquids as well. So I have made the adjustments for future reference. I adjusted the wording for the roll to hopefully make more sense. My kouign amann always turn out using the measuring of liquids by cups. Let me know how you fare, I truly hope they still turned out for you! Love Jen
My Family Loved it. I am definitely sharing Guys, Thanks For sharing this Great Recipe. this recipe and this website with my friend. Hope they also love it. Thank you again for sharing such a great recipe.
Hi Ashok, Thanks so much for your feedback! It’s a fun recipe, isn’t it! Love Jen
Oh boy. These look really really lovely, and everything I’m about to say is absolutely not your fault because there’s no reason you would know the context, but every time an anglophone writes one of these recipes it rends my soul. Kouignoù-amann are about as french as haggis is English, and the reason it has a weird name is because it is in fact Breton, which is a Celtic language we still somehow speak in Brittany despite five centuries of more or less brutal repression (since the Revolution definitely more). Fun fact: it’s actually illegal to use Breton orthography to name our children! When my grandfather was little if someone slipped up and spoke Breton in school they would have to wear a cow bell around their neck and put marbles in their mouth until the next kid slipped up at which point they would transfer the marbles to that kid mouth to mouth. At the end of the week the kid who messed up most often would get a beating. Fun! The version of “kouign-amann” popping up all over the anglosphere’s cooking sites doesn’t look anything like the ones we make in Douarnenez so that’s not a classical shape, either. This isn’t the process we use to make them, either, really nothing about this is remotely similar to a kouign-amann. Which is fine! None of this is criticism of you or this lovely recipe which does very much remind me of cardamom rolls. But just know that there’s a very complicated cultural context to these regional specialities, because our foodways (like our language and our music and our traditional dress) are a form of continued resistance and survival. And if you’re curious, you were almost there, the pronounciation in brezhoneg has a “ny” sound (like new) in the middle so “kweenyaman.” It just means butter cake. Sorry for deluging you with words.
Hi Soizic, thanks ever so much for your comment!! I really appreciate the background, not just of the recipe, but more so of your beautiful heritage. I would love to visit your corner of the world one day, the photos of seen of the land, as well as the people and folk dress is so beautiful. Too true, I am basing the look of mine on the ones that I have come across in French patisseries, both here in North America, and in Britain. One day I would love to see and taste the original. If if tastes even better than the ones fresh from the oven that I make, then I will be in awe! Love Jen
These are like the best part of any pie…the crust!
Hi Sherri, Excellent way of describing them! Thanks! Love Jen