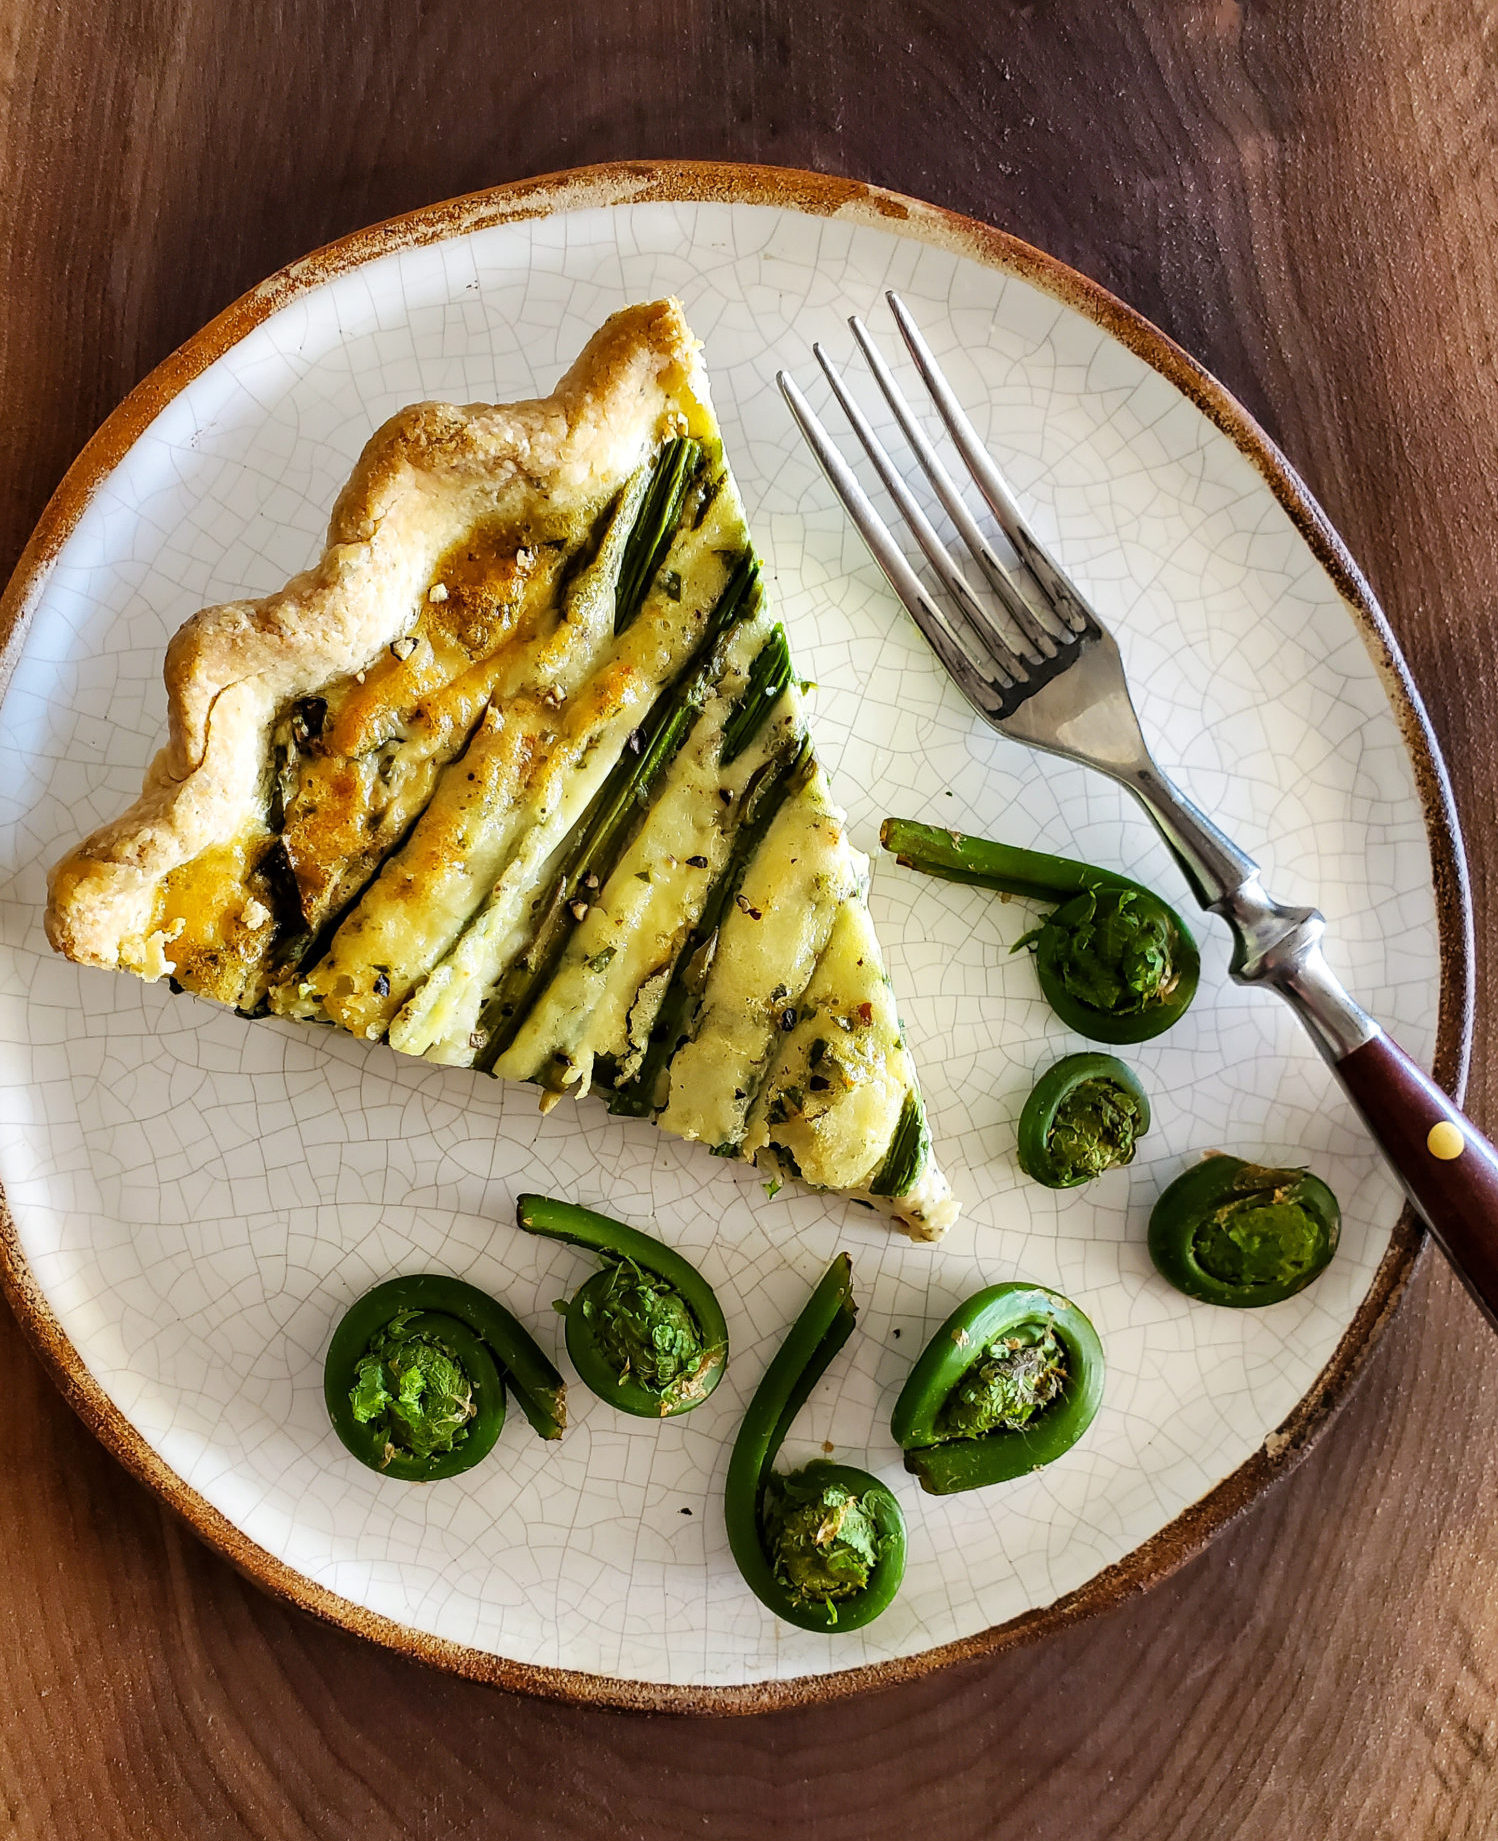
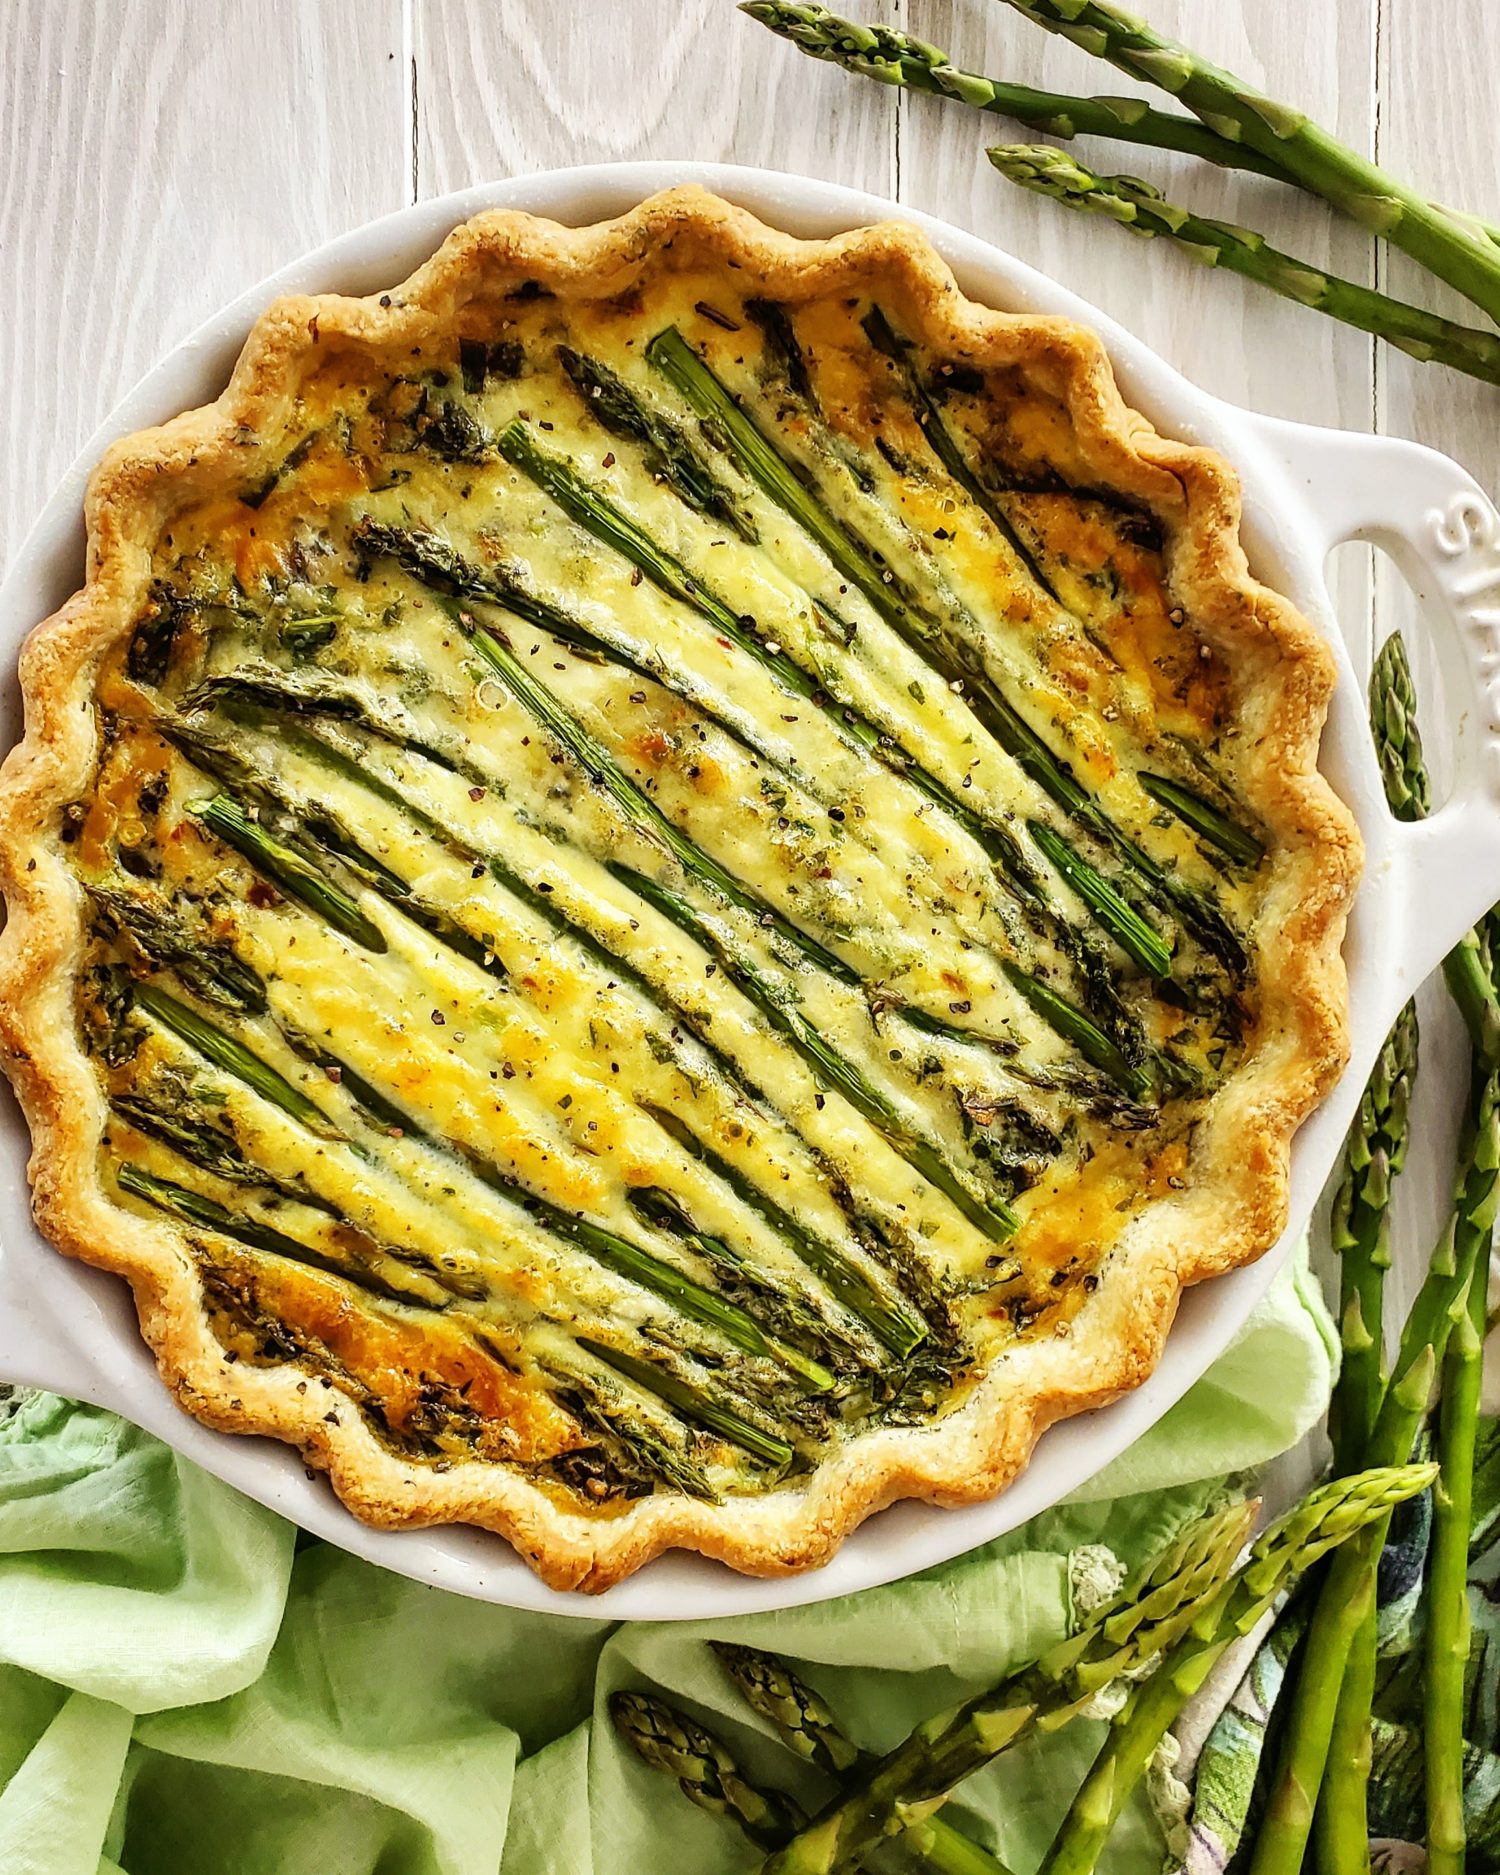
I was going to just share the recipe for the quiche that we are eating right now: Four Cheese Quiche with Asparagus, Fiddleheads and Ramps. It’s really good!
 But then I realized that I have never shared the recipe for the quiche base that can be the starter for all your quiche endeavours. So here is that blog post instead!
Besides, the fancy name is besides the point. When some chef or cook shares their recipe for Burrata, Pecorino and Fontina Trofie Gratin, its still just really mac n cheese. Just the ingredients make it sound fancy. So better that you know the basics of a quiche, instead of just the Four Cheese Quiche with Asparagus, Fiddleheads and Ramps. Besides, fiddleheads and ramps have such a small window, that wouldn’t you rather have a great go-to basic recipe for any veg, than a recipe that you may have to store away till next yea’s ramp season? I thought so.
Quiche is that fabulous egg and cream custard base that can hold all the fridge foraging you go through at the end of the week to make room for the next grocery run. It can be as fancy or as simple as you desire. It can be dinner, breakfast, brunch or midnight snack.
Quiche 101
All you really need to have down pat is the custard part. For a classic quiche that will fit into a 9 inch pie plate with a crust, or even a bit larger quiche pan with no crust at all, you need:
4 eggs, 3/4 cup whole milk, 1/2 cup heavy cream, and 1 3/4 cups shredded cheese (a little more or a little less is fine). That’s it. As long as these are there, the custard will be perfect. Not too rubbery, not too watery. Where you take it from here, is up to you. As for veggie, meat filling etc, you really shouldn’t exceed 2 cups in some form.
For instance, in today’s quiche, I used 1/2 cup steamed fiddleheads, 15 thin spears of asparagus, so let’s call it at 1 cup, and 1/2 packed cup of steamed chopped ramps. But you could take part of this allotment and use it for sautéed sausage or bacon, onions, tomatoes, broccoli, cauliflower etc.
You can see these ratios in action in my Romanesco and Cheddar Crustless Quiche, and the Asparagus and Prosciutto Crustless Quiche
Pretty Well Any Cheese Will Work
As for the cheese, well, either use what is in the fridge that shreds and melts well, or choose a flavour profile to go with. As an example of this, in the classic Quiche Lorraine, the onions and bacon are surrounded by Emmenthal and Gruyere cheeses. These all work together to create that classic French flavour palate. Think French Onion Soup! In the quiche for this post, I used mozzarella, fontina and a bit of cubed blue cheese. And I did sprinkle some parmesan on top, but I don’t count that as part of the cheese quota. Because that is what was in the crisper. But a medium cheddar, provolone, gouda, brie etc all work great. Especially when all combined. Just avoid stacking the cheese combo with too many firm cheeses that won’t melt easily.
Herbs are great in quiche, both in the batter, and sprinkled on top. In fact between the herbs and the veggies in the filling, plus the eggs and cheese, this is a great meal for Meatless Mondays.
What Flavour Are You Feeling?
How about going ethnic with your filling? Say, a Mexican Quiche with sautéed red and green peppers, onions, jalapeños, leftover rotisserie chicken or beef, and Monterey Jack and medium cheddar, plus the spices you like. Jim would love this quiche!! He’ll take anything with a Mexican flair! Just remember the ratios above and you won’t fail, I promise you.
Vegetable Prep
When it comes to adding veggies like broccoli or cauliflower, beans, to your filling, most will need a quick roast, steam or sauté. There is not enough heat and time in the oven to cook most veggies through, and if not cooked in some way ahead of time, they will not be tender enough to make the quiche a pleasant dish. Also, if choosing vegetables that release a lot of water as they cook, ensure that they are cooked as the next few sentences outline. This is another reason for sautéeing first. Better that the liquids cook out in the frying pan than in the filling. This will just add liquid to the custard mixture and it will become watery. So zucchini, tomatoes etc should be baked to help dry them out and make them tender. Once you’ve sautéed or steamed any veg, dry them on paper towel to ensure that all excess liquids are removed.

To Crust or Not To Crust
As for the crust, you can go either way. I love a crustless quiche (see my Romanesco and Cheddar Crustless Quiche) However, if you are going crusted quiche, just use my The Perfect Pie Crust recipe. Omit the sugar and it’s all good. You’ll only need half the recipe, so freeze the other half of the pastry for the next quiche you want to make. You can add herbs, seasoning such as chilli pepper or whatever you think would work with the filling you are developing.
As for the crust itself, blind baking it to par-baked is best. This ensures that the base of the crust will never be soggy. This can be baked off in advance, for convenience.
Quiche Trouble Shooting
Never bake the quiche till the entire filling is cooked solid. There will be residual heat in the centre that will continue cooking the eggs and turn everything rubbery. You may also see the top split as it cools.
Rather, you want to aim for seeing that the outer 1 1/2- 2 inches of the filling only is set, with the centre still jiggly. Yes this is the technical term! Don’t worry, as it rests on the cooling rack, it will continue to set and the centre will be just fine. Check it at the earliest time stated in the recipe, give the baking sheet that the quiche is sitting on a little shake, if there is too much jiggling, just leave it in. Check every 5 minutes or so until just the centre 2-3 inches diameter is only slightly jiggly. Now it is ready to come out and cool down.

Speaking of which, do not plan on eating the quiche ten minutes out of the oven. You will find that the centre will not have set up correctly, and you may get liquids spilling out. If I want to have quiche for a light dinner, I always make it at lunch time. If I want to serve quiche as part of a brunch, bake it off the evening before. Not only will this free up time the next morning, the quiche will be just perfect for cutting. It can be eaten at room temperature no problem. However, feel free to warm it up in a toaster oven or regular oven at 300F for about 5-6 minutes.

I say that a typical pie shaped quiche will make 8 slices. But this is with a disclaimer. Most quiches are not that heavy, depending of course on what you filled them with. If you are serving this for dinner after a long day, a hungry person will easily eat 2 slices. So prepare accordingly.
Prep Ahead For Brunch
As for prepping a quiche or multiple quiches for a brunch or luncheon, have your cheeses grated, your filling sautéed, and the pastry made ahead of time. Then it is just a matter of assembling and baking off. Once cooled, store in the fridge till needed. And when placing out on a table for guests to partake of, always slice up the quiches ahead of time. Less mess as they try to slice it up themselves, and then use a serving utensil to put it on their plate. You can get nice clean lines with a sharp serrated knife, and everyone will thank you, I promise (even if not to your face!)
This recipe will be stored in the Pantry section of the blog, since it is a basic recipe that is one that all sorts of other recipes can jump from. So just remember to look in the pantry for the recipe!
*Having written all this out, I guess some details about this quiche. 1 cup grated mozzarella; 1/2 cup grated fontina; 2 tbsp cubed blue cheese; 1/2 cup steamed fiddleheads (these could be replaced with steamed sliced asparagus or small steamed broccoli florets; 1 cup thin asparagus spears for the top (thin enough that I didn’t bother steaming them first); 1/2 cup steamed chopped ramps (this could be replaced with steamed and squeezed dry baby spinach); 1 tsp chilli flakes and 1 tbsp parmesan sprinkled on top of the asparagus spears. See below for when to use the ingredients.
Love Jen


Basic Quiche
Better that I share the basics for a great quiche, than a specific quiche that can only be baked up for such a small window in Springtime! This is the quiche recipe you will turn to from now on, I promise!
Ingredients
- Half of my No Fail Pie Crust recipe savoury version, see Notes for Link
Filling
- 1 1/2 cups shredded melting cheeses such as Mozzarella, Fontina, medium cheddar, gouda, provolone, emmenthal, gruyere etc. Part of this can also be a 2 tbsp or so of cubed cheese such as blue, feta, or brie. You can use a combo of the ones that appeal to you or that you happen to have in the cheese drawer of your fridge.
- 2 cups filling: Chopped vegetables steamed or sautéed till just softened, not overcooked Choose veggies such as peppers, broccoli, cauliflower, scallions, asparagus, that will not turn watery in the baking process. This two cups can also contain sautéed or leftover cooked meats such as chicken, bacon, beef strips, sausage etc.
- 4 eggs
- 3/4 cup whole milk
- 1/2 cup heavy cream
- kosher salt
- freshly ground black pepper
- 1-2 tbsp parmesan cheese to sprinkle on top.
- herbs such as chopped fresh thyme rosemary, basil, parsley, etc can be added by the tbsp.
- Spices to suit the filling: cayenne paprika, nutmeg, white pepper can all be added by the 1/4 tsp.
Instructions
Pie or Quiche Crust Par-Baking
-
On a floured work surface, roll out one of the discs of dough (keep the other one in the refrigerator or freezer until you need it). Turn the dough about a quarter turn after every few rolls until you have a circle 12 inches in diameter. Carefully place the dough into a 9-inch pie dish. Let the sides ease down the so that it will prevent shrinking during baking. Tuck the top edge under with your fingers, making sure it is completely smooth. Crimp as desired.
-
Chill the shaped, unbaked pie crust in the refrigerator for at least 30 minutes and up to 5 days. Or freeze for up to 3 months. Cover the pie crust with plastic wrap if chilling for longer than 30 minutes or if you’re freezing it. If you freeze it, let it thaw for a couple hours in the refrigerator before continuing.
-
Preheat the oven to 375 F (190C)
Fill with weights: Line the chilled pie crust with parchment paper. (Crunch up the parchment paper first so that you can easily shape it into the crust.) Fill with pie weights or dried beans. I like to push the weights up against the sides of the pie crust to help ensure the sides don’t shrink down.
-
Bake: Bake until the edges of the crust are starting to brown and appear set, about 15–16 minutes. Remove pie from the oven and carefully lift the parchment paper (with the weights) out of the pie. With a fork, prick holes all over the bottom crust. Return the pie crust to the oven.
-
Bake until the bottom crust is just beginning to brown, about 7–8 minutes.
Filling
-
In a large bowl combine the cheese(s) and the filling: veggies and or meat.
-
In another bowl whisk the eggs, milk and cream together. Season with salt and pepper. Start with 1 tsp of each. The amount of salt you may use will be affected by the type of cheeses you are using. If feta in in the mix, you may stop at the 1 tsp. Also add any chopped herbs and spices that you want to use, to the egg mixture. If you aren't averse, you can take a small taste of this to see if the spices and salt are to your pleasure. Adjust as desired. I've never had an issue doing this, but you do you.
-
Pull out the pie plate and place it on a baking sheet. Take 1/2 of the cheese and filling mixture and scatter it all over the bottom of the pie shell. Gently pour the egg mixture over the cheese and veggies. Then scatter the remaining cheese and veggies over the custard mixture gently. Finish with a scattering of the parmesan cheese.
-
Bake in the lower third of the oven for 20 minutes.
-
Move the baking sheet to the centre of the oven and continue baking till the filling is just setting. The crust should be golden brown, the outer 2 inches or so should be set, and the centre just a little jiggly if you gently move the baking sheet back and forth. This should happen within 25-30 minutes. Do not overcook. The centre should still have a jiggle when you transfer the pie plate to a cooling rack. The residual heat will continue to cook the eggs and it will set up just fine. Start checking at the 25 minute mark.
-
If edges of the crust are starting to brown, cover them with foil or a pie guard while the quiche finishes baking.
-
Serve once completely set. Yes, it will take a little while. You can make this at lunch for dinner, or the evening before for brunch the next day. Serve at room temperature or reheat in a 300F oven for about 5-6 minutes.
Recipe Notes
I show it as making 8 slices. However, depending on how heavy the filling you used, a hungry person may eat two slices for dinner. So this may only feed 4-6 people instead.
Here is the link to my Perfect Pie Crust recipe.

What a fabulous post. I love all your suggestions. Nice to have a lighter option for dinner as we head into summer. Hope you and your family are all well.
Hi Merle, Thanks for your great feedback. Yes, this is definitely not a heavy base. Perfect for all sorts of veggie combos. We’re good. Wishing you the same. Love Jen
Matt is a huge quiche fan, so I can’t wait to make this for him and the boys
Hey there, it’s great to have just a basic quiche recipe that can be totally customized, right?! Although I’m sure you’ve got this one with your eyes closed. Love Jen