Can I let you in on a little secret? Promise you won’t tell anyone…?
 One of my absolute guilty pleasures is… Kentucky Fried Chicken. Maybe it’s the childhood memories. Those times when all the relatives were crowded into my Opa’s house, and the chicken bucket was there for all us cousins to dig into. It was always a treat, along with the fries and gravy that came with the bucket of bird. Maybe it’s a salt craving that is rearing it’s head when I get a craving for chicken. Thankfully I only get the craving for KFC once or twice a year. Even Jim knows exactly what I mean when I say, “I have a craving.” I don’t have to say anything else. He knows it means a KFC run. I am not necessarily proud of this guilty pleasure, but I am being honest.
There is just something so wonderful about crispy fried chicken. It makes me think of picnics on red and white checked cloths, of southern Gullah cuisine, of summer, and really just of hanging out with friends and family. Fried chicken is really is all about the batter. It must be crispy, golden, full of flavour, and the blanket to a tender and juicy piece of chicken underneath. If the batter is lacking, is thin, or flimsy, and the meat inside is dry and tasteless, then it hasn’t lived up to what fried chicken should be.

I rarely make fried chicken at home. We don’t have a deep fryer of any kind. So when I actually crave something fried, it is usually shallow fried in a cast iron pan. Last year for the cook book club I belong to, we all made up the Extra Crunchy Southern Fried Chicken from The Food Lab by J Kenji Lopez-Alt. It was amazing. I did the frying in my wok. The marinade was stupendous. The marinade is what will ensure that your chicken is tender and juicy even after all the frying happens. So this is a key. The second key was what we did to the batter before dipping the buttermilk marinated chicken pieces. The recipe instructs us to take some of the marinade and drizzle it into the flour mixture. And then just toss it all with your fingers to mix in. Basically, little bits of batter are forming, that will eventually coat the chicken pieces. This is where the crust gets the extra texture that sets it apart from basic fried chicken or even baked coated chicken. And the final result for that recipe was a total two thumbs up from Jim.


Getting back to the fact that I rarely make fried chicken at home though. I made that recipe, like a year and a half ago (!) Not that I haven’t wanted to enjoy it again. It’s just that it is a bit of work, and I really don’t do a lot of frying. So then I thought about how I could have the sensation of fried chicken but it a more accessible way? This recipe is what happened.
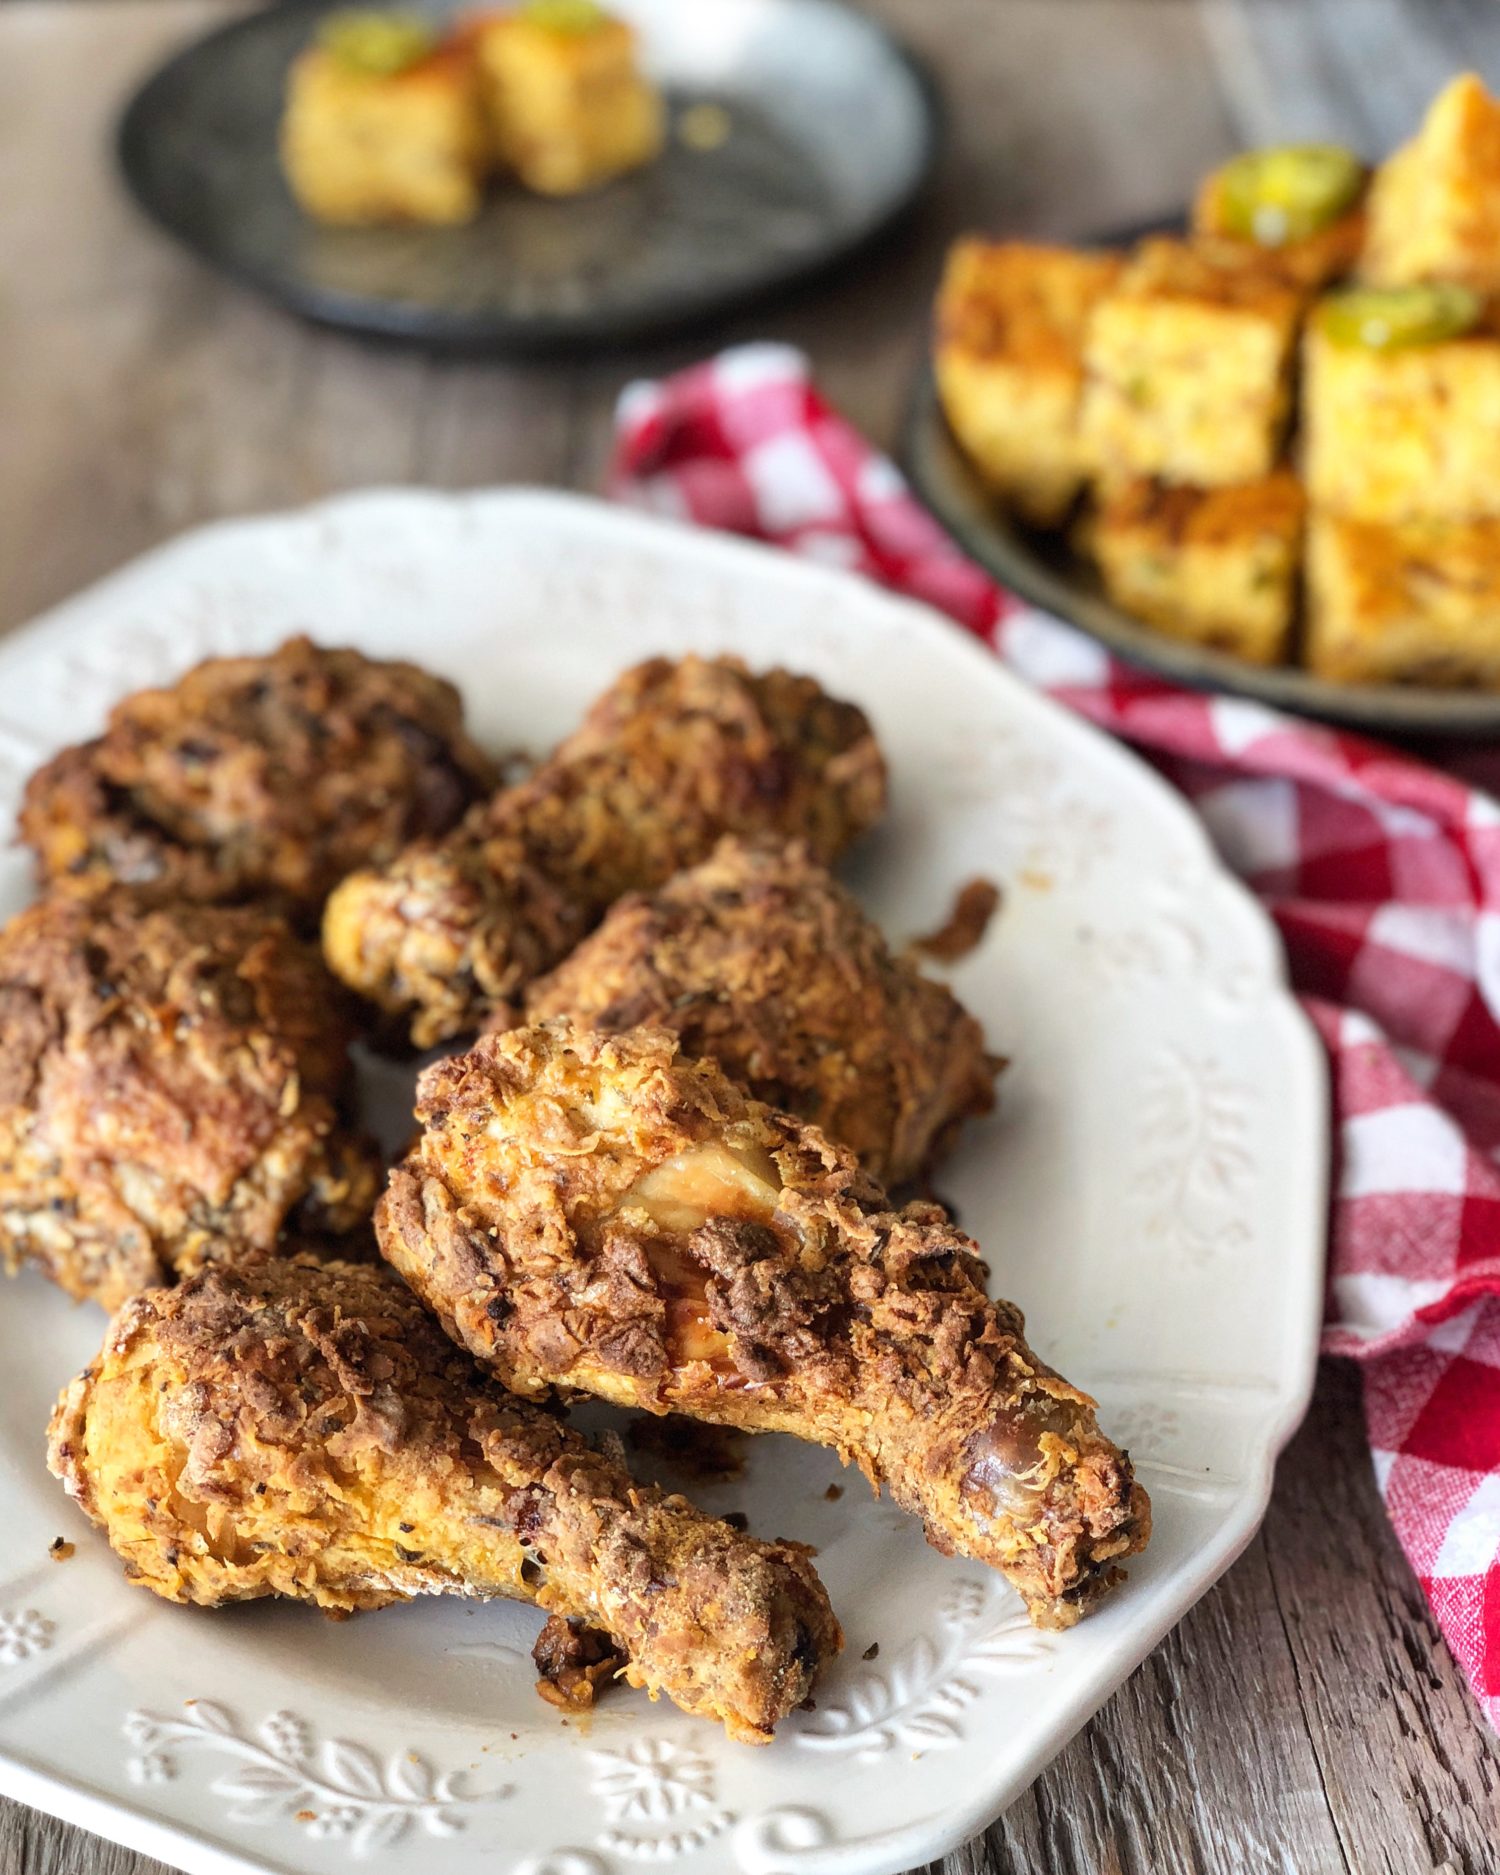
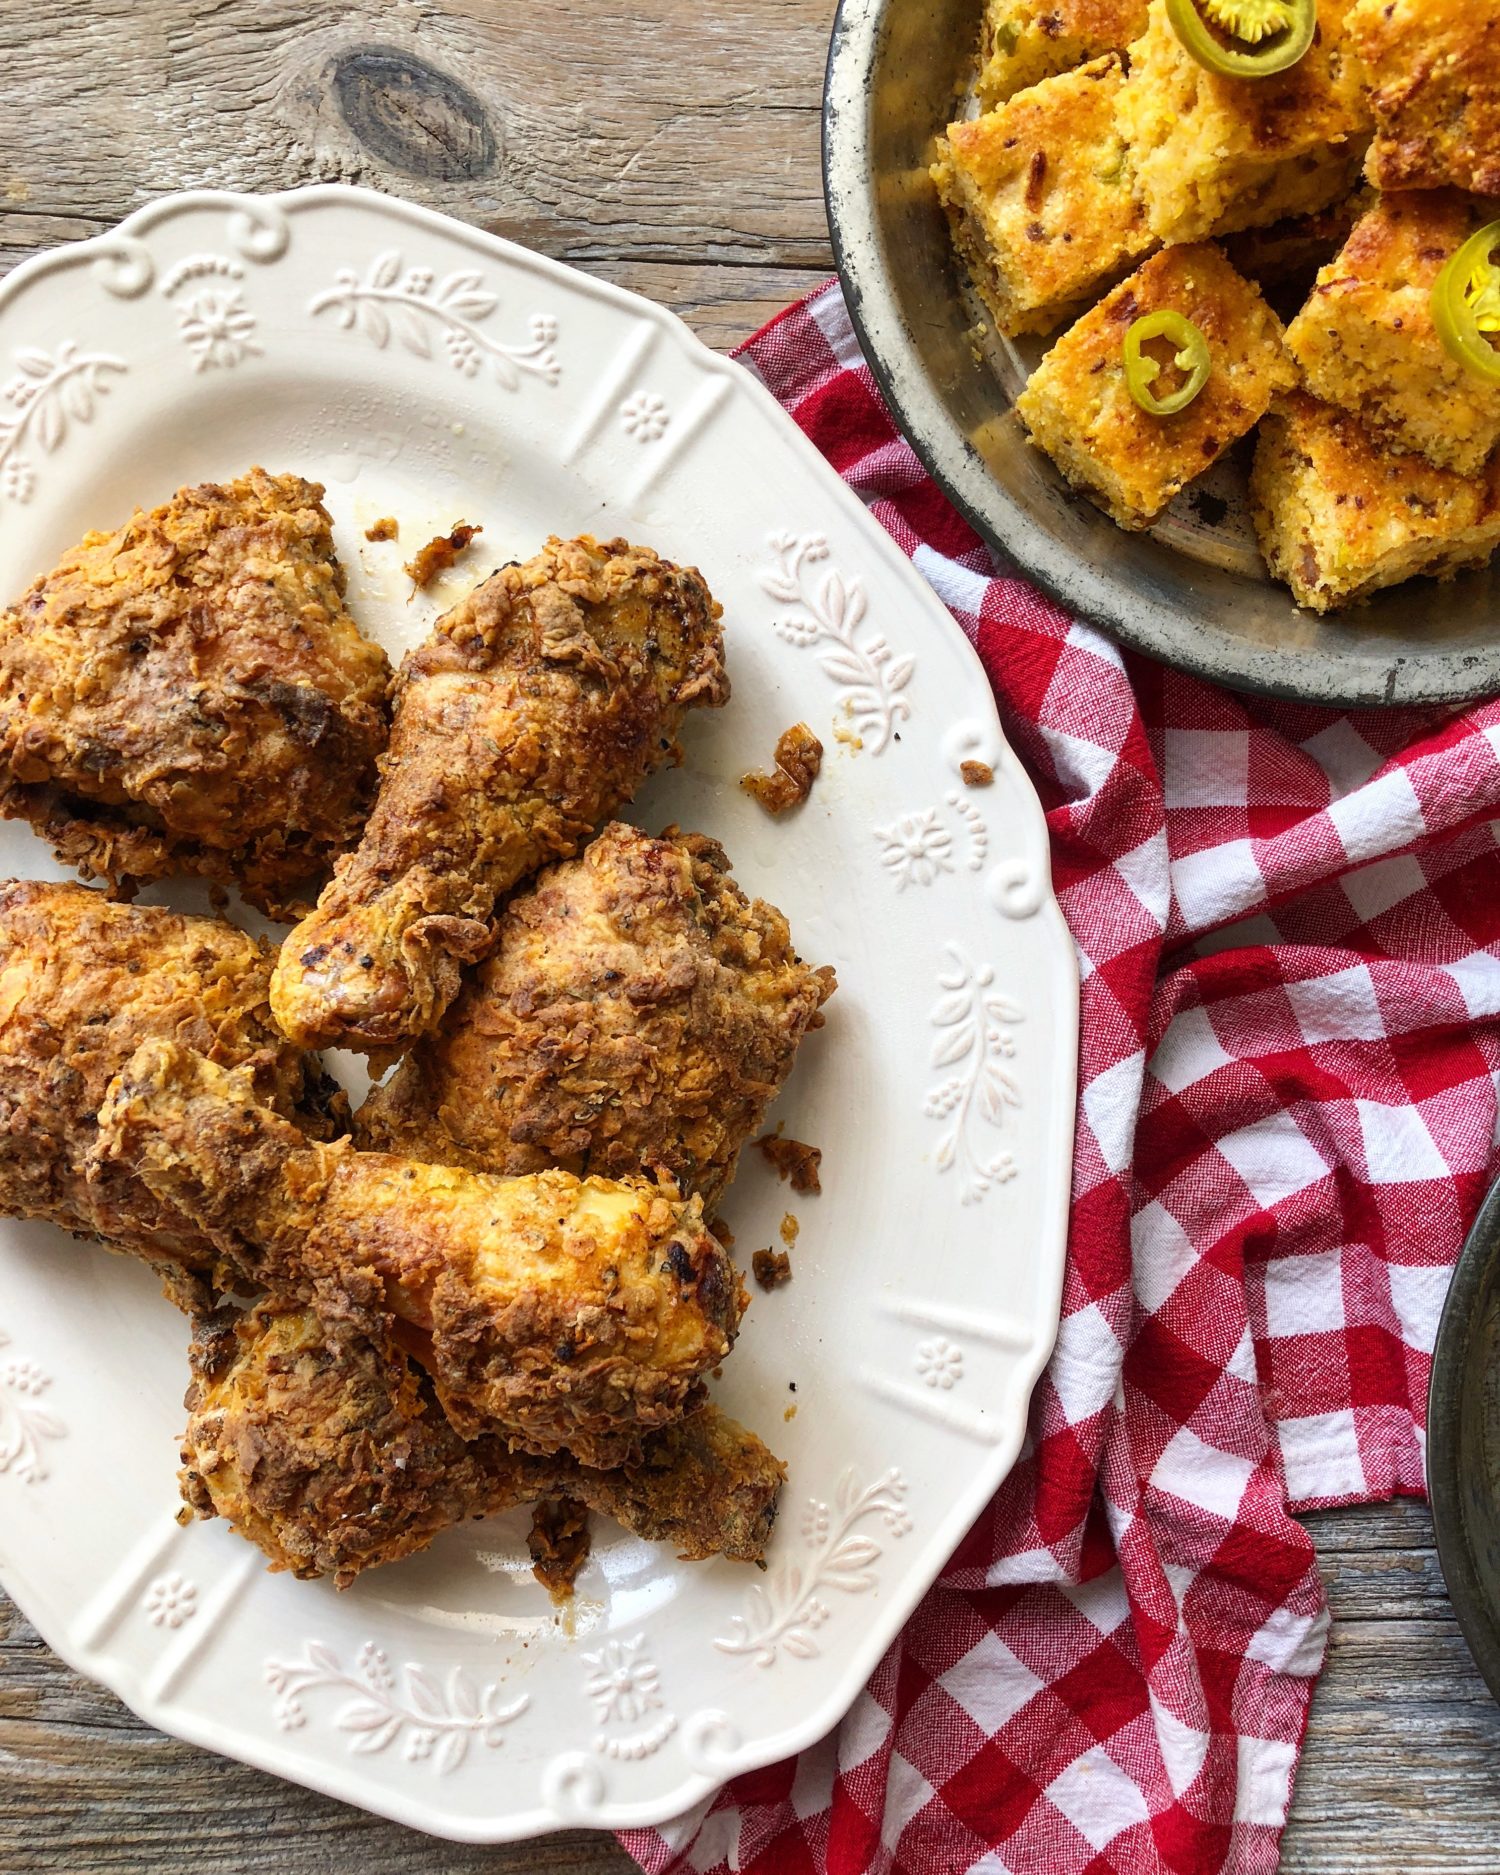
I decided to take a regular approach to brining and coating of my chicken pieces, but with the added step of taking some of the brine and adding it to the flour coating (like The Food Lab recipe) I laid the coated chicken on a sprayed cooling rack set over a foil lined baking sheet. The oven was set to 400F, and just before I popped everything in, I brushed the chicken pieces lightly with olive oil. After 50 minutes they looked amazing. The crunch was stupendous. And bonus, for breakfast the next day, I grabbed a piece of leftover chicken from the fridge, and that crunch was still there! And the meat was still so flavourful and juicy. Thanks to the spices and seasonings that went into the brine. And you know all those crunchy bits that are at the bottom of a KFC bucket? Well this recipe even gives you those crispy bits!! As a kid I loved digging at the bottom of the bucket for them (I think I still do!)

The only thing that this recipe requires is a good 12-24 hours of brining in the fridge. So if you get a craving for fried chicken but want to bake it, start early!! But once it comes out of the fridge, it gets dredged through egg and then the lumpy flour mixture and straight into the oven. Then you have some time to prep the rest of dinner. This last time that I made it, I also made up some cornbread. I love a good savoury cornbread, so mine has cheddar cheese and pickled jalapeño confetti. I really will share that recipe soon! I promise! Add some cole slaw, and this is pretty well the best of picnic food, even in the middle of January.

I hope you like this as much as we do!
Love Jen

Crispy Baked Fried Chicken
Yes, you can have crispy baked chicken that tastes like fried chicken!! It's all in a trick for the coating. And a really great brine that ensures that the meat will be tender and juicy!
Ingredients
- 1 whole chicken cut into 8 pieces you can also include the wings if you want to make it 10 pieces Alternatively, you can just purchase legs, thighs, drumsticks and breasts to feed 4 people.
Seasoning mix:
- 2 tbsp paprika
- 2 tbsp coarse cracked black pepper
- 2 tsp garlic powder
- 2 tsp dried thyme
- 1/2 tsp cayenne pepper
Brine:
- 1 1/2 cups buttermilk
- kosher salt
Coating:
- 3 eggs
- 1 1/2 cups AP flour
- 1/4 cup cornstarch
- 1 tsp baking powder
- olive oil or veggie spray
Instructions
Seasoning Mix
-
Blend all the spices together in a small bowl. It will be used in both the brine and the coating. Set aside.
Brine
-
Whisk the buttermilk with half of the Seasoning mix and 1 tbsp of kosher salt in a large bowl.
-
Pat dry the chicken pieces and then add them to the bowl. Toss to coat well. Transfer the chicken and all the brine to a large freezer zip-lock bag. Refrigerate for at least 8 hours or even overnight up to 24 hours. Turn occasionally to ensure the brine gets into all the nooks and crannies. I usually place the freezer bag into a sturdy bowl or baking dish just to ensure everything is secure.
Baking the Chicken
-
Preheat the oven to 400F
-
Take a large baking sheet (or two if necessary) and line with foil. Place a cooling rack over the sheet. Spray the cooling sheet with veggie spray.
-
Take the bag of chicken out from the fridge. Setting aside 3 tbsp of the brine, deposit the chicken pieces and brine into a colander in the sink to drain.
-
Take the eggs and whisk them up in a medium bowl.
-
Combine the flour, cornstarch, baking powder, remaining seasoning mix and 2 tsp of kosher salt in a large bowl.
-
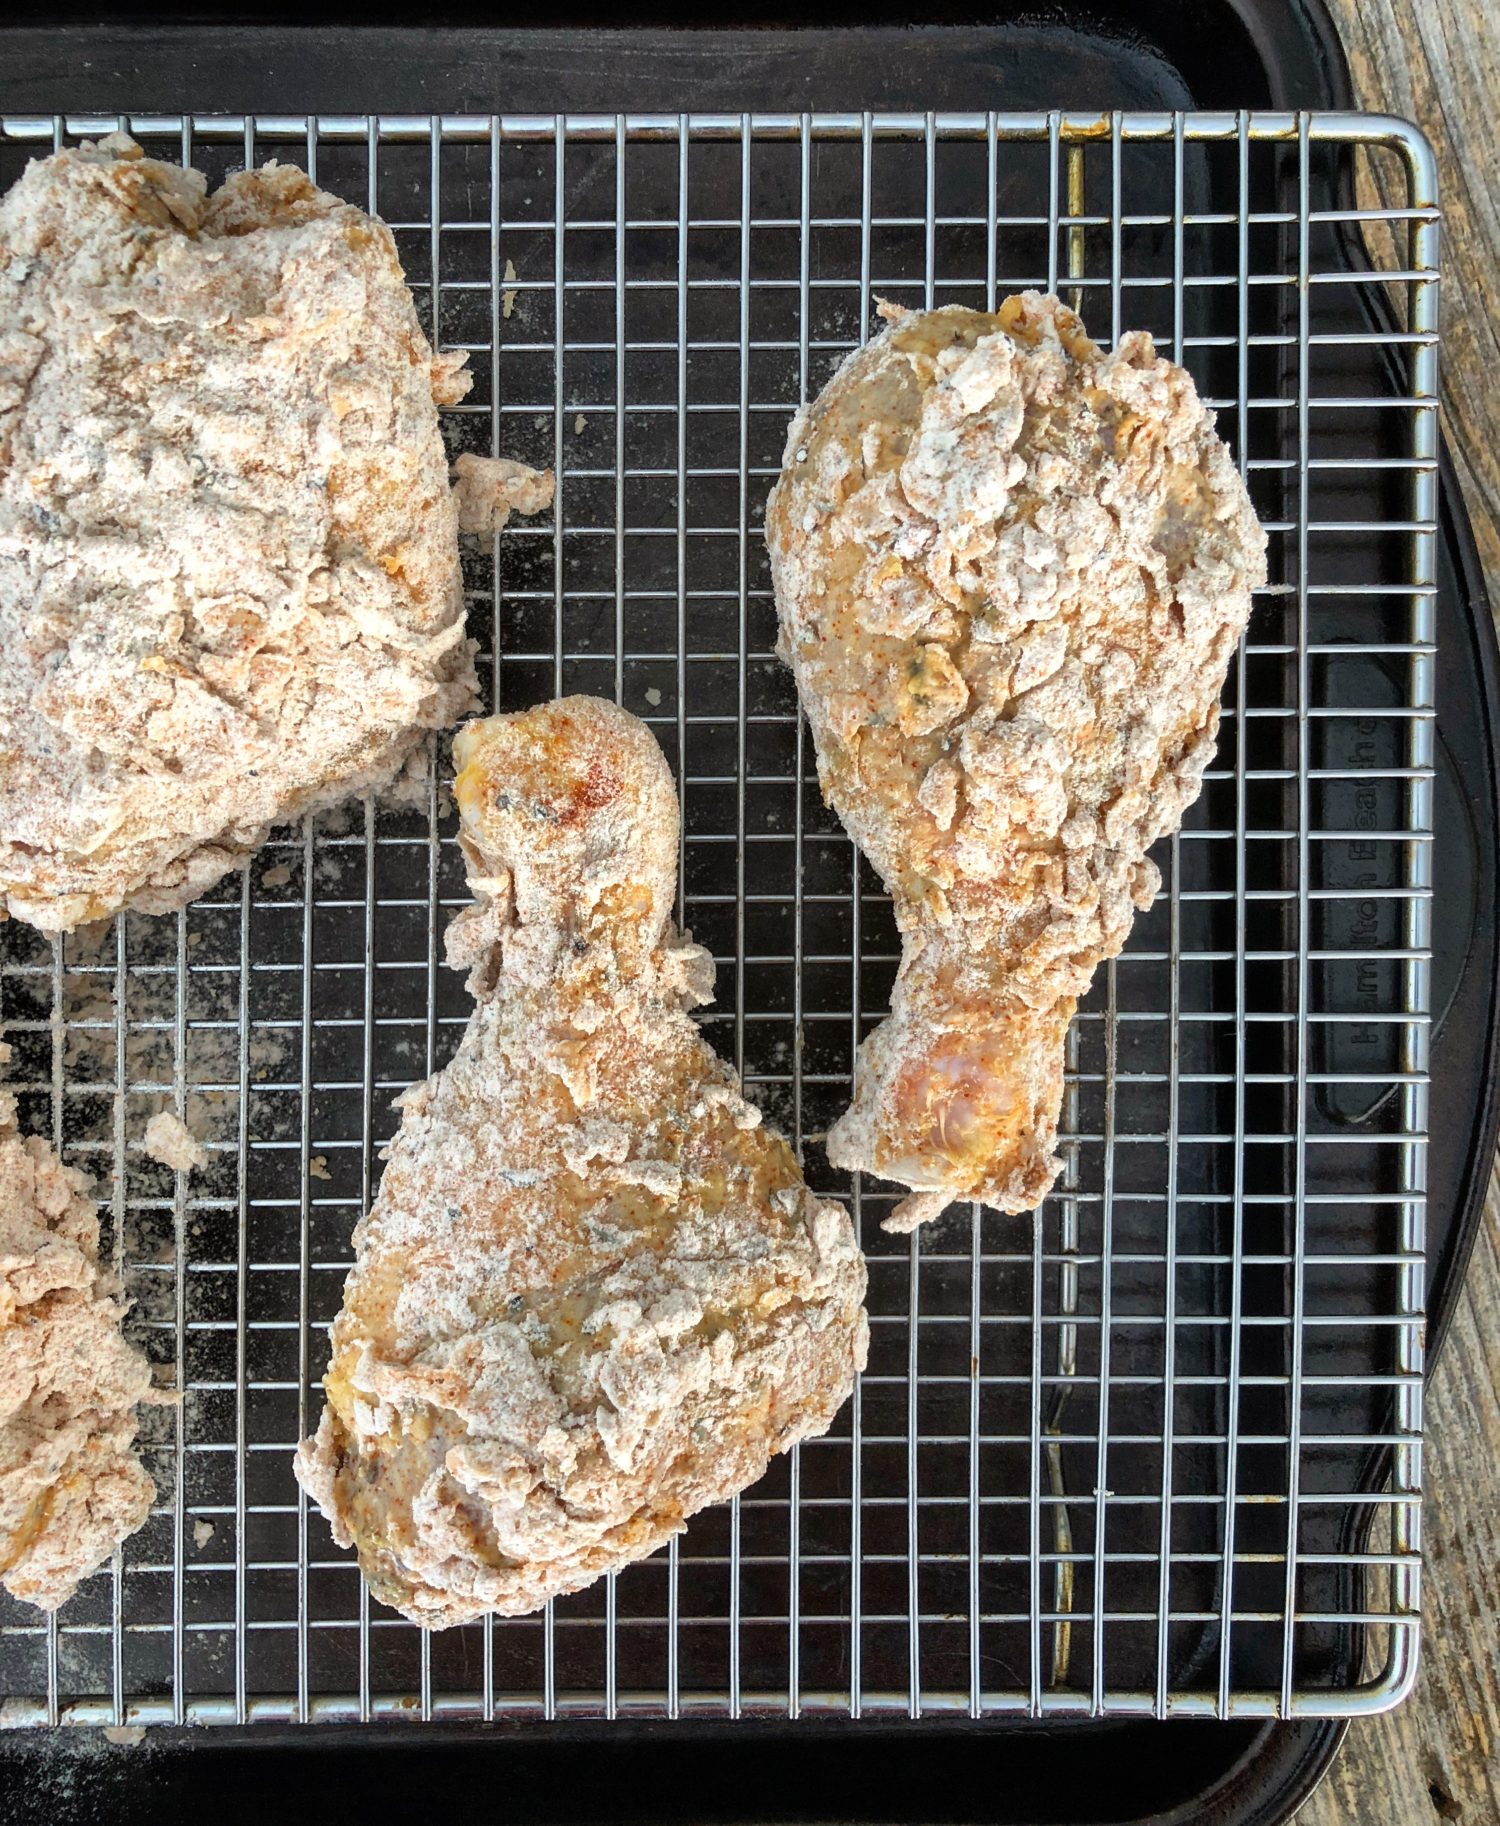
Take the 3 tbsp of brine and drizzle it over the flour mixture. Work it into the flour with your fingertips to create some lumps.
-
Shaking off any remaining brine, take each piece of chicken and first dredge through the egg mixture and then deposit it into the flour mixture. Toss to coat, pressing the coating onto the chicken to help it adhere. Place the pieces onto the cooling rack, skin side up.
-
When all the chicken has been prepared, take a little olive oil and a brush and lightly coat the chicken with the olive oil. Alternatively you can gently spray them (be careful, the spray will send some of the coating flying!)
-
Place into the middle of the oven and bake until crispy and golden. This may take between 45 and 55 minutes, depending on the size of your chicken pieces. Juices should run clear, and an internal temperature of 167F is needed.
-
Remove, sprinkle with salt, and let them rest for a few minutes before serving.

This looks fantastic. You don’t have to turn the pieces and they still get that beautiful crisp and colour all over? Even in a regular, gas oven–no convection, nothing fancy?
Hi there! These were done without turning over! Now mind you, I did use a sprayed cooling rack placed over the baking sheet, so this allowed the bottoms to not sit on the surface totally, which I am sure helped. My oven is just a normal electric oven. Nothing fancy, did not use the convection setting. You can try turning half way through, I just didn’t want to disturb the coating. Also, don’t crowd the pieces- so that the sides etc can get browned. Brushing the coating lightly with oil did help as well. You can also gently spray with olive oil spray (just not too close as the spray can be pretty strong and blow away some of the coating! Let me know how it turns out for you! Love Jen