Step aside gougères, there’s a new cheese puff in town.
 I remember the first time I baked up a batch of gougères, those amazing French cheese puffs that show up on the best appetizer spreads. It was from Patricia Wells’ cookbook, Simply French. It was a lovely recipe of course. But there was a bit of work involved. First I had to combine butter, salt and water in a pot over high heat. It came to a boil, and then I removed the pot from the heat and added the flour. Then I had to beat the batter with a wooden spoon until the mixture pulled away from the side of the pan. This usually meant my forearms were earning their keep. Then I returned the pot to a lower heat to help dry out the dough.
Then I had to transfer the dough to a mixer. I added the eggs and the cheese and mixed it all at a high speed to incorporate lots of air. It was now the consistency of thick mayonnaise. Now I had to transfer the dough to a piping bag and pipe out onto a baking sheet in 2 inch mounds. Add more cheese on top and bake for 20-25 minutes. They were lovely. But a lot of work for something that gets inhaled in a matter of moments!
But I kept making them. Because they were so yummy. And a hit when I included them in appetizer spreads. I adore the savoury cheesiness of them, and so does everyone else, it seems. But I usually had other things to attend to as well, that making them always meant preparing myself, both mentally and emotionally. I just wanted easy instead of labour intensive.
The other way that I would try and create these lovely little spheres of yumminess, was to use my aebelskiver pan. Much easier, as the batter was much easier to whip up. The only drawback with this method, is the fact that my pan only does 7 at a time. So if I was preparing appies for a crowd, it would mean standing in front of the stove, turning the batter in the pan until I had prepared enough. Meaning that I wasn’t able to do other things. Not that I resented the baking process. There is something so satisfying about turning aebelskivers and seeing the outside crust form with each rotation.
But then I found this concept. There are so many variations of this cheese puff around. Essentially it is a simplified version of Brazilian Cheese Bread. I was using one recipe for a while. And then I came across one on SimplyRecipes.com. I switched over to this one because it was even more consistent than the one I had first found. I have made some flavour adjustments to suit our tastes, and Jim loves them. This is saying A LOT! Jim is not a big bread eater. When he first looked at them, he responded with, “I’ll try one, but don’t expect me to love them, you know.” He inhaled three in a matter of moments. Score!!
This is basically a thick pancake batter. Or think pop-over or yorkshire pudding, if you make those. I put all the ingredients in a blender, so that I can pour directly from there into my mini muffin tins. It’s just an egg, olive oil, milk, cheese and tapioca flour. Or you could switch it out for arrowroot flour. Yep, this recipe is gluten-free! The choice of cheese is up to you. Some like to go exotic with blue or gruyere; some like parmesan cheese; but we like Tex-Mex blend! You read correctly. We usually have a bag of Tex-Mex blend of cheeses in the fridge or freezer, for tacos or enchiladas. So it just seemed natural to try it the first time with this cheese blend. I also added a pinch of cayenne pepper. When Jim tried this version I was told in no uncertain terms, “Don’t change a thing.” I haven’t.
Since it is a quick whiz in a good blender and then poured into buttered muffin tins, this is soooooo much easier than gougères. They are in the oven for about 18-20 minutes, till golden brown. They puff up perfectly, just like popovers. But they are still cheesy on the inside.
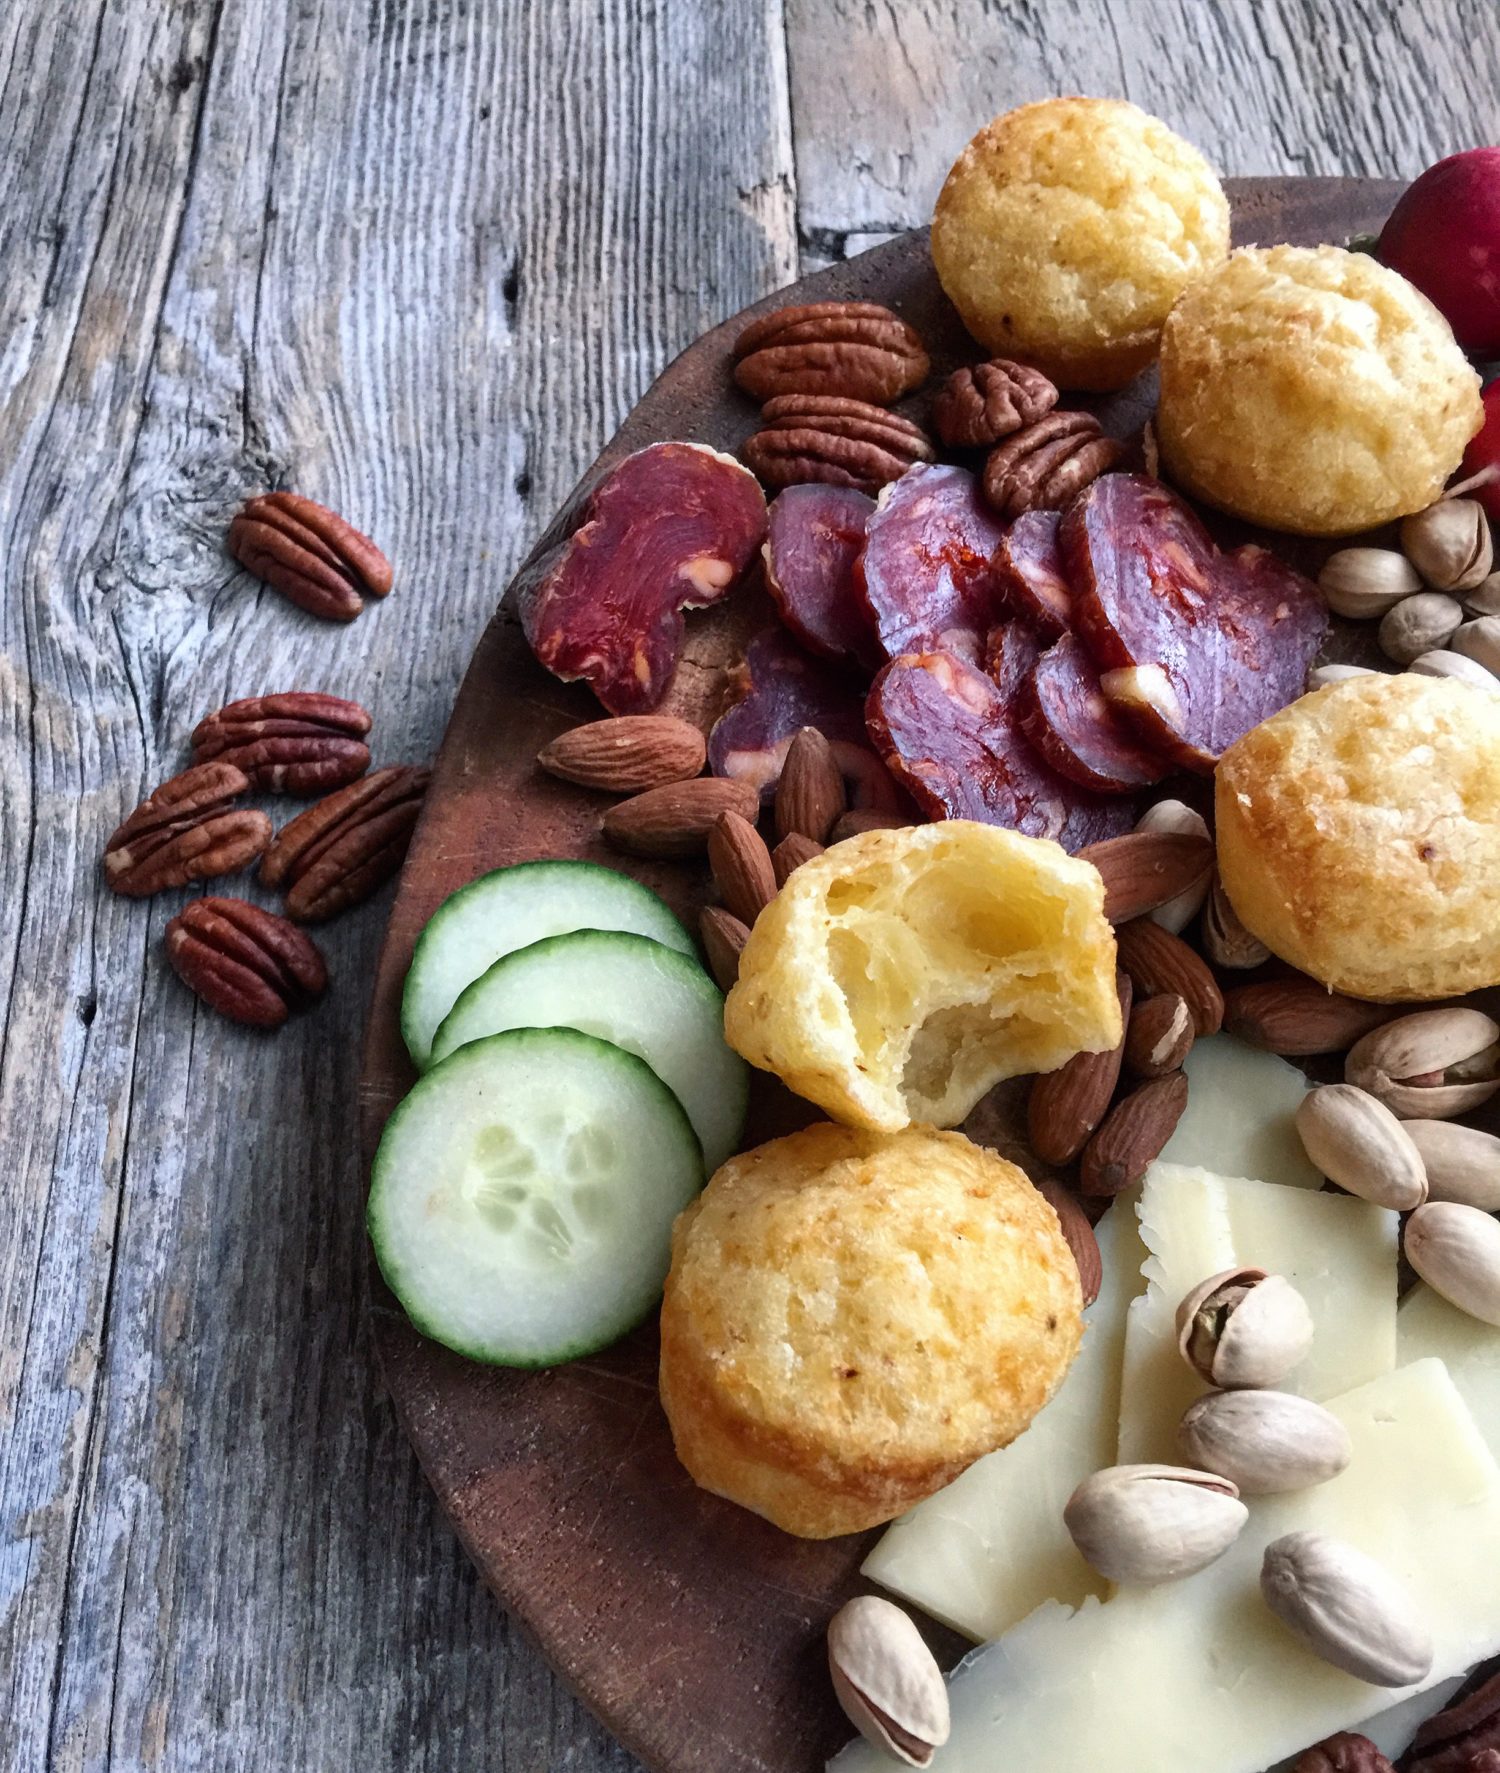
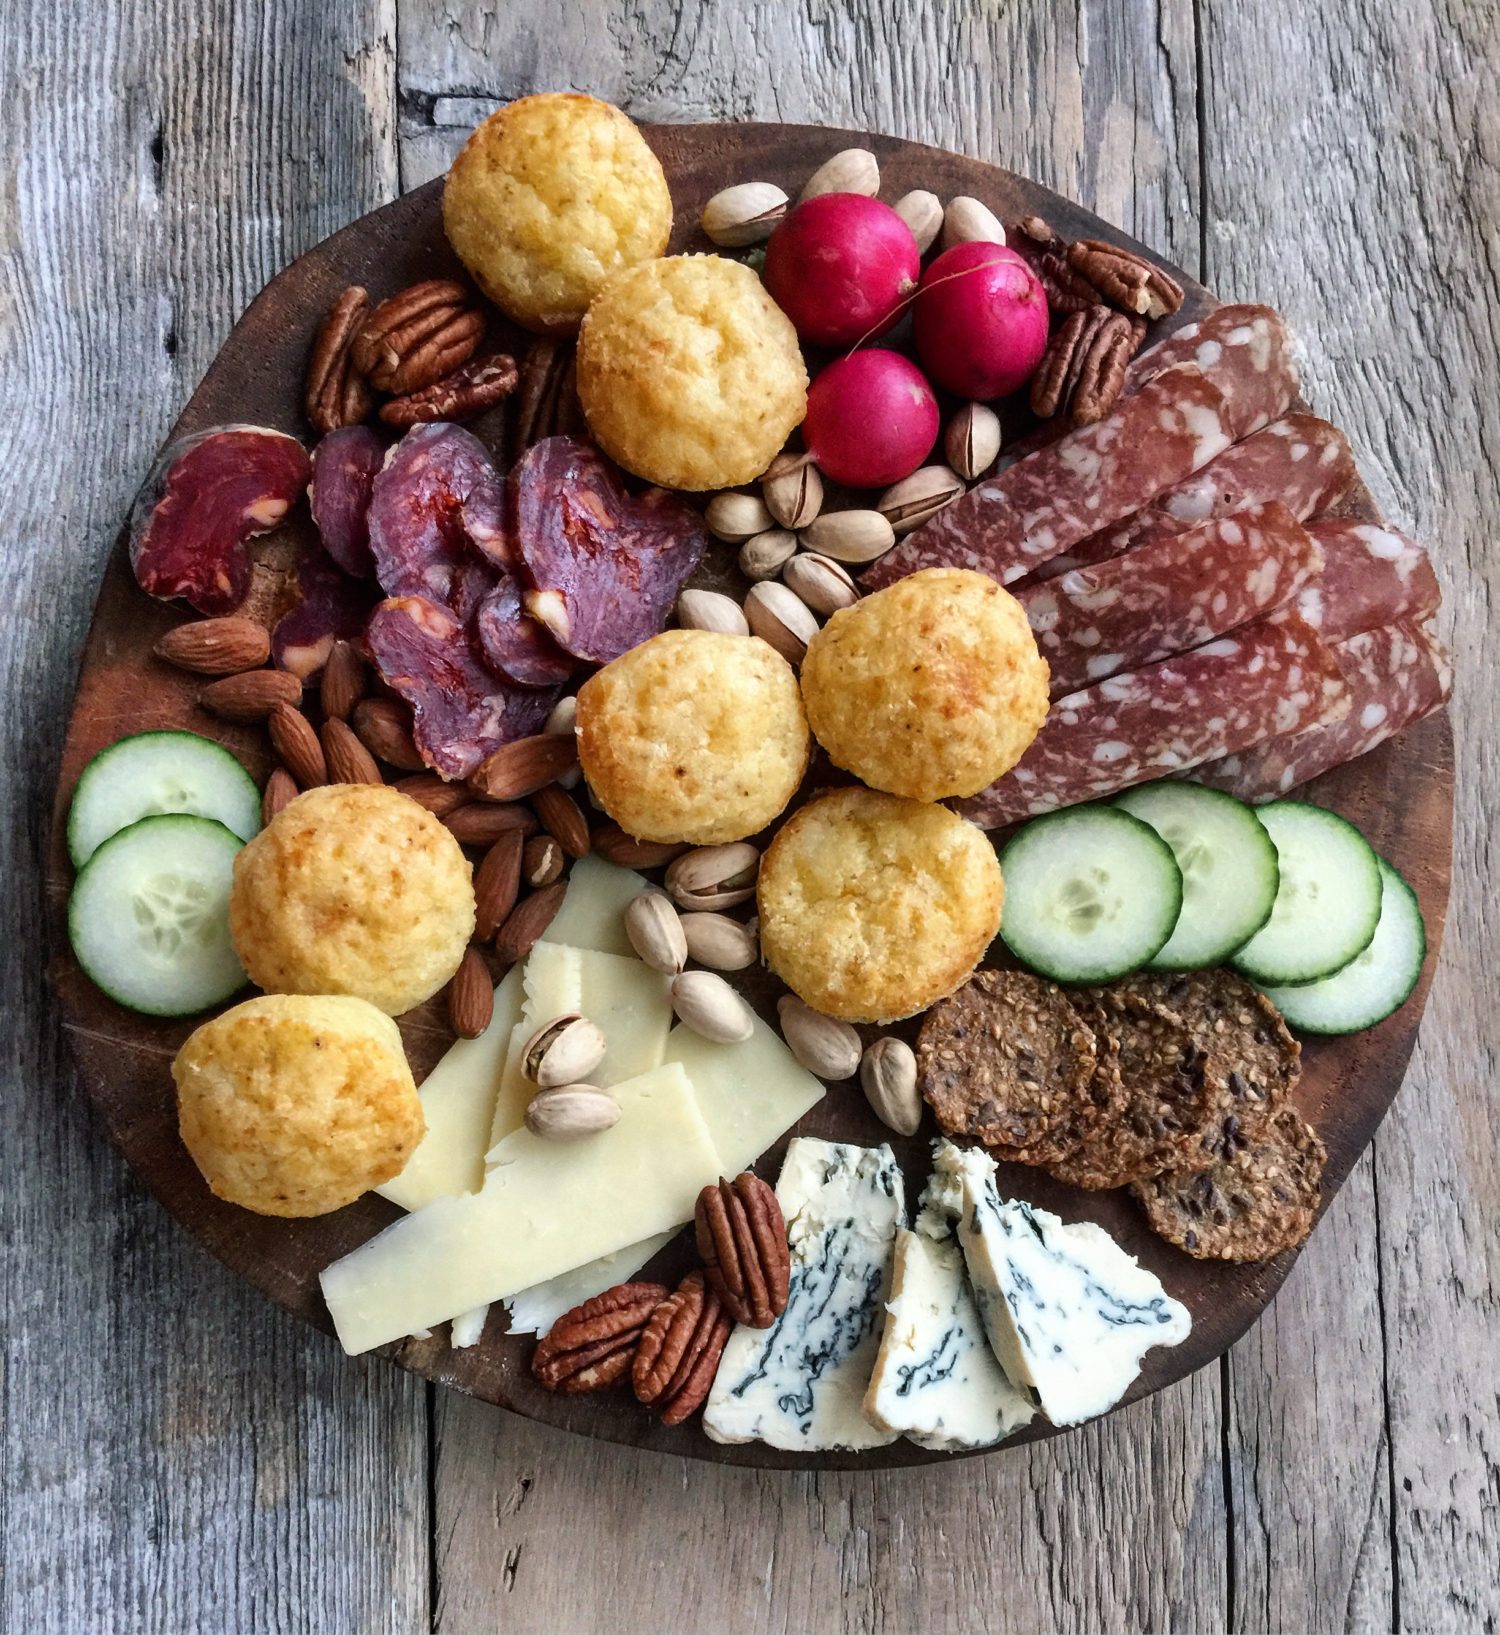
The fun way to serve them is on a charcuterie board. They make for perfect finger food. A lovely bite to enjoy a glass of bubbly with. And for those of you planning a party thinking that you may not have time to whip these up before company arrives, prepare them in the morning or even the day before and keep in a sealed container. Then, just before you want to serve them, warm them through in a preheated 300F oven. It should only take about 6-8 minutes.
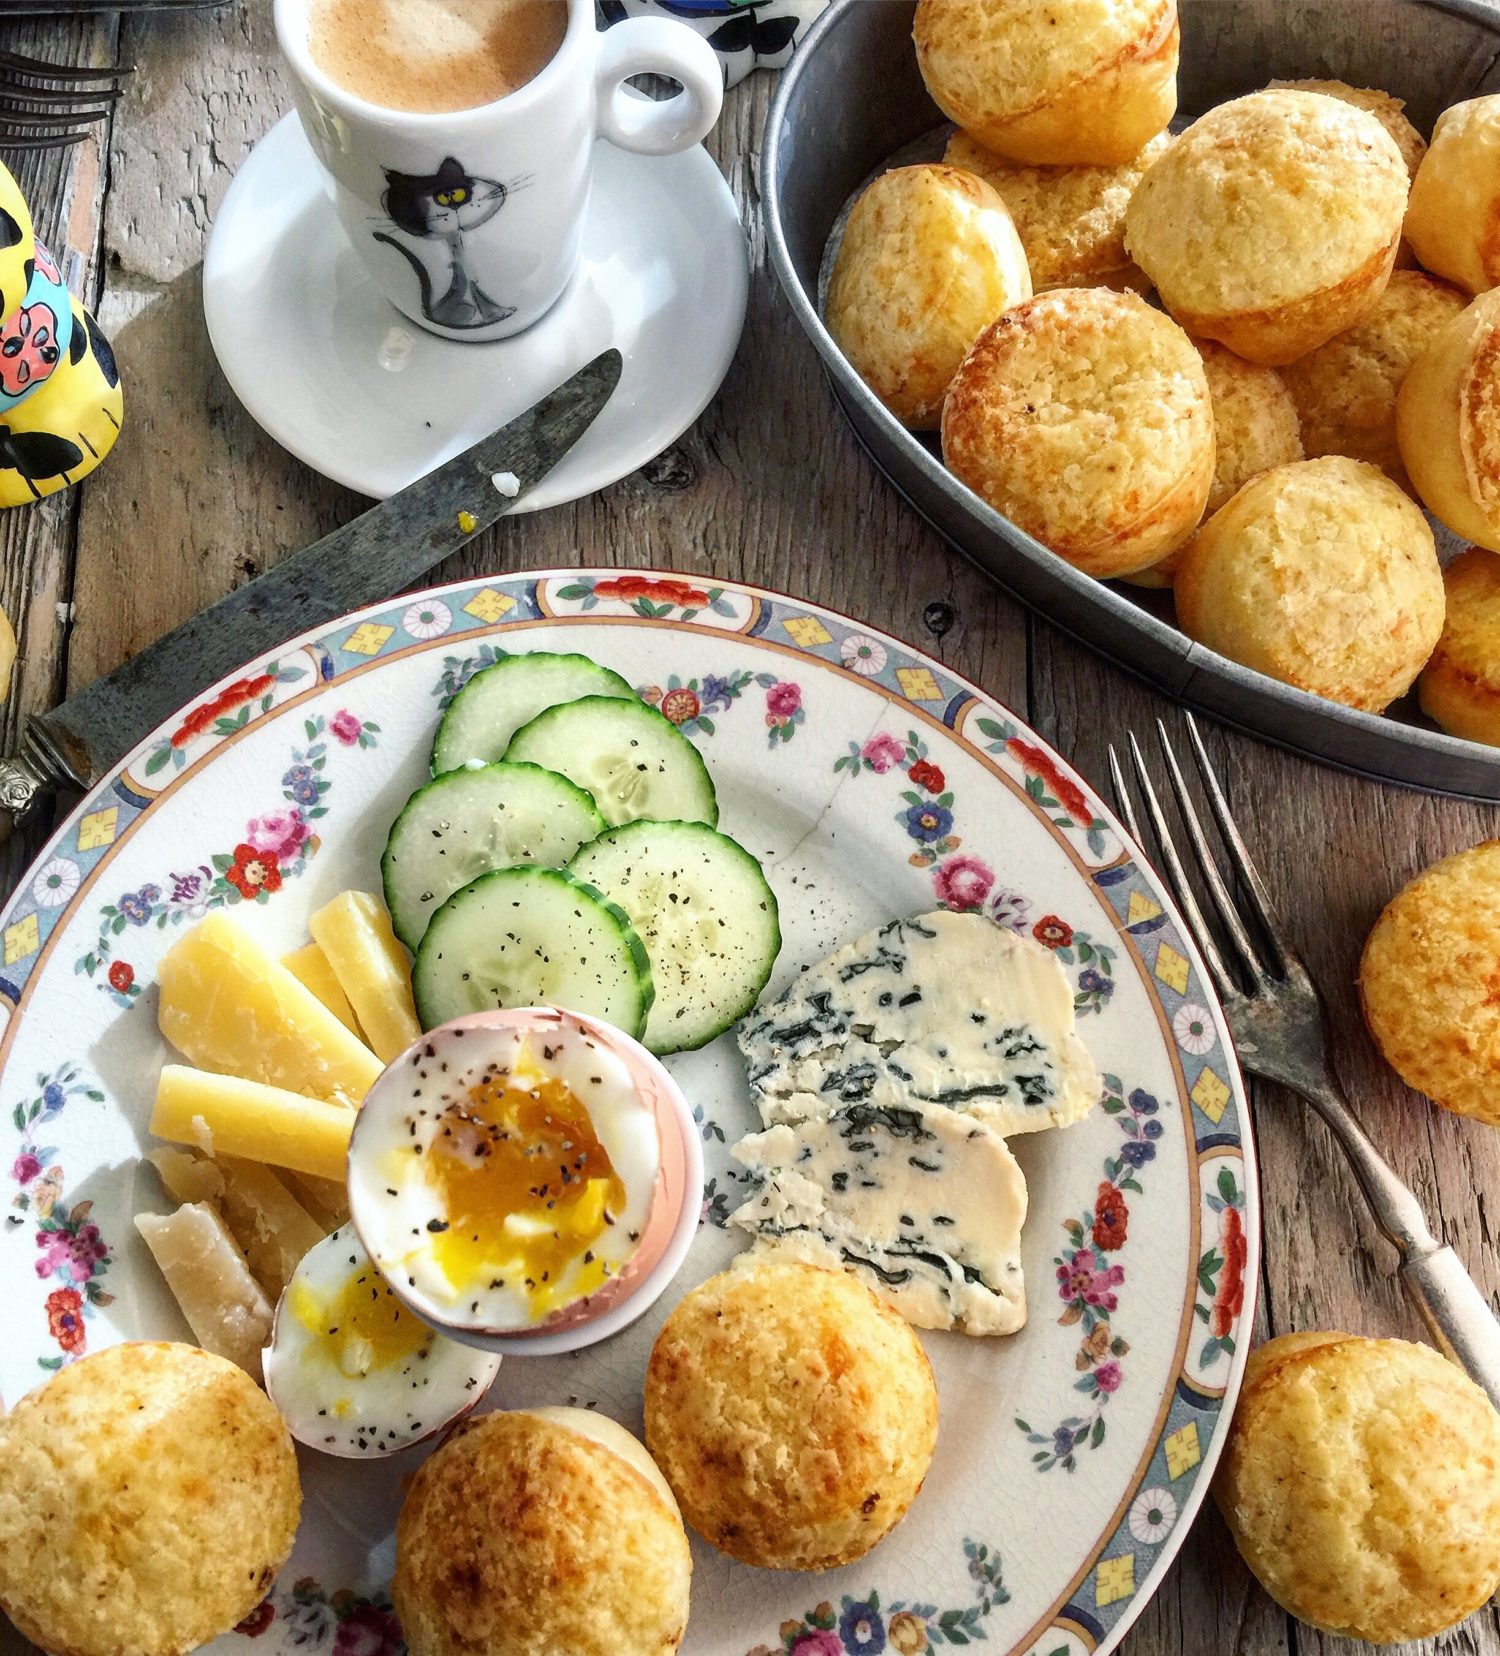
Having said that, the other way we love them, is at breakfast. Because sometimes you don’t know whether you want pancakes or toast or waffles. So then why not just leave all those options aside and whip up these babies instead!!
Love Jen.


Easy Peasy Cheese Puffs
So simple to throw together cheese puff, these have the kick of cayenne pepper and Tex-Mex cheese blend. Perfect on a charcuterie board or to nibble with a glass of champagne.
Ingredients
- 1 room temperature egg (or put in a bowl of warm water to bring up to temperature)
- 1/3 cup olive oil
- 2/3 cup milk
- 1 1/2 cups (170 grams) tapioca flour
- 1/4 tsp kosher salt
- 1/2 cup (packed, about 66 grams) Tex-Mex blend grated cheese (or other cheese you'd prefer, such as emmenthal, gruyere, feta, parmesan etc
- 1/8-1/4 tsp cayenne pepper depending on how 'warm' you want them!
Instructions
-
Preheat oven to 400°F. Spray or spread a little olive oil around the insides of each well of a mini-muffin tin. Place the muffin tin(s) onto a baking sheet for easy transferring in and out of the oven.
-
Put all of the ingredients into a blender and pulse until smooth. You may need to use a spatula to scrape down the sides of the blender so that everything gets blended well. At this point you can store the batter in the refrigerator for up to a week. The batter will thicken up, so bring it back to room temperature and whisk it up again to loosen it for pouring.
-
Pour batter into prepared mini-muffin tin, not quite to the top; leave about 1/8 inch from the top.
-
Bake in the oven for 18-20 minutes, until all puffy and just lightly browned. Remove from oven and let cool on a rack for a moment. Then use a sharp knife to loosen the puffs from the edges and the bottom. Eat warm. Perfect with sparkling wine!
Recipe Notes
Eat while warm or save to reheat later. These can be stored in a sealed container for a few days and reheated in a 300F oven for about 8 minutes.
Adapted from Simply Recipes Easy Brazilian Cheese Bread

Thank you so much for this recipe. I can’t wait to make them, they look lovely!
Hi Julie! My pleasure. You’ll love how easy these come together. Enjoy, Jen
These look lovely. Can they be made with another type of flour (eg regular wheat flour or cornstarch)?
Hi Jo, I have never made them with a different flour. These are iconically Brazilian, and I stuck to the traditional method. If you do use a different flour/starch and it works, please let me know how it turns out! Love Jen
Hi Jen, I made them using 2/3 rice flour and 1/3 cornstarch. They rose nicely and tasted very good. I also used a lot of hot smoked paprika, because I wanted a depth beyond cheese. The interior did not have that super-light ‘popover’ consistency which I can see yours have, in one of the photos in the post. However they got lots of compliments and were all eaten. I was using them as part of a selection of ‘savouries’ for a High Tea. Nice to bring a bit of Brazil into this British tradition – and especially as I’m living in the Netherlands it is all quite exotic!
Hi Jo, they sound lovely! I’m happy you were able to come up with a perfect nibble to add to your high tea!