I always loved the look of those luscious strawberry pies you see behind glass domes on diner counters- the large whole strawberries suspended in a glaze, so cheery bright and sweet, it was impossible to not order a slice.
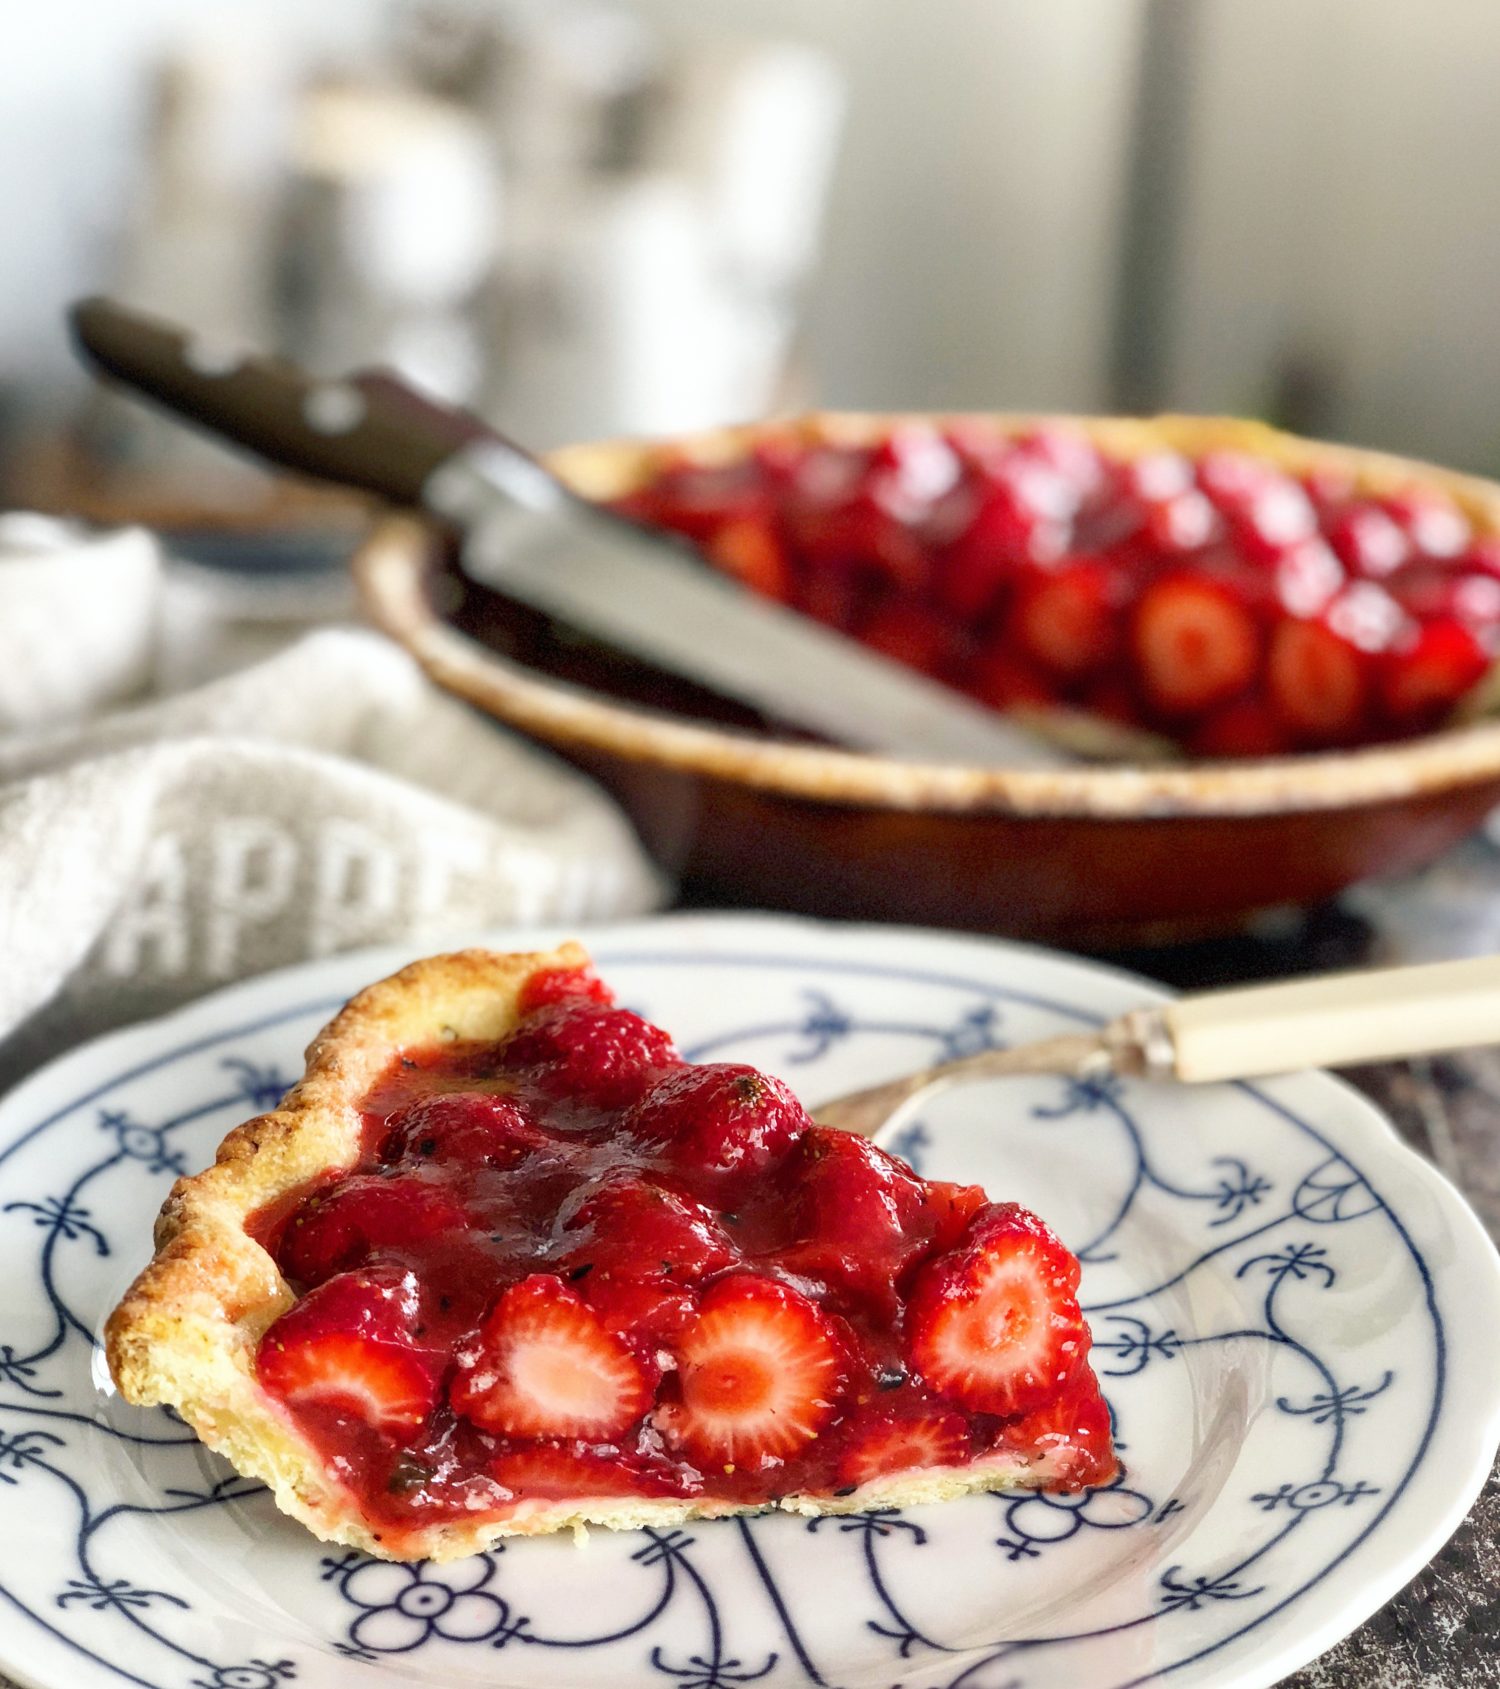 But what I never really liked was the glaze! Sometimes it was so goopy and overly sweet. And to make it requires either gelatin or jello of some sort. I rarely have gelatin in the pantry, and I never have Jell-O! But I wanted to make this pie, what with all the strawberries just hitting the farmers markets this week here in Ontario.
Then I remembered my Fresh Blueberry Pie. It has a compote made of blueberries cooked down with sugar and cornstarch (or arrowroot starch) It becomes the ‘glue’ that holds all the fresh uncooked berries together once they hit the pie shell. Surely something like this could work with strawberries. I would have to compensate for the fact that strawberries are more watery than blueberries. But I didn’t want to go overboard with the cornstarch either. So I thought about another way of creating the adhering ability of the berries. Strawberry jam. It is filled with pectin (a natural thickener found in fruit- especially apples, pears) so that the jam isn’t soup when you open the jar to stick your spoon in. What if I added some jam to the strawberry ‘compote’ I would create on the stove top? That should work.
So I tried it once. I chopped up the berries I would use as the ‘glaze’ and added them to a small sauce pan. I added sugar, the jam, and some lemon juice. Once it had heated up and the berries were starting to break down further, I added a cornstarch slurry. It all came together really well. Yay!! After it had thickened up, I removed the pot from the stove and added in about 4 cups of fresh berries and coated them in the glaze. This all got poured into a baked and cooled pie shell. After it had set up properly, I served it to understanding friends (my regular taste testers!) with some whipped cream. It was a hit!! Now, I felt that it could have set up even a bit more, but everyone else said it was perfect. I took their verdict with a grain of salt, and decided to make another pie the next day. Fine, I actually had to make another pie because Jim was away and didn’t get a piece, and was quite vocal about how I must not love him (or something along those lines!)
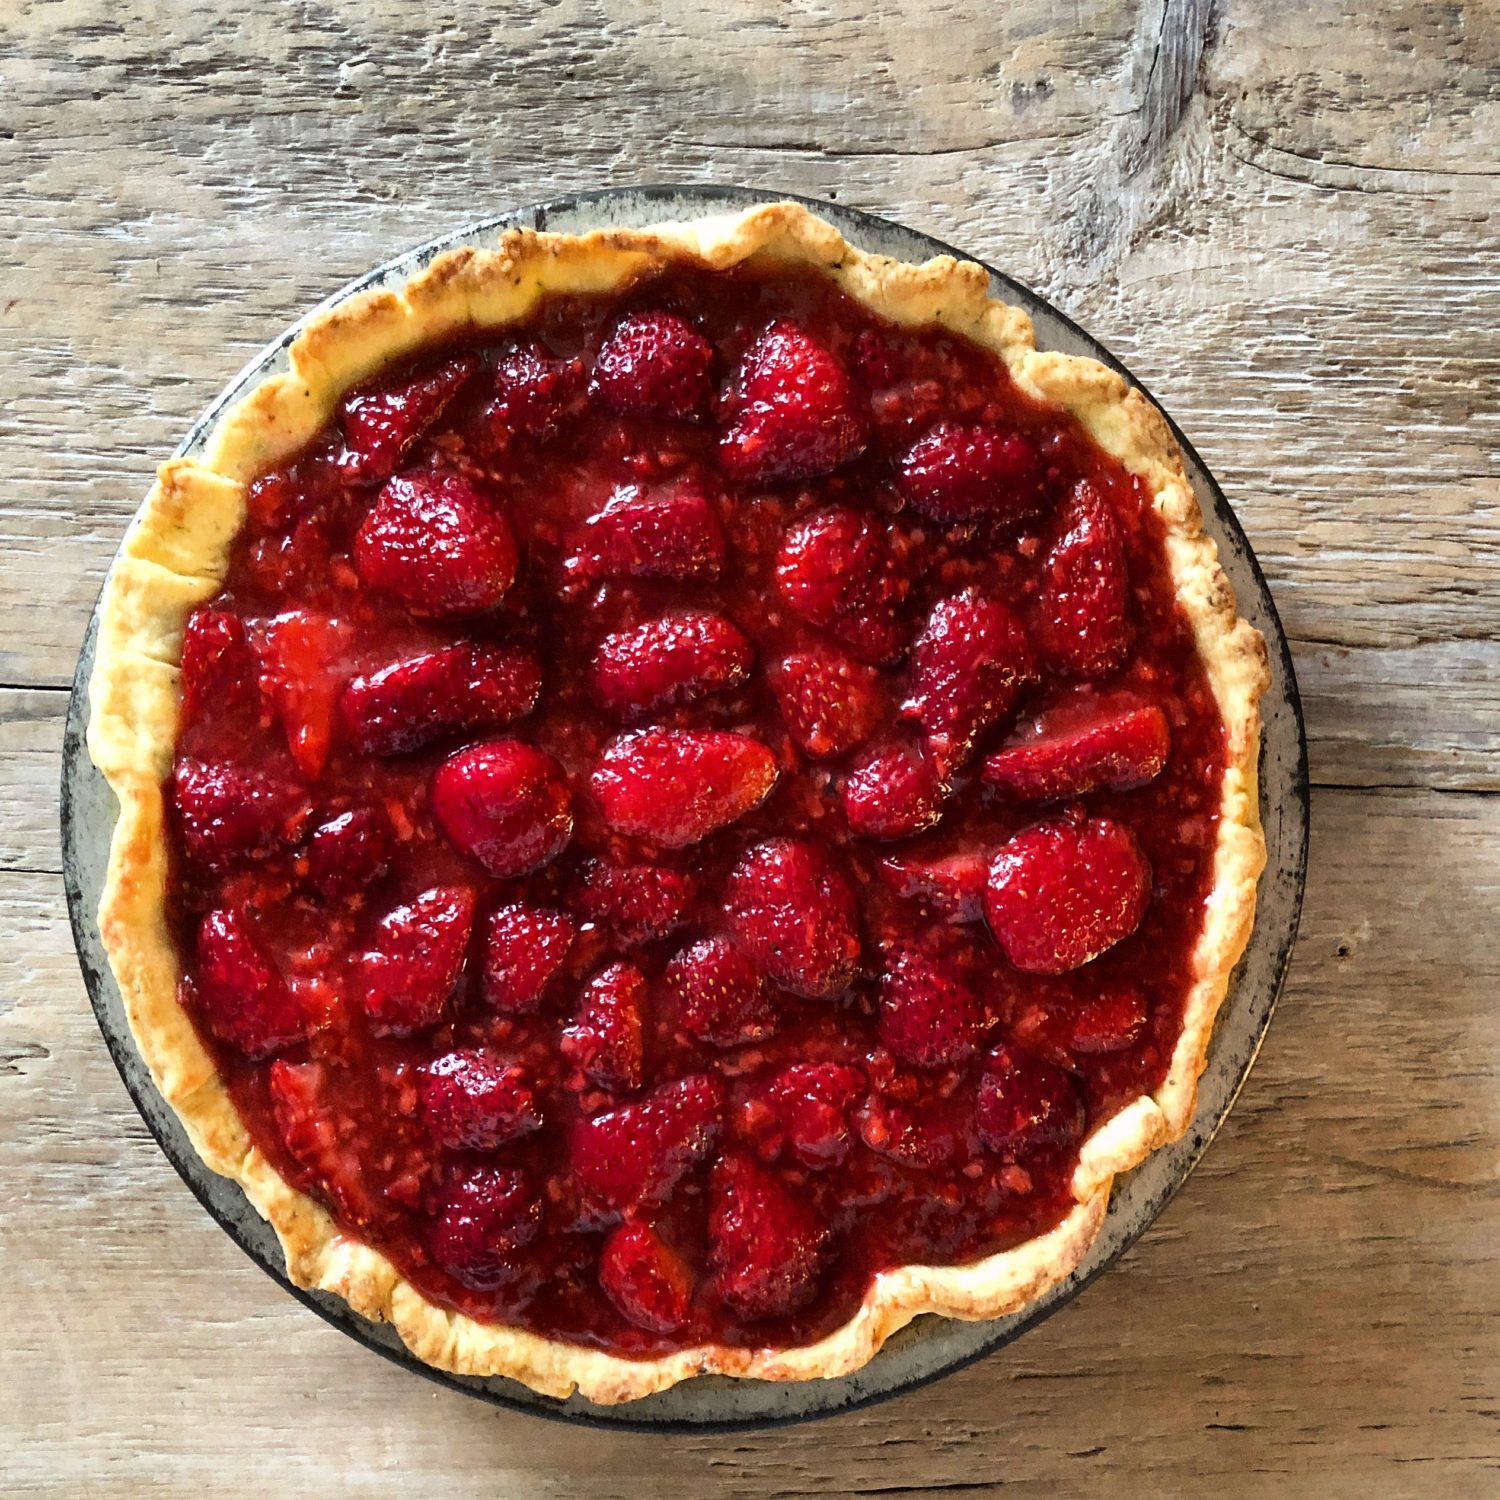
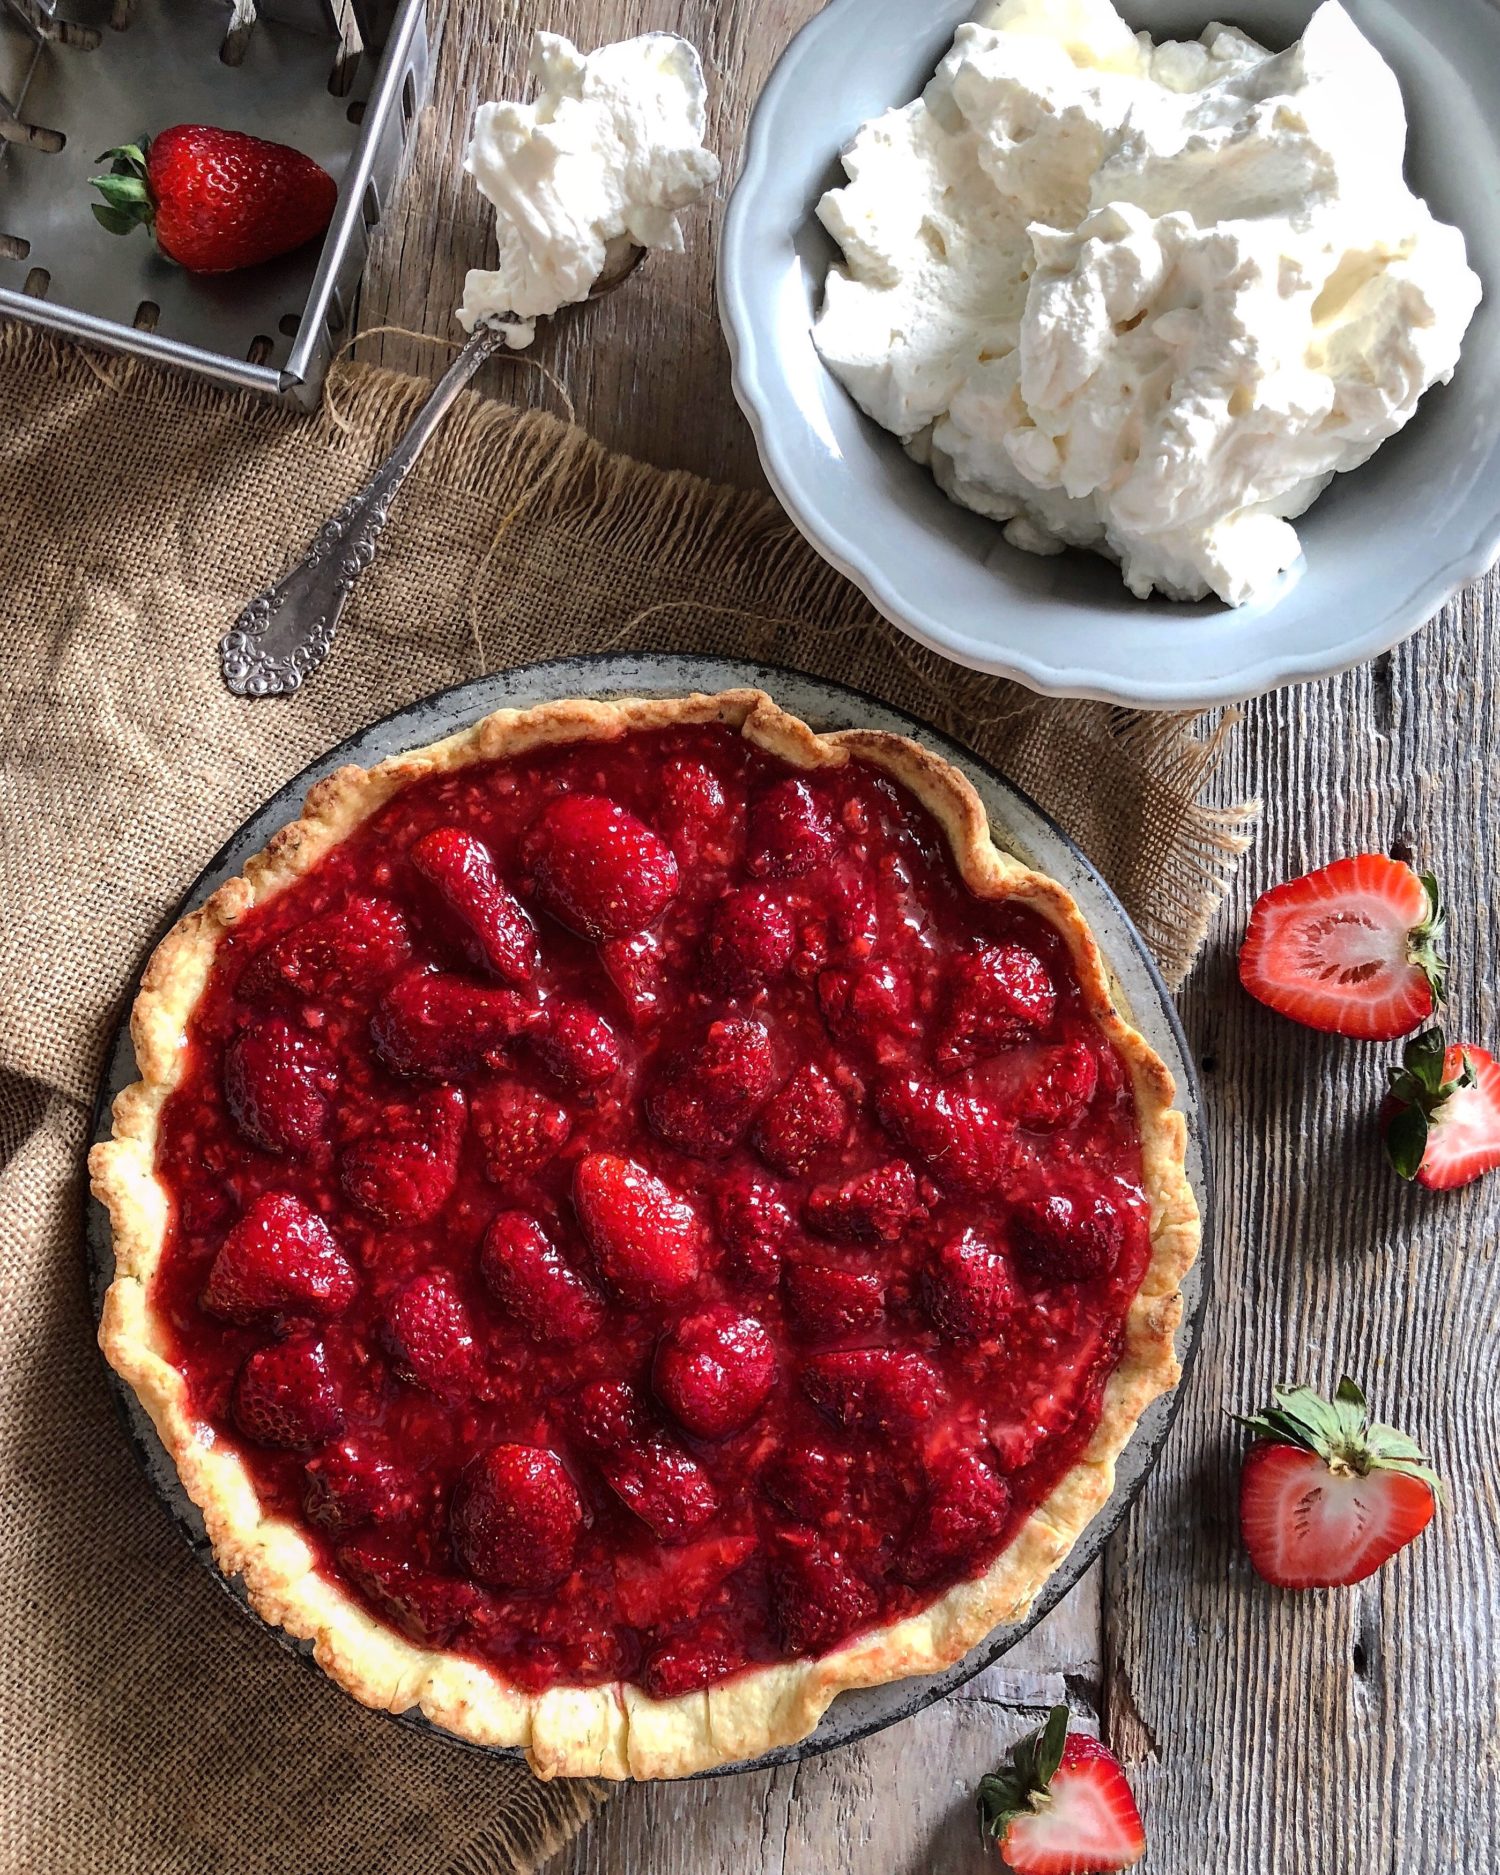
Back to the kitchen and another strawberry pie. I wasn’t thrilled with the texture where bits of the berries made up part of the ‘glaze’, so this time I puréed the berries first that I would be using for the ‘glaze’. I put them in the Vitamix and they came out completely smooth. This then got heated up with the sugar and lemon juice. Again I added the cornstarch slurry. Everything thickened up beautifully. I tasted it, and remembering one of the reactions my mouth got with the first pie, I realized that it was missing something. I had added some salt to bring out the brightness of the fruit. But it still tasted kind of…flat sweet. So I turned to my trusty spice cupboard and stared. Then it hit me. Urfa Biber. That smokey, almost raisin-like black pepper from Turkey. It would add a depth to the flavour, as well a warm bite to break through the sweetness. So I sprinkled in just about 1/6 tsp! I know- not 1/8 or 1/4. The one is not enough, and the other is too much.
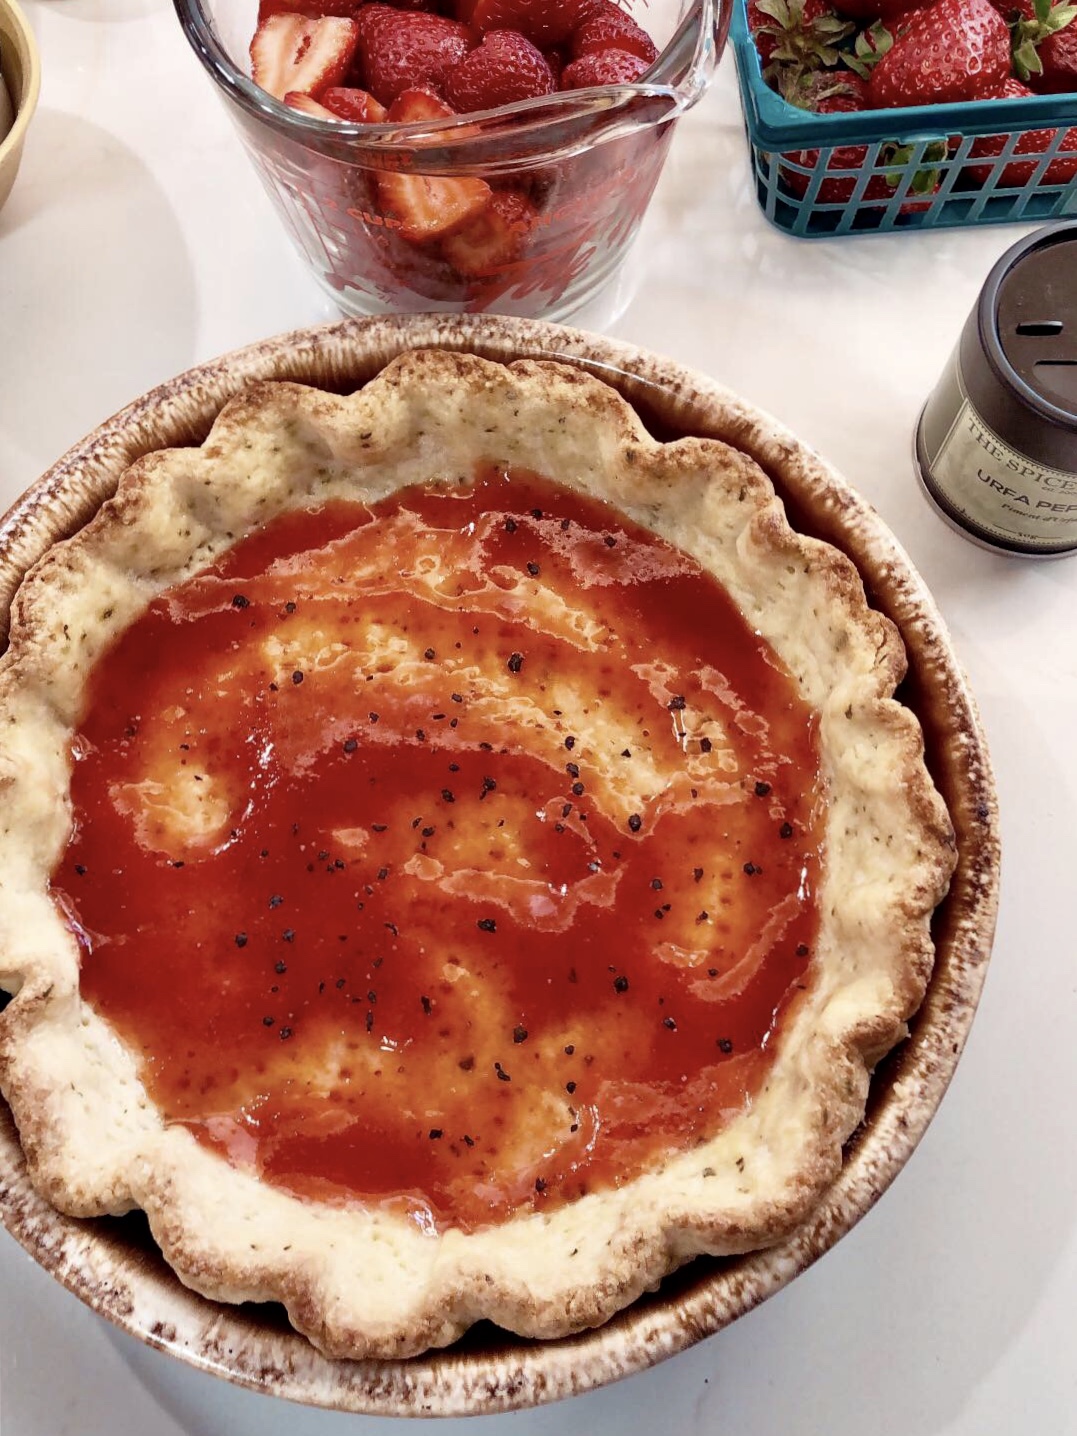
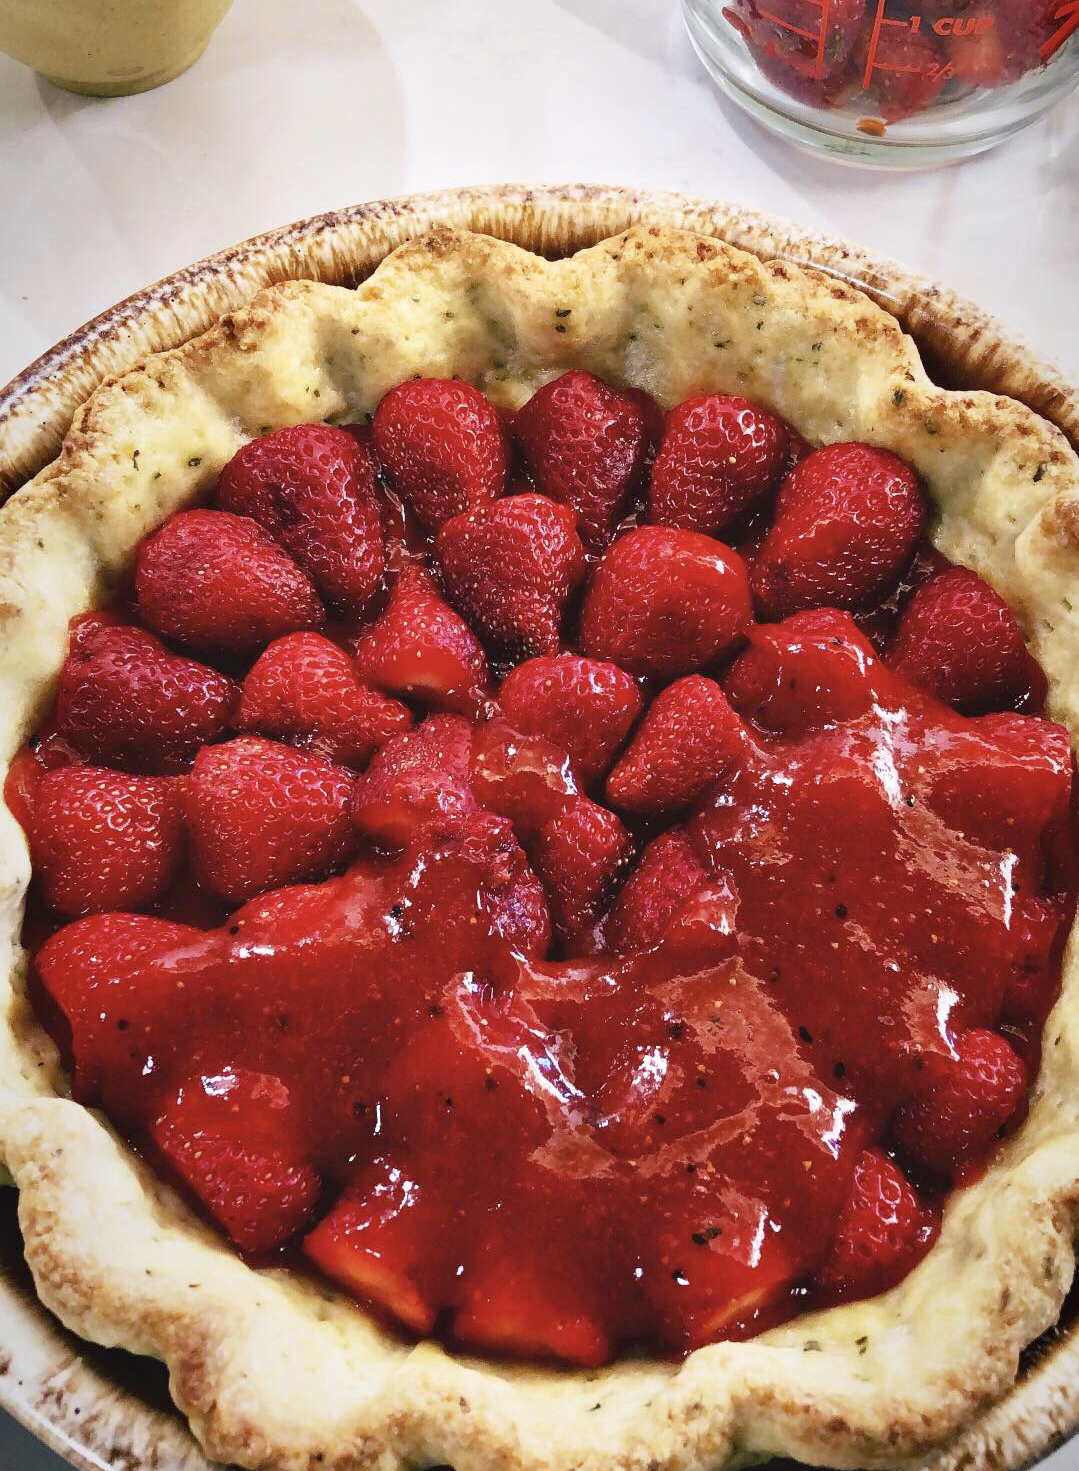
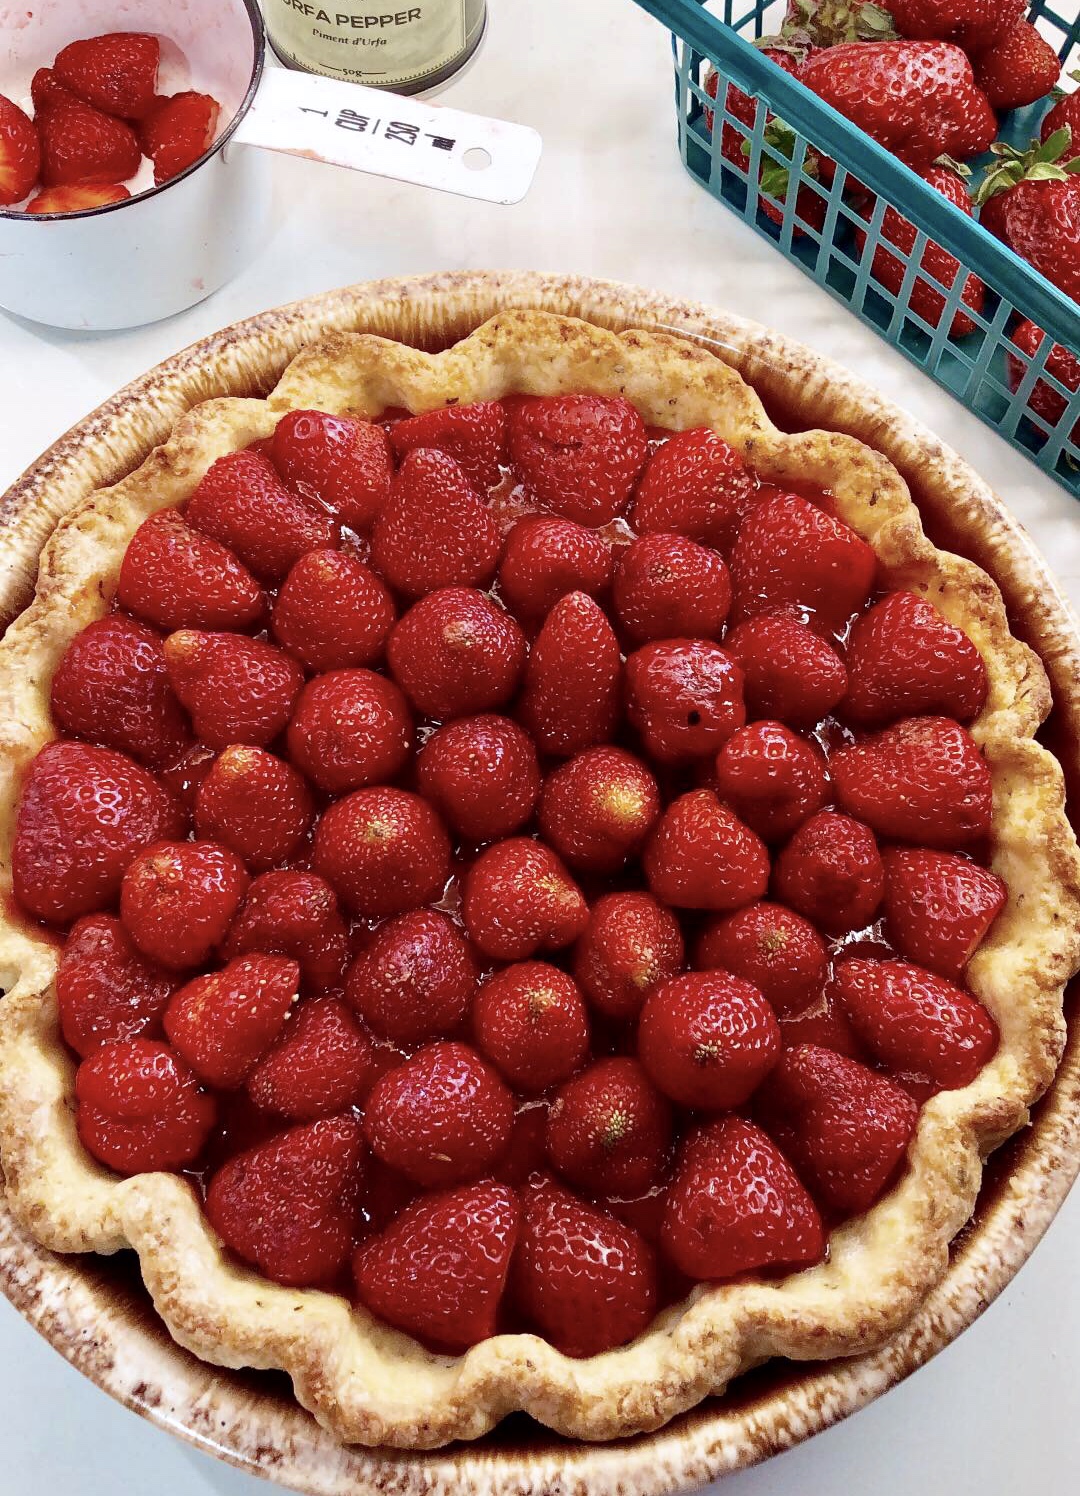
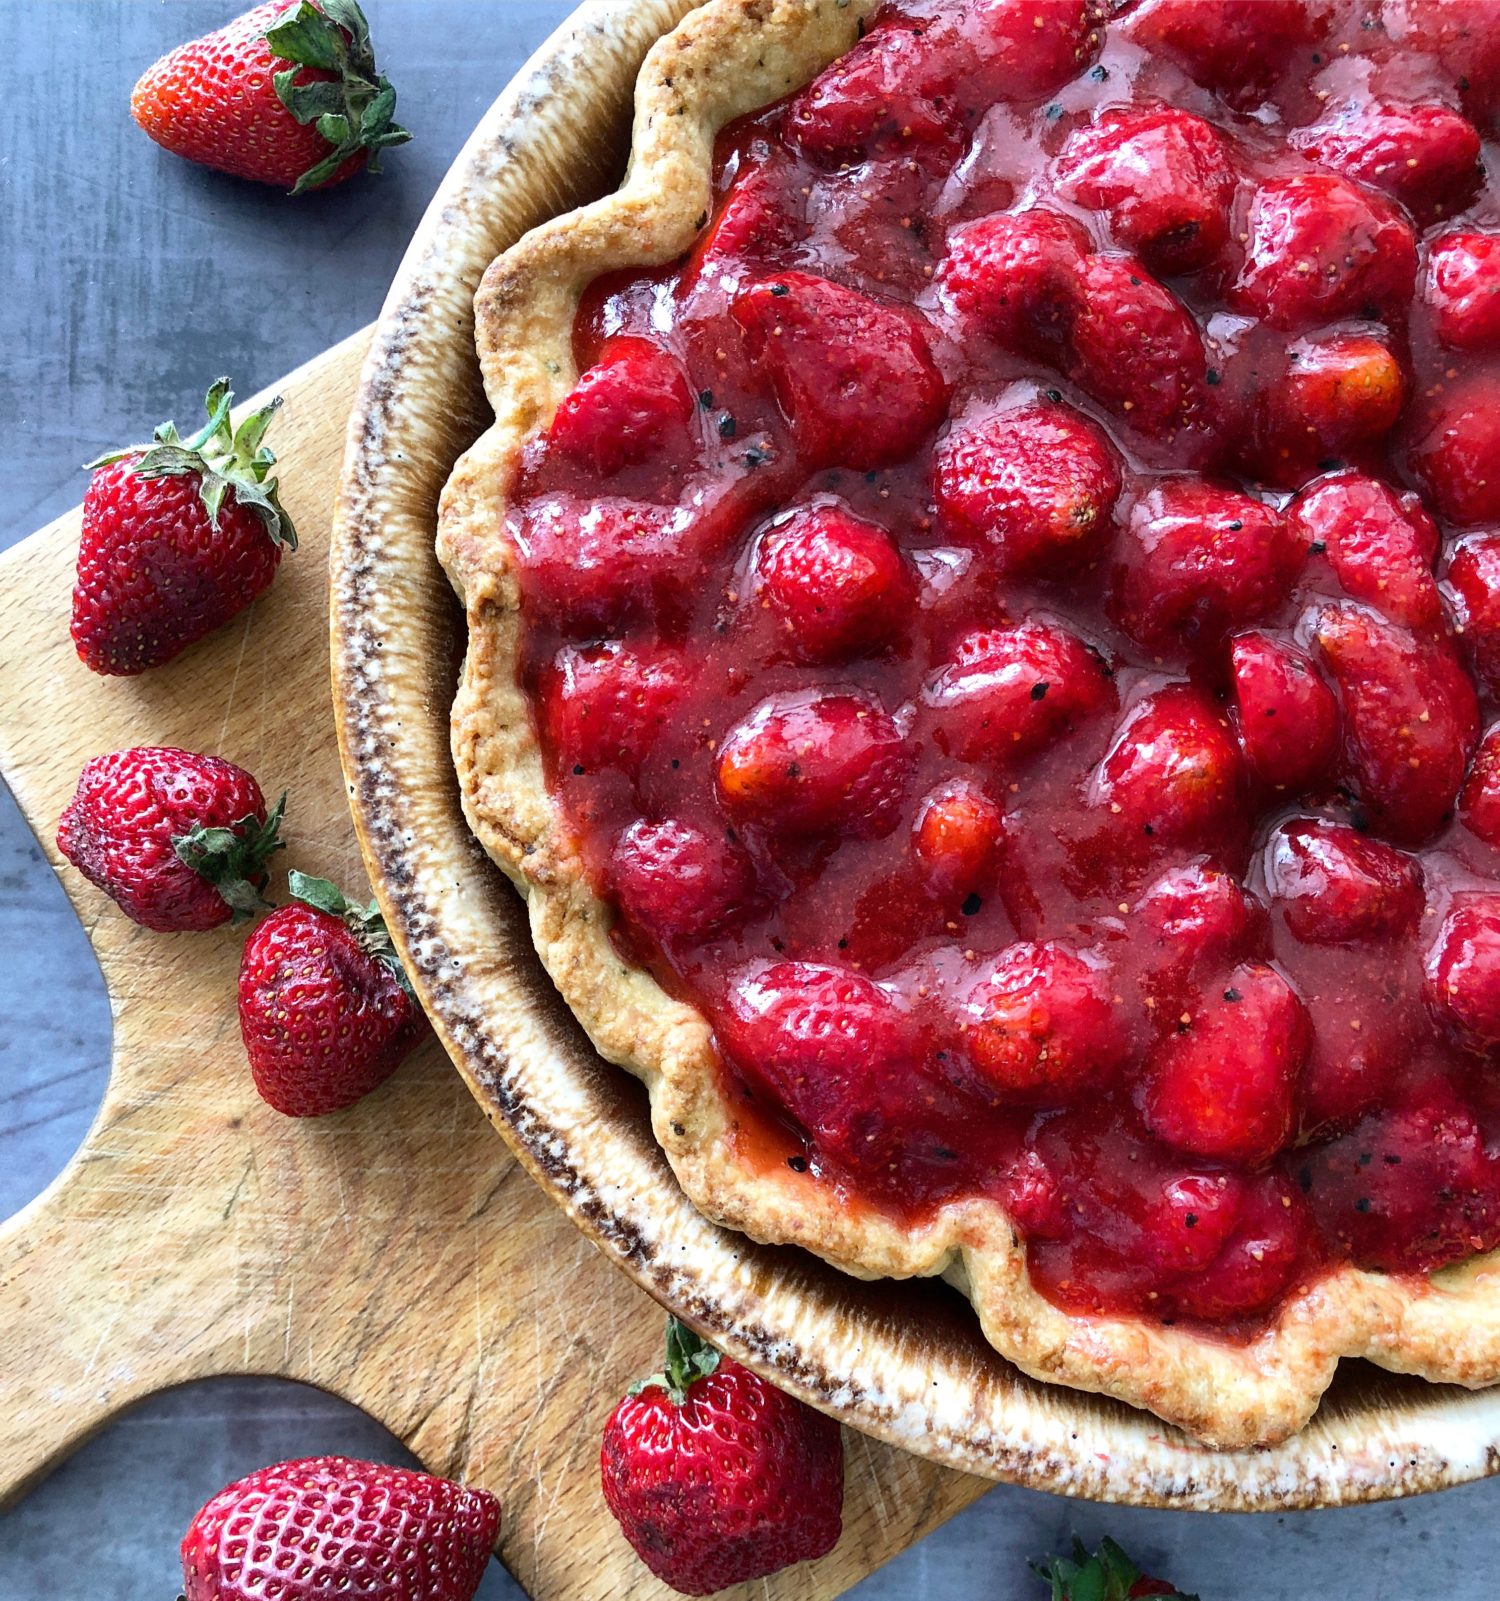
This time around though, I did things differently. I spread out a thin layer of the glaze across the bottom of the cooled pie shell. Then I laid out a layer of the berries. Depending on the size of the berries, I kept some whole, and the larger ones I cut in half. I wasn’t using the mammoth berries that come from California. I was using local berries, so they are somewhat smaller. Most of the halved berries became the first layer. Then I spooned some more glaze over these berries. Then another layer, this time using up the halved berries around the edges, and the whole berries all throughout the middle of the pie. The final bit of glaze covered these berries. I used a small spoon to make sure the glaze got into all the nooks and crannies. And then it was time to go into the fridge to set everything.
Jim came home last night after a meeting, and was sooo appreciative that there was now a pie all for him! Don’t worry, he’s sharing with me 🙂
Oooh, forgot to mention. The crust. So this time around, instead of using fresh chopped mint in the pastry, I opted for fresh basil. Basil and strawberries go so well together. It’s a wonderful under-note, and those precious specks of green make for a lovely presentation. And speaking of presentation, just go for it: copious amounts of whipped cream! I just sweetened mine a bit with sugar and vanilla. But you could add a splash of rum as well. Just sayin’!
Note: When slicing up this pie, please use a good serrated knife. Use a back and forth slicing motion to cut through the berries, instead of pushing down on them expecting the knife to just slide through the fruit. It won’t The berries aren’t cooked, so there will be some resistance. Using a good knife and the right cutting motion will ensure that the berries stay intact and don’t push down and separate from the glaze. I use a small offset spatula to remove the pieces of pie from the plate.
Love Jen
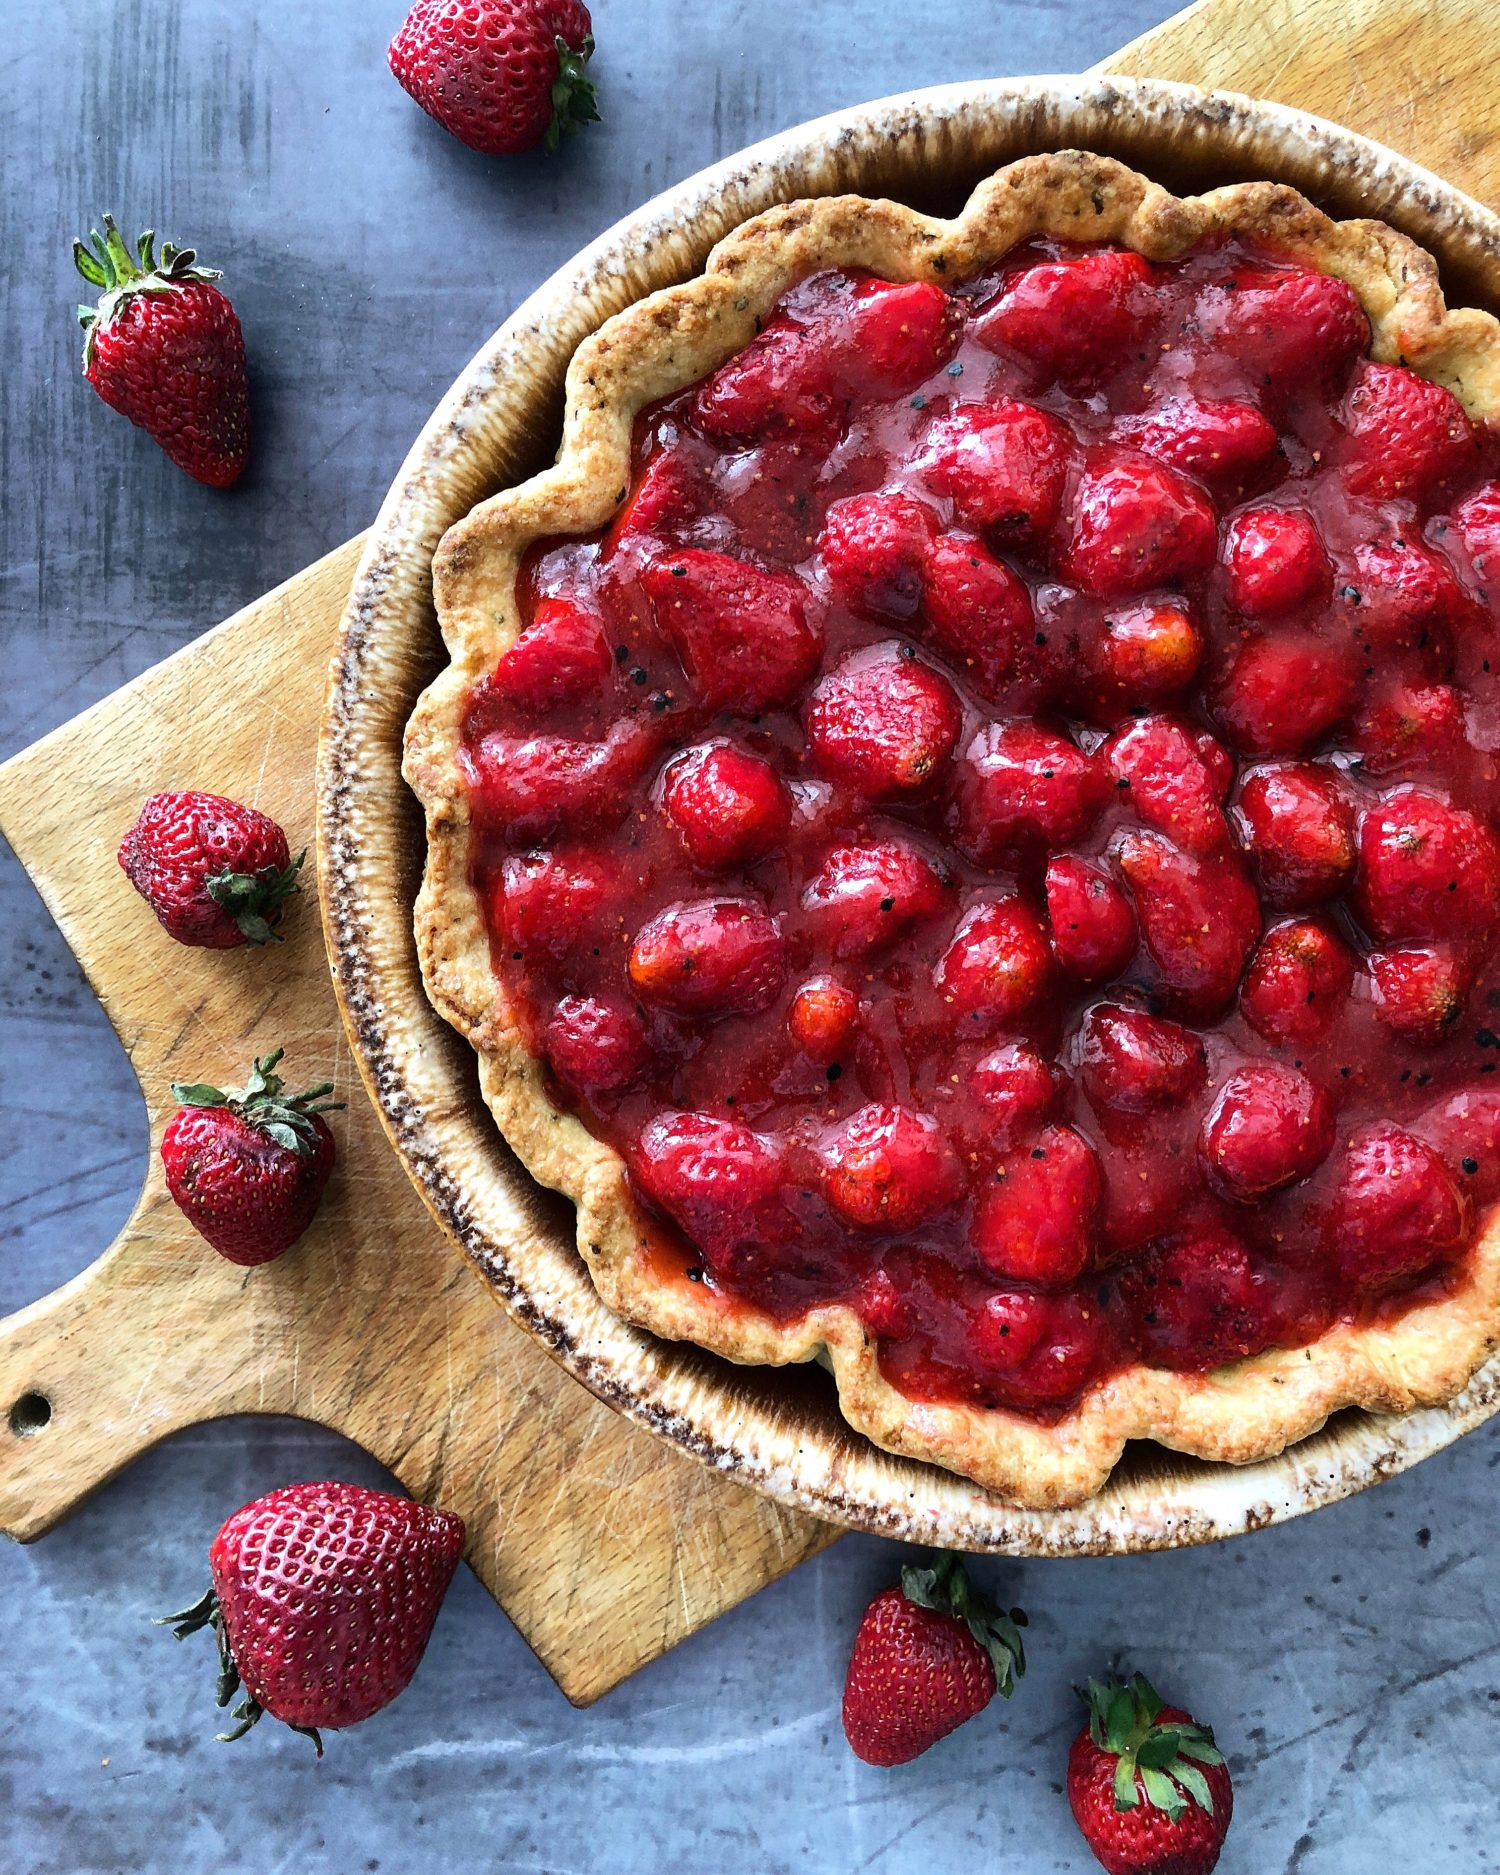
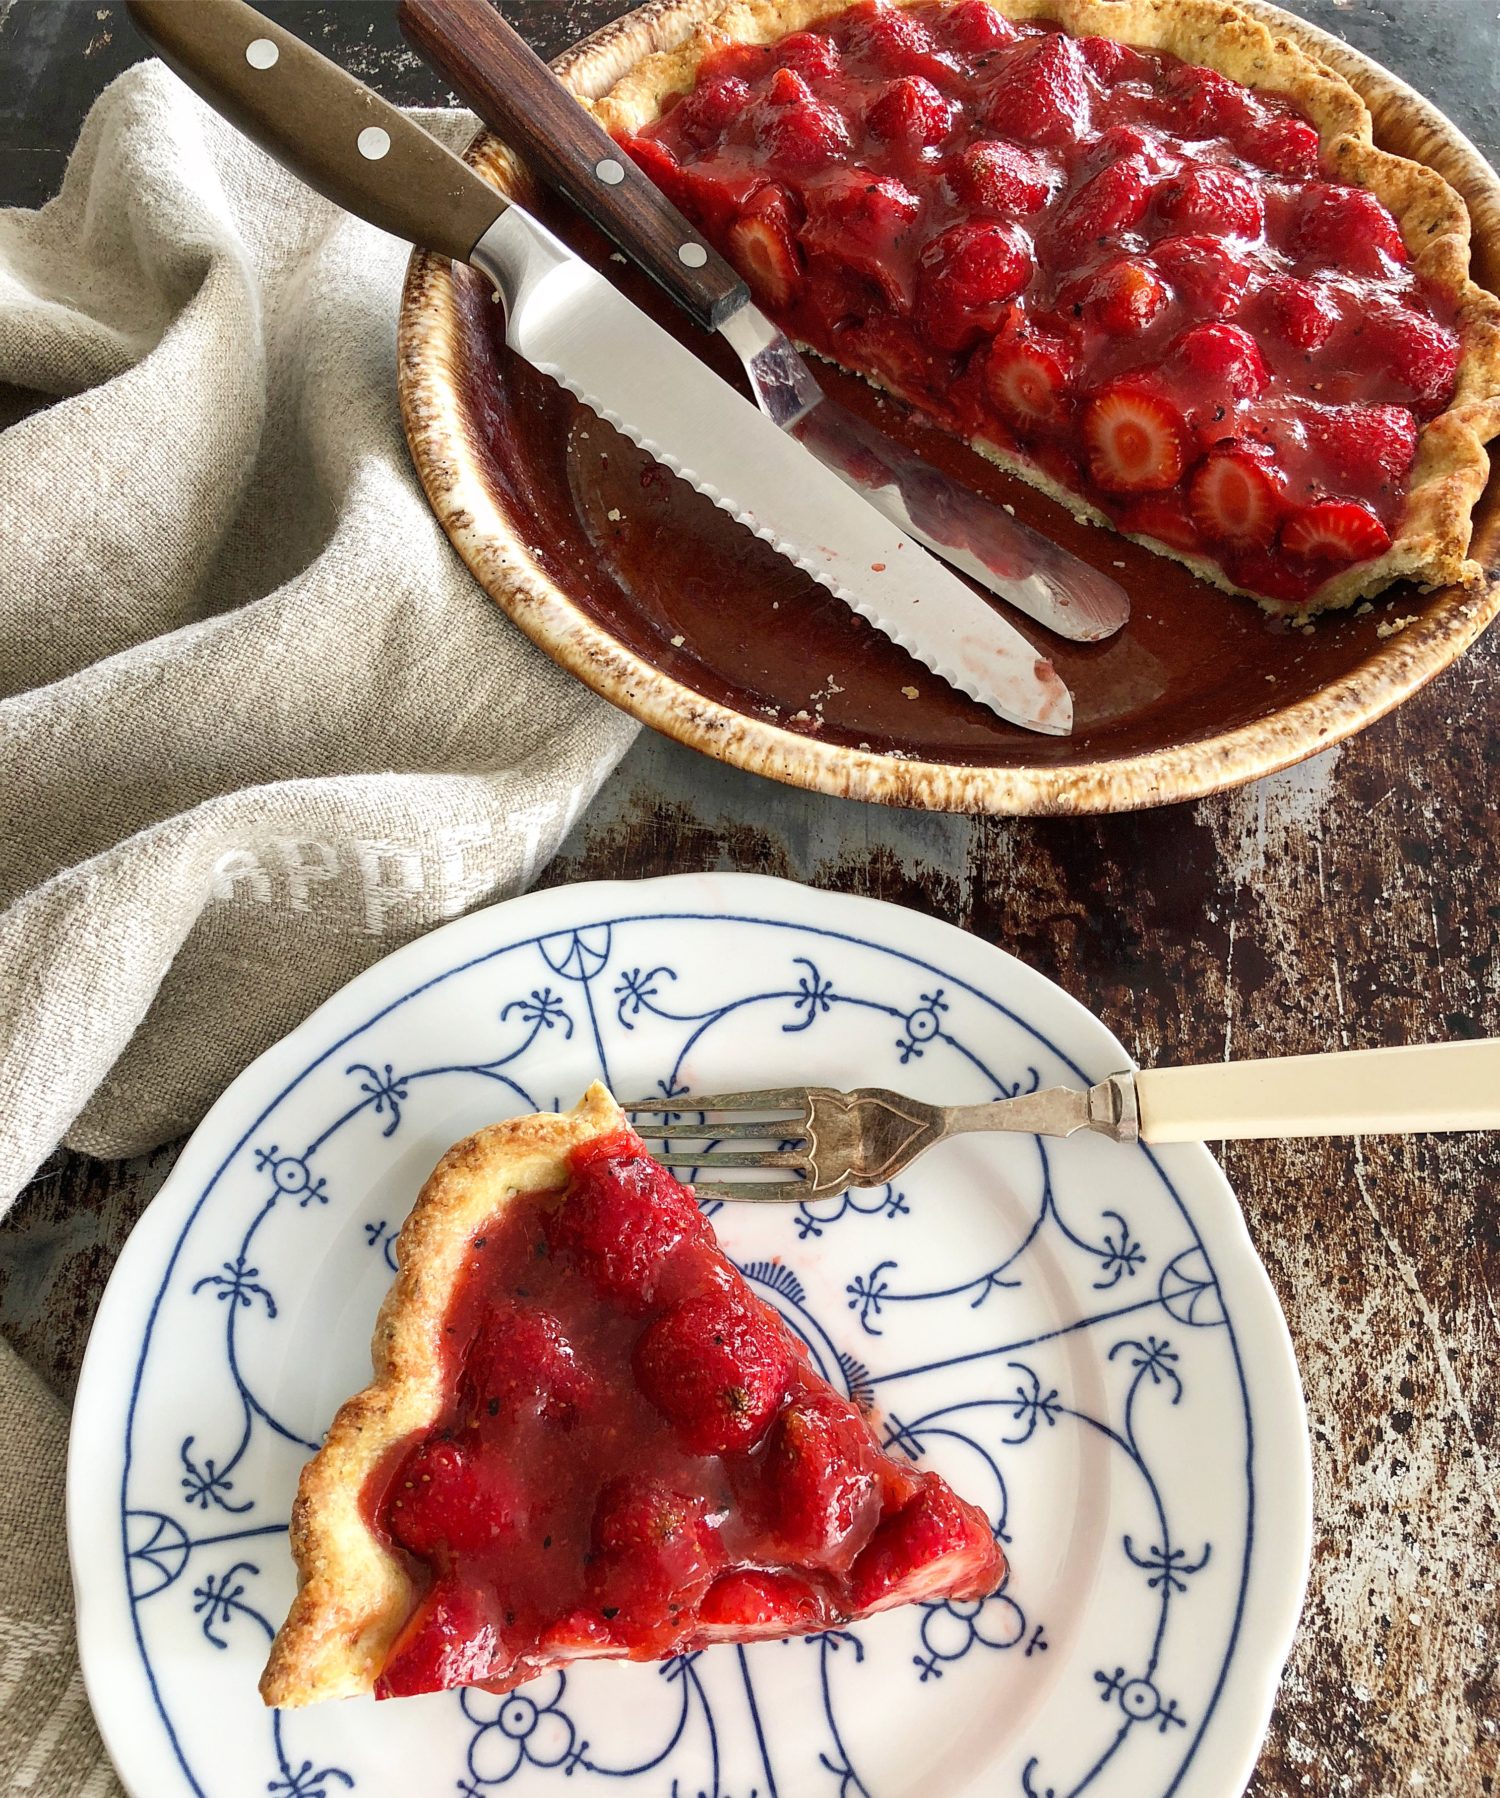

Fresh Strawberry Pie in a Basil Crust
Fresh strawberries, in a 'glaze' made of puréed berries, strawberry jam and cornstarch eliminates the need for gelatin or jello! There's a warmth from Urfa Biber, and there is freshly chopped basil in the crust. Summertime can start now!
Ingredients
- 1 Perfect Pie Pastry recipe see link below
- 2 tbsp freshly chopped basil , packed tbsps
Filling
- 5 1/2 cups of fresh strawberries washed and rinsed, trimmed. Depending on the size of your pie plate, you may have a few berries leftover.
- 1/2 cup sugar , depending on the sweetness of the berries and jam
- 1/3 cup strawberry jam
- 2 tsp lemon juice
- 1/4 tsp salt
- 3 tbsp cornstarch
- 3 tbsp water
- 1/6 tsp of urfa biber smokey Turkish black pepper. Can be substituted with fresh cracked pepper
- whipping cream
Instructions
-
Prepare pastry, adding the basil to the dry ingredients before the first pulse in the food processor.
-
Continue with recipe. Divide the dough in half and flatten into 2 disks about 4-5 inches across. Wrap in plastic film. Freeze one for future use. Place the other in the fridge to rest for at least 1 hour.
-
When ready to make the pie shell, remove the dough from the fridge and let warm up to room temperature.
-
Roll out on a well floured surface and rolling pin to fit into a 9 inch pie plate, with 1 inch extra.
-
Fit into your pie plate. Trim and prepare your edge as you would like, crimp or fork, or just a loose ruffled edge if you'd like.
-
Place in the freezer for 1/2 hour.
-
In the meantime preheat your oven to 425F
-
When temperature has been reached, take out the pie shell, and place a piece of parchment trimmed into a large circle into the shell. Fill with pie weights or dried beans, pushing into the edges, getting rid of as many gaps up the sides as possible.
-
Place on a baking sheet and bake in the bottom third of the oven for 20 minutes.
-
Remove from the oven and carefully remove the parchment and beans. Use a fork to prick holes all over the bottom and sides. Return to the oven, but on the centre rack this time.
-
Bake for another 10 minutes. Check to see if any air pockets are developing. If so, gently use a towel to push down the air pocket, or use the fork to release any air.
-
Bake for another 8-10 minutes till golden and the bottom is dried out fully. If the edges are browning faster than you would like, cover them with a pie guard or tin foil.
-
Remove to cool on a rack. Once it has cooled down a touch, take your beaten egg white and brush the bottom and sides with it. This will create a seal so that any warm liquids that come in contact with the baked shell won't turn it soggy. Let it cool completely.
Filling:
-
While the pie shell is baking, take the largest berries and chop into smallish pieces to fill 1 1/4 cups.
-
Take the rest of the berries and slice the largest ones left in half. The smallest berries that you have can be left whole. If you are using only larger berries, then halve or even quarter them so that they will fit into the shell nicely. Set the halved one in one bowl and whole ones in another bowl, and set aside for now. You should have approximately 4 1/4 cups worth.
-
Take the 1 1/4 cups of the chopped berries and place them in a food processor or blender. Blend till completely smooth.
-
Add this purée to a small saucepan, along with the sugar, jam, lemon juice and salt.
-
Whisk over medium heat till completely warmed through and starting to bubble. Carefully taste to ensure it is sweet enough. The type of jam and the sweetness of the berries can affect this. Adjust with more sugar if desired.
-
In the meantime, mix the 3 tbsp of cornstarch with the 3 tbsp of water in a small cup till smooth.
-
When the liquids in the sauce pan are warmed through, add the cornstarch slurry to it and continue whisking over medium heat.
-
Soon it will start bubbling and thicken. Once it has thickened, remove from the heat. Add the pepper and stir through.
-
Using a spoon spread a thin layer of the glaze over the bottom of the cooled pie shell.
-
Lay out a layer of the halved berries to fill the bottom. Make sure they fit snug and try to leave no gaps. Spread out another layer of the glaze evenly over these berries, using roughly half of the remaining glaze. If you feel everything is covered completely, then don't use any more.
-
Spread out the remaining berries over the glaze. Use any halves ones around the outer edges of the pie, moving to the whole berries throughout the middle of the pie.
-
Use a spoon to spread the final layer of glaze over these berries. Get into every crack, using a small spoon to take excess glaze away from puddling and moving it around to fill in any air pockets.
-
You may have 2 or so tbsp of glaze leftover. Don't feel obliged to use it. This is extra depending on the size of your pie shell etc.
-
Set the pie into the fridge to allow it to set completely. Give it a few hours.
-
Serve with heaps of whipped cream!!
To serve, please use a good serrated knife and a back and forth sawing motion. This will help you get through the fresh berries (they really don't soften too much in the glaze, so they will resist a knife. Using the wrong knife and pushing down, expecting the berries to allow the knife to slice them will only push them down and separate from the glaze.
I used a small offset spatula to remove the pieces from the plate.
Recipe Notes
Perfect Pie Pastry recipe HERE

My oh my ! When making strawberry jam I usually add some basil but this one : perfection ! Thank you so much !
Yay! So glad you like it as much as I do! Love using herbs with fruit wherever I can. Have a great rest of the week. Love Jen
I made this yesterday. I love the basil in the crust! It does go really well with strawberries. The crust slumped considerably when blind baking even after freezing for more than 1/2 an hour. I’m not sure how to get the nice edge you got in the pictures, but I will make this agin.
Hi Karen, I have an entire blog post dedicated to pie pastry and all the tips and tricks I have gleaned through the years. One thing I was wondering is if you didn’t allow the dough to fall down the sides naturally. You don’t want to pull on the dough to get it to touch the top edges. If you do, as it bakes, it has no choice but to shrink since there wasn’t really enough dough there to fill the sides to begin with. Hope this helps. Keep trying, this is how I learned!! Love Jen