This bread is just a great bread. Because a crispy outside and fluffy inside is what a good focaccia is all about.
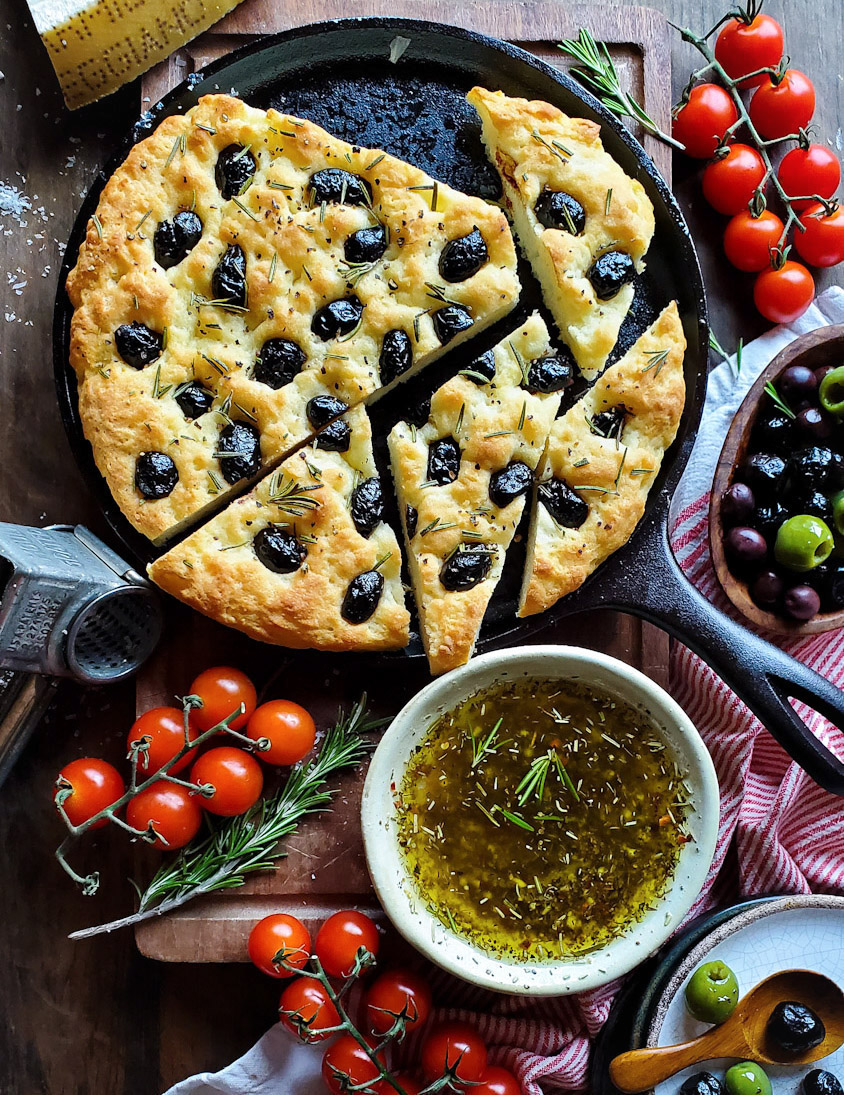 And yes, this one is gluten free! It meets all the requirements for a classic focacccia. The perfect crust, but still the airy fluffy insides which soak up all the olive oil or tomato sauce that you dip a slice into. The sign of a good focaccia is when you can’t stop at one slice, and suddenly half of the loaf is gone! This fits the bill, and if there are actually leftovers, they keep great for a few days wrapped up, toasted up in the oven again, and even sliced in half for a good sandwich.
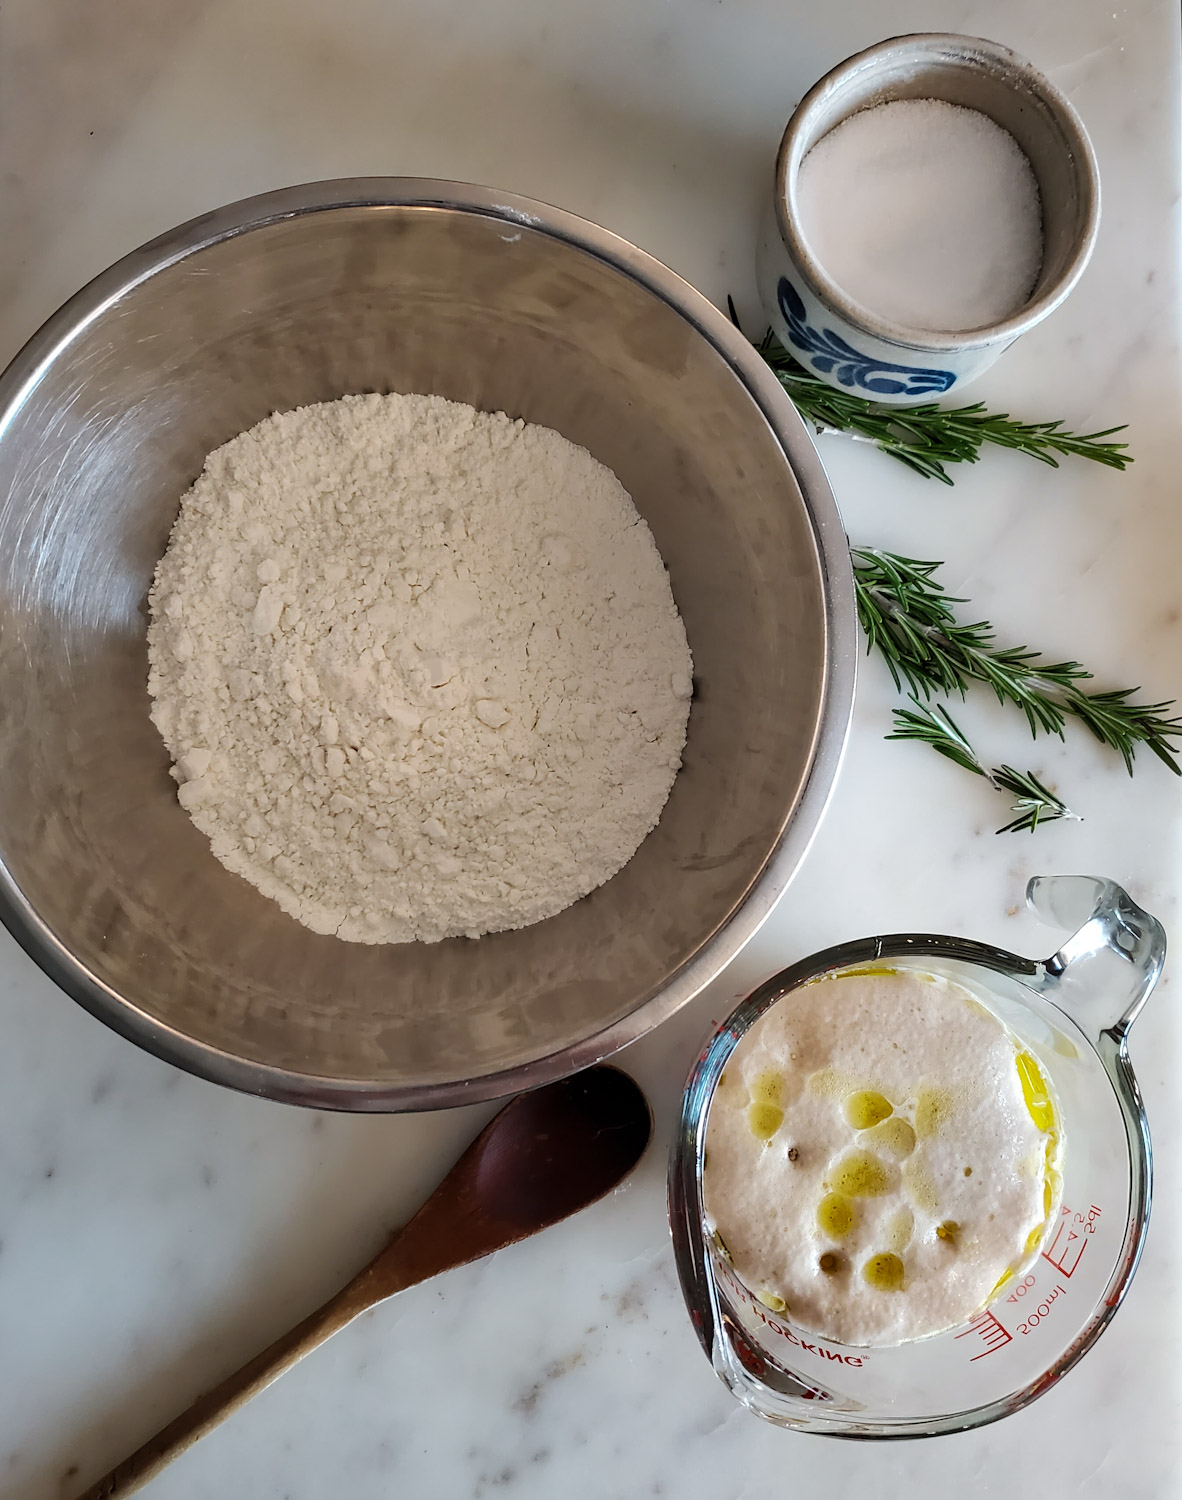
A very straightforward method of mixing the dry ingredients in one bowl, and combining the yeast with warm water and olive oil in a separate bowl. Then once the yeast has proofed (created a lovely foam on top of the liquids) just combine the two with a wooden spoon. Cover the bowl with plastic wrap or a towel. Give it all time to rise, and then spread it out onto an oiled cast iron skillet or baking sheet. Spread some more olive oil on top, create the lovely dimples gently with your fingertips, and finish with toppings as desired. I love using cast iron for the crunch it can give the bottom of the crust as it bakes in the oven. In no time you are pulling out a tender, fluffy loaf. If you are not going to use cast iron, I would suggest laying out parchment on the pan or baking sheet first, and then add the oil.
Yes, you can pretty well use any gluten free cup for cup flour blend. They are all just variations on a theme. As long as they contain either xanthan gum or psyllium husk powder, which gives the flour it’s binding power you are good. I can highly recommend Cup4Cup by Thomas Keller, but Bob’s Red Mill is good as well.
Never Slice into a Loaf Right Away
As much as the aroma is beckoning us, it is best to allow some time to pass before cutting into your focaccia. This goes for gluten versions as well. Cut too soon, and the steam inside will hit the cold air and cause everything to turn gummy. Let the steam dissipate naturally. Time will mean that the air pockets we prize in this bread will be there where we want them. The bread will be fluffy and tender. And use a good serrated knife so as not to push the bubbles down.
What Toppings to Use?
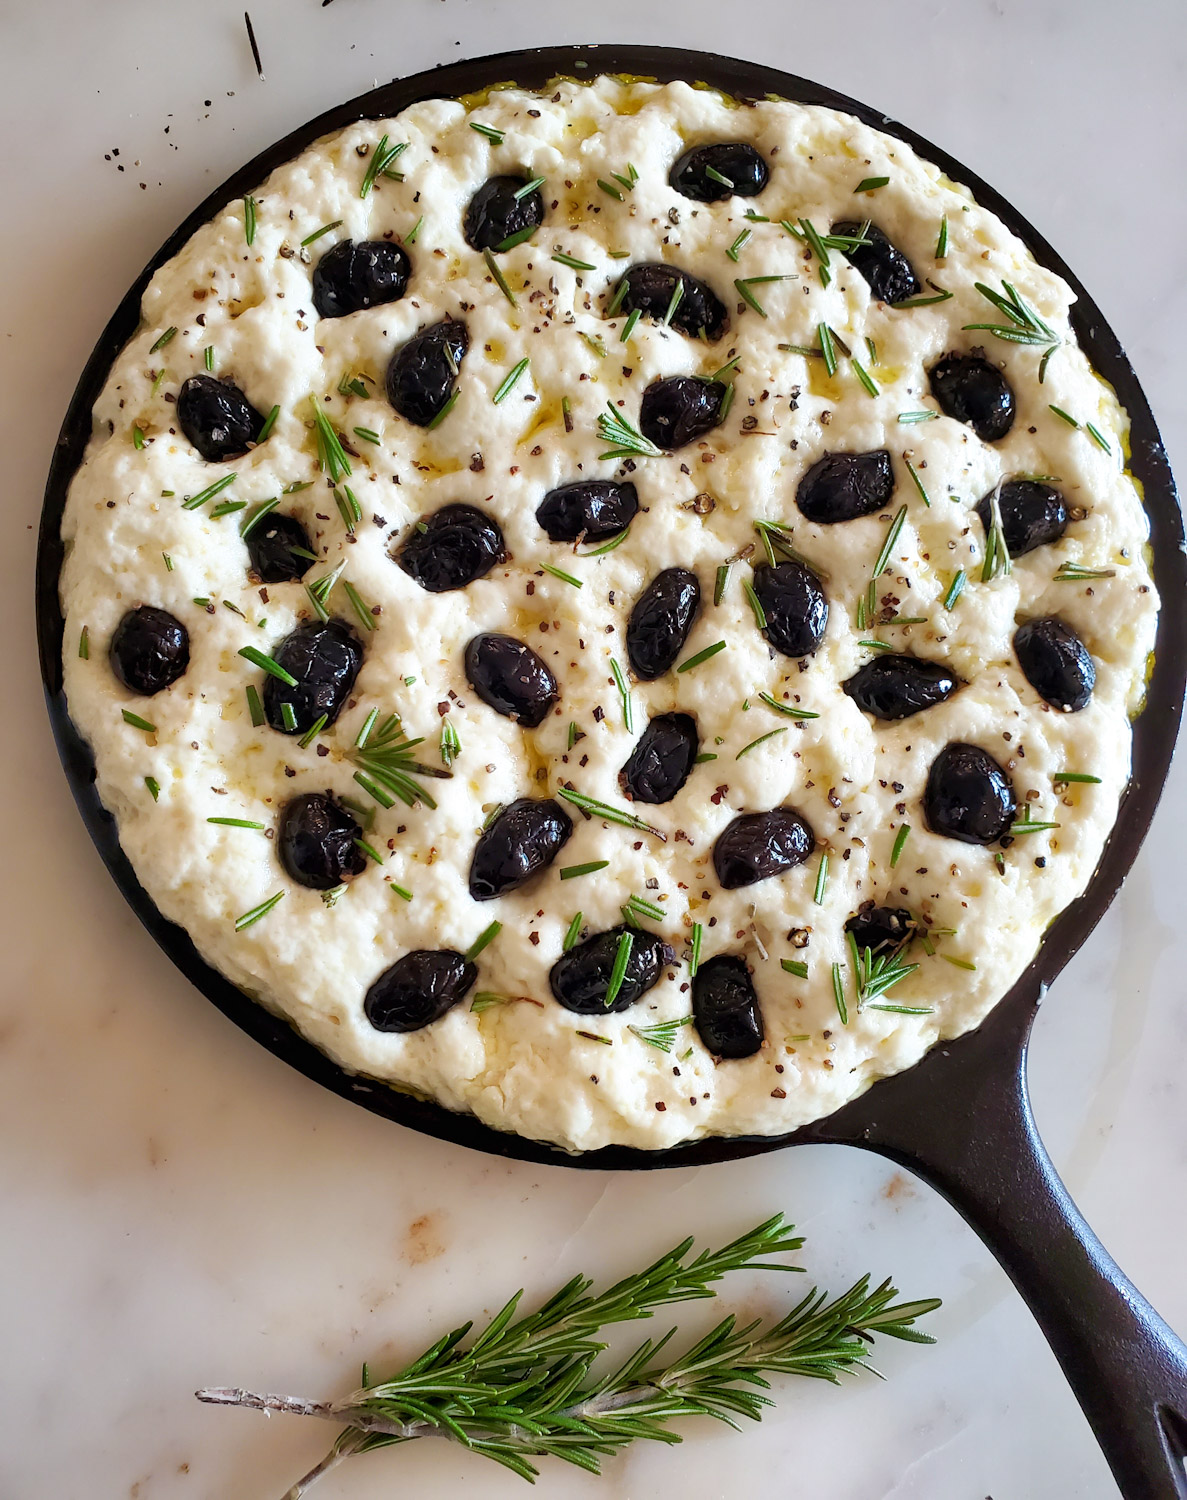
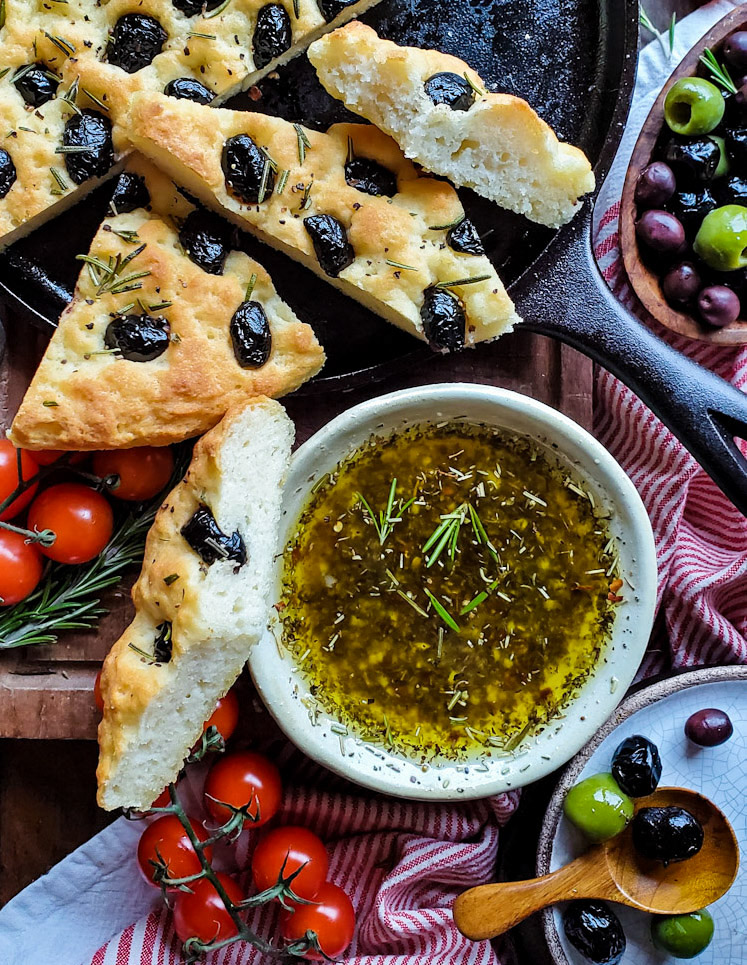
Of course, just a drizzle of olive oil and sprinkling of flakey salt and rosemary is classic. I usually add olives or small grape tomatoes to mine. My favourite olive to use is a brined or cured olive. It has more of a presence. But usually these olives are whole, and since adding olives with the pits intact makes for a pain when eating a slice of bread, I half the olives and pop out the pit. Because they can be salty, I am gentle with adding any additional salt, no need to have a heavy hand or else the bread will be too salty.
Thinly sliced onions, potatoes, even figs or cherries, and different melty cheeses are all great on focaccia!
Dipping Sauce
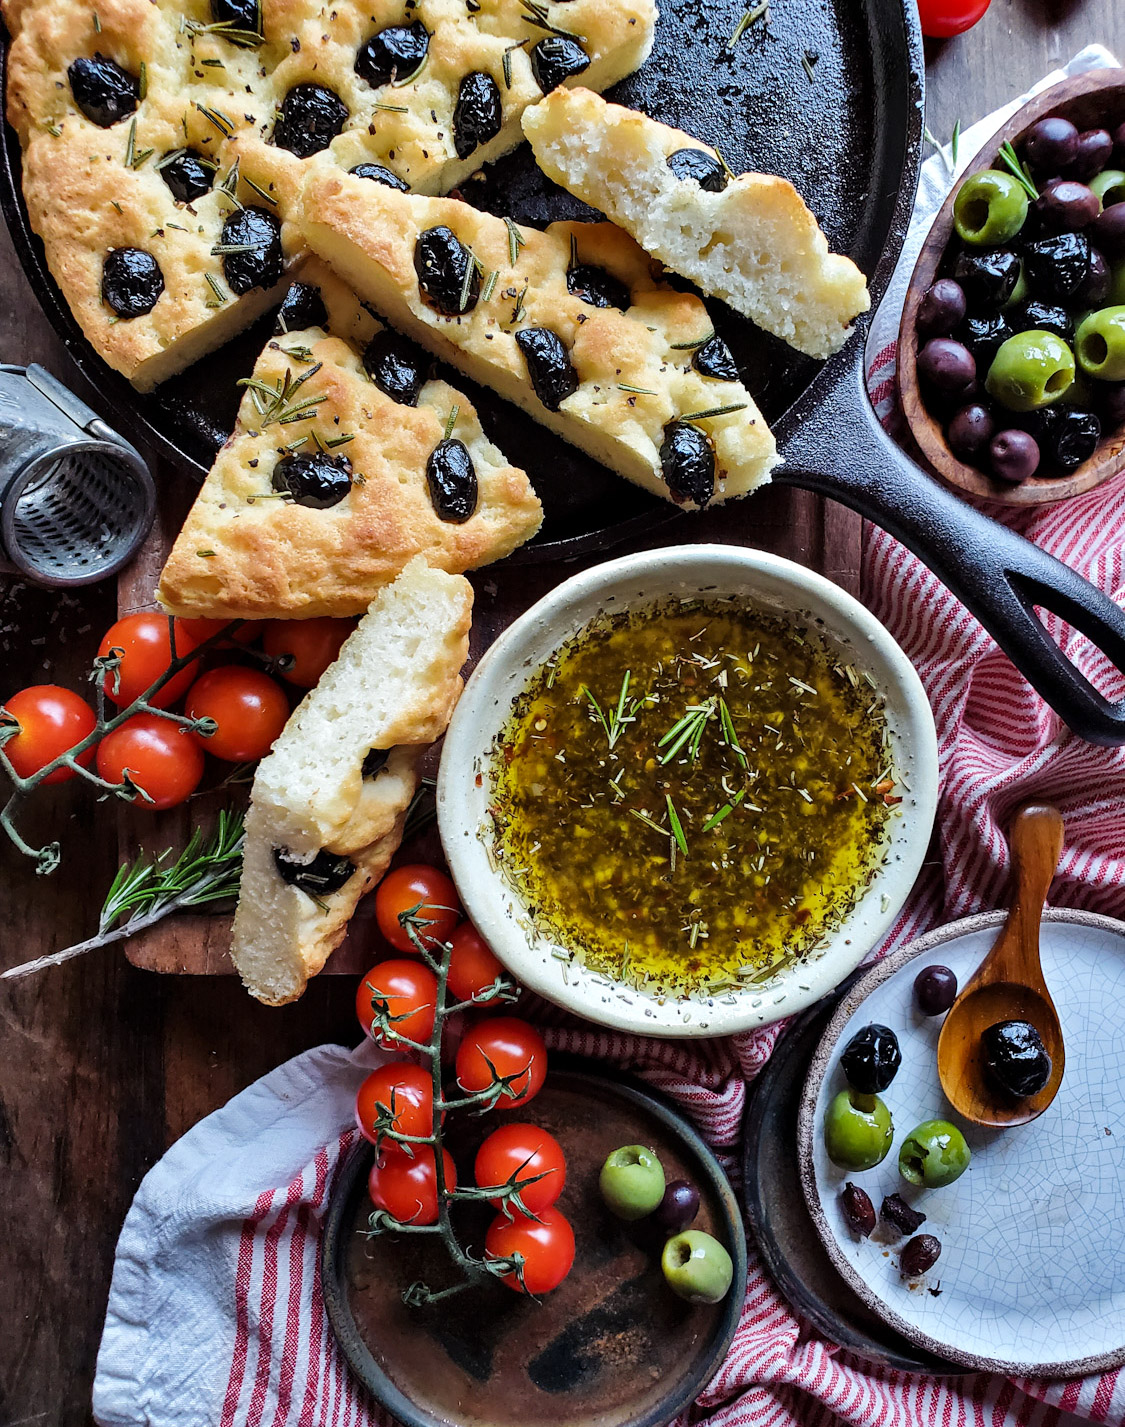
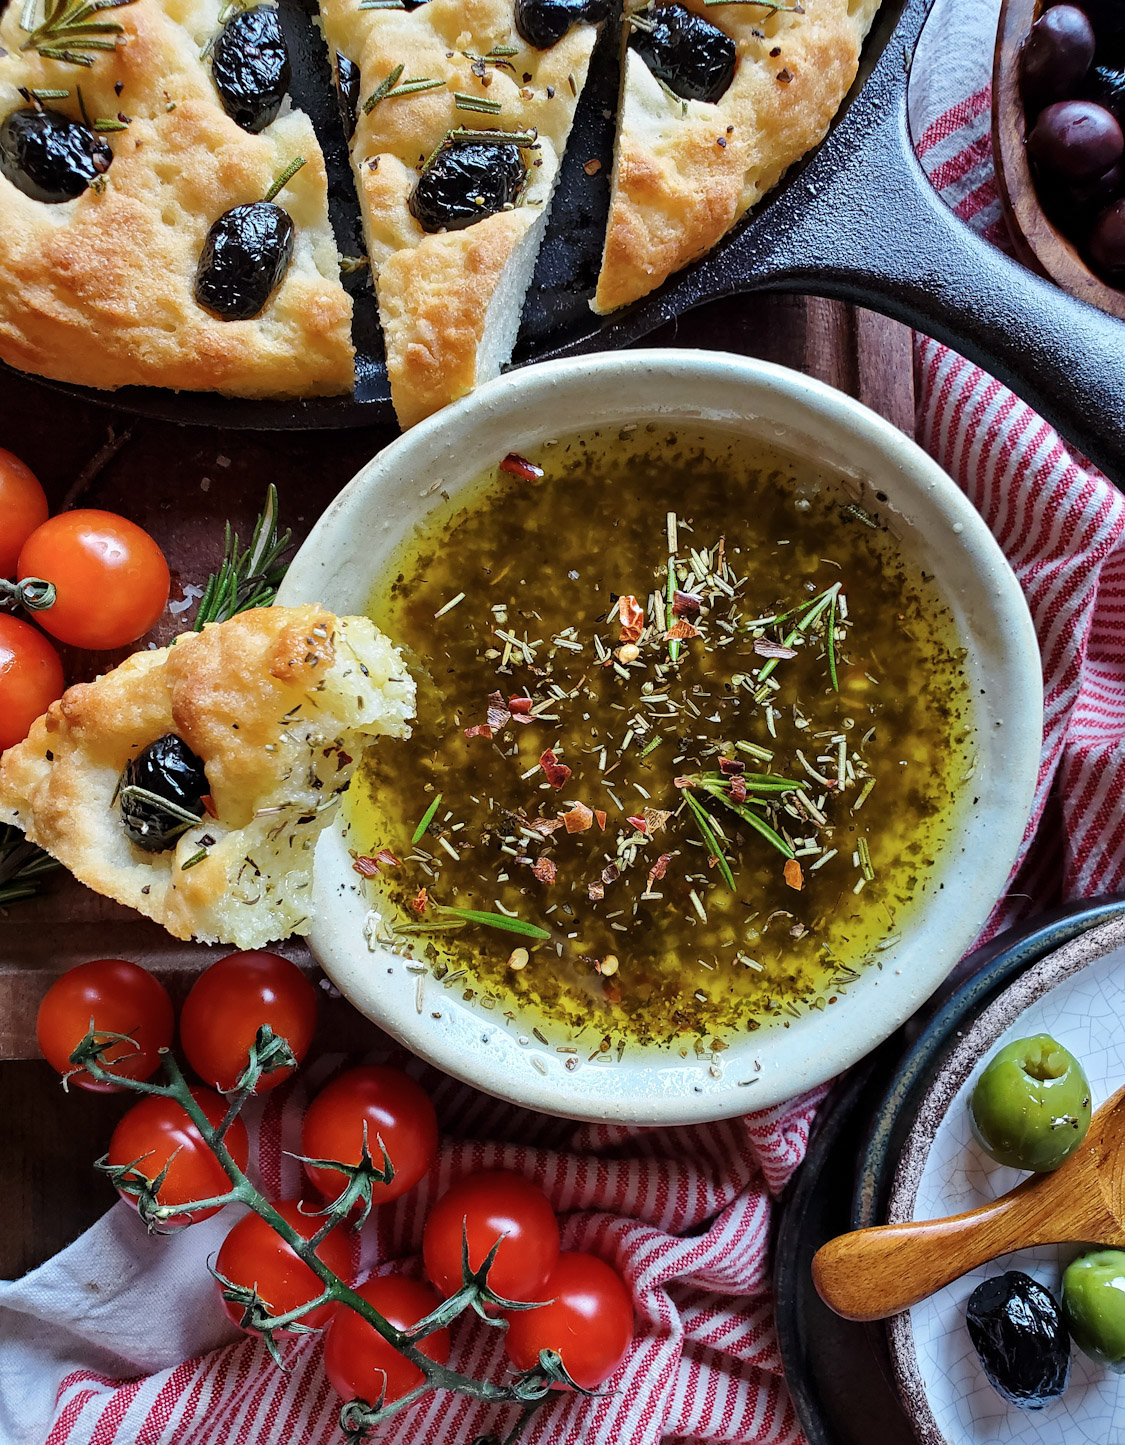
I wish I could take credit for this dipping sauce. It comes from Aysegul over at FoolProof Living. It takes the simple classic of olive oil, a bit of chilli pepper flakes, and balsamic, and transforms it into the best dipping sauce I have ever had!!
You will start with herbs, either fresh or dried. I actually don’t mind dried herbs in this application. They are hearty enough so that if all the sauce isn’t used up, any leftovers will keep well in the fridge. Fresh herbs will turn grey and slimy if left too long in a sauce like this. Basil, thyme, rosemary and oregano are combined with minced garlic, chilli flakes and salt and pepper in a bowl. Then add in some freshly grated parmesan cheese. Blend it all with a spoon. Then a splash of lemon juice and olive oil are whisked in till combined. It’s all ready to go now. The one thing I add, just cuz Jim loves it in his dipping sauce, is white balsamic vinegar. It adds a bright light sweetness, and because it’s white, it doesn’t muddy up the sauce at all. I actually rarely use red balsamic anymore for this reason.
How to Re-Heat Focaccia
If there happen to be slices leftover (really!?) then store them in a sealed container or bag in the fridge. They will keep great for up to a week this way. When ready to serve them again, preheat the oven to 375F. When the oven is ready, lightly sprinkle water over the tops and bottoms of the slices of focaccia. Place them onto a cooling rack set on a baking sheet. This will allow the heat to travel underneath the bread and crisp up the bottoms. After about 7-8 minutes they will be lovely and warm, crisped up exterior, and fluffy interior once again.
During this time, place any remaining dipping sauce in a container into a hot water bath to warm up the olive oil. It will only take a few minutes to get the oil back up to room temperature this way. This makes for a super snack or a side for soup and a salad. Or even as a side for spaghetti and meatballs!
If gluten is not an issue for you, then feel free to check out my Potato Rosemary and Blue Cheese Focaccia, or my Walnut, Olive and Rosemary No Knead Focaccia or my Lemon Rosemary Parmesan Focaccia
And if you are looking for the best Baked Cheesy Meatballs to serve this focaccia with, here it is! Or for the warmer months, check out my Bruschetta Pasta or Honey Baked Feta Pasta with Harissa or even Shrimp Pil Pil
Love Jen
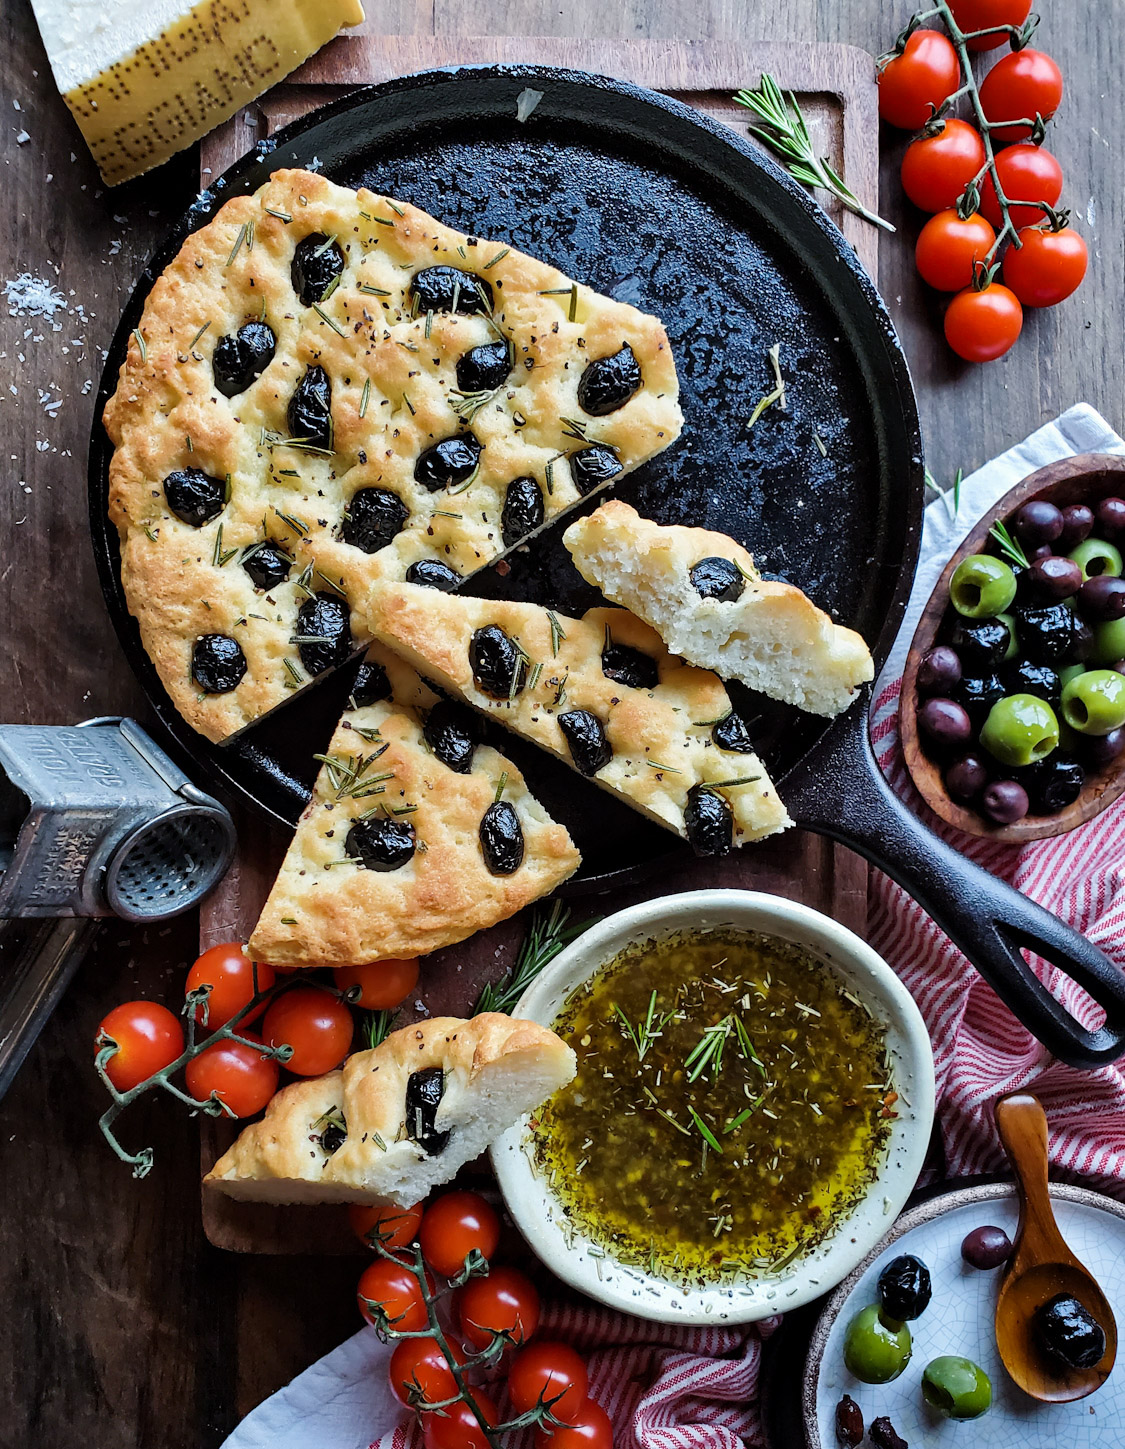

Gluten Free Olive and Rosemary Focaccia with Loaded Dipping Sauce
Ingredients
Gluten Free Olive and Rosemary Focaccia
- 2 1/4 cups gluten free 1:1 flour, I recommend Cup4Cup, but have also used BRM with good results, about 300g (different flour blends will weigh differently)
- 2 tsp baking powder
- 1 1/2 tsp kosher salt, if using sea salt, use less, it is stronger
- 1 1/2 cups warm water
- 1 pkg instant rise or active dry yeast 7 grams or 1/4 oz.
- 1 Tbsp honey
- 4 Tbsp olive oil, divided
- 1/2 cup sliced pitted brined or cured olives
- 1 tbsp fresh rosemary
- flakey Maldon salt, how much you use will depend on the olives you use, taste to see how salty they are first
- crack black pepper, optional
Loaded Dipping Sauce
- 1/2 tbsp dried basil
- 1/2 tsp dried thyme
- 1/2 tsp dried oregano
- 1/2 tsp dried rosemary
- 1/4 tsp red pepper flakes optional
- 2 tbsp grated parmesan cheese
- 3 cloves garlic minced, can use 1 tsp of garlic powder if you want
- 1 cup extra virgin olive oil
- 1/2 teaspoon freshly squeezed lemon juice, feel free to replace with 1 tbsp of white balsamic vinegar
- kosher salt
- freshly cracked black pepper
Instructions
Olive and Rosemary Focaccia
-
In a large bowl, whisk together flour, salt, and baking powder.
-
Warm your water in a kettle or on the stovetop until it’s warm but not hot. (Ideally, the temperature should be between 110-120 degrees F, but you can use the touch test to tell if it’s ok. Can you put your finger in it comfortably for several seconds, then that's good, need to take it out after a few seconds, too hot)
-
Add the yeast, honey, and 2 Tbsp olive oil to the warm water in a small bowl or measuring cup. Stir to combine. Let it bloom by resting it for for 3-5 minutes. (the top will have a foam forming)
-
Pour the water/yeast mixture over the dry ingredients and stir to combine. There is no need to knead. There is no gluten to develop! Smooth it out gently.
-
Cover the bowl with plastic wrap or a clean dish towel and set it to rise in a warm place. It should take at least 30 minutes if using rapid rise yeast, and about an hour if you use regular yeast. The dough should roughly double in size.
-
At the same time, preheat the oven to 425F. (you want the oven nice and hot, not just hitting 425F as the bread is ready to go in)
-
Drizzle the bottom and sides of a 10 inch cast iron pan with remaining 2 Tbsp of olive oil. If you don't have a cast iron pan, feel free to use a metal baking sheet. But then line the sheet with parchment paper first. Then oil.
-
Pour the batter out onto the prepared baking sheet and gently press out using your fingers. If you are using a baking sheet, press it into a rectangle shape (roughly 8×10″ or so) about 3/4 of an inch thick.
-
Drizzle a little more olive oil over the surface of the dough (about 2 tsp) Spread it out and then use your fingers to gently poke several holes in the dough all the way to the bottom of the pan to form the characteristic dimples of focaccia.
-
Push the sliced olives into the dimples. Scatter the rosemary, salt and pepper evenly over everything.
-
Place the pan into the oven and immediately drop the temperature to 400F.
-
Bake until golden brown, and firm 35-40 minutes, or until golden brown and puffed up. Remove from oven and let cool at least 30 minutes before slicing and eating. Cutting into it too soon will cause the fluffy bubbles to deflate and turn the bread gummy. A good serrated knife is best for cutting bread.
-
To re-heat leftovers, preheat the oven or toaster oven to 375F. When it has come to temperature, sprinkle the remaining focaccia slices with water, on all sides, and immediately place on a cooling rack set over a baking sheet. Place in the oven. The heat hitting the water droplets will create instant steam, getting the crust to firm up and allowing the interior to fluff up. This should take about 7-8 minutes. Keep and eye on them though, to avoid any scorching.
Loaded Dipping Sauce
-
Place all the spices/herbs in a bowl. Add the parmesan cheese and garlic. Stir to combine.
-
Pour in the olive oil. Give it a mix.
-
Add the lemon juice or balsamic vinegar and blend. Taste and season with salt and pepper as desired.
-
Give it a stir and serve with focaccia or any other fresh crusty bread.
-
Leftovers can be stored in a sealed container in the fridge. Bring back to room temperature before serving. If you have just a little bit left over, feel free to thin it out with oil and acid and use it as a salad dressing.
Recipe Notes
I find a 10 inch cast iron pan is the perfect size for this focaccia.
Store leftover bread in a well sealed bag. It can keep in the fridge for up to a week.
This bread recipe is a riff on the one found here at One Lovely Life.

This focaccia recipe is fantastic! Worked out perfectly. After trying many different gluten free focaccia recipes (the most often were brick like) I was eager to try this recipe as any recipe I have tried from the lemon apron have been delicious.
This recipe did not fail. Easy to pull together, delicious after a 30 minute wait for cooling and with the amazing everything dipping sauce, it will be on repeat. And it freezes very well.
Thank you Jennifer. Delicious!!
Hi Susan, Thanks so much for your feedback, so happy you like it as much as I do! Leftovers crisp up perfectly in the oven. Love Jen