Yes, I have a few biscuit recipes on the blog. And in the end they are all pretty similar.
 But it’s not like there is anything new being discovered in the world of biscuit baking. They are just a great little workhorse that can be whipped up almost instantly, and make for the best breakfast treat, or side to chilli, soup etc.
When I did bake these ones up, it was the first time that I deliberately tried them with an all-in-one flour blend meant to replace gluten wheat based flours. I used Bob’s Red Mill 1 to 1 Baking Flour. Like all gluten free replacement flours, this one is a blend of rice flours, sorghum flour, tapioca flour and potato starch. Combined they create a consistency akin to wheat flour. Add the starch and xanthan gum create the sticky nature that the gluten molecules add naturally. So in the end, this flour blend should act pretty similar to wheat flour in holding together, being able to fold and knead, and create the layers and textures that we want in our baking of classic recipes.
So I decided to try this blend with something I know well. Because gluten free flour replacement baking is new to me, I had to start with recipes where I know what to expect if the recipe turns out correctly. I thought that using a simple herbed biscuit would be best. But in the end, I just had to add something else. So I added a half cup of cheddar cheese!
As with most biscuit recipes, you can replace the buttermilk with kefir, or soured milk. You can even use yogurt.
How to fold biscuit dough
The best part of making biscuits is the folding process. Once you have your dough on a floured surface, use your hands or a floured rolling pin to flatten the dough to about 1/2 inch. Fold the dough in half. Roll it out again. This time roll it a bit thinner, and fold it in thirds. Then take the one of the shorter ends and fold it in half over the dough. You can repeat this one or two more times. In the end you want to roll out the dough to be about 1 inch thick.
How to cut out biscuits to ensure you get layers
Whether you use a knife or a biscuit cutter, the key to a clean biscuit that will rise and show off the layers, is ensuring that you don’t twist the cutter around, or move the knife back and forth. You want sharp, clean cuts. Moving the cutting implements unnecessarily in any way will close up the dough. Not good.

Place the biscuits on a parchment lined baking sheet. Brush the tops of the biscuits with a little of the buttermilk, kefir or some thinned out yogurt. That’s it. Bake until golden and risen, usually around 20 or so minutes, depending on the recipe, and how thick the biscuits were rolled.
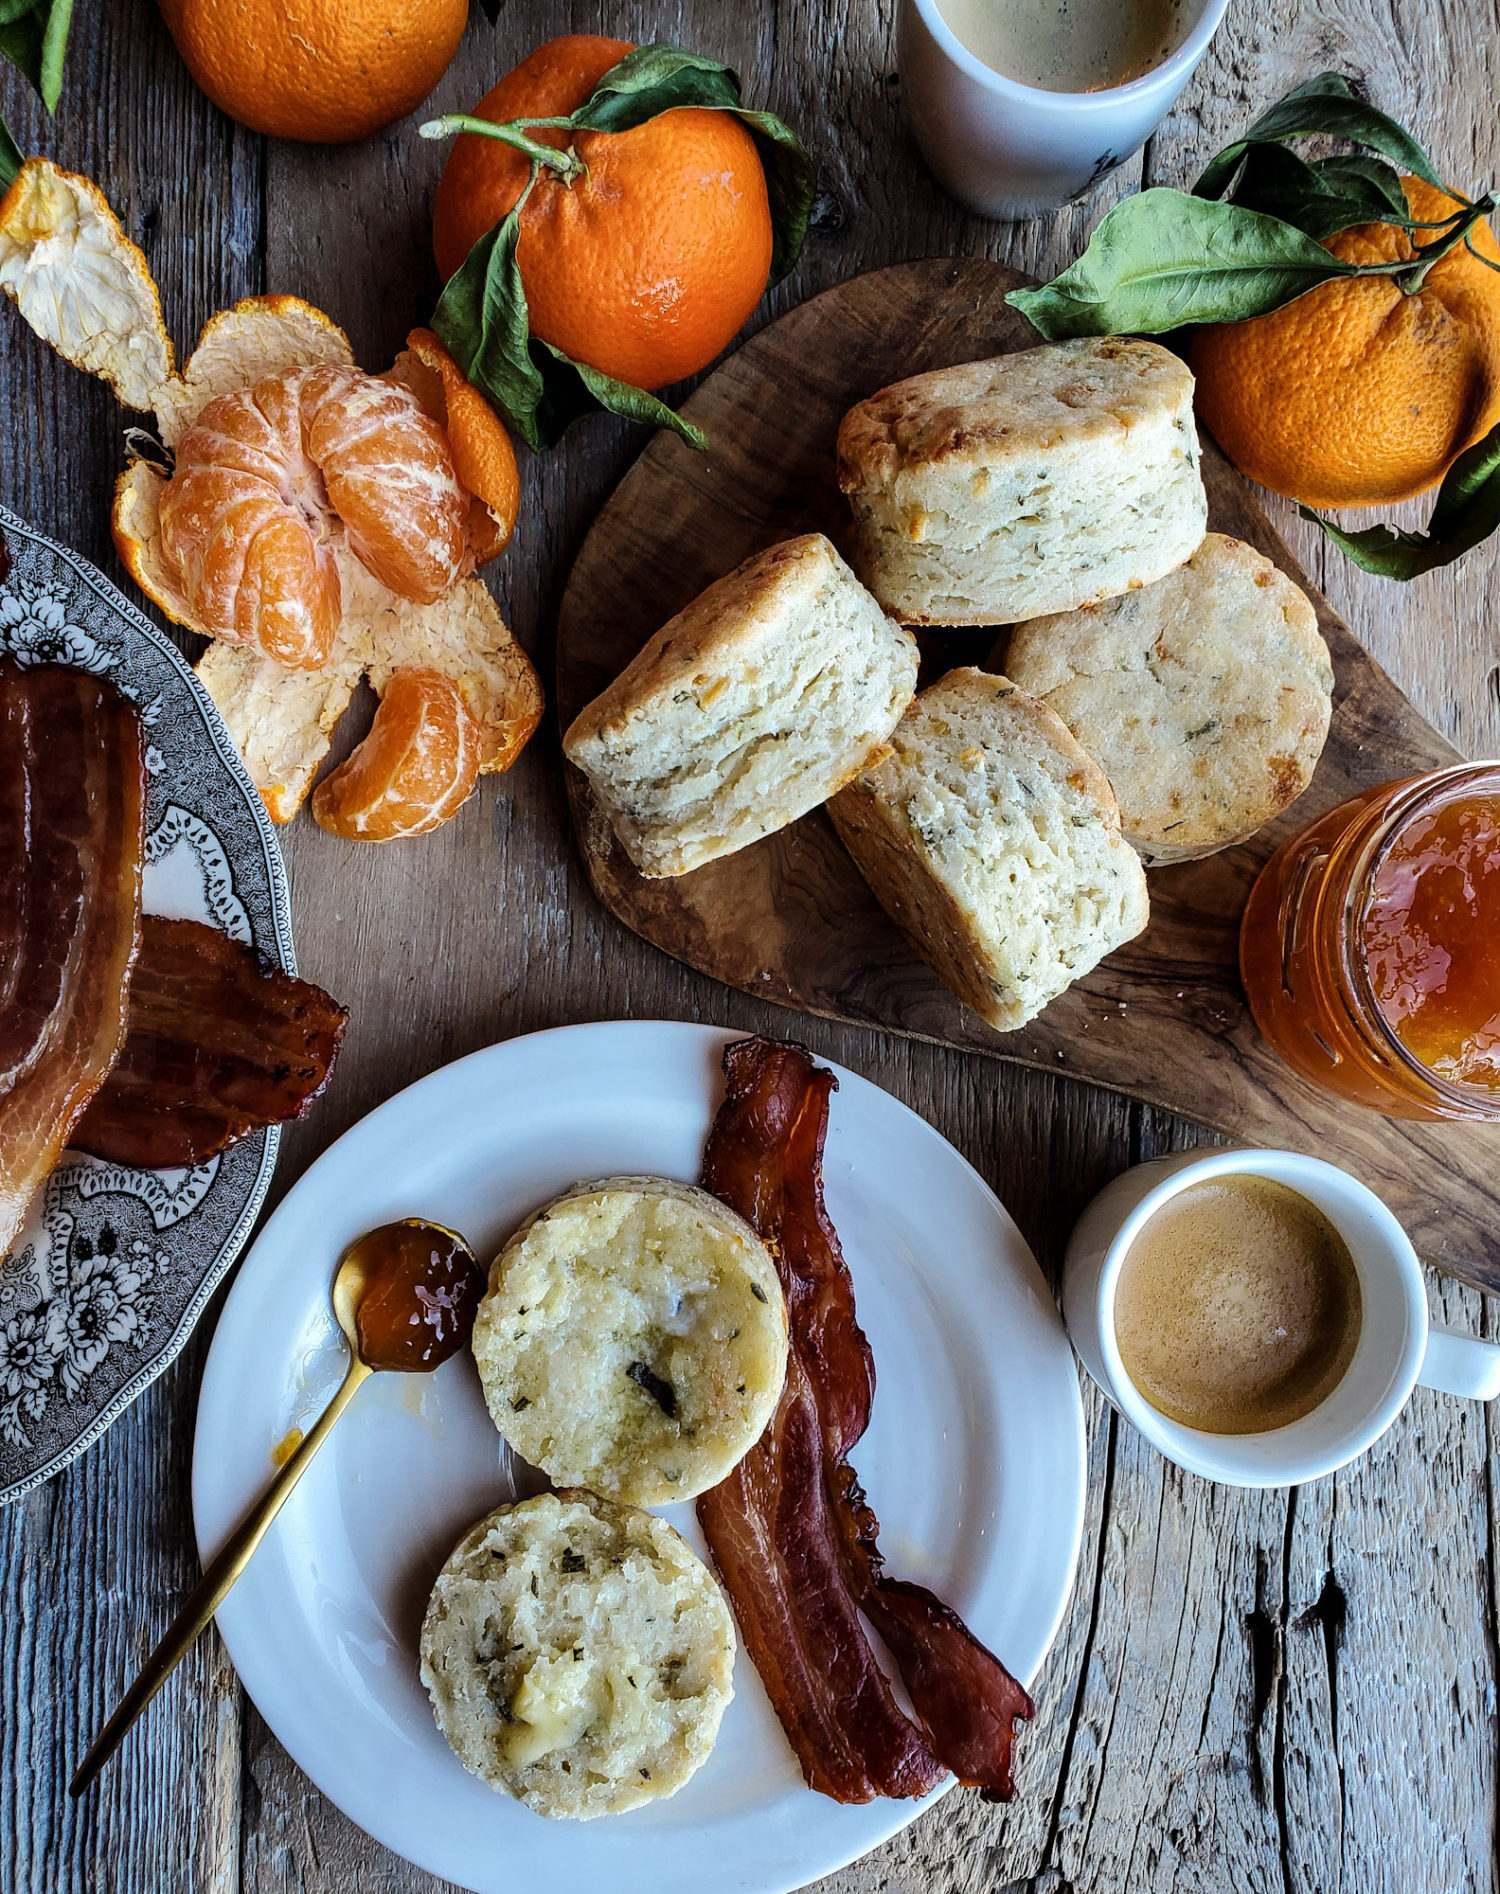
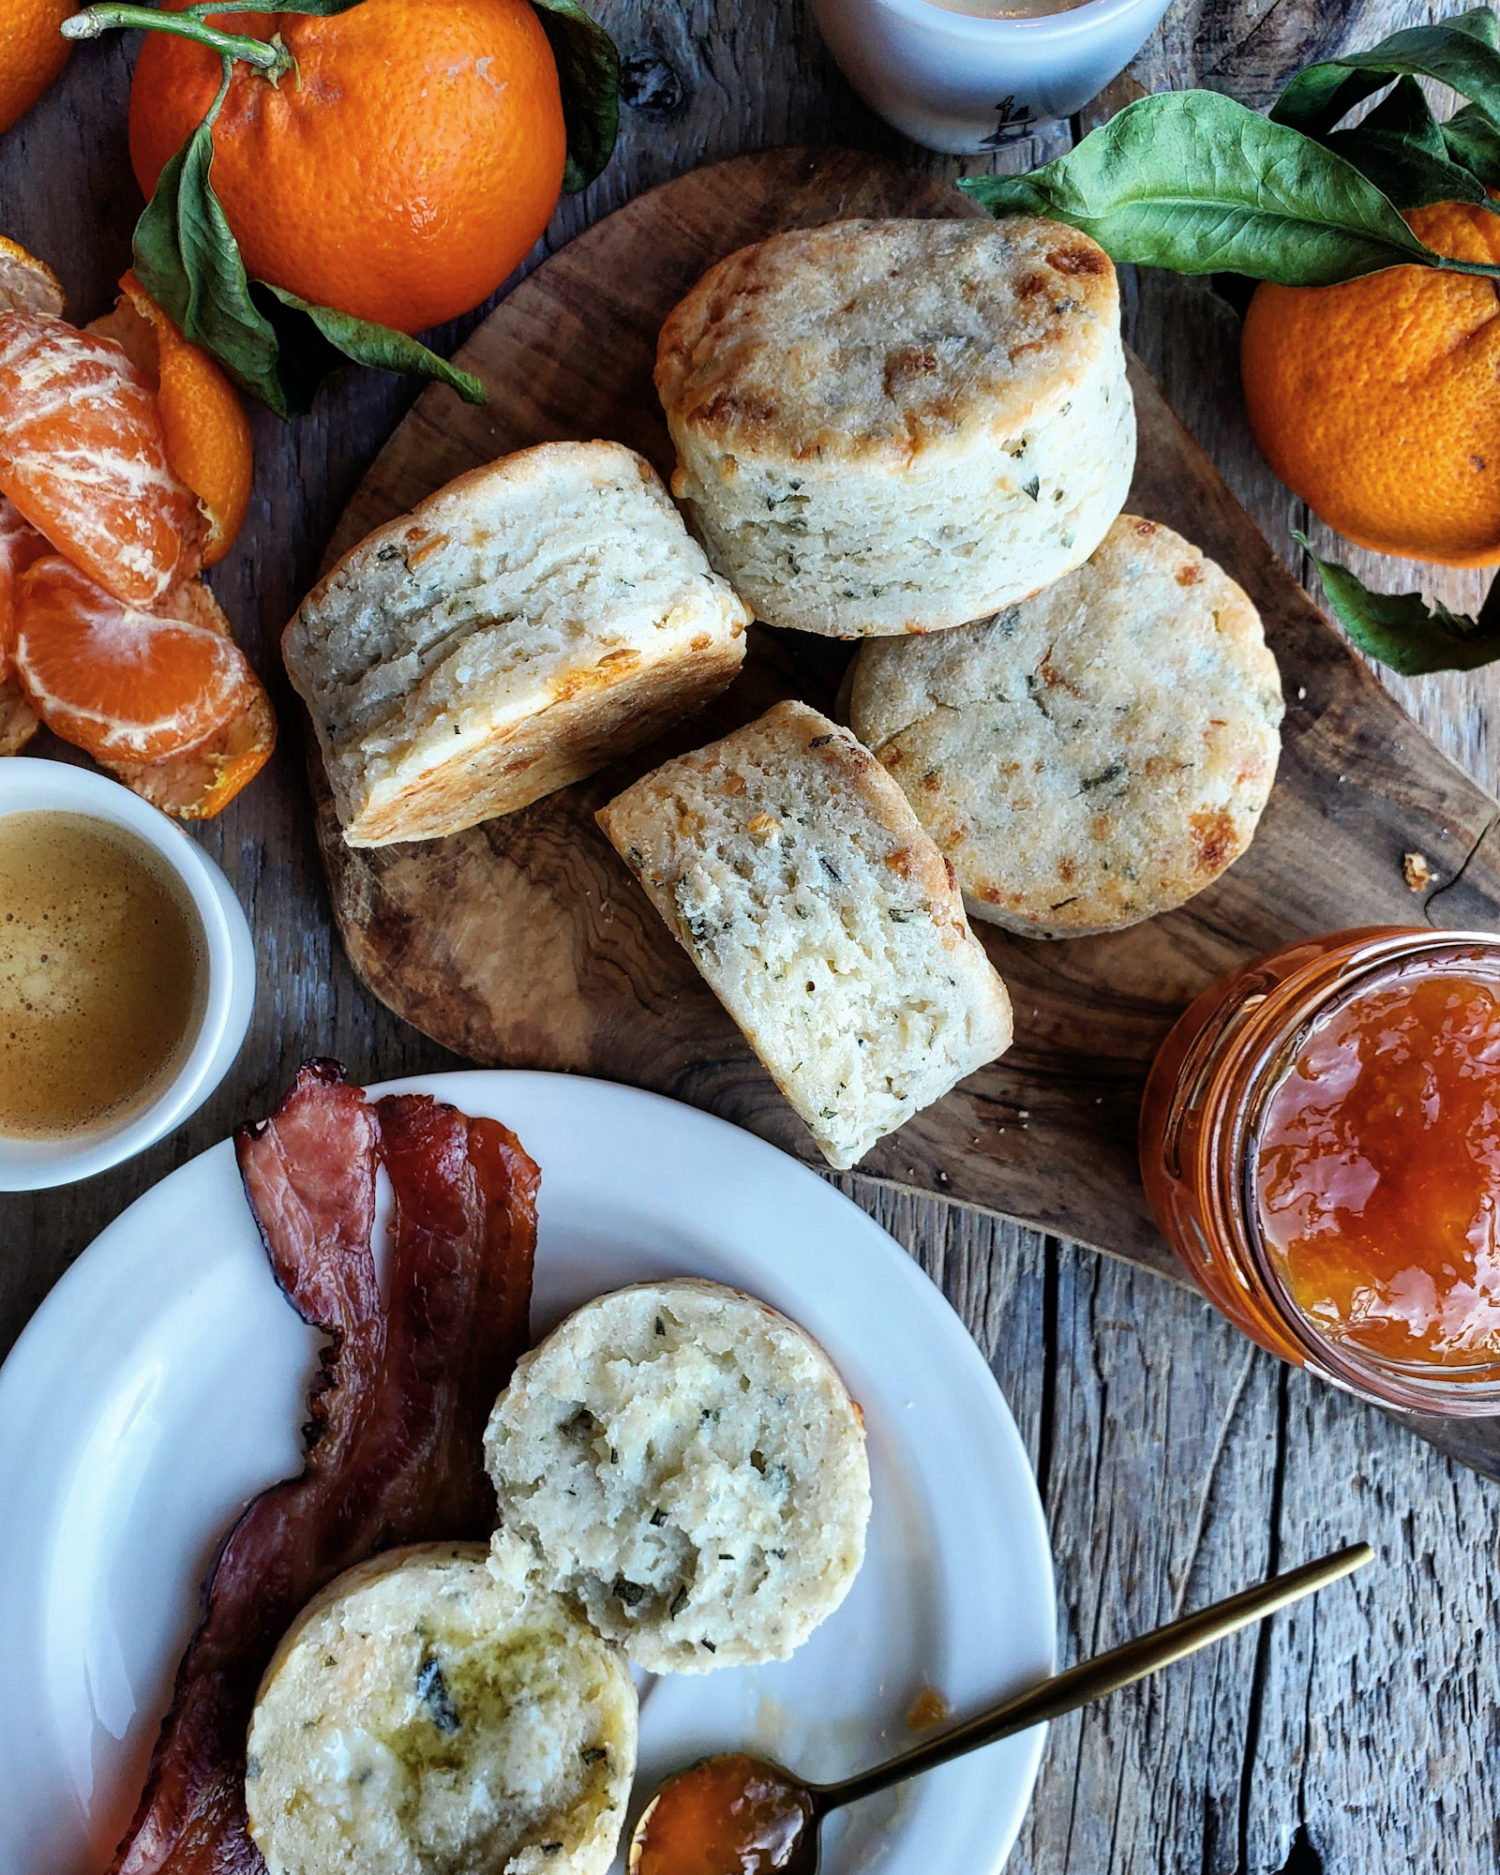
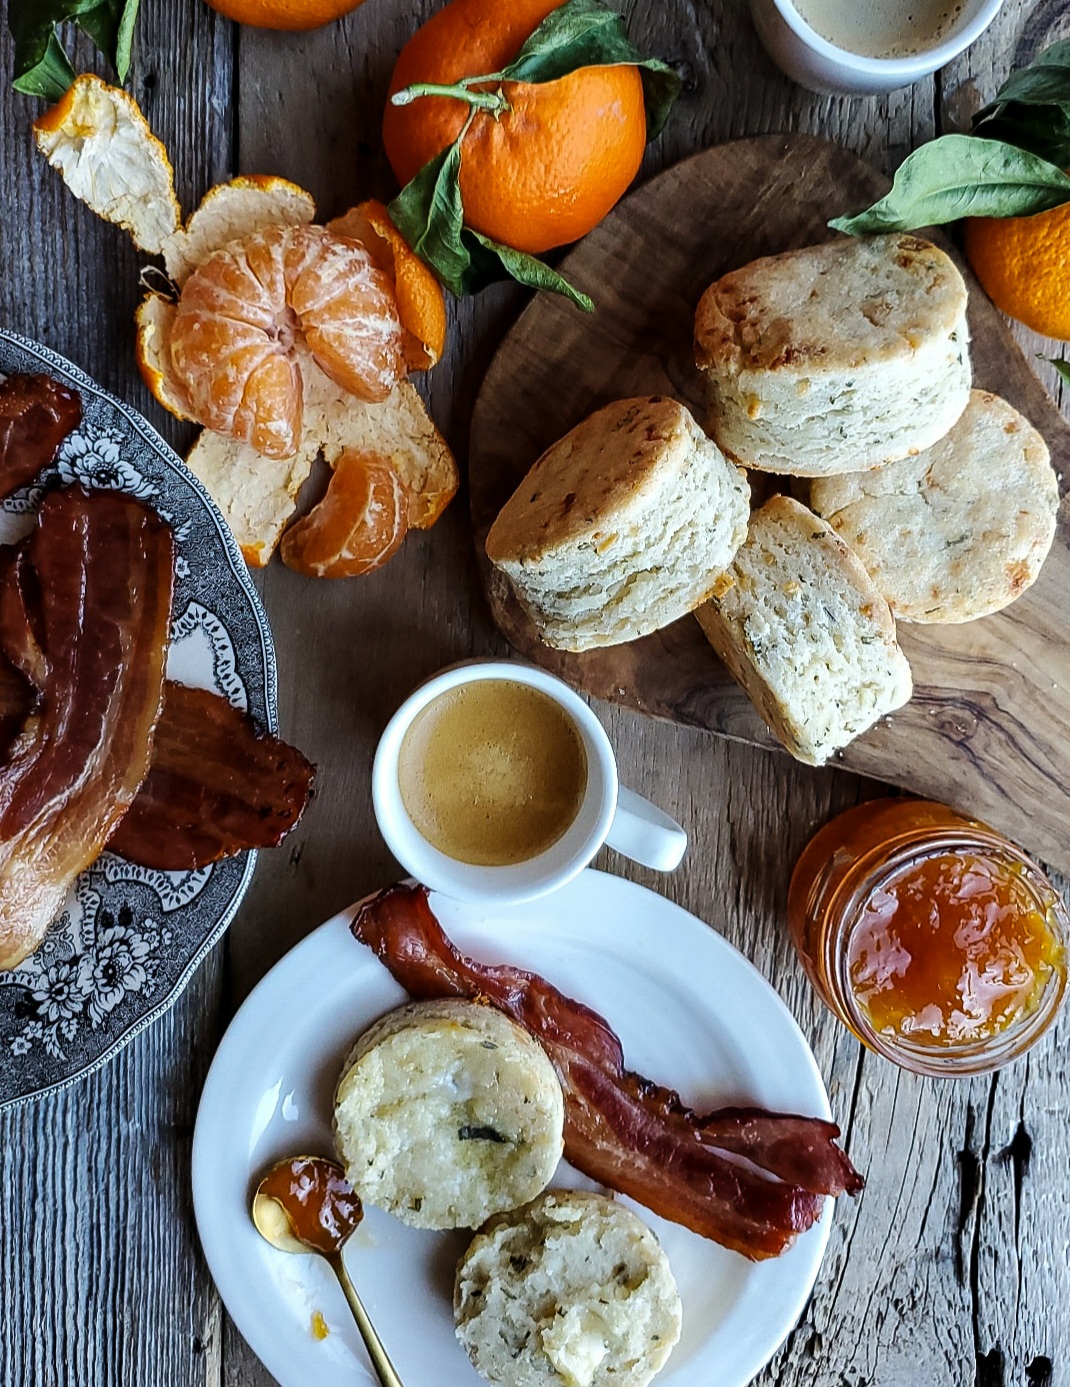
So the verdict? I got layers. I got flakey. When I opened up a warm biscuit by pulling it apart (not using a knife) the layers were tender and visible on the inside. And of course these taste fabulous! They freeze great. In the end, you can make these with a gluten free flour blend, or use good ole all purpose flour, and you will have happy little biscuits for your next breakfast or bowl of soup!
Love Jen
If you like this recipe, check out these other biscuit options: Herb Kefir Biscuits Everything Bacon and Apple Breakfast Biscuits Strawberry Shortcake with Thyme and Pepper Ricotta Biscuits


Herb and Cheddar Buttermilk Biscuits
A simple flakey, tender biscuit filled with fresh herbs and cheddar cheese. Even with a gluten free flour blend, these will be so flakey!
Ingredients
- 2 cups 250 g gluten free One for One Flour Blend, like 1 to 1 Bob's Red Mill ( or unbleached AP flour)
- 1 tbsp baking powder
- 1 tsp kosher salt
- 1/2 tsp coarse black pepper
- 2 tbsp chopped fresh herbs I used thyme parsley and rosemary.
- 1/2 cup grated cheddar cheese
- 1/4 cup 56 g; 1/2 stick frozen unsalted butter
- 1 cup buttermilk, kefir or yogurt, plus extra for brushing on the tops before baking
Instructions
-
Heat oven to 425F
-
Whisk together the flour, baking powder and salt. Add the herbs and cheddar cheese.
-
Using the large holes on your grater, grate the butter into the flour mixture and mix lightly with your fingers until well distributed, and it looks like all the butter bits are covered with flour.
-
Pour in the kefir.
-
Stir just until all the dry bits are incorporated, no longer.
-
It should be sticky and shaggy, not wet. Sometimes humidity will affect this. You'll get used to your dough, and know when to add a splash extra liquid, or to flour your surface a bit more heavily. See next step.
-
Lightly flour the work surface and add your dough out onto it. Lightly flour the top of your dough and use your hands to pat it out into a rectangle little over 1/2 inch thick.
-
Fold that rectangle towards you. Rotate the dough and roll it out gently using a rolling pin. Use a gentle bouncing motions from the centre of the dough, careful not to crush the out edges and destroy the layers. It's important to roll very gently.
-
Repeat the folding and rolling two more times. Or more if you are feeling extra 'foldy'!
-
Roll the dough out to about an 1 inch (25 mm) thick. Using a floured biscuit cutter, cut your biscuits (be sure not to twist the cutter or it will seal the outer edges and they won't rise well) Gently gather and re-roll the dough until it is all used up. I use a 2 1/4 inch cutter.
-
Place the cut biscuits onto a parchment covered baking sheet.
-
Wash the tops with a bit of kefir for a glaze.
-
Bake for 15-18 minutes depending on the size of your biscuits, the weather, and your oven. They should be golden brown and fluffily cooked through.
-
Enjoy them warm with all manner of honey, sausage, jams, ham, and of course, grass fed butter.
Recipe Notes
I say it makes 8-10 biscuits, it really depends on the size of the cutter you choose. Sometimes I will use smaller cutters to make the perfect little bite as a side for soup.
This recipe is truly about the process. Don't skimp on the directions to roll and fold. And also the idea of placing them on the baking sheet so that they are just touching, a bare kiss, really does work!

Hi Thank you for the beautiful recipes and all the tips. I am just wondering, if I can store some of the cut-out biscuits in the freezer and bake them at a later date or I should bake them as per the recipe and keep the baked biscuits in the freezer then warm them up in the microwave when consuming at a later date. Have you tried the methods? Thank you for sharing!
Hi Chin Chin, Yes you can definitely freeze any unbaked biscuits for future baking. No need to thaw your frozen biscuit rounds. Simply remove however many biscuits you want to bake and place them on a parchment-lined baking sheet. Transfer the baking sheet to a preheated 425° oven and bake for 20-25 minutes, or as long as it takes to bake them through. I have frozen baked biscuits as well, reheating them in a toaster-oven to keep the crispness. You can also reheat in the oven. I find that the microwave doesn’t usually keep the texture well. Hope this helps, Love Jen