If there is one flower that symbolizes summer for me, it’s the lilac.
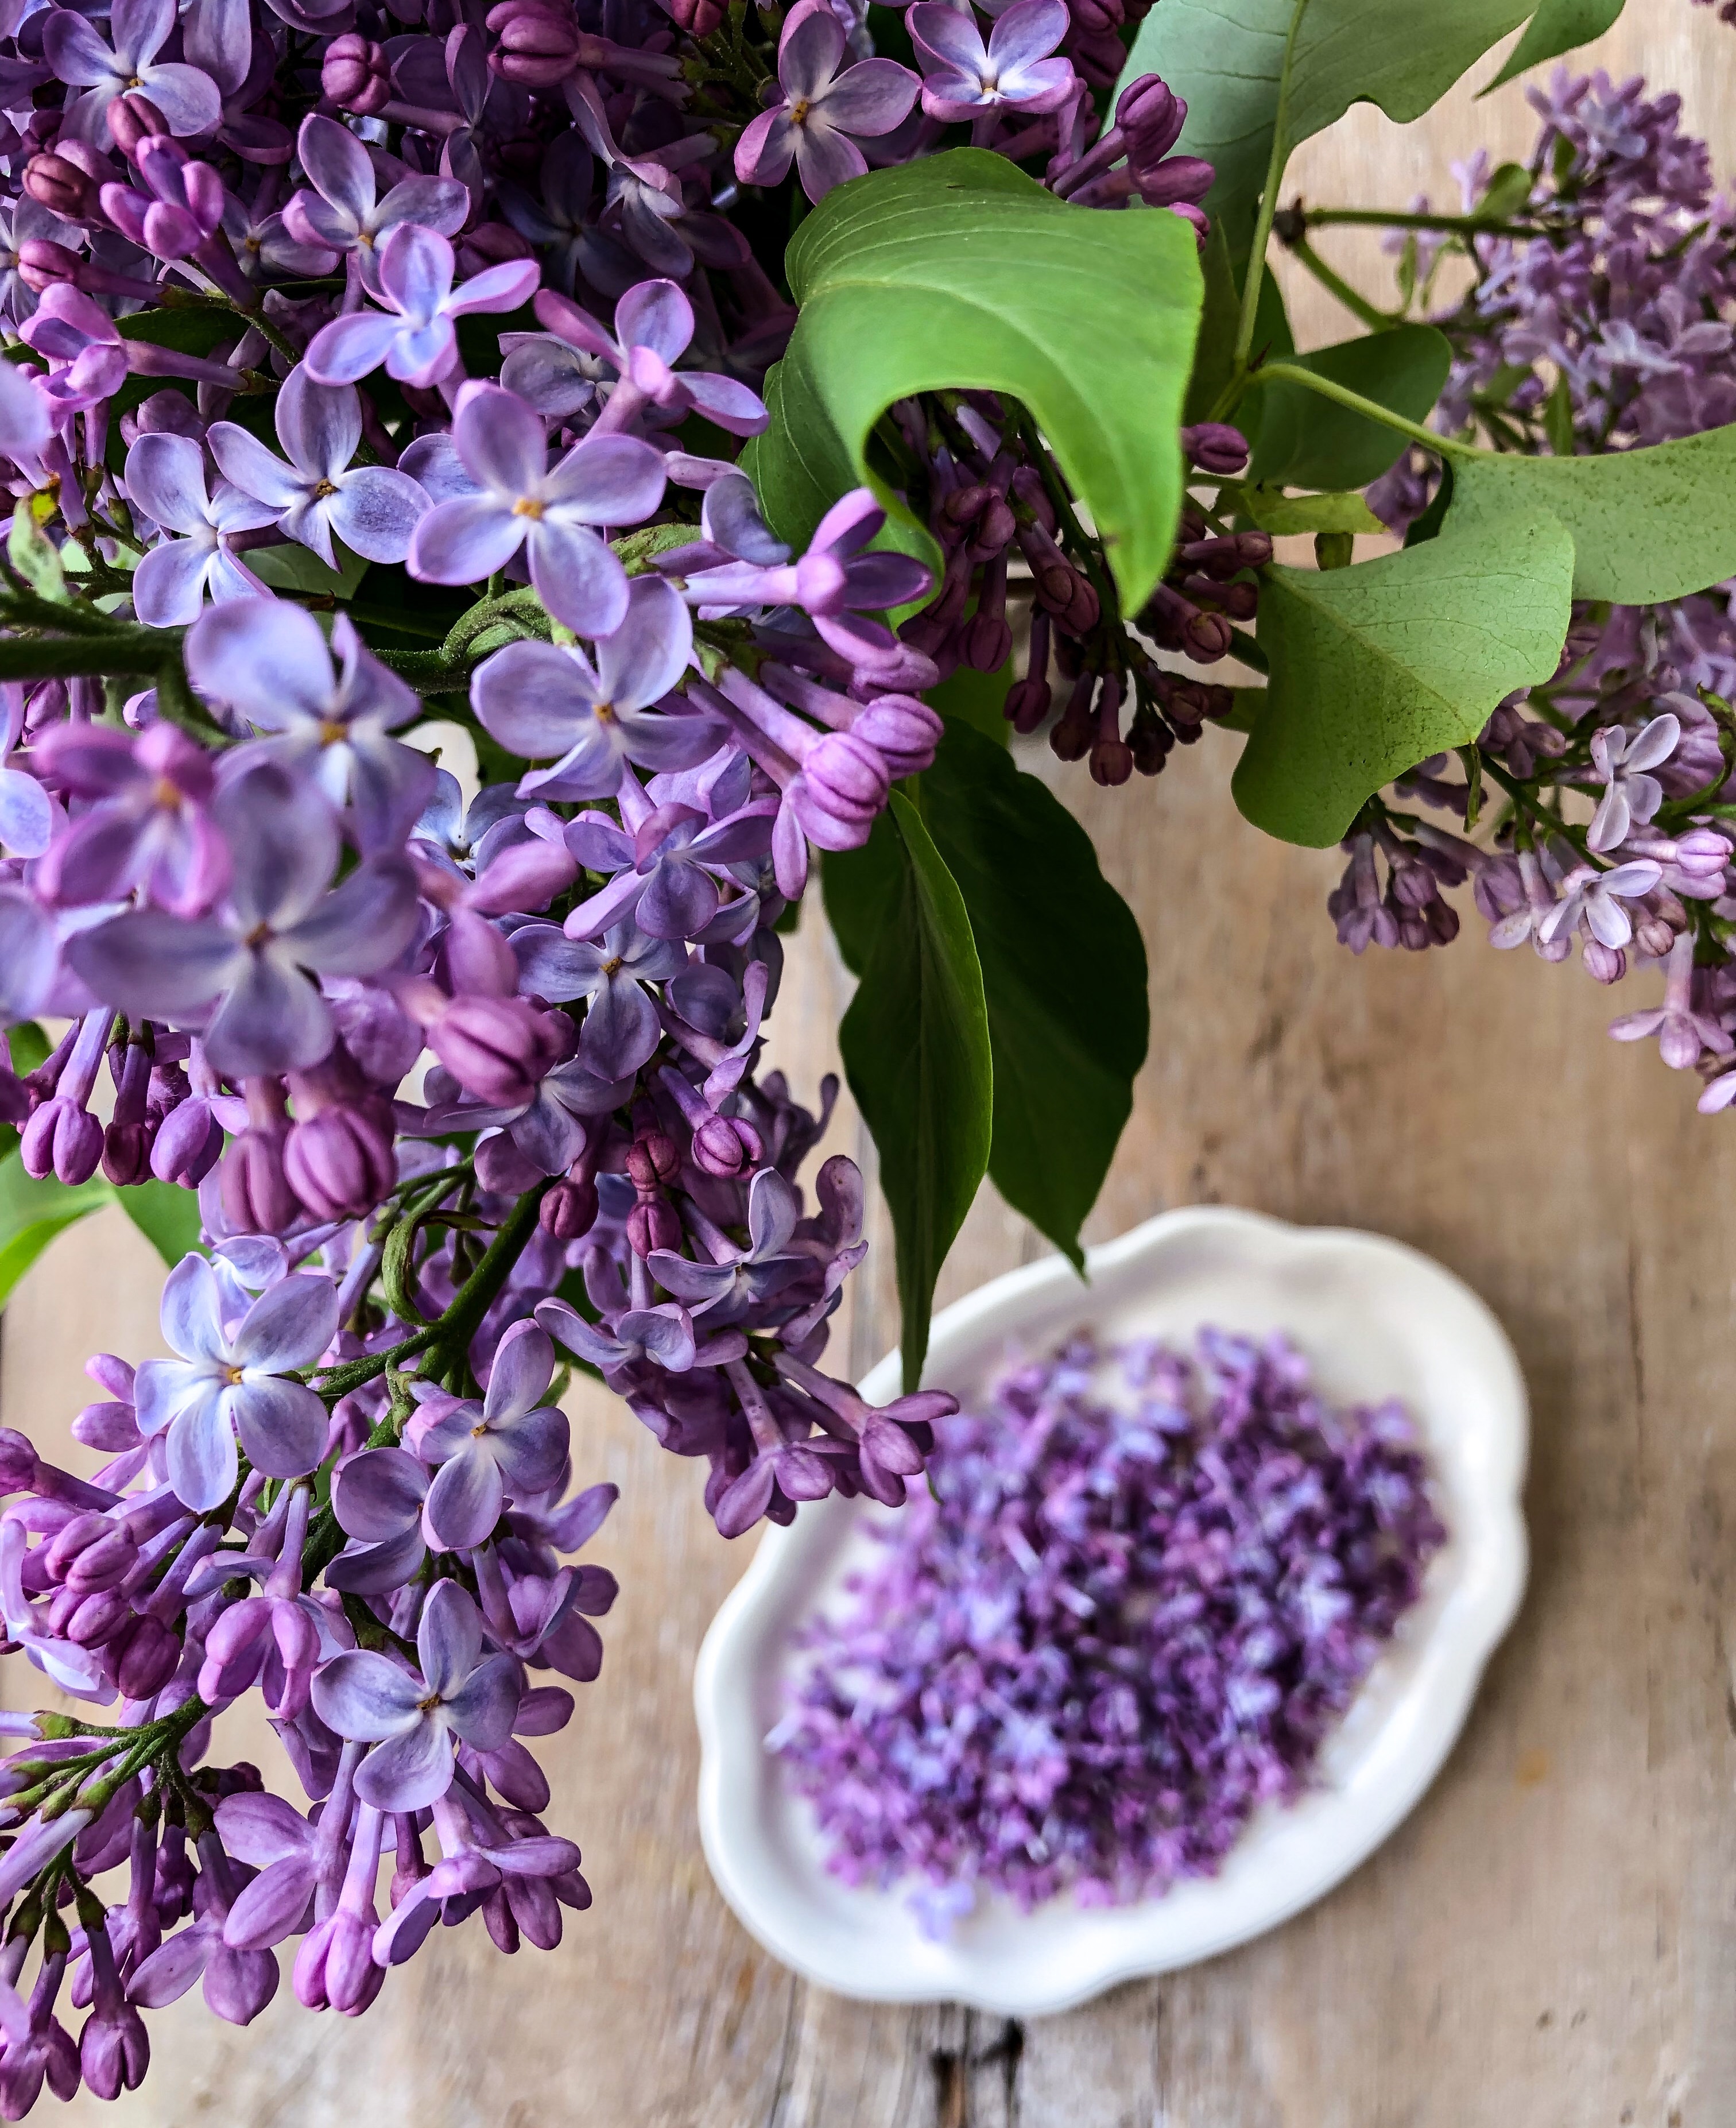
 Ever since I was a little girl, I have been in love with lilacs. Every time we moved into a new house, I pestered my parents to plant lilac bushes. The fragrance that they release on a warm late Spring day is like nothing else. Borderline heady! Through the years, if we didn’t have lilac trees or bushes of our own, I would stealthily stalk the neighbourhood bushes (the ones that were out in parks, not in peoples’ backyards!) and clip a few branches here and there, to make sure I didn’t strip one tree too much. My arms full of these most amazing blossoms and lovely green leaves, I was totally on a cloud! For a brief few days our house would always smell amazing. This is also the time of year that lily of the valley and sweet peas are in bloom. To me, the trifecta of early summer blooms! And this past weekend I found all three at our farmers market. I just had to brink some of each home for scenting the living room.
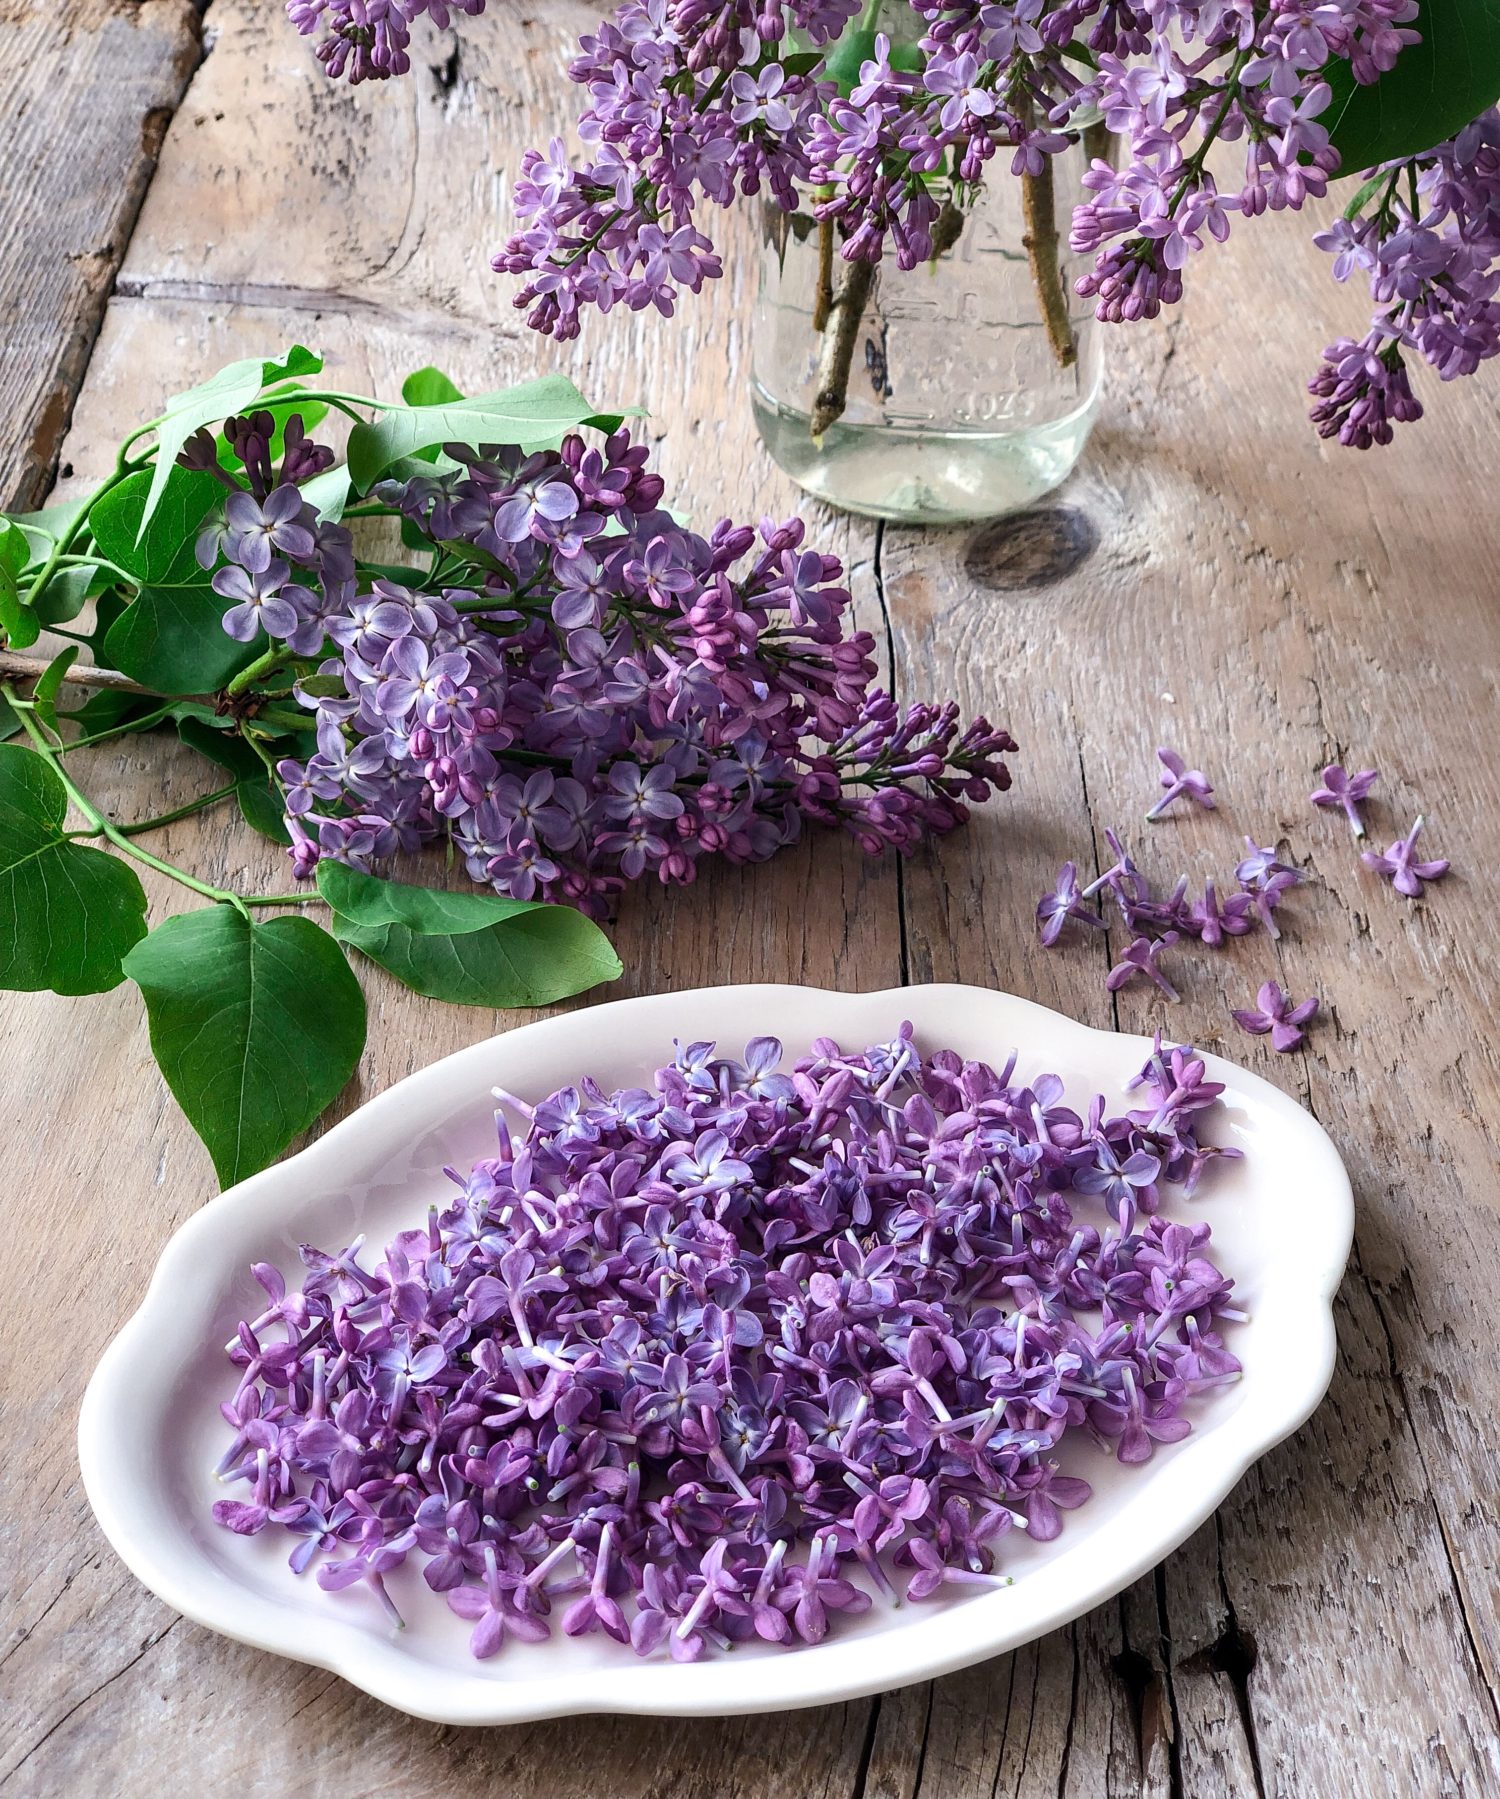
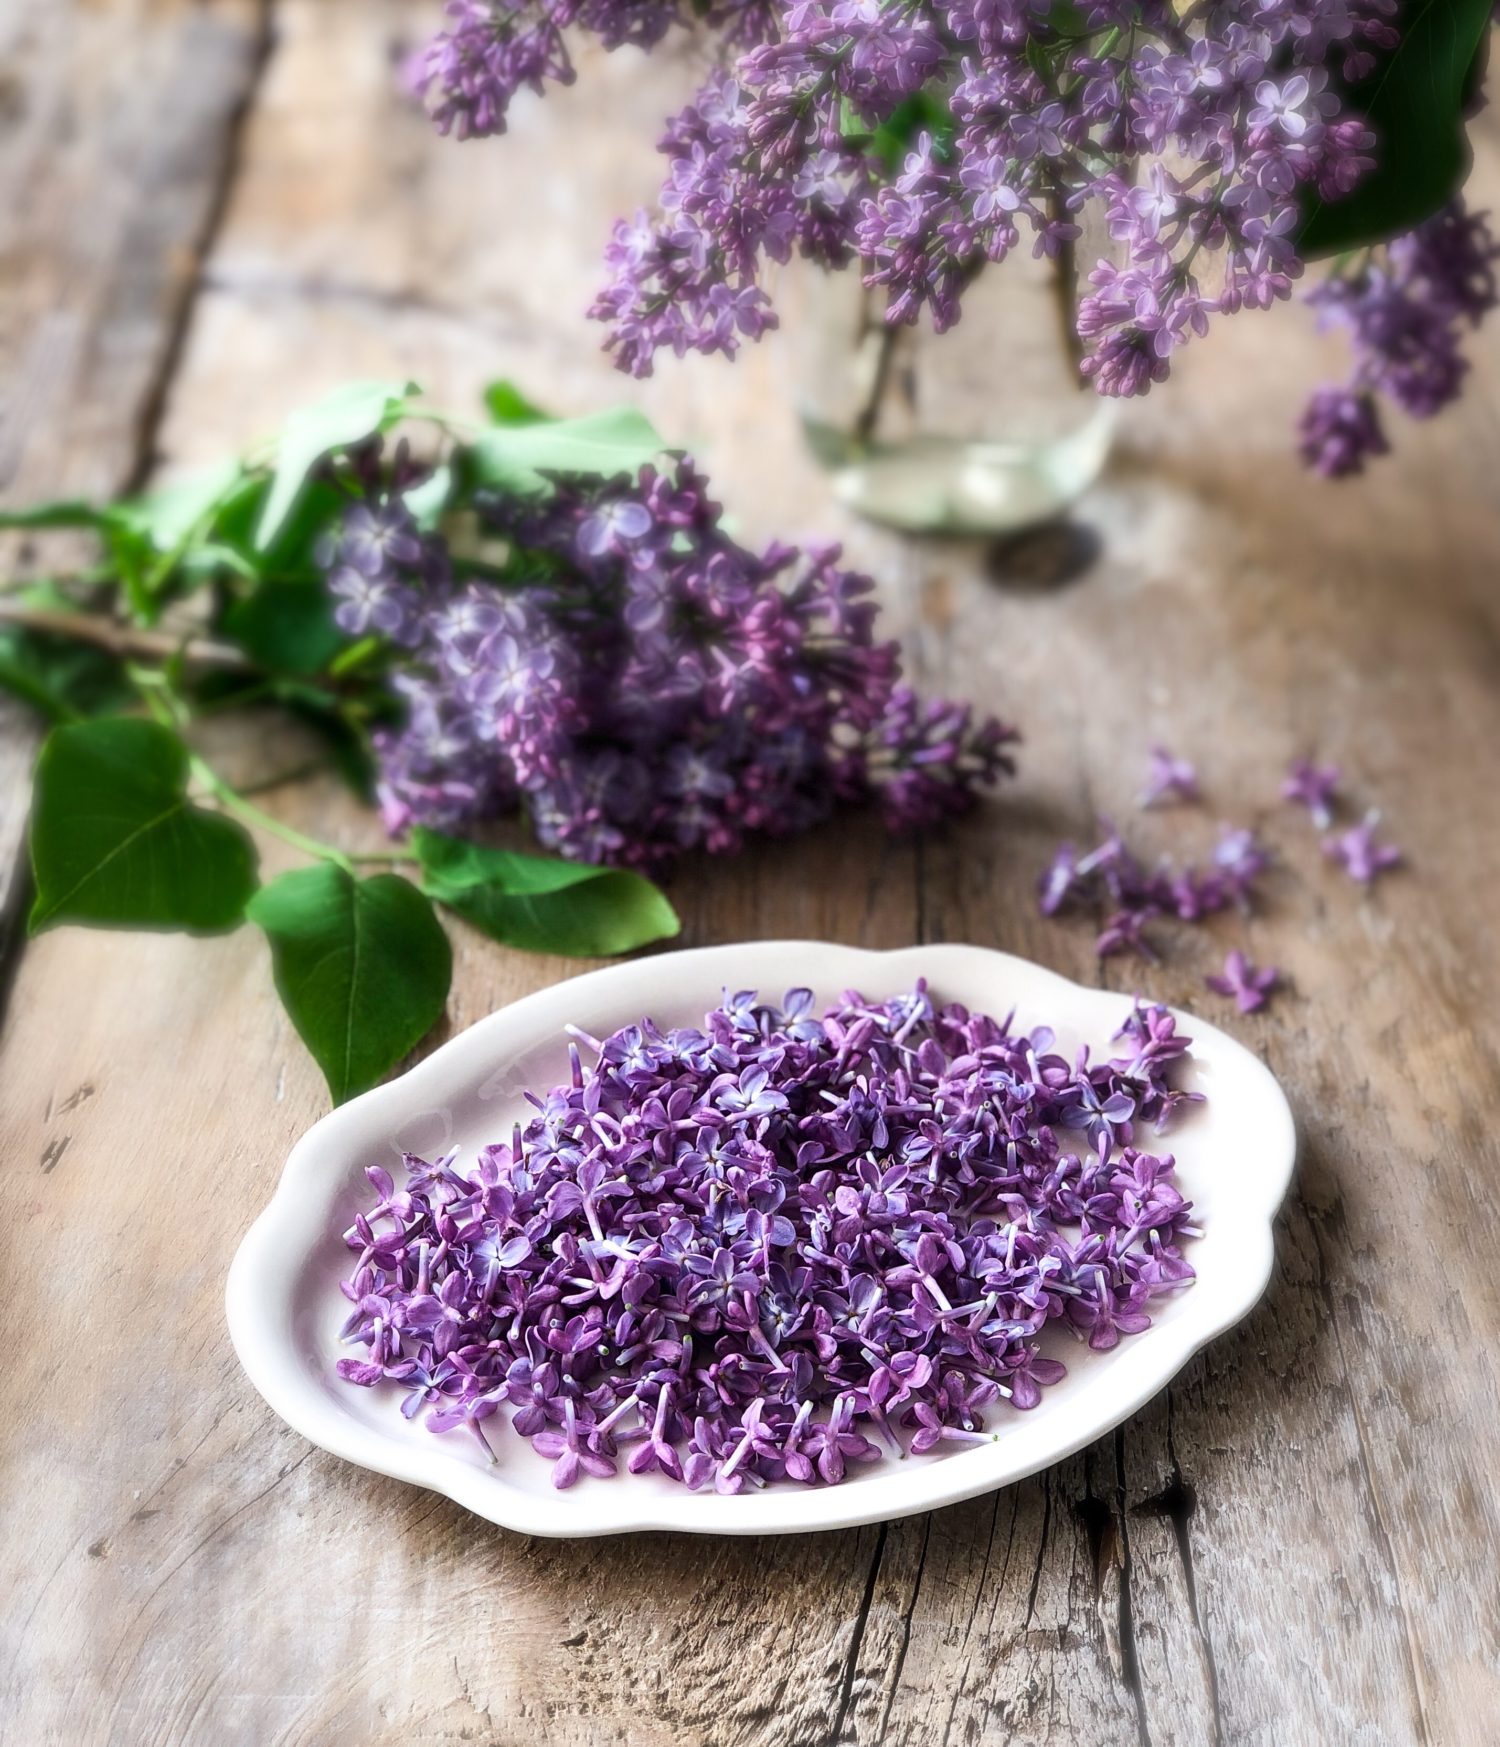
I am always disappointed when the season ends. In fact, the season is just way too short. And this year, the lilac season has gotten such a late start. But I did manage to sneak down to the waterfront along the pathway by the marina and snip a few branches of plump pale and purple blossoms. This time was not only for their beauty and fragrance, but also to make sugar. Yep, sugar. I was inspired by Aimee over at the Twigg Studios blog, when she posted the most charming pie made with her homemade batch of lilac sugar. I waited patiently until all the bushes came into bloom, and followed her lead.
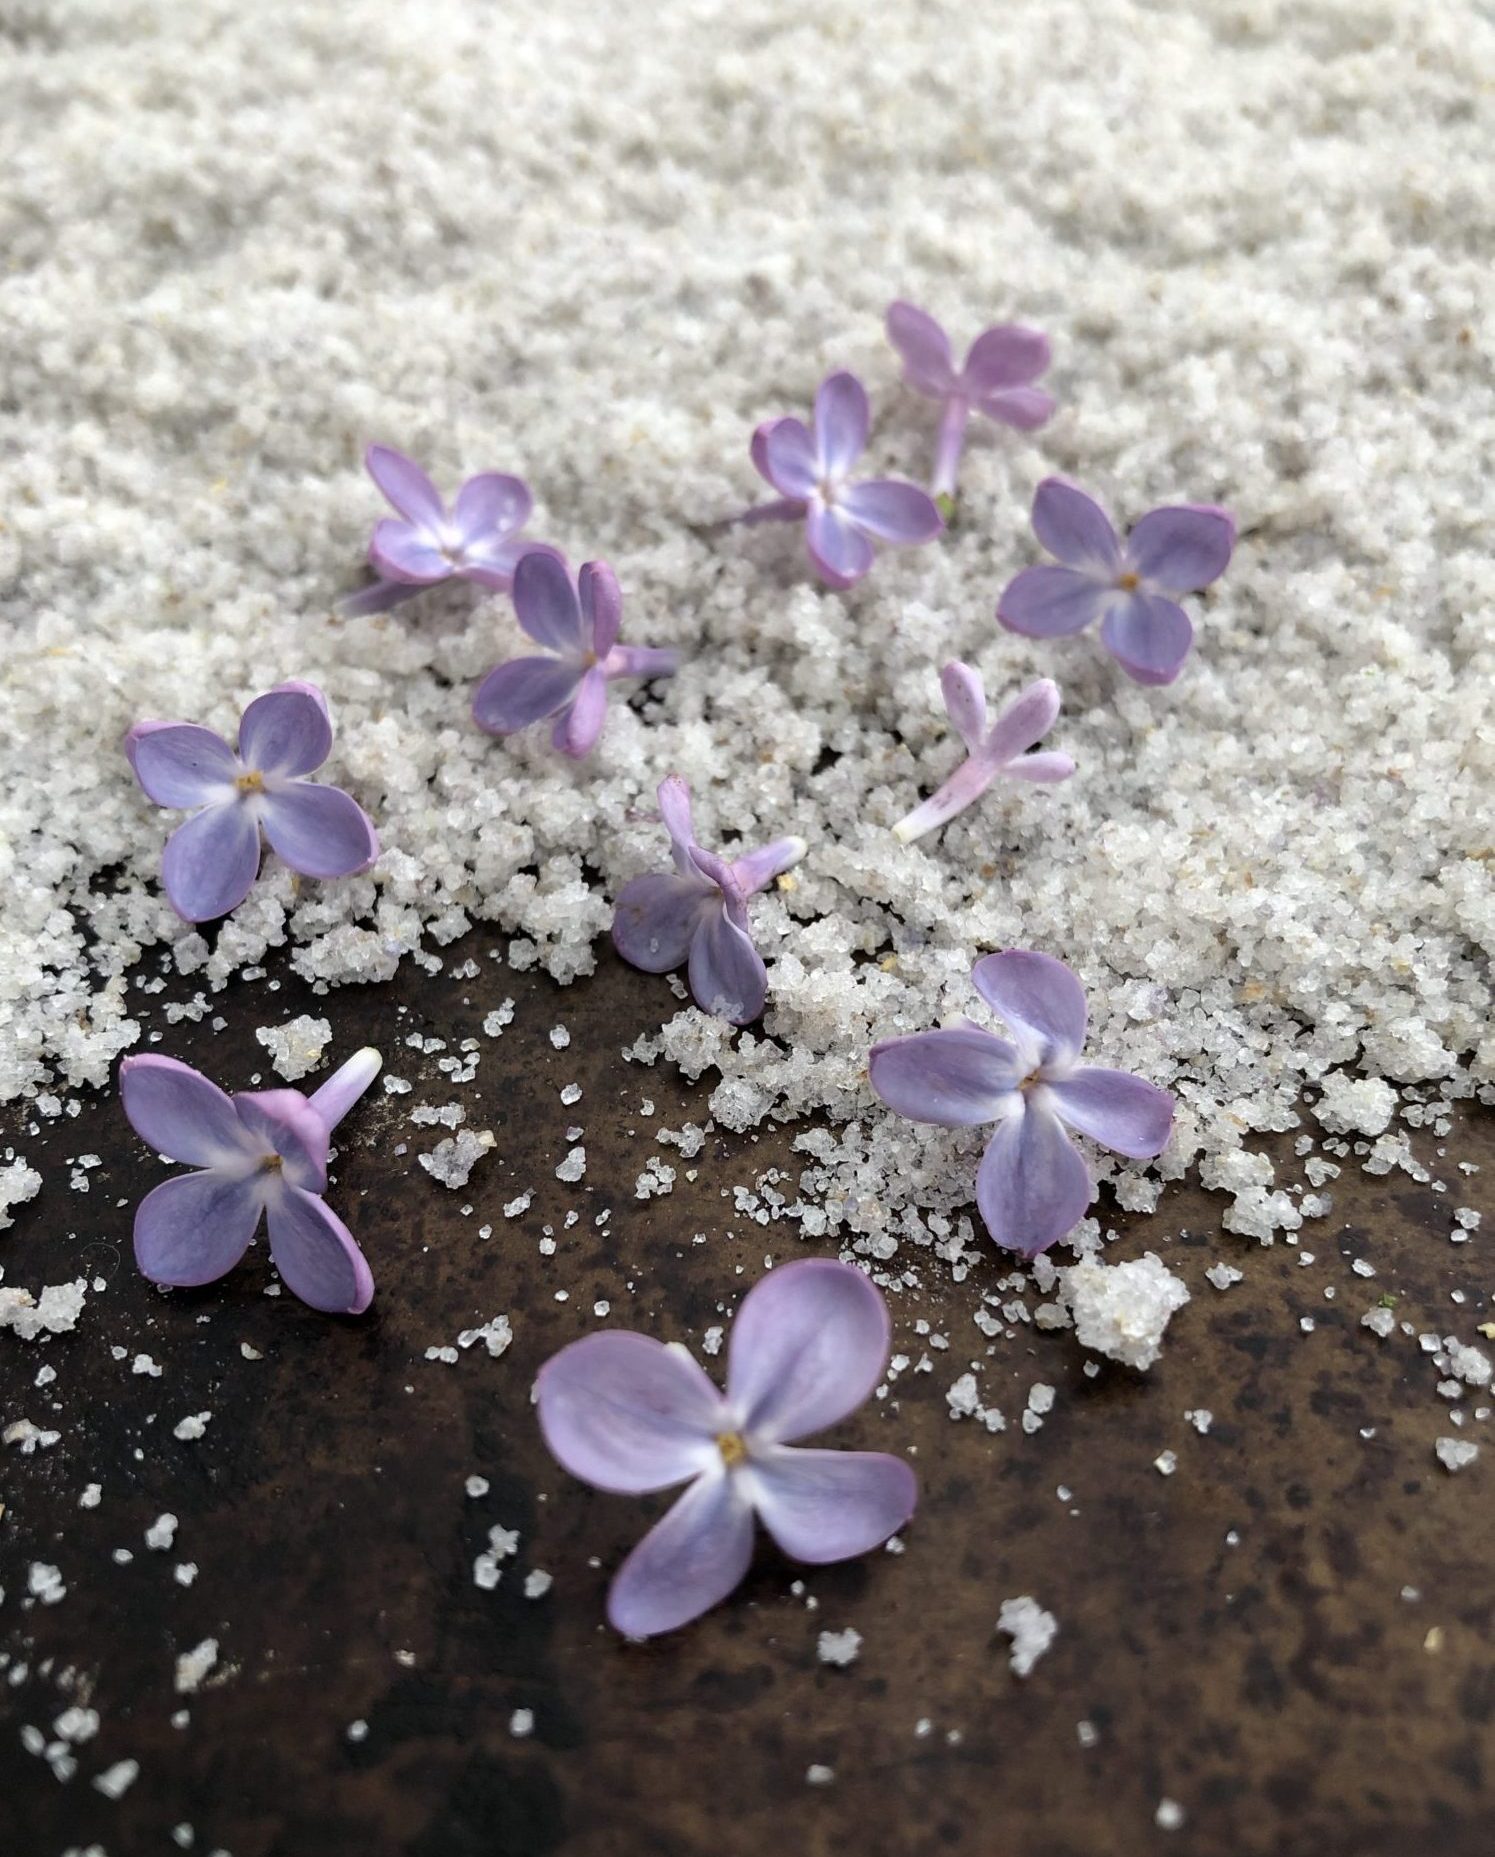
Aimee used the recipe from the Food52 website, and so I looked it up. How easy is this: equal parts fully opened lilac blossoms, green stems removed, and granulated sugar. Blend in a food processor till the blossoms have completely broken down. The finished sugar will be moist due to the moisture content of the fresh blossoms, so lay out the sugar on a parchment lined baking sheet and let them air dry. I decided to speed up the process by heating the oven to 200F, placing the baking sheet on the centre rack, and then turning off the heat. In no time the sugar was dried out. It will be a tad clumpy, so just give it another whiz in the food processor. Or you can just do so by hand using a mortar and pestle. Et voila, the most fragrant sugar you will ever come across! Even as it was drying out in the oven, the kitchen was already taking on a lovely perfume. I had enough for my pie, as well as for tea for the next little while! I also added a few crushed lilac petals to the ground sugar, just for colour and added texture.
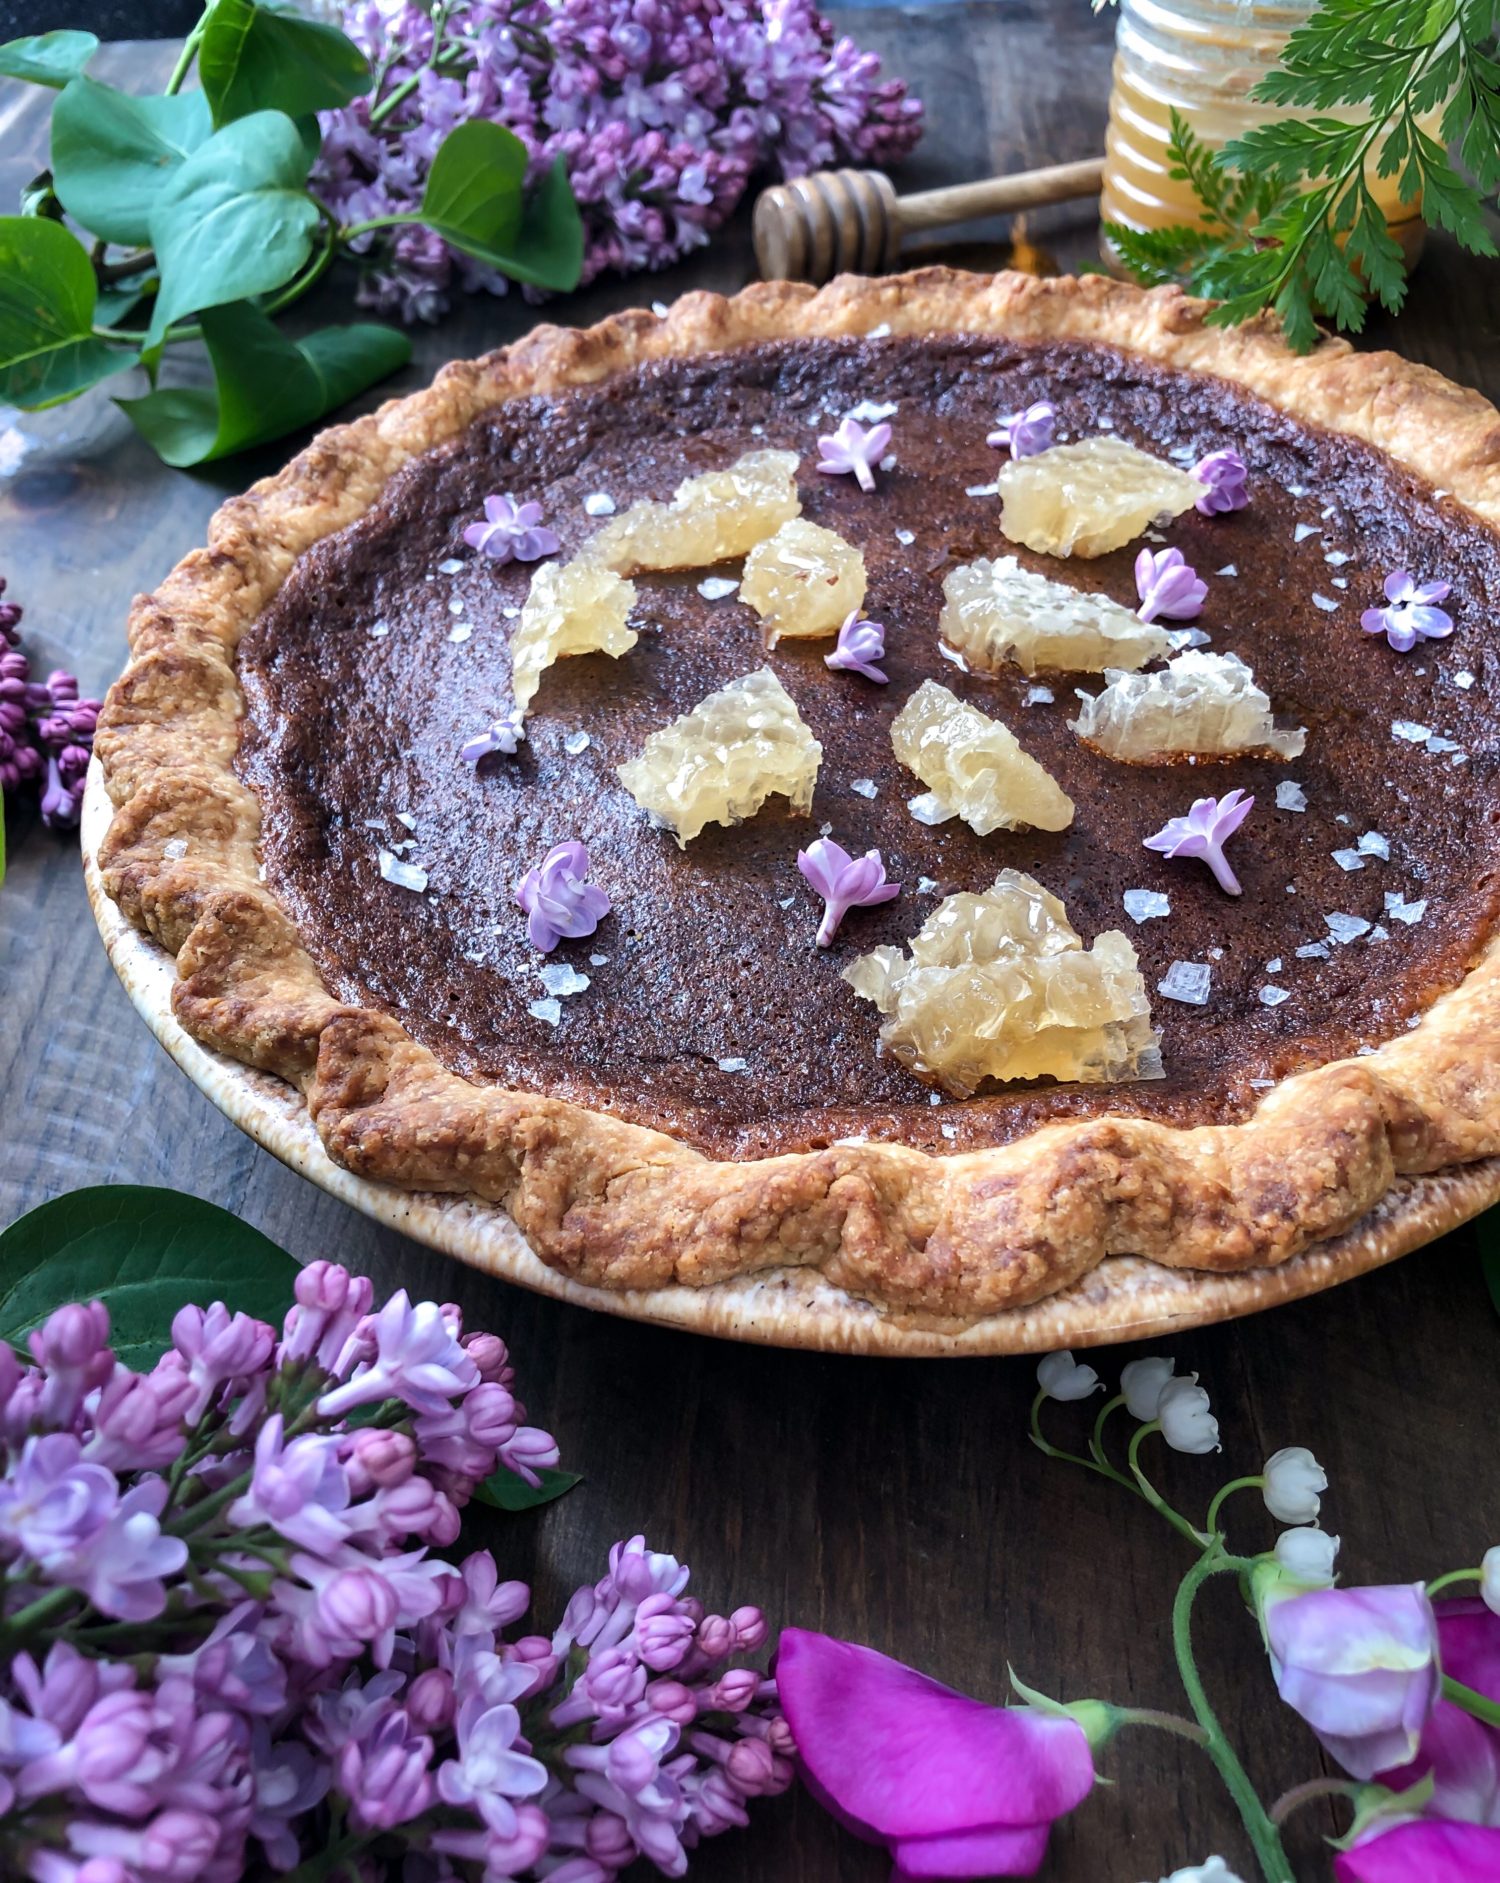
The pie for which Aimee used her sugar, is probably one of our most favourite recipes from the Four and Twenty Blackbirds Pie Book. Salty Honey Pie. The first time I made this pie, which was in 2013, shortly after this book was published (that’s how long I’ve had the book!) I didn’t know what to expect. First of all, it looks like nothing I had baked up before. All burnished and wrinkly. Jim took his first bite and was amazed! It is the most intense sweetness totally balanced by a decidedly salty exterior. As the book states, this pie is not for the faint of heart. But once you’ve tasted it, there is no turning back. It will be a pie that you will make over and over again. And each time, you will fall in love with it all over again. If you have thought about adding this book to your collection, now is the time. Grab it here!
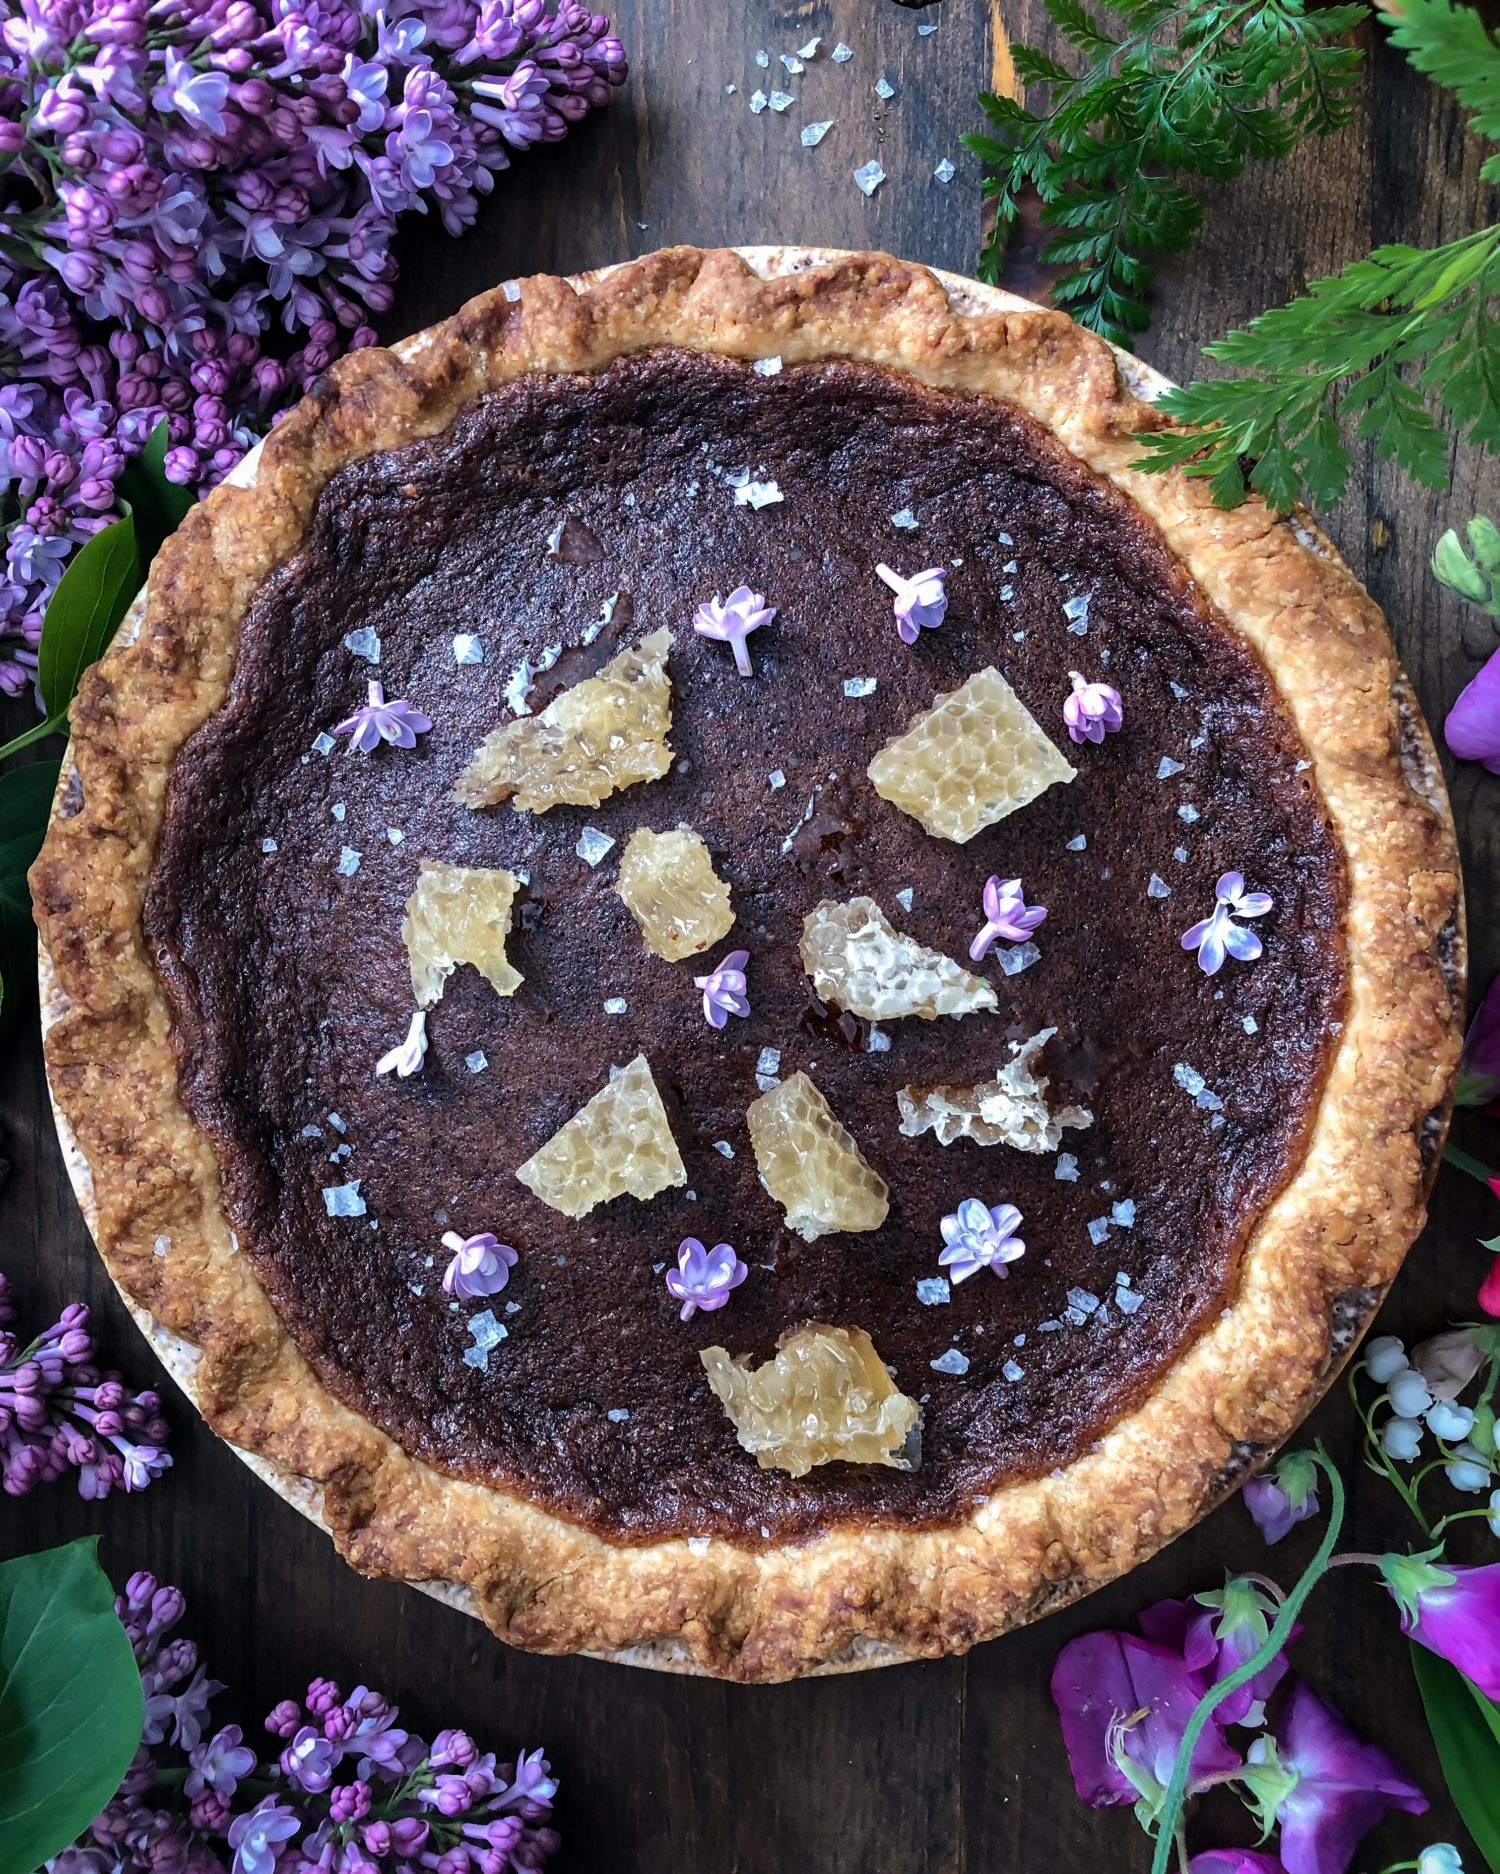
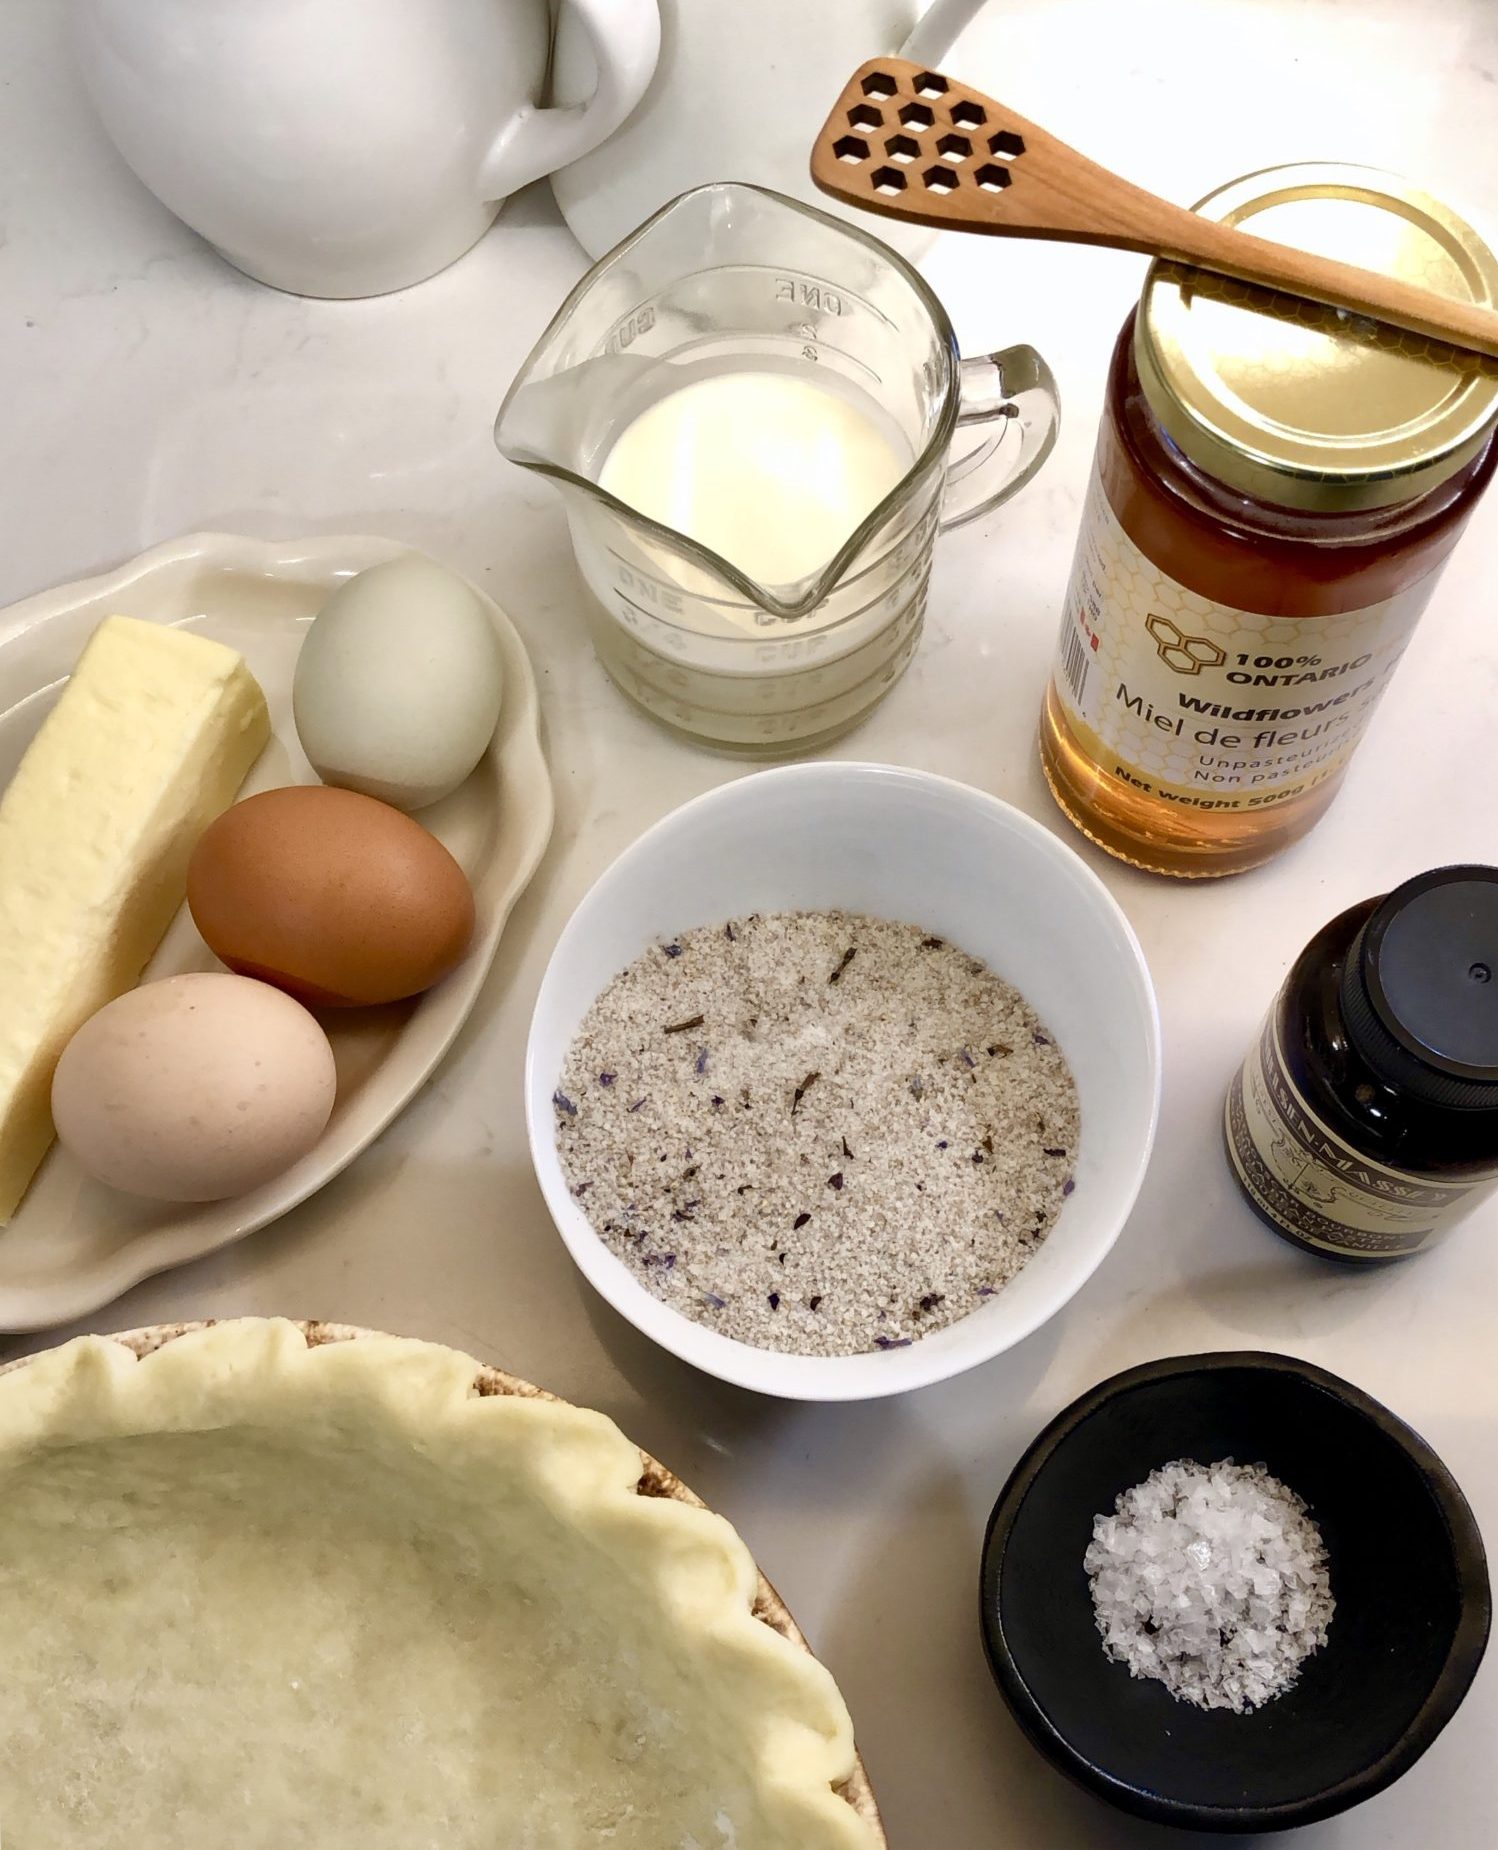
The fun thing about this recipe, is that it changes slightly every time you use a different type of honey. Buckwheat, wildflower, chestnut, etc, each honey has its own fragrance and flavour. And these are imparted to the final pie filling. Since I was going to be using my freshly made lilac sugar, I didn’t want to use an intense honey which would overshadow the lilac fragrance. Not that it is a strong presence, but it is there, and it shouldn’t have to deal with any competition. So I opted for a simple wildflower honey. Clover honey would work as well.
The filling is really rather simple, and it all takes place in one bowl and a whisk. Sugar, honey, salt, cornmeal and vanilla are beaten together. Then the eggs are added, then some cream. Add melted butter. And a touch of white vinegar. You’re basically making a version of a chess or custard pie. The filling is poured into a frozen pie shell and then the whole pie is baked at 375F till puffed and mahogany hued on top. The puffiness will settle, and underneath that bronzed exterior is the most smooth and velvety filling.
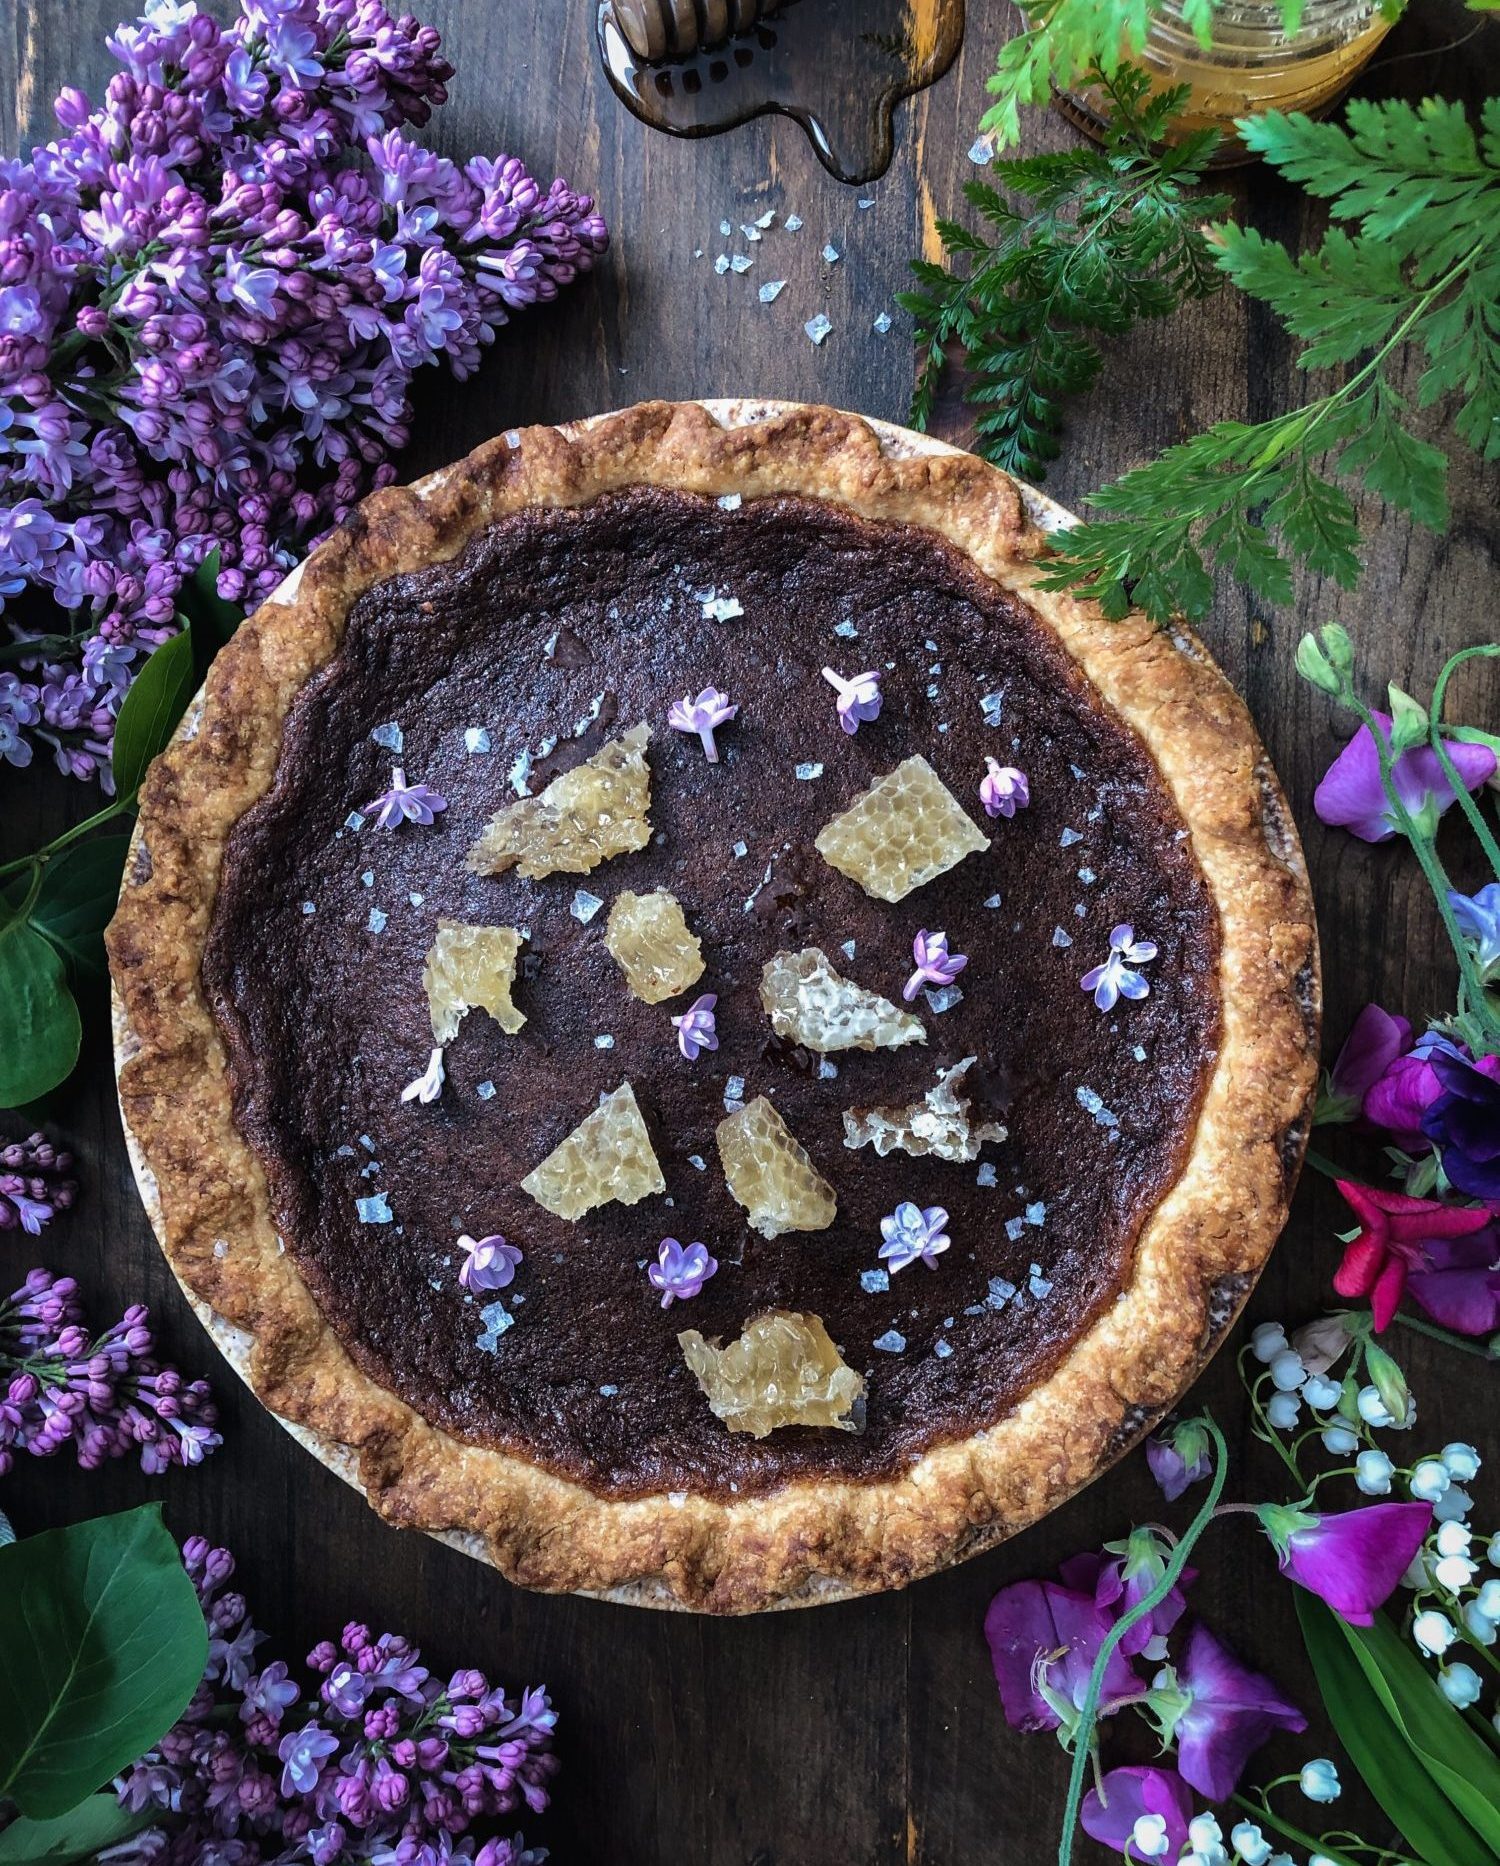
When this pie was baking up, I just stood in the kitchen to enjoy the aroma coming from the oven. The lilacs were having a final moment! Once the pie is out and has cooled, sprinkle with a generous amount of Maldon salt. This really isn’t an option. You will need it or else one piece will send you packing. But for some reason, the salt makes eating that entire slice a joy. And then you can’t wait for your next slice. But that shouldn’t be till the next day! You will need a break to process the intensity of the flavours you just experienced!
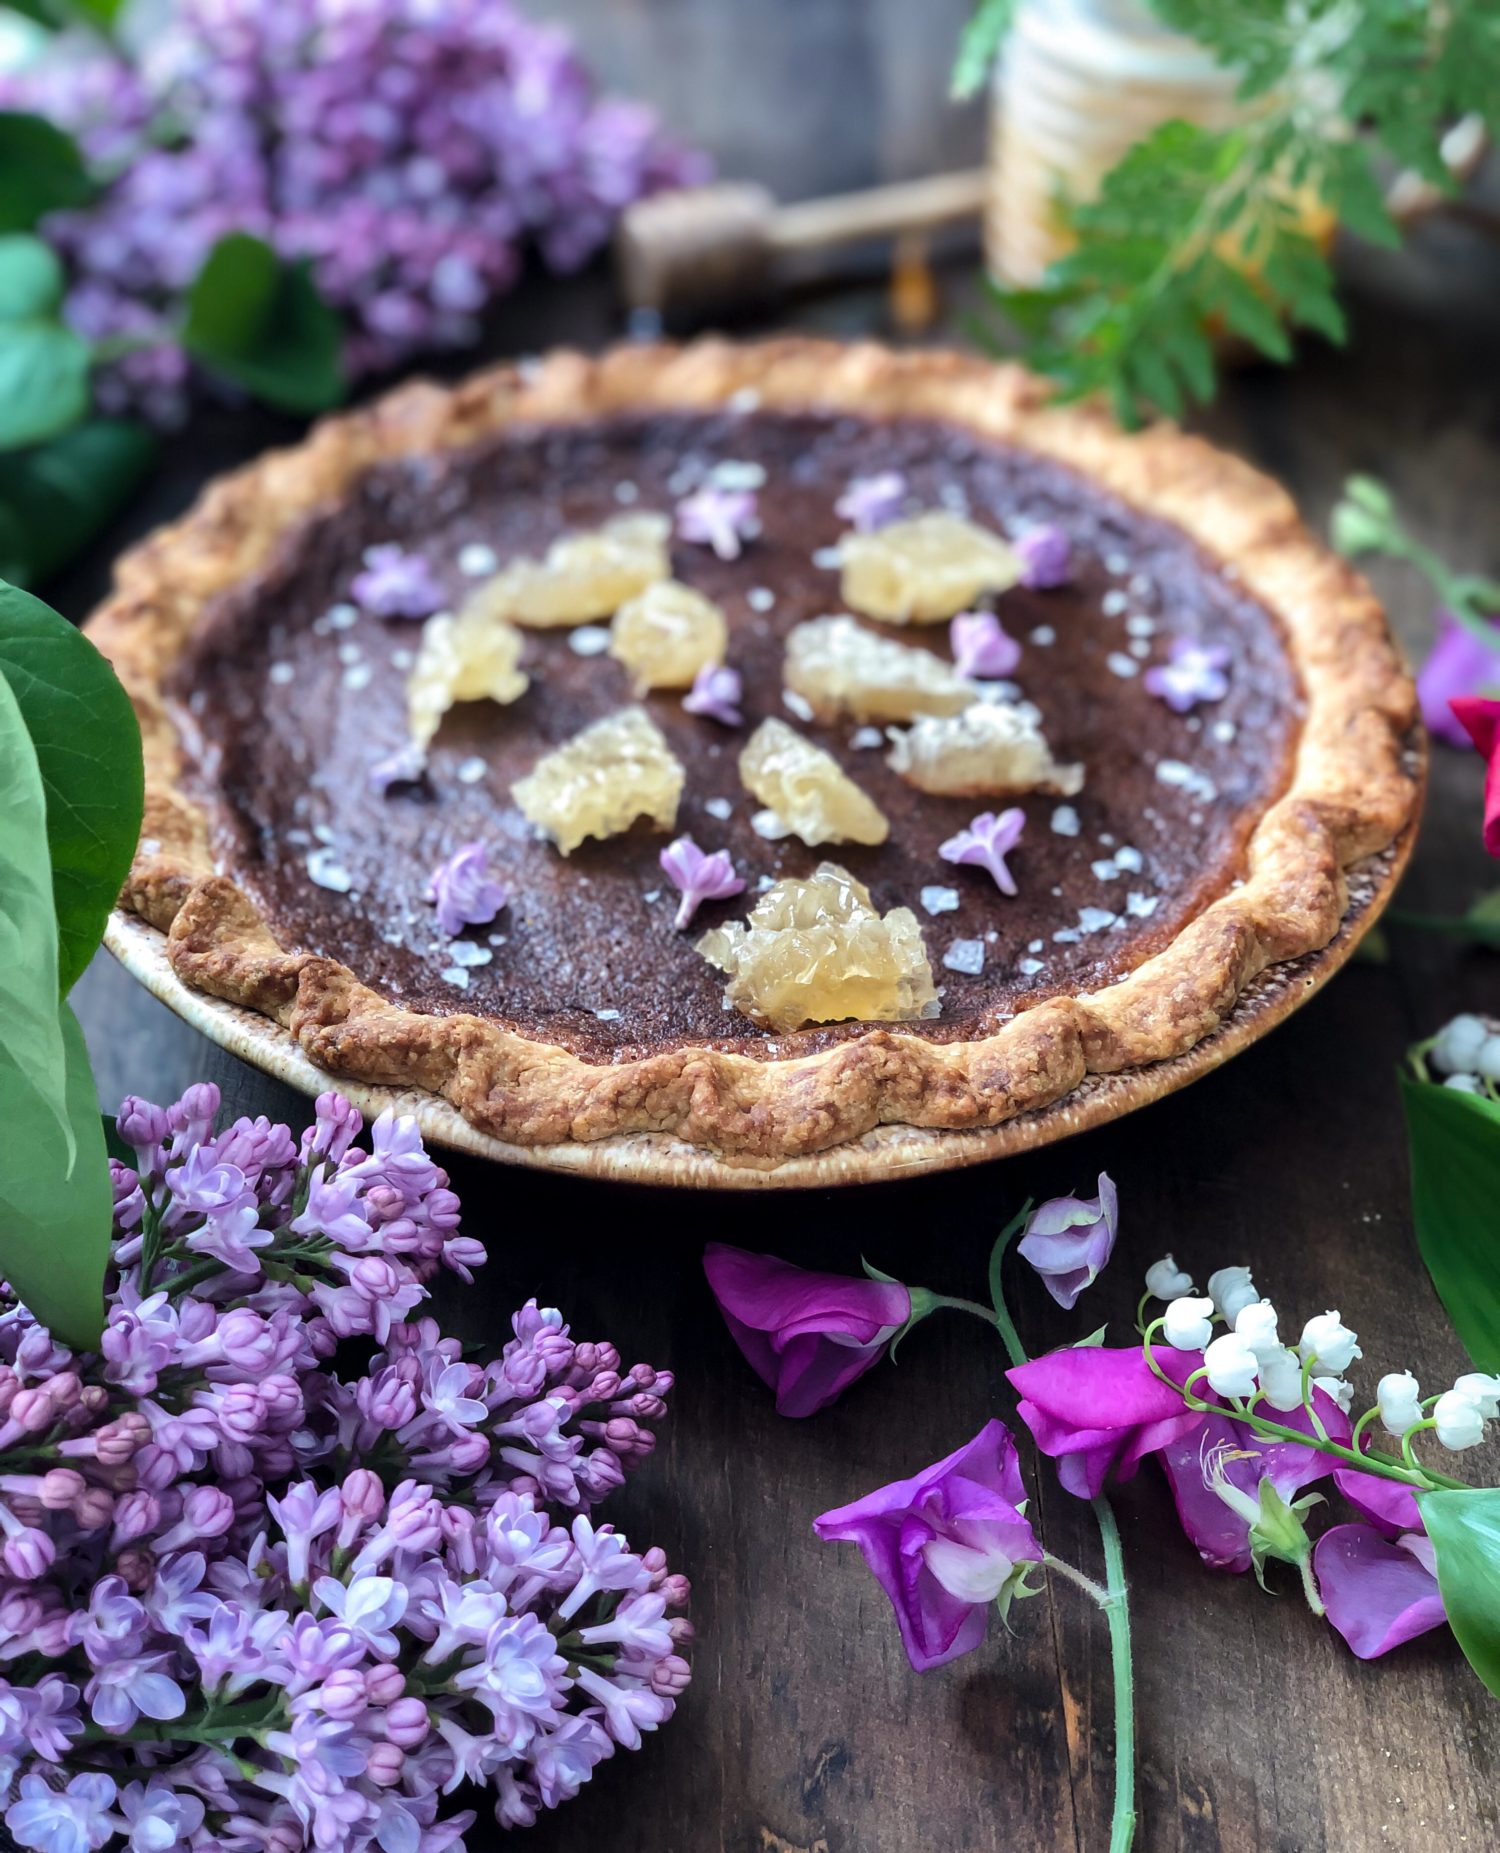
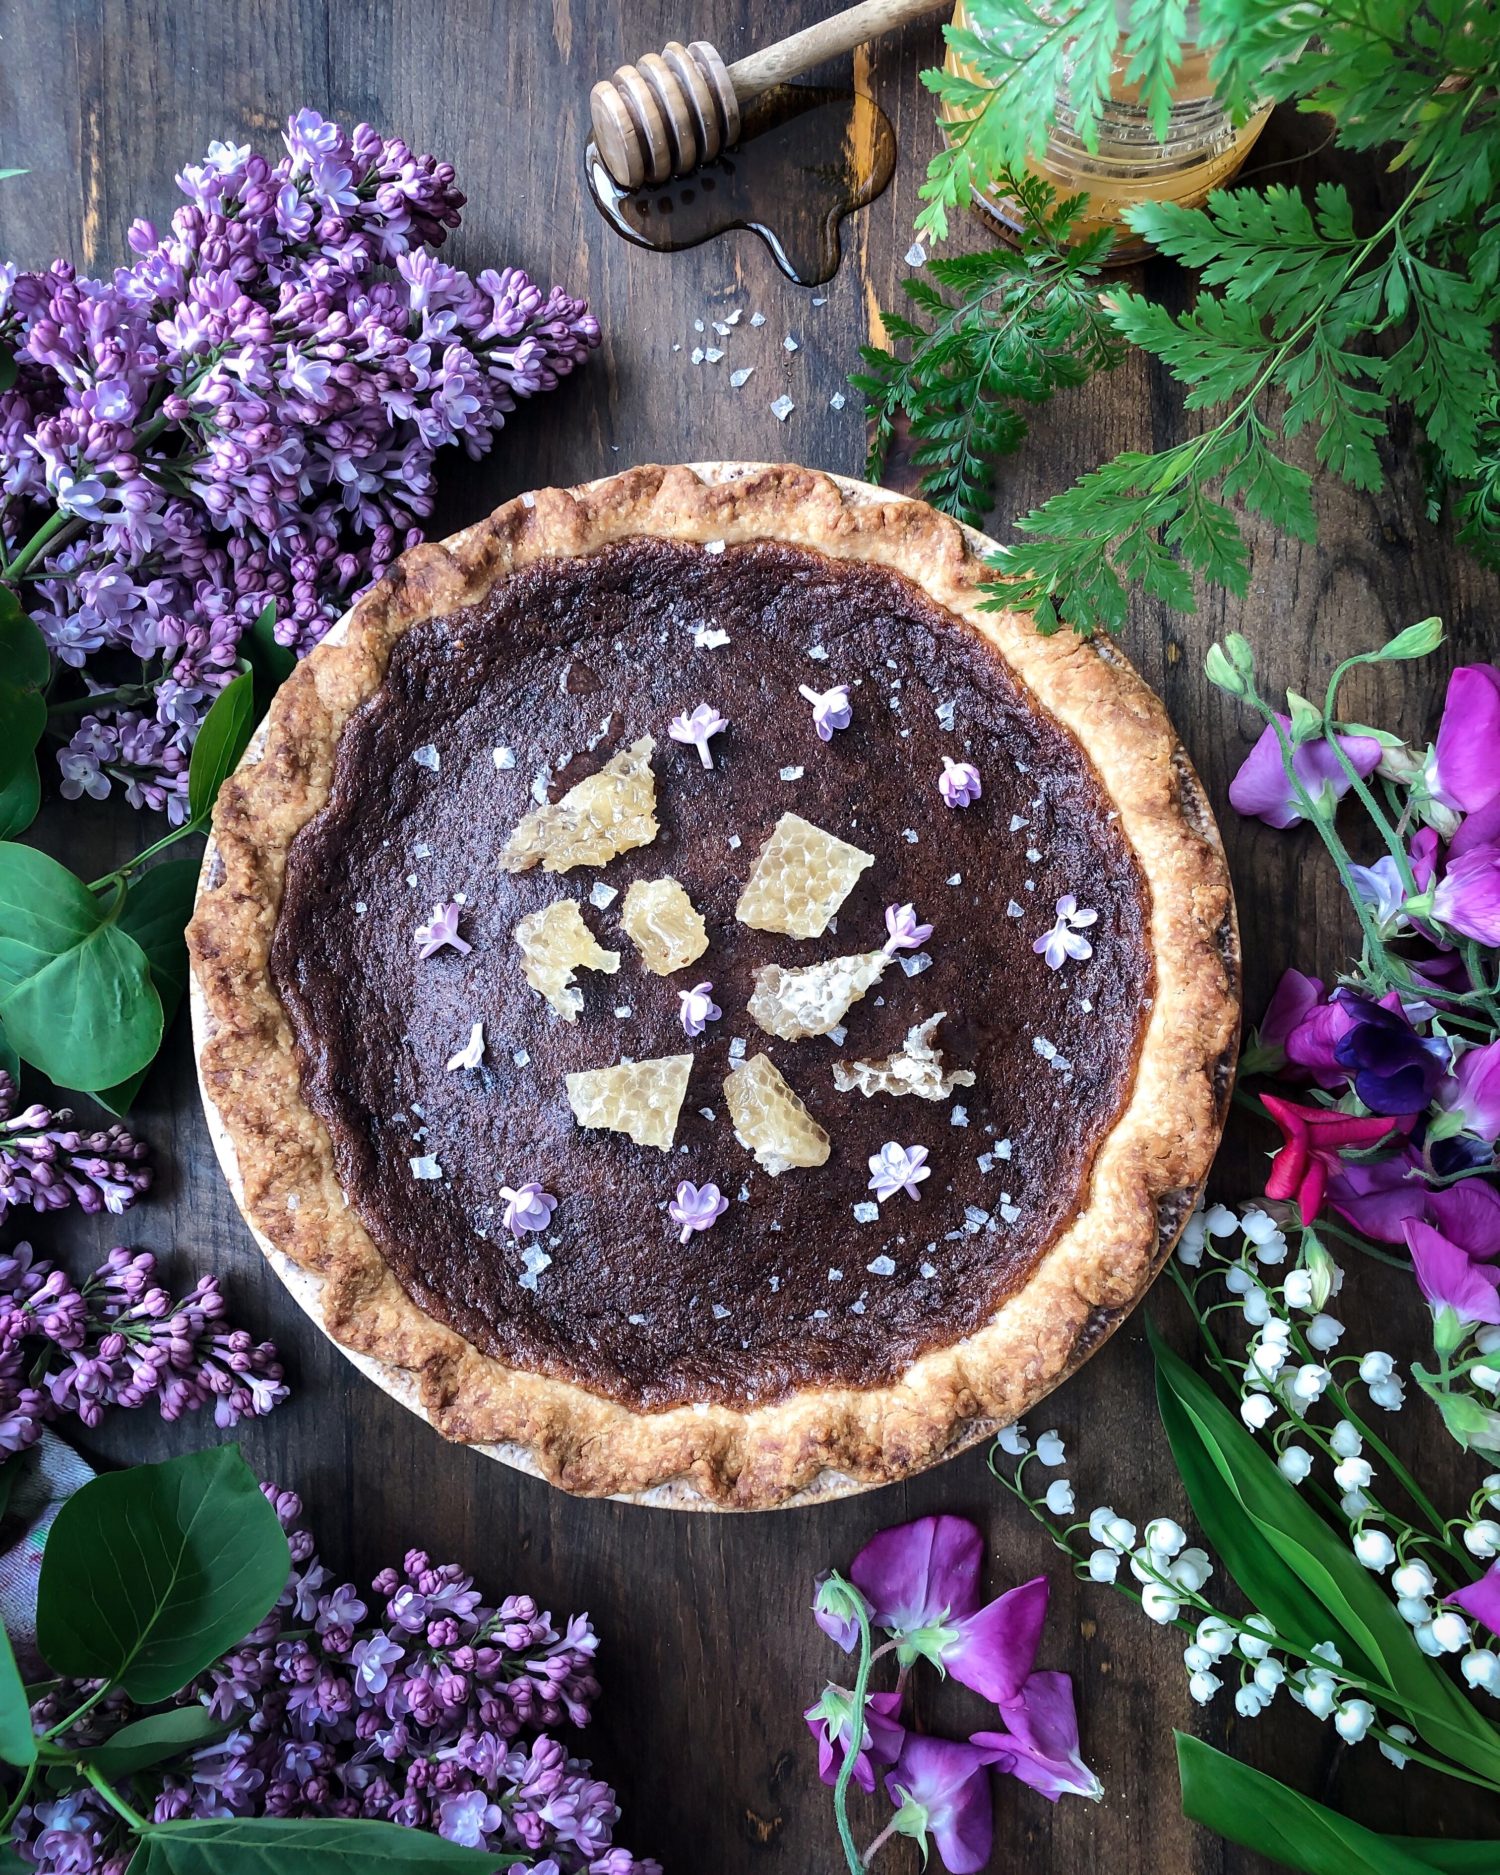
Along with the salt, I did also sprinkle on some final lilac blossoms. Their mauve shade looked amazing against that lovely chestnut brown exterior. And if you want to send this pie to the next level, scatter a few pieces of honeycomb on the top. Eating a piece of honeycomb as you enjoy the slice of pie is simple another treat that we often don’t enjoy. I love the slightly chewy nature of the the natural wax found in honeycomb. Plus, it’s really good for you!
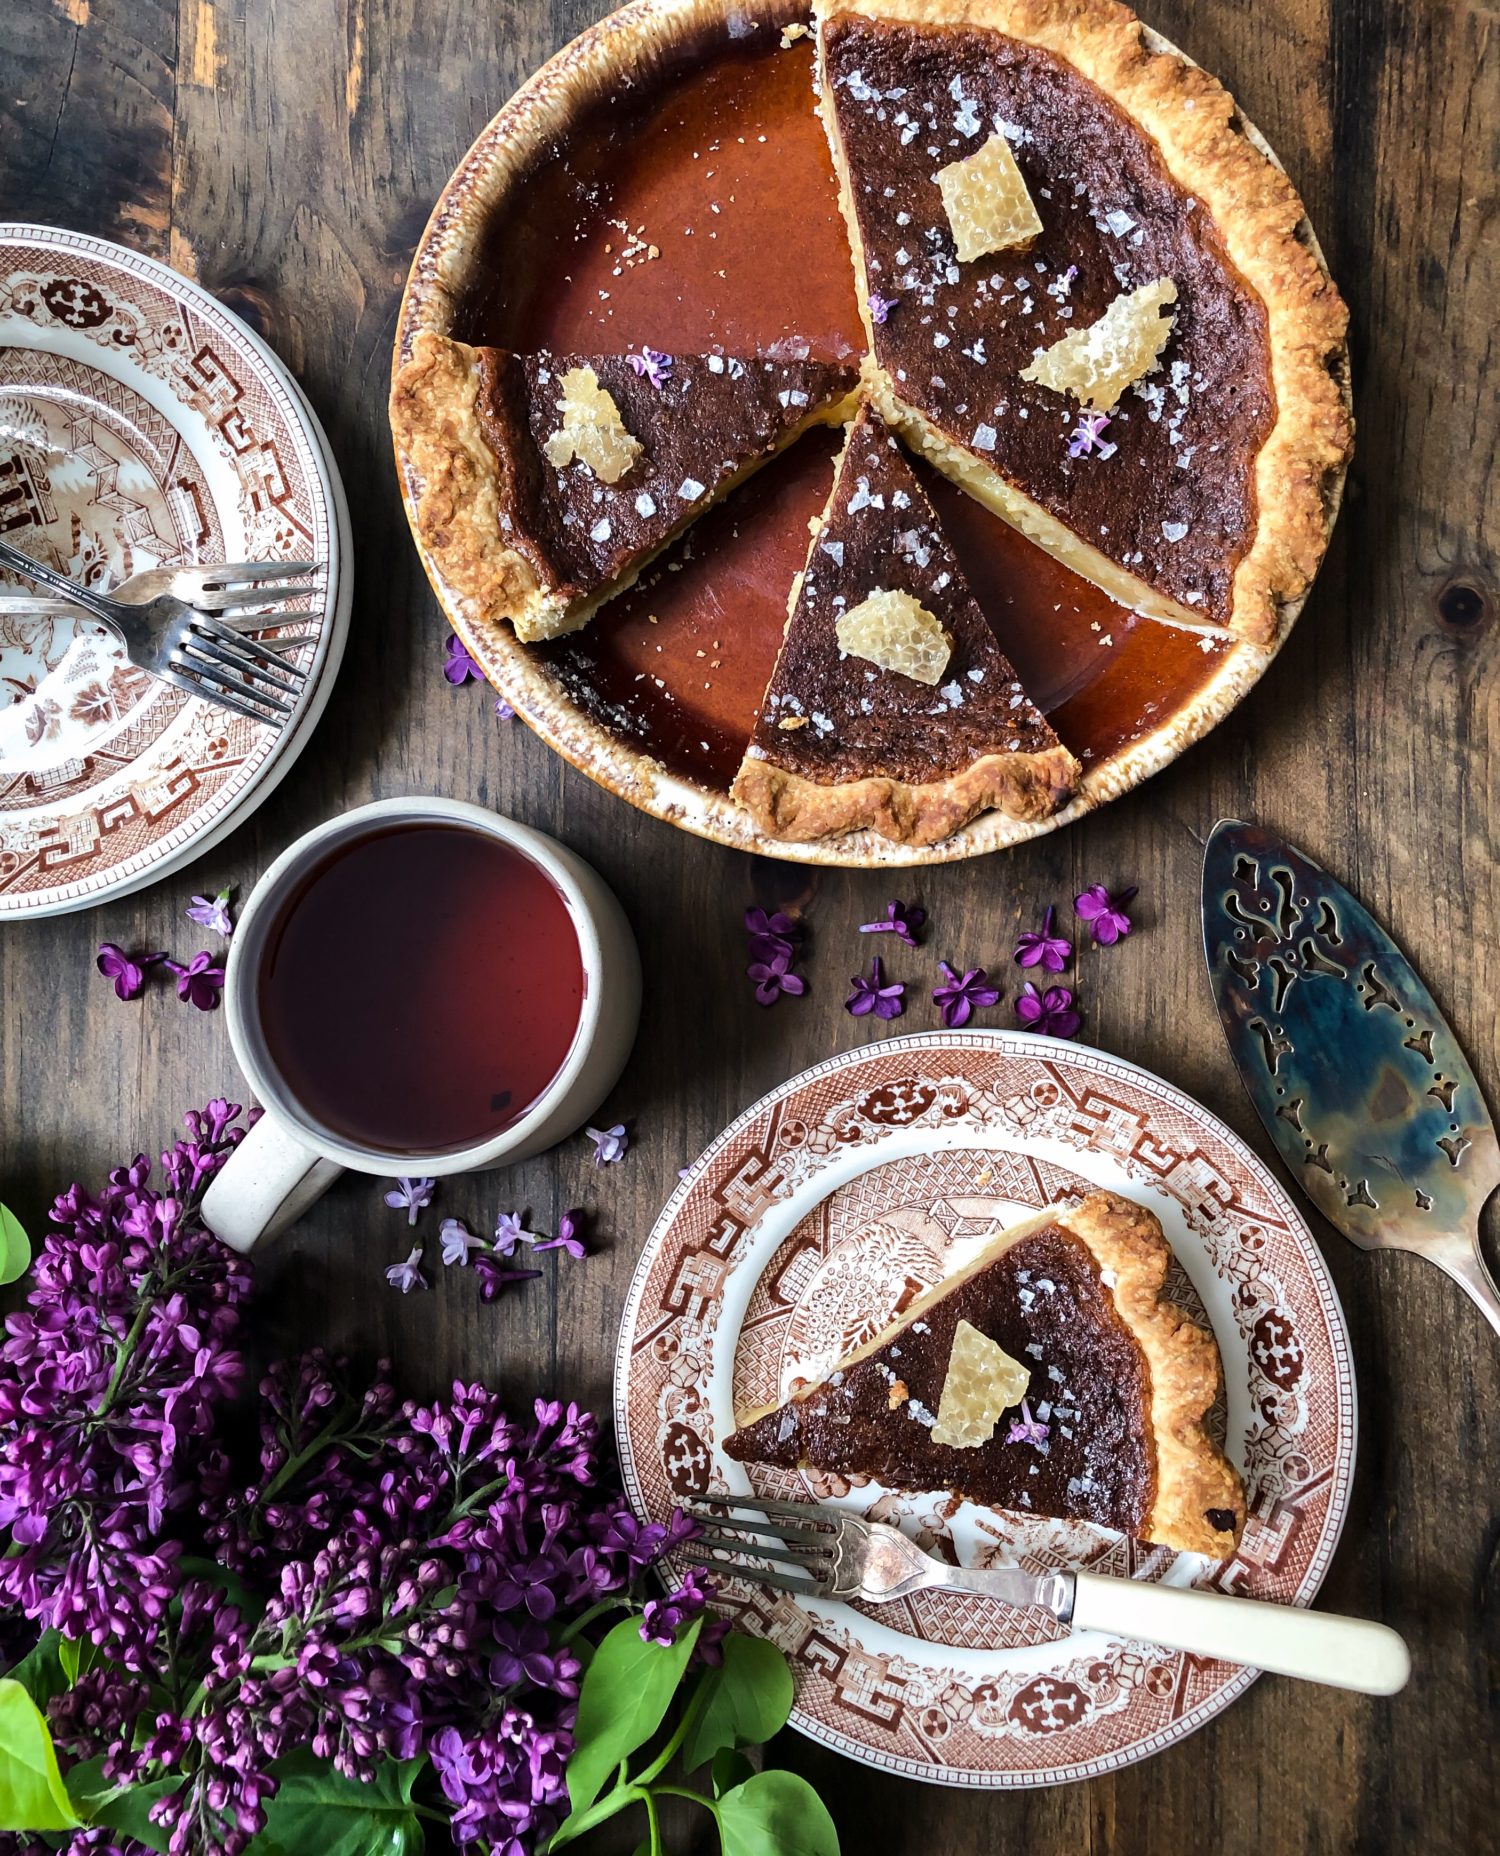
So, even if you can’t get around to making lilac sugar this season around, bookmark this for next year. Or what if you don’t have lilac bushes around your neighbourhood. Do you have lavender? Apple blossoms, crab apple blossoms, even true jasmine or honeysuckle? Then why not follow the very same method, for a lovely take on sugar that you can use in this pie, or any other baked good you are in the mood to create!
Love Jen

Lilac Salty Honey Pie
The classic Salty Honey Pie, which is an intense chess-like filling with the sweetness of earthy honey balanced with a salty garnish for balance, gets one bit of extra summery sweetness: lilac sugar!
Ingredients
Lilac Sugar
- 3/4 cup fully opened lilac blossoms green stems removed
- 3/4 cup granulated sugar
Salty Honey Pie
- 1/2 of my No Fail Pie Crust recipe
- 1/4 pound 1 stick unsalted butter, melted
- 3/4 cup sugar using the sugar made from the Lilac Sugar recipe below
- 1 tbsp cornmeal
- 1/2 tsp kosher salt
- 1 tsp vanilla paste
- 3/4 cup honey if using the lilac sugar, try to use a milder honey such as wildflower or clover honey
- 3 large eggs
- 1/2 cup heavy cream
- 2 tsp white vinegar
- 1-2 tsp flakey Maldon salt for finishing
Instructions
Lilac Sugar
-
Pulse the equal amounts of blossoms and sugar in the food processor until the blossoms have completely broken down.
-
Spread out the sugar onto a parchment lined baking sheet to dry out.
-
You can speed up the drying process by preheating the oven to 200F. Place the baking sheet onto the centre rack and turn off the oven. Check periodically.
-
Once the sugar is dry, you will need to break up, crush the sugar again, as it will have dried in clumps. You can do this in a food processor, or use a mortar and pestle.
-
Store in an airtight container.
Salty Honey Pie
-
Line a pie plate with 1/2 (one disk) of my pie pastry. Crimp and freeze the pie shell till needed.
-
Position the oven rack in the middle and preheat the oven to 375F.
-
In a medium bowl stir together the melted and partly cooled butter, sugar, cornmeal, salt and vanilla paste.
-
Stir in the honey and the eggs one at a time.
-
Stir in the heavy cream and then the vinegar.
-
Place the frozen pie shell onto a baking sheet. Pour the filling into it. If you want to, you can strain it through a fine mesh sieve first, but I never find this necessary. Why dirty up a sieve, when I have never had the filling be lumpy in the least? If using the lilac sugar, this is especially so, since bits of the blossoms will be throughout the filling. And I actually want those to stay!
-
Bake on the middle rack for 40-45 minutes, rotating the sheet 180 degrees at the 30 minute mark. At this point the edges have started to set. Bake until the the edges are set and puffed up, and the centre is no longer liquidy but looks set like gelatin. The top will have turned the most amazing mahogany hue. This may be affected by your oven and the type of honey you are using.
-
Allow to cool completely on a rack for 3-4 hours. Sprinkle with the finishing salt, some lilac blossoms and to be totally decadent, some small pieces of honeycomb!
-
This pie can keep refrigerated for 4 days, or at room temp for 2 days.
Recipe Notes
You can replace the lilac blossoms with fresh lavender, apple blossoms, jacaranda blossoms etc. Just make sure that no green or stem are included, and that the petals are clean.
The lilac sugar can be used for other baking or even in tea!
Dear, dear Jenifer, lilacs and peonies are ma favourite edible flowers ! I am so happy to find this one; our lilacs are gone for this season but keeping for next year 🙂 Thank you so much and enjoy the weekend !
Hello sweetie! I had no idea that peonies are also edible. Lilacs are truly mine. Yes, I know, up here in Ontario we still have lilacs blooming. But anyone to the south may have to sit on the lilac sugar recipe till next year. But the pie recipe is still a great one without the lilac sugar! 😉 Love Jen
Salty honey pie is my fav too – This is beautiful and the snaps of the lilac put a smile on my face!
Yep, I remember the first time I made this pie- it was a total game changer! And I love how the honey really gets burnished on top, but is still so creamy inside. Jim loves this one as well. Hi to Johann!
Hi! Is the pie itself purple? It looks purple in the pictures but can’t figure out where the color is coming from. Thanks!
Hi Dana, No the pie isn’t purple! Oh dear, it might just be my lousy lighting, or else the lilacs around the pie reflecting some of their colour onto the top of the pie. Depending on the honey you use, it can get a nice burnished top, which is what happened here. Inside it is pure custardy goodness! Love Jen