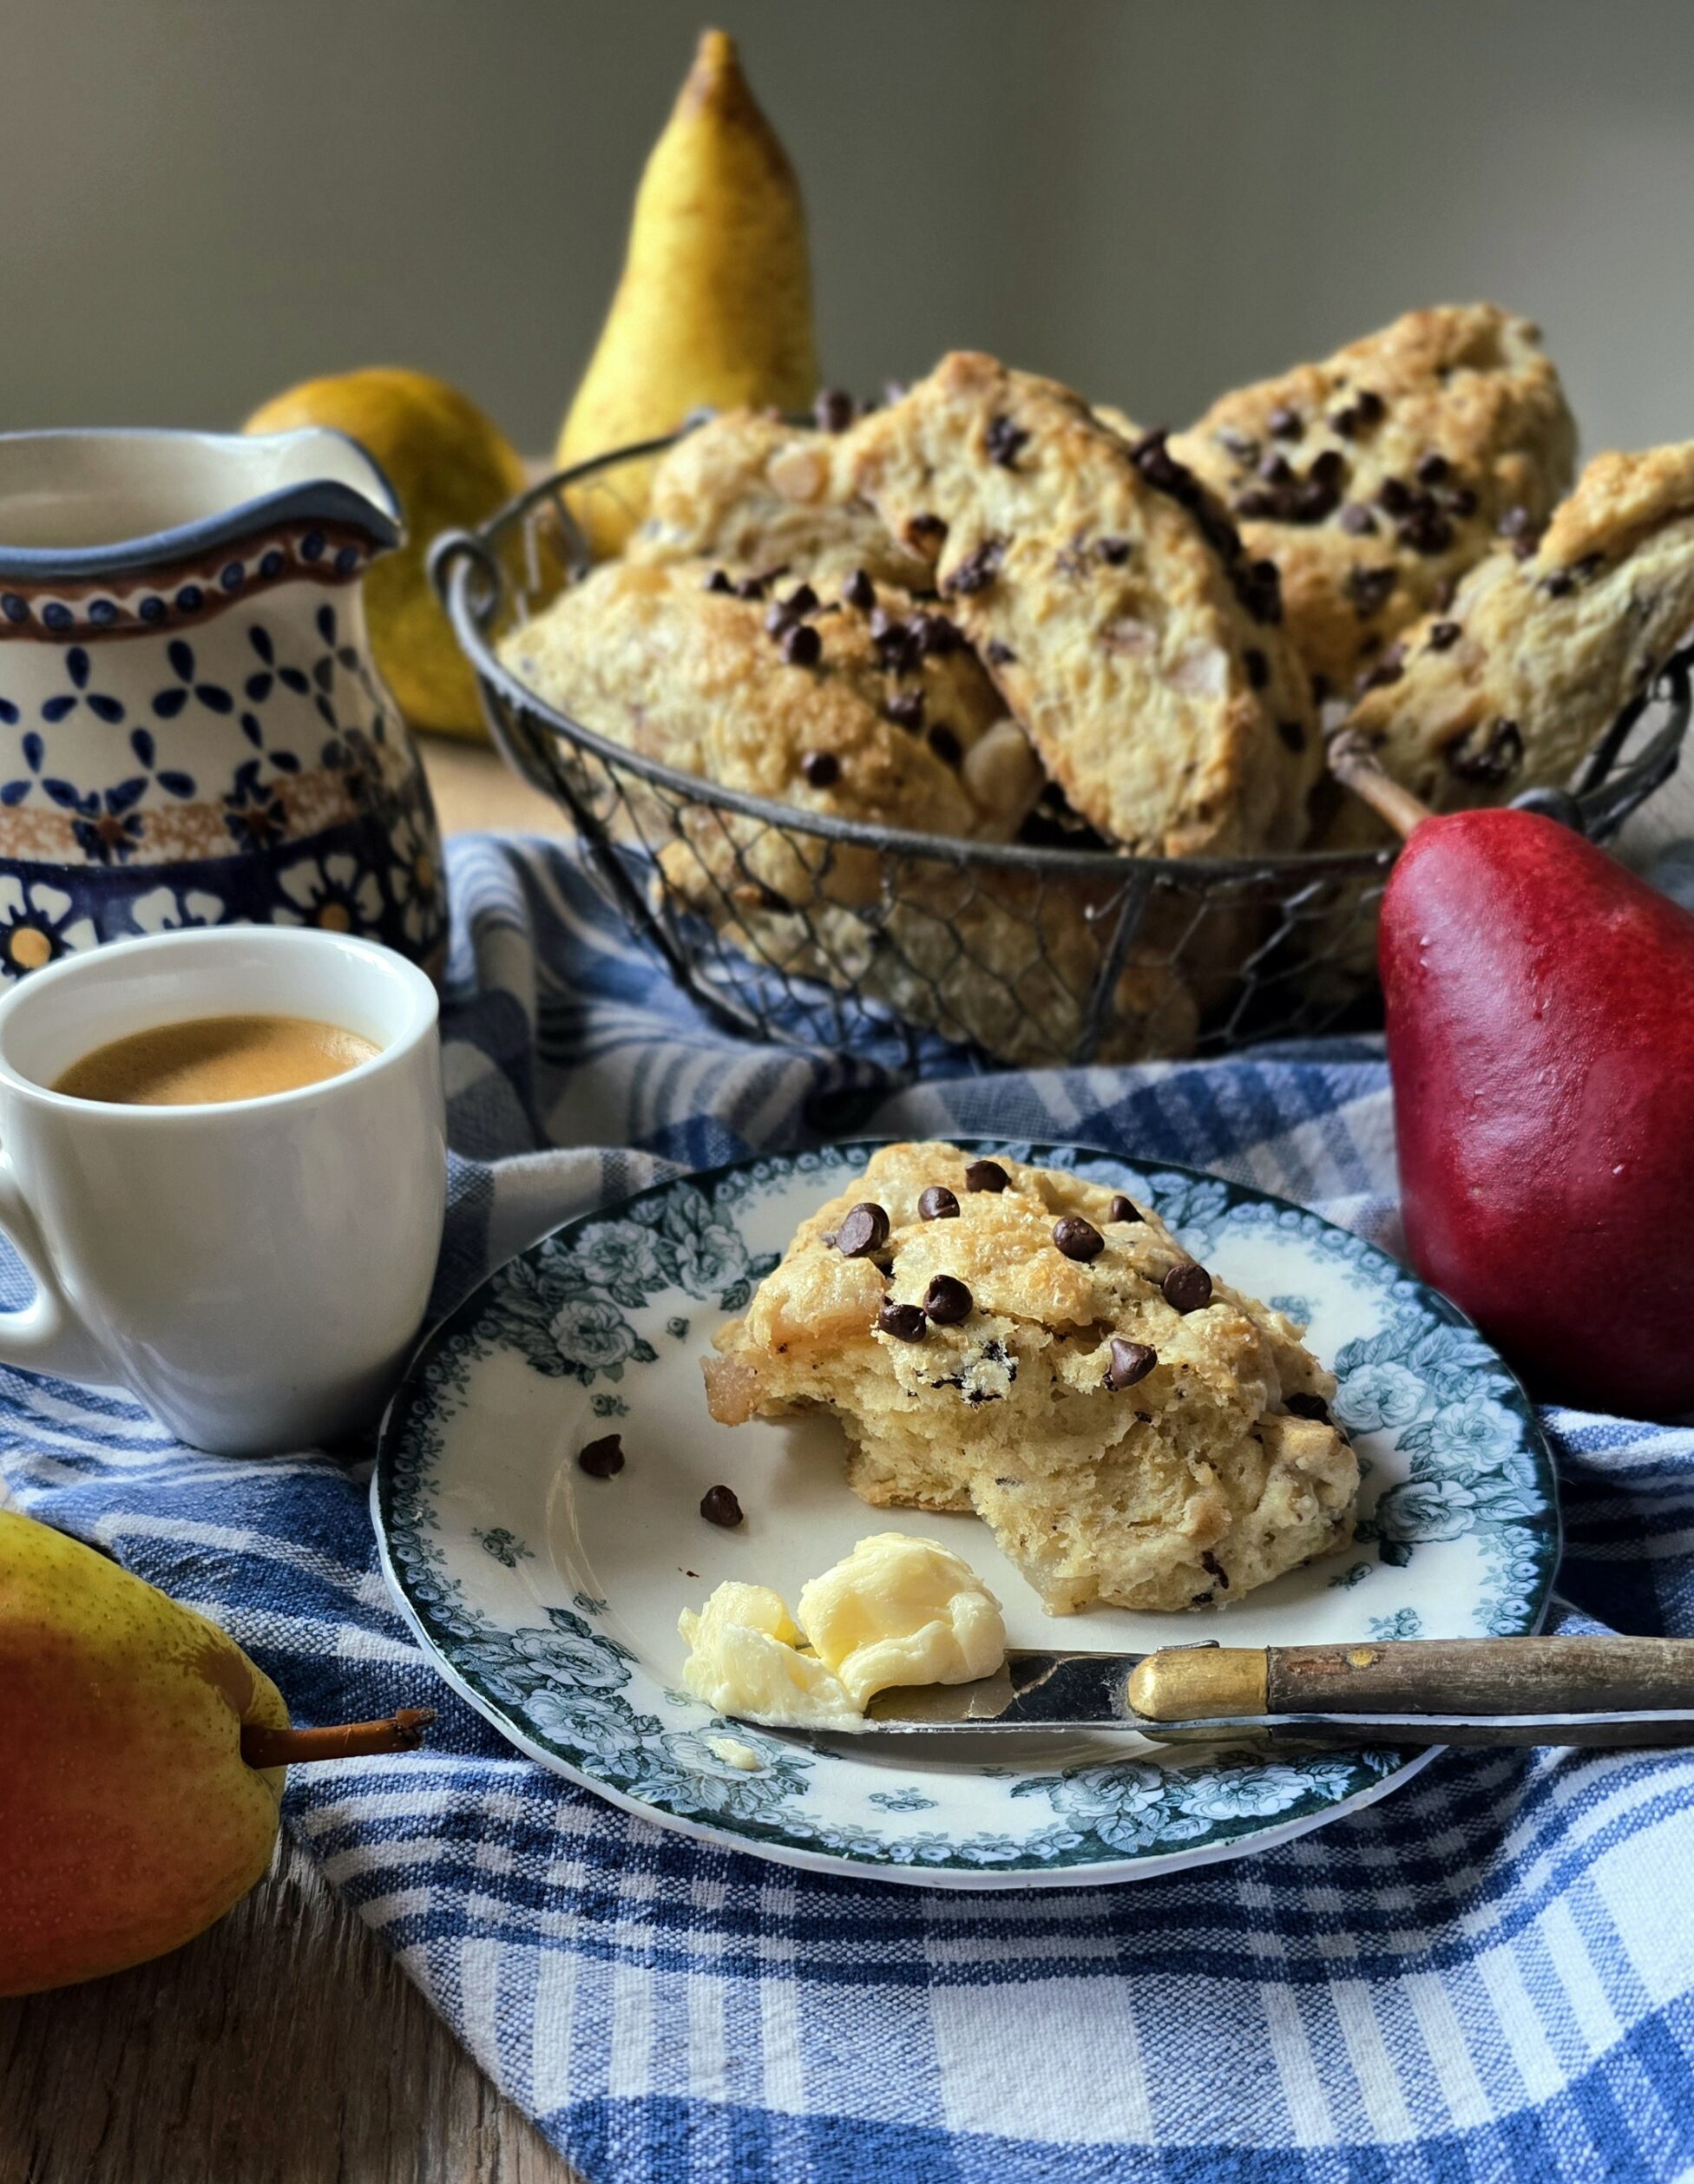
Disclaimer: This was my very first blog post, with the story-telling vibe of early blogging styles, more text than most people want these days. But I’m leaving the text. If all you want a really tender and cakey scone recipe, it’s at the bottom, so just scroll on down!
It’s November 5, but you’d never know it. Where is the cold, damp, gloominess, rain? No, on second thought, I don’t care where it is, as long as it isn’t here. It feels more like the beginning of October, which suits me just fine.
November in Toronto is usually so dismal. It’s a non-month really, not autumnal October, and not snowy white December. Wouldn’t two months of October be better, just so that the kaleidoscope of warm jewel hues could surround us for a little longer?
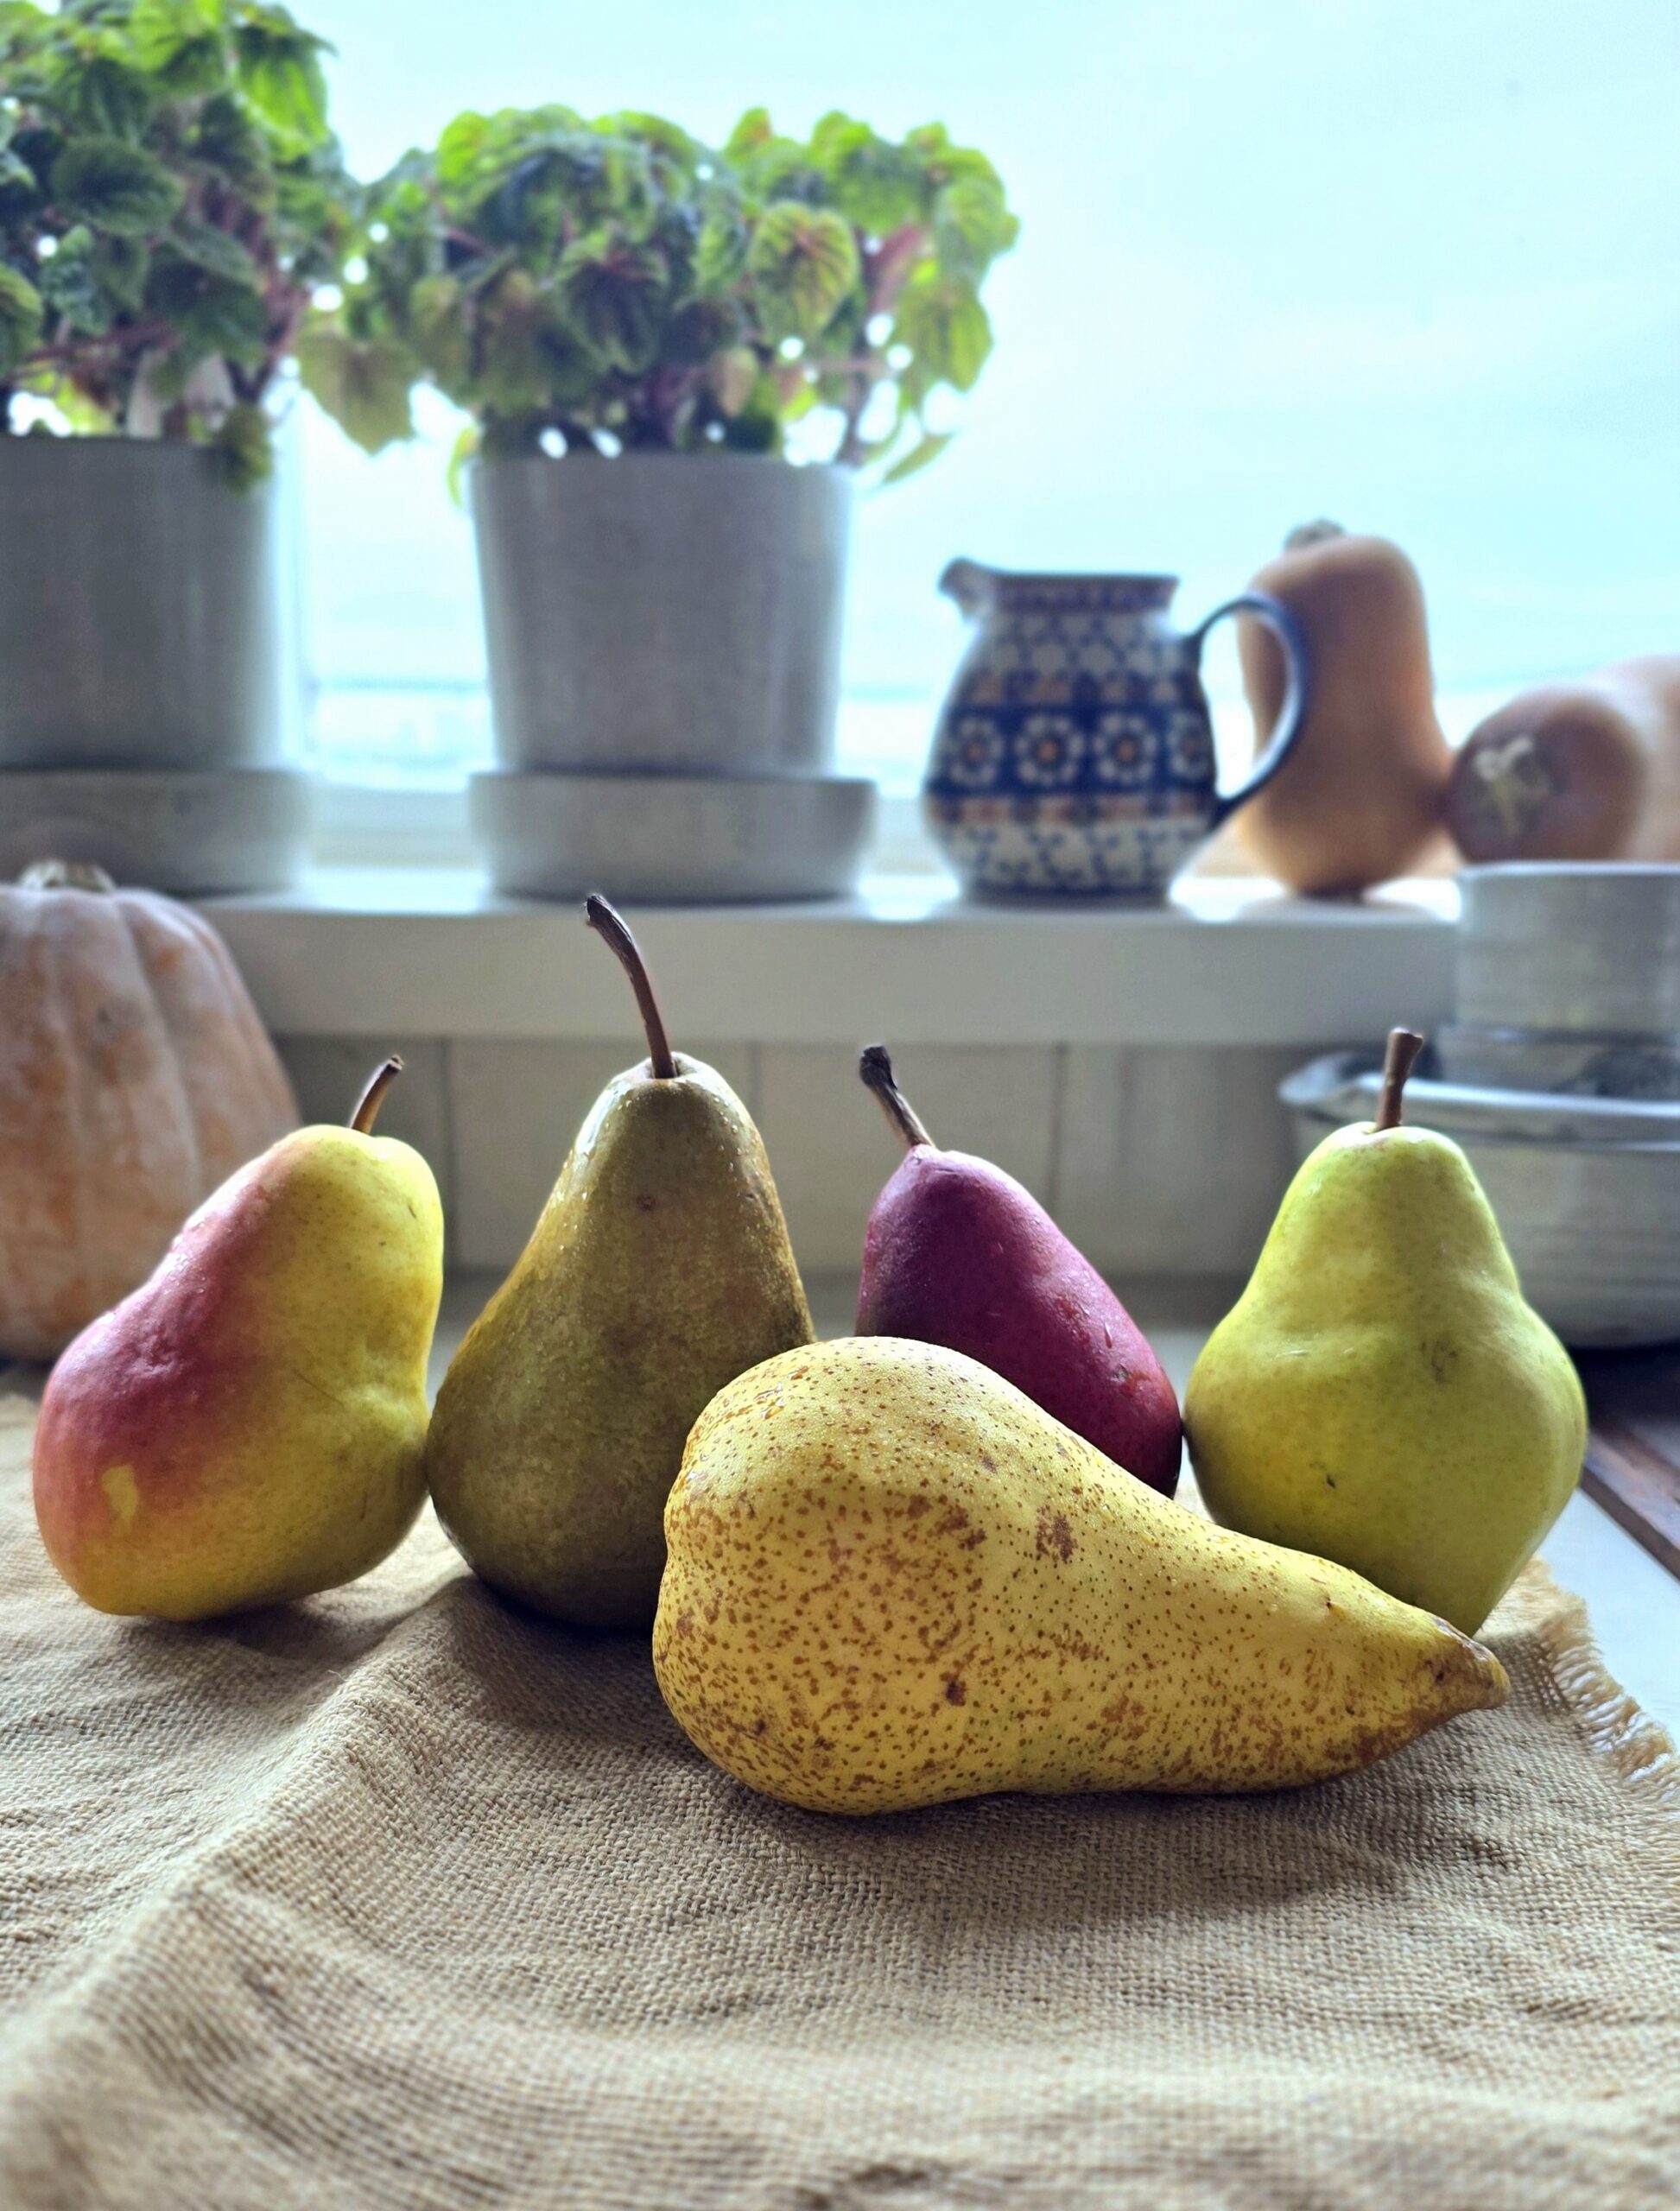
It would be ten months of October, with a month of snow for playing in, and a month of summer for ice cream and swimming, on my dream calendar. The brisk, sunny days, the cool nights for sleeping, the bluer than blue skies, the lollipop-hued trees, and sweater weather! I’m one of those few who count down the days till knee socks or tights, cardigans, autumn patterned scarves and wool return. And best of all, I love the seasonal changes in my kitchen. Harvest produce, braises, roasts, pies…stick to your rib cooking.
Bringing me back to the fact that it’s November in Toronto. Somehow the weather prognosticators heard my wish. But now that I write this, it will most likely come to an end when I wake up tomorrow, so I apologize in advance. In the meantime, today deserved to be savoured. So I ventured out to join all the dog-walkers, mothers and children, and cyclists out in the park behind our home. The sun shimmered through the golden leaves still being loyal to their branches. It smelled of water from the lake, and peat from the grass and moss. The signature sound of Autumn was made by me- the crunching of dry leaves under my feet. It was a grand day outside.


And it would be a grand day inside. It would be a baking day. Out came my go-to scone recipe. Every kitchen should have one. A recipe that can be customized with the seasons or whim. A warm scone slathered in butter or preserves, along with a cuppa tea, works for brekkie, company, or when you just want to nibble while curled up in a blanket with a good book.
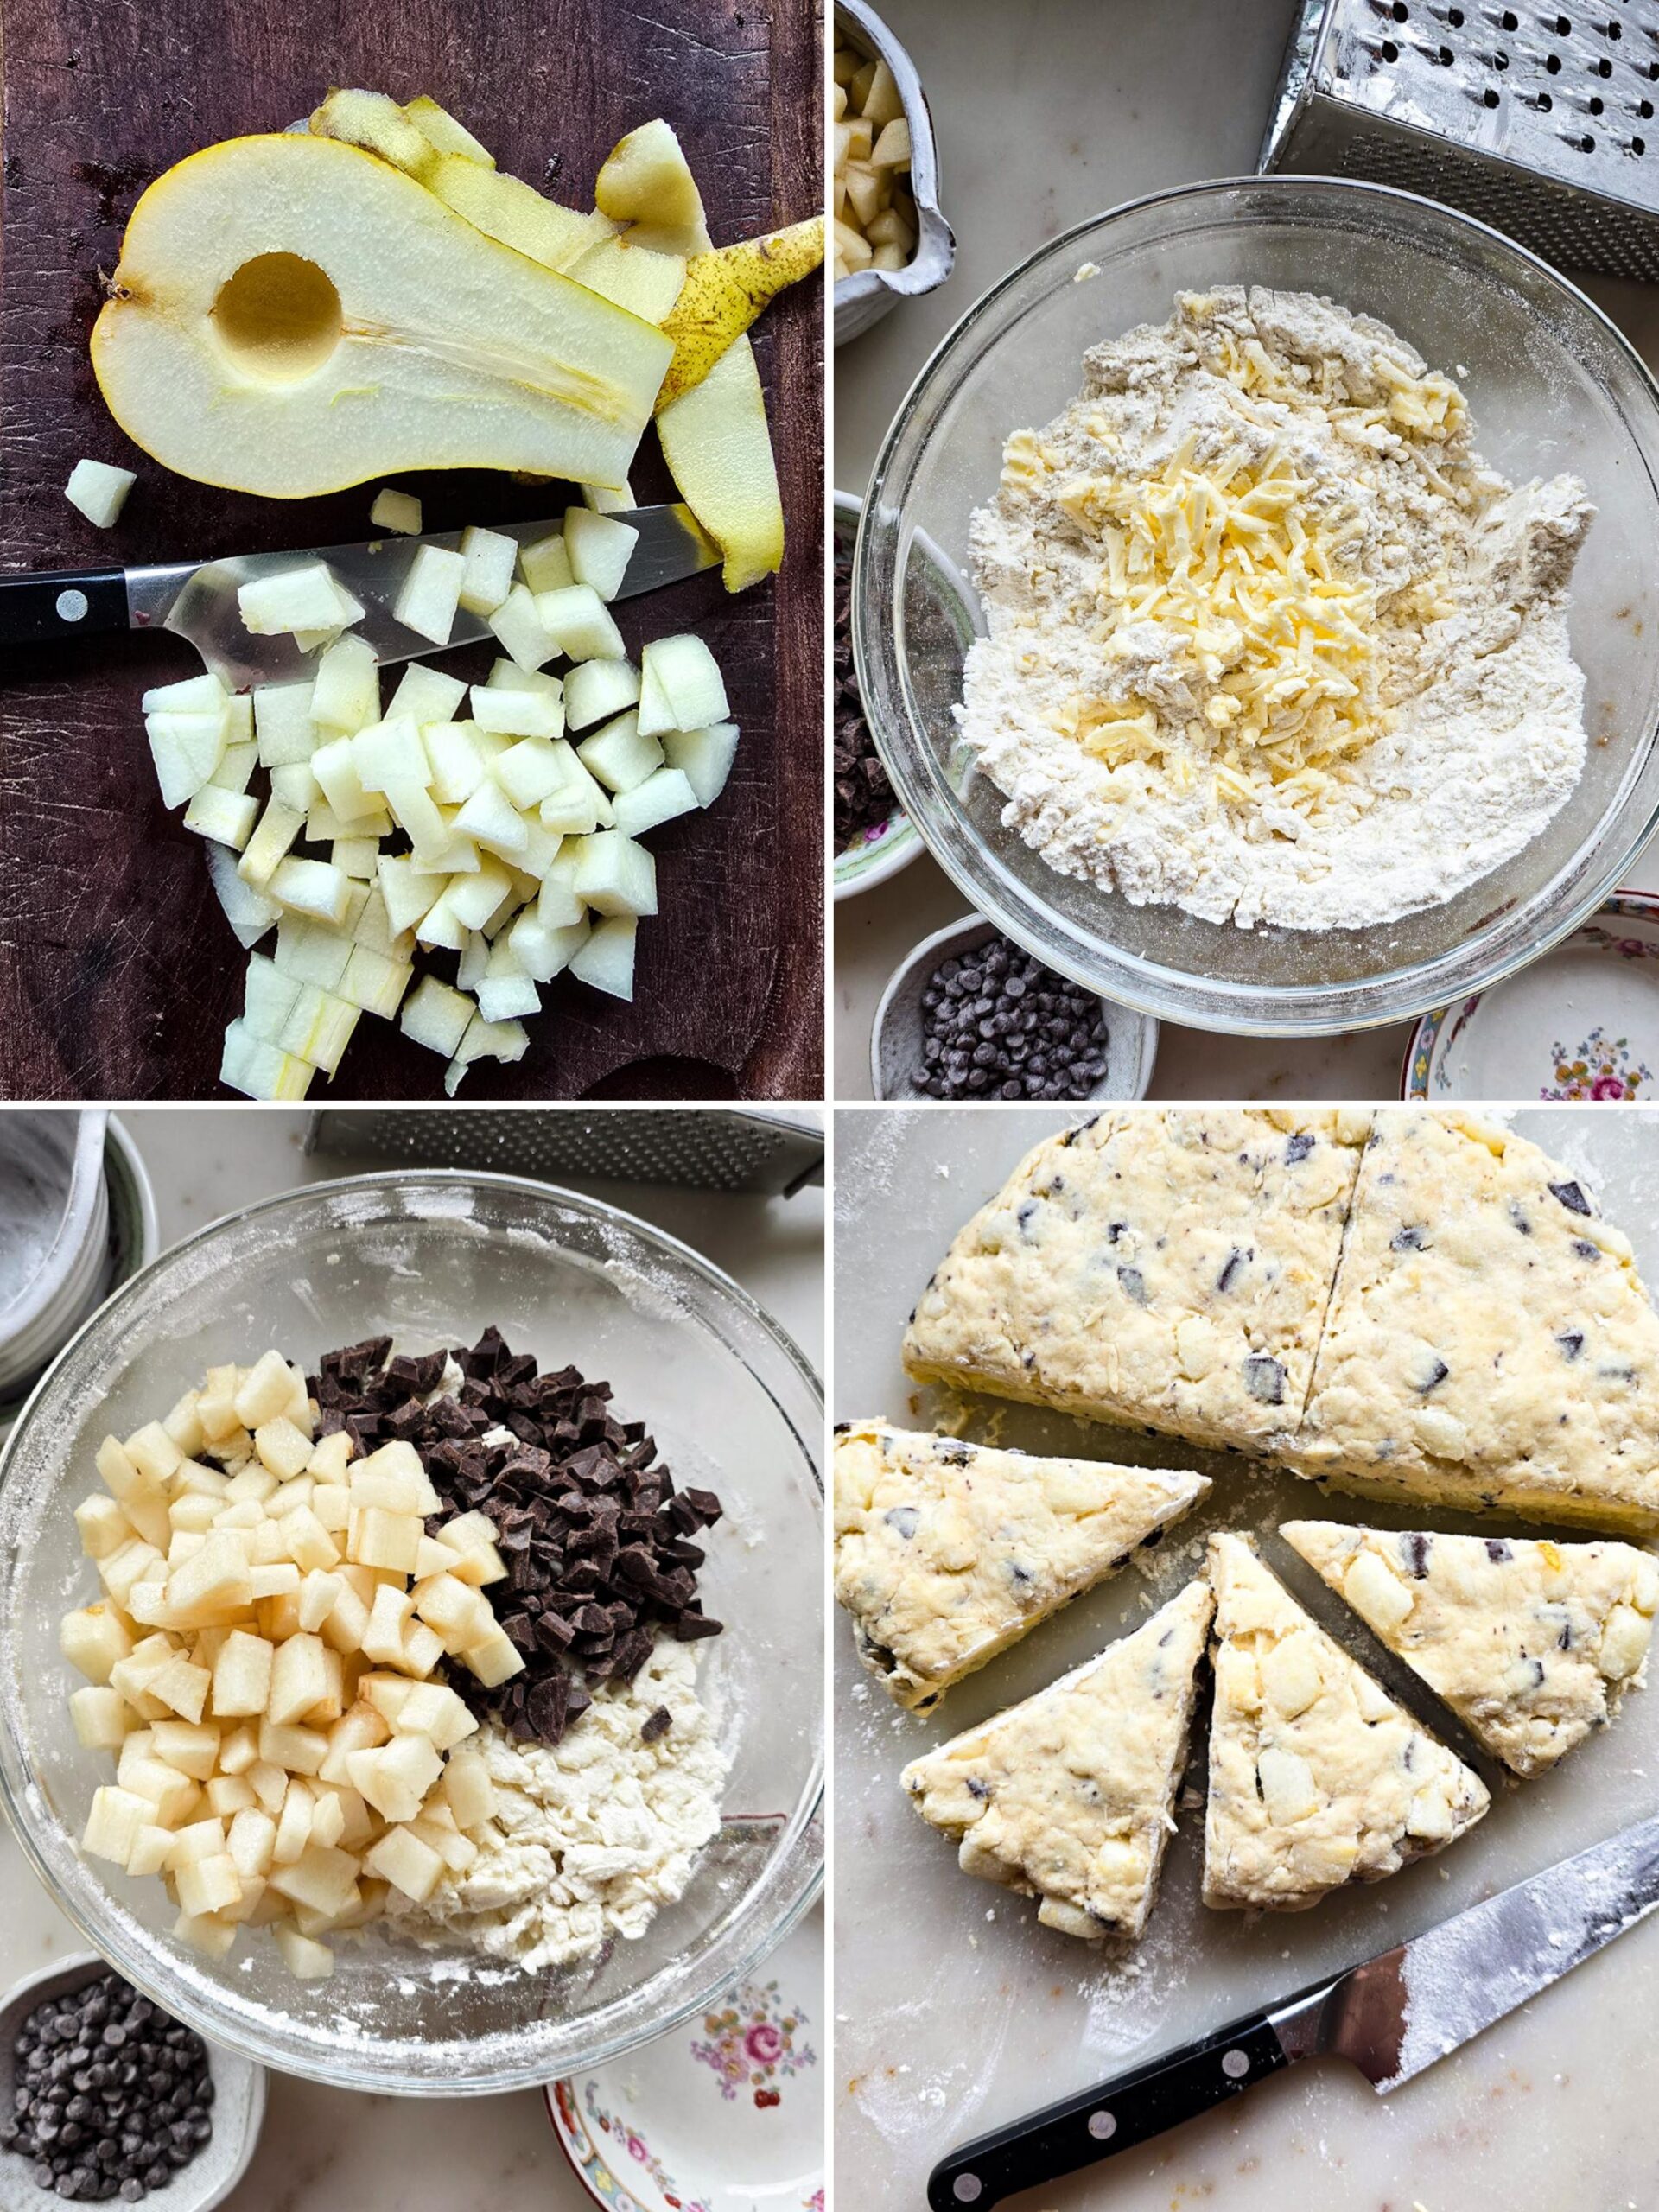
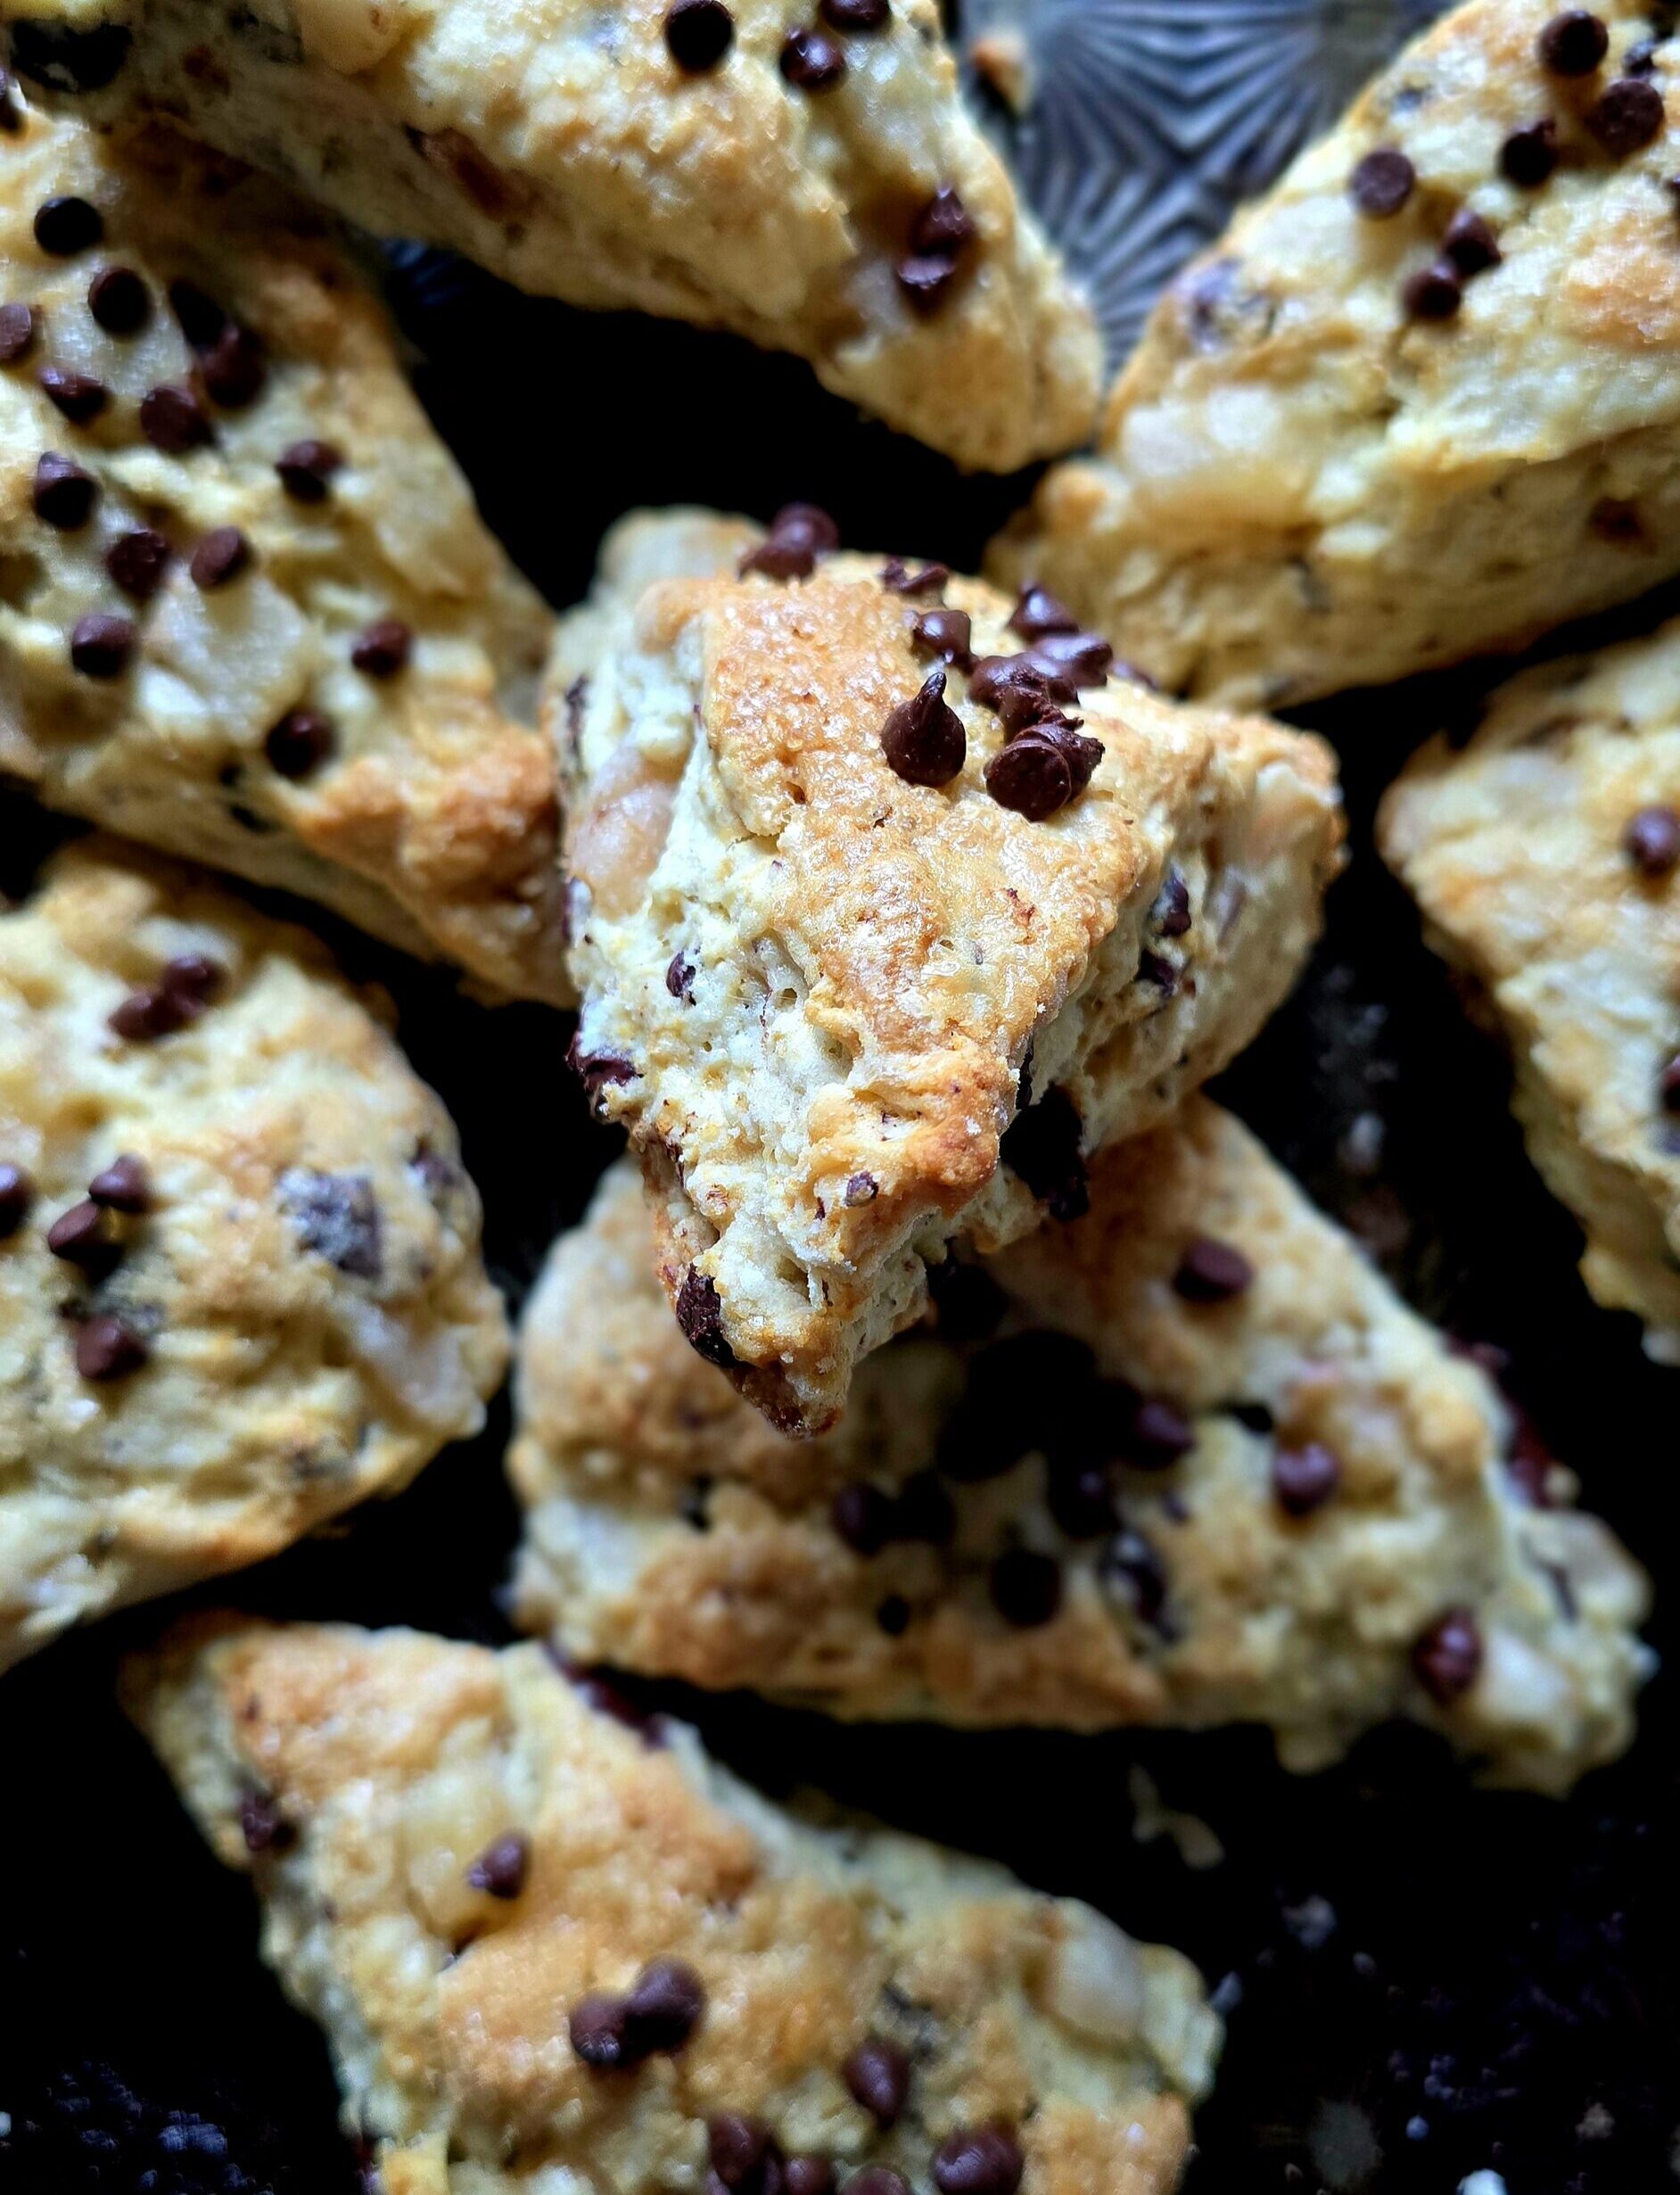
Today this scone would contain pears and chocolate. Really, one of those perfect marriages of rich, deep flavours. I used ripe Bartlett pears. And this scone deserves good chocolate, a lovely bar of dark, bittersweet chocolate chopped into glorious chunks. They are best warm out of the oven, with a generous dollop of marmalade or preserves. But you can reheat unused ones in the (toaster) oven very nicely.
For other fantastic scone recipes, check out Irish Soda Bread Scones with Marmalade Butter, Parsnip and Cheddar Scones, Cinnamon Roll Scones, Fig and Cocoa Nib Chestnut Scones, Oatmeal Scones with Orange, Ginger and Chocolate, Maple Bacon Scones, Caraway Rye Scones with Caramelized Onions and Gruyere, Snowy Stollen Scones
If you make these scrumptious Pear and Chocolate Scones, please be sure to leave a comment and/or give this recipe a rating! It’s always lovely to hear from you guys, and I always do my best to respond to each comment or question. And of course, if you do make this recipe, and you post it on Instagram, don’t forget to also tag me so I can see! Looking through the photos of recipes you all have made is such a treat.
Love Jen.
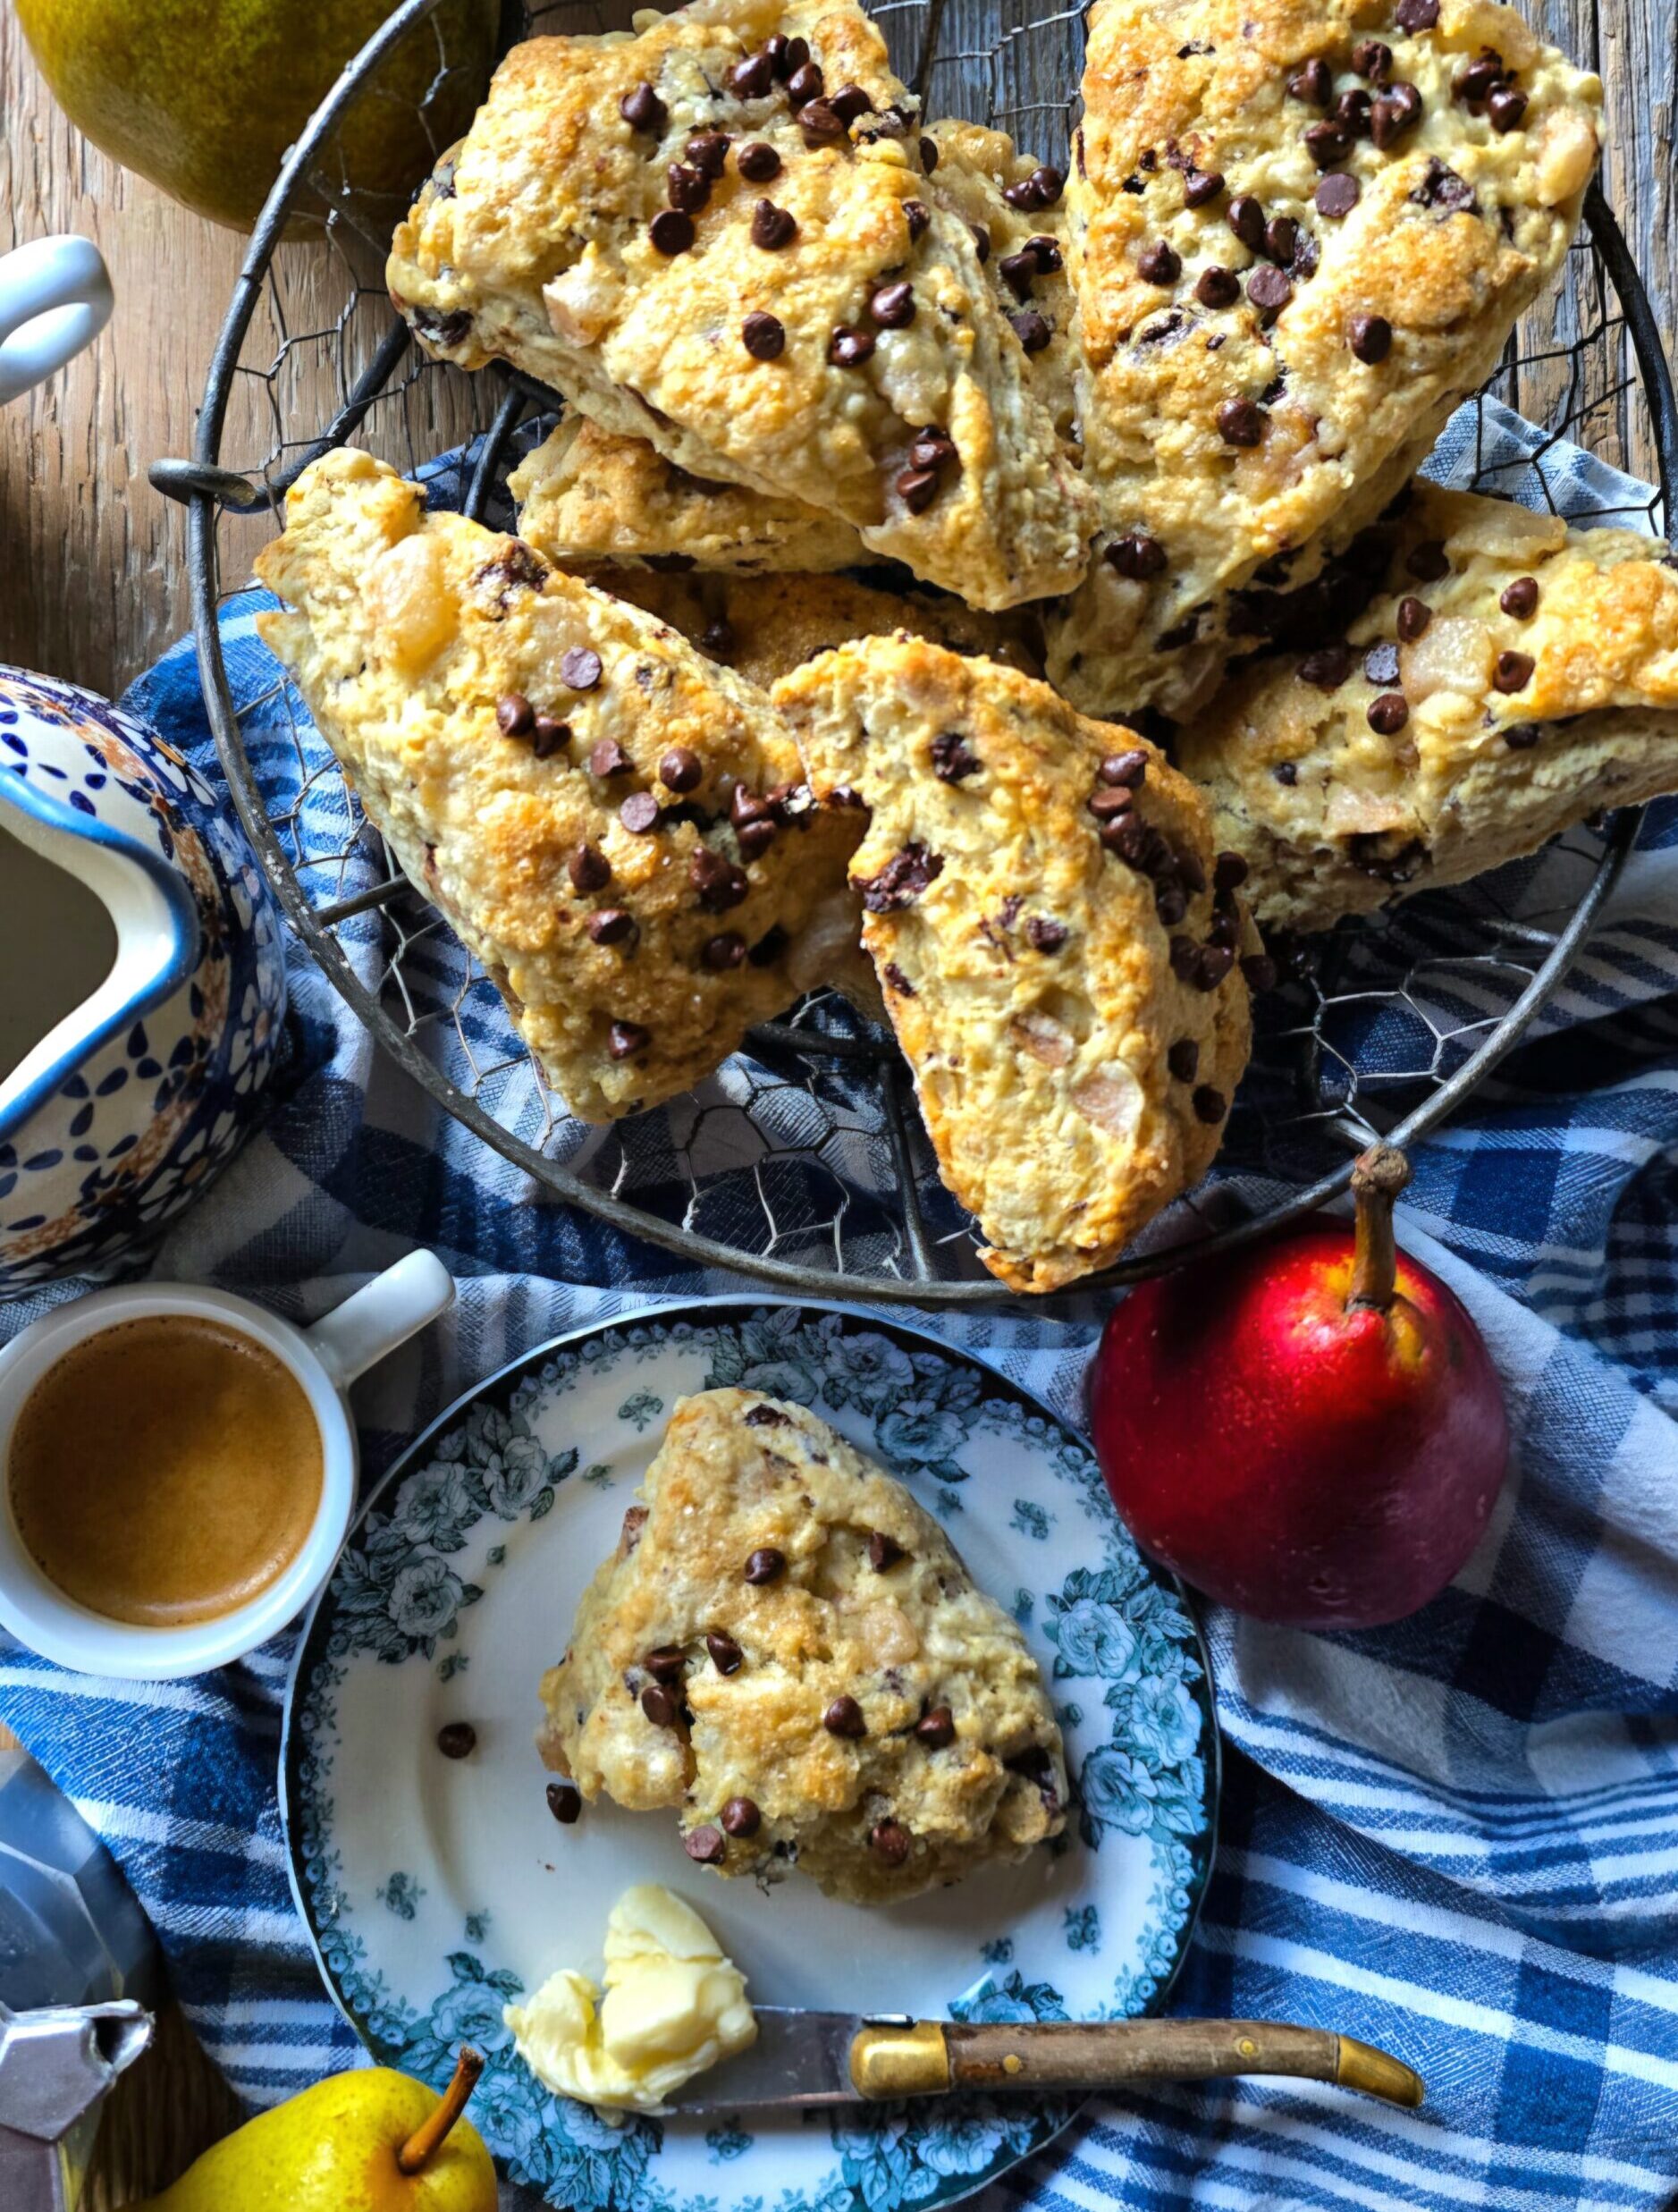

Pear Chocolate Scones
Ingredients
- 340 grams (2 1/2) cups all purpose flour
- 1 tbsp baking powder
- 1/2 tsp baking soda
- 1/4 tsp kosher salt
- 1 1/2 tbsp granulated sugar
- 113 grams (1 stick or 8 tbsp) chilled or frozen butter
- 118 ml (1/2 cup) kefir, sour milk or buttermilk, plus more for brushing on the scones before baking
- 1 tsp vanilla extract
- 1 Bartlett pear peeled and chopped, ripe but not over ripe
- 75 grams (1/2 cup) chopped dark chocolate
- 2 tbsp or so raw or turbinado sugar
- 2 tbsp or so mini chocolate chips optional
Instructions
-
Preheat the oven to 400F (200C) and line a baking sheet with parchment paper.
-
In a large bowl combine the flour, baking powder, baking soda, salt and sugar with a whisk to ensure there are no lumps.
-
Using the large holes on your box grater, grate the chilled butter into the dry ingredients. Rub the butter evenly into the mixture.
-
Combine the kefir or milk with the vanilla and then pour this into a well you make in the centre of the flour butter mixture. Use a fork to bring everything together roughly.
-
Add in the pear chunks and chopped chocolate, and blend evenly. Don't over-mix though. Bring the mixture together in the bowl.
-
Dump the dough onto a floured surface and continue to knead till just brought together. Flour your hands as needed, as the pear chunks may release some juices. Pat the dough down to about one inch thick, and then fold it in half. Repeat one or two more times.
-
Press the dough down into a circle, about one and a half inches thick, no more. Use a floured knife to cut the circle into eight triangles.
-
Lay the scones onto the baking sheet, leaving room for expansion in the oven. Use a pastry brush to brush a little of the kefir or milk over each scone. Sprinkle the turbinado sugar evenly over the top of each scone.
-
Bake for ten minutes. Remove the sheet of scones out of the oven and work quickly to scatter some of the mini chocolate chips over each scone, patting them lightly into the surface. Return the baking sheet to the oven and bake till golden brown, about 10 to 12 minutes longer, depending on your oven. They should be firm, and with a lovely golden brown crust.
-
Let them cool on a wire rack. Serve warm. A pat of butter, or even orange marmalade would be amazing with these!
-
Leftovers can be stored in a sealed container for up to five days. Place in a 325F oven to re-warm for about eight minutes depending on you oven or toaster oven.
-
Baked scones can also be frozen for up to two months. Place on a wax paper lined baking sheet into the freezer. Once frozen, they can be place in a freezer bag. Thaw in the fridge and then warm as described above.

Hello, I wanted to know if I can change the AP flour to oats flour?
I have been loving your recipes!
Thank you!
Hi Karolina, Thanks for your comment, I really appreciate it! I don’t think you should do a complete substitution to oat flour. Oat flour absorbs liquids differently, is lighter, and is much lower in gluten. So you will find the texture crumbly, and they will not hold together. Oat flour works best in situations like crisps and crumbles where it will not affect the structure of the baked good. Hope this helps. Love Jen