This is the perfect pumpkin dessert, if you don’t feel like making a pie crust, but still want to enjoy all the autumn goodness of pumpkin.
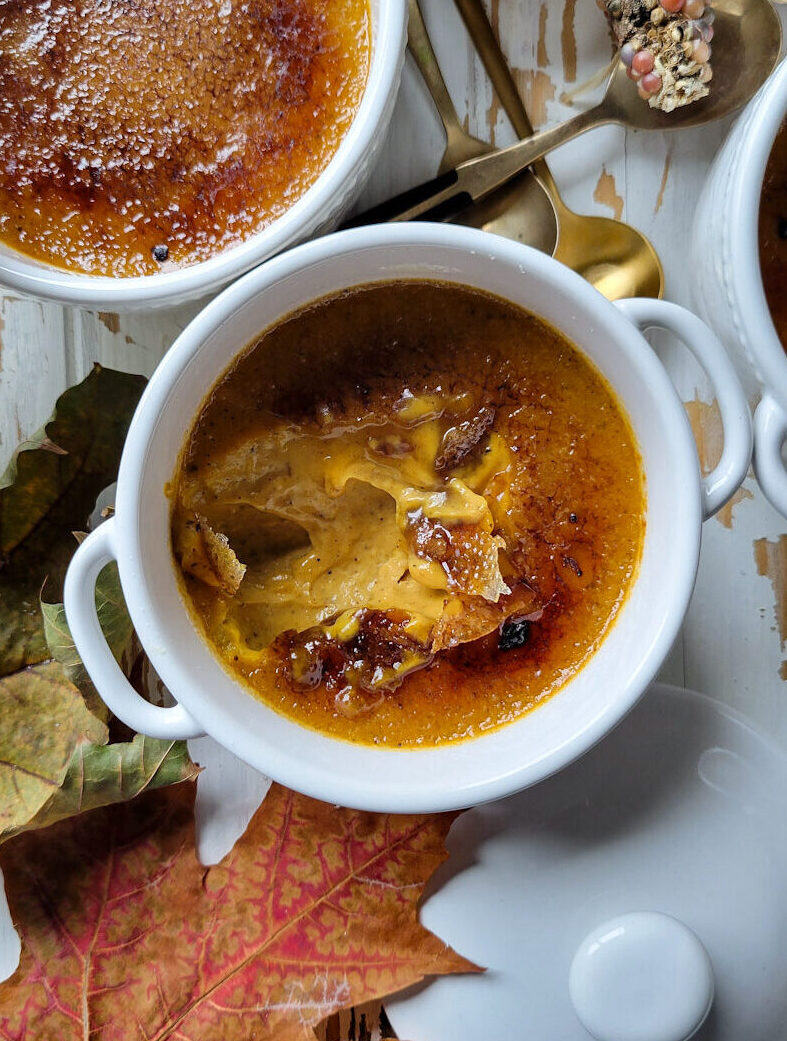
The Perks of Creme Brûlée
Having a good creme brûlée recipe is such a lifesaver of a dessert. First of all, you can make them in advance and then chill them in the fridge till needed. Even a few days in advance! So if you are planning a feast with lots of moving parts, this dessert can be one less thing to worry about on game day.
Once you are ready to serve, and if you have a kitchen torch, why not let the torching of the sugar crust be part of the presentation, and let the guests brûlée their own desserts?! It will become part of the experience that they will be happy to share when speaking about spending an evening at your place! And the joy at cracking through that solid, crunchy sugar top to expose the creamy custard underneath never grows old. The contrast of hard shell on top, and silky custard underneath is simply sublime!
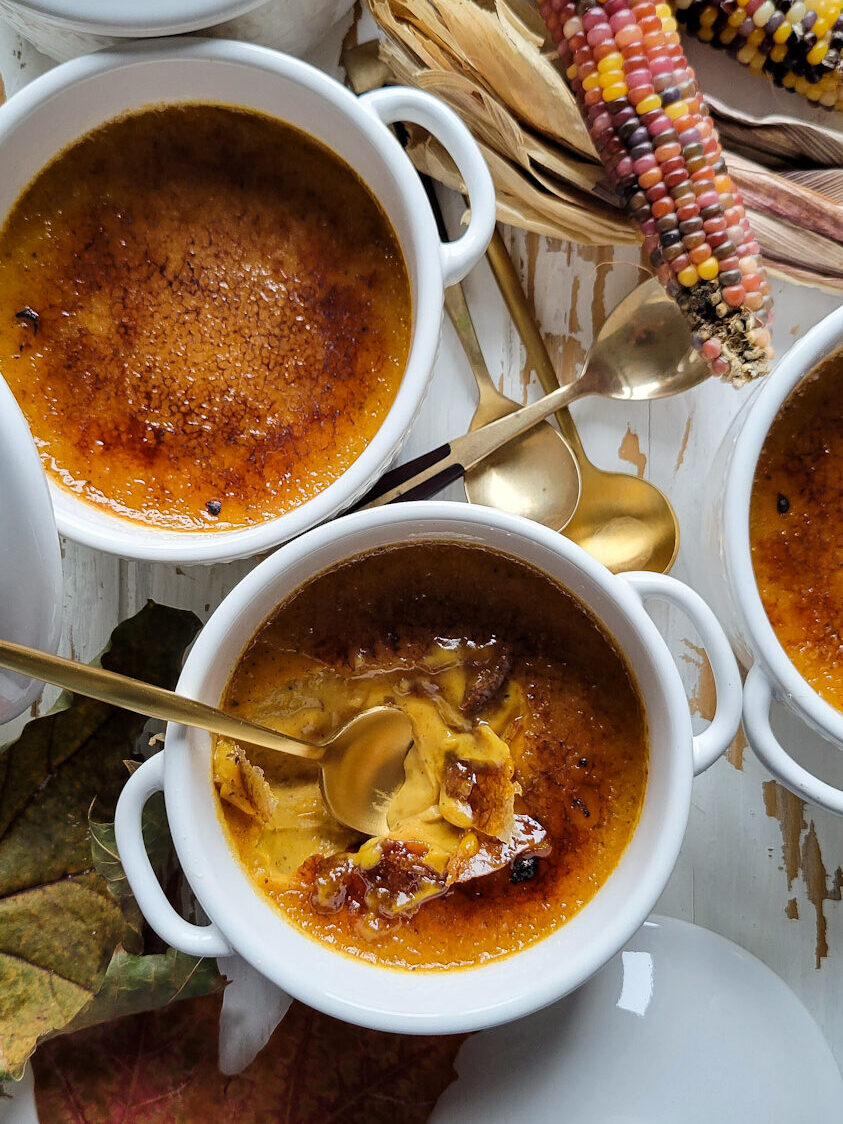
Third reason: naturally gluten free! No crust to fuss with. The entire filling is prepared in a bowl and then poured into prepared little ramekins or pots. In fact, you could pour the entire batter into a larger baking dish and create one communal creme brûlée for the table to dig into!
Pumpkin
Yes, obviously, the main flavour of this dessert is pumpkin. Use good purchased pumpkin purée, not pumpkin pie filling. Or if you have pie pumpkins or honeynut squash in your cold cellar or pantry, roast off and prepare your own purée. This is often what I do, so when you see a pumpkin dessert featured here on the blog, it may more often than not be honeynut squash! As are these pictured here today! I’ll link you to the recipe for preparing your own purée. It can be stored in sealed containers in the fridge for up to two weeks, or even placed in the freezer for a couple of months.
Spices
I find that most pumpkin creme brûlée recipes a little bland when it comes to the spices. I have made several through the years, and they fall flat in the flavour department. So this recipe today will not leave you wondering, it most definitely tastes like pumpkin pie!! You will be using cinnamon, ginger, allspice and cloves. It took me a few times to get it to the point where I was happy with each spoonful, so now I know these are ready for the world to try!
A Word on Ramekins
I typically like using a ramekin or small ceramic baking dish or pot that is approximately 4 1/2 inches wide and up to three inches high. Any variation on this is great. You can use more shallow wide baking dishes, all that will be affected is the baking time. You can also use mini mason jars, just choose ones that make a good size for a personal sized dessert. You don’t want them to be too small, or too large. Usually, anything that can hold between four and six ounces is appropriate. The recipe today fills six ramekins of the size I mentioned at the beginning. If you use smaller vessels, you can get up to eight individual portions.
Method
This is as simple as warming some cream with the spices and sugar, and letting them steep together. Once the cream is ready, and cooled slightly, it is added in a stream into egg yolks, whisking constantly till smooth. Add the pumpkin purée and whisk through till smooth. Now you will transfer the entire mixture to a pouring jug or sorts, I use a gravy boat!
To make life easier, place a tea towel into a large baking pan with sides that are higher than the ramekins you are using. Set the ramekins into the pan on top of the tea towel. Try to use a baking pan that will hold them comfortably, without too much extra empty space. If needed, use more than one baking dish if this is what will work for the amount you are baking off.
Having the ramekins set into the baking pan before adding the creme brûlée batter makes it much easier for transport to the oven. In fact, I would prep everything right on top of a cooled stove top, or right next to it.
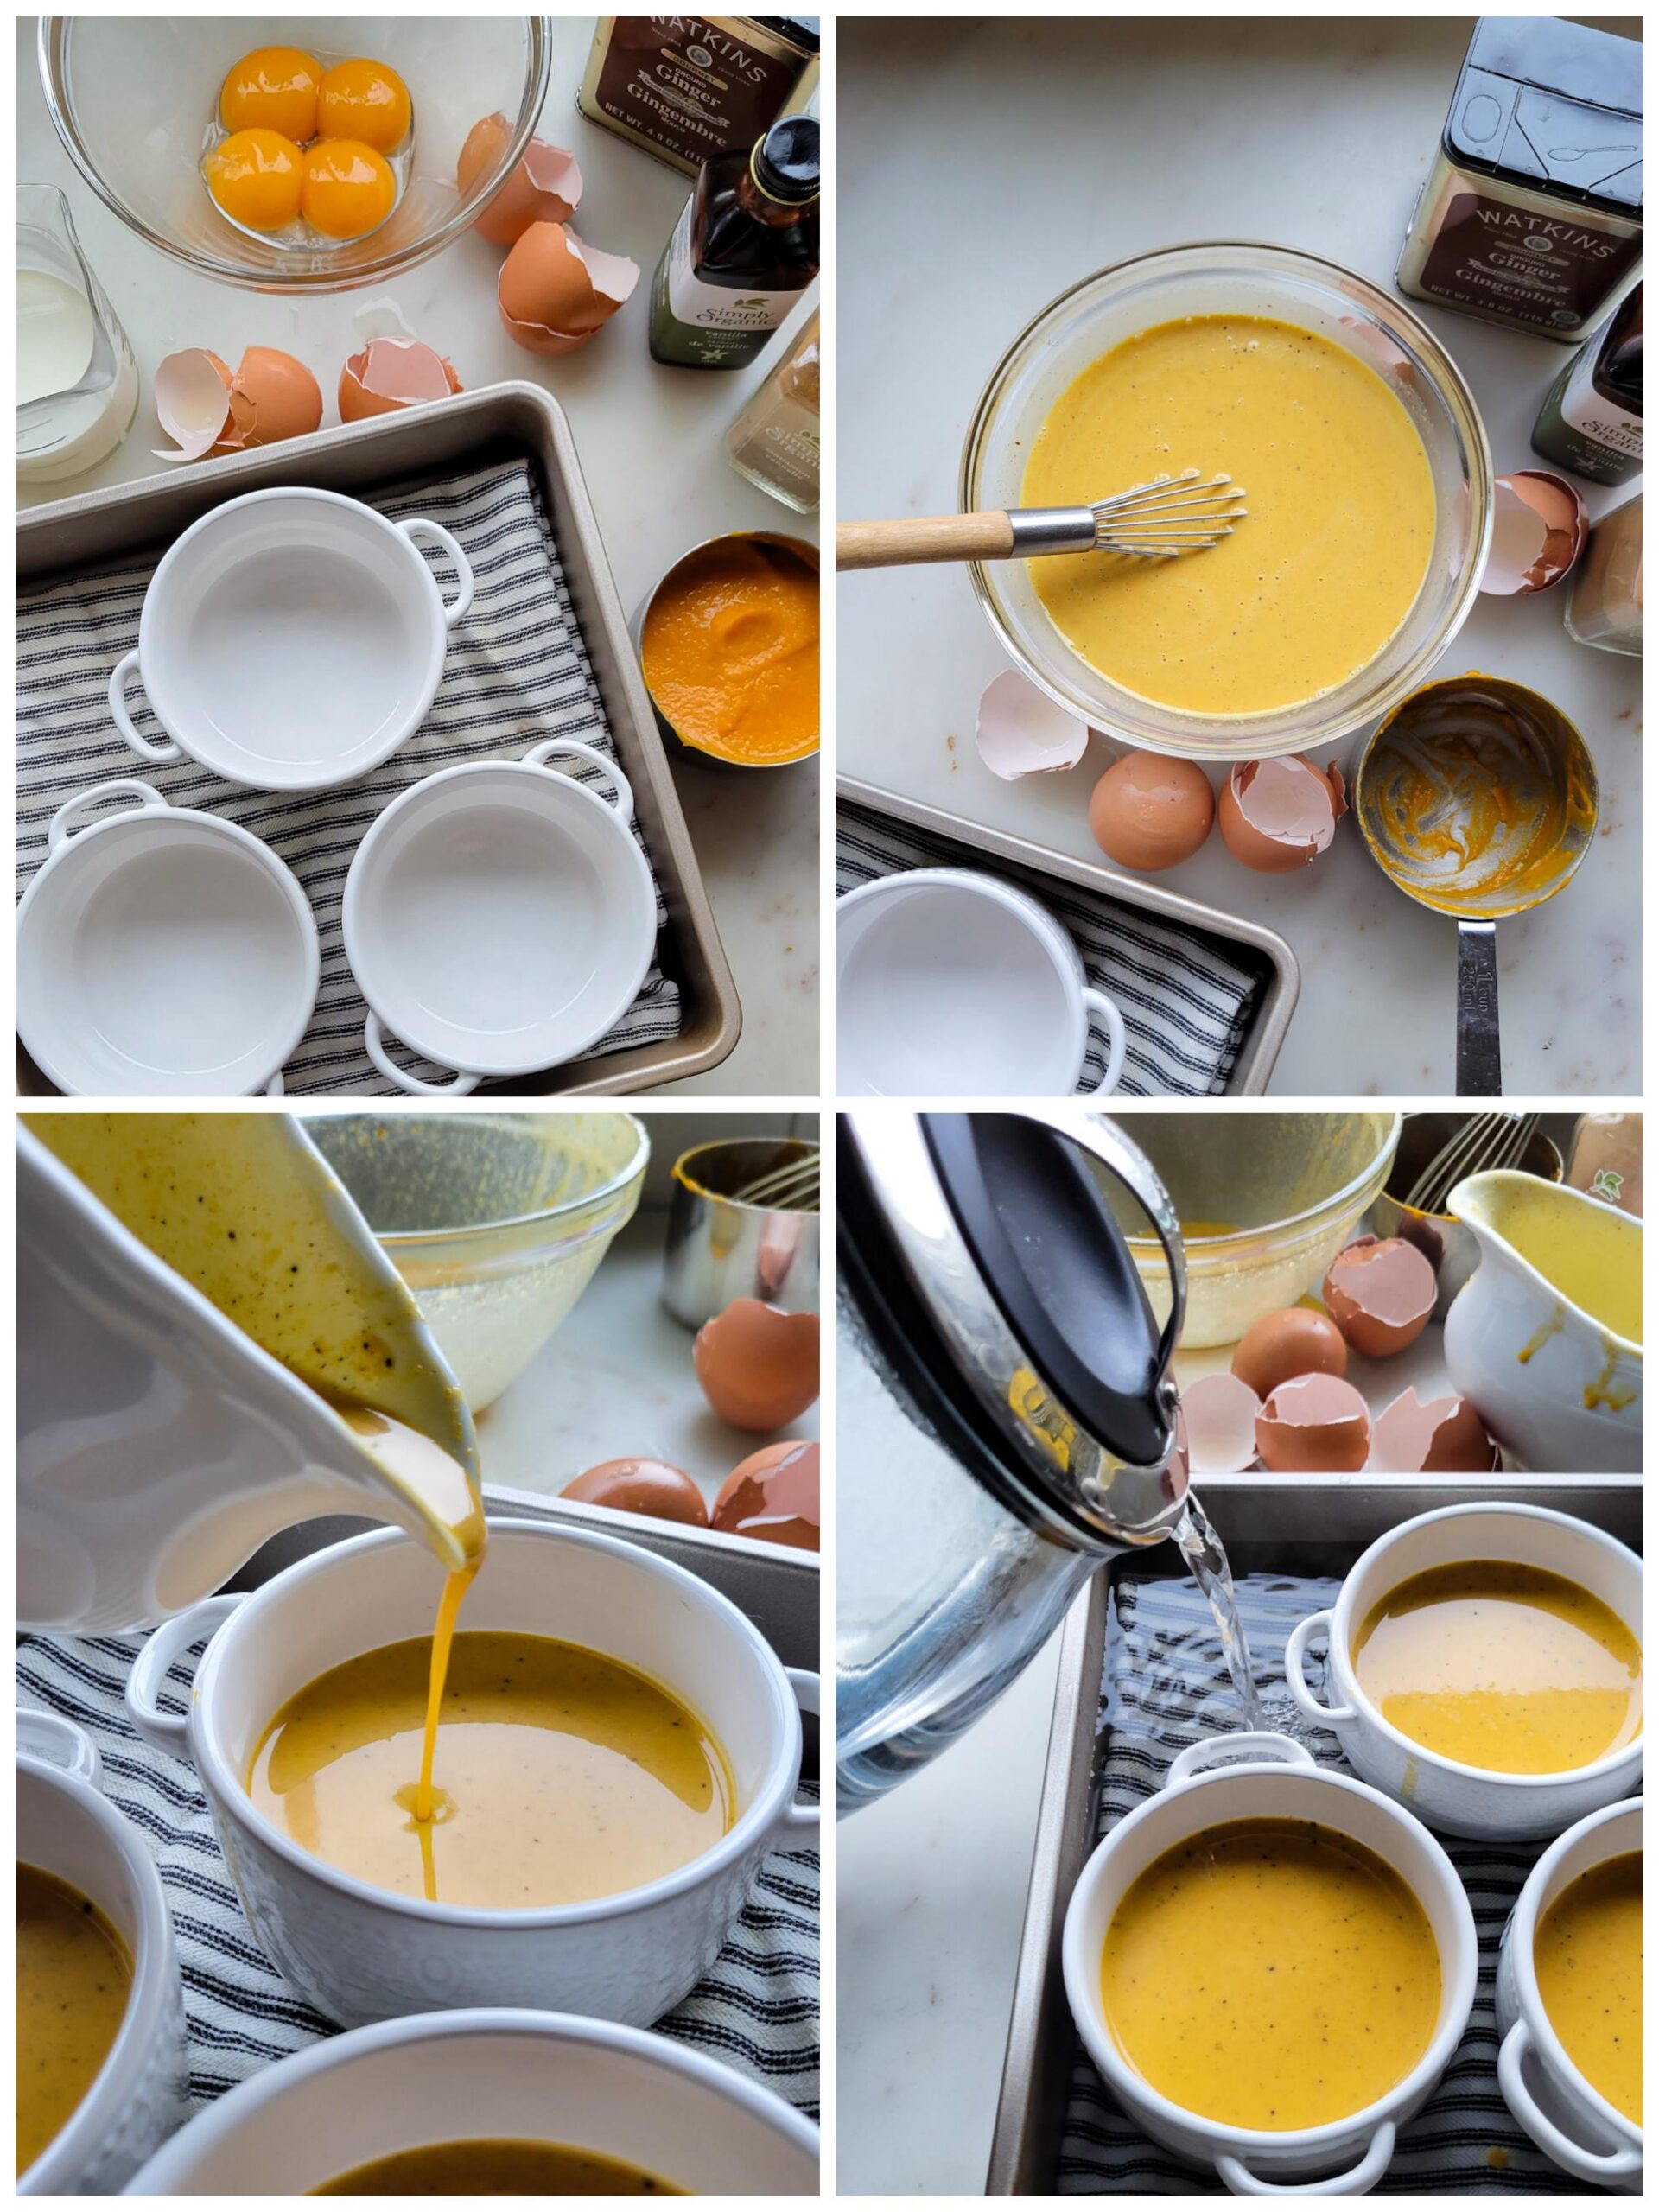
Successful Baking Method.
As mentioned above, have the ramekins in the pan with the tea towel right near the stove before adding hot water to surround the ramekins. Pour the water slowly around the ramekins till it reaches about half way up the sides of the ramekins. Boiling water from a kettle will help the custards bake and set evenly, maintaining a constant temperature in the oven. If the baking pan you are using is large, you can place it on a rack in the oven, pulling the rack out slightly before pouring in the boiling water.
Bake until the custard is set all around the sides, with the tiniest jiggle in the centre.
Sugar Crust
This is where the Brulee part of the name comes in. You can store the baked custards in the fridge till needed. Once ready to serve, you will sprinkle sugar evenly over the entire surface of each custard. Use a torch to heat the sugar till bubbling and then crusting up. You will need to move the kitchen torch evenly over the surface till this happens. Let them cool, and a lovely crust has been created. The best part of serving this dessert up is taking your spoon and cracking into that sugary crust.
If you don’t have a kitchen torch, place all the ramekins onto a baking sheet. Sprinkle with sugar and then place under the broiler in your oven. Keep an eye on them. They may not brown evenly, but the effect will be achieved.
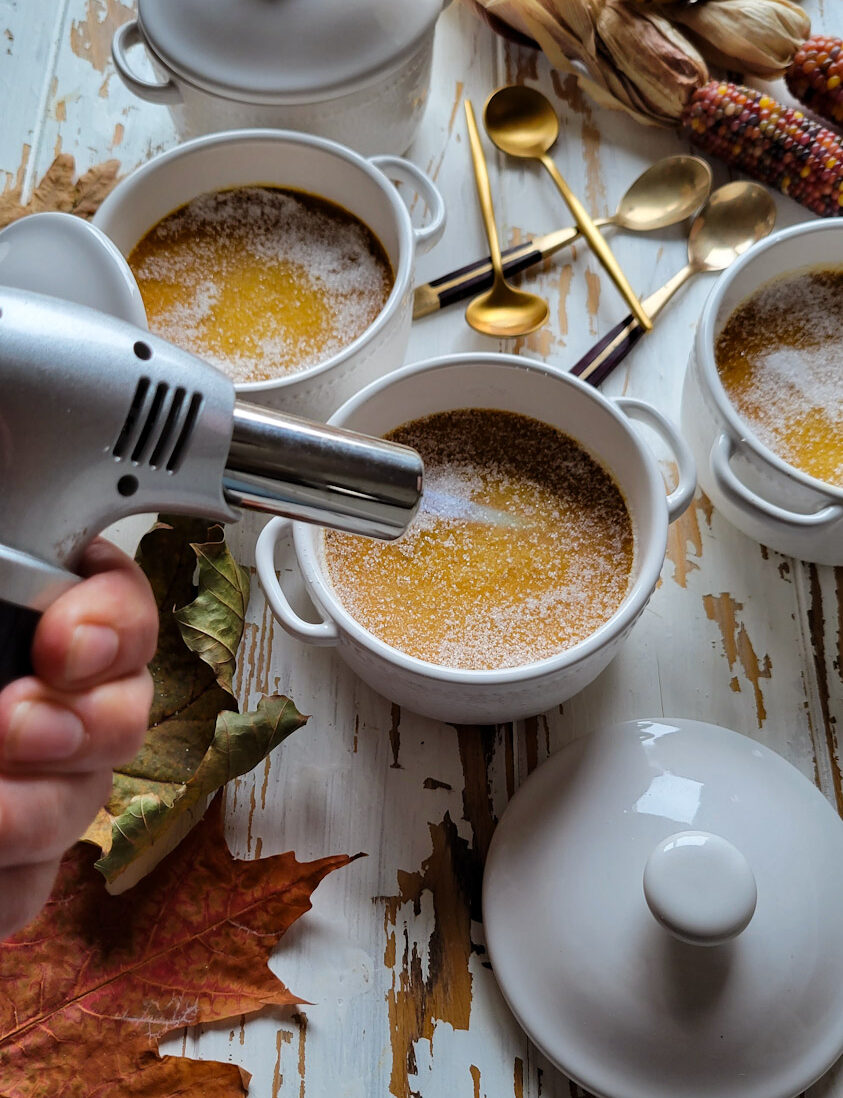
You will find these become an easy and go-to dessert all autumn and winter long. Cozy, theatrical, comforting, and well loved, it’s a dessert that always hits the spot.
If you make this Pumpkin Creme Brûlée, please be sure to leave a comment and/or give this recipe a rating! It’s always lovely to hear from you guys, and I always do my best to respond to each comment or question. And of course, if you do make this recipe, and you post it on Instagram, don’t forget to also tag me so I can see! Looking through the photos of recipes you all have made is such a treat.
For other fun pumpkin or custard style desserts, check out Pumpkin Cheesecake with Toasted Marshmallows, Winter Spice Pumpkin Pie, Pumpkin Gingerbread Loaf, Mocha Chocolate Pudding, Old Fashioned Creamy Rice Pudding

Pumpkin Creme Brûlée
Ingredients
- 2 cups heavy cream divided
- 3 tbsp golden brown sugar
- 5 tbsp white granulated sugar, plus more depending on your pumpkin filling, see Notes
- 1/4 tsp kosher salt
- 2 tsp pure vanilla extract
- 1 1/4 tsp cinnamon
- 1 1/4 tsp ginger
- 1/2 tsp allspice
- 1/4 tsp cloves
- 8 egg yolks, save the whites for another time, see Notes
- 1 cup pure pumpkin purée
- 6 tsp granulated or demerara sugar or a combo of both Use more sugar if needed to cover the surface of your custards.
Instructions
-
Preheat the oven to 300F. Place a tea towel into a baking pan with sides high enough to hold the six ramekins you are using to bake the custards in. Have the baking pan near the stove, and place the six ramekins inside. Depending on the size of your baking pan, you may need to use two.
-
Place half of the cream into a small pot and set it on a burner. Add the sugars and salt. Bring to a simmer over medium heat. Once warmed through, take the pot off the heat, and add the vanilla and all the spices. Stir to blend. Let it all steep together in the residual heat. Then add the remaining milk and stir through.
-
Place the egg yolks into a large bowl, set over a damp dishcloth. This will help keep the bowl stable as you whisk and pour the cream into the bowl at the same time. Slowly pour in just a little of the cream mixture, whisking constantly to temper the egg yolks. Once they are tempered, continue streaming in the remaining cream and whisking all the while. Add in the pumpkin puree and whisk together to a smooth consistency.
-
Transfer the egg and cream mixture to a pouring vessel, a pitcher or gravy boat will do fine. While you are doing this, have a kettle of water come to a boil.
-
Divide the mixture evenly between the six ramekins. If the baking pan you are using is large, now is the time to place it onto the centre rack of the oven. Pull the rack out a bit for the next step.
-
Gently pour the boiling water around the ramekins onto the tea towel. The water should come up half way up the ramekins.
-
Bake for 40 to 45 minutes or until the sides are set, and the centres are ever so slightly jiggly. Depending on the size of the ramekins you are using, and how wide they are, this may take less time. Start checking after 30 minutes.
-
Remove the ramekins from the water bath and place onto a wire cooling rack. Once cooled down they can be transferred to the fridge to continue setting for at least two hours, or up to two days.
-
When ready to serve, sprinkle 1-2 teaspoons of sugar evenly over the surface of each custard (depending on the width of your ramekins), tilting the ramekins to move the sugar around.
-
Use a torch to brûlée each custard. Serve. See Notes
Recipe Notes
If making homemade pumpkin or squash purée, it may have a different sweetness from canned pumpkin. Feel free to taste and adjust the amount of sugar for your custard filling.
If you don't have a kitchen torch to create the sugar crust, you can place the ramekins onto a baking sheet an proceed with the sugar layer. Place the baking sheet under the broiler. The sugar will start to bubble and brown, but not necessarily as evenly as a torch can create. But the effect will be there. Cool down before serving, as the sides of the ramekins will be hot.
For an alternate dessert, for when you don't want to pull out the torch, or if you don't have one, why not whip up the remaining egg whites with creme of tartar and a bit of sugar, and create a lovely meringue to top each custard. Or make up a batch of my Forget Me Not Meringue Cookies and serve them on the side. In this case, I would serve the custards with a dollop of sweetened whipped cream.

U forgot to say when to put the pumpkin in. 🙁
Hi Lessley, wow, you’re the first to catch this. Thanks! I actually describe it in the Method, up in the blog post, but somehow forgot to add it to the actual recipe. Will adjust immediately. Add it once the eggs are whisked in the bowl. Thanks again, love Jen