These days we want our pie, and eat it too. But we just don’t want to eat too much.
 With a year of confinement to our individual homes, and reduced opportunities to visit and entertain, our style of cooking has had to undergo some adjusting. Especially in the amount we make for any one meal. As much as we love our desserts, when it is only two or maybe four of us at home, large luscious desserts are a tad overkill. We may want that chocolate cake, but do we really want a cake that can feed 12? And even if we WANT that much cake, do we really NEED that much cake!?
I know, “Just freeze half of that cake Jen.” And yes, for something like banana bread, this is the easy and obvious solution. But what about pie? Lemon Meringue Pie doesn’t really freeze all that well. In the past few weeks, I have had quite a few of you out there ask for smaller sized pie recipes. I get it. And I realized that not only would I be helping you all out, I would actually be doing Jim and myself a favour as well.
As for reducing the size of pie recipes: Obviously, you can just take an average apple or fruit pie filling and divide it between four mini pie plates. The average 9 inch pie filling will reduce perfectly in this manner. It will just mean making two batches of pie dough, especially if the pies have toppers or lattice work.
But what if you don’t just want to divide the filling into 4 mini pies? What if you just want a smaller pie, say a 6-7 or 8 inch pie? Then a bit of math is involved. For the most part, taking a traditional custard type pie, like pumpkin or chess pie, or pecan pie, and using 3/4 of the original recipe will work just fine to give you that smaller pie. This way you will have the pie that you want, enough to feed 4 people comfortably, with a slice or two left over for breakfast the next day. Or let’s say you want to serve more than one pie for a special occasion, making two 7 inch pies will give everyone an opportunity to try more than one, with not too much leftover.
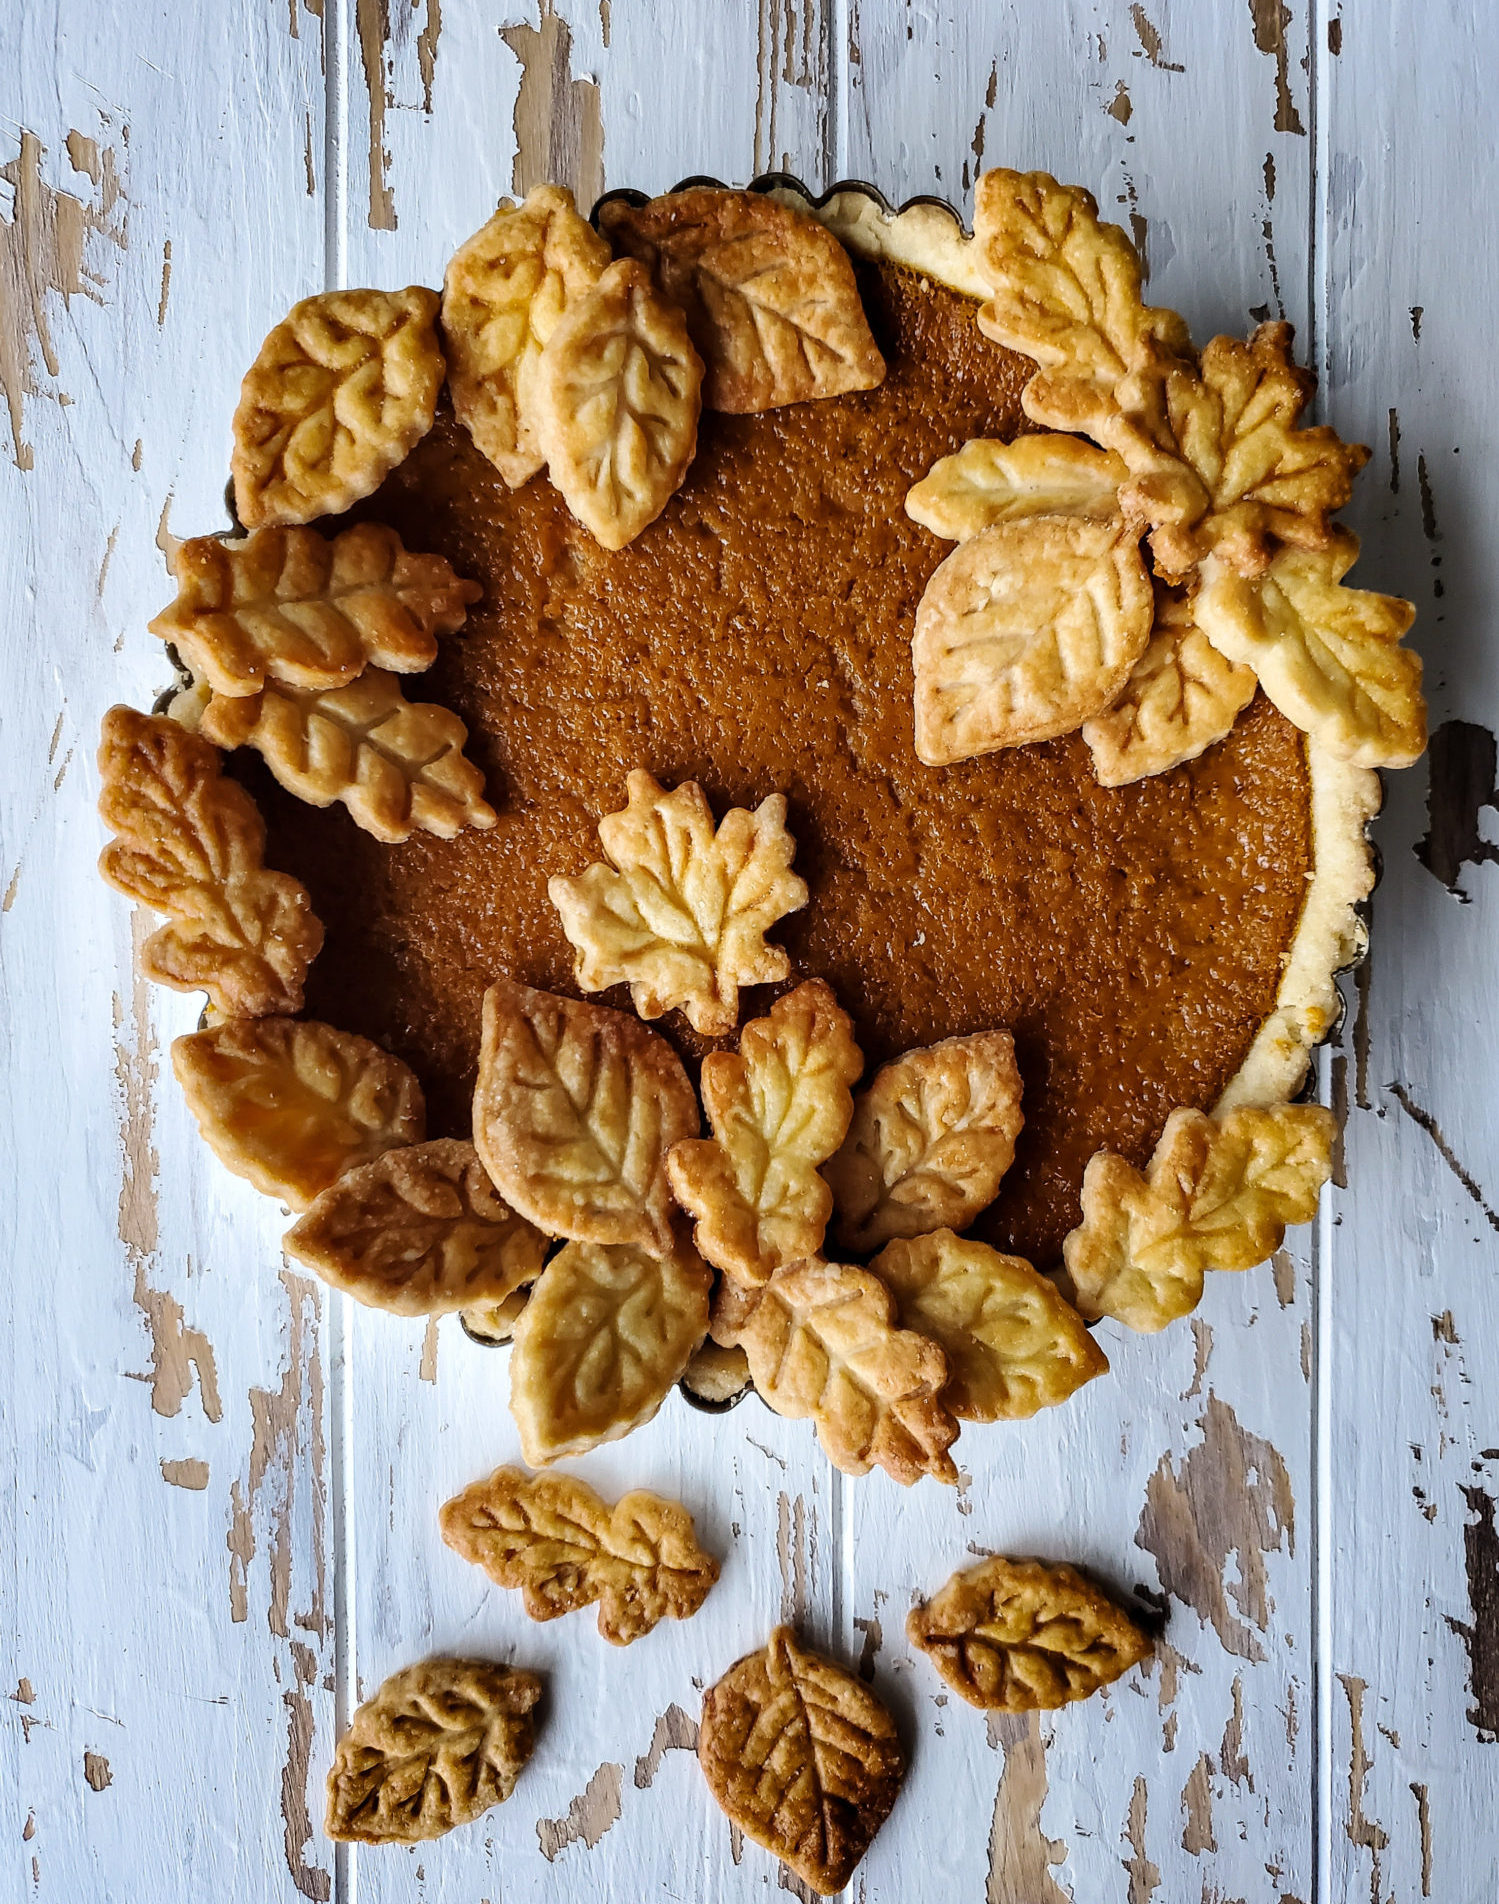
What to bake these smaller pies in? It may be a challenge finding pie plates that are 6 or 7 inches in diameter. But I offer you an alternative to the pie plate: the tart shell with the removable bottom. These come in all sorts of sizes, and are pretty easy to source. Plus, using a tart shell means that you won’t have to worry about crimping the edges. Just a clean trim along the metal edge will give you a perfect crust every time. You can still add lattice, leaves, a top etc of course.
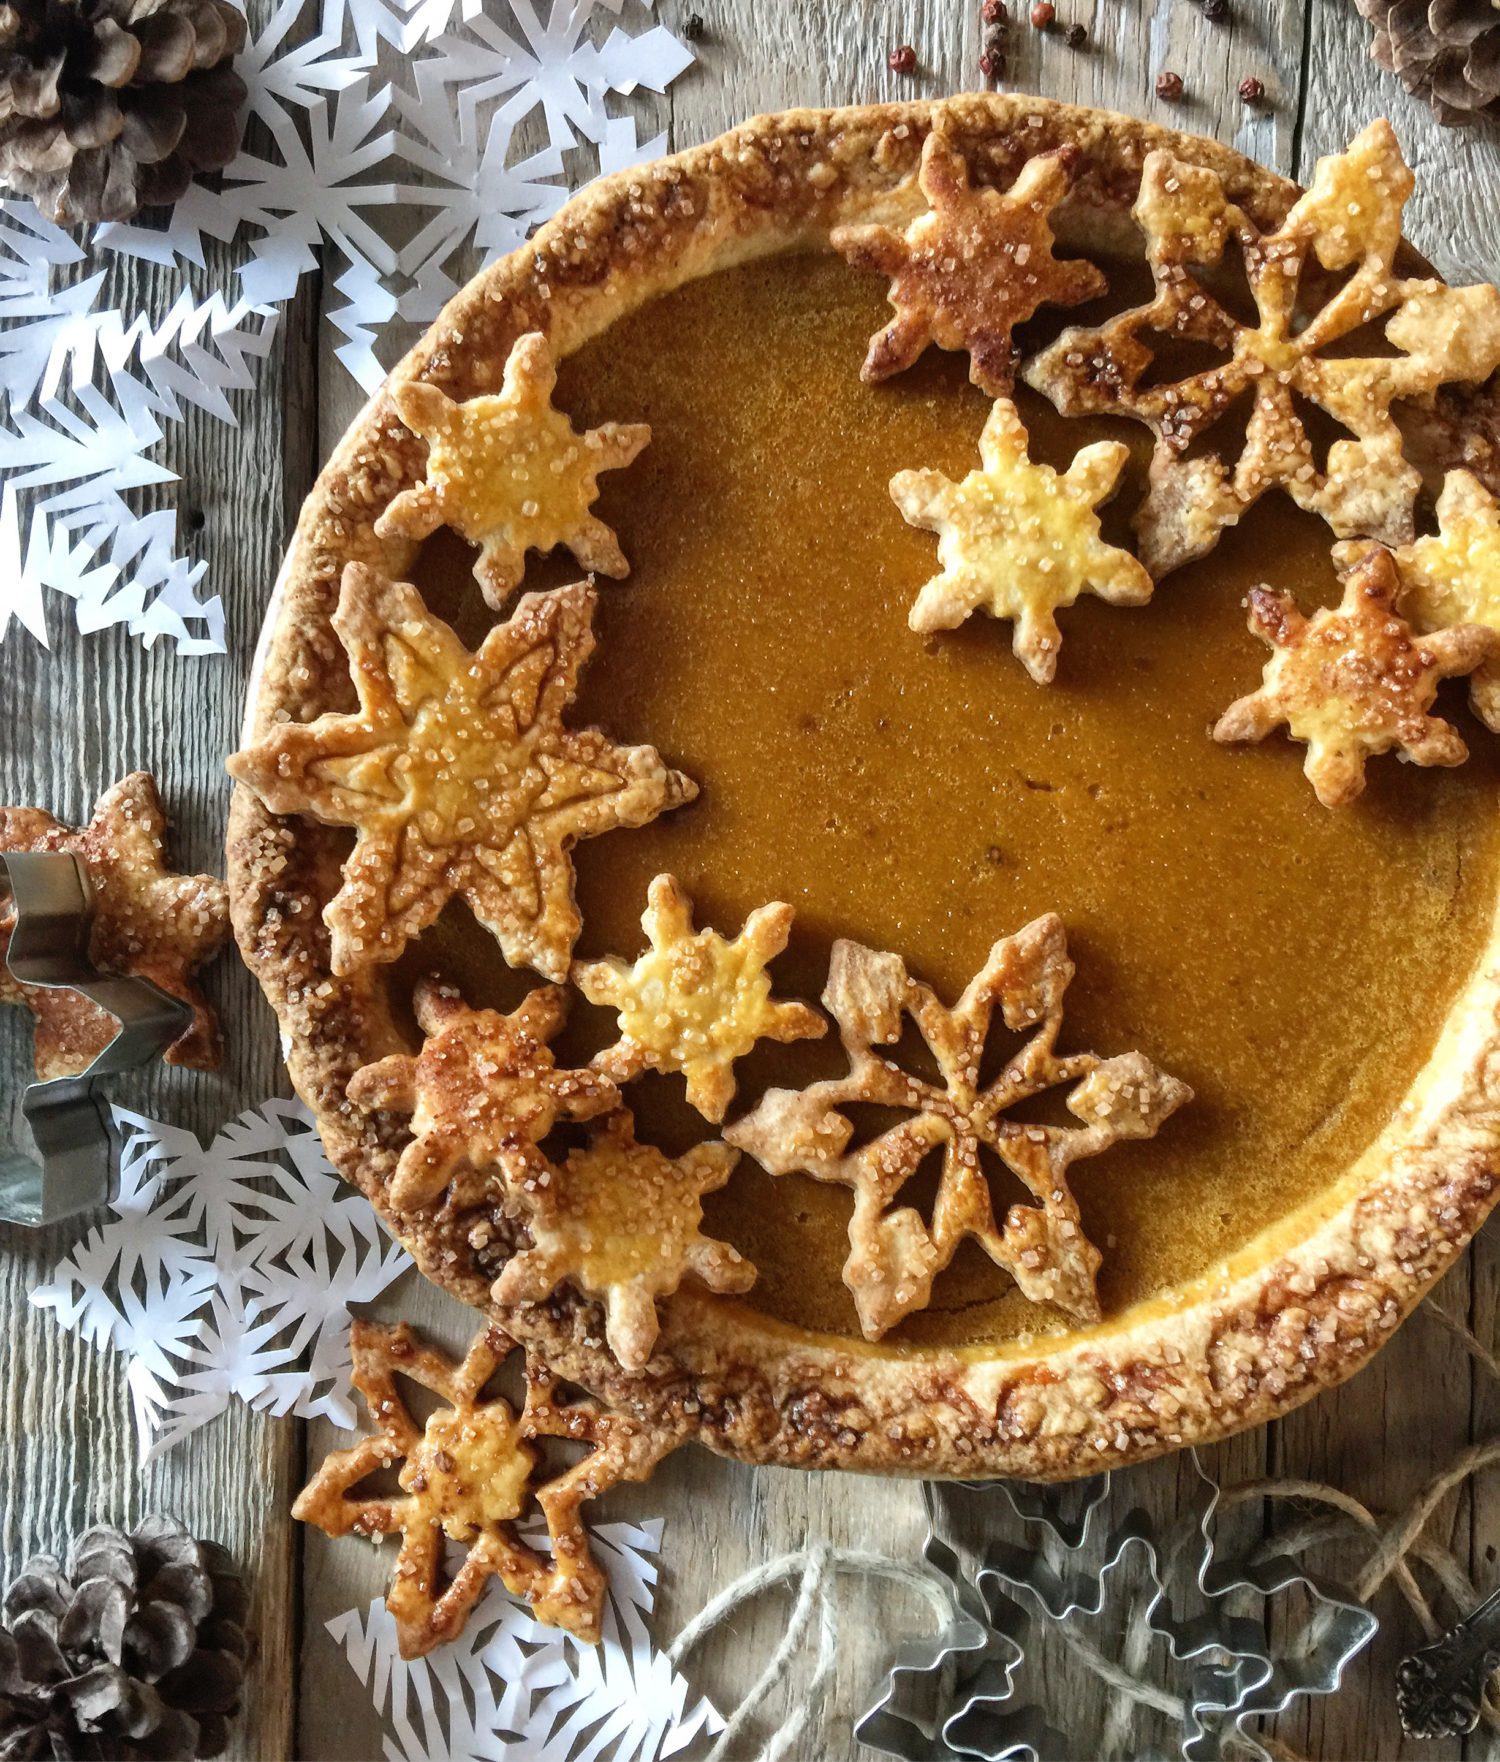
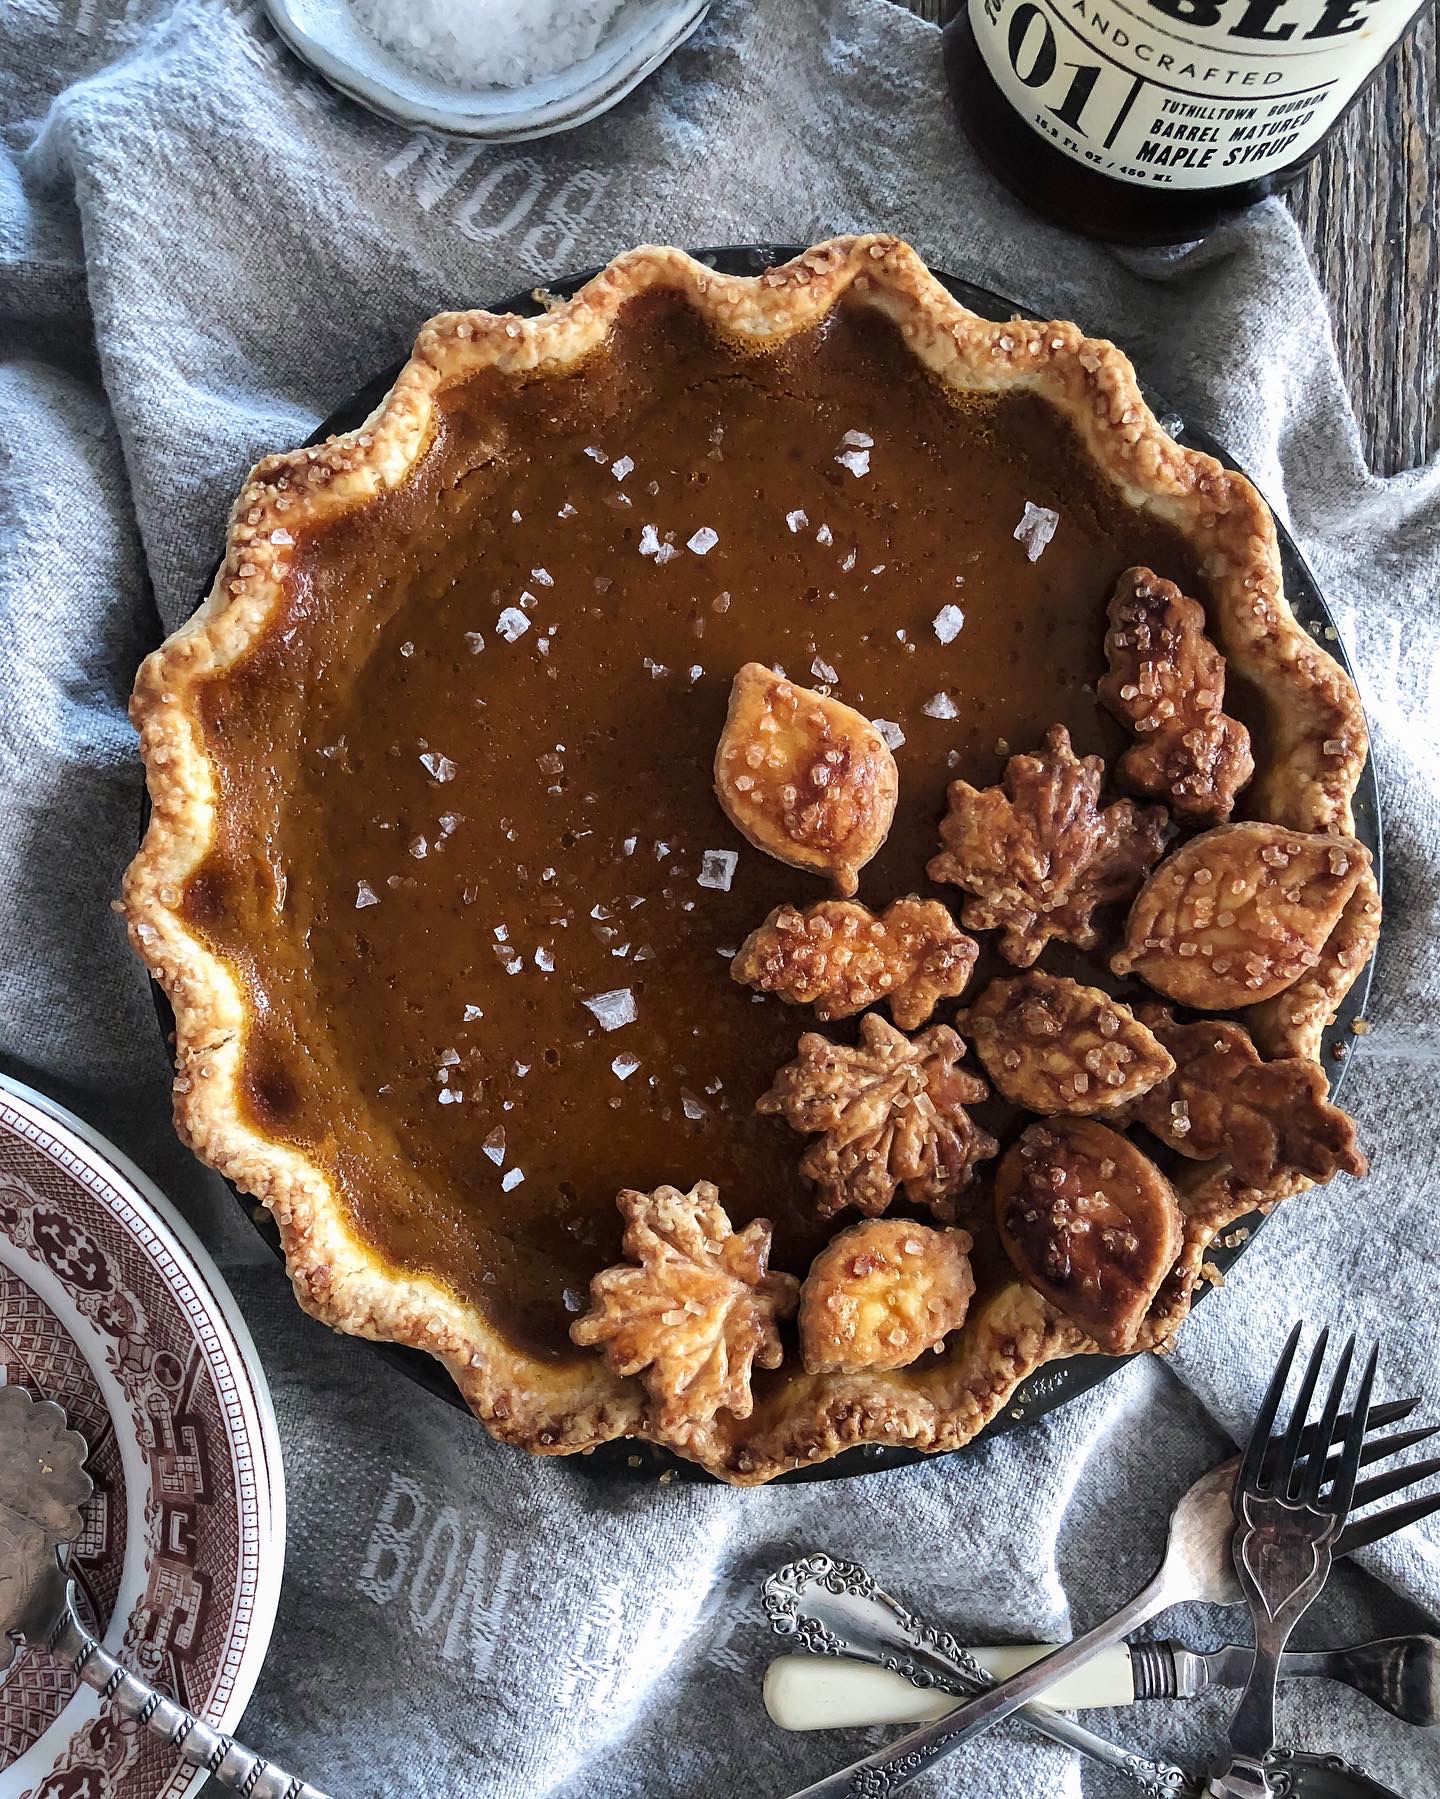
My tip for working with pastry in a tart shell: Roll out and fill the shell, trimming off the edges cleanly with a knife or rolling pin. Then place this into the freezer to set while you prepare the filling and heat the oven. This way the pastry will stay put during the baking, and not shrink down into the filling. Use any extra pastry to create decorative cut outs, which is always a fun way to finish a custard based pie. Feel free to omit the cookie cutter decor. This way you can freeze the second portion of pastry for your next pie baking session.
So today, I’m sharing my classic Pumpkin or Honeynut Squash Pie recipe, but reduced to fill a smaller shell. Fill the prepared shell comfortably, and any leftovers can be poured into a small ramekin to bake off as a custard pudding for the cook! It was fun to come up with this recipe, and going forward I will most likely be using this version if it is just Jim and myself craving the creamy goodness of pumpkin and all the spices.
Love Jen
Btw, if you do want full sized pumpkin-type pies, here are a few to check out on the blog:


Small Batch Pumpkin Pie
Pumpkin Pie in all its glory, just a little smaller than usual. Perfect for when you want to serve more than one pie, but don't want large amounts of pie leftover. If there's only two of you at home, this is the pie for you!
Ingredients
- 1 recipe of my Perfect Pie Crust recipe see archives or link in Recipe Notes below
- 3 medium eggs
- 3/4 cup plus 1 Tbsp pumpkin purée
- 1 1/2 tsp pure vanilla extract
- 2 tbsp golden brown sugar
- 2 tsp cornstarch or arrowroot starch
- 3/4 tsp cinnamon
- 1/2 tsp ground ginger
- 1/4 tsp ground nutmeg
- 1/4 tsp ground allspice
- 1/8 tsp ground cloves
- 1/2 tsp kosher salt
- 6 tsp pure maple syrup
- 3/4 cup heavy 35%-40% cream
- egg wash 1 egg mixed with a bit of water
- 1-2 tbsp of raw or turbinado sugar
- 1 tsp Maldon Sea Salt for finishing, optional
- Sweetened whipped cream for garnish it can be plain if you'd rather!
Instructions
-
Preheat the oven to 375F (190C)
-
Roll out 1/2 of the pie pastry and line a 6-7, or even 8 inch pie plate or tart pan with removable bottom. The depth of the pan will affect how much filling can go in. Trim or crimp as desired. Chill in the freezer till the filling is ready.
-
Roll the other 1/2 of the pie pastry to almost as thin (about 1/6 inch thick) as your pie crust. Cut out shapes as desired (cut out more than you need- some may brown too much in the oven). Place these on a parchment lined baking sheet and refrigerate till needed.
-
In a large bowl, whisk the eggs till frothy.
-
Add the pumpkin purée and vanilla, and blend well.
-
In a small bowl whisk together the sugar, starch, spices, and salt. Add this to the squash mixture.
-
Add the maple syrup. Whisk well. Finally, stir in the cream.
-
Place the chilled pie shell onto a baking sheet. Run a bit of egg wash along the edges of your crimped pie shell. Sprinkle the edges with a bit of your raw or turbinado sugar.
-
Pour the filling into the pie shell. If there is extra, fill a ramekin dish with the extra and bake alongside the pie till they are set.
-
Bake on the middle rack. Bake for 45-55 minutes, rotating the pie after about 30 minutes to ensure even browning of the crust. Check at 45 minutes, depending on the size of the pie plate or tart pan you are using. And you never know what your oven is like.
-
When the edges of the filling are puffed up, and the centre of the pie jiggles only slightly, when the baking sheet is moved, the pie is ready.
-
Cool on a wire rack.
-
While the pie is baking, remove the chilled 'cookies' from the fridge.
-
Brush each with a bit of egg wash, and sprinkle with raw or turbinado sugar.
-
Bake at 375F till golden, about 15-20 minutes. Remove and cool on the rack for about 30 minutes.
-
Place the cooled cookies onto the cooled set custard in a pattern appealing to you.
-
Once the pie is at room temperature, you can cover it loosely with plastic wrap and keep in the fridge till ready to serve. Best served slightly chilled.
Recipe Notes
My perfect pie pastry recipe is here!
You will still have leftover pastry. Feel free to freeze and save for the next pie baking adventure. Wrap tightly in plastic wrap and store in a freezer bag for 2-3 months.

This is an excellent idea – have your pie and eat it, too. Thanks for taking the time to break this down and share it.
Hi Heidi, thanks so much. I’m so glad I did it. It will probably be my go-to for when I am baking just for Jim and myself from now on. You are most welcome! Love Jen
Thank you so much for making a small batch recipe. I have no room in the freezer, and didn’t want the two of us to have to eat a whole pie! It was delicious and helped this weird Thanksgiving feel a bit more normal. The flavor was delicious – I think I did something wrong when I added the eggs because the texture didn’t come out right, but otherwise perfect!
Hi Emily, So happy I could help out. I think it is now my favourite size for just Jim and myself too! Strange that you had a reaction when the eggs were added. That has never happened to me. Was the texture better when it baked up?