The dog days of August have arrived. Those hot, humid, sultry days which zap me of all creative energy.
 Add to it the gloomy sky outside, and the rolling of thunder in the background, and it’s official, I just want to flop on the couch and do NOTHING.
But I can’t. I am so behind in posting recipes that I’ve worked on, and that readers and IG followers have requested. I apologize for my tardiness. July totally got away from me. We were quite busy with life, so my time in the kitchen and in front of the computer ended up on the back burner. I’ll try and fix that over the next few days.
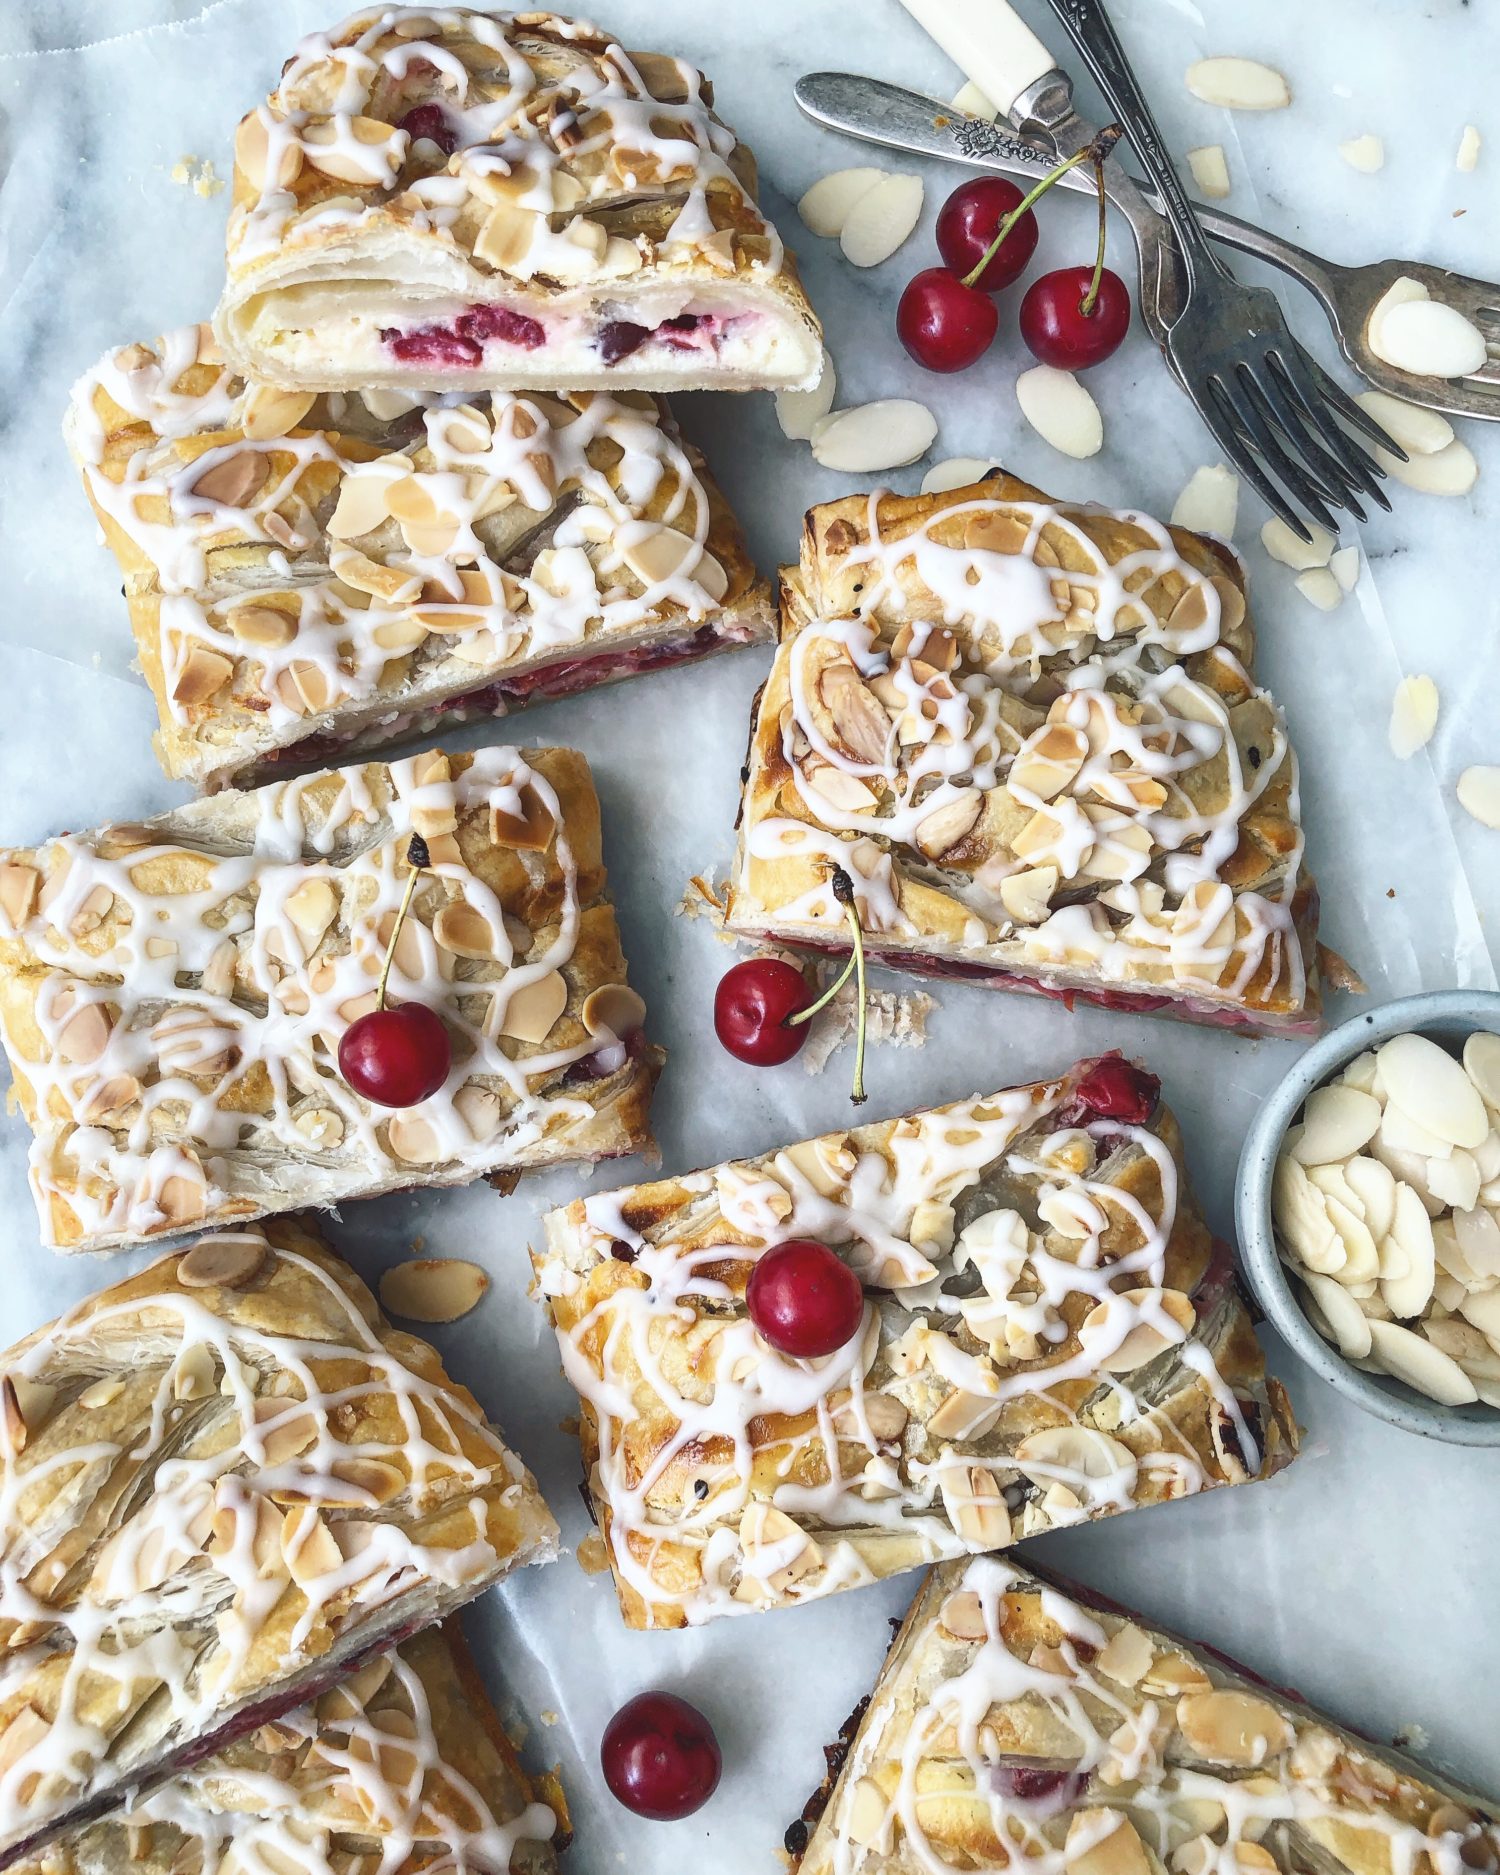
Starting with this recipe. I had briefly shown this wonderful pastry a couple of weeks back as I was preparing it to be the snack for my first official Pie Workshop. More on that in an upcoming blog post! Right away, as those photos floated onto social media, I started receiving messages about when I would share the recipe. So to all of you, thank you for your patience!
This recipe started out as a bowl of cherries. Sour cherries to be exact. That lovely little tart cherry that has such a short window here in North America. I knew I was going to use them beside snacking. But what would it be? Ice cream? Muffins, scones, loaf, pie? I knew I wanted something easy, that everyone could whip up without needing a lot of ingredients. And I wanted something that could be fancy enough for dessert, but equally at home for breakfast. So this happened.
Cherry Cheese Danishes are such a treat. One of my favourite things to order when they look great in a bakery. So I figured, why not a riff on the classic danish? I didn’t want to go through the bother of making individual hand held pies or pastries. So I decided to cheat. I would take my favourite puff pastry braid technique and apply it the Cherry Cheese Danish I love so much. Yes, you are right, this isn’t a classic danish, as far as the pastry is concerned. A true danish is made with a particular type of pastry that I’m just not in the mood to work on. But the essence is there, so I’m happy. I’d rather get on to the activity of eating!
This is truly an easy recipe to whip up. The hardest part is remembering to take your puff pastry from the freezer the night before to thaw in the fridge. Again, my ongoing plug for purchased puff pastry is going to get pulled out. Having it on hand means that desserts or galettes or even chicken pot pie are within sight. I just don’t understand the desire to make puff pastry from scratch, especially since it is not the star of whatever you are creating. It is really only the vehicle to get the other flavours and ingredients to your mouth! And these days you can get really good butter puff pastry at the store. On the other hand, laminated doughs are fabulous, and I fully support making them from scratch, especially when they are the star pastry, like kouign amman, croissants, morning buns etc. You can’t cheat and make these pastries with store bought puff pastry.
So, you’ve got your puff pastry thawed. And you have your cherries pitted (the inevitable crime scene will be the result, but oh so worth it!) The rest is just blending some softened cream cheese (yes, remember to pull it out from the fridge when you pull the puff pastry out from the freezer) with sugar, egg, some almond extract etc.
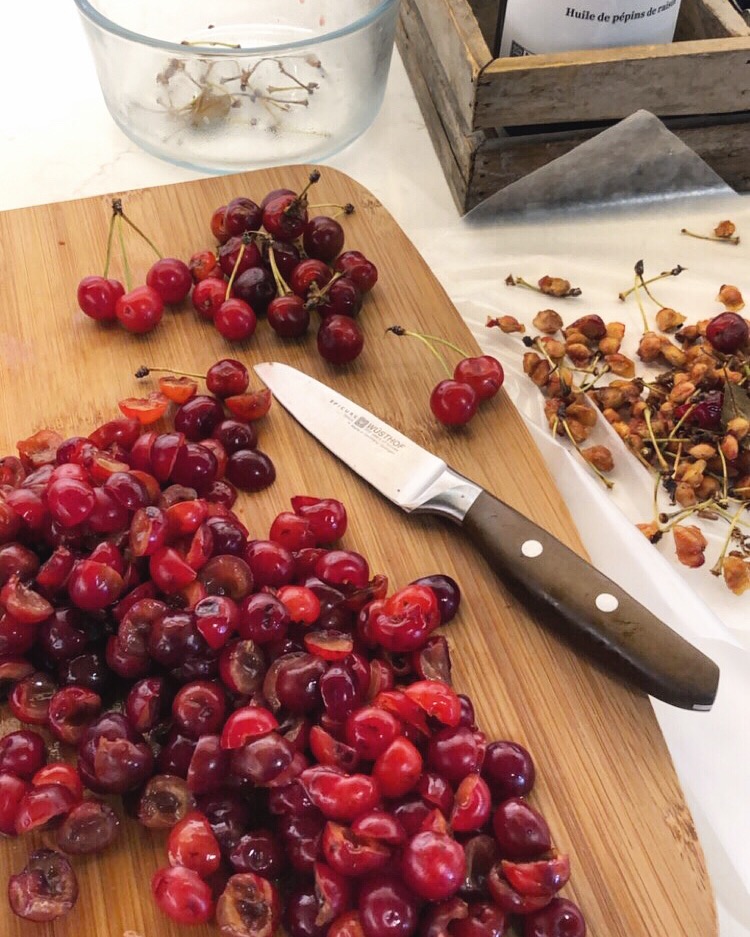
Now comes the fun part, creating the braid. As with my other braid creations (Strawberry Rhubarb Jalousie, Plum Strudel, Mincemeat Citrus Fangipane Strudel )you want to lay it out on the counter or baking sheet. When I gently open the puff pastry sheet from the parchment paper, I actually leave it on the parchment paper. I open it up on the baking sheet I want to use, and now I have a built in liner. Make sure that the way you lay it out has the wider part going across when you look at it. Sometimes this will be hard to tell. Some sheets are almost square. Many seem to be about 10 x 11 inches (25 x 28 cm) Just measure yours if in doubt. I don’t bother rolling it out any larger. I like all the layers, and when the pastry is rolled out too thin, they become less pronounced. Since this recipe uses two sheets of puff pastry (which is how most pastry comes) you will easily get 8 or even 10 slices.
Once your pastry is laid out, the cream cheese mixture will get spooned down the middle. Here’s something that I learned after making this the first time: after you have blended the cream cheese with the other ingredients, place the bowl into the fridge to help it set up a bit. That extra firmness will help you when you are spooning it onto the pastry- it won’t go oozing everywhere, (as it looks like in the photo below!!) Then you will spoon some of the cherries which have been sweetened with some sugar and cinnamon. If for some reason you have more cream cheese mixture or cherries than seem reasonable to spoon onto the pastry, don’t force them. You don’t want a mess as everything starts leaking out. Having said this, you shouldn’t have more than a couple of tablespoons of cherries leftover at the most! And if you do, just eat them while the rest are baking away!
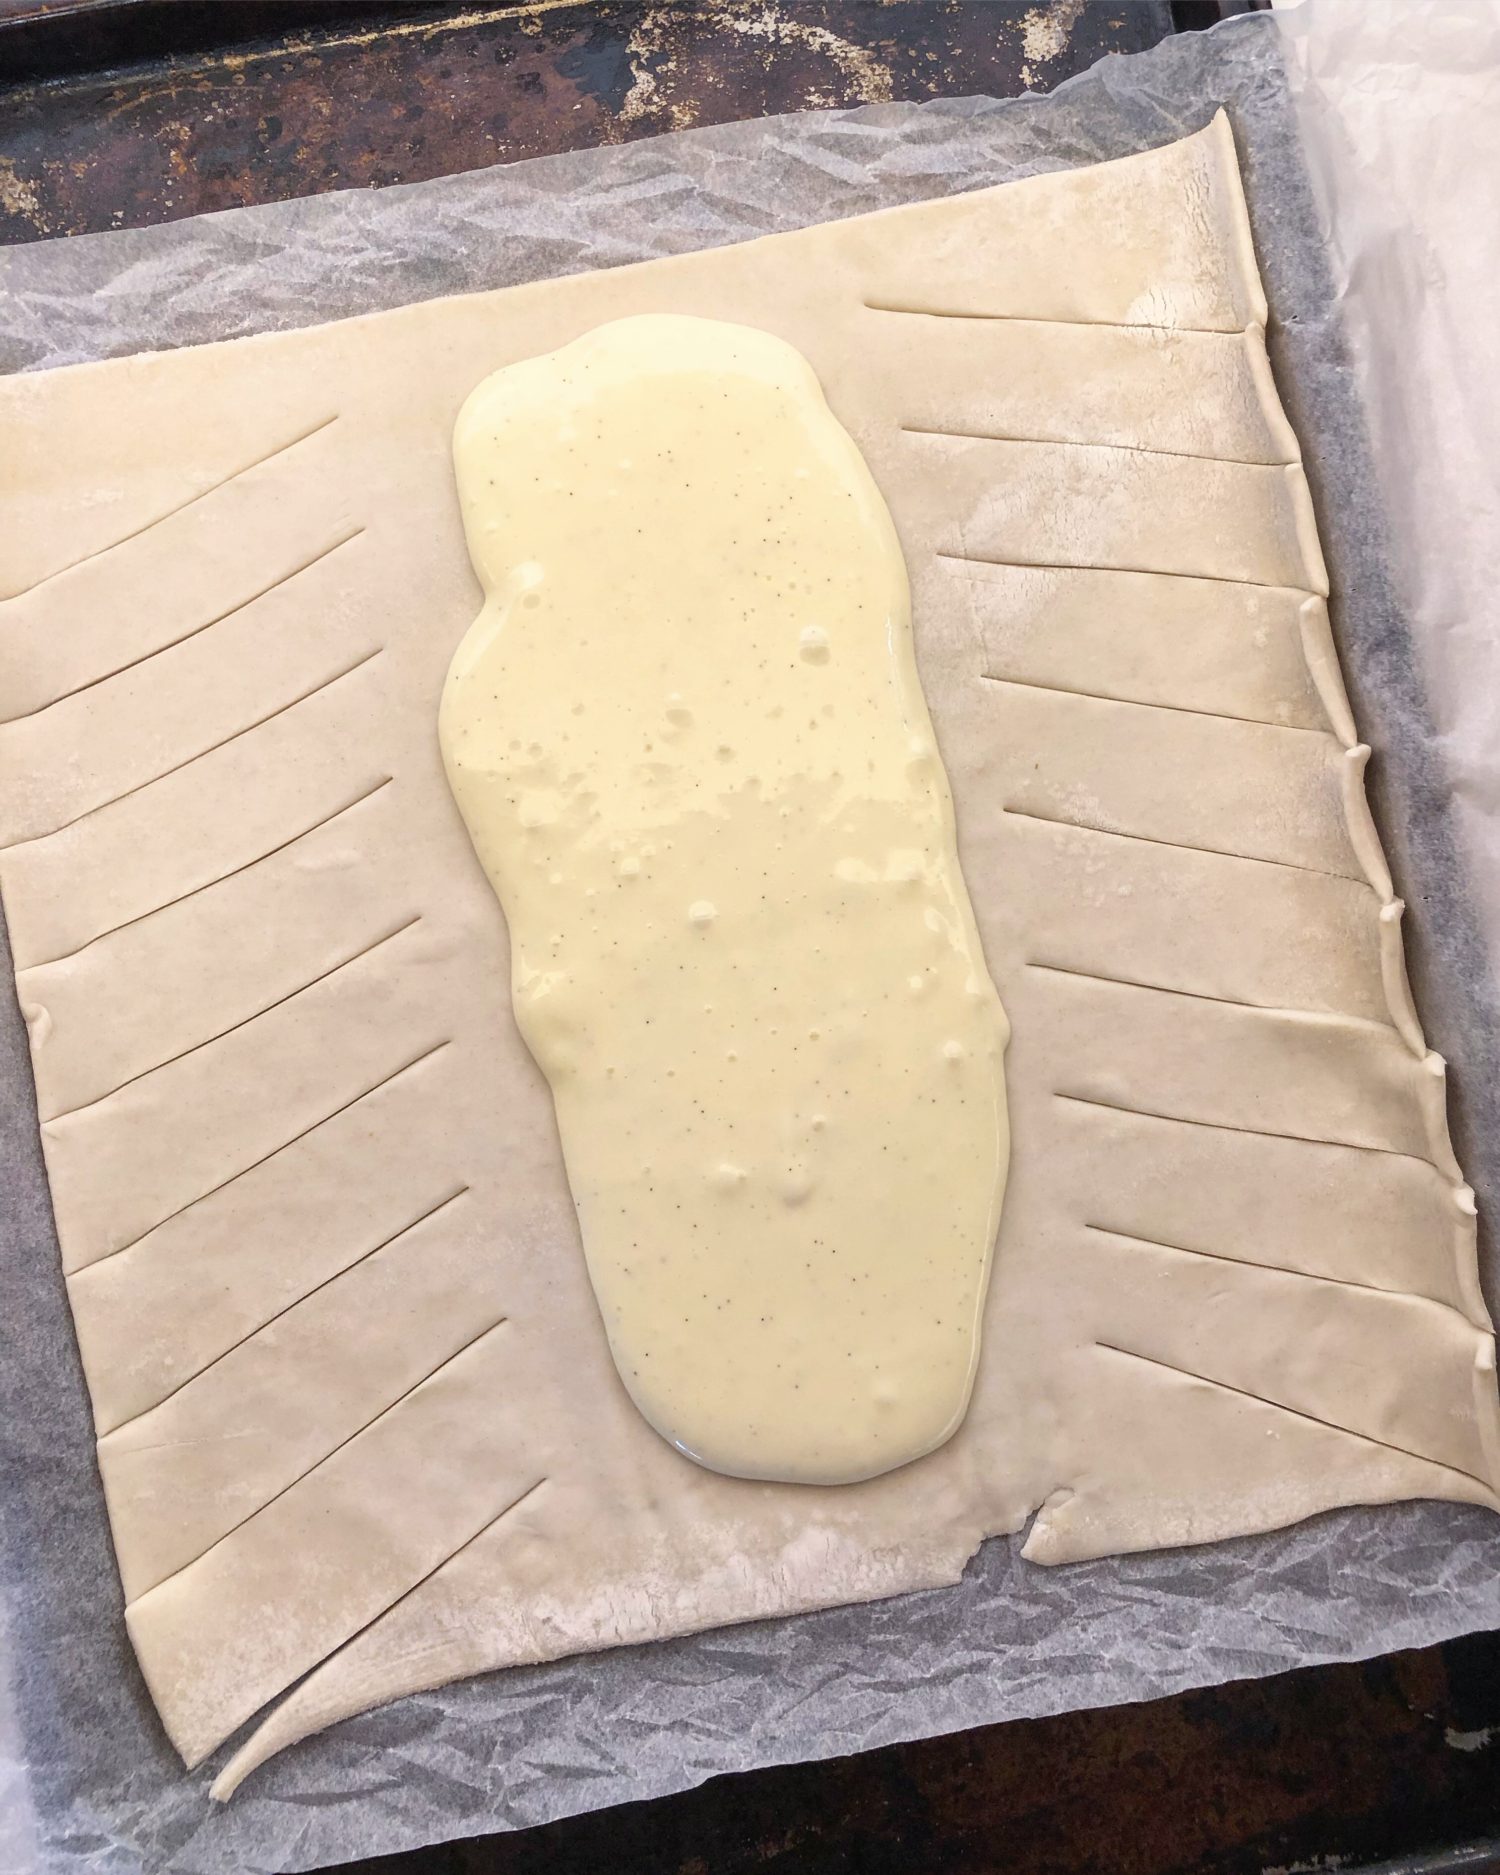
When you look down at the pastry, you will have filled the centre third (about 2 3/4-3 inches or 8 cm) with cheese and cherries. Now you will take a sharp knife and cut down either side of the filling, making fringes about 1 inch (2.5 cm) thick or a little less. I always seem to get 8 or 9 cuts in total. Angle the cuts going out and down. This will create the braid as you pull them across. Starting with the top, pull the first fringe across and slightly down to the other side. It probably won’t make it all the way. Don’t stretch it unnecessarily- this could cause it to tear. Don’t worry, the opposite fringe will cover the first one and enclose everything. Keep repeating with one fringe from either side till you have reached the bottom. Pinch the top and bottoms tightly to seal. Then you’ll brush everything with egg wash. At this point they are ready for the oven. But if you want to gild the lily, sprinkle some almond slices on top!
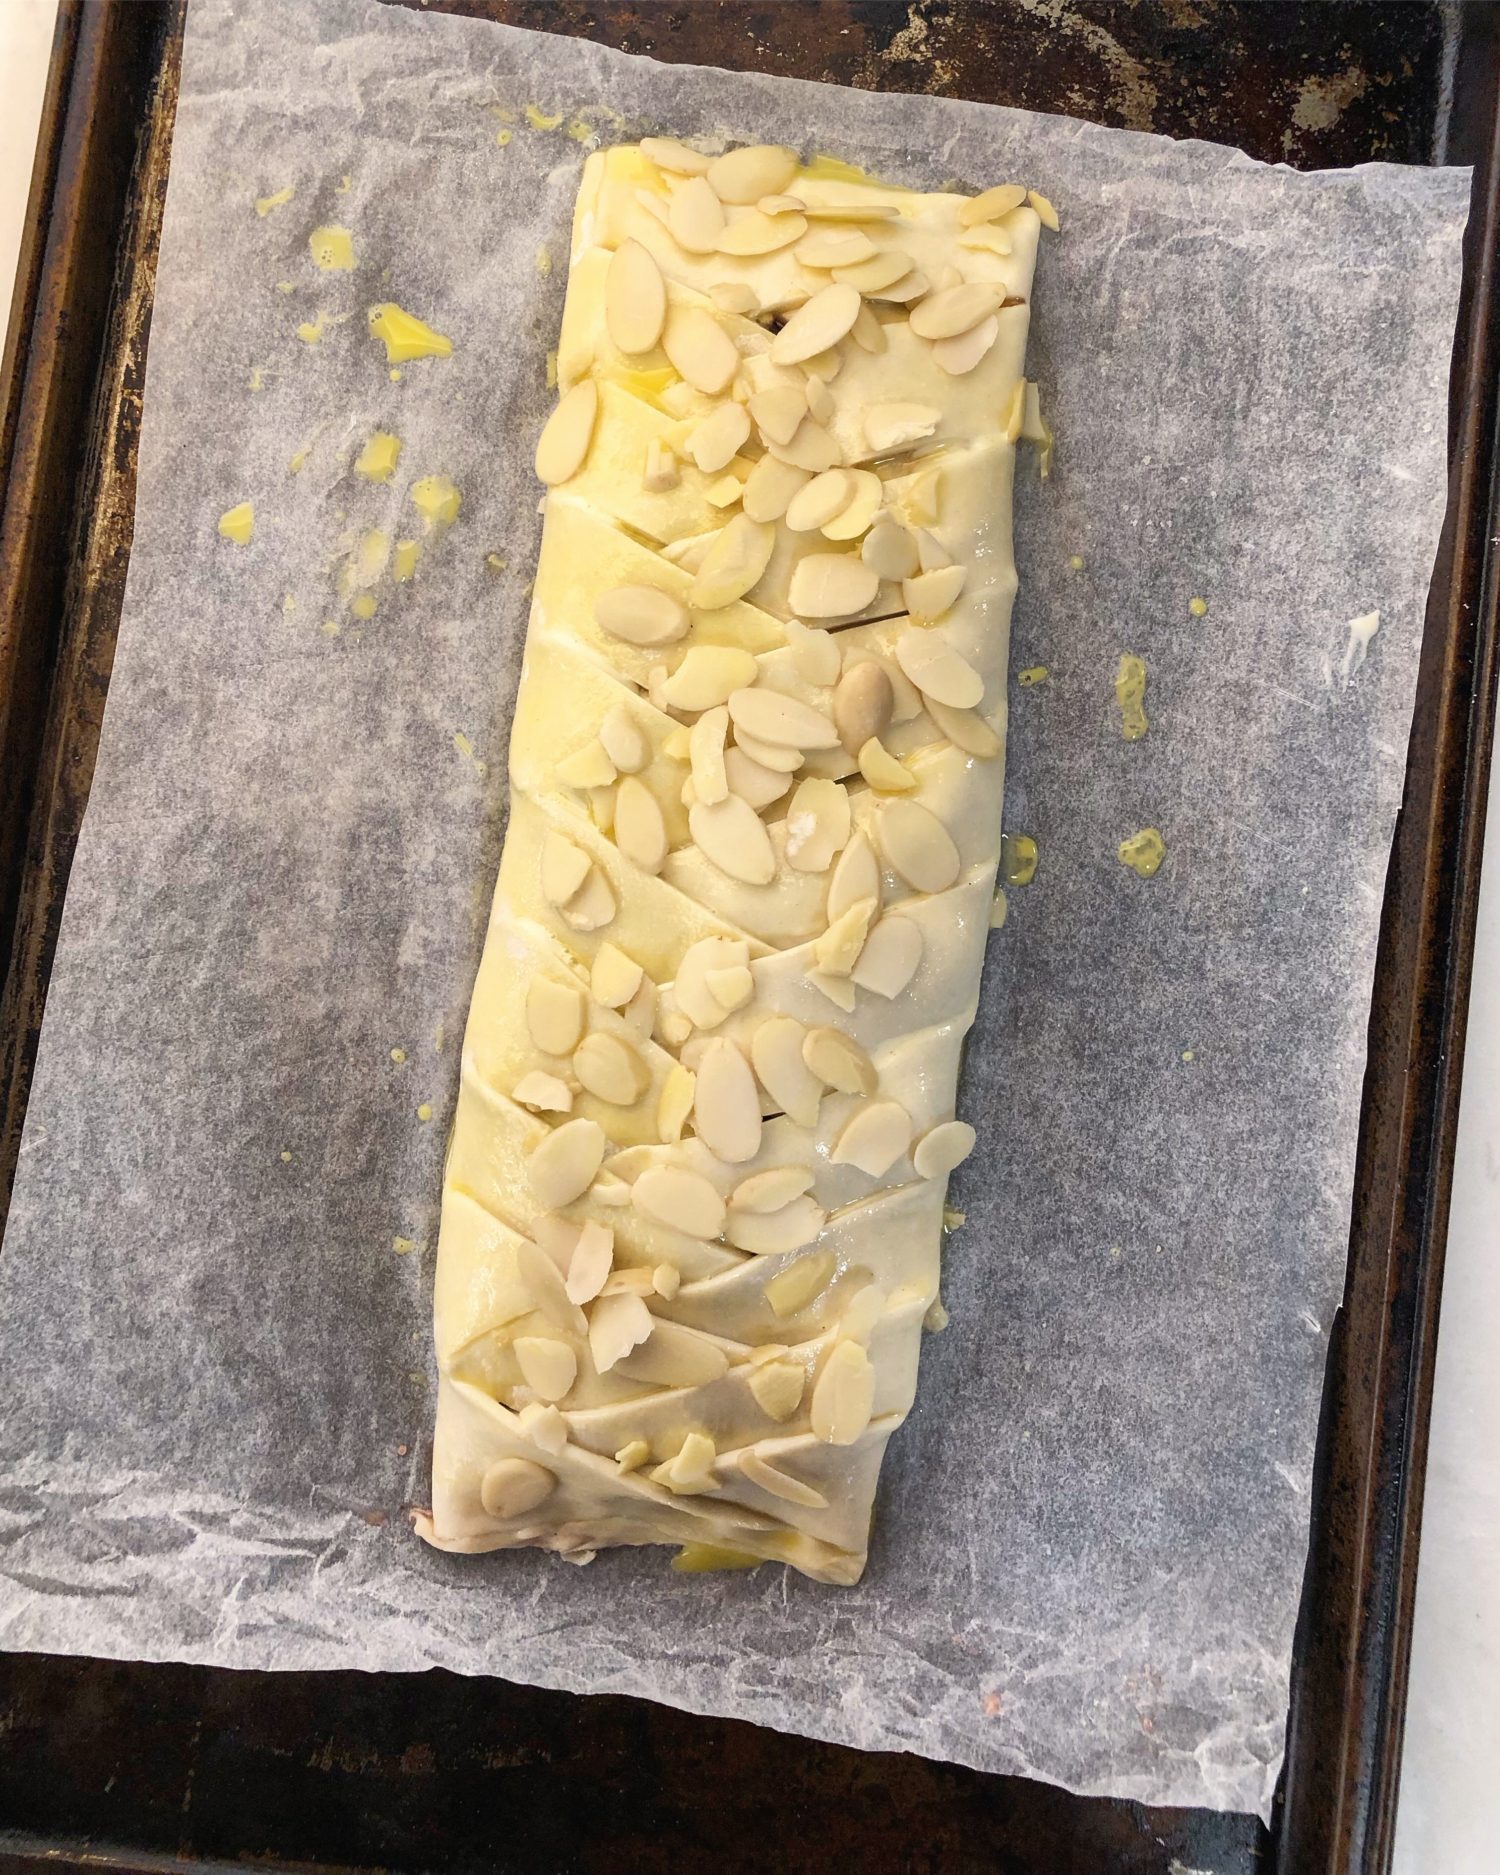
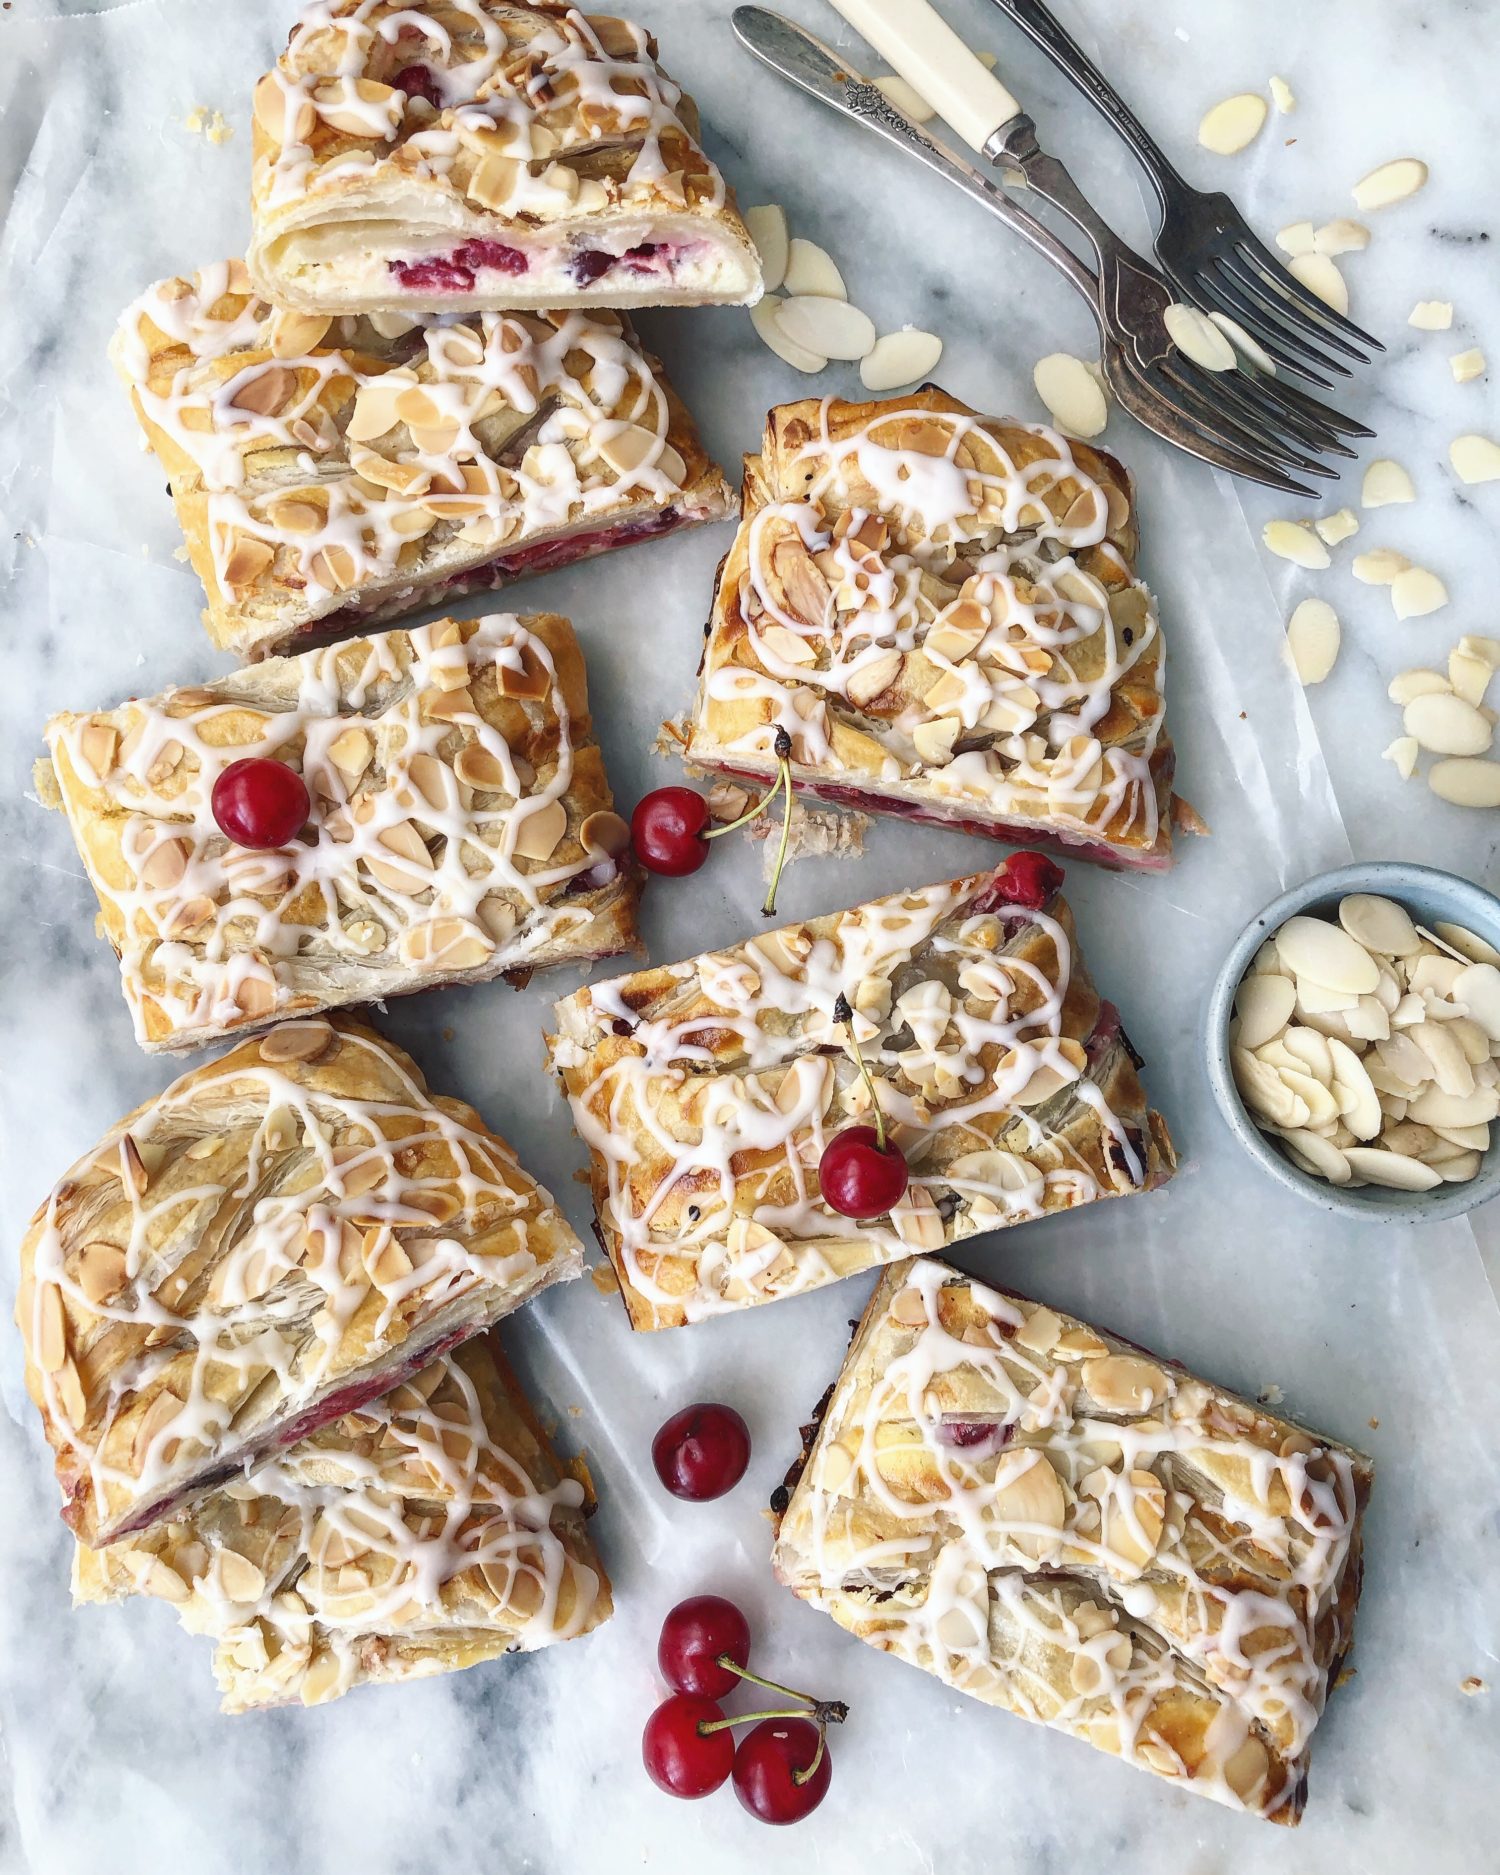
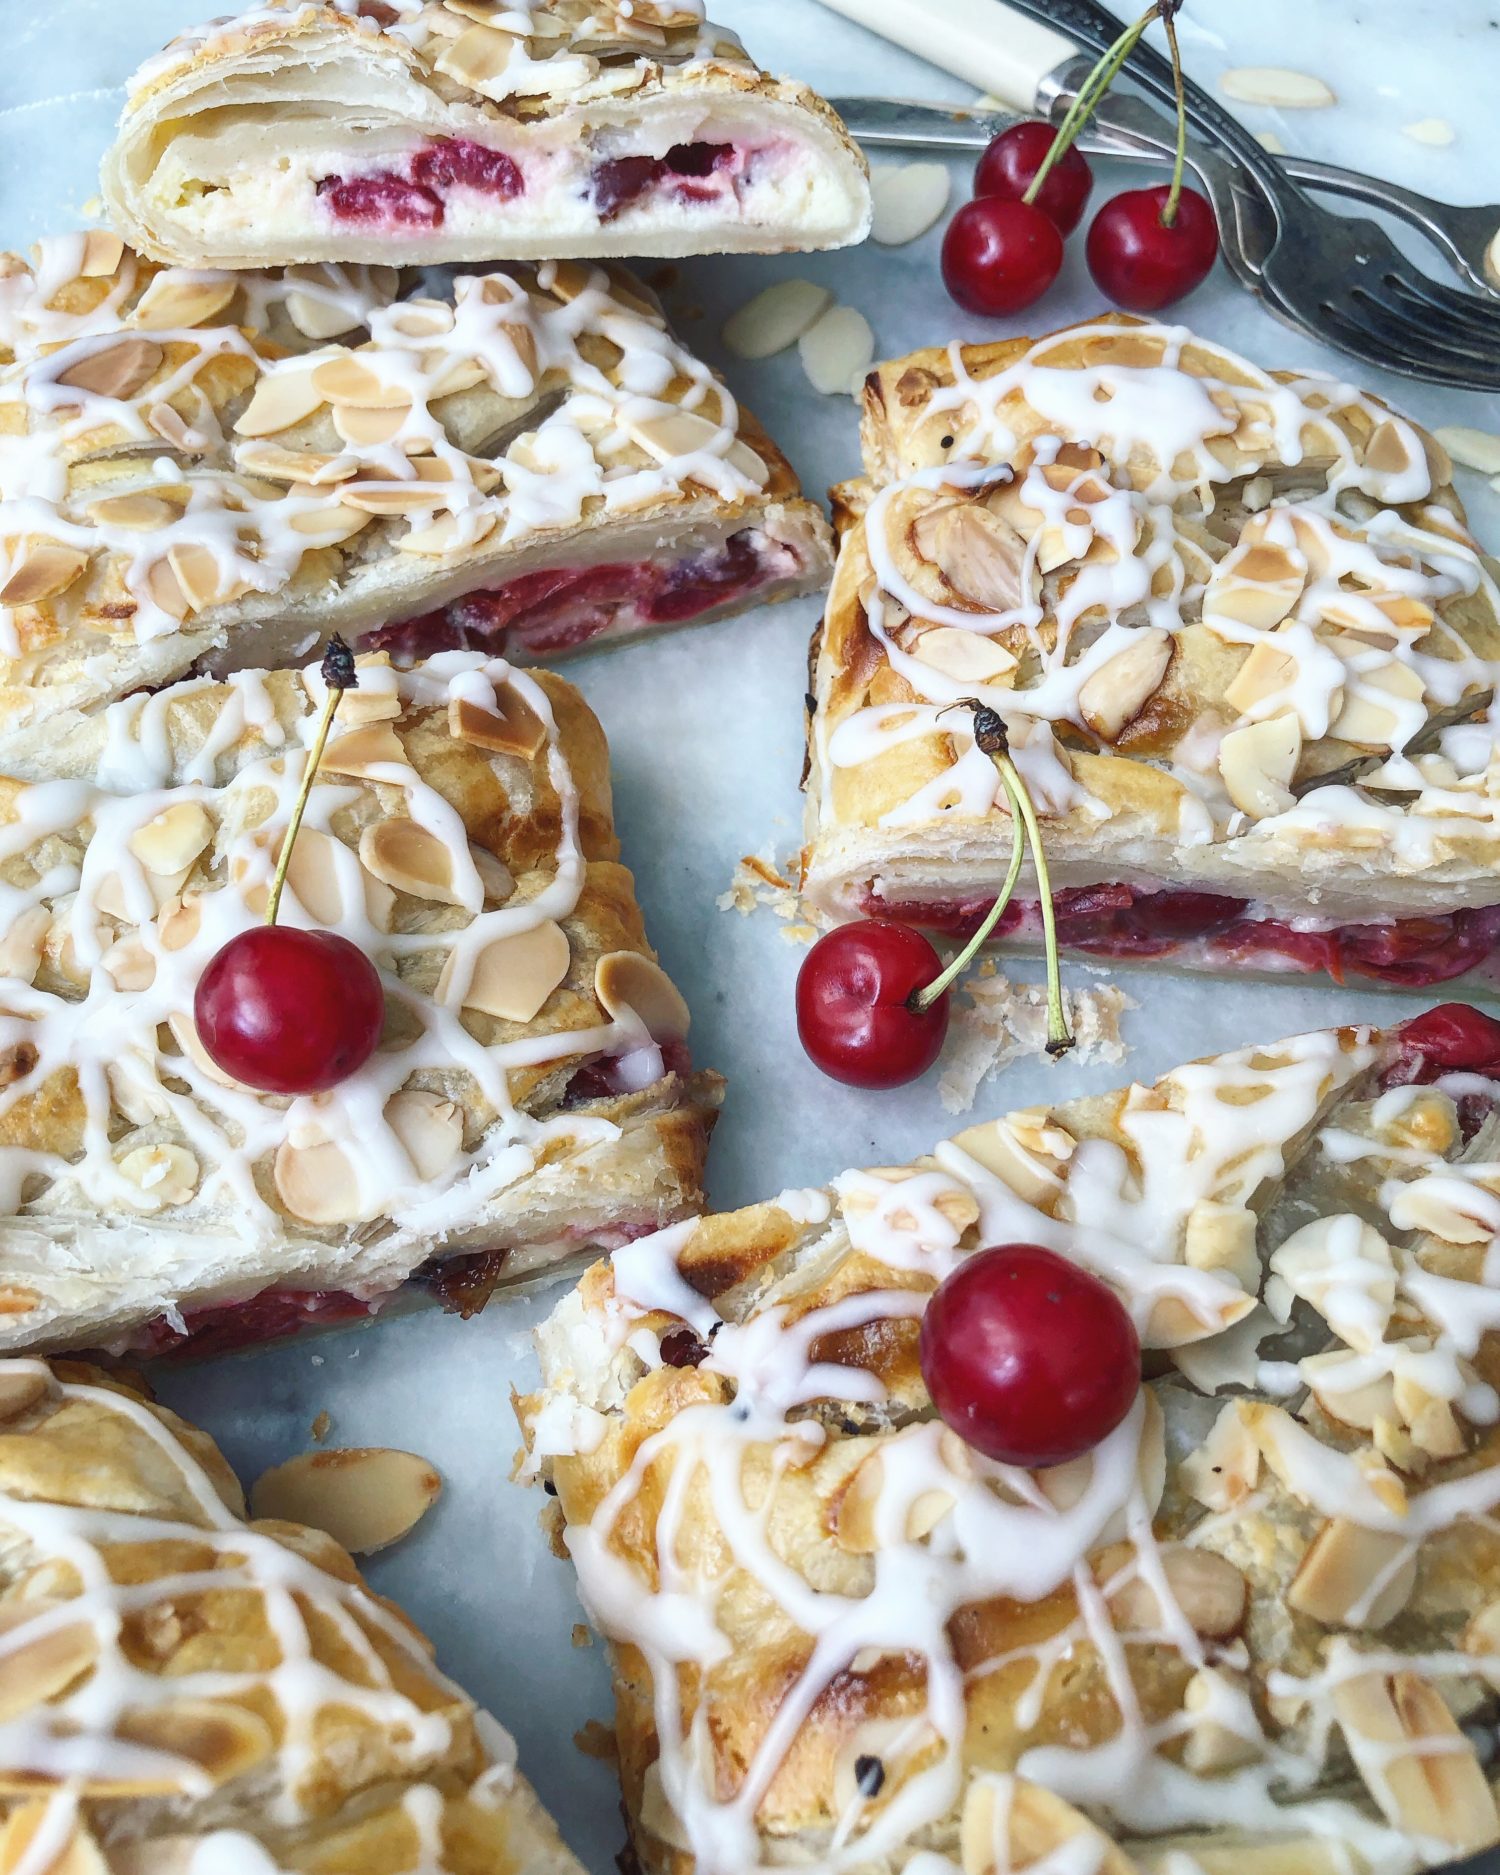
After about 20-25 minutes in the oven, you will have two glorious pastry braids. The final touch is a lemony glaze. I also add a bit of lemon zest to the cream cheese, I find that it balances out the sweetness and adds a layer of brightness to the final danish. I put the glaze into a squeeze bottle, and let out my inner Jackson Pollack on the pastry tops. Glaze only once the braids are completely cooled. For this type of pastry, I like my glaze on the thicker side. But you do you! Spoon it on as haphazardly as you are inspired to do!
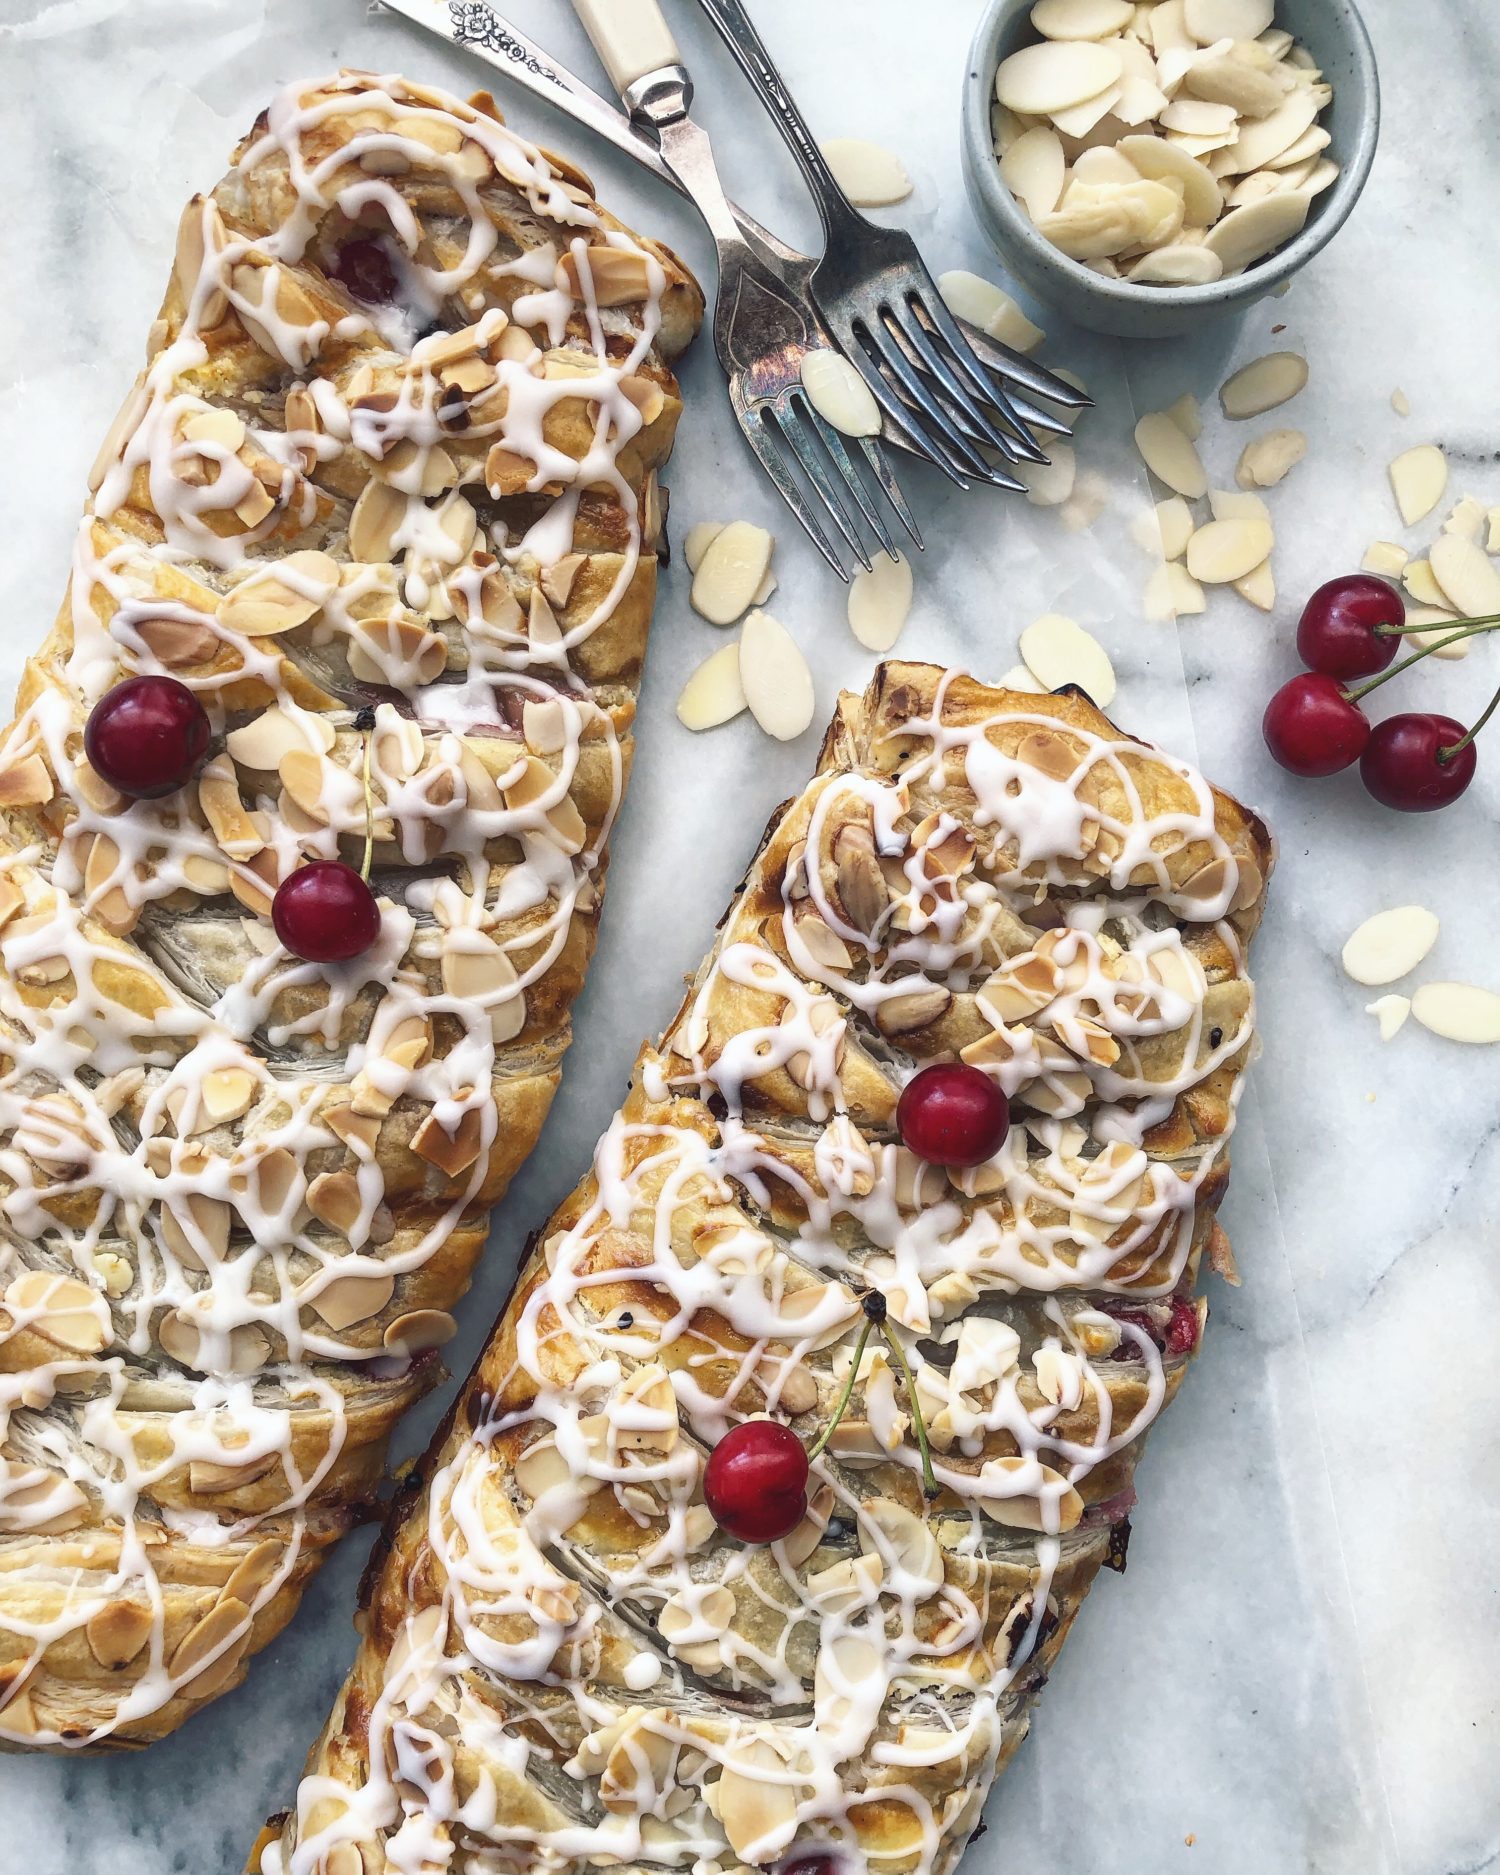
These are perfect with coffee, as a dessert, a snack, or even as breakfast! I’m getting ready to make this again- Jim missed out on the first batch, as he is regularly reminding me! Make these ahead if you want, because they are great warmed up again!
And yes, if you don’t have sour cherries sitting around, you can use sweet cherries, blackberries, raspberries, blueberries or even strawberries. Just ensure that they are cut into smallish pieces so that they don’t sit too high on the filling.
Hope everything is great with all of you out there. I hope to get back on track in September with more regular posts. Please understand my less than creative and productive mood at the moment. But we all have them at times, right? You understand, don’t you!
Love Jen

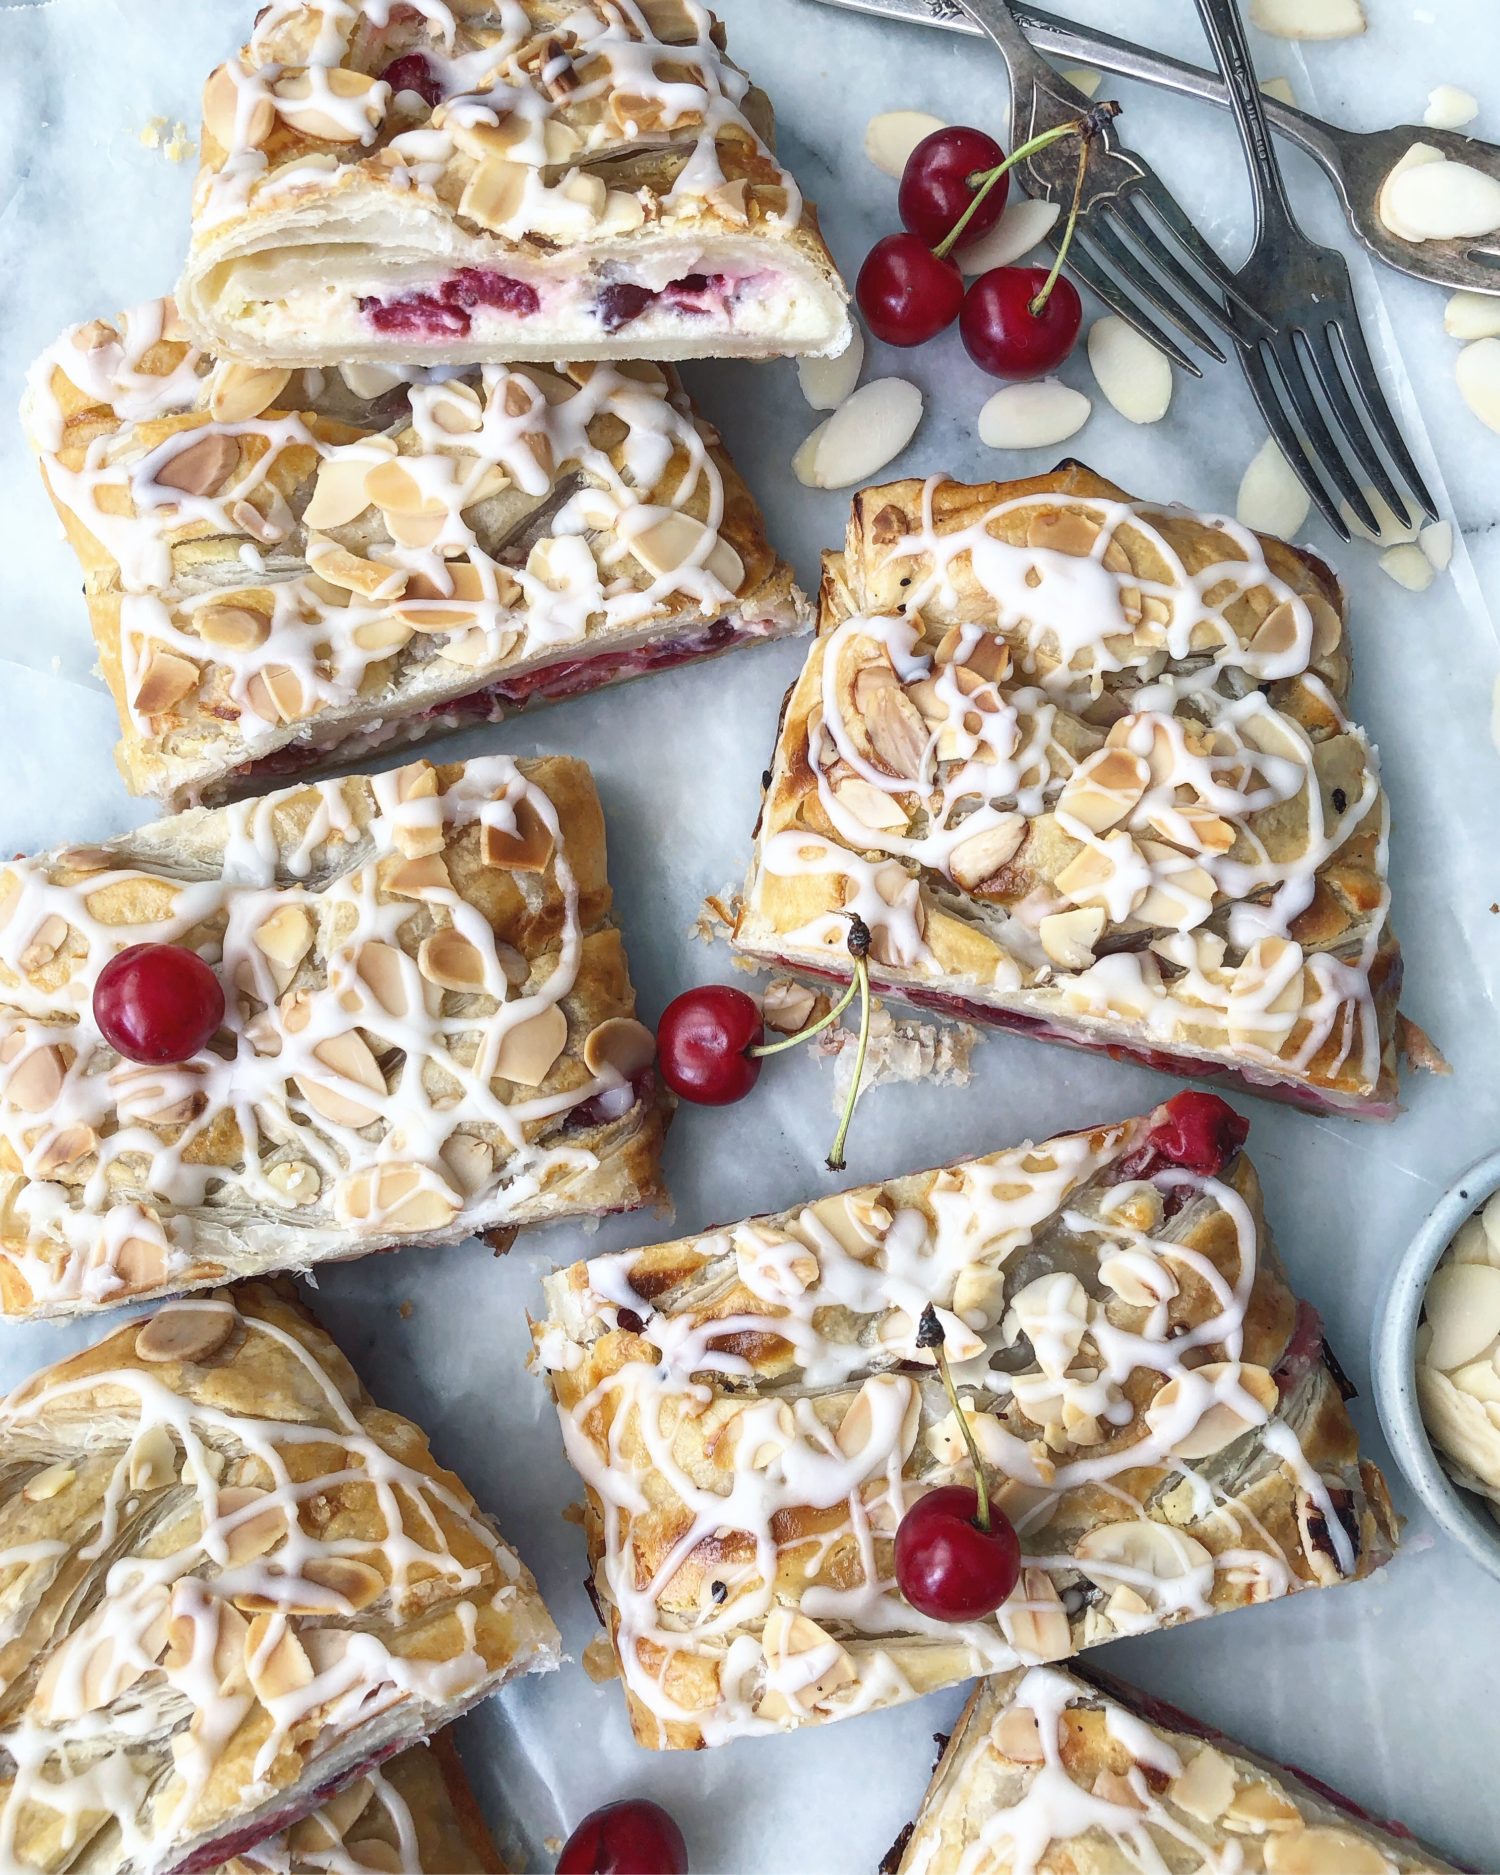

Sour Cherry Cream Cheese Danish Braid
Sour cherries and smooth and sweetened cream cheese are the filling for this fun pastry. Finished with a lemony glaze and sliced up, you've got a tasty breakfast, treat or dessert. Just add coffee!
Ingredients
Cream Cheese Layer
- 1 8 oz package cream cheese softened at room temperature over night
- 1/2 cup powdered sugar
- 1/2 tsp lemon zest
- 1/4 tsp almond extract
- 1 egg
Sour Cherry Layer
- 2 cup fresh sour cherries pitted
- 1 tbsp corn starch
- 1/2 cup granulated sugar
Danish Braid
- 1 package frozen puff pastry sheets two sheets at about 10x11 inches Thawed in the fridge overnight
- 1 egg for egg wash
- 2 tbsp sliced almonds garnish, optional
- 2 tbsp turbinado sugar garnish, optional
Glaze:
- 1 cup powdered sugar or more as needed
- 1 tbsp milk
- 1 1/2 tsp lemon juice
Instructions
-
Preheat the oven to 400F (200C)
Cream Cheese Layer
-
In a bowl, using a hand mixer or even just a wooden spoon, combine the softened cream cheese, powdered sugar, zest and extract, add the egg and beat till just combined.
-
Set the bowl into the fridge for at least 15 minutes.
Sour Cherry Layer
-
Combine the pitted cherries, the sugar and cornstarch in a bowl, and let sit as you deal with the pastry.
Danish Braid
-
Unroll each pastry sheet onto it's own baking sheet. Keep the parchment that it was lined in underneath. This gives you a ready made liner.
-
Place it so that the widest part of the sheet is going across, when you look down at it.
-
Remove the cream cheese from the fridge and spoon half down the middle of each puff pastry sheet. You should only fill about 3 or less inches across and leave at least 1/2 inch at the top and bottom empty. If you have leftover cream cheese filling, use it as a dip for some extra fruit, don't force it onto the pastry.
-
Take a sharp knife and cut the same amount of fringes down either side of the cream cheese. Don't cut right up to the filling however. You should cut them on an angle pointing downwards. You'll probably get 8 or 9 fringes, if you cut them about an inch or just a little less. See photos for guidance.
-
Now take the cherry filling and spoon it over the cream cheese. Again, don't force all the cherries if you find that they are spilling over the cream cheese and onto the pastry. You may end up with about 2 or so tbsp leftover, depending on the size of your pastry sheets. That's for you to snack on!
-
Now take the top fringe from one side and pull it slightly down and over the filling to reach to the other side. It doesn't need to actually touch the pastry, so don't stretch it too much, it may tear.
-
Repeat with the fringe on the opposite side. Going back and forth, 'braid' the pastry till you come to the end. Pinch the top and bottom firmly. Take your hands and shape the braid to an evenly formed rectangle.
-
Brush the entire braids with an egg wash (egg beaten with a little water) You can sprinkle these with some finishing sugar or almond slices if you wish. If you wish, trim away any excess parchment that may be extending past the baking sheets. You want both baking sheets to fit on one rack in the oven.
-
Place both baking sheets on a rack placed in the centre of the oven and bake till golden brown and puffed up. This should take about 20 minutes or so. Don't be in a rush to pull them out. You want those hints of brown! Half way through, rotate the two baking sheets.
If some of the filling oozes out from between the fringes, no worries, it happens occasionally. Once cooled, you can cut it away.
-
When cooked, place the sheets onto cooling racks to cool down. When they are cool enough you can even use the parchment paper as handles to move the pastry to the cooling rack off of the baking sheets.
Glaze
-
Meanwhile combine 1 cup powdered sugar, 1 tbsp milk and, 1 1/2 tsp lemon juice. This will be the glaze. If you find that it isn't thick enough, just add some more sugar. You don't want a runny glaze.
-
Keep the pastries on the parchment paper to catch any mess.
Once the pastries are cooled, drizzle the glaze over each braid. Once the glaze has set, slice each braid into 4 or 5 slices.
Recipe Notes
You can replace the sour cherries with blueberries, sweet cherries, raspberries, blackberries or strawberries. If on the larger size, cut fruit into bite size pieces to make them sit more evenly on the cream cheese.

Sour cherries gone over here BUT keeper it is for the next season. Thank you dear Jennifer 🙂
Hi there! You may want to try it with blueberries in the meantime. That’s what I’m going to do as well 🙂 Love Jen
Is it ok to have the pastry sit for 25 min after completion before going in the oven? (Length of the car ride to bake it fresh at someone’s house)
Hi Danielle, Thanks for the question. I wouldn’t. Puff pastry doesn’t do well at room temperature. It really needs to get baked off. I would bake, travel with the baked version, and then slice when you have reached your destination. You can always reheat quickly in a 300 or so oven to get the pastry warmed through if needed. Hope this helps. Love Jen
Hi Jen. This may seem very minor but, under ingredients, you say to use 1/4 tsp almond extract. Under instructions, it’s now 1/4 tsp vanilla. Please clarify. I like to follow a recipe exactly as printed – at least the first time anyway. Tks.
Hi Tim, Thanks for catching that! What happens is that I take one of my existing recipes to adjust for fresh flavours etc and then just miss a step in the instructions where I should have adjusted as well. Stick with the almond, it works great with cherries! Going to go fix now! Love Jen
Oh we love this Danish!
Hi Guys! Yay! It’s a really fun way to make a danish. Happy week! Love Jen
Jen – this is a question, as I’m hoping to make this for a church coffee hour on Sunday. I have quite a few frozen bags of sour cherries that I pitted and froze in June – can I use those in this recipe, or will the consistency not be the same? I hope so, this sounds amazing. Thank you!
Hi Robin, normally I would say that you can bake with berries etc straight from frozen. However, in this case, the bake time isn’t super long, which won’t give them the needed time to thaw and soften correctly. Thaw the cherries overnight in the fridge. Strain and drain well. Then add extra cornstarch just to make up for any excess liquid that may still be released in baking. This should help! Let me know how it goes, Love Jen
Well, it’s 2025 and it is the first season for our 6 th decade young Michigan sour cherry tree come back! Arborists are so worth the $. I love this recipe and am changing it seasonally! Next will be an excessive abundance of large Frost Peaches! An incredible fruit season for tgecfoothills 35 miles E of Seattle. From zone 7b to 8b on 15 years. And more snow, ice etc.
Hi James, I am so jealous for your cherry tree! Yes, this is definitely a recipe that can be customized with the seasons. Enjoy! Love Jen