This pie happened thanks to my very first Pie Workshop!
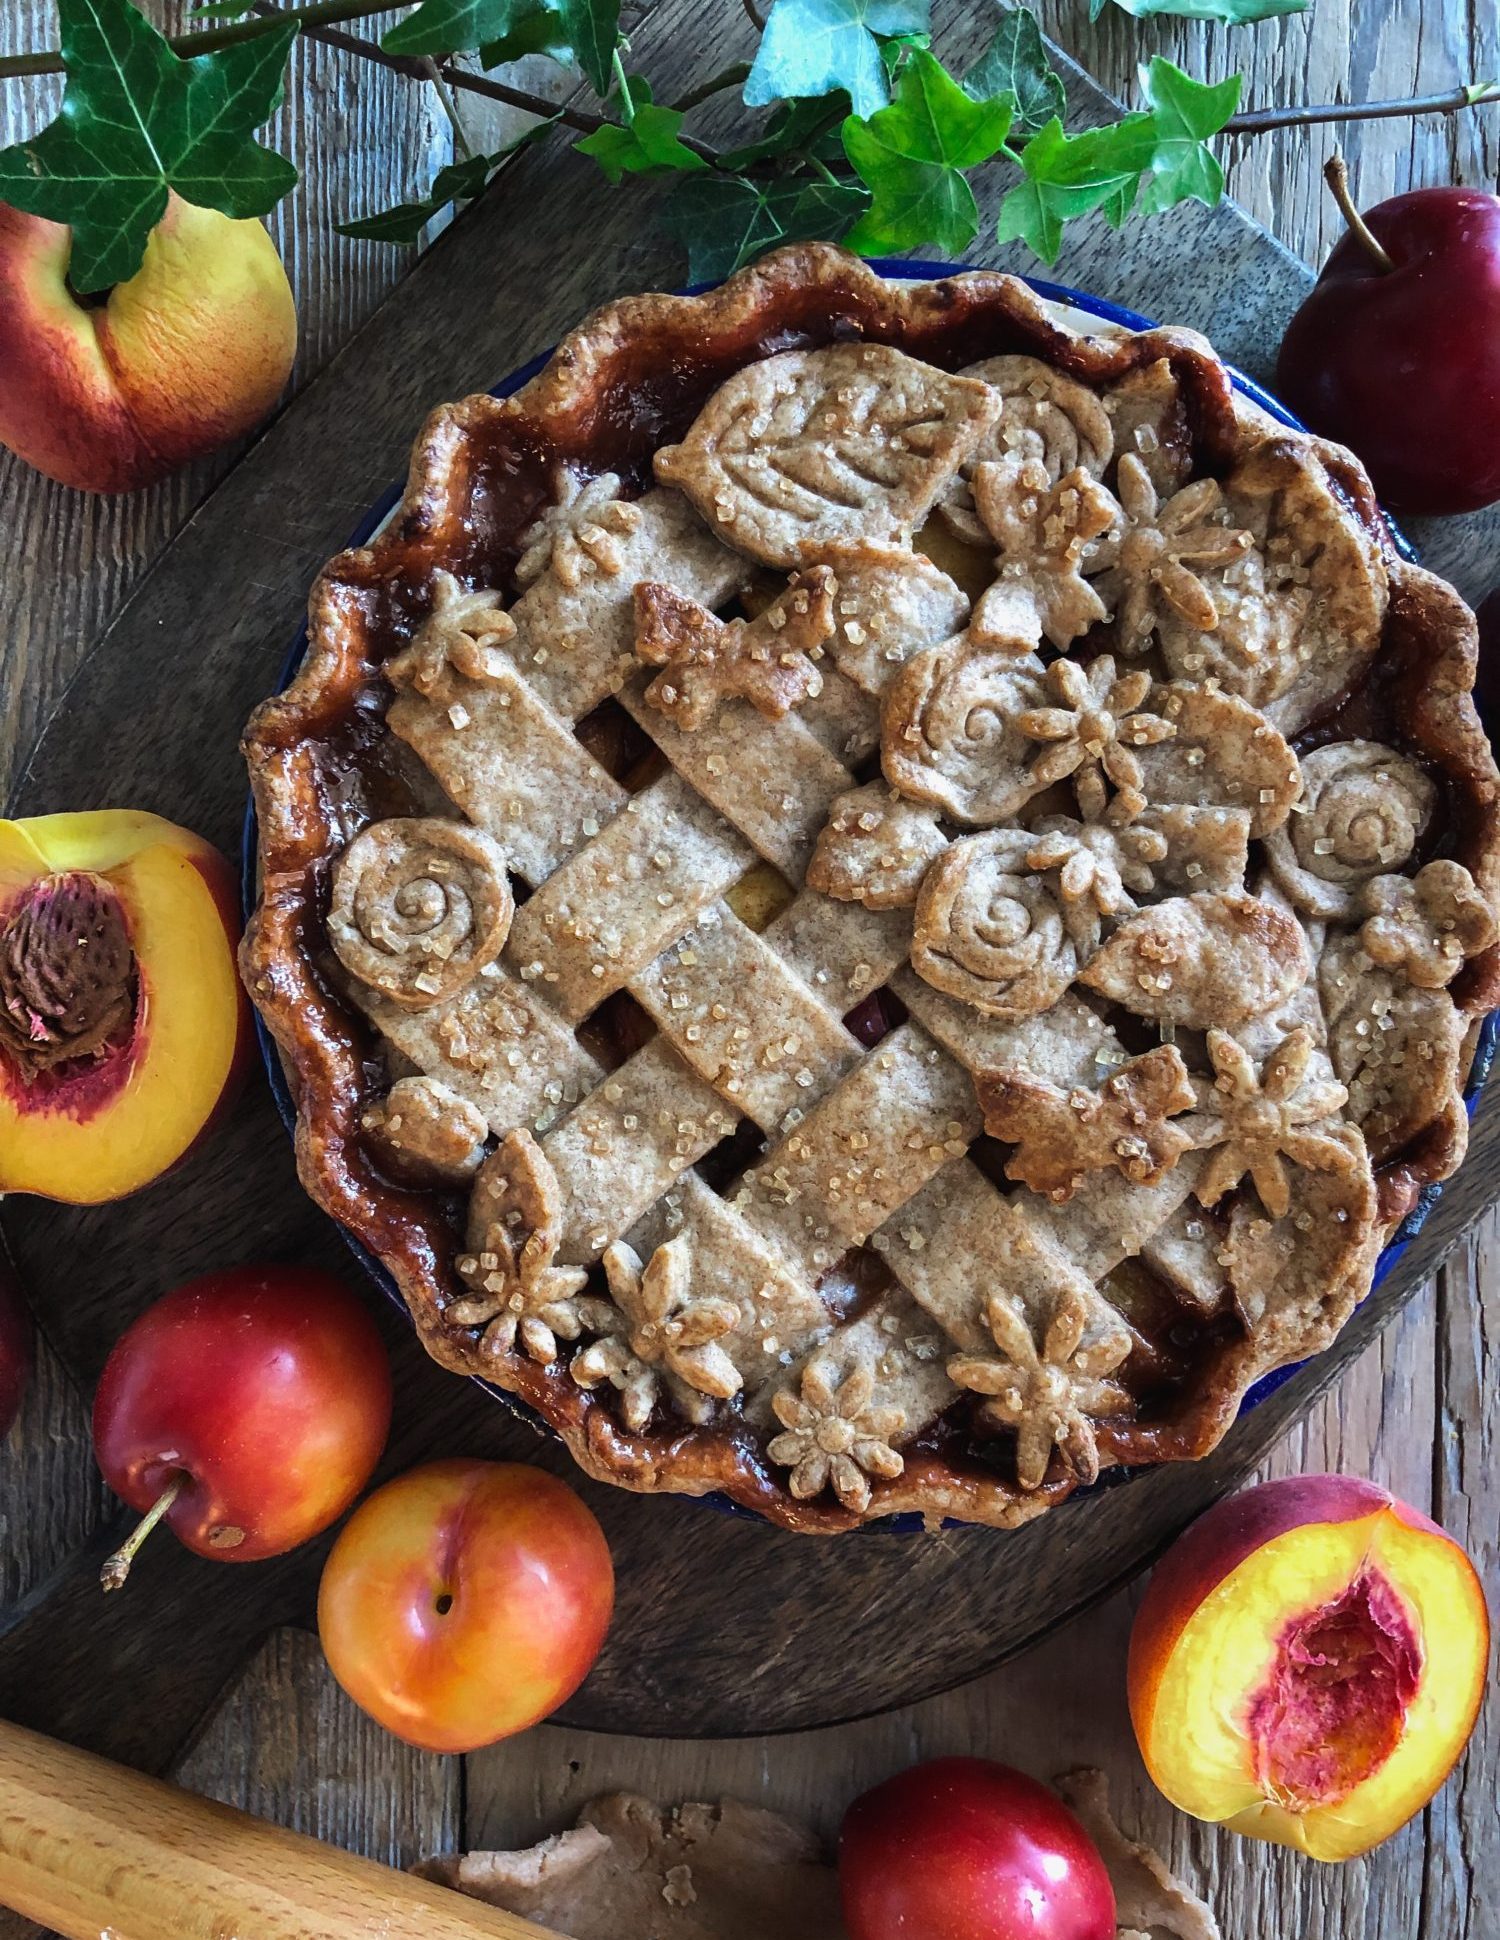 For a few years now different followers and bloggers have asked if I would teach them how to make a pie. If I would be willing to spend time putting on workshops to help take away the angst that seems to exist when it comes to conquering the PIE. People want to make pie, but they are just scared! Guess what, the pastry will tear, it will become too soft to work with, it will crumble. But the more you bake pies, the easier it will be to figure out how to fix them.
I finally found myself in a place (emotionally and mentally) to take on such a project. I wasn’t sure I was ready to stand up in front of others and guide them through the process. I’m an introvert by nature, so happy to be alone in the kitchen with my tunes and a rolling pin. I like sitting here, thinking about what words to use to tell my stories, or share my recipes. But all that apparent confidence evaporates when I have to speak in public. But, like any other project that I’ve tackled, I decided that this was one worth accommodating, despite my personality misgivings.
So I sucked it up, and announced the date for my first workshop. Oh my! Within the first day, all the spots were filled! One sweet soul, Sonia, even booked her spot, despite the fact that she lives in Boston. She would take the opportunity to visit friends and make pie all at the same time. And it would actually be her first time baking a pie! Good on her!
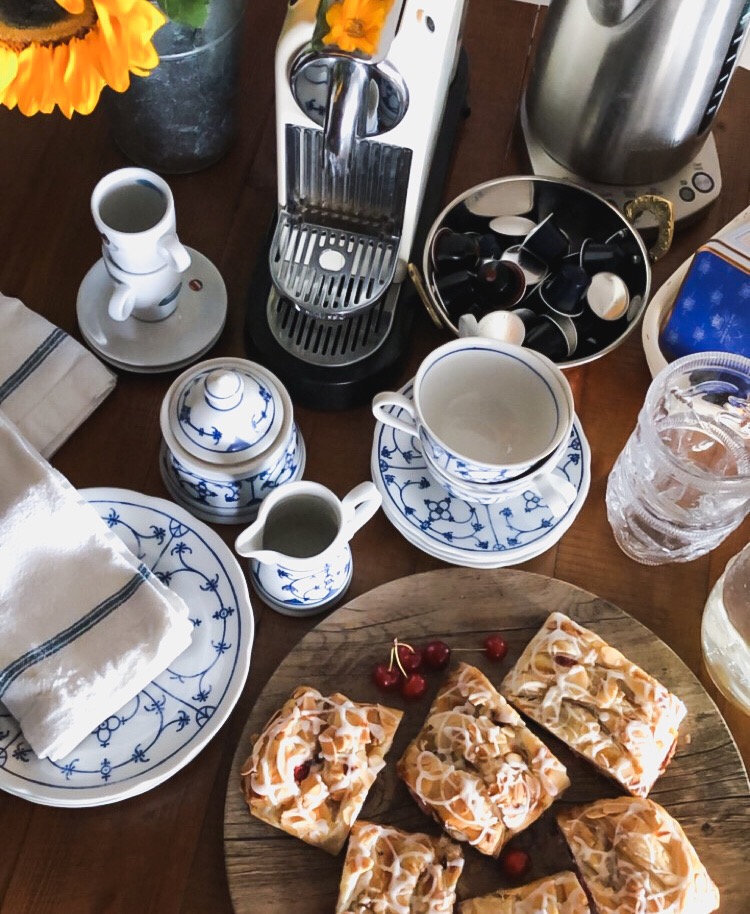
We had a great time. I had coffee, tea, pastries (the Sour Cherry Cream Cheese Danish Braid) ready for the four sweet ladies as they arrived. A variety of ages, backgrounds, and skill levels. We made dough both in the food processor, and by hand, rolled it out, got the feel of it, and each girl’s version turned out wonderfully! I had decided on a stone fruit pie as the recipe everyone would work from, seeing that the peaches, nectarines, apricots, plums and cherries are in such glorious abundance right now. Pie shells were filled and covered. Each girl chose her own pattern. Quite distinctive and lovely were all the choices! We chatted while the pies baked, and in no time, they were cooled down enough to take home. For my first workshop, I couldn’t have asked for a better group of enthusiastic participants. They got right in and embraced their pie dough. So, if all workshops are like this first one, I’m going to look forward to them so much!
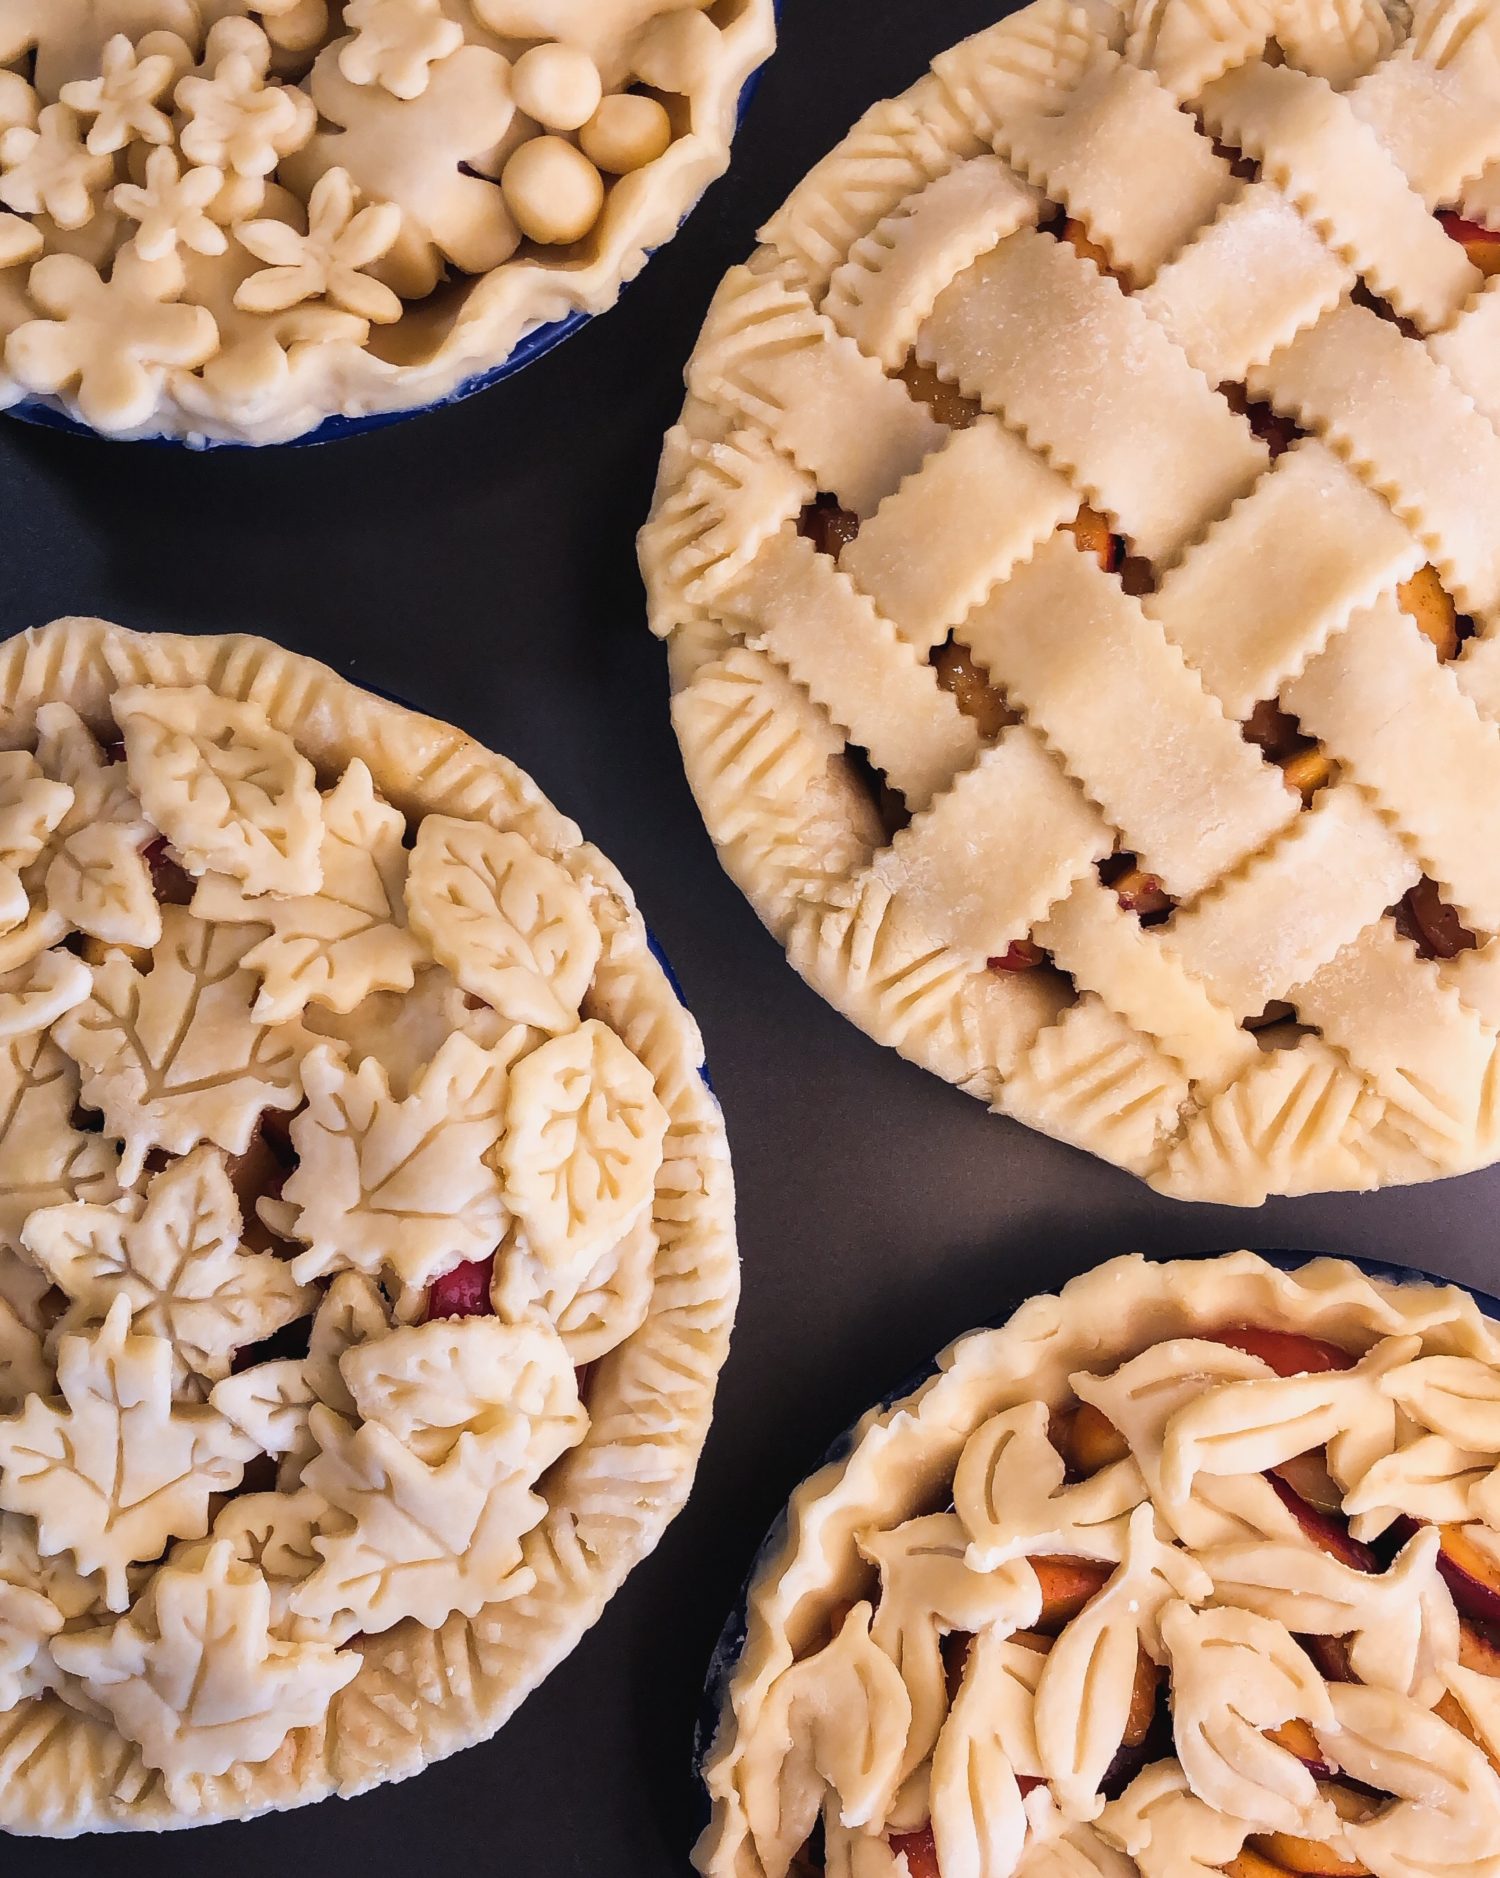
By that evening I had reports of half of the pies already being eaten. This just made my heart glad. So did the responses I received:
“I’ve been baking for a very long time but I learned a lot from you today. This was by far my best looking pie!”
“It was an epic day! Thanks so much Jen for such an awesome special time and for imparting your pie baking skills and experience on to us. Will never forget it!”
“I waited until the next day to eat our pie from the workshop and boyyyy was it so worth it! Would you be able to share the recipe for the filling? I’d love to recreate it again.”
“Oh man, I might cave tonight (and eat it) but will try to hold out. Thanks so much for having us!!…I inhaled almost half of the pie last night. It was amazing! The spices went so well with the fruit.”
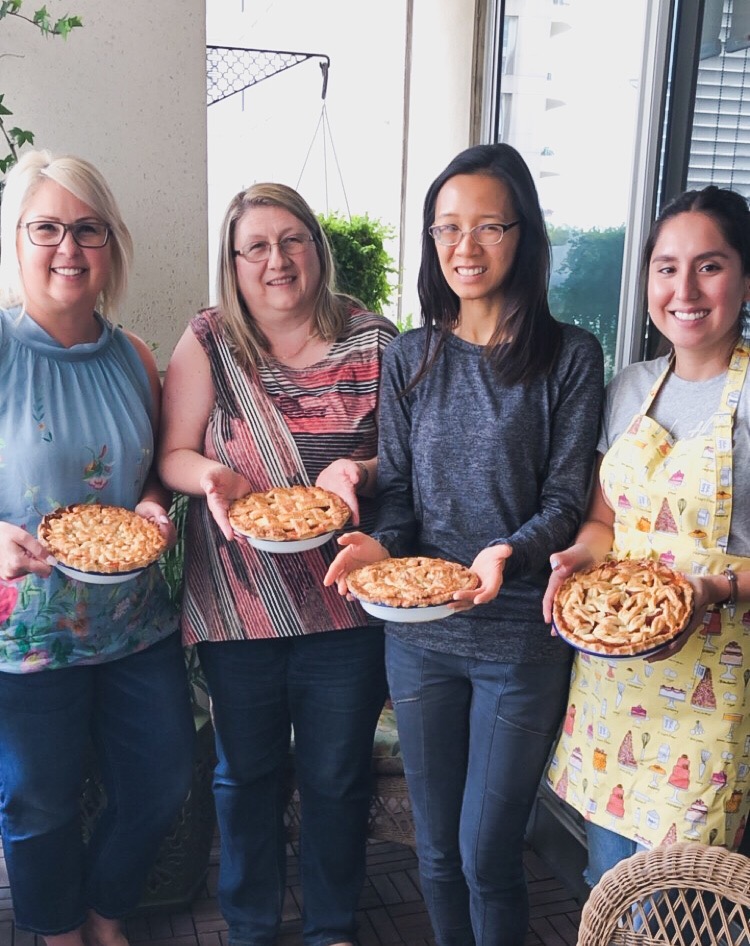
Right after she had gotten home with her pie, Angie requested the full recipe for the pie so that she could make it again. This made me realize that I should actually share it with all of you! I’ve made a few tiny improvements to the recipe in the process. When the girls were here, I had them bake their pies in 8 inch enamel pie plates (with that vintage feel), so I’ve decided to keep the recipe the size to fit that pie plate. Of course, you may not have an 8 inch pie plate. But do you have an 8 inch cast iron skillet? Go ahead, it would make a great pie plate! But just in case, at the end of the recipe, I will give the alternate amounts to fit into a traditional 9 inch pie plate. I also decided to add cinnamon to the crust. It adds a little more spice to echo the spices in the filling. Plus it gives it the most lovely colour!
It’s called a Stone Fruit Pie for a reason. This is truly a pie that celebrates this season. All stone fruit is welcome in this recipe. No peeling of skins required. So if you have a peach, a couple of nectarines, a few plums and a bunch of cherries sitting around, you have enough for this pie. All you really need is 4 full cups of sliced fruit. It doesn’t matter if you have a ton of plums, but only a scattering of apricots. All of these guys are really just cousins anyway- they all play together so well.
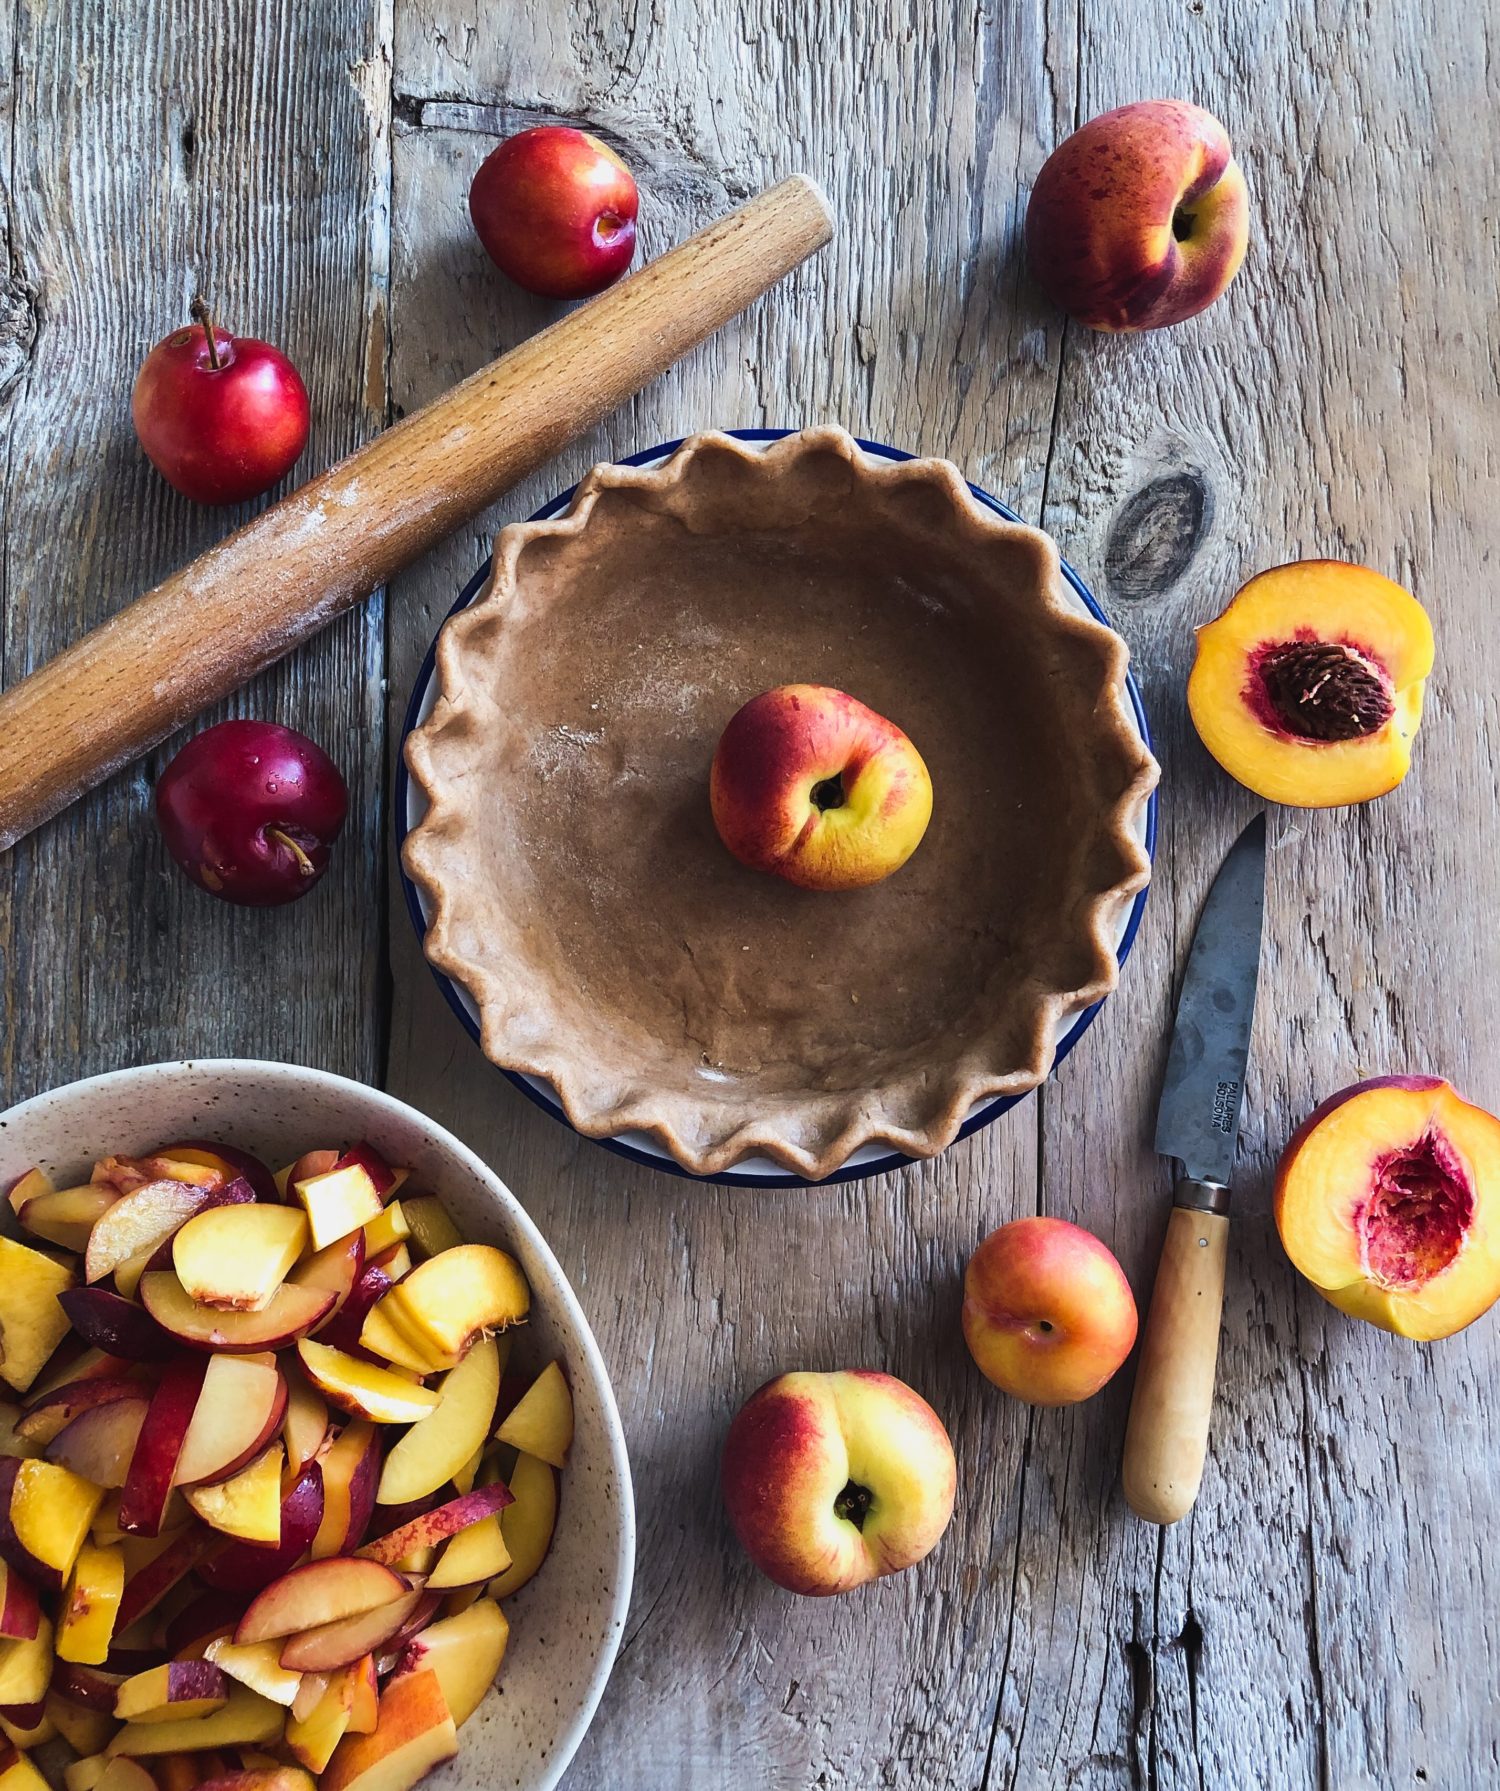
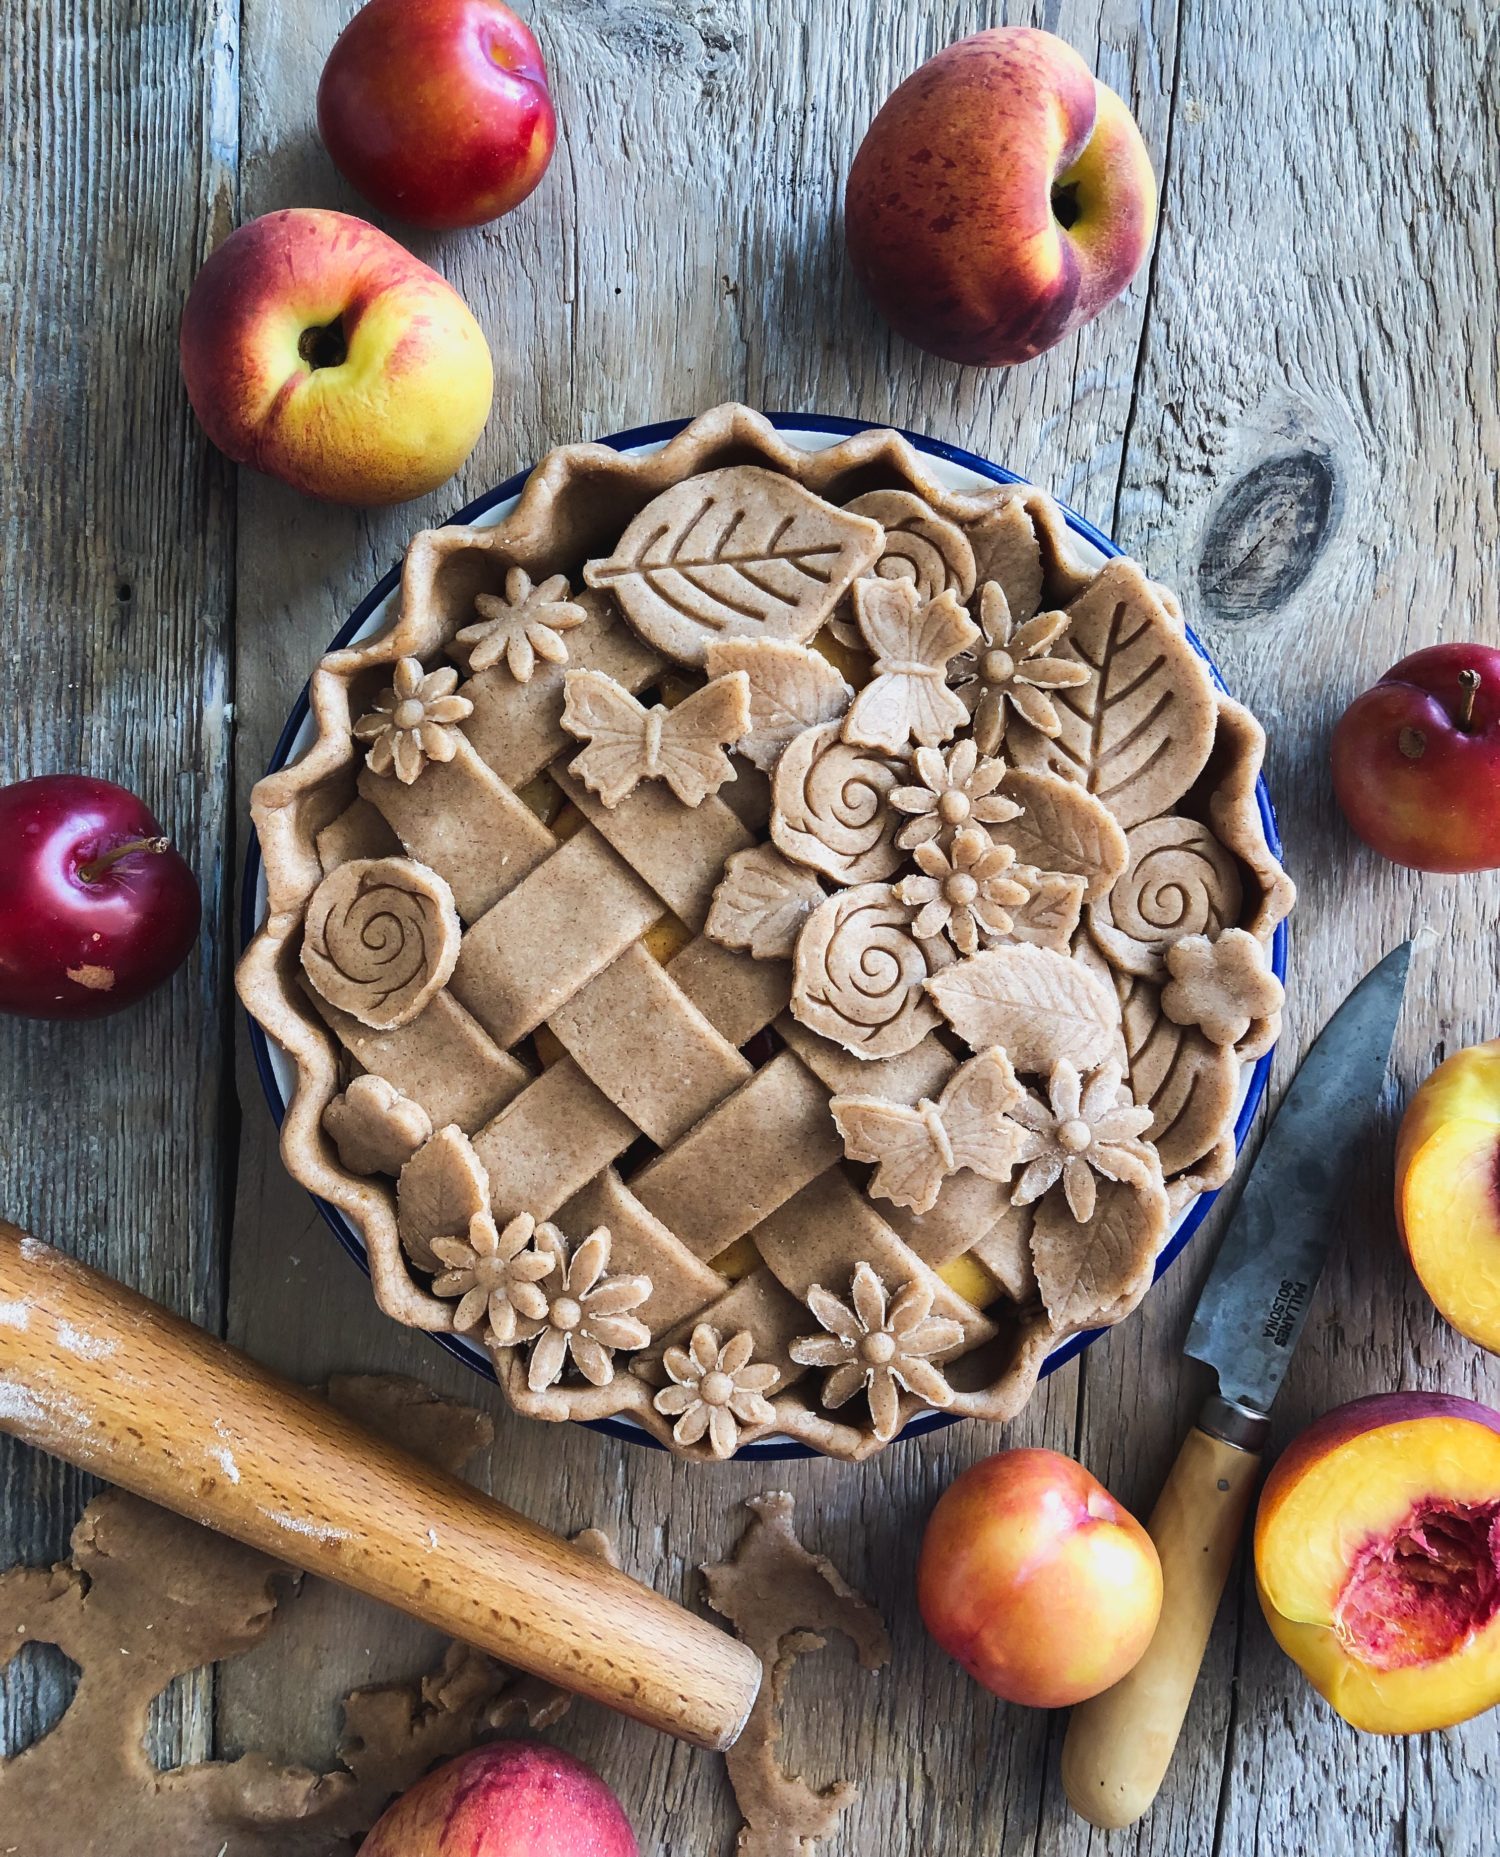
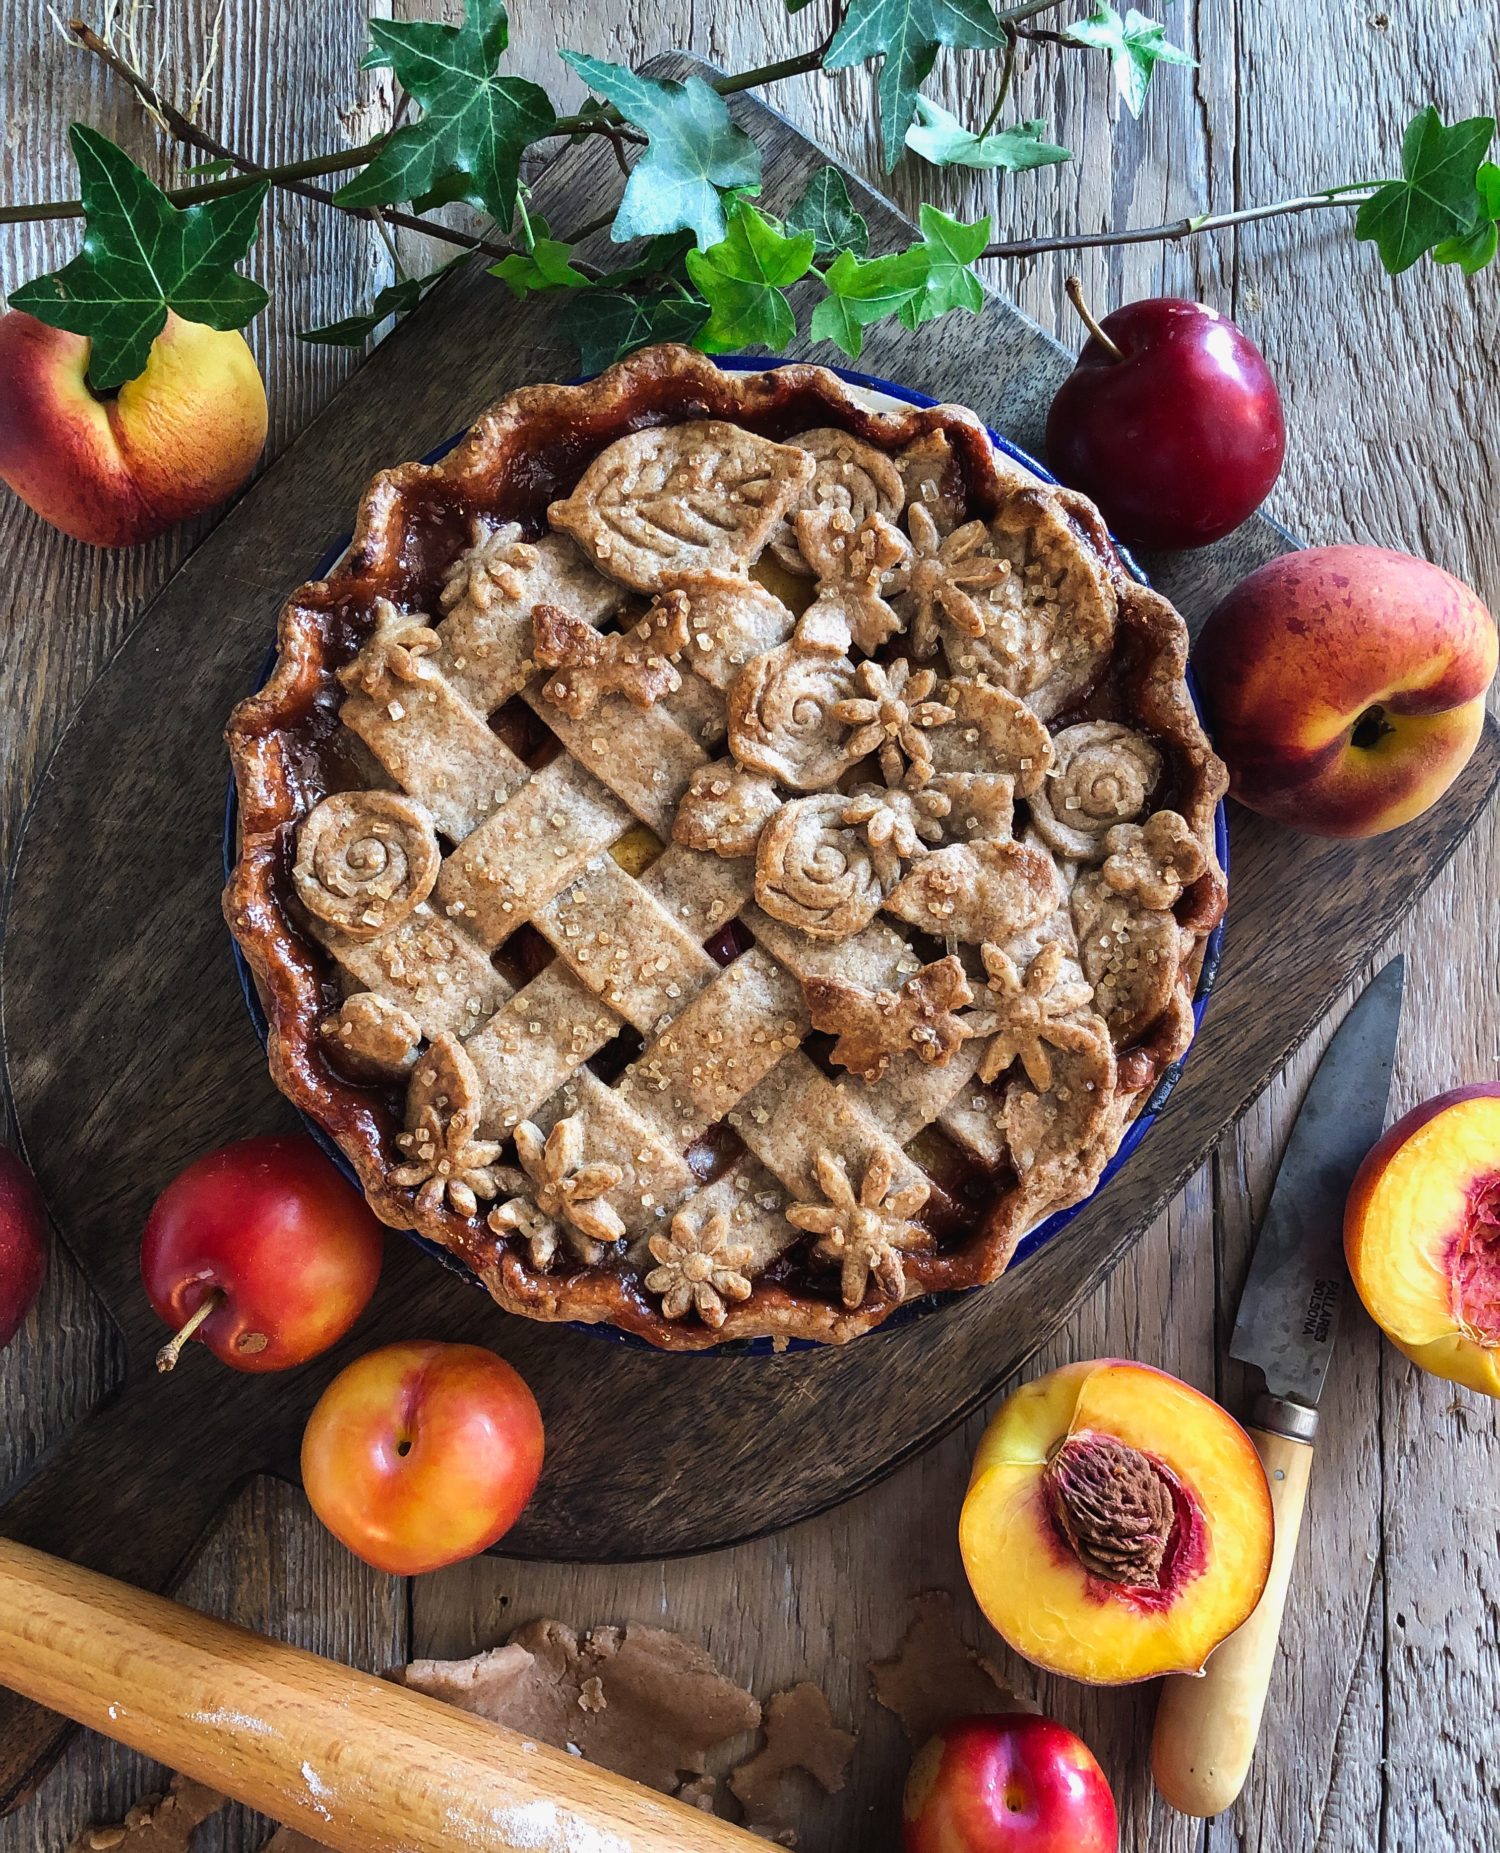
Along with the fruit, the other star of this pie are the spices. Not just your typical cinnamon and vanilla. Nope. There are cinnamon, ginger, cloves and paprika hanging out in this pie. They all come together to make a wonderful spice blend. And yes, you did read correctly. Paprika and stone fruit is especially fabulous. Trust me! And to finish it off, some Angustura or Old Fashioned bitters are splashed into the fruit filling.
Once cooled, a slice with a side of vanilla ice cream or creme anglaise (see Apricot Hazelnut Pie with Creme Anglaise for the recipe) is a perfect way to celebrate this second half of summer. You’ll love how easily this pie comes together. And you know what, if you just don’t have it in you to make a pie (not in the mood) take the filling and put it in a baking dish, lay a streusel topping over it and you have a wonderful crisp or crumble to share with the family!
Looking forward to Autumn, apple pies, and my next workshop!
Love Jen
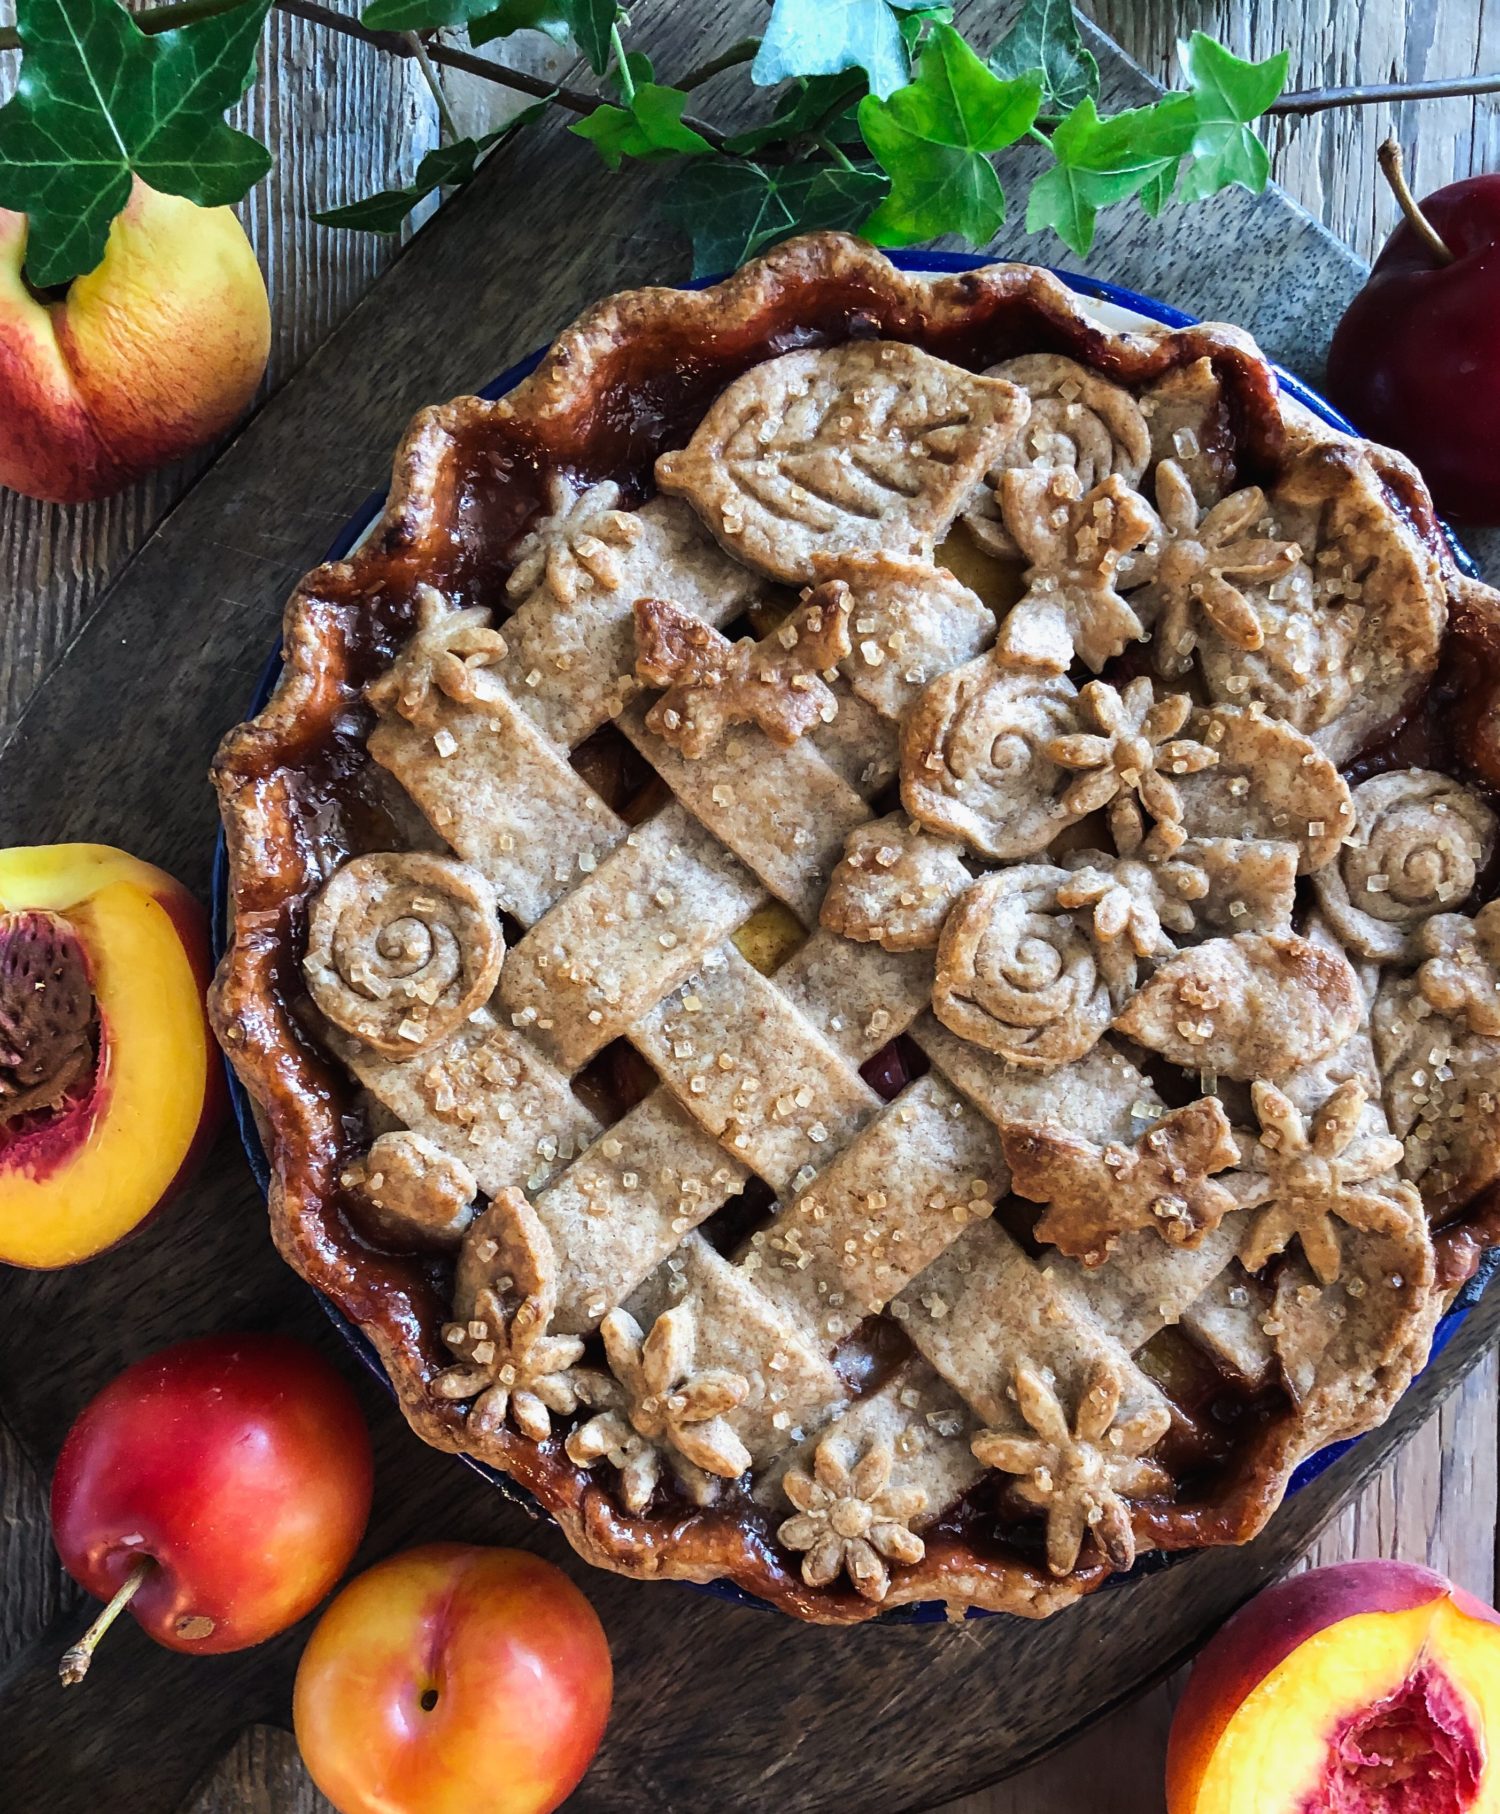

Stone Fruit and Spice Pie in a Cinnamon Crust
All the stone fruits of the season can be used in this filling- any one you like, or have waiting to be used up. Add some warm spices, and a cinnamon scented crust, and you've got a perfect pie to celebrate the second half of summer.
Ingredients
- One recipe of my Perfect Pie Crust to be used to fill an 8 inch pie plate
- 1 tbsp ground cinnamon
Filling
- 4 cups mixed stone fruit pitted and sliced into 1/4 inch thickness (you can use any combination of peaches, nectarines, plums, apricots, cherries
- 2 tbsp lemon juice
- 3/4 cup brown sugar
- 4 tbsp arrowroot starch
- 1 tsp ground cinnamon
- 1 tsp ground ginger
- 1/4 tsp sweet paprika
- 1/8 tsp ground gloves
- 1/2 tsp kosher salt
- 3-4 good dashes Angustura or Old Fashioned Bitters
- 2 tbsp ground almonds
- 1 egg
- 1 tbsp turbinado sugar
Instructions
Pie Crust
-
Prepare the recipe for my double crust pie pastry as per the link below
-
Replace 1 tbsp of the sugar with 1 tbsp of ground cinnamon
-
Bring the dough together on the counter and then divide it into 2 even disks. Wrap them in plastic and store in the fridge for at least 1 hour.
-
When ready to make your pie, pull out one of the disks and let it warm up to room temperature while you work on the filling.
Filling
-
Preheat the oven to 425F. Place a rack in the lower third of the oven.
-
Place all the sliced stone fruit in a large bowl.
-
Pour the lemon juice over the slices and toss gently to coat.
-
In a small bowl combine the brown sugar, starch, spices, and salt. Blend well.
-
Pour this over the fruit and toss to coat.
-
Add the dashes of bitters. Set the bowl aside while you work on the bottom crust.
Assemble the Pie
-
Bring out the top disk of dough to warm up.
-
Flour the counter as well as your rolling pin. Place the warmed disk of dough on to the flour and give it a couple of good whacks with your rolling pin. This will actually act like a tenderizer, getting the dough softened and ready for rolling.
-
Roll out, regularly turning and checking that there is enough flour under the dough. Keep flouring your pin as well. Roll it out to an 11 inch circle.
-
Flour the surface of the dough well so that it won't stick to itself as you transfer it to the pie plate.
-
Either fold it half and then half again and transfer it to the plate so that the point of the 'triangle' is in the middle of the pie plate. At this point you can gently unfold it. Let the sides drop down as you fit it. This will help it from shrinking during baking/
-
Alternatively you can roll the dough up around the pin and bring the pin the the pie plate and unroll it over the plate.
-
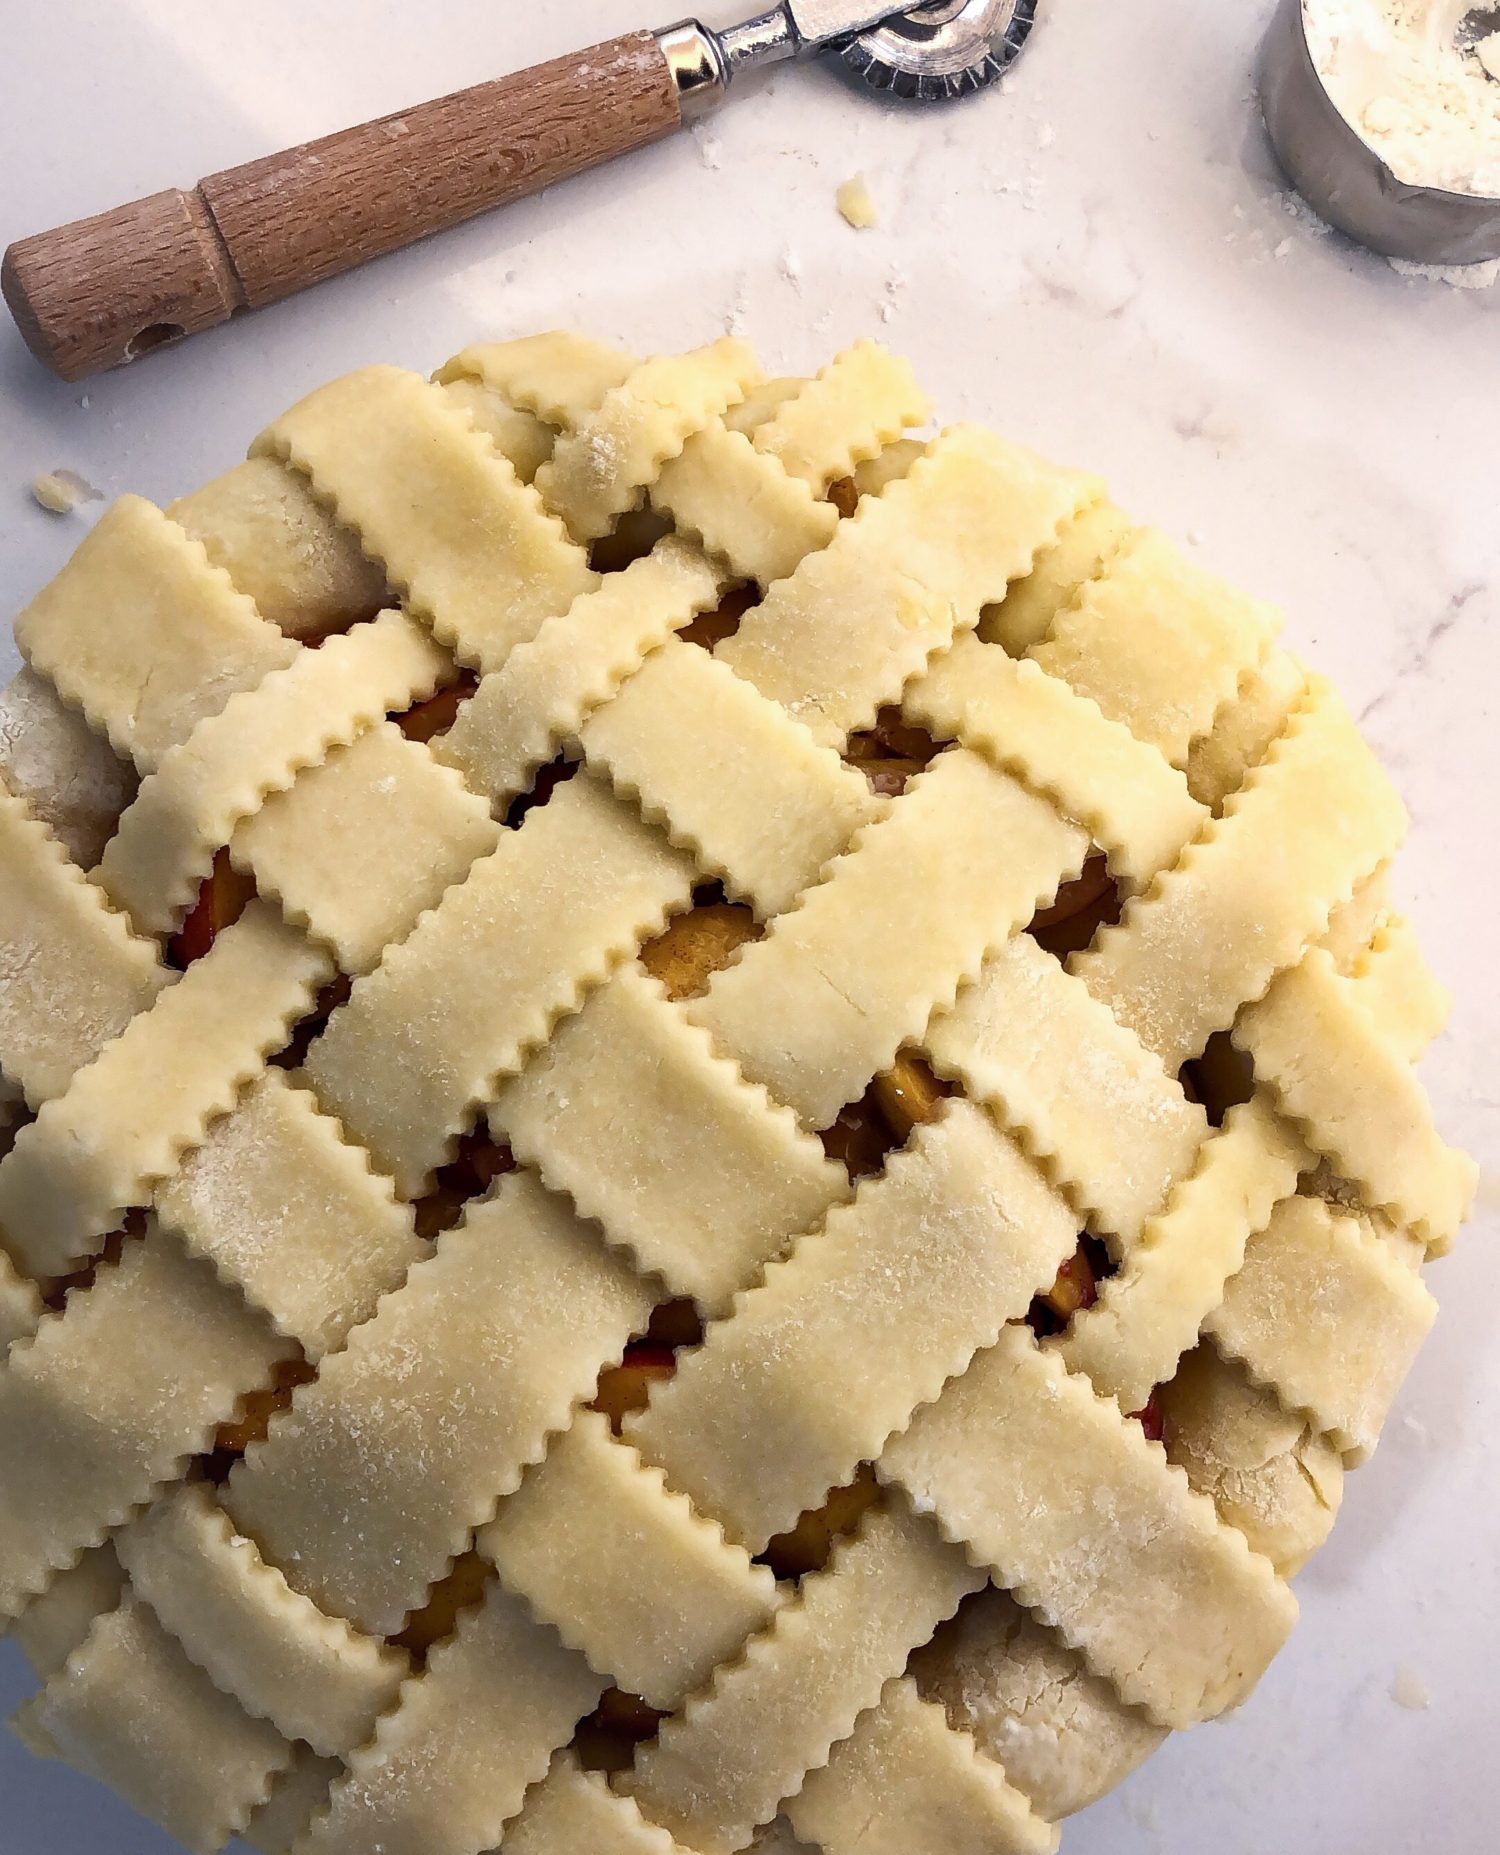
If you are covering the pie filling with another circle of pastry or if you are creating a lattice top, just trim the edges to about 1/2 over the edges of the plate.
-
If topping the pie with cut out, then you can crimp the edges as desired at this point.
-
Sprinkle the bottom of the shell with about 2 tbsp almond flour (or any finely ground nut flour)
-
Transfer the filling to the pie shell, packing it gently down so that the top is pretty even.
-
Place this in the fridge while you bring out the second disk to roll out.
-
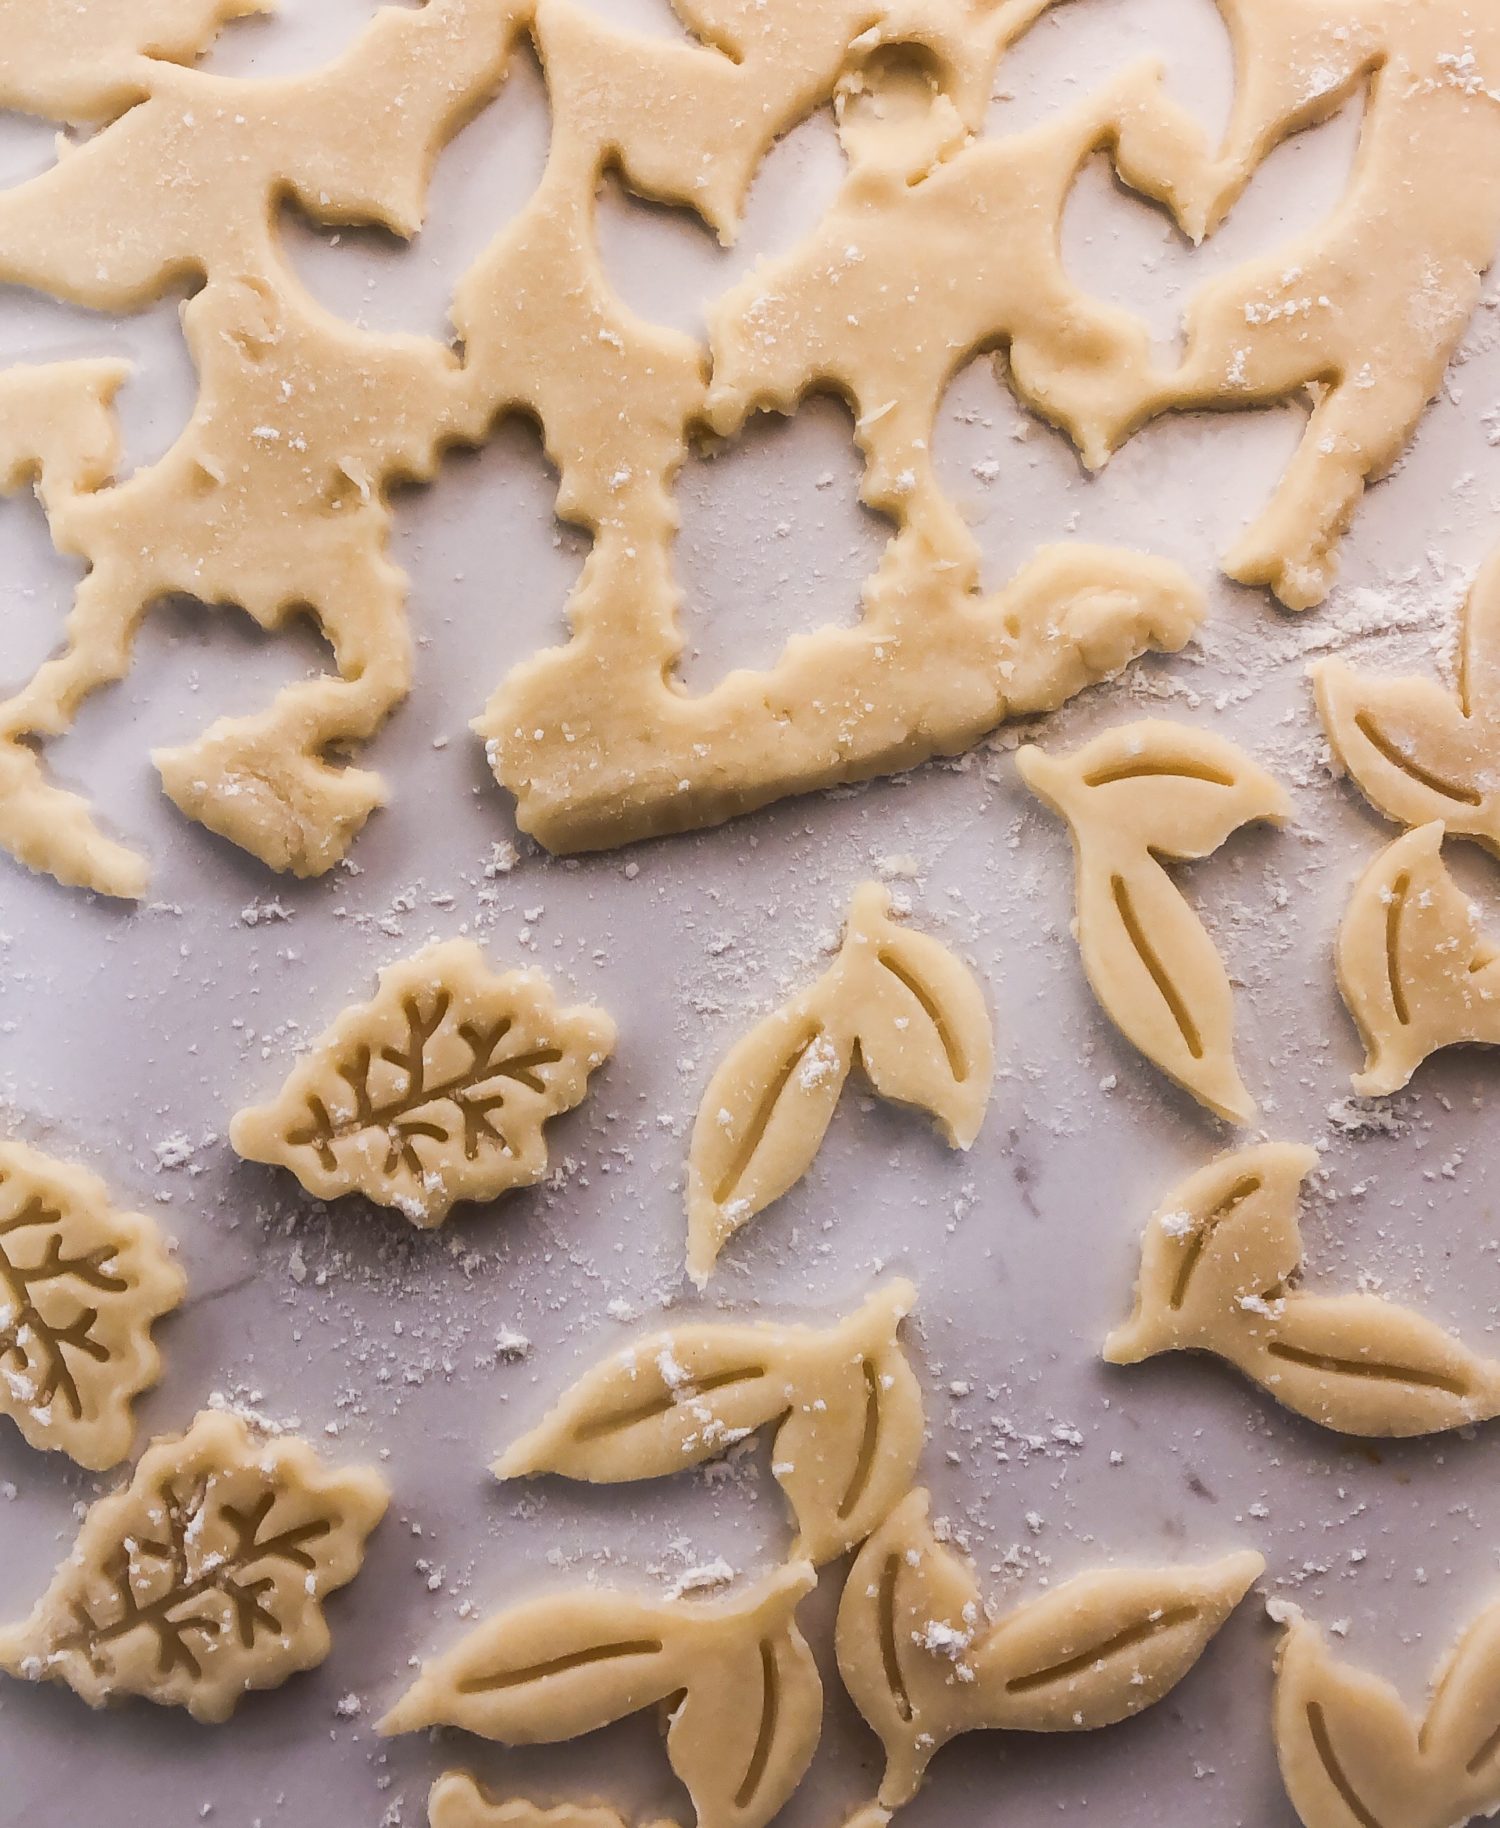
Roll out as above. If you are covering the pie with a circle of dough, roll it out to about 10 inches. If using lattice or cut outs, make sure that your dough is rolled out to no less that 1/6 inch deep. Prepare dough as desired. If the dough is warming up, and getting sticky, return it to the fridge to cool down a bit.
-
When ready to top the pie, pull out the filled pie shell and let it sit for 5 minutes.
-
Cover as desired. If covering it with a solid lid, cut some slits for steam vents.
-
Place the covered pie back into the fridge for 20 or so minutes.
-
Pull out the pie and place it on a baking sheet.
-
Give the entire top an egg wash (egg beaten with a splash of water) using a pastry brush.
-
Sprinkle the top with about 1 tbsp of turbinado or raw sugar.
-
Place the baking sheet on the rack and bake until the crust is firming up and just turning a golden colour, about 30 minutes.
-
Remove the baking sheet.
-
Place the rack to the centre of the oven.
-
Return the baking sheet to the oven. Reduce the temperature to 375F and bake until golden brown and the juices are bubbling evenly throughout the entire pie, about another 25-30 minutes.
-
Remove the pie to a cooling rack. Let it cool for at least 3 hours to let the juices set.
Recipe Notes
Link for the pie pastry is HERE
As with any fruit pie, it is good to give it several hours to set before cutting into it. In fact, you can make it first thing in the morning if you want to serve it for dinner in the evening. I will even bake mine the day before. It can rest outside on the counter overnight. Gently cover with a glass dome or tea towel after the first 4 or 5 hours.
If you don't have an 8 inch pie plate, you could use an 8 inch cast iron skillet. To convert this to a 9 inch pie use the following adjustments: 5 cups fruit, 2 tbsp lemon juice, 1 cup brown sugar, 5 tbsp arrowroot starch, 1 1/4 tsp ground cinnamon and ginger, 1/2 tsp paprika, 1/8 tsp ground cloves, 3/4 tsp salt, 5 dashes bitters.

That would be an interesting pie with ground gloves!
Hi Selma, Love ground cloves so much, the fragrance is wonderful. Will definitely add it next time! Thanks, Love Jen