We’re just starting prime farm strawberry season here in Ontario. But of course, we’ve already been enjoying wonderful berries, thanks to the Ontario greenhouses nearby.
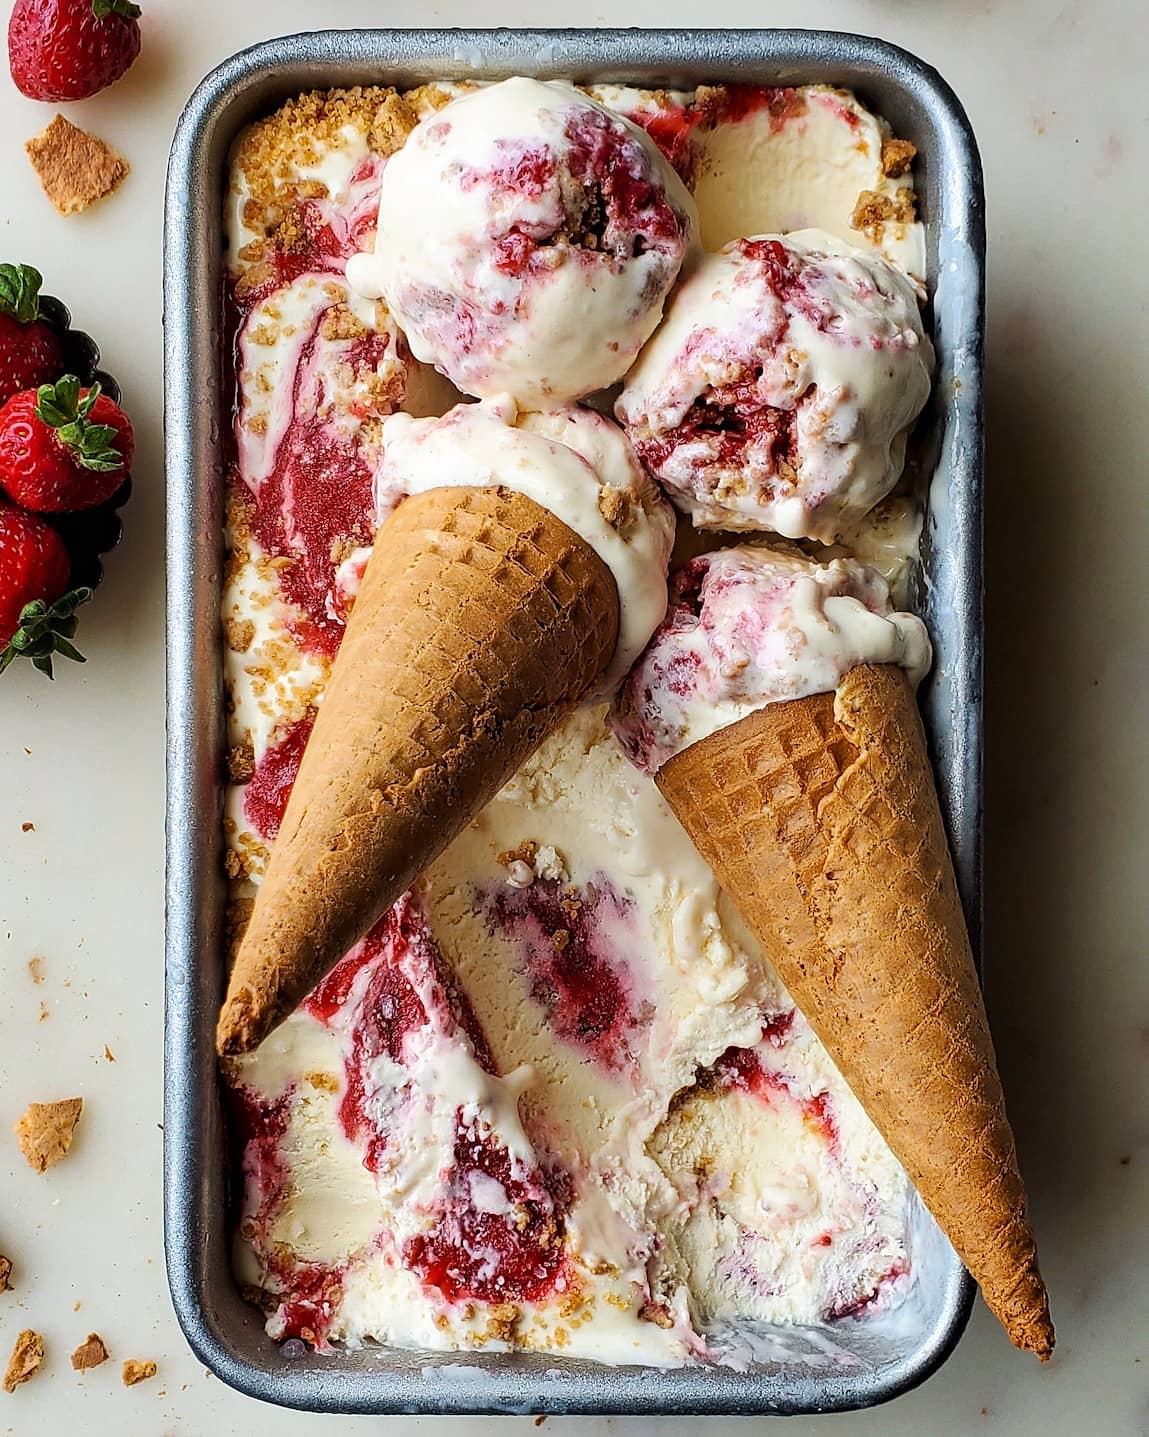 We already know how special strawberry shortcake is. I’ve shared various renditions through the years, most recently a most lovely Light Strawberry Shortcake using a gluten free sponge cake. There is something so dreamy about fresh, sweet juicy berries surrounded by pillowy whipped cream. It just never grows old, I mean, it has been a classic for hundreds of years now. So I decided to turn this flavour into an ice cream. This is the next best thing to running outside to catch the ice cream truck to get my Strawberry Shortcake ice cream on a stick!
Why No Churn Ice Cream?
First of all, if you don’t have the luxury of space, you probably don’t have an ice cream maker. It is one of those appliances that is pretty specific. And if you’re in a condo, or small place, chances are, the real estate is being used by more practical appliances. I get it.
The No Churn method means that everyone can make it. All you really need is a hand held mixer, even a stand mixer isn’t a requirement.
Classic No Churn recipes usually call for the most basic of ingredients: just whipping cream and sweetened condensed milk, and vanilla. And flavour add-ons. So there is no egg custard to create and cook, trying to ensure the eggs get to the correct temperature, but don’t curdle. You simply whip the cream to stiff peaks, fold it into the condensed milk and vanilla and spoon it into a chilled loaf pan. And let it freeze up. That’s it. It ends up perfectly creamy, and makes great ice cream cones or sundaes. Yes, it will melt a little faster than regular custard based ice creams, all the more reason to eat it fast! But don’t worry, it isn’t as soft as soft serve ice cream. It really does hold up well, all you need to do is give it time to freeze thoroughly. Once you have the basic recipe, the sky is the limit as to the flavours you can add. Since these recipes rely on so few ingredients, make sure you use the best ones possible.
For the recipe today, I am also adding cream cheese. Softened room temperature cream cheese, or even mascarpone, adds a lovely texture to the ice cream. The flavour becomes faintly cheesecake like, which is a good thing. It also lends a bit more stability to the whipping cream.
What Pan Can I Use?
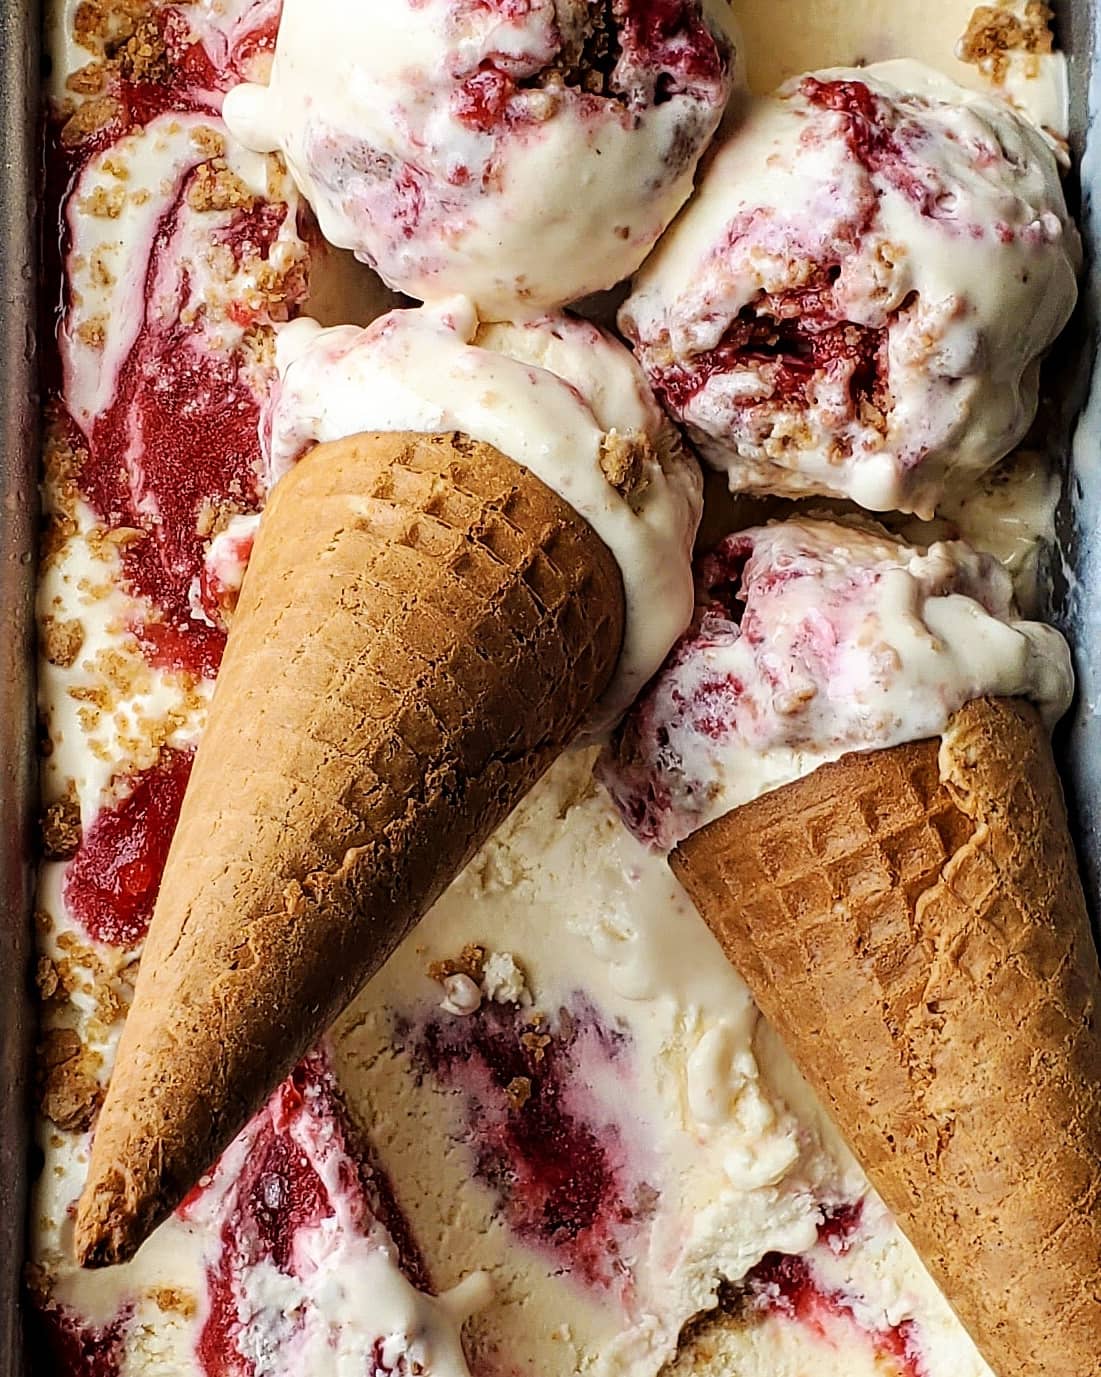
Most recipes out there make enough to fill a loaf pan of some sort. I usually use a metal loaf pan, but feel free to use a square pan, or even better, an insulated ice cream container. I have one of these as well. But if want to you could even use a round cake pan! Just chill them well before filling, to give the ice cream a head start as it goes back into the freezer. Seal and cover the top well, so that water crystal formation on top is kept to a minimum. The insulated ice cream containers come with their own lids, so if you make ice cream at all regularly, you will really appreciate this feature. And if you want, you can even use small multiple containers with lids for personal sized ice cream portions. Just remember, the deeper the pan you use, the longer it will take for the centre to freeze through. I find it best to make this ice cream one day and let it freeze well overnight.
Strawberry Portion
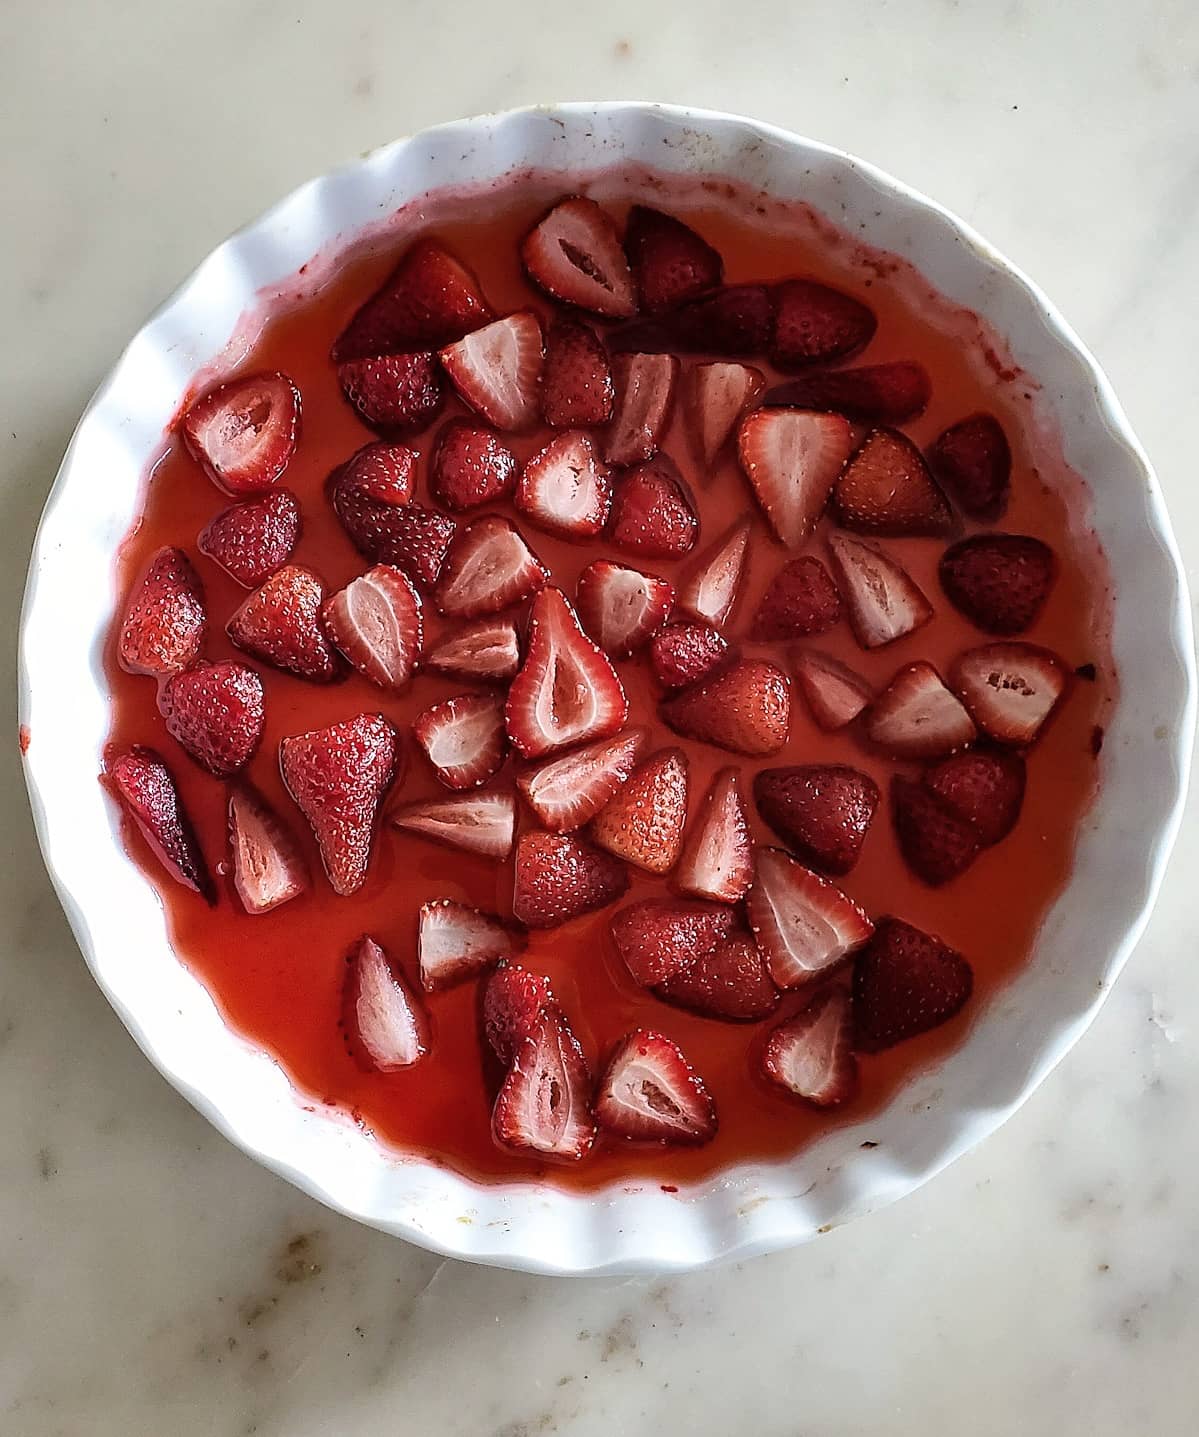
To create the strawberry portion of this ice cream, you will be roasting off sliced strawberries with a little sugar and white balsamic vinegar. Yep, white balsamic vinegar! An aged balsamic vinegar adds the best tart sweetness to the berries, bringing out their intense flavour. I recommend white balsamic, since the darker red version often turns the rest of the dish muddy and brown. White doesn’t affect the colour of the berries at all. In fact, I rarely use dark balsamic ever any more. These days you can find wonderful aged white balsamic vinegars that are syrupy with a clean, sweet flavour.
After roasting the berries, whiz them up with the juices from the baking dish into a rough purée. It doesn’t need to be ultra smooth. In fact, small chunks of berry is a good thing. Then put in all into a container and chill in the fridge. The purée has to be completely cooled to use in the ice cream. As it cools, it will also thicken a bit more, which is good.
Short Cake Portion
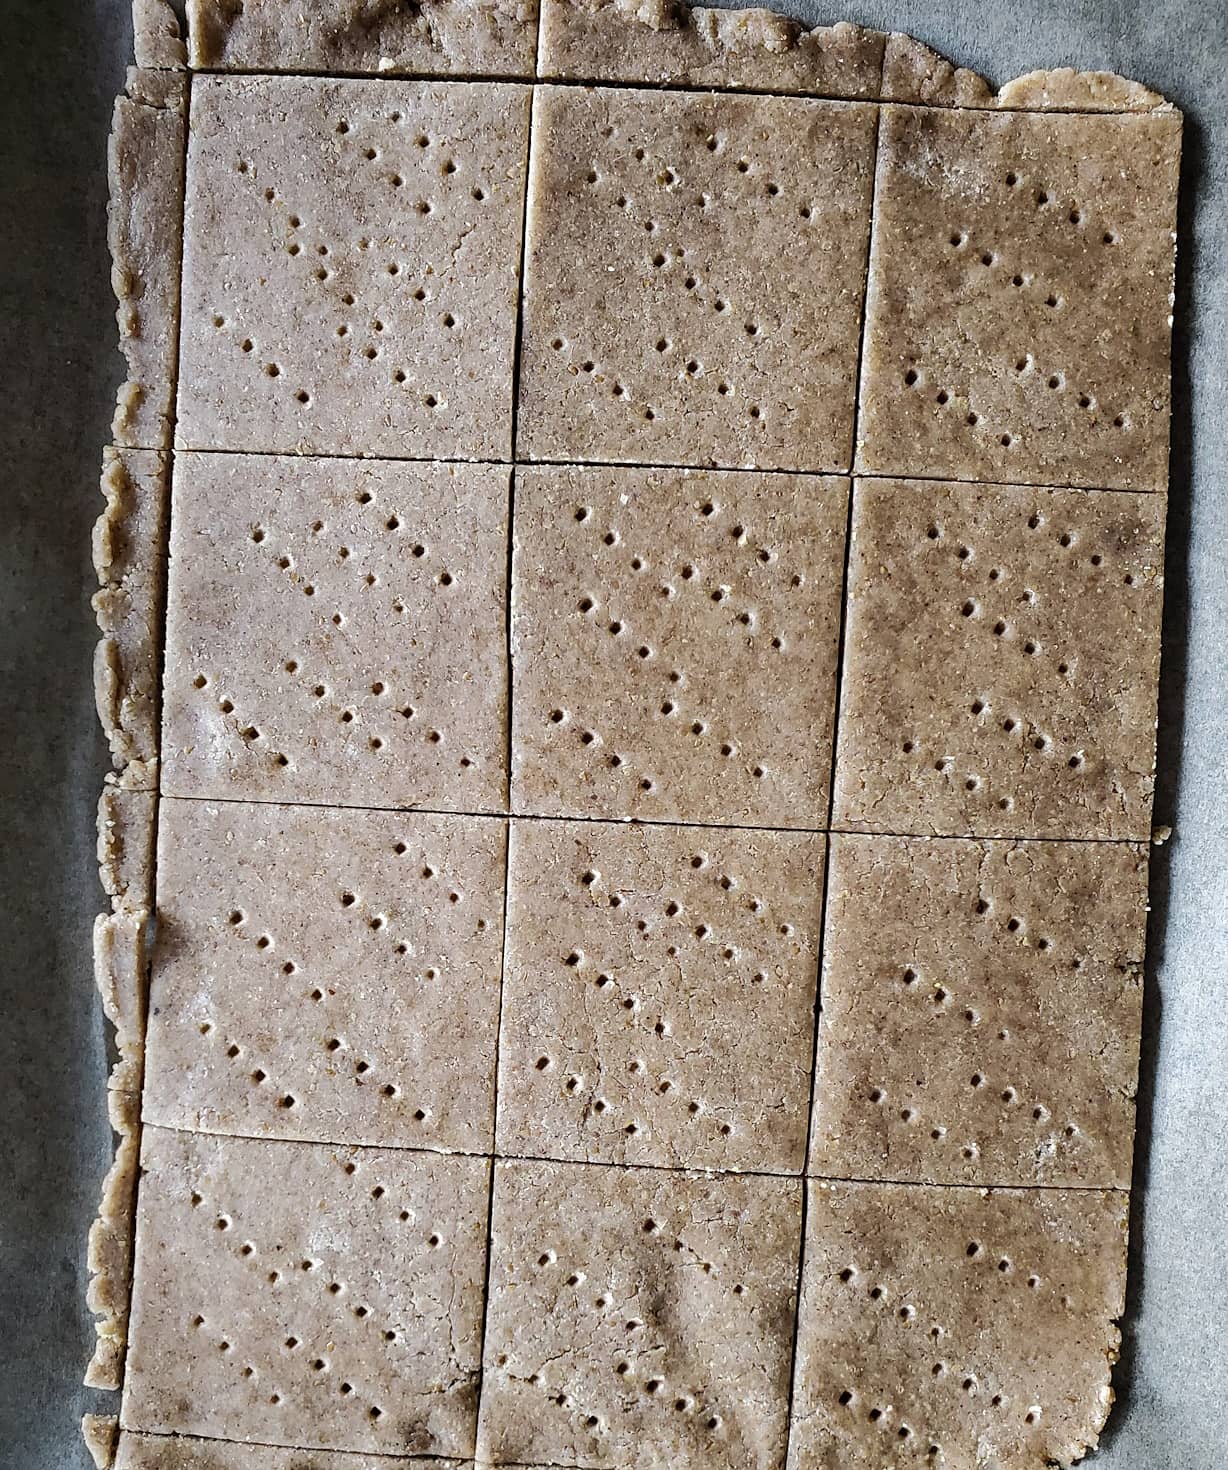
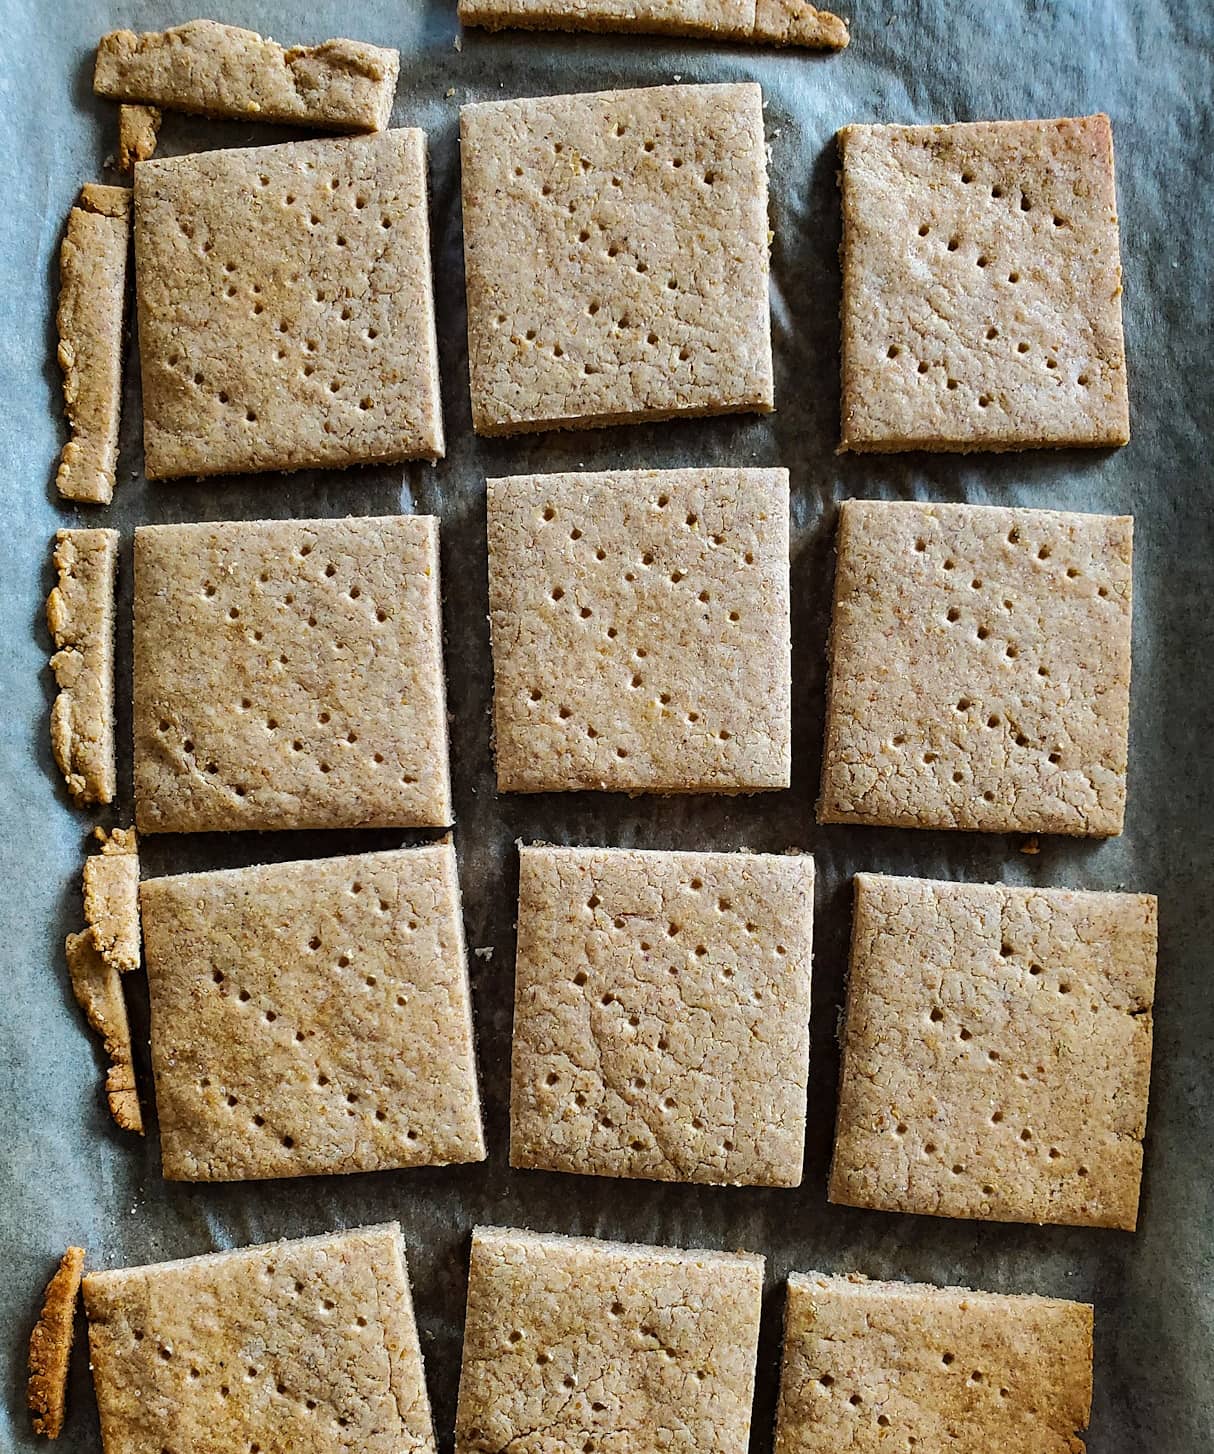
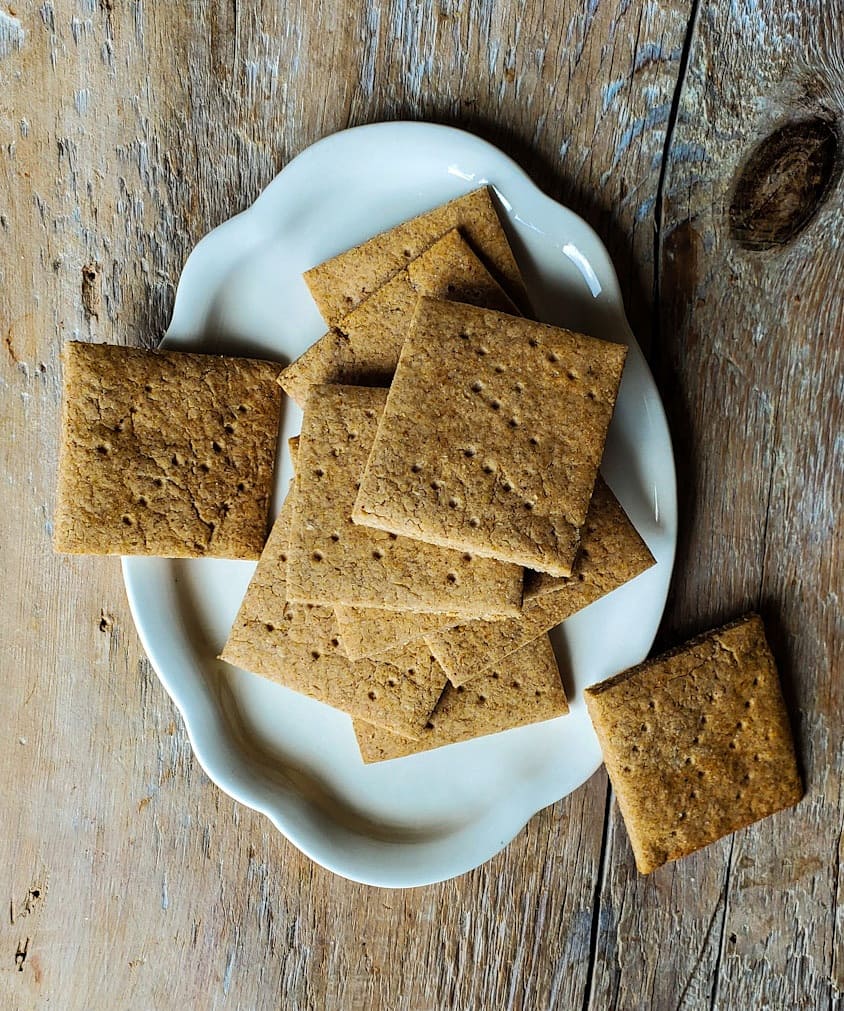
I decided that instead of using leftover cake crumbs which might go even more soggy in the ice cream, using graham crackers would be better. Crumbled up and tossed in butter and some sugar (rather like making a graham cracker pie crust) these will be a wonderful flavour and texture throughout the ice cream. Since I need to have gluten free for this portion, I am including the recipe for gluten free graham crackers. Yes, making your own is easy!! It is such a simple dough, rolled out thin on a baking sheet, scored into squares and baked till golden and firm. Once cold, they can be separated and stored. For this recipe, you will only need about 2/3 of the recipe, so use the rest for snacking! A double batch of this recipe is great for pie crusts or cheesecake bottoms. No unusual ingredients needed, as long as you have a multi-purpose cup for cup gluten free flour blend on hand. Graham crackers need to be celebrated, they are totally underrated!
Of course, if gluten isn’t an issue for you, feel free to use store bought graham crackers. Don’t purchase pre-made crumbs. Half the charm of using the crackers is that you can whiz them up in the food processor and control how small the pieces get. You want some larger pieces as well as smaller crumbs. These can be made in advance and stored till needed. In total you will need 1 cup of crumbs.
Assemble the Ice Cream
You have your chilled pan ready. And you have your ice cream ready. The chilled strawberry purée and graham cracker crumbs are in bowls nearby. So let’s assemble. Start by spooning some of ice cream into your pan. If you are using a deep narrow pan, you will use about 1/3 of the ice cream. If your pan is wider, you may end up using half. Depending on what you are using, then sprinkle either 1/3 or 1/2 of graham cracker crumbs evenly over the surface, followed by a drizzle of the same amount of the strawberries. Use a chopstick to quickly swirl them into the ice cream. Don’t go nuts, too much swirling will mean everything will get incorporated and turn the ice cream pink. You don’t want that. You want to see the vanilla ice cream peaking through.
Repeat with one or two more layers, depending on the pan. Give it a final swirl, and then cover and place into the freezer. Give it time to chill thoroughly. Overnight is best.
When ready to serve, it really won’t need to sit out as long as normal ice cream to be scoopable, give it just about 5 minutes or so. All you need are sugar cones, a cup and spoon, or even turn this into a milkshake. Oh my! This ice cream is pure summer bliss. The richness of the strawberries is balanced with the vanilla ice cream, and the texture of the old fashioned graham cracker crumbs. Enjoy!
Love Jen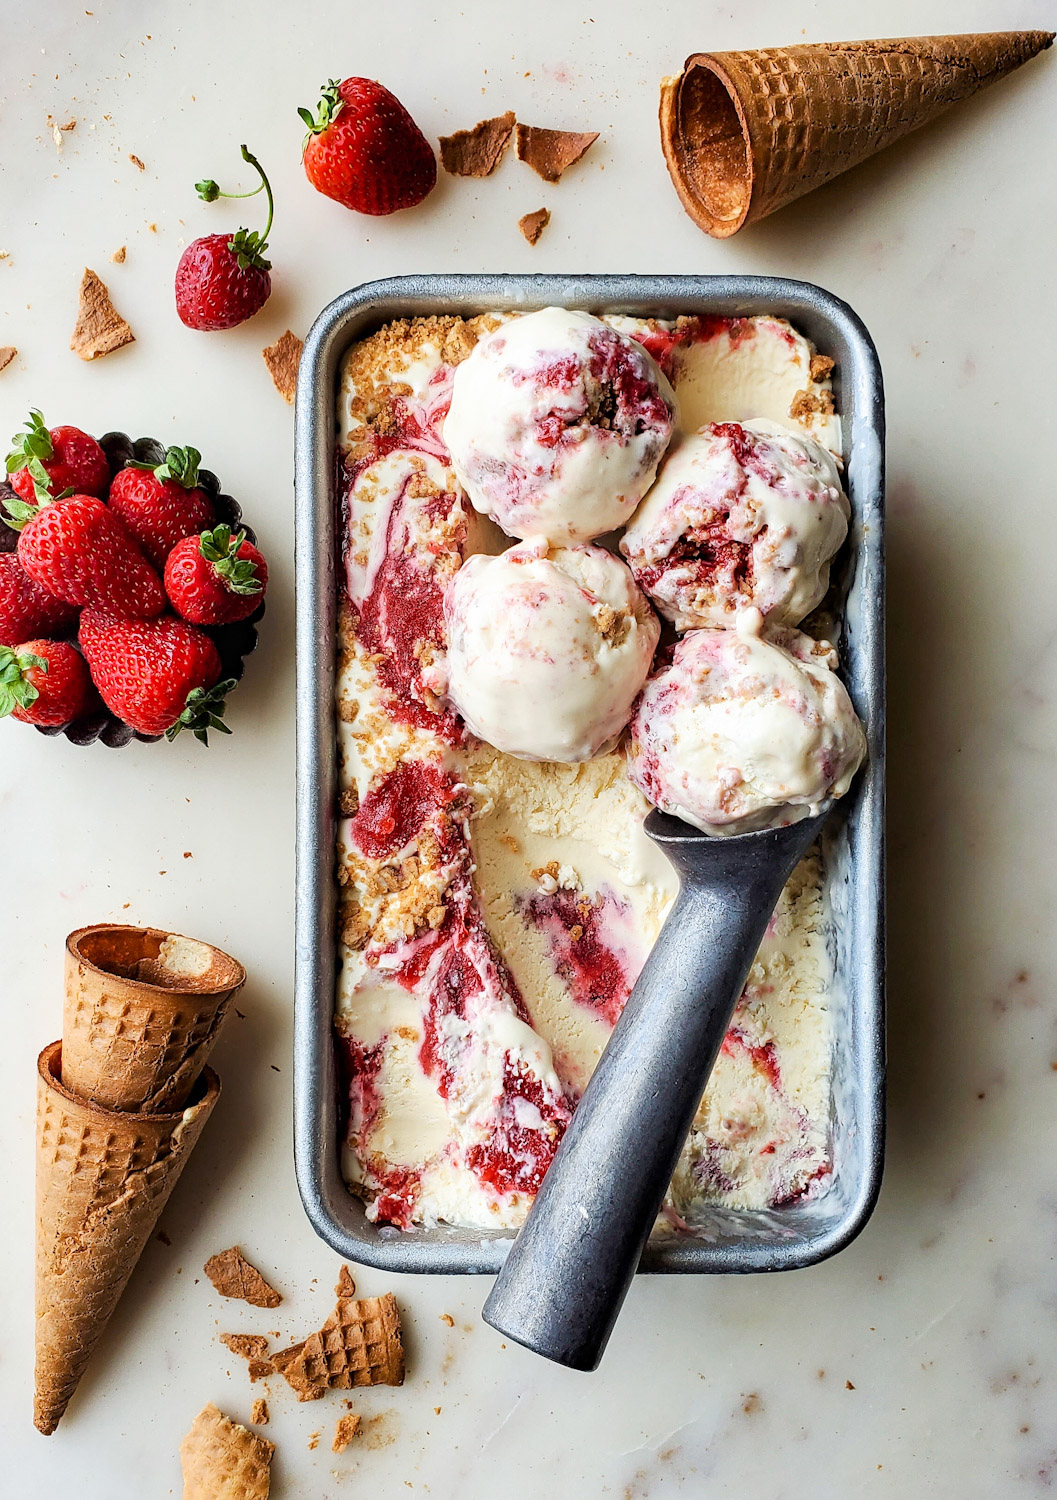
If you do have an ice cream maker of some sort, here are some recipes to check out:
Mint Chocolate Chunk Ice Cream Sandwiches,
Horchata Candied Almond Ice Cream,
Lemon Curd Poppyseed Ice Cream
Pink Grapefruit and Basil Ice Cream
Roasted Plum and Cardamom Ice Cream

Strawberry Shortcake No Churn Ice Cream
Ingredients
Ice Cream
- 4 oz cream cheese, softened to room temperature, or 8 tbsp,( 1/ 2 cup)
- 2 cups whipping cream, cold
- 10 oz sweetened condensed milk, or 300 ml
- 1 tbsp pure vanilla
- 1/2 tsp kosher salt
Roasted Strawberry Purée, made in advance
- 2 cups sliced strawberries
- 1/4 cup granulated cane sugar
- 2 tsp white balsamic vinegar
Gluten Free Graham Crackers, made in advance
- 1 cup gluten-free flour blend
- 1/4 teaspoon salt
- 2 Tablespoons sugar
- 1 teaspoon ground cinnamon
- 1/2 teaspoon baking powder
- 3 Tablespoons butter, melted and cooled slightly
- 2 1/2 Tablespoons honey
- 1-2 Tablespoons milk, only if the mixture is a bit dry and won't combine together.
- 2 tbsp butter
- 2 tbsp golden brown sugar
Instructions
Make the Graham Crackers first
-
In a large bowl whisk together gluten free flour, salt, sugar, cinnamon, and baking powder.
-
In a separate bowl whisk together butter and honey.
-
Create a well into centre of dry mixture and add wet ingredients. Mix together until dough creates a dough ball. Add 1 tbsp of milk or more if needed to keep the dough together. Form it into a disk, wrap in plastic and refrigerate for 1 hour.
-
Preheat oven to 350F.
-
Cut two pieces of parchment papers to fit your baking sheet. Unwrap the dough from refrigerator, and place it on one parchment sheet placed on the back of a second baking sheet.
-
Roll to about 1/16th of an inch. Try to get it an even thickness all the way across. The thinner they are the better crisp like a cracker they will be. Roll with an additional parchment paper on top if the dough is sticking. Slide the parchment sheet and the dough into the first baking sheet.
-
Score the dough into 2 1/2 inch squares or so on the parchment paper. Use a fork to pierce holes evenly over the crackers.
-
Bake for 20-23 minutes or until golden brown and crisped up. Allow them to cool completely to room temperature on the baking sheet before separating. Store in a sealed container till needed.
To Make the Shortcake Crumbs
-
Use about 2/3 of the crackers to create the crumbs.
-
Break them up and place them in a food processor. Chop until you have fine crumbs, as well as some small and medium sized pieces. You want about 1 cup worth.
-
Place the crumbs into a bowl. Add the melted butter and brown sugar. Stir to combine and create a lovely crumb to sprinkle into the ice cream. Store in a container till needed.
Roasted Strawberry Purée
-
Preheat the oven to 375F.
-
Combine the strawberries, sugar and white balsamic vinegar in a bowl. Tip this into a baking dish. Let everything macerate for 15 minutes to let some of the juices release from the berries.
-
Bake in the oven for 20 minutes or so, till softened.
-
Let everything cool down and then place into a blender. Whiz till a rough purée is achieved. If lumps of berry are still there, that's good, it will add texture to the ice cream. Store in a container in the fridge till chilled. The juices will thicken a bit, which is good.
Ice Cream, have a container chilled in the freezer before you make this
-
Combine the sweetened condensed milk, vanilla and salt in a large bowl.
-
With a hand held mixer or stand mixer, whisk the softened cream cheese till smooth and fluffy, just a couple of minutes.
-
Add the whipping cream and start on medium speed to combine with the cream cheese. As the cream starts to thicken you can increase the speed to high. Continue whisking until stiff peaks are achieved. Don't go too far, or else the butter fat and liquid may separate.
-
Using a spatula, spoon 1/3 of the whipped cream mixture into the condensed milk in the bowl. Gently fold till completely combined. Add the remaining whipped cream and fold gently trying to keep as much air as possible. Once no more streaks are visible you are ready to chill the ice cream.
-
Take the chilled loaf pan or container from the freezer. Spoon 1/3 of the ice cream into the pan and spread across gently. Sprinkle 1/3 of the Shortcake Crumbs over the ice cream. Drizzle 1/3 of the strawberry purée over the crumbs. Use a chop stick to gently swirl these into the ice cream. Do not over-swirl, you want to see streaks of everything, not turn it all pink.
-
Repeat with two more layers of ice cream, crumbs and strawberries and swirling.
-
Seal and cover and place in the freezer for at least 6 hours. Overnight is best.
-
See blog post for more details.
Recipe Notes
If you can't find the 10 oz container of sweetened condensed milk, use a 14 oz. I don't recommend using it all, the way some recipes do, as I find it really sweet.
Don't try and do this low fat, the best of ingredients are needed when so few are being used in the ice cream.

One of the best recipes! I loved this so much that I don’t think I will ever buy ice cream again! So simple to make and you can to it – we added chocolate chips for one of our boys and my husband and I drizzled balsamic glaze on our servings. This was a huge hit in our house!!
Hi Jessica, Thanks so much for your feedback! That balsamic glaze for a finish sounds wonderful. Yes, this is such a fun way to make ice cream that tastes like the real deal! Love Jen