This blog post is finally happening because every year I get requests for the method I use to create a fun little watermelon cake.
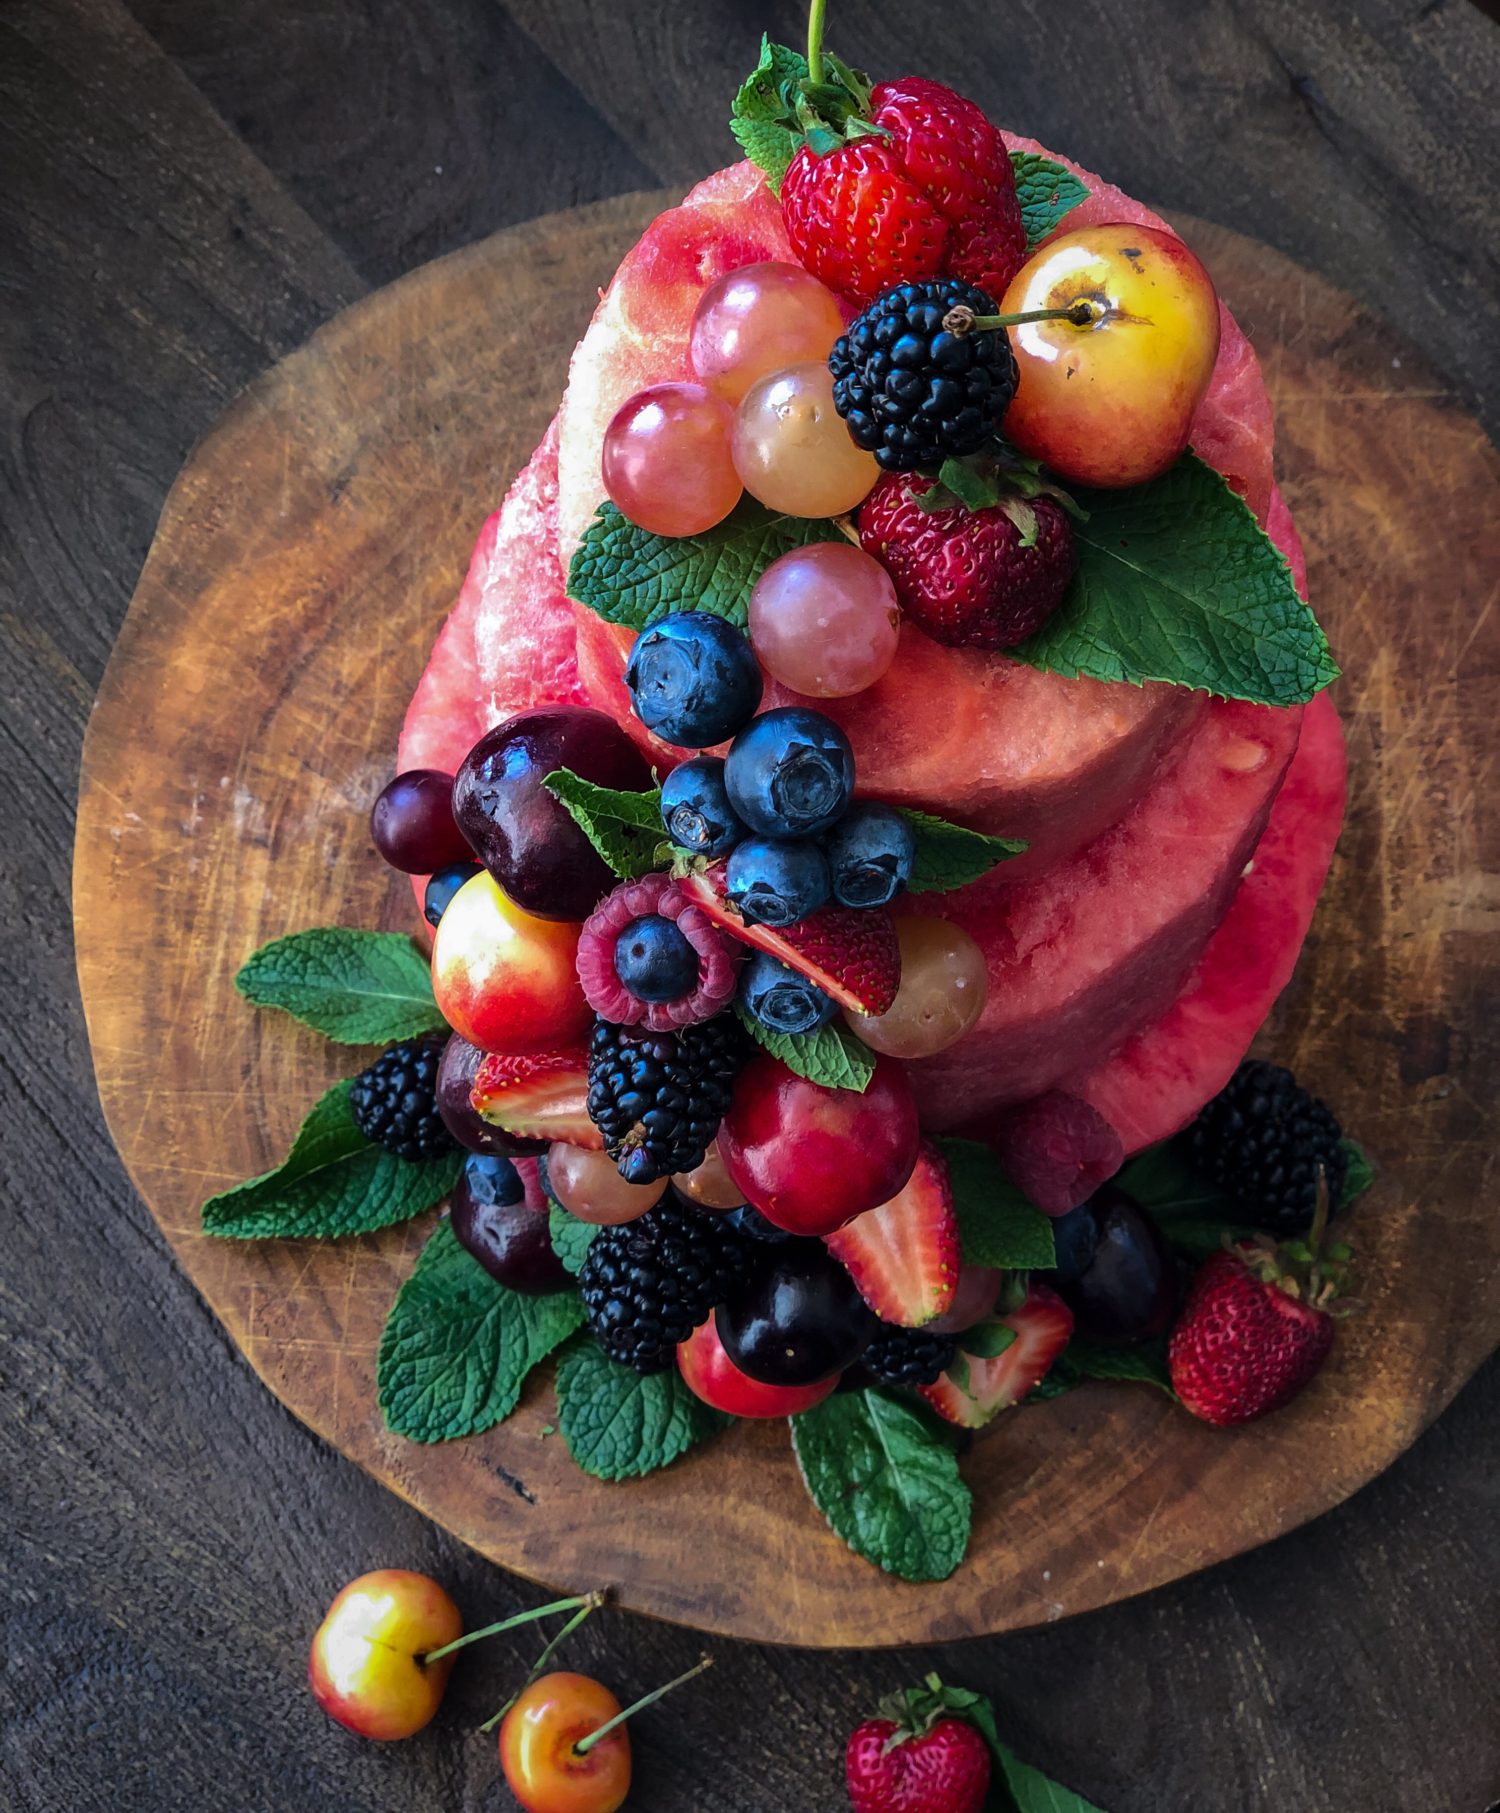 I posted the photo a few years back on Instagram, and every year some sweet soul asks for a step by step! I apologize for taking so long in getting it up for you all. I thank you for your patience. It’s not the kind of recipe I’ll make unless there are going to be a few hungry people to help us eat it! It works great for summer bbq’s or picnics, or even for a more formal outside gathering, like a bridal shower, anniversary party or family reunion. And having said this, it can totally be part of a summertime dessert table inside!
Let’s get the white elephant addressed right away: Yes, there will be some mess, and yes there will be excess watermelon as you start carving them up. Perfect for snacking on, or for making Agua Fresca with.
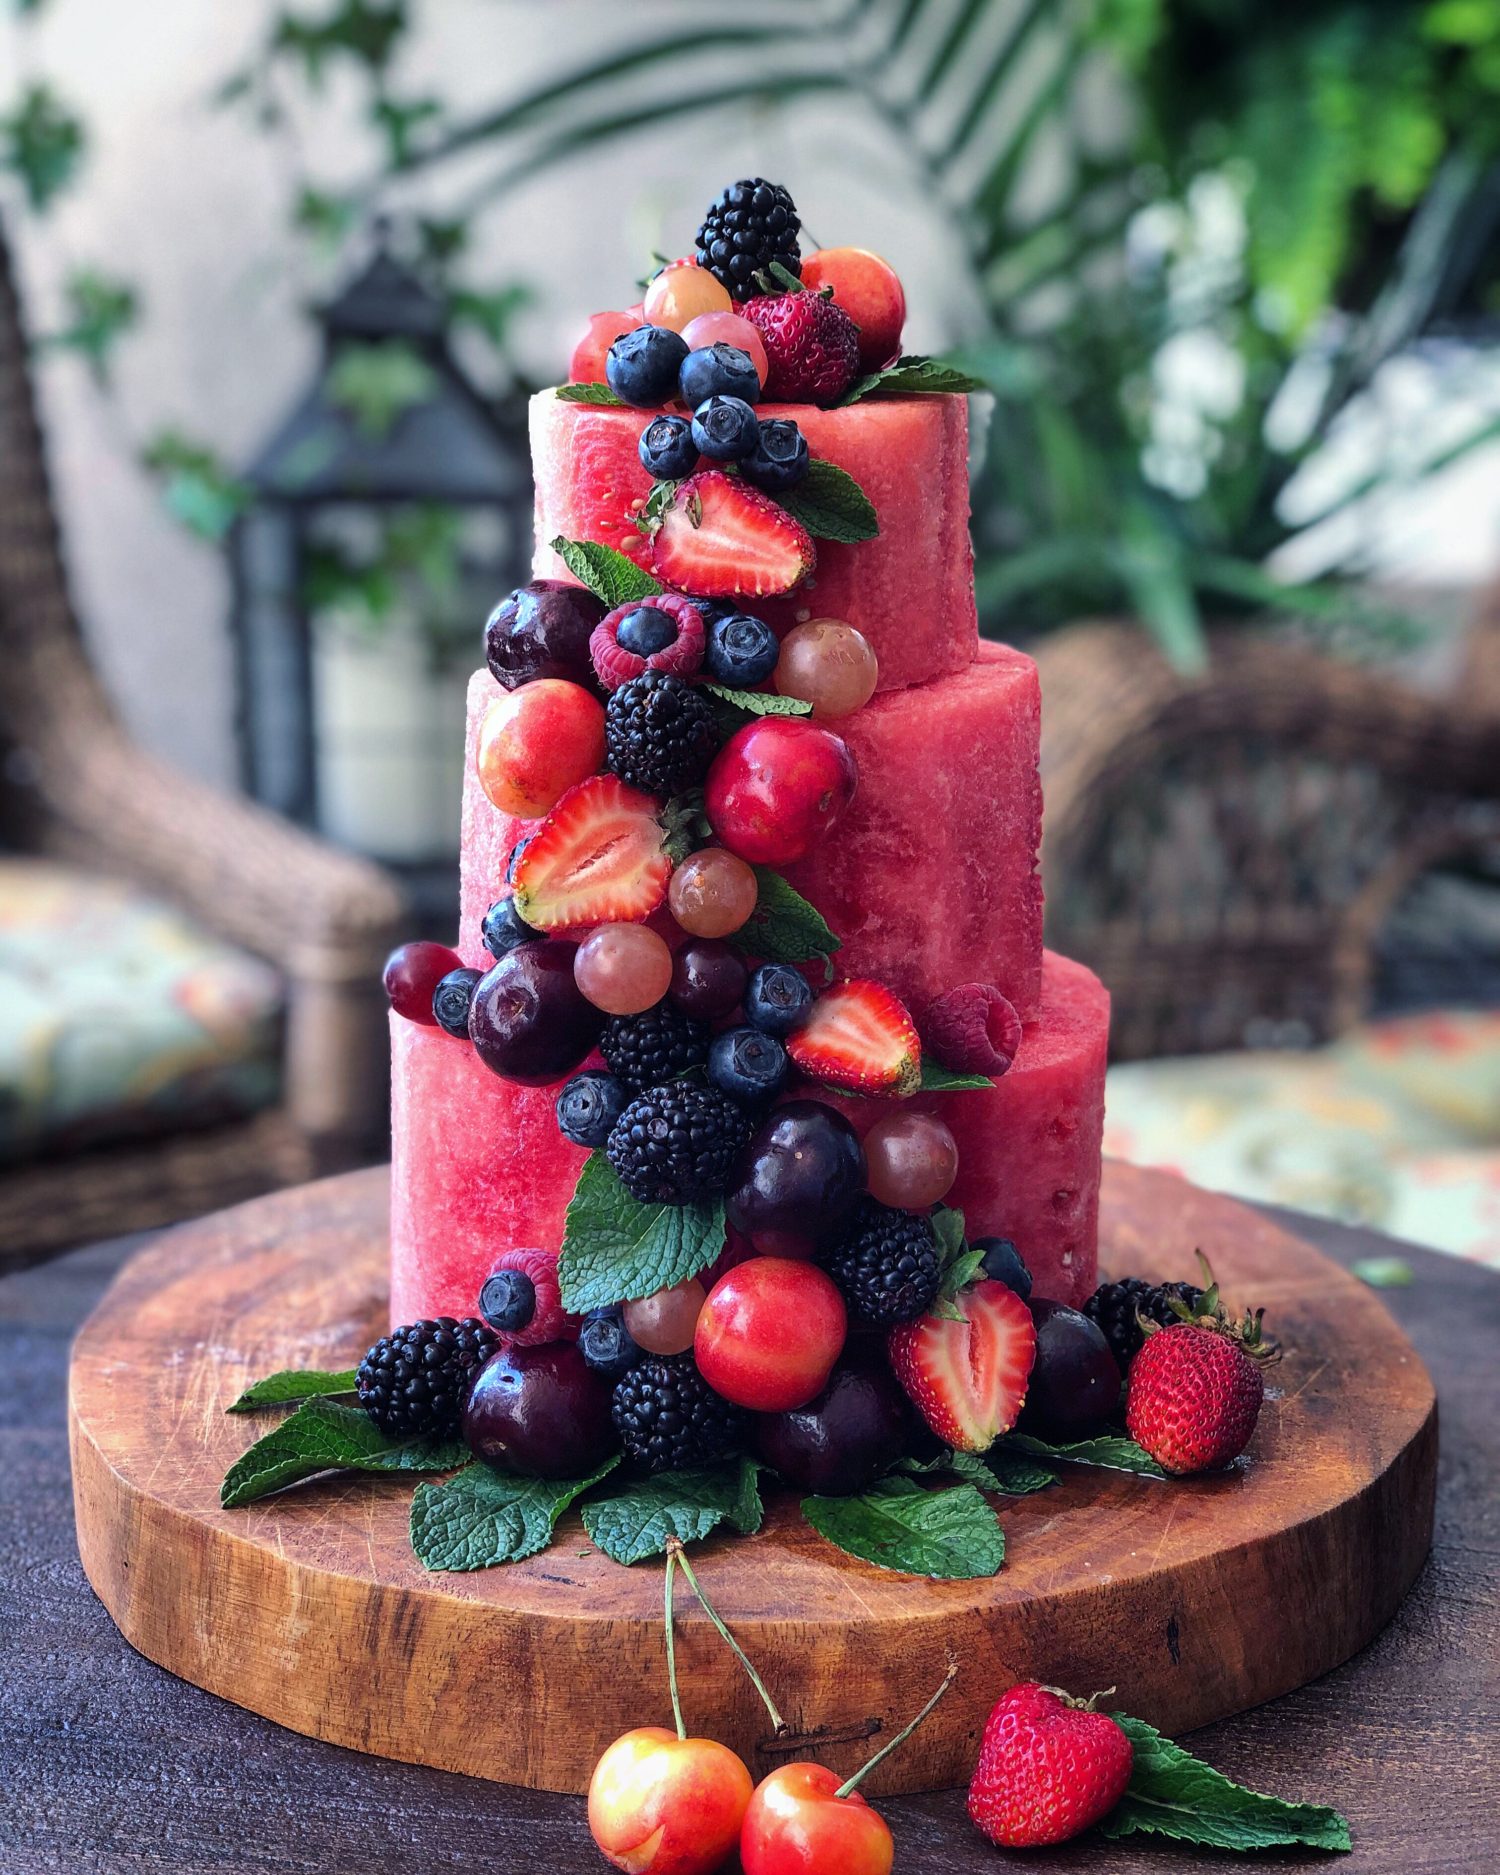
At its most basic, this cake consists of three ‘cake’ layers. In this case it is three different watermelon rounds, of varying sizes, to create a tiered cake effect. The fun comes in the decorating of it. Instead of piping frosting over a cake, the decorations consist of fruit. Small berries, cherries, grapes, even currants or citrus slices all work wonderfully. I also use mint leaves to add some softness to the overall look.
Here’s what we’ll do:
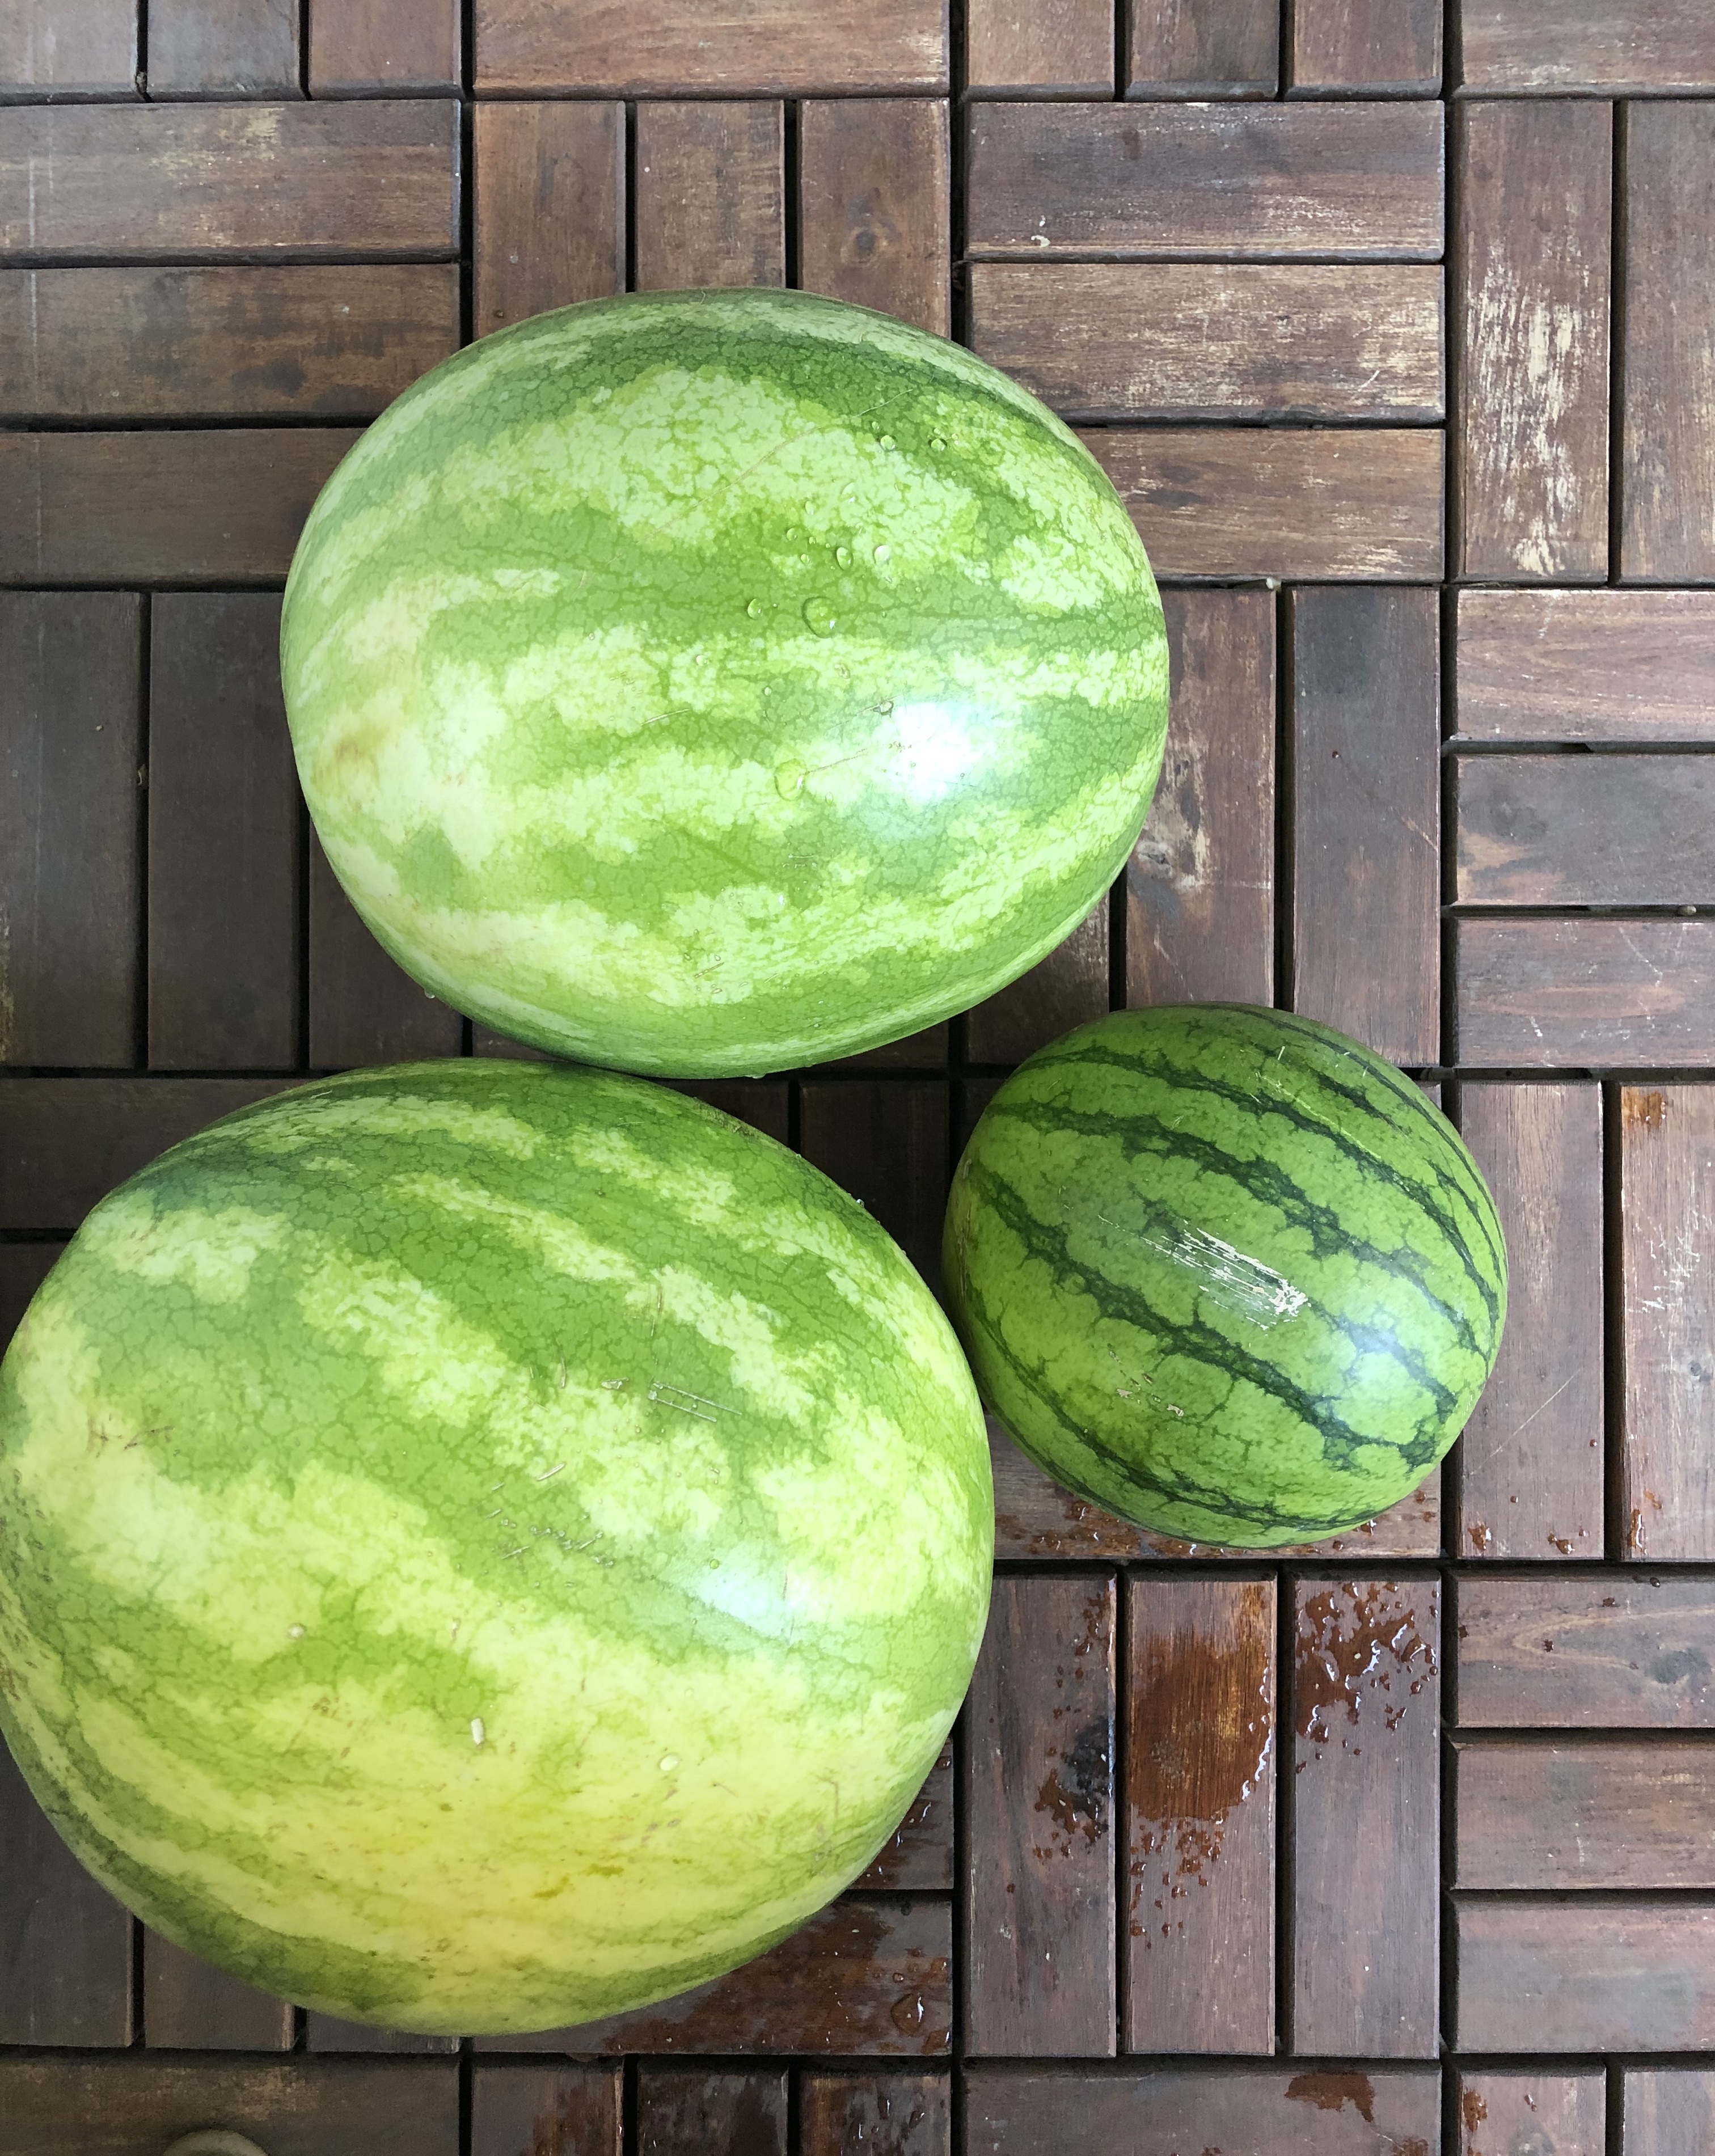
If you can find a large, oblong watermelon, you may be able to carve two of the rounds from it. Then you will only need a smaller one for the final layer. For the demonstration in this blog post, I could only find three watermelons of varying sizes. It’s all good, whatever you source.
You’ll start with trimming off both ends from each watermelon with a sharp knife. This will give you a stable base to work with as you remove all the rinds. Then just follow along the rind, removing it to expose only the red flesh as must as possible. Once the watermelon has been completely trimmed away, trim the centre ‘equator’ perimeter to make it a bit more cylindrical. You should be left with two or three oblong cylinder shaped watermelons.
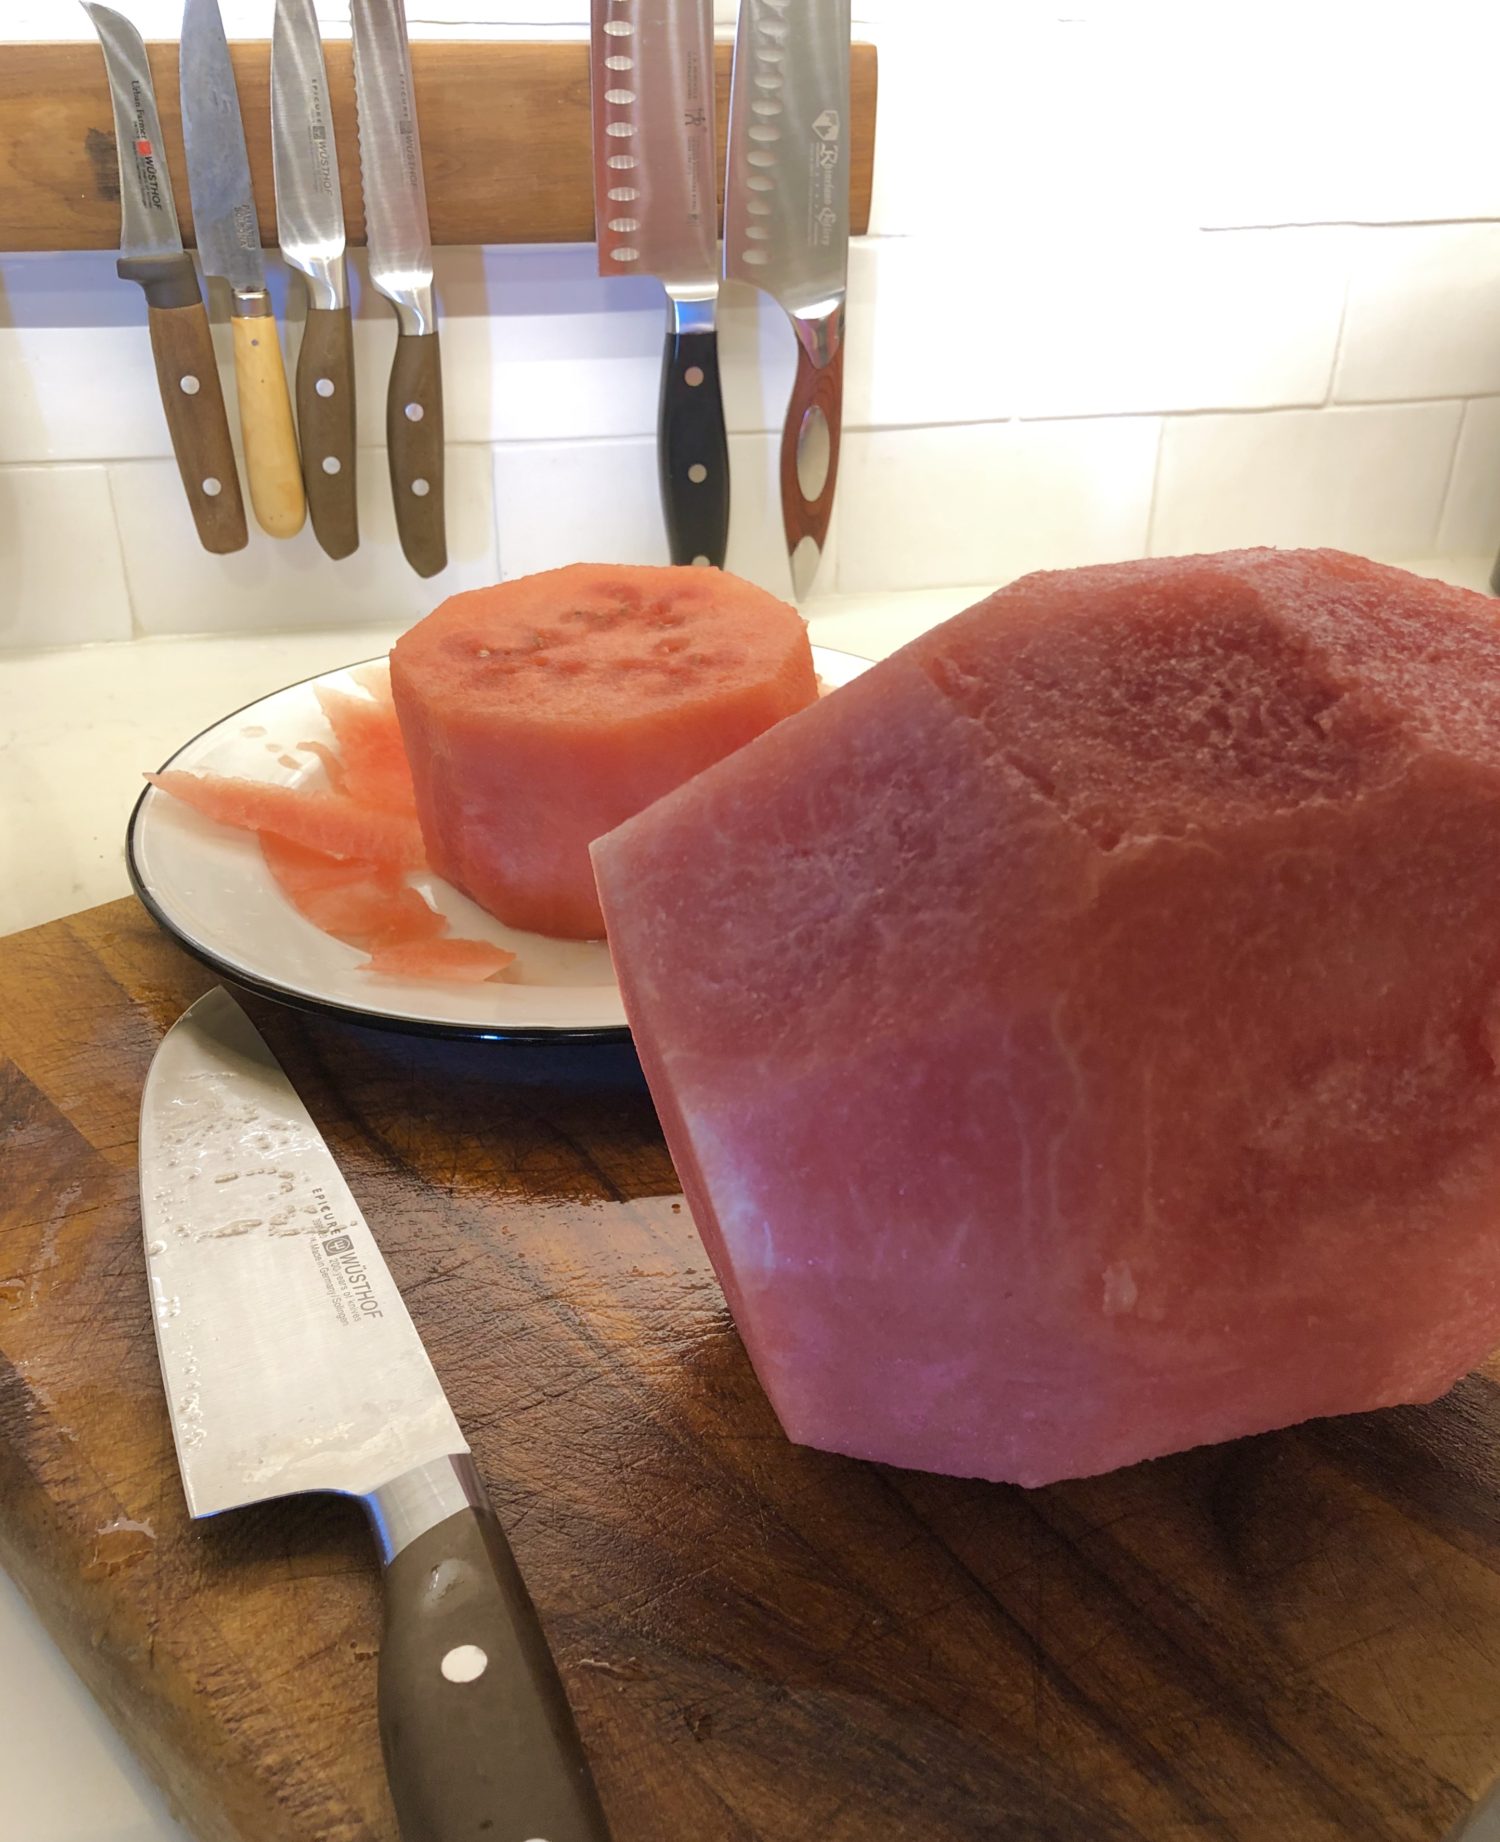
Now lay the largest of the melon sections on its side and you’ll trim away the top and bottom couple of inches. You want to have at least a 5-6 inch tall cylinder in the end. This will end up being the bottom tier of the cake. Do the same with the other melons, and if the next two sections are not quite as tall, that’s alright. You can see by the final photos, that the bottom layer is larger and taller than the little one on top (I think it was only about 4 inches high). It’s a proportion thing at this point. Let your eye help guide you- it will feel right if the top layer isn’t as tall as the bottom one. (If you are using two watermelons, then cut the larger one into approximately 1/3 and 2/3 halves cross ways to create your bottom and middle layers) Also, at this point, if you find that part of the watermelon that you have exposed isn’t all that pretty, or looks kind of gnarly, don’t worry. It may get trimmed away when you do the fine trimming. And if it still remains, this will be a section where the fruit will go. You can see below that I didn’t have a perfect watermelon for the bottom round.
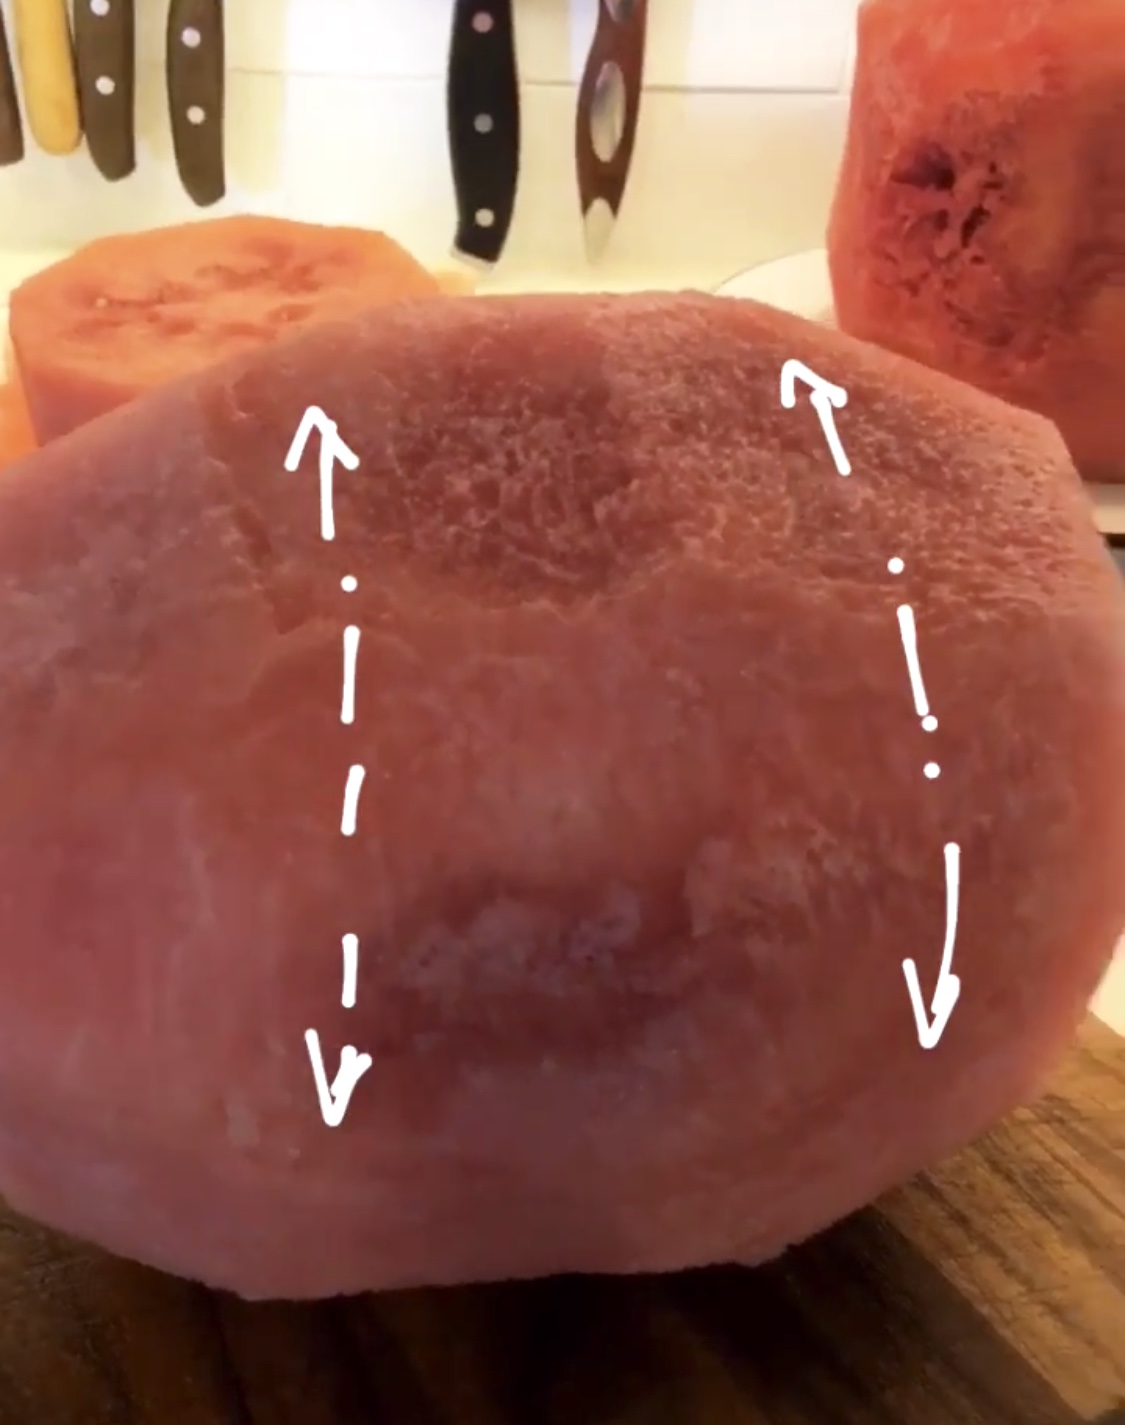
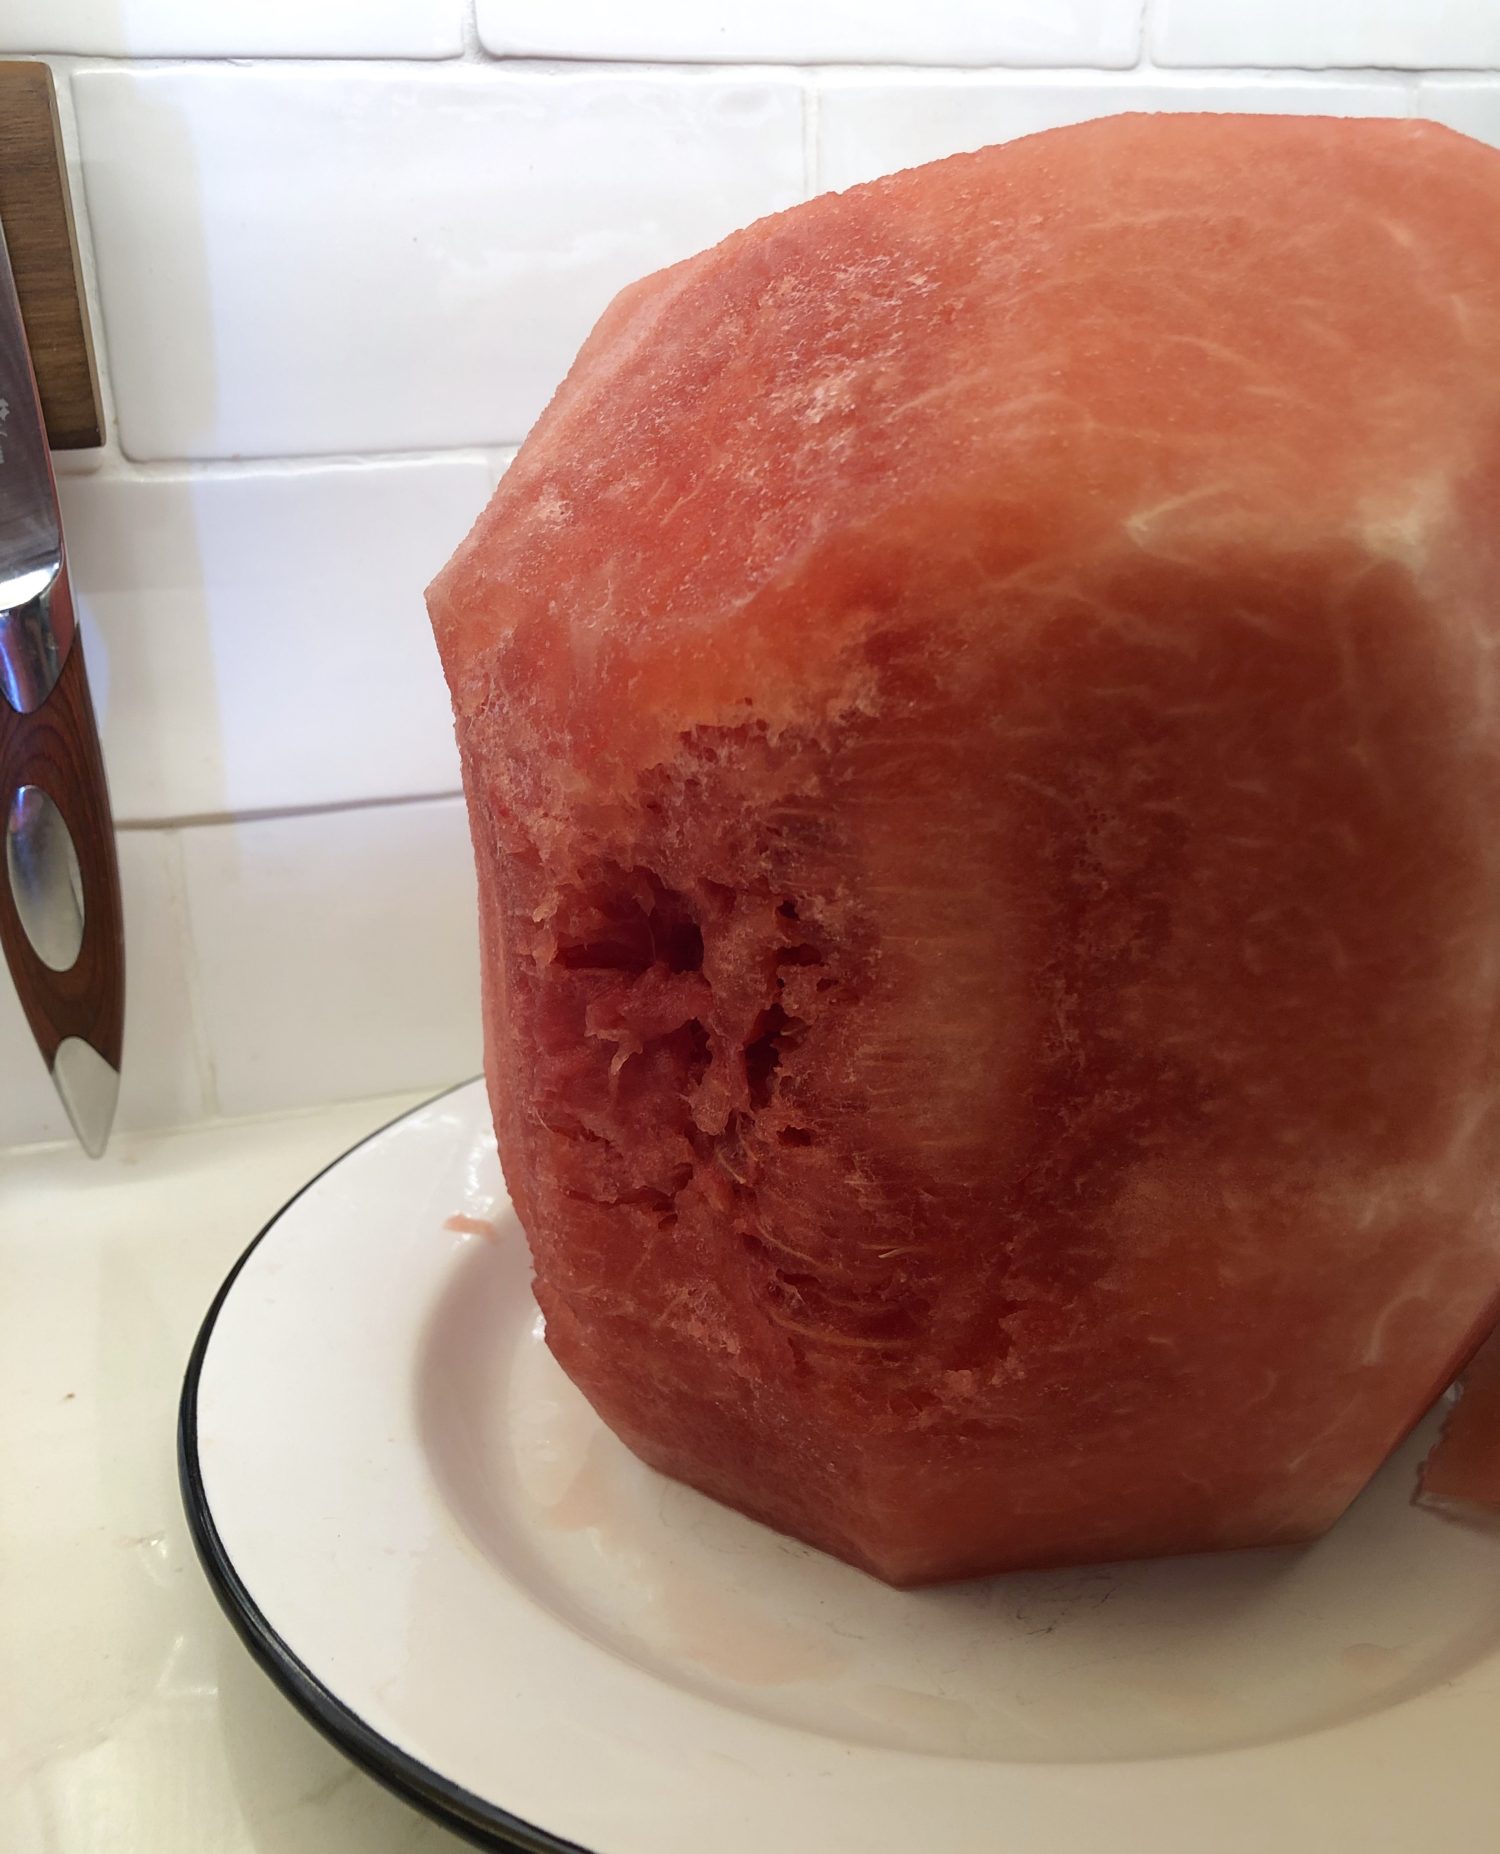
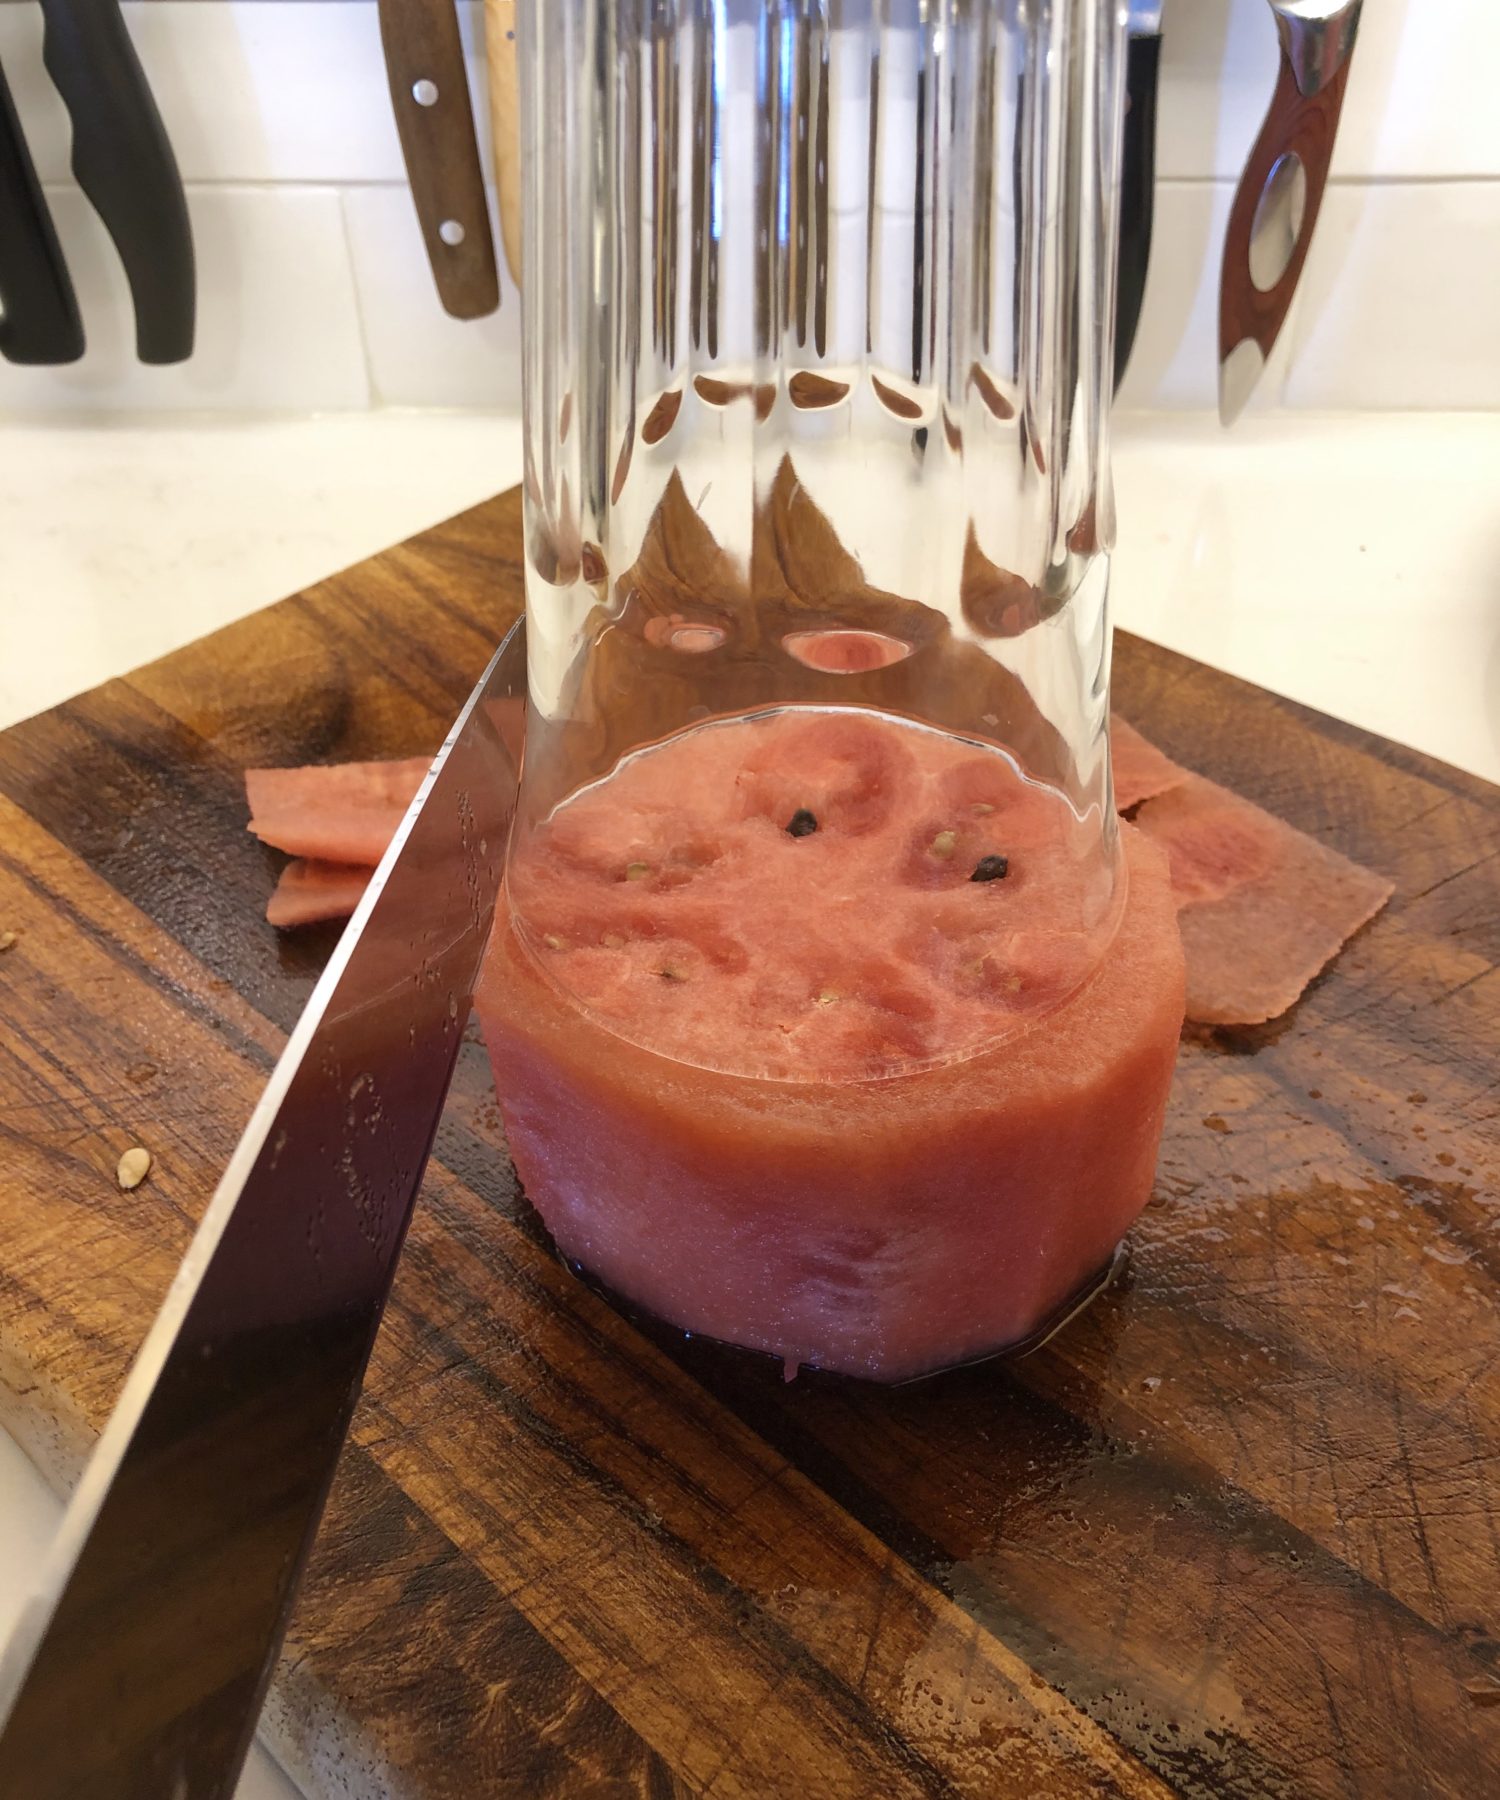
Once you have the three layers, rummage through the kitchen to find three different round lipped cups or bowls that will fit just inside each round. They should fit inside so that you can use them as a guide to trim the watermelons into perfect rounds. Also, make sure that each circle you will use as a template is at least 3/4 inch smaller than the next, or else the tiers won’t really be defined- you want to create obvious ledges, if you know what I mean!
You can see below that the outer rim of one of my glasses fit just inside the smallest round. So I laid it directly on the round, leaving the outer edges exposed for trimming. Take a sharp knife and cut straight down. Give the cutting board a slight twist and cut down again. Keep doing so till you have gone all the way around the watermelon. You will be left with a pretty decent round layer of watermelon. *Ensure that you are cutting straight down and not cutting in on an angle- or else it won’t have straight edges when looking straight on at the finished cake. Repeat with all three rounds.
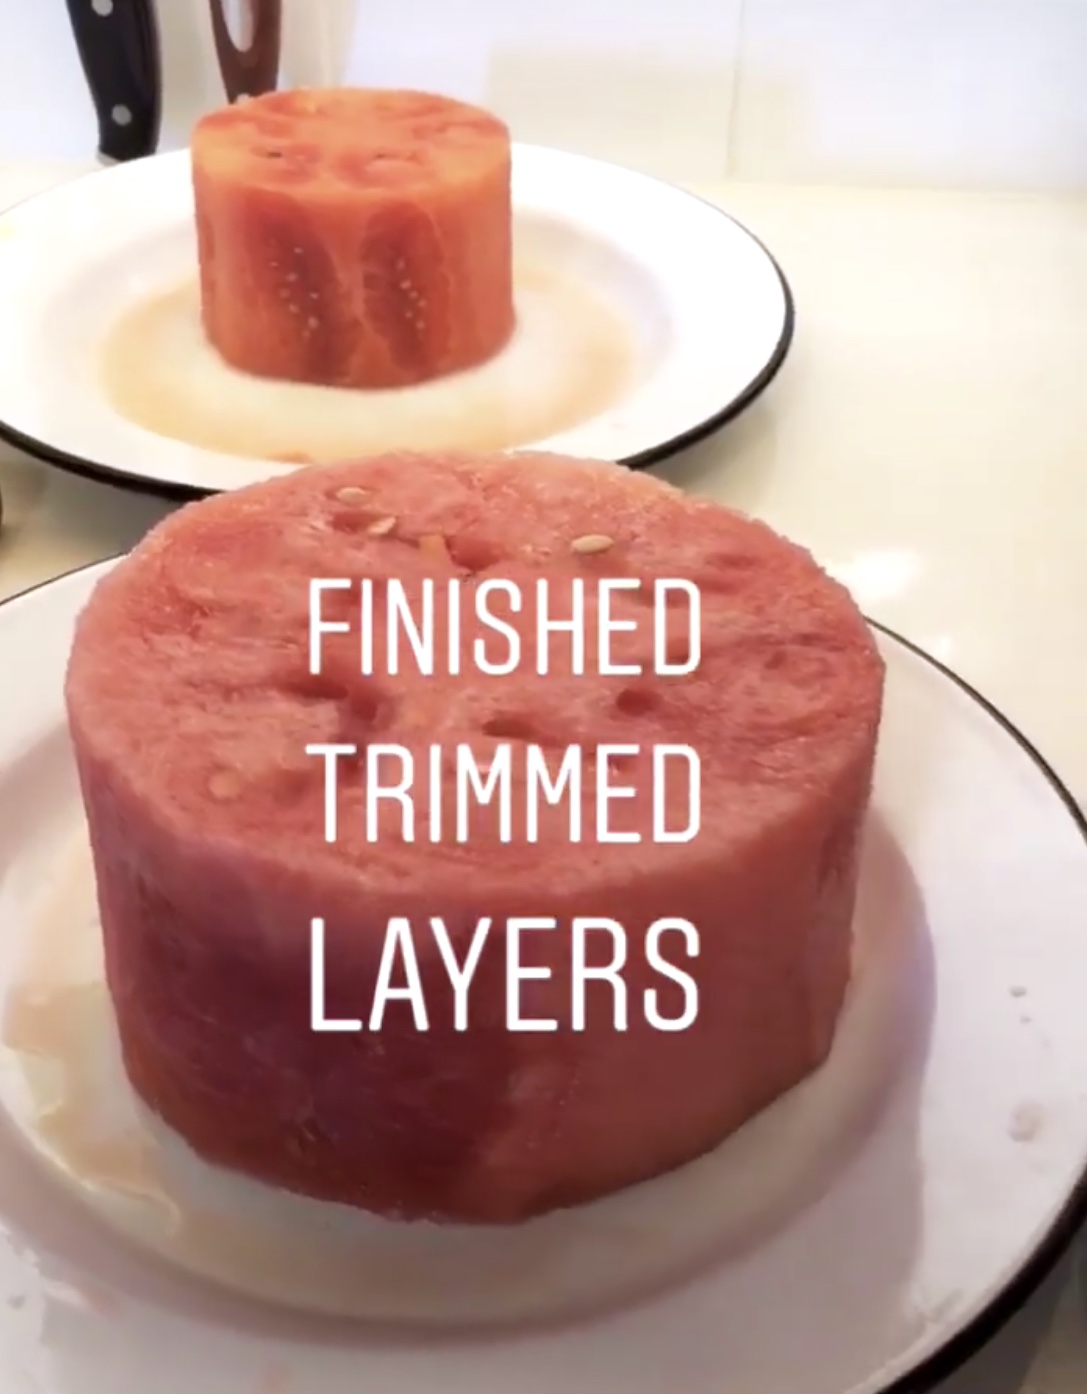
Now it comes time to get it ready for decorating. First things first. Are you prepping this cake well in advance of the event? Then don’t leave it on a cutting board. The watermelon juices will weep out from the bottom and through the wood eventually, leaving a puddle on the table you want to display it on. So place the bottom layer on a plastic or metal or enamel plate of some sort. Even a baking sheet will be great. You can surround the cake with all sorts of extra fruit and berries, even a bowl of sweetened whipped cream, so the baking sheet can be disguised.
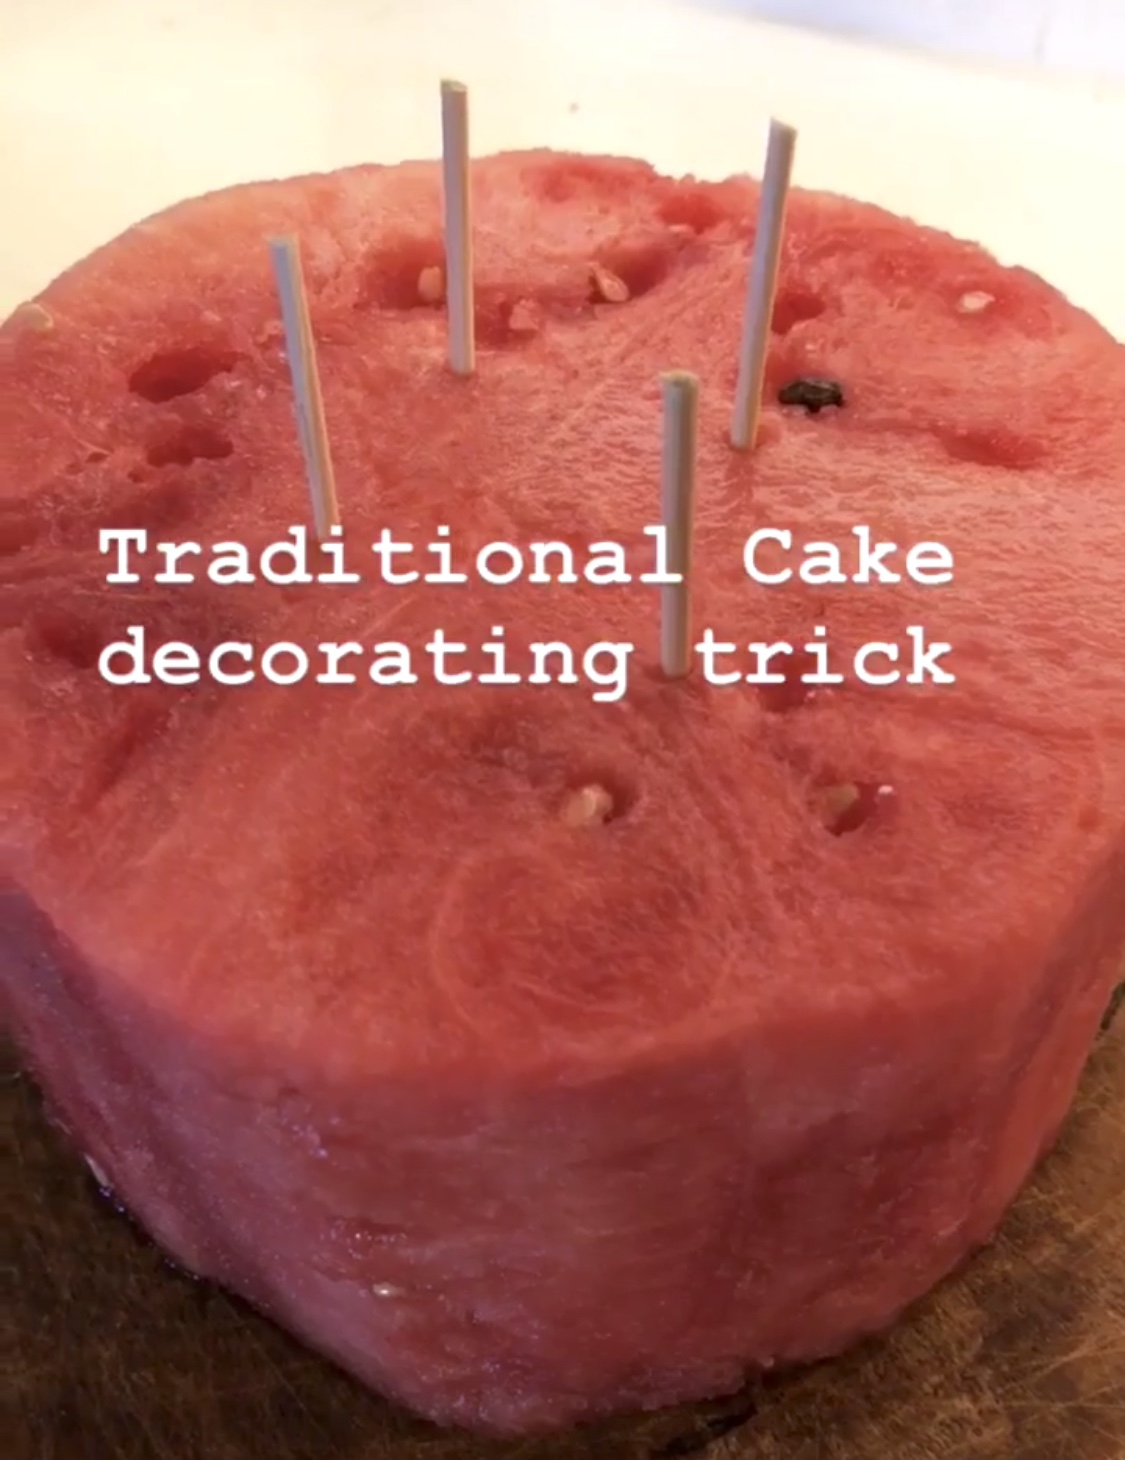
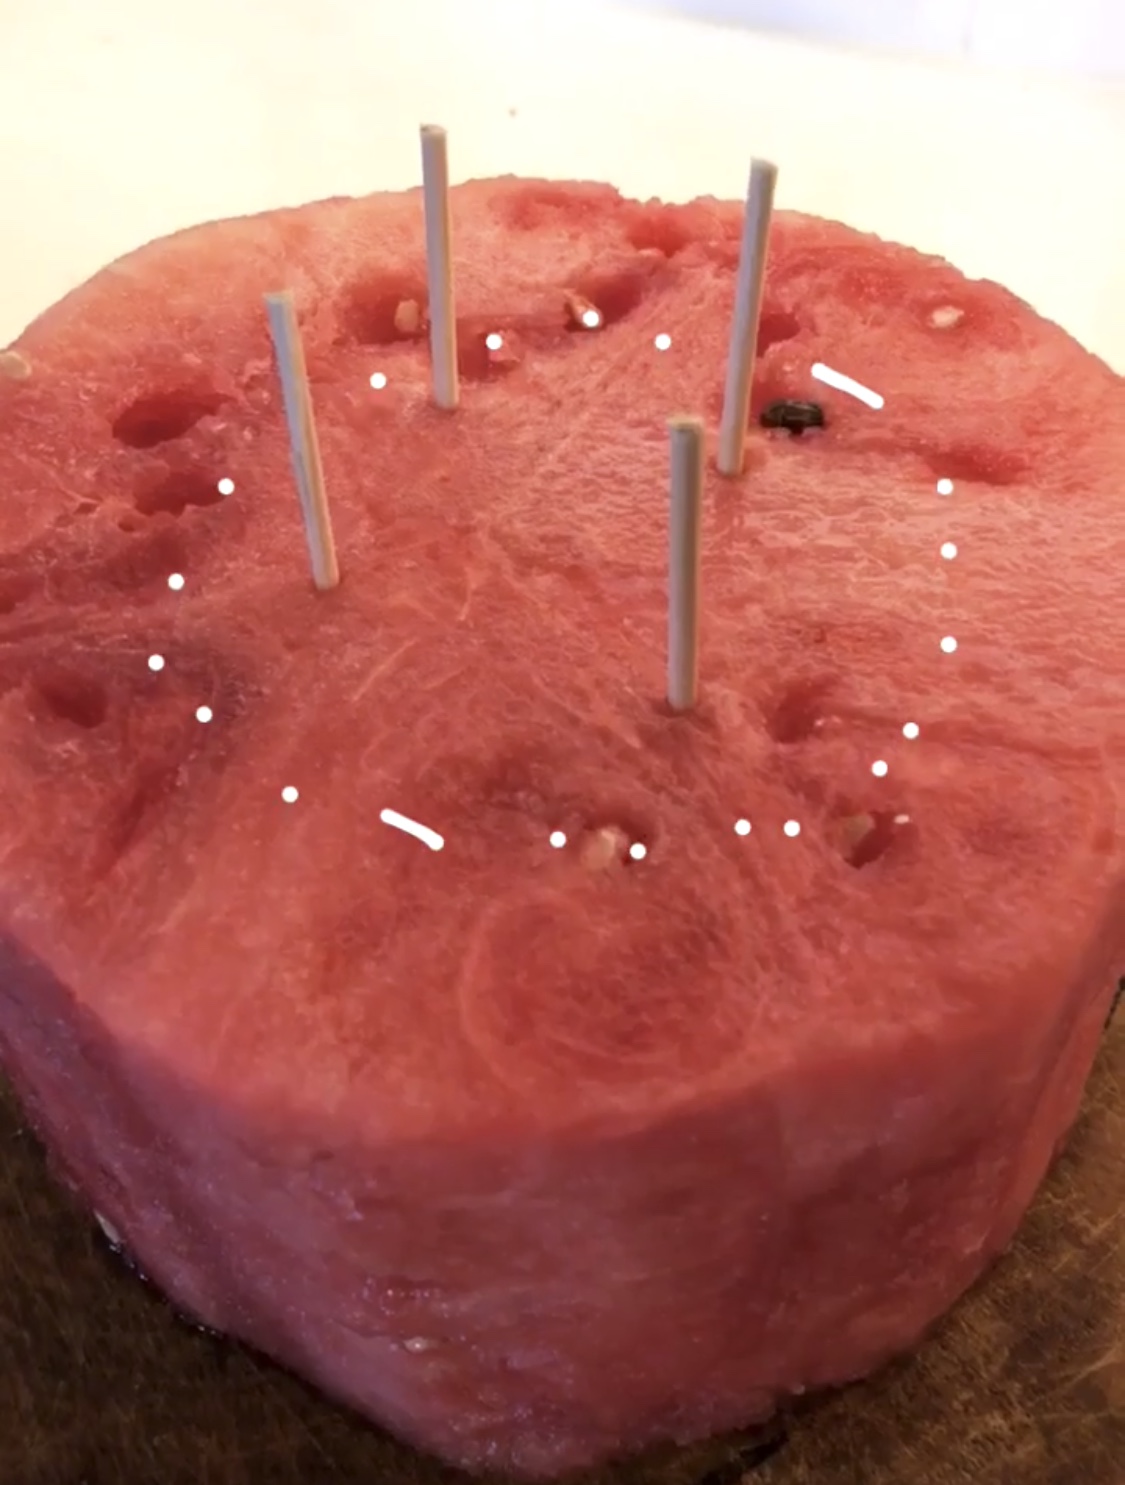
Once the bottom is situated where you want it, you need to prep it to hold the next layer on top. Take four bamboo skewers and trim them so that when inserted into the watermelon, only about one inch is exposed. You’ll feed these into the bottom round, but make sure that they are inside the diameter of the watermelon round that will be slipped over them. Place the second round over these skewers. Make sure that the least attractive sides of all three watermelons are lined up. You want to hide them all with the fruit, so don’t mess up by not having all three looking their best when people see the naked sides. Repeat once more for the top layer- you may only need three skewers this time around.
Now you are ready to decorate!! Whoo whoo! This is where you can have some fun. Find all the berries and other fruit you want to use. I used strawberries, blueberries, raspberries, blackberries, cherries, grapes and mint for this cake today. If there were currants available, they would be such a lovely addition- they drape and are so delicate. Figs or small citrus segments work great as well.
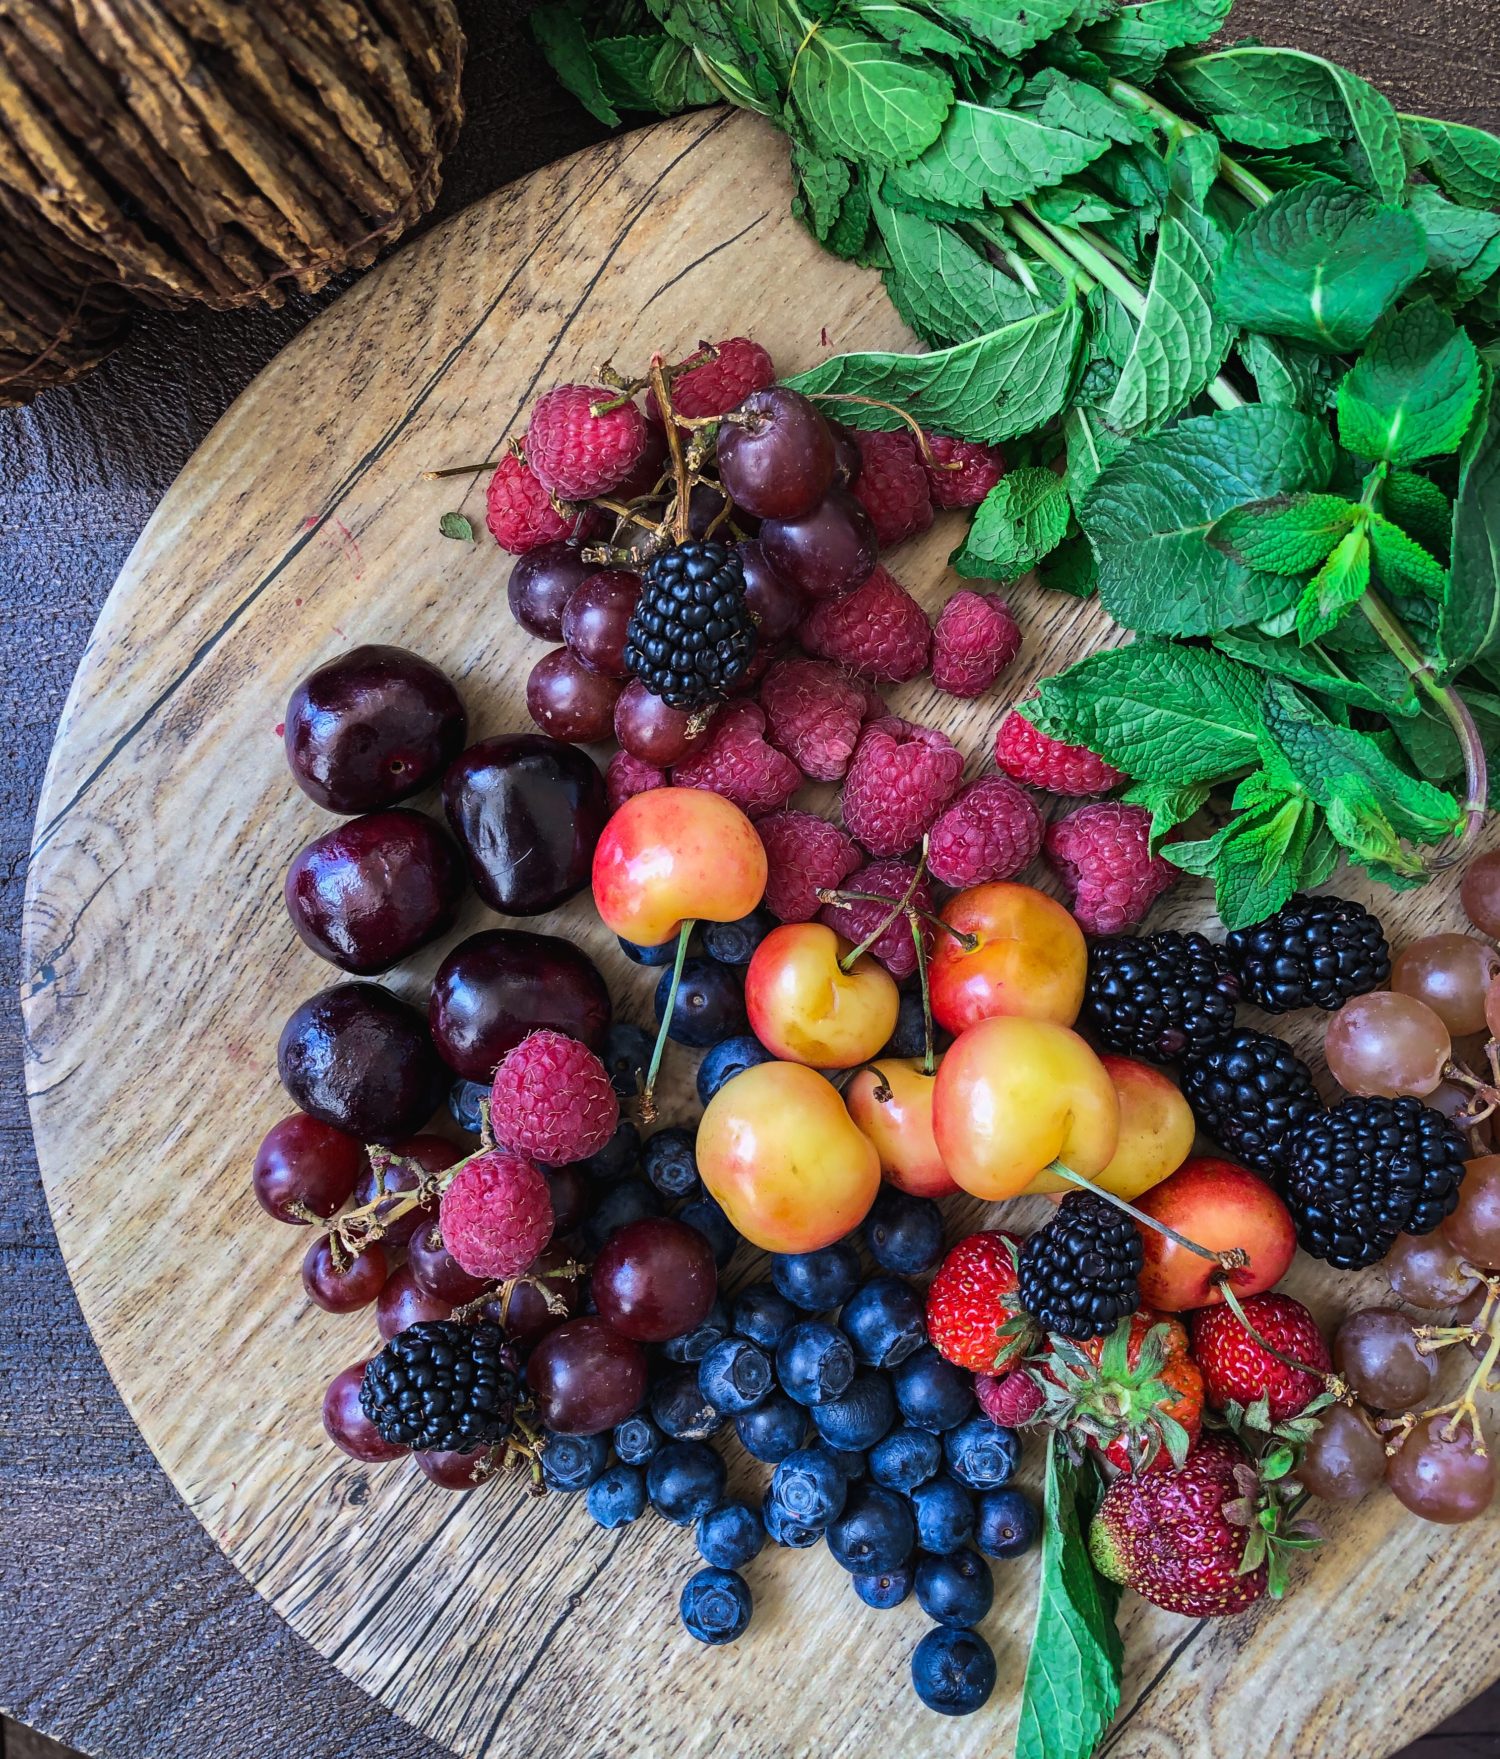
Gather them all together and start by skewering them with toothpicks. I put the dull end into the part of the berry or fruit that is the least pretty, leaving the sharp end to poke into the watermelon. Once you’ve got a good collection of a variety of fruit prepped, you can turn your attention to the cake. Before you start poking the cake, just create with your eye a wavy line from the top to the bottom of the entire cake- it shouldn’t be straight. You want it rather undulating, like a soft garland or ribbon. Kind of like an S-curve. This will guide you when you start placing the fruit. And make sure you are covering the section you decided is the least attractive.
I start with the largest pieces of fruit, no matter if it’s a variety of cherries, blackberries and strawberries. And I start at the bottom. Catching a piece of mint onto the skewer as well, I poke them into the bottom of the cake. Then start placing the large pieces all along the S-curve you have created in your mind to the top of the cake. They don’t all need to be touching each other- leave some spaces. These will get filled in with the smaller fruit pieces. Keep building the S-curve with various berries and mint leaves. If you find that for so reason a toothpick is exposed even though you pushed it all the way it, just hide it with another berry.
At the top you can have an abundance of the berries and mint leaves. It should look festive!

So now you are ready to share it at your bridal shower or family reunion. But how to serve it!? Have a bowl of all the fresh fruit and berries you used, as extra, as well as little bowls or plates. And you can serve this with a slightly sweetened whipped cream or honey yogurt.
Gently remove the top berries and mint leaves. Set them aside. Slide the top layer off the skewers and cut it just as you would a round cake- into wedges. Place the slices on small plates or bowls, scatter some fruit around it and dollop some whipped cream on top! Repeat with each layer till everyone has been served.

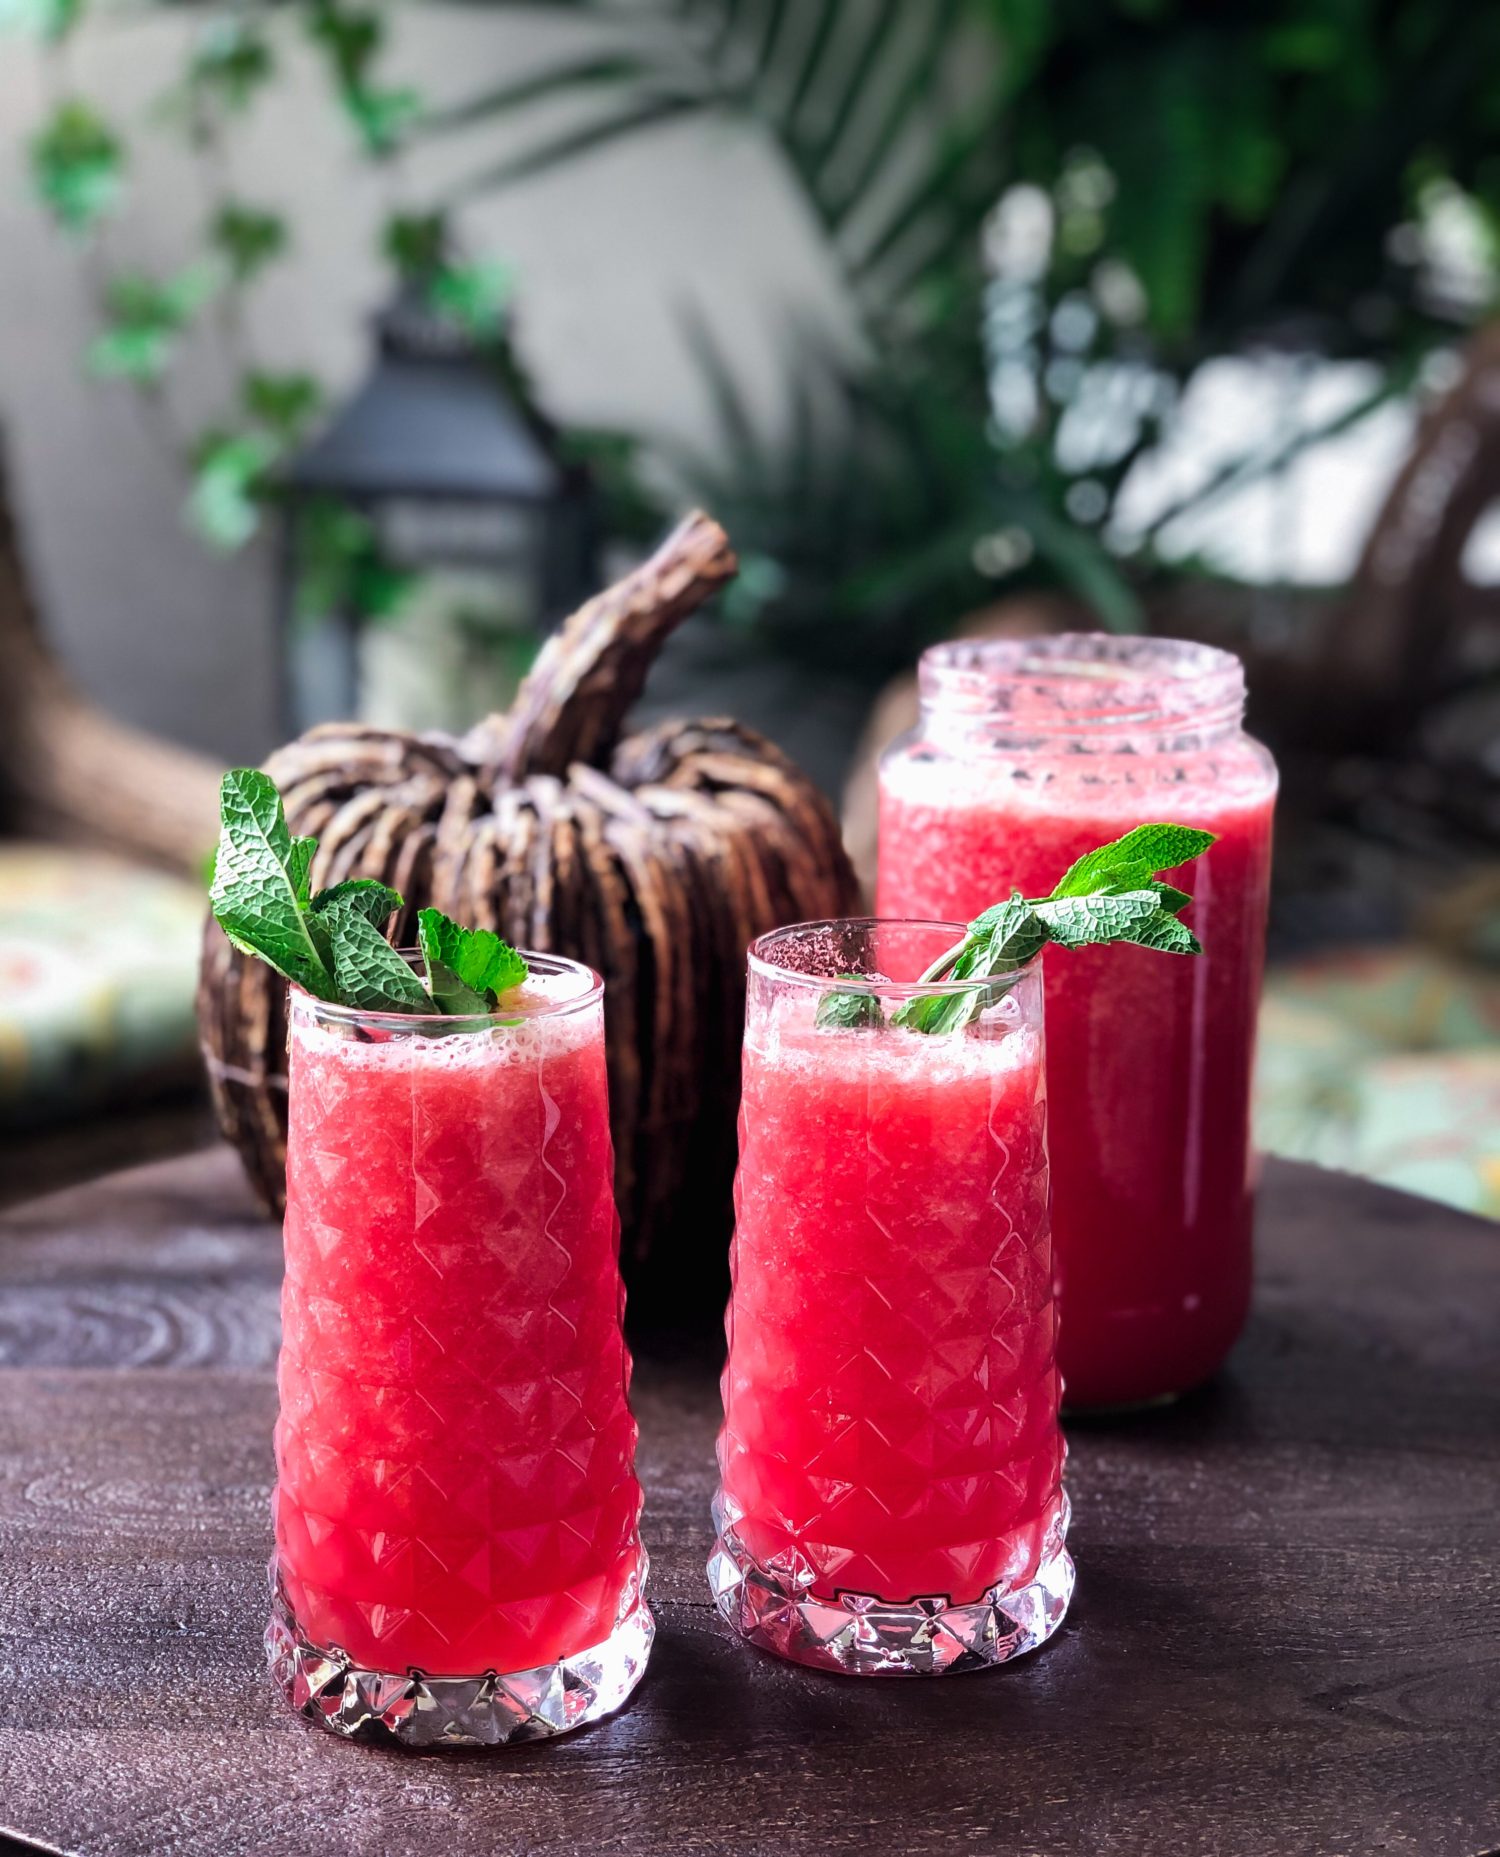
Any leftover watermelon can be juiced and turned into Agua Fresca. This is a brilliant summer drink from Mexico. It’s a combination of fruit, honey and lime juice. And yes, it can be spiked with tequila or vodka or even gin!! Win win! Here’s are great recipe to keep on hand: Melon Agua Fresca.
I hope you try this at least once this summer. You will be the hit of your next family reunion, I promise! And it will be the first cake that no one will say they can’t eat due to gluten or dairy or vegan issues!
If you follow me on Instagram, I have a saved Highlight on my Profile Page, which shows me making this step by step. So if anything isn’t quite clear here, please refer to the highlights, as I talk you through it.
Love Jen


this is amazing! Thank you
Hi Jo-Anne! Thanks so much! It’s a fun one to work on with the kids as well. And just such a great summertime centerpiece! Love Jen
Hi Jen! What a Great, Healthy idea! I just came across this. I will be making this soon. May I ask… where did you get the round wood block you display this on?
Hi Sue, happy to hear that you will give this a try. I actually picked up the round wooden board at Homesense, a Canadian homegoods store, a few years back. It’s just a small cheeseboard. Hope this helps. Love Jen
Looks so wonderful
Thank you. These are clear and easy to follow and thorough instructions! And it looks beautiful! Cannot wait to try this!
Hi Doreen, Thanks for your kind feedback. I hope you have fun making it. Happy summer, Love Jen
I just LOVE this idea!! It’d be such a light dessert, and a nice break from all the cakes smothered in buttercream that I make. Thank you for sharing all of the steps Jen!
Hi Jennifer, Thanks so much! It’s a great way to present basically a fruit salad!! And pretty well everyone can enjoy it. Perfect for the warm weather. Love Jen
Amazing! Thank you for the details!
Hi Amy, Thanks for the feedback! It really is easy. Just a tad messy. But it’s worth it. Enjoy the rest of your summer. Love Jen
Wow! Thank you for the detailed, beautifully presented instructions! I’m not a huge fruit lover but this will be fantastic for parties! Happy Summer!
Hi Christy, Thanks so much for the feedback. It really is a lot of fun to make. And even if you won’t be devouring it, it will be so welcome for guests that have dietary issues or just want to eat light! Enjoy the rest of your summer. Love Jen
How do you pit the cherries? Or are they? Can you slightly move the two top layers back onto the edge of the bottom tier so more of the watermelon is showing and fruit can be fuller and lay a bit better??
Hi Tammy, The cherries aren’t pitted for this application. Sure, I like your idea to stagger them to create deeper levels for more display. Make it your own! Enjoy, Love Jen
can this made a couple of days ahead? would it stay up?
Hi Dhara, you can cut the watermelon rounds in advance, pat them dry and store till ready to assemble. I wouldn’t do this more than a day in advance. Hope this helps. Love Jen
What a great idea! And it looks so beautiful!!! Thank you so much for sharing the idea and details for making this cake.
Hi Maxine, Thanks so much! It really is a lot of fun to make- something that the whole family can get involved in. Perfect for all the summer activities. Enjoy the rest of your summer, Love Jen
Thank you!!! I will be making this for my daughter’s 21st birthday! I’ve been trying to find something she will LOVE, (because traditional birthday cake she does not). One year I made a cake out of many different varieties of tomatoes. lol. Sounds silly but she loves them. This design is beautiful! Thank you for sharing I’m sure she will love it this year.
Hi Lori, thanks so much for your kind feedback. I hope you had fun making the cake. It really is a fun way to create a cake that almost everyone can eat!
This was pretty awesome to make with the kids. The wife loved it for her birthday! Wish I could post a pic of it here.
Thanks!
Hi Luis! I’m so happy that the kids got involved! What a fun time. You’re most welcome 🙂 Love Jen
Question! I’m making this for my sons 1st Birthday…the party is in the morning, how much of it do I make ahead of time and how much do I leave for morning of? Thank you!! It’s beautiful!!!
Hi Meredith, I’m really hoping that my reply found you earlier than this one. Just in case, you can cut the three rounds ahead of time and store them separately in the fridge. Then the day of all you need to do is assemble and add the fruit. Apologies for any delays. Love Jen
Jen,
Plan to do this for a wedding How many days ahead of time can I cut and store the layers in the refrigerator?
Hi Carolyn, great question. I wouldn’t cut and store them for more than a day before. The melon rounds will start to weep and release juices. A full day, wrapped and chilled is the most that I would do. The morning of, you can assemble and decorate. I hope that helps. Love Jen
Thank you so much for this tutorial!! My siblings and I surprised our mom with a huge surprise 50th birthday party last weekend with friends and family and she requested this cake–I wasn’t sure if I could pull it off as well as yours, but she ended up loving it! It was such a nice break from traditional cake that most every birthday parties have. I couldn’t have done it quite as well without your step by step approach to teaching, so a huge thank you for sharing!
Hi Skye, Thanks ever so much for your comments. I’m so happy you had fun making this cake! It’s really perfect for so many occasions, when there are dietary restrictions, or when you just want a light option. I’m sure your’s looked fabulous! If you posted it on Instagram. please link to me so that I can see it! Love Jen
Love this idea! I think I will probably make it for my bridal shower
Hi Guivini, Thank you so much for loving my cake! I hope you have a lovely bridal shower. This cake will definitely be a hit, as you won’t have to worry about any gluten, dairy or sugar allergies!! Love Jen
Hi, just want to thank you for this. I made this cake today with 100% Aldi ingredients for a family dinner and it was a hit. It was an even bigger hit in the Aldi Nerd Facebook group with 27k likes, 200 shares and counting. I was very clear in my comment this was not my original idea and have posted your link a few times so people cane find it! They love it! It has been a huge hit. Thanks! Angie
Hi Angie, thanks ever so much for all your kind words! I’m so happy it was a hit for you! Isn’t it such fun to make?! A perfect warm weather treat with no side effects. Have a brilliant week, Love Jen
Good Morning! This turned out absolutely beautiful. Thank you so much for sharing!!! Do you rinse the fruits prior and how many days prior is it okay to buy up fruits, would you say?
Hi Sha, Happy to hear that you had a wondeful time with this cake. Rinse the berries and other decorative fruit only just before decorating the cake. You can cut the watermelon up the day before you want to serve it. Store them in containers in the fridge. Assemble the morning that you are wanting to serve it. The berries can be purchased earlier but like I said, only rinse before getting ready to decorate. Hope this helps. Love Jen
Hi Jen 🙂
This is so Creative! Thank you for sharing this 🙂
May I ask… where (store/ website/ brand?) did you get the wood slab you display it on? Thank you so much 🙂
Take care…. Sue 🙂
Hi Sue, Thanks so much for your kind words! It came from Homesense years ago. It’s a little cheeseboard. Hope that helps, Love Jen
Thank you so much for the recipe. Looks so beautiful and delicious
I can wait to make one!!
Hi Vanessa, thank you so much for your comments. I hope you get to make it one day! Love Jen
Good afternoon Jennifer,
I’m sooo excited to attempt to make this beautiful work of art!!! Due to my granddaughters diet restrictions, and for better health, this would be perfect for her 5th Birthday celebration this Saturday afternoon!
I do unfortunately, (when standing for long periods) get severe pain in my back. I was wondering how long approximately from start to finish this would take? Thinking I should prep watermelon day before.
Hi Carol-Ann, you can definitely space this out over two days. Have the watermelon rounds cut and stored in separate tupperware containers in the fridge overnight. Have all your berries gathered. But don’t wash and dry them till you are ready to use them. The next day you can assemble the cake and decorate. Once you have the rounds assembled, it won’t take long to decorate! Love Jen
The first thing that caught my eyes was the raspberry with the blueberry in it! What a beautiful Summer treat!
Hi Jacquie, Thanks so much for your kind words. That was a total fluke, and yet so many pick up on it! Love Jen
Hi Jen, How to make sure the bottom/1st layer of the watermelon is not moved/slipped?
Hi Fiz, sorry for the delay in getting back to you. I really wouldn’t assemble if you are still going to transport it somewhere else. This is best assembled where you want to serve it. Or place the base in a rimmed dish that is not too much larger than the bottom round. Hope this helps, Love Jen
This is absolutely stunning!
Hi Dina and Bruce, Thanks so much. It really is a lot of fun to make. Perfect summer center piece. Love Jen
I tried this for my niece’s wedding shower just a few days ago. It was such a hit! It was truly a great summer treat and a healthier option. I added peaches as a fun twist and added the leftover fruit to the base. Thanks for the inspiration!
Hi Sandra, so happy you had fun making it. It’s such a great showstopper. And light and healthy for all the summer gatherings. Love Jen
Hi Jennifer,
Is there any way I can slow down or prevent the weeping of the watermelon juices after cutting it? I intend to cut it in the morning and assemble it for the evening party.
It’s a great idea to serve a healthy “cake”. Love your idea.
Thanks in advance.
Jacq
Hi Jacq, the best I can suggest is to cut out the rounds, place them on paper towel to let the excess juices drain. Also line the plate or tupperware you are storing them in with paper towel. You should be fine if you are going to serve them later the same day. Hope this helps. Love Jen
Thanks Jennifer, will give it a go.
Its for our 20 years of friendship anniversary coming up soon.
Think I should test out with a small one first.
Hi Jacq, hope it goes well. Let me know, or share a photo over on Instagram! Love Jen
I am so very grateful to have stumbled onto your blog! I am a member of a TOPS group (stands for taking off pounds sensibly) and wanted to bring a cake to a birthday party for one of our members. What a perfect choice! I told everyone about your instructions! If I can find a way I will post a picture of mine.