Spring has finally hit Toronto, and with it comes all the Spring time baking.
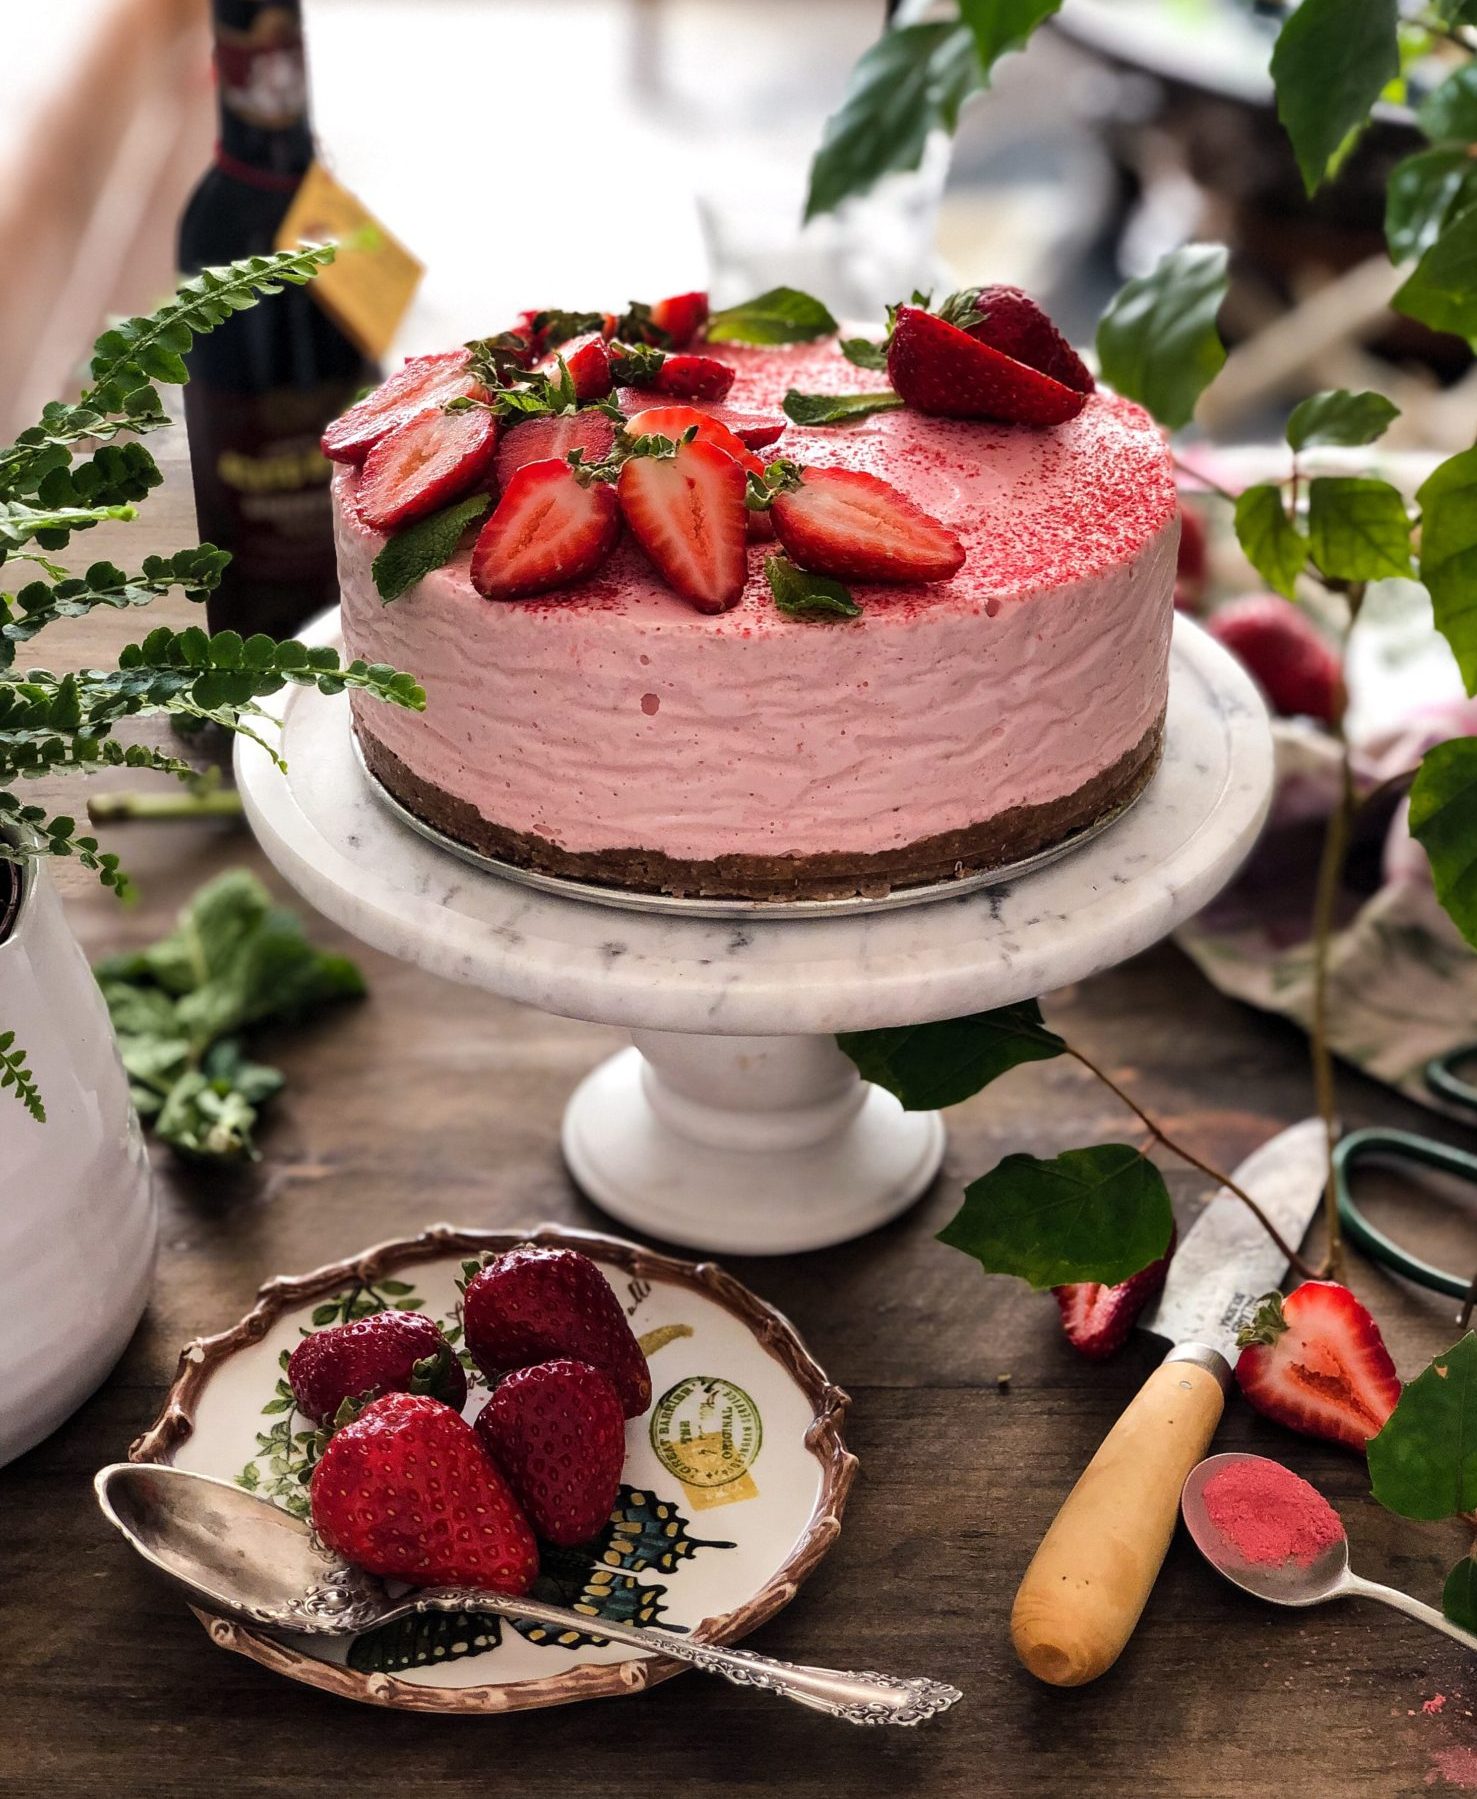 Already I’ve been busy with the early rhubarb. And thankfully Delfresco’s greenhouse YES!Berries Stawberries are available year round so that I can tap into them to combine with all my rhubarb recipes.
This post has been wonderfully sponsored by DelFresco, and their amazing Ontario grown sweet strawberries. It’s lovely to know that I can use local berries, as opposed to the ones shipped over from South America or the States. Yay local!! You can find them in most any grocery store. And they really are gorgeous juicy, sweet berries, so it’s a win win!
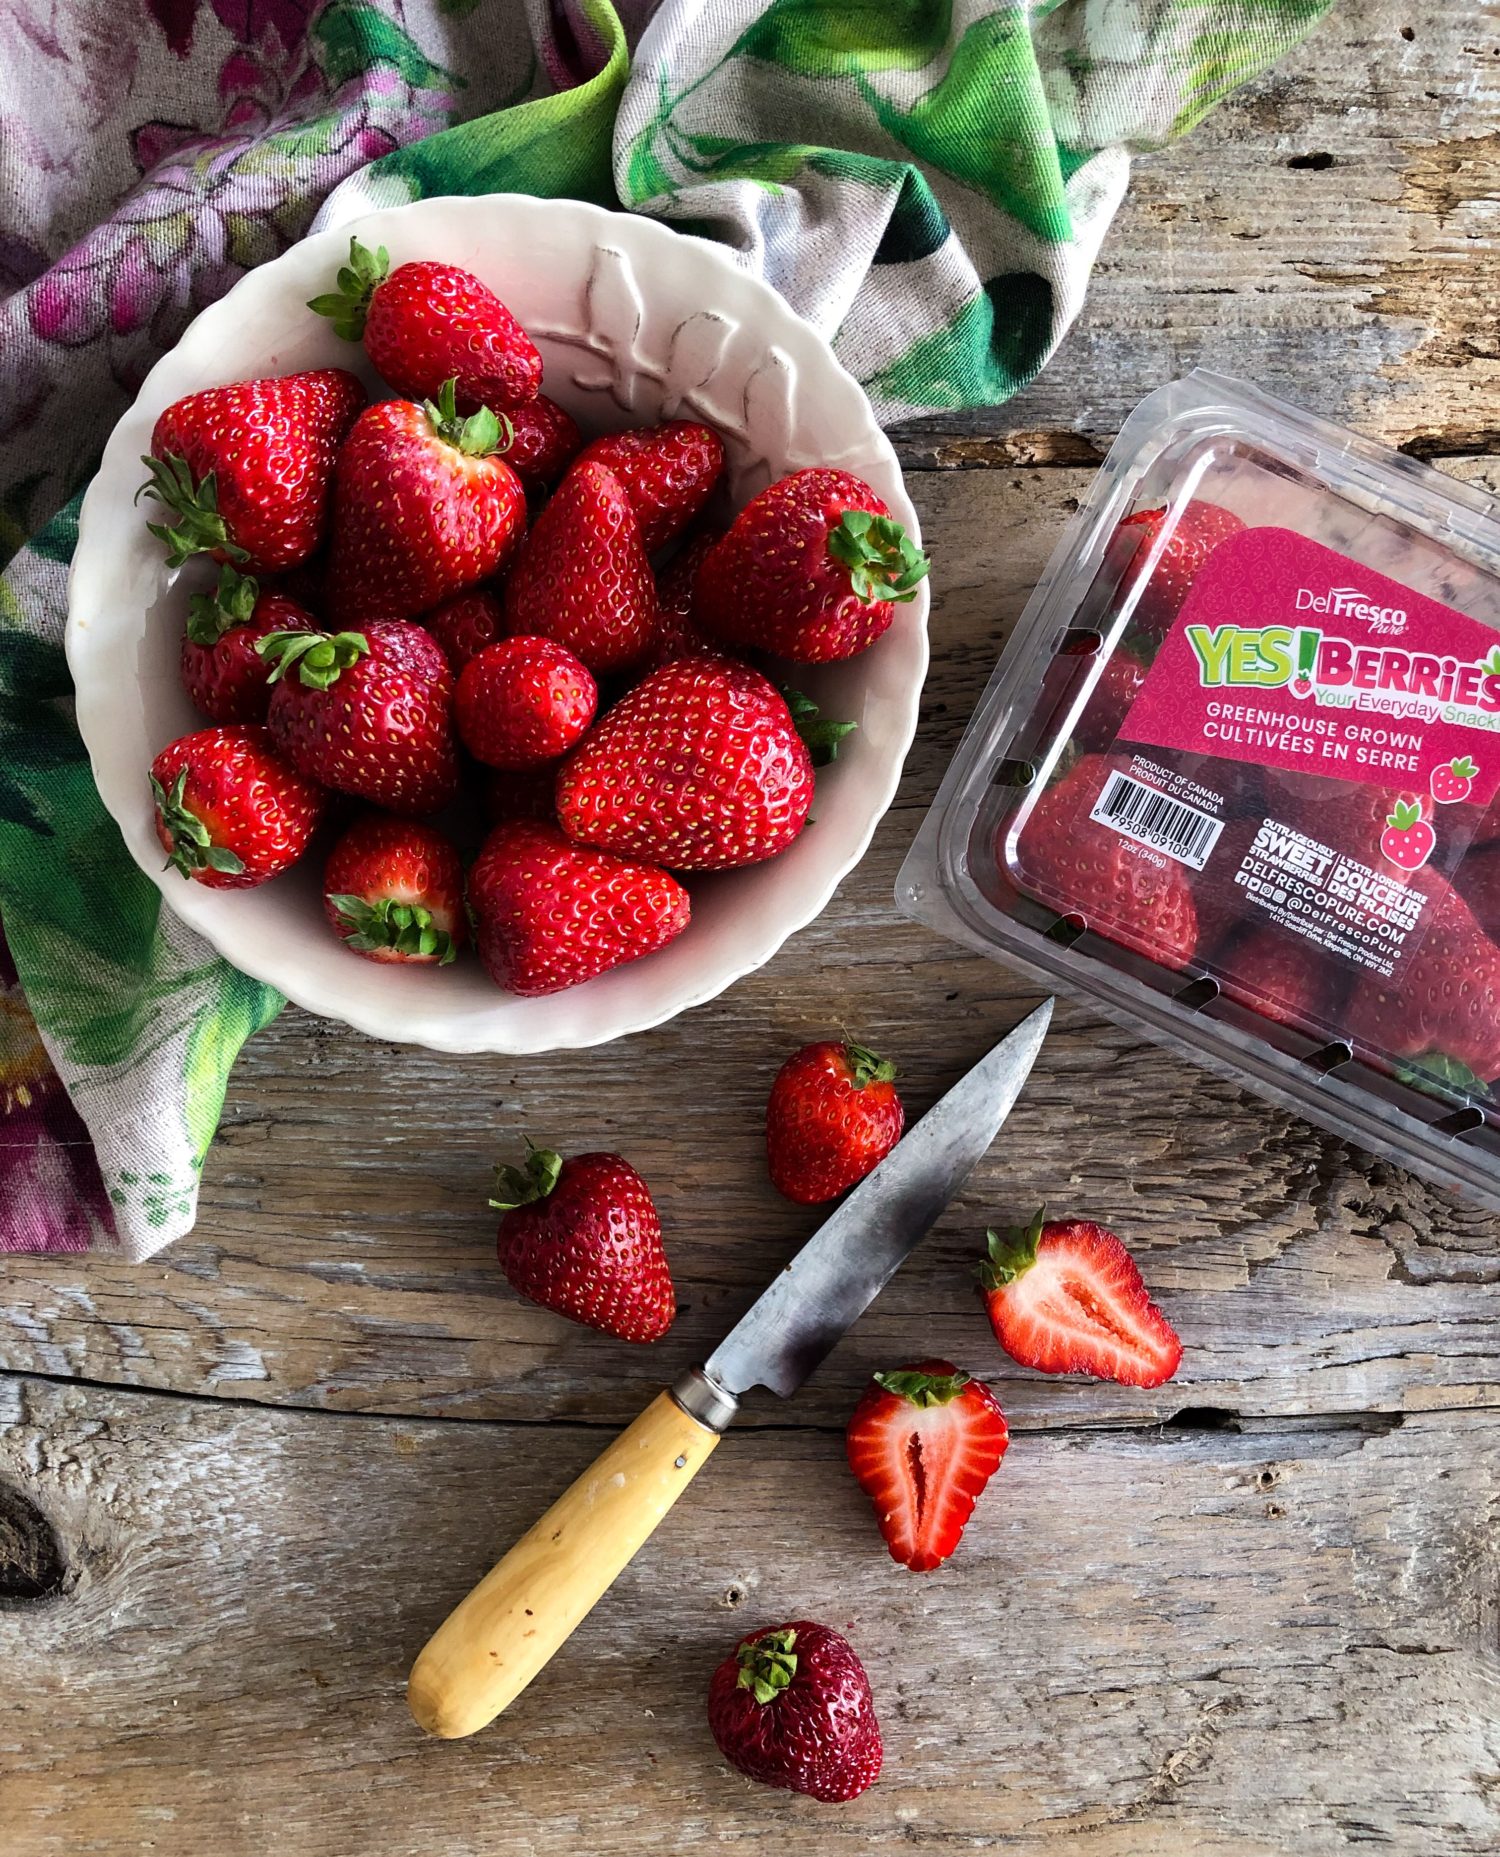
Since the weather has been warming up (even if a tad slowly) by the time summer hits, this girl definitely doesn’t like the oven on any more than necessary. Here in my condo, despite the central AC, the oven really does add such heat and humidity. So I thought it would be great to come up with an entirely No Bake dessert. Using berries made the idea of making a cheesecake a no brainer.
A good cheesecake, whether baked or not, depends on the texture to become a winner. And I didn’t want to use the old standbys of gelatin, cool whip or packaged puddings etc. This way the recipe can be totally vegetarian. So stabilized whipping cream is my go-to for ensuring that the cake is creamy, not too heavy, and will not be runny. Adding icing sugar and some cornstarch is the best way to keep whipping cream stable for a variety of uses (say you want to cover a cake with whipped cream, or piping etc) so this would be my ammunition. Adding cream cheese, a bit more icing sugar and the fruit, and we’re all set.
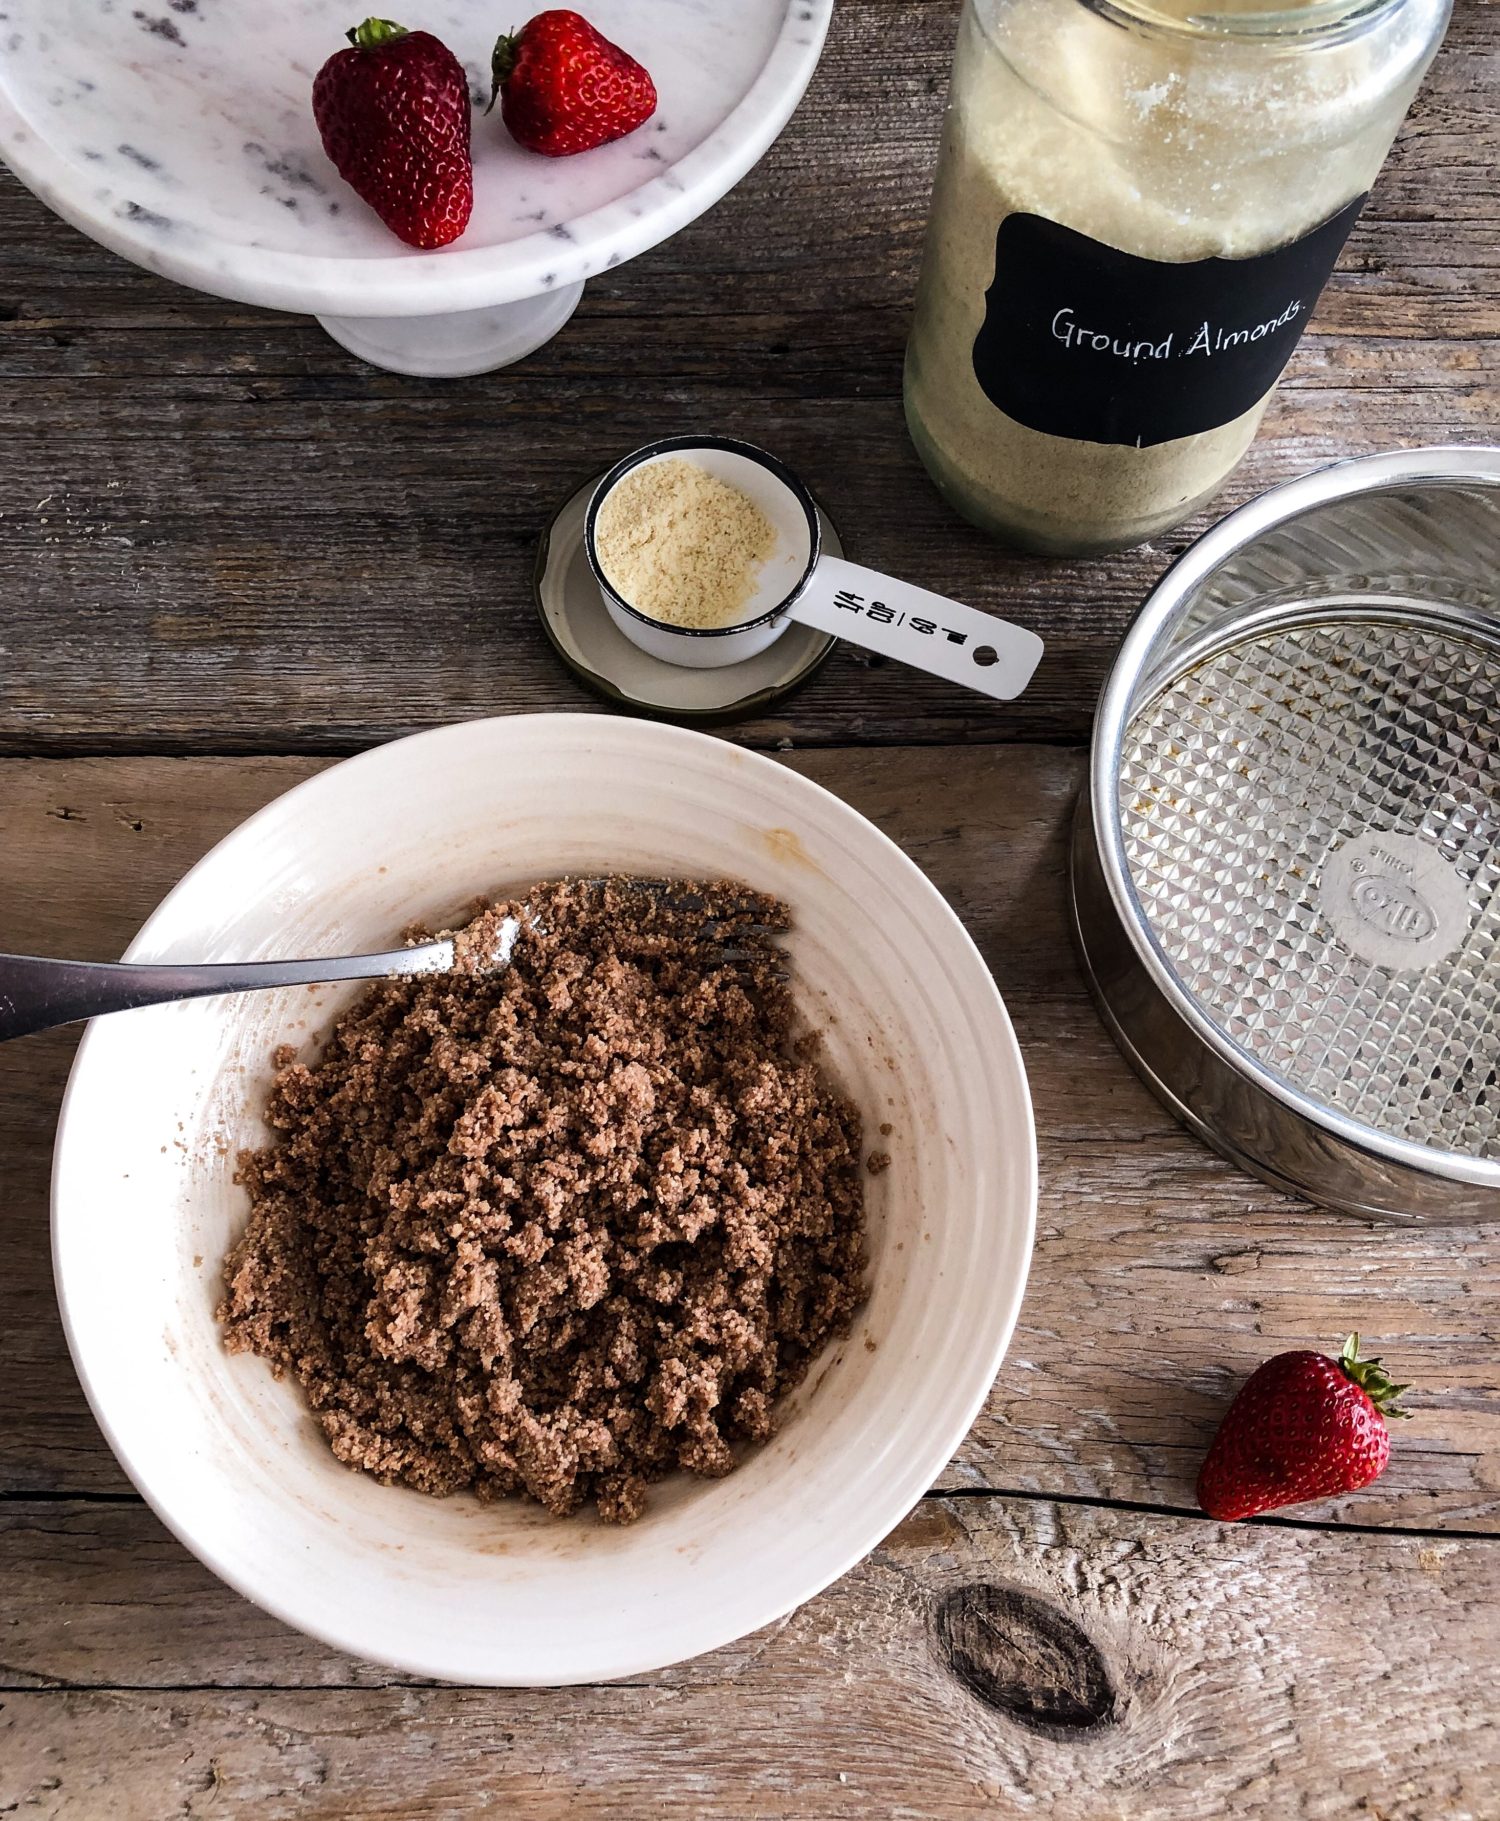
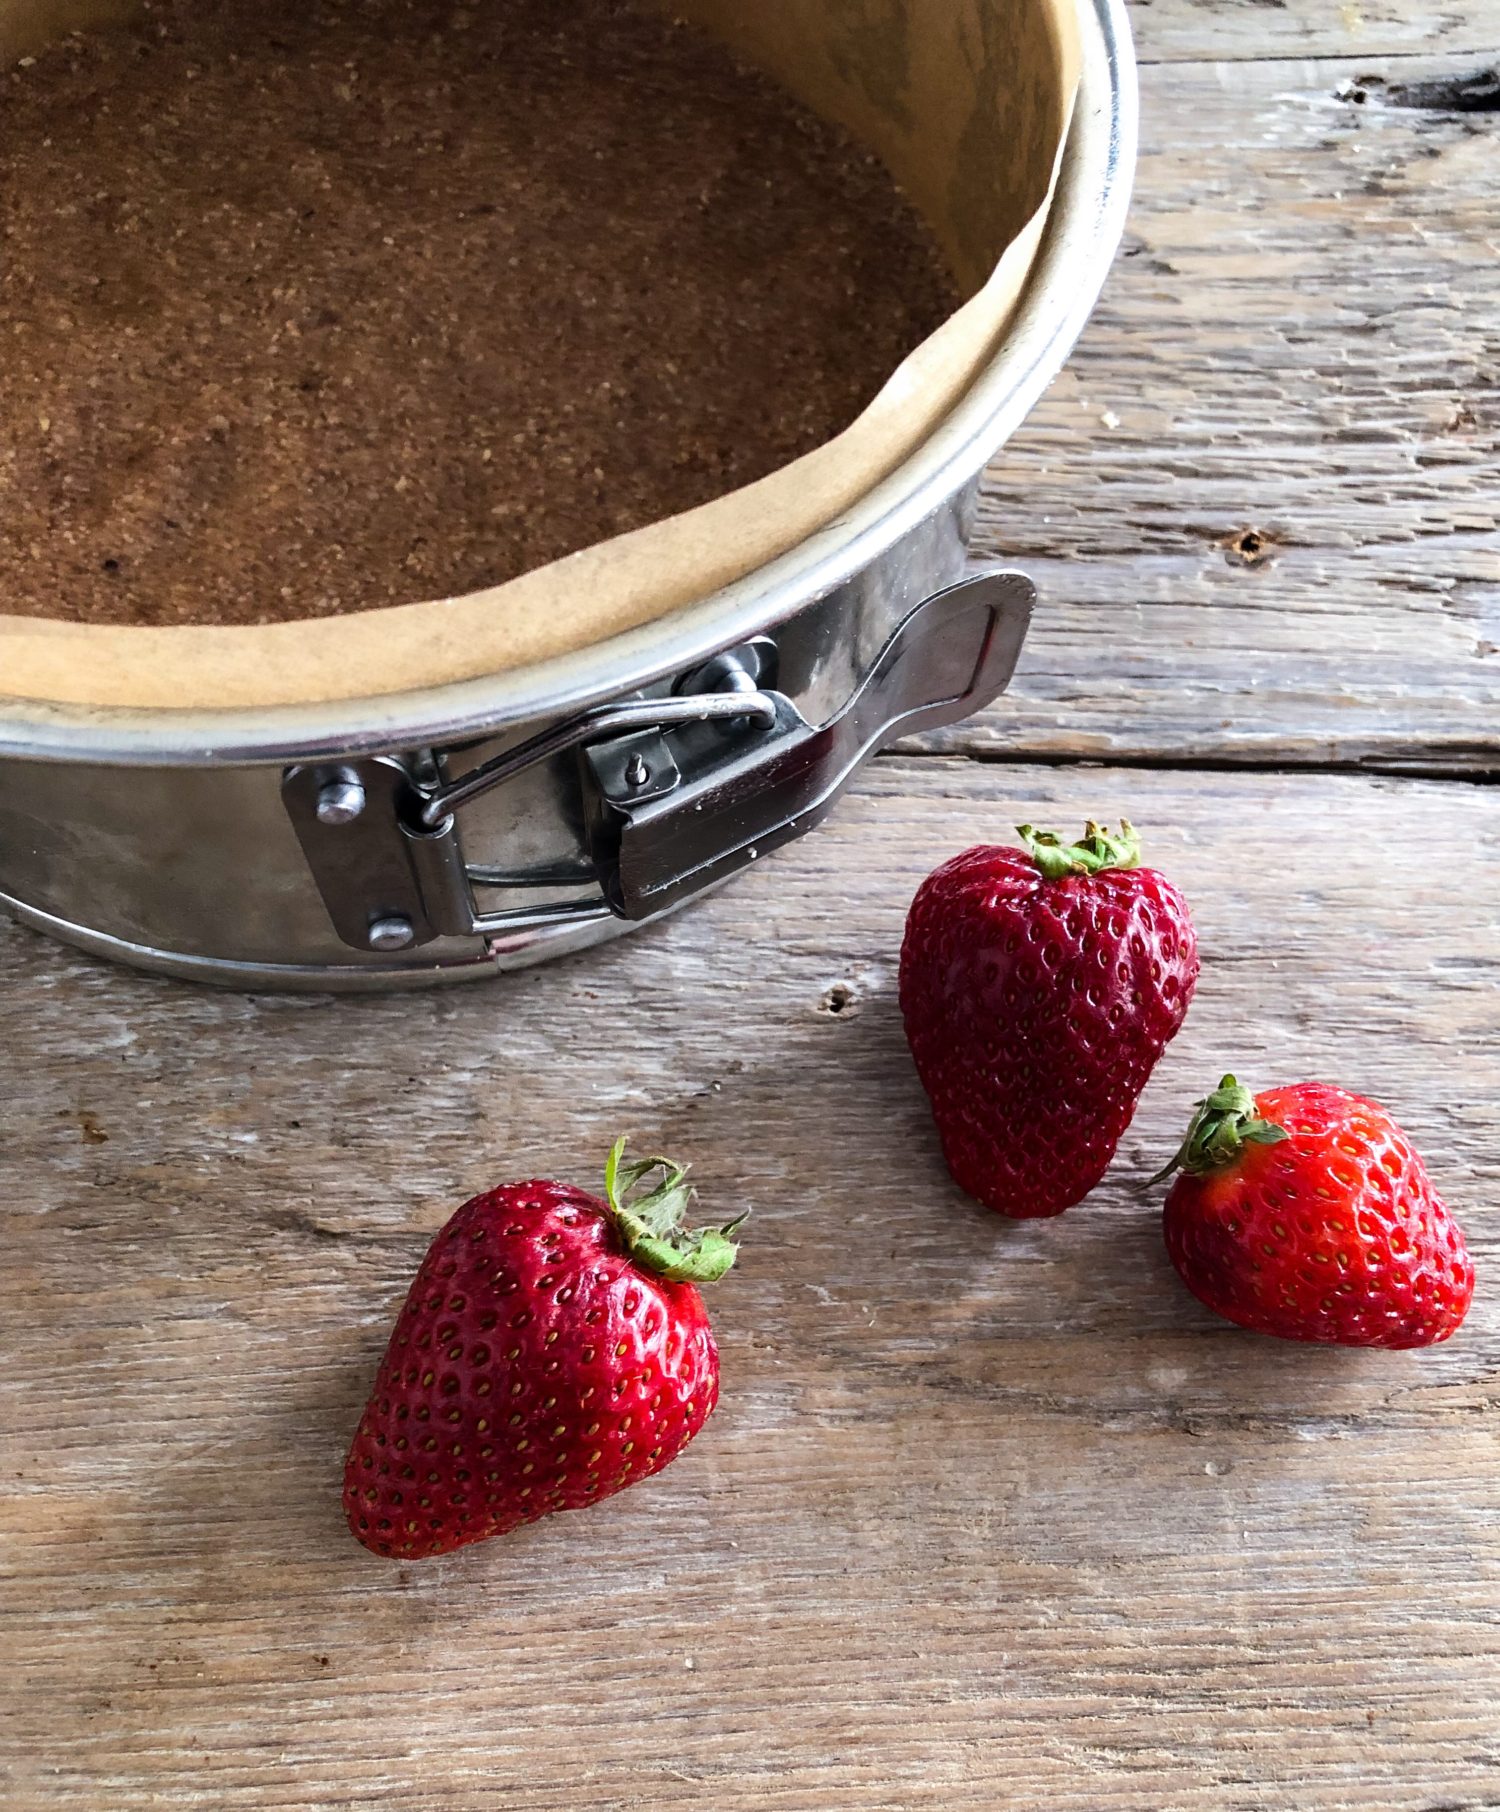
The other aspect of a winning cheesecake is the crust. I truly wanted this recipe to be No Bake. This includes the crust. Ten minutes in the oven is ten minutes too long, in my book. And I didn’t want to use the heavier, denser crusts that depend on ground dates as a binder- the contrast to the more delicate filling would be distracting. They wouldn’t balance. So I decided to use ground almonds, and butter. Yep, oh, and a bit of sugar and a smidge of cocoa powder. The reason for the cocoa powder? Not so much that the crust has a chocolate flavour, but to mimic the look of browning that would usually occur in the oven. Just a bit of pressing into a sprayed and lined springform pan and placed into the fridge, and it is ready to go. This can easily be The No Bake Crust for all your cheesecake needs. Oh, and I browned the butter first for an extra nuttiness and depth of flavour. It’s just the best step to never leave out!
But what would truly set this cheesecake apart? Don’t you just love balsamic roasted strawberries?! You haven’t tried them yet? Do yourself a favour and do it. It’s just a matter of spreading out the berries onto a lined baking sheet and drizzling them with good balsamic vinegar and a bit of sugar. The heat accentuates the best of all the ingredients. The result is a perfect compote to serve over ice cream etc. But I promised that this recipe would be oven free. So this time around I am asking that you use the best, most dense balsamic vinegar you can get your hands on. The kind that drips slowly. The kind that is the most decadent syrup over fruit or cheese. The initial cost for a bottle may be a bit more than usual, but it will last forever! This is not the balsamic you would make salad dressings etc with. This bottle will be saved for special occasions. But it’s worth it. If you really can’t find that bottle, then you would have to take a balsamic vinegar that is more runny and reduce it one the stove top in a small pot. Over high heat add about 3 tbsp and cook down till you have about 1 tbsp.
In a small blender/chopper or immersion blender you will blend up the berries with the balsamic syrup and some strawberry jam until you get a mostly smooth consistency. It’s alright if bits of strawberry remain, they will be a lovely accent throughout the cake. The jam is there to add some extra stability as well- the pectin in it will help add natural gel. Don’t use a larger Vitamix type blender or food processor, there isn’t enough material to grab in such a large container, so it all won’t get ground correctly. A mini chopper or NutriBullet type blender is what you want here. I used my old NutriBullet that I save for grinding spices, and I got a perfect purée.
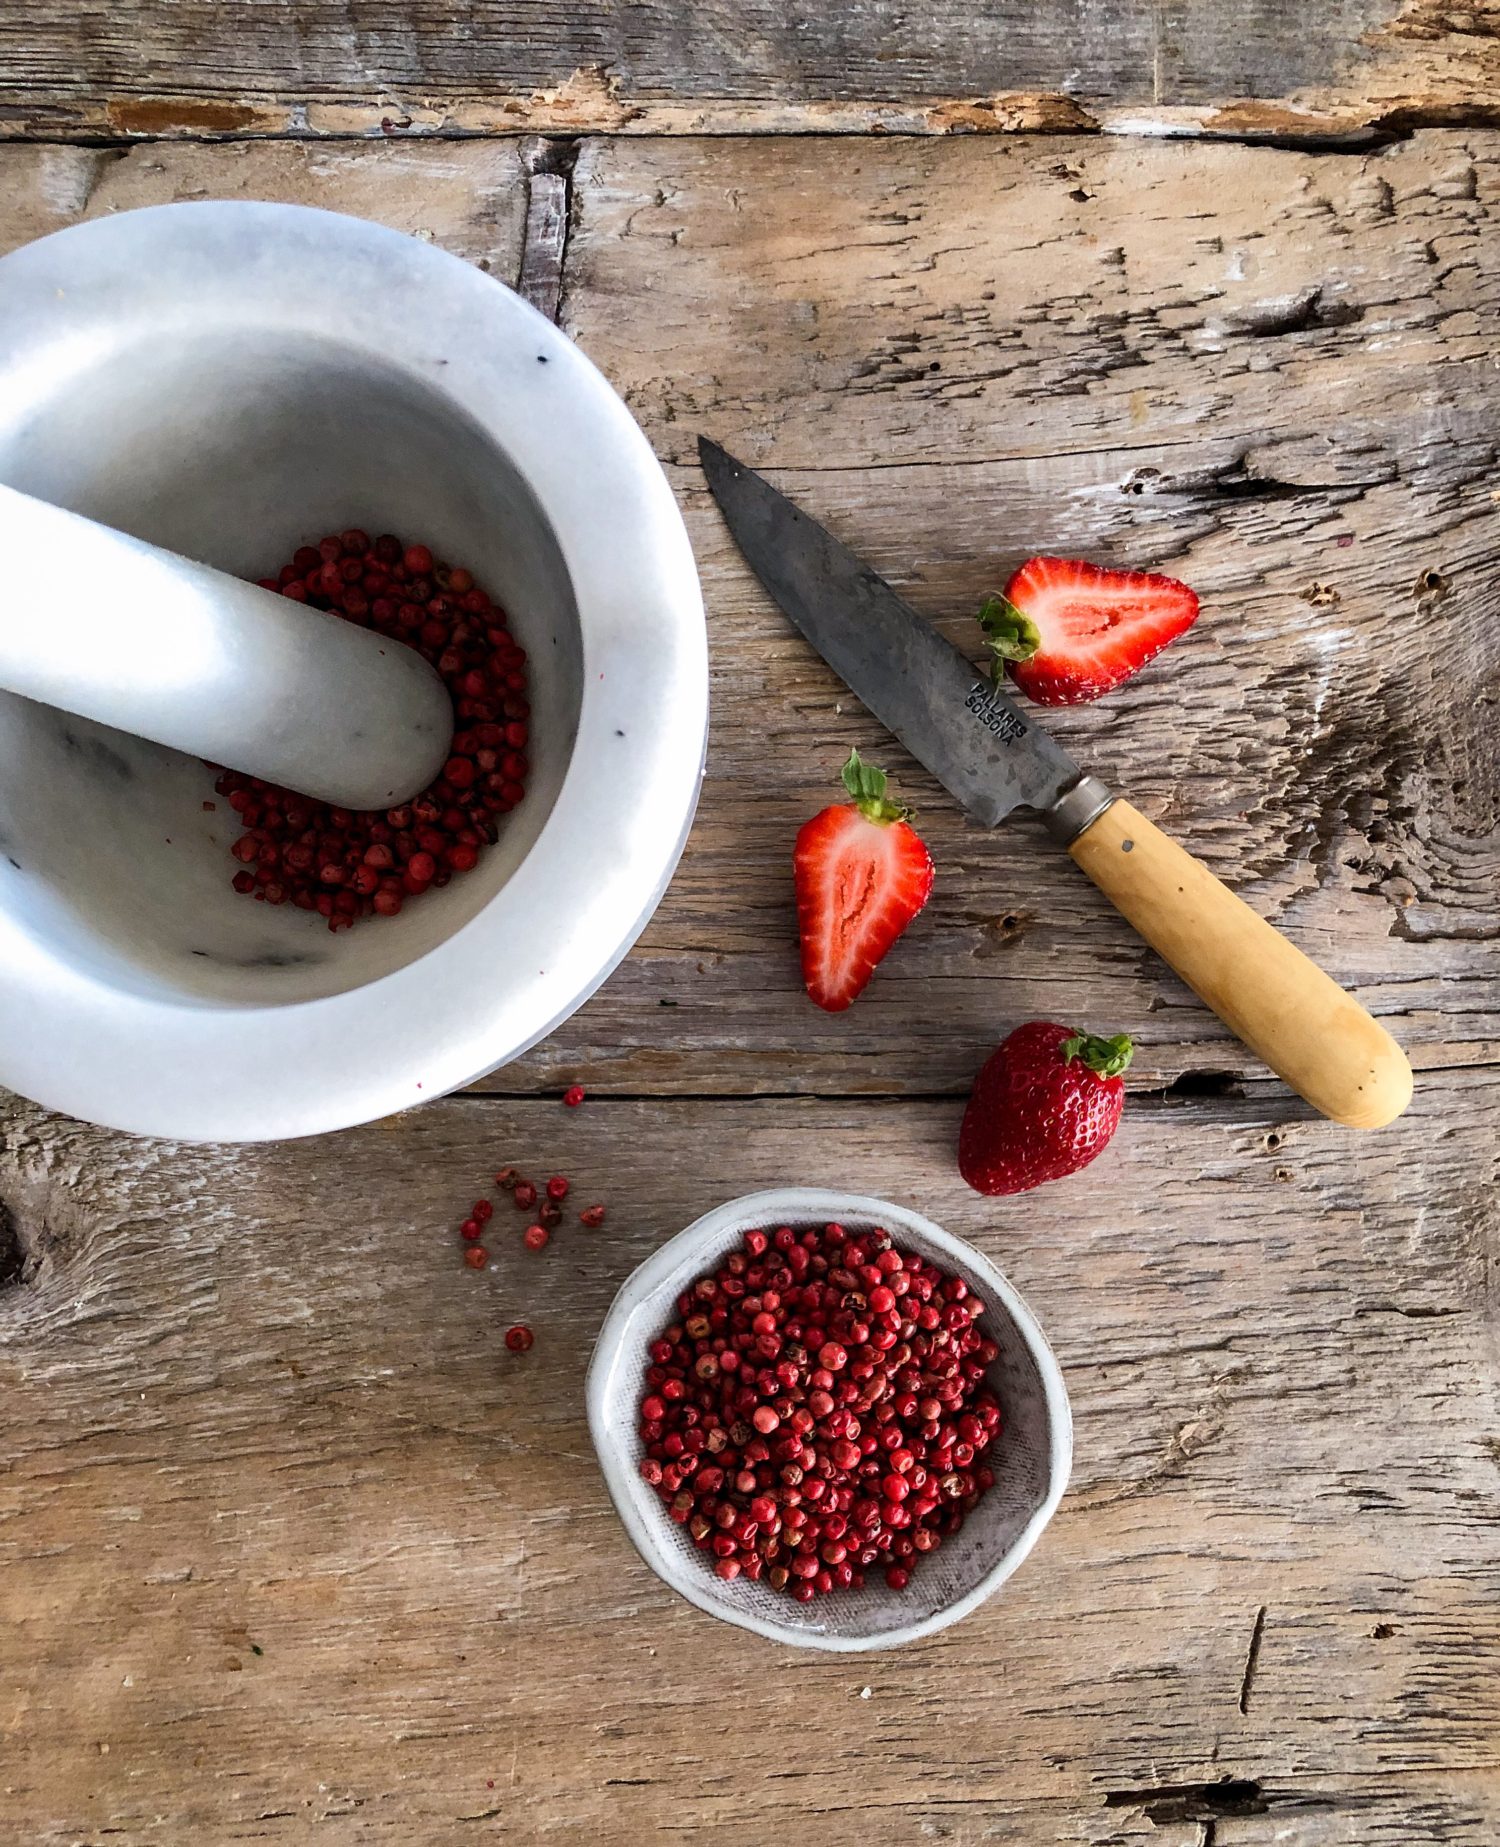
The other addition that will make this a really special and memorable cake: pink peppercorns. You read correctly. Pink peppercorns. They aren’t actually true peppercorns at all. They are the ripe berries from the Brazilian Pepper tree. The taste is similar to regular black pepper, but they’re less sharp and have a subtle sweetness. They have a light citrus flavour with a rose-like aroma. They don’t require grinding or soaking, since they are softer, and can be eaten whole or raw. They are easy to crush with a knife or mortar and pestle. Just don’t use a blender/chopper, as the skin is soft enough that it will clog up on the blades. Their lovely flavour will add a perfect depth to the strawberries and the creaminess of the filling.
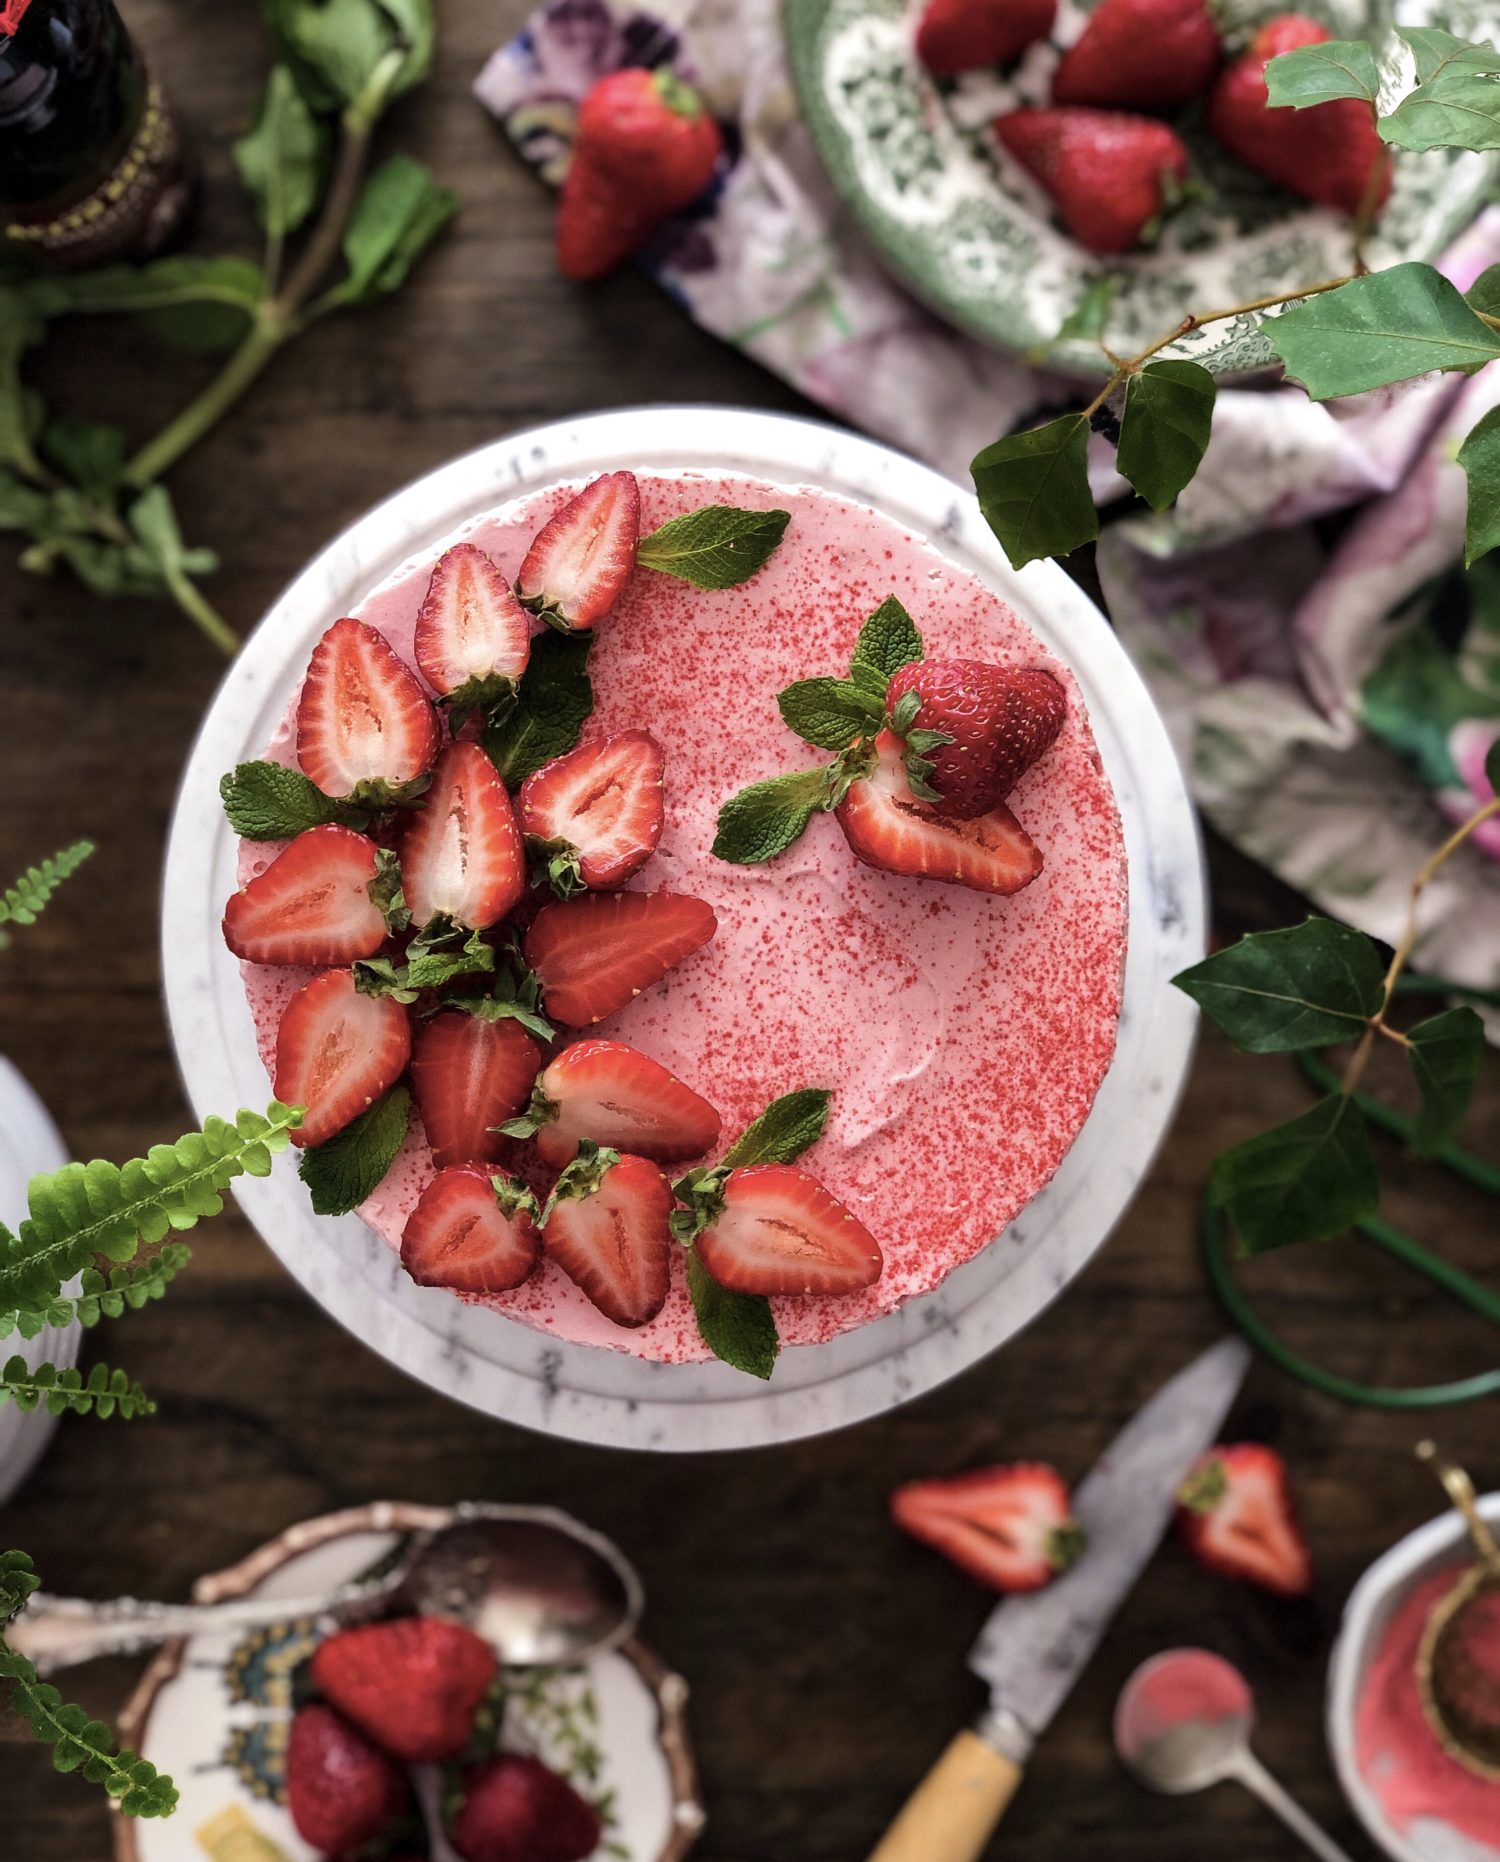
Now I’m going to let you in on a little secret. I already outlined the basics for the berry portion of the cake filling. There is one more addition. Freeze dried strawberry powder. Have you worked with it yet? It’s available in more and more grocery stores. Come on, Walmart carries it! And for sure you can find it online. It is basically dried fruit which is then frozen. The frozen fruit is then pulverized with a touch of arrowroot or cornstarch powder. You can purchase it in canisters or resealable bags. The reason why it is so fabulous to have on hand: intensity of flavour and colour. Since it is all natural, it makes for a fabulous colouring agent, as well as adding extra flavour to whatever you are adding it. So your smoothies, muffins, batters, etc can all take on the flavour and hue of the fruit. These days you can get blueberry, raspberry, dragonfruit, etc as well. Have fun exploring this great product for yourself. I added about 3 tbsp to the filling. I also dusted the top of the cheesecake with a bit more. If you just can’t be bothered, no worries, the colour and flavour of your cheesecake will just be a bit milder. But you can make up for it with a great strawberry coulis or sauce to pour over the finished slices if you want 😉
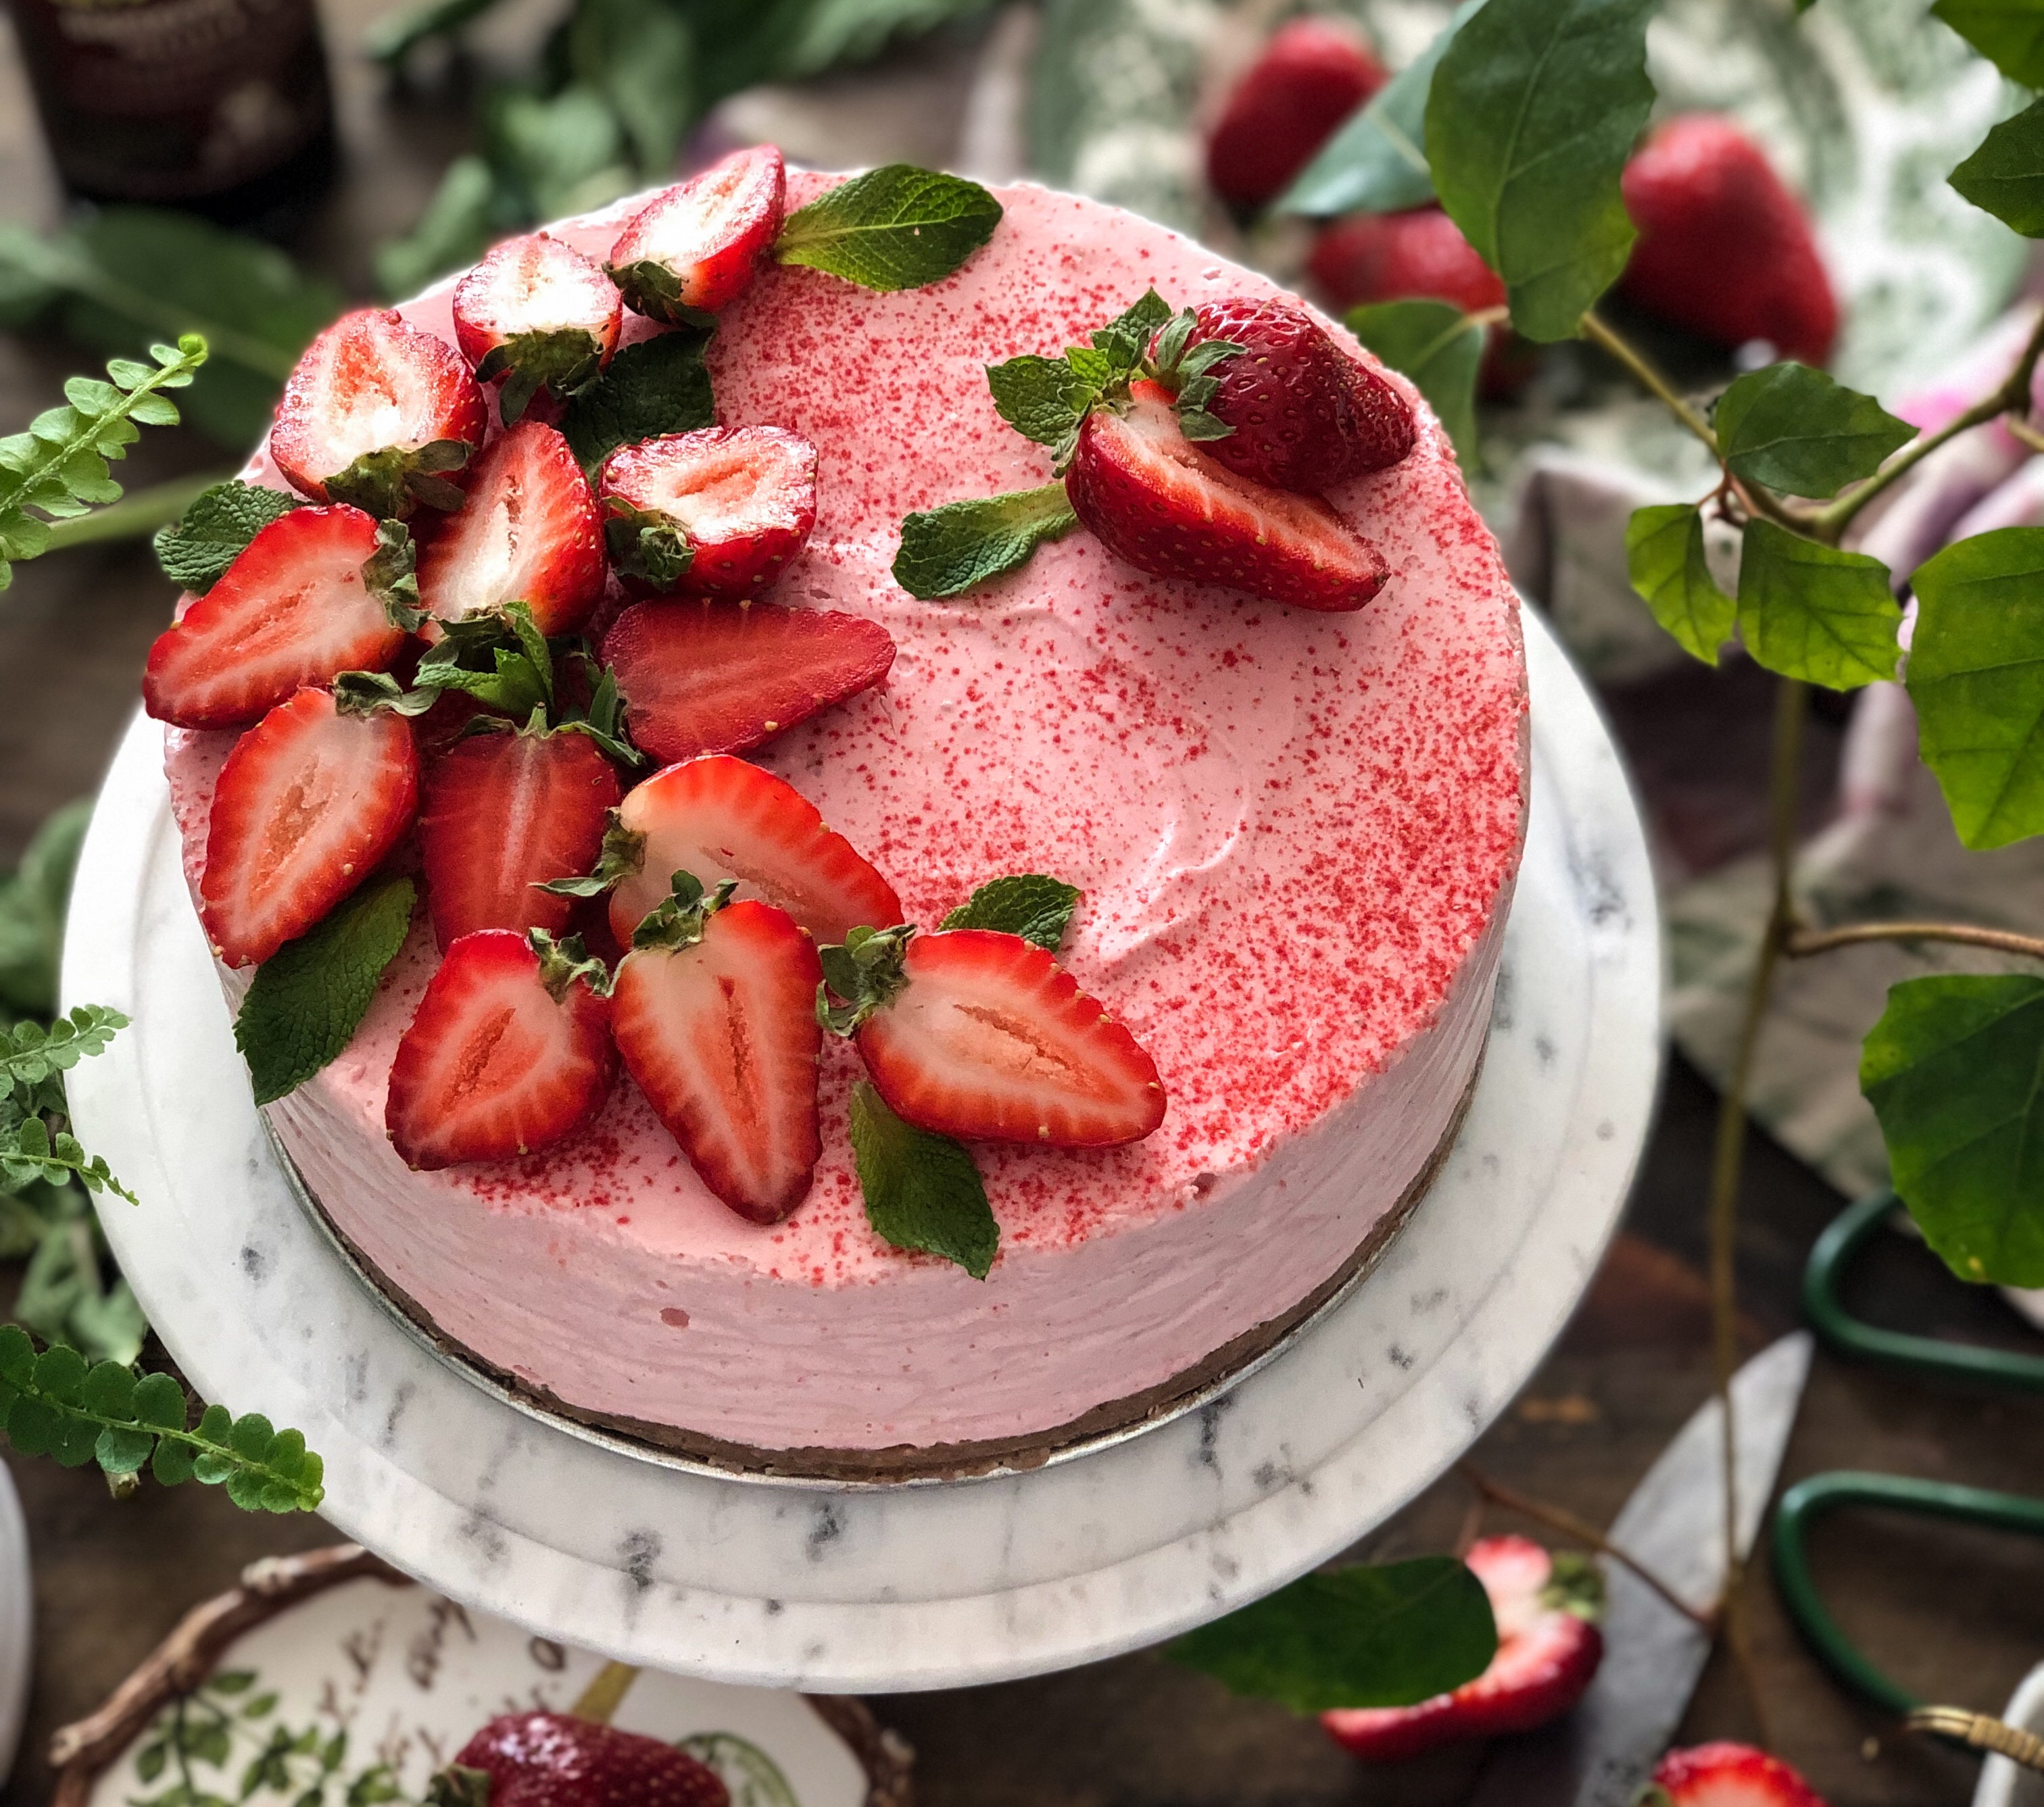
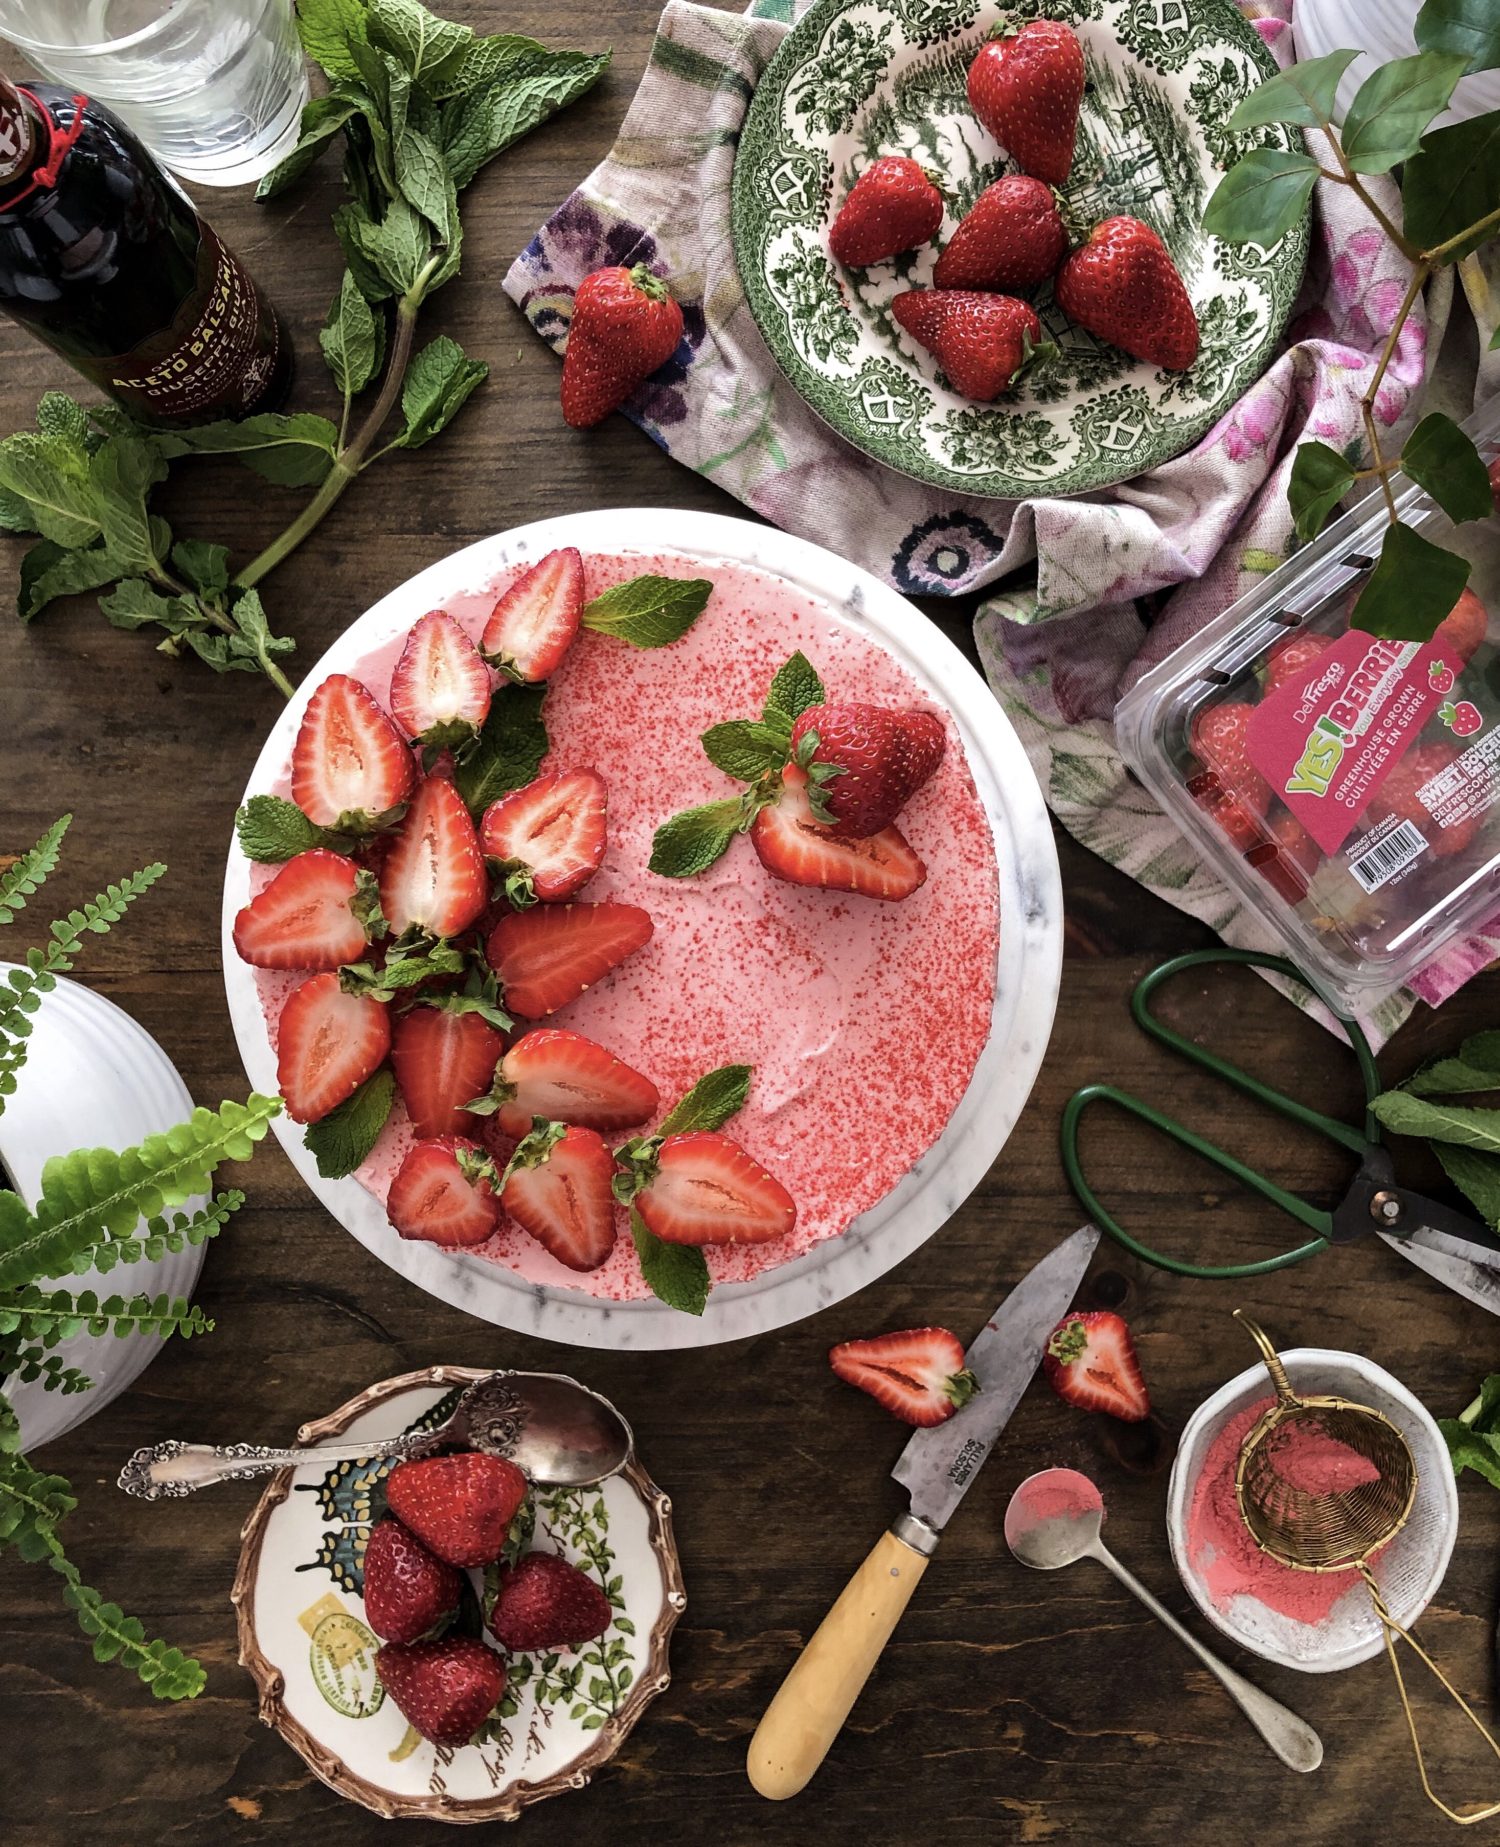
So there you have the main ingredients of this cake.
Trouble shooting a no bake cheesecake:
If you find that yours doesn’t set correctly, there are two reasons. First of all, you didn’t use full 35% or higher whipping or double cream (like Devon cream from England). This is crucial. These days 40% cream is more and more available in grocery stores. The other mistake is trying to get away with using light cream cheese. Please don’t use low fat for this recipe. The fat is what is depended on to achieve the firmness you want. The other reason may be that you over whipped it. Start with room temperature, but not warm cheese. This is not a time to be over blending the cream cheese and sugar either. Stop as soon as they have combined.
The other key to a stable filling is to whip the cream separately. This gives you total control over what is happening to the cream. It is easier to see if it is whipping to stiff peaks correctly, than trying to add it to the cream cheese and expecting them both to blend and create those firm peaks. Whip the cream. Then once done, add a small portion to the creamed cheese, sugar and fruit, and fold gently. Then add the rest of the whipped cream and fold evenly. It should still have a firmness to it. Once filled, place the springform pan into the fridge for at least 8 hours or overnight. Don’t decorate till just before serving.
If you find that it just isn’t setting the way you would like, you may have no recourse but to freeze it. Which is fine, as far as I am concerned. The texture is on the way to ice cream this way, but on a hot day, is this really a bad thing?! When you know you are getting ready to serve it, transfer it back to the fridge to thaw for about 20 minutes, so that it will slice easily. For the photos below, I did freeze it briefly, just so that I could take the photos I wanted without too many issues, since the cake would be sitting out for a while. When you are serving this cake, you won’t have the same issues or time constraints as I was dealing with.
Also, this is a great time to pull out your small offset spatula and put it to work. It is great for smoothing out the top before chilling, and it is perfect for sliding under the crust to remove it from the parchment paper when slicing and serving.
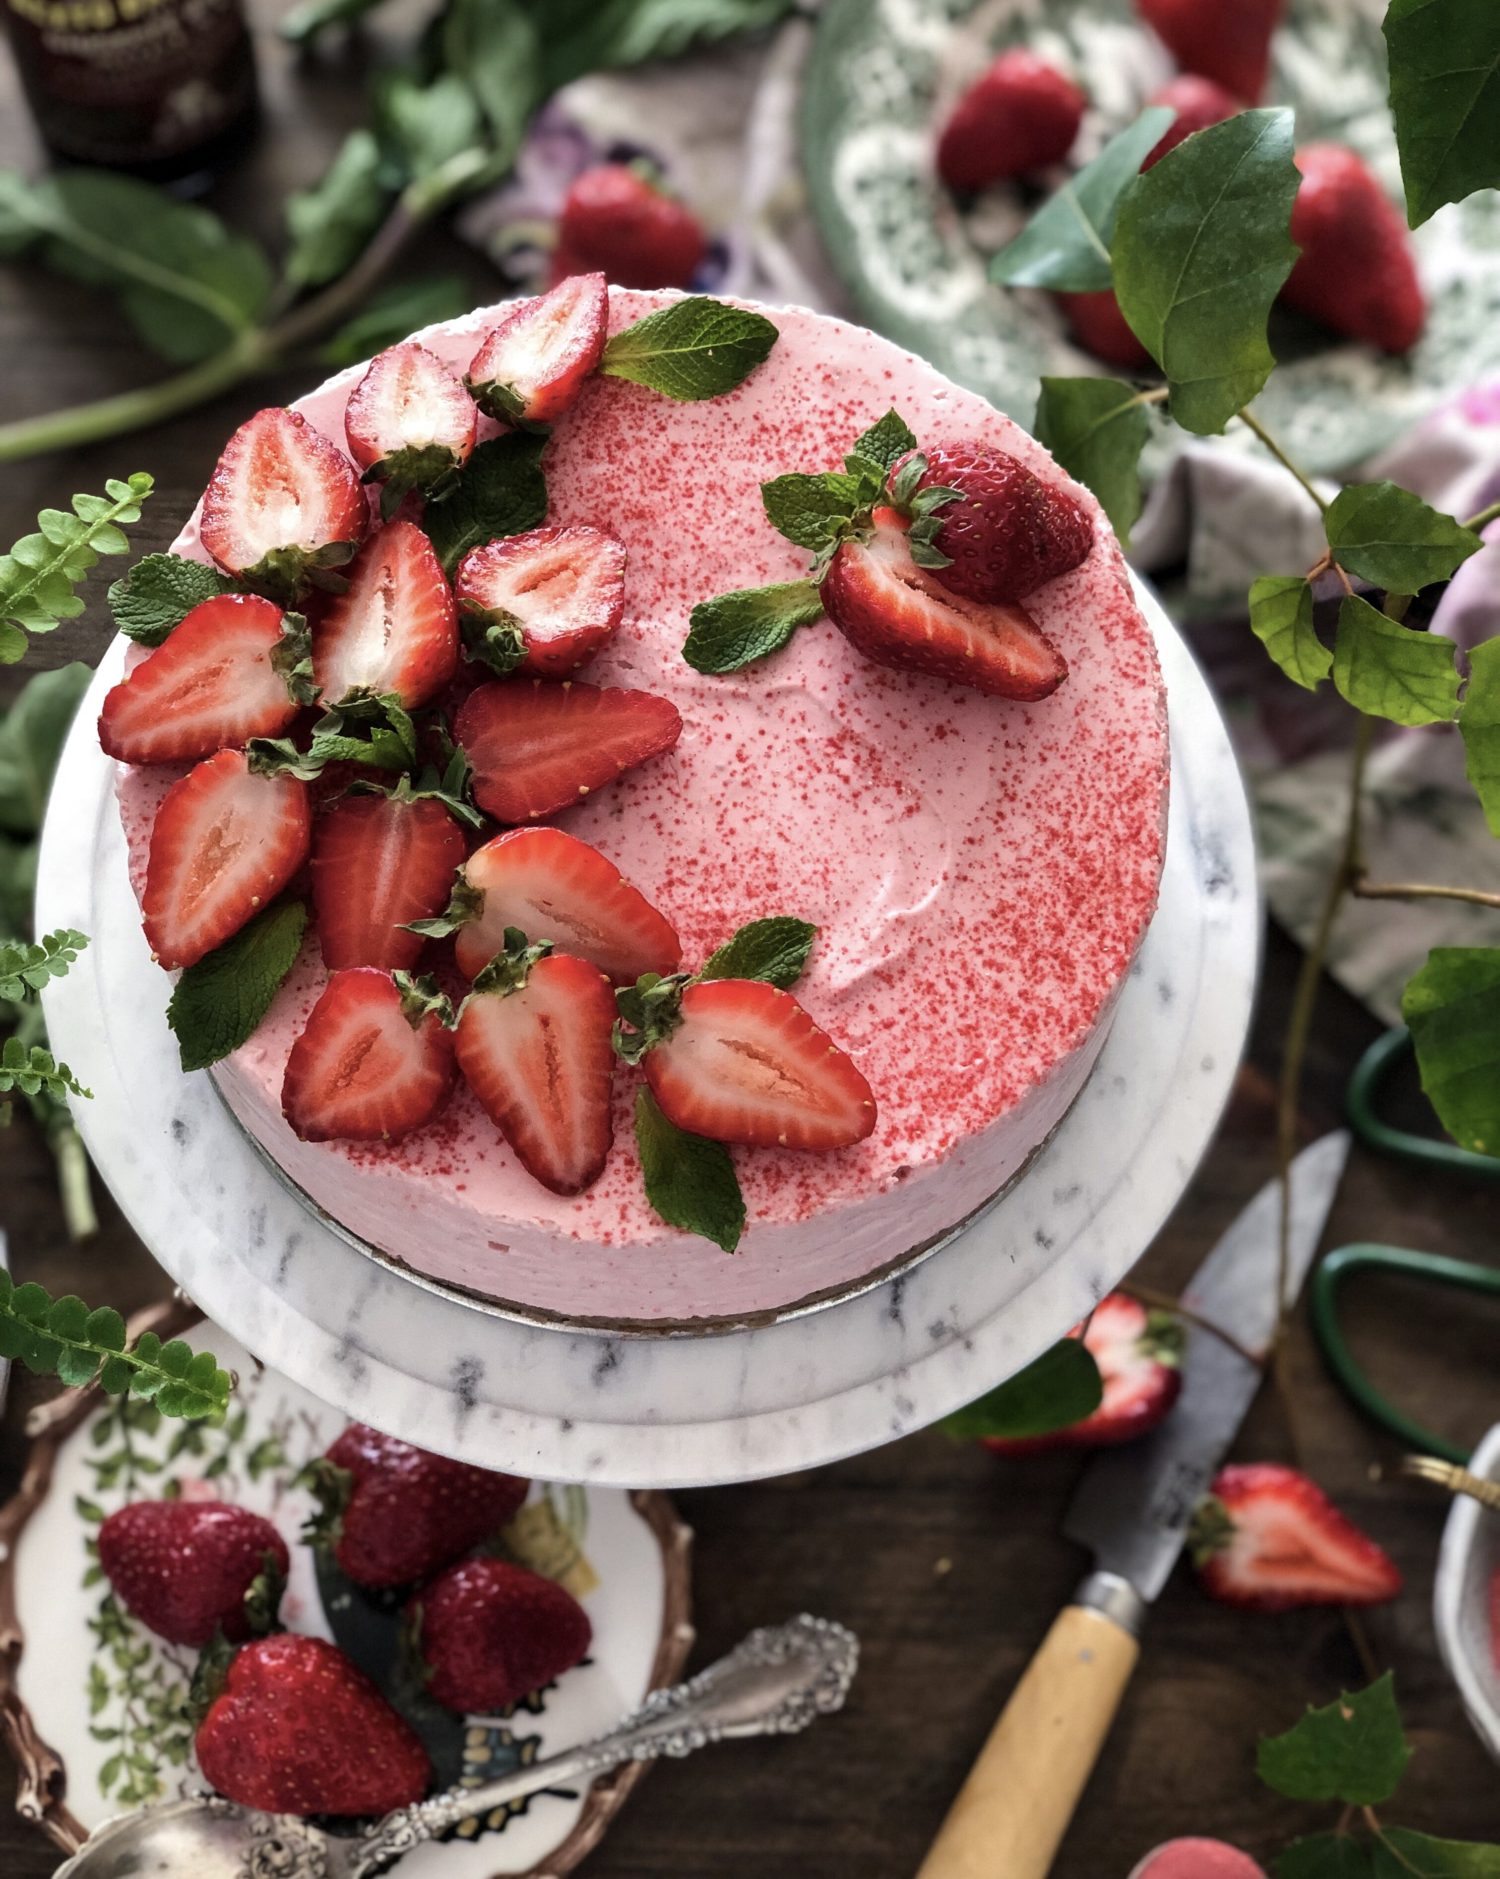
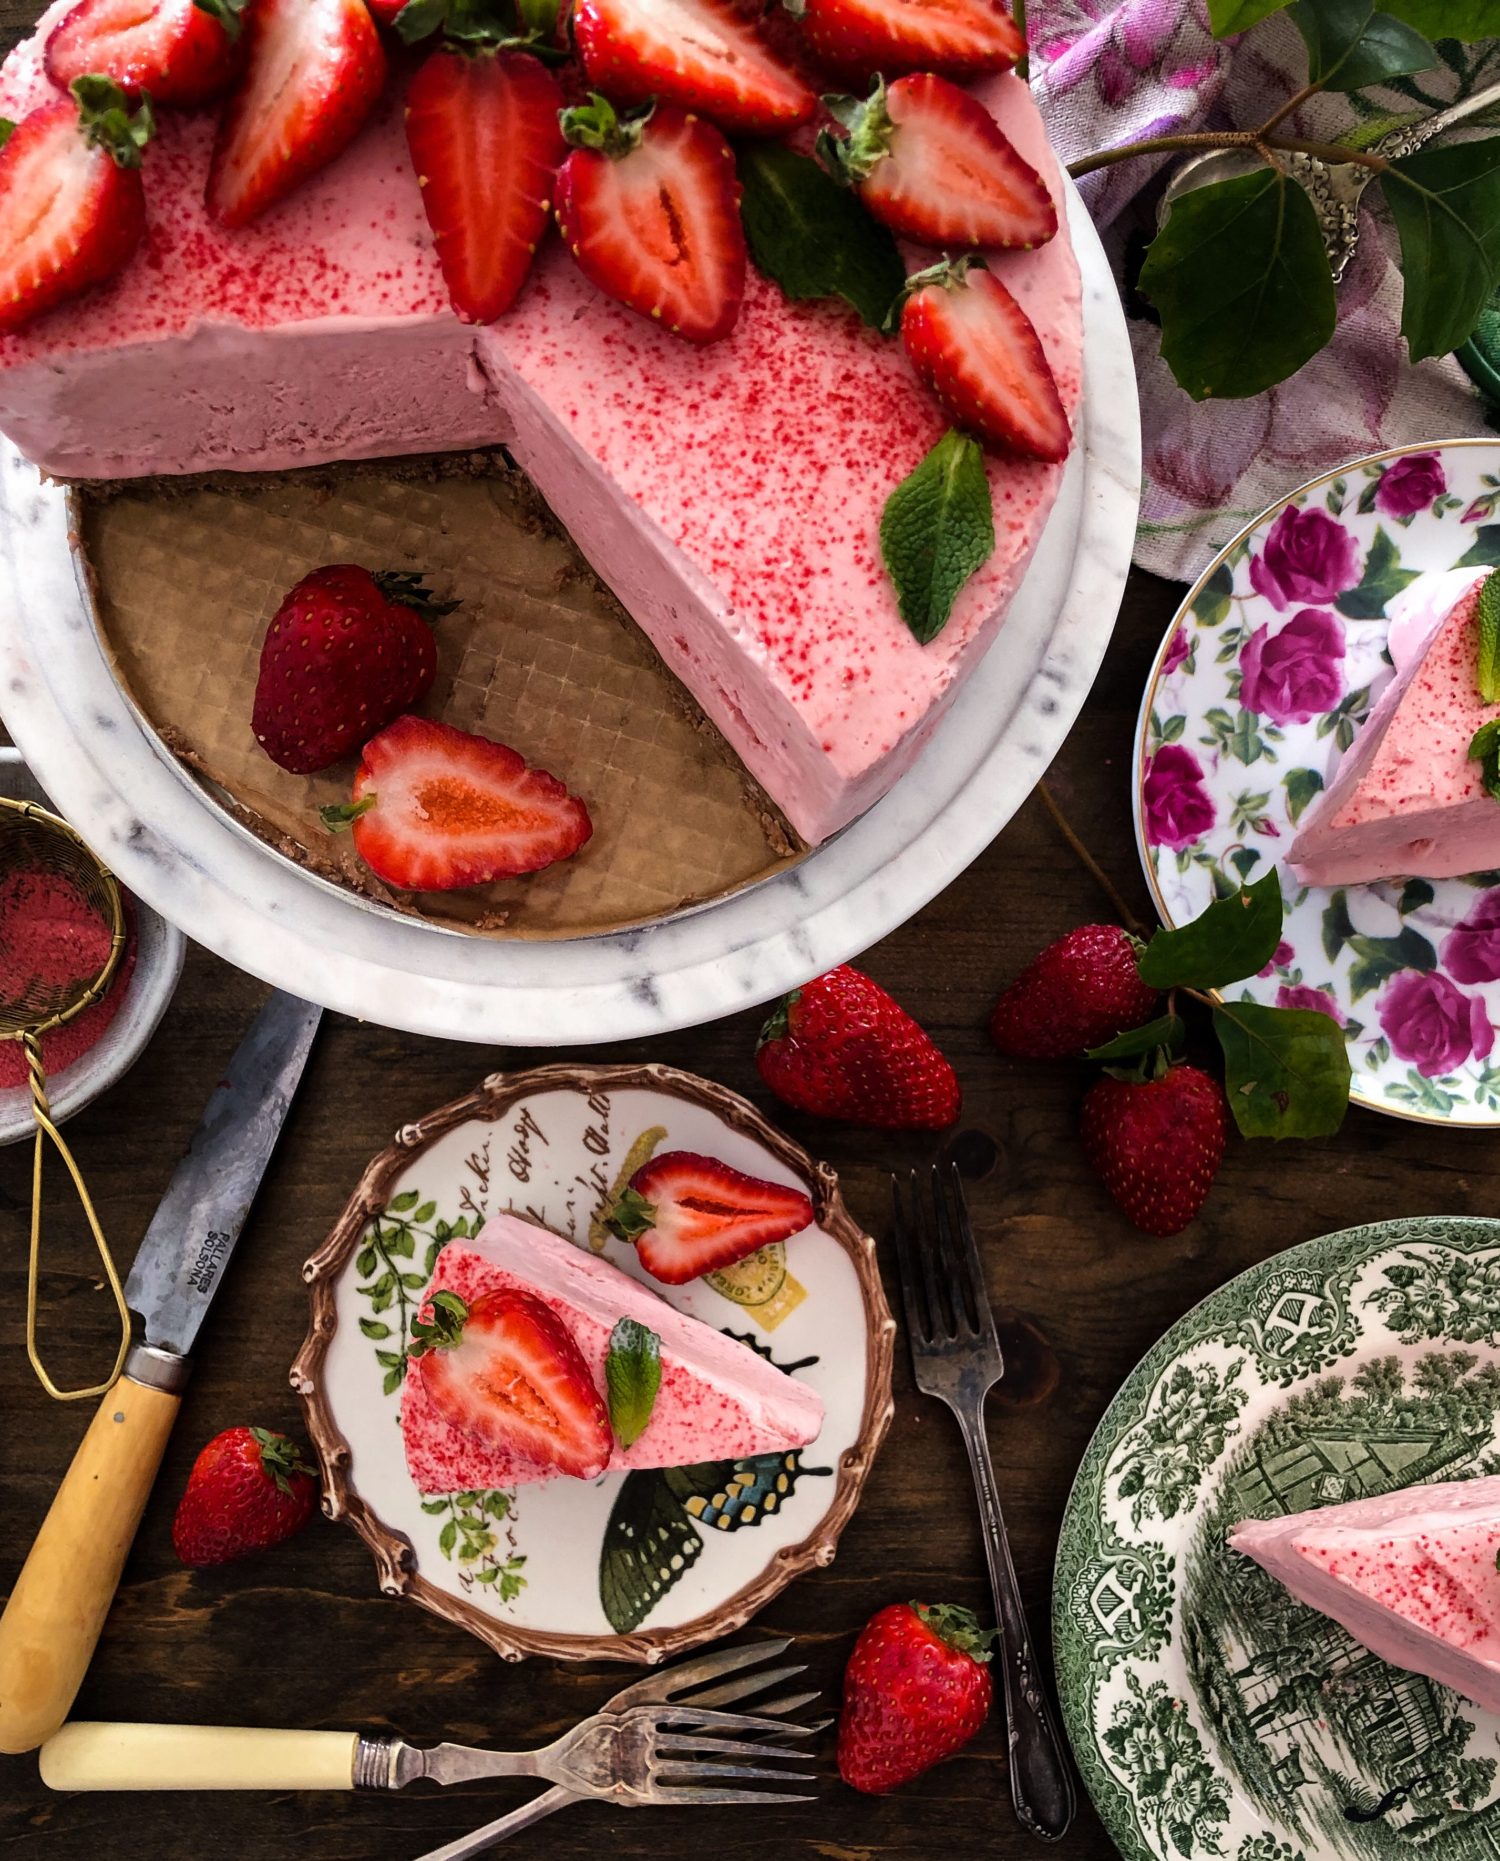
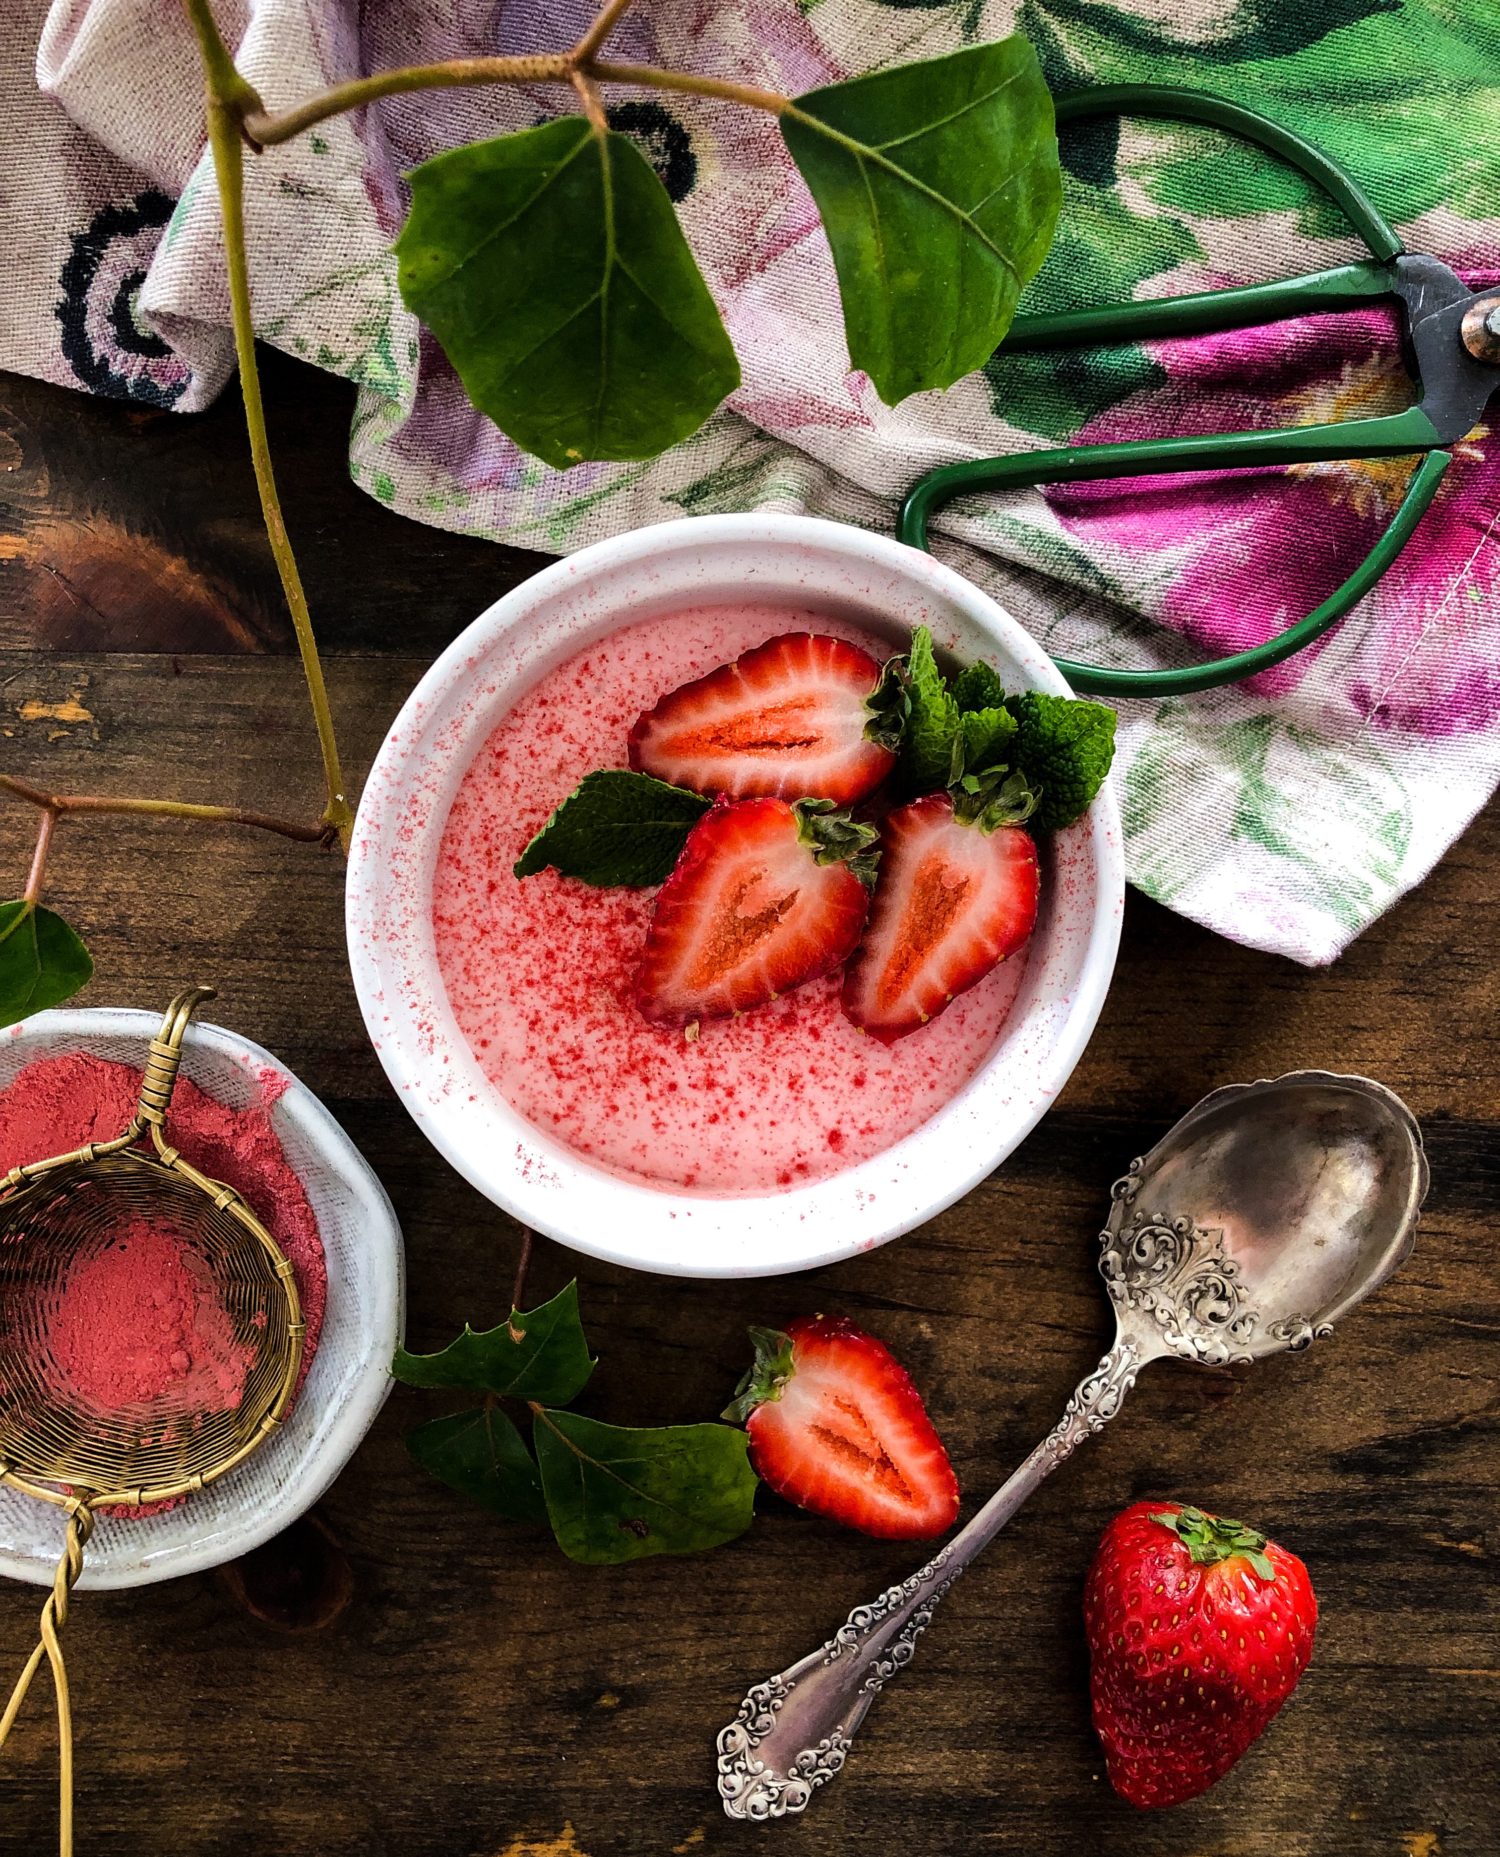
This recipe will fill an 8 inch springform pan. If you want to use a smaller pan, then you could use the leftover filling to create a fun cheesecake ‘mousse’ in some ramekins. A fun little personal dessert! It will keep for a few days in the fridge, covered. It will also store in the freezer for a couple of days, covered. Just add Prosecco or Rosé on the side. 😉
So here is the first of many Spring and Summer desserts heading your way. Bring on the strawberries, and rhubarb, cherries, apricots, blueberries, peaches, plums, and all the rest. Have fun in the sun!
Love Jen

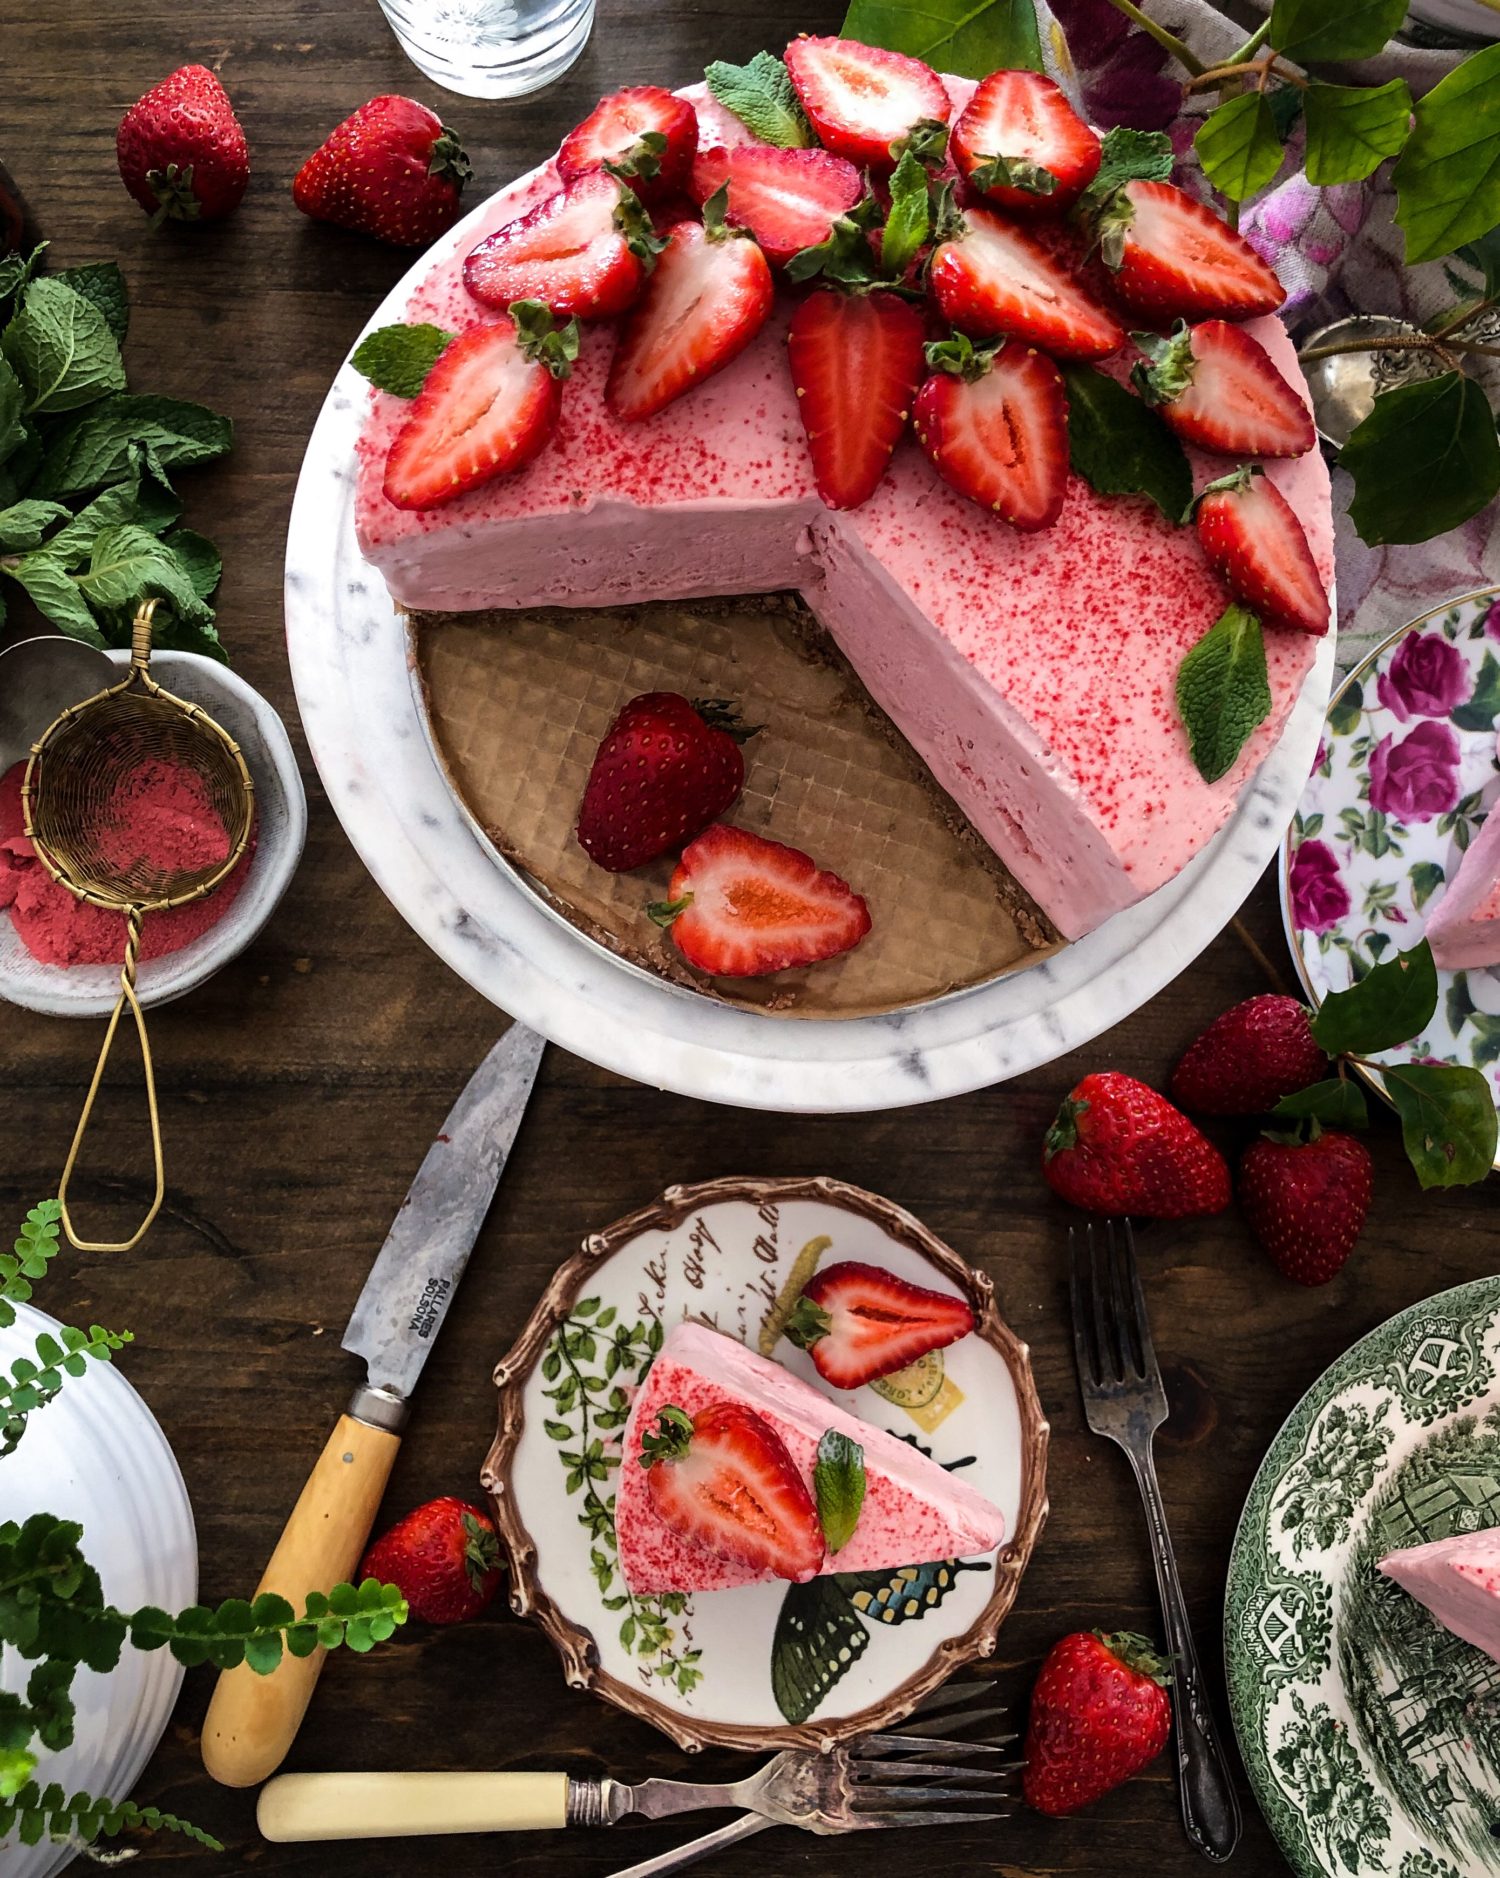

No Bake Balsamic Strawberry Pink Peppercorn Cheesecake
Perfect for summer, this recipe is totally no bake, from crust to filling. Stabilized whipped cream, balsamic infused strawberries and crushed pink peppercorns make for a fabulous chilled dessert. The texture is creamy, almost mousse like in the best way possible
Ingredients
Brown Butter Almond Crust
- 1 1/4 cup ground almonds
- 1/4 cup granulated sugar
- 1 tbsp unsweetened cocoa powder
- 4 tbsp butter
Balsamic Strawberry Filling
- 1 cup strawberries
- 2 tbsp strawberry jam
- 1 tbsp of good balsamic vinegar , use as thick and syrupy as you can find, or reduce 3 tbsp over medium high heat till it turns to 1 tbsp
- 20 oz (560 grams) full fat cream cheese (2 typical 250 gram bricks, plus 1/4 of a brick of cheese) do not use light or low fat.
- 1 1/4 cup icing sugar divided
- 3 tbsp freeze-dried strawberry powder
- 2 tsp crushed pink peppercorns Use the back of a knife against a cutting board, or a mortar and pestle.
- 1 tsp lemon zest
- 1 tsp vanilla powder paste or extract
- 1 tbsp cornstarch
- 1 cup (250 ml) heavy cream, it must be at least 35% milk fat if not more. if you can find 40% you have scored here in North America, although it is becoming more and more available! Your other choice would be a Devonshire or clotted cream.
- fresh strawberries and mint to decorate sliced as you want
Instructions
Crust
-
Spray a 20cm (8 in) springform cake tin and line the bottom and sides with parchment paper. Don't use butter as it will harden in the fridge and make it harder to release the side walls of the pan.
-
Brown the butter in a small pot over medium low heat. It will go through various stages of bubbling and foaming, Once the bubbles have pretty well disappeared, there are bits of fat solids on the bottom, and the butter has a nutty aroma, it is done and should be removed to cool.
-
Place the ground almonds, sugar and cocoa powder into a medium bowl. Slowly pour the butter over the mixture and blend with a fork till crumbly. If you find it won't hold when pressed together between two fingers, you could add a little bit of coconut oil to help it out. The humidity of the day (or lack thereof) can affect this.
-
Press the mixture into the prepared pan evenly and chill till needed.
Filling
-
Place the berries, the jam and the balsamic vinegar into a small food chopper or blender. An immersion blender in a tall narrow jar (the one it came with) is perfect to get these to blend into an even purée. If you can't get all the bits chopped down finely, that's alright, it will make for a lovely confetti throughout the filling. Set aside.
-
Use a hand mixer to briefly beat the cream cheese and 1 cup of the icing sugar to just combined. Do not over beat.
-
Add strawberry purée, freeze-dried strawberry powder, pink peppercorns, lemon zest and vanilla powder or paste and stir to combine.
-
Over a small bowl and using a hand sieve (or a whisk if this is all you have on hand, sift the remaining 1/4 cup of icing sugar and the cornstarch. This will remove any lumps.
In a separate bowl, and using a hand mixer, whip the whipping cream with the whisk attachment. Start off slow and increase the speed as it thickens. Slowly add the sifted icing sugar and cornstarch. Continue beating on high speed until the cream holds stiff peaks.
-
Use a spatula add about 1/4 of the whipped cream to the cream cheese and strawberry mixture. Gently fold to combine. Then add the rest of the whipped cream, gently folding so as not to deflate any of the whipped cream. Once it is evenly combined, spoon it into the prepared pan. Level it off with a small off-set spatula.
-
Chill for 8 hours or overnight.
-
Carefully remove the cheesecake from the tin by releasing the wall. Keep the base on.
-
Remove the paper lining the sides. Place it on a cake stand or decorative plate
-
Garnish with some sliced strawberries, mint leaves and sprinkling of freeze-dried strawberry powder, if using. Or how about a lovely strawberry coulis, or even a drizzle of chocolate sauce (as long as it isn't hot!)
-
When slicing, you will cut through to the bottom paper. Use a small off-set spatula to gently separate the crust from the paper.
-
If you find that it just hasn't set the way you would like, feel free to store in the freezer before cutting. Freeze for at least two hours, and then remove to the fridge for about 20 minutes. Then you can slice it. If freezing it, don't garnish with the fruit, and cover it with plastic wrap of some sort.
Recipe Notes
You can also serve this in a 7 inch springform pan. This will leave some filling left over which can be firmed up in ramekins. This makes for a lovely cheesecake like mousse!

I’m curious how it freezes. I’m on my own so would prefer to make several individual sized cakes and freeze them to enjoy later.
Hi Christy, it freezes great, I’ve done so with it as well. Have a great weekend. Love Jen