I’m going to let you in on a little secret. We are not huge cake eaters.
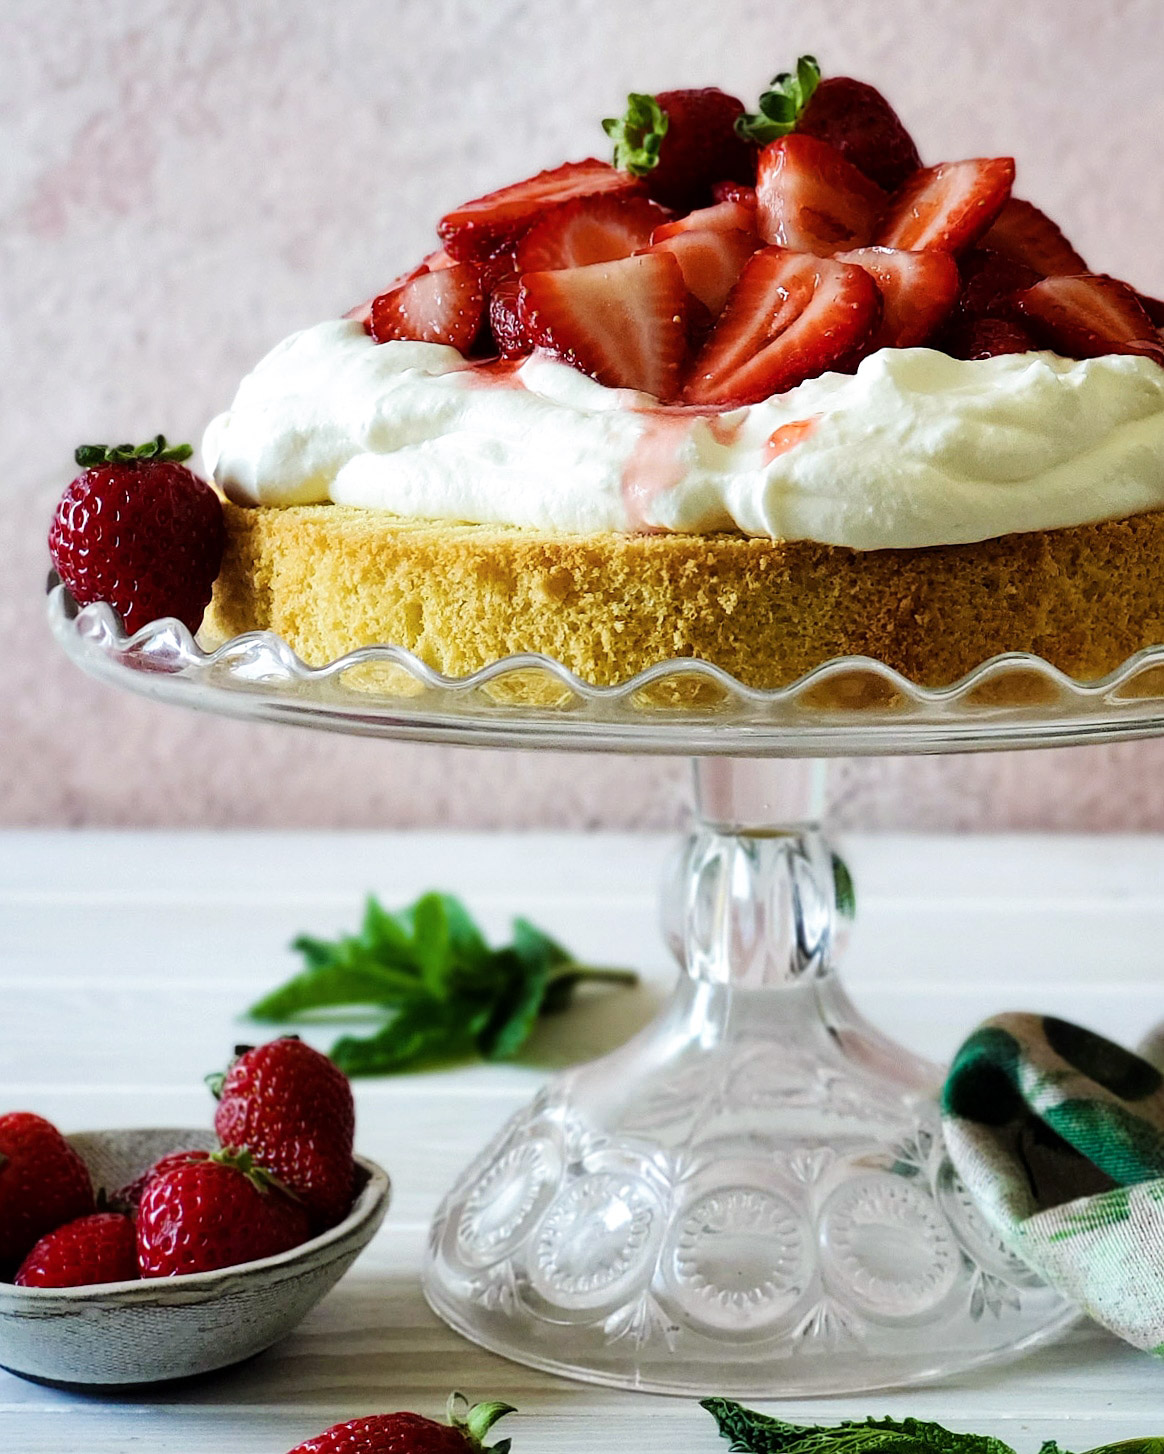 Not that we don’t like sweets. We do like carrot cake, flourless chocolate cake, and of course, cheesecake. But for the most part, a dessert where most of the plate is just…well…cake… isn’t our first choice. So huge layer cakes, bundt cakes etc are not made all that often in my kitchen. Well, they are, but only when I know I will be sharing them with friends and family. Having cake sitting around isn’t going to tempt us. Now, pie is another story.
We love our fruit. I think that’s why we love pies so much. Pie is mostly filling, with the ratio to pastry being in favour of the filling. It’s made up of mostly the part that we like: the textures and flavours of fruit etc.
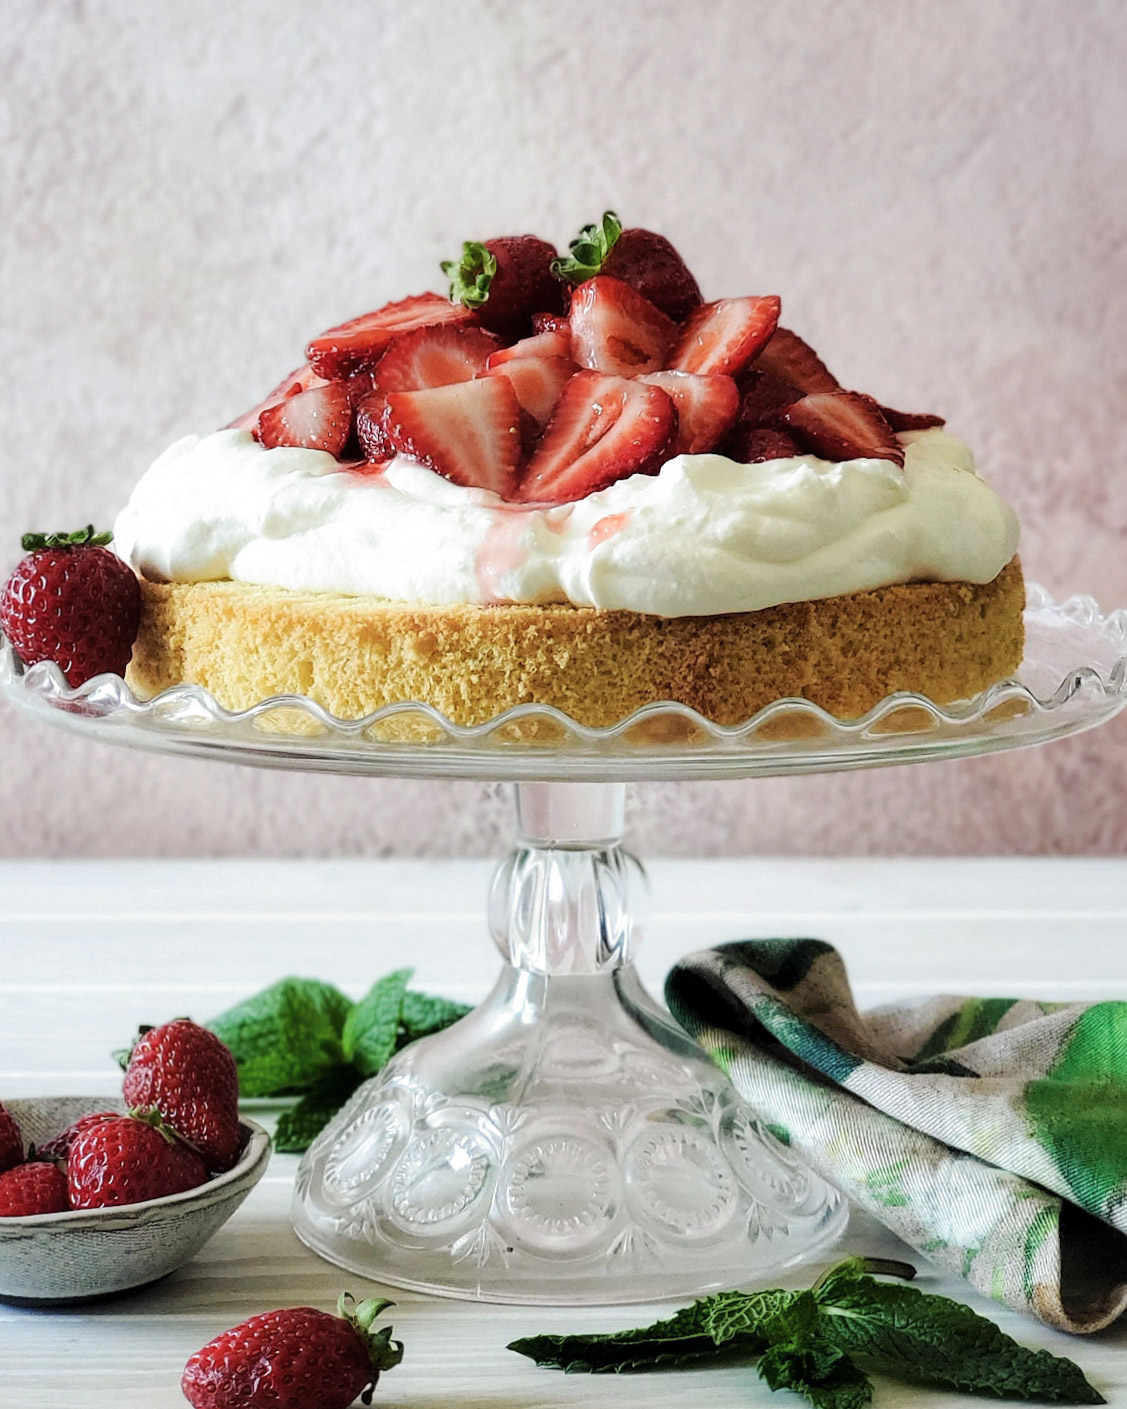
And this brings me to this cake today. The reason we absolutely love this Strawberry Shortcake, is well, the ratio. The cake itself is only 1/3 of the entire dessert. The berries are the true star. The mascarpone whipped cream is a supporting player along with the delightful sponge below it. A more even distribution of ingredients, wouldn’t you say!? And since Strawberry season is just getting underway, it’s the perfect time to share this easy, beautiful and tasty recipe!
All the Love for This Sponge Cake
I call it a sponge cake, but it is really considered a chiffon cake. Not all sponge cakes are chiffon cakes, but all chiffon cakes are sponge cakes!
- Sponge: A true sponge contains no fat other than that occurring naturally in egg yolks, and the yolks and whites are usually beaten separately.
- Genoise: With a genoise, clarified butter is used to enrich the batter, which is made by beating whole eggs, sometimes with additional yolks, together with sugar, over warm water.
- Chiffon: The chiffon cake is a hybrid of the sponge and the genoise. The addition of oil gives this cake its characteristic moist and tender texture. The yolks and oil are beaten into the sugar, flour and other dry ingredients including a leavening agent (not normally used in the other two cakes). The whites are whipped separately and then folded into the mixture.
For a complete understanding of the three cakes, and how to achieve the perfect texture, check out this link!
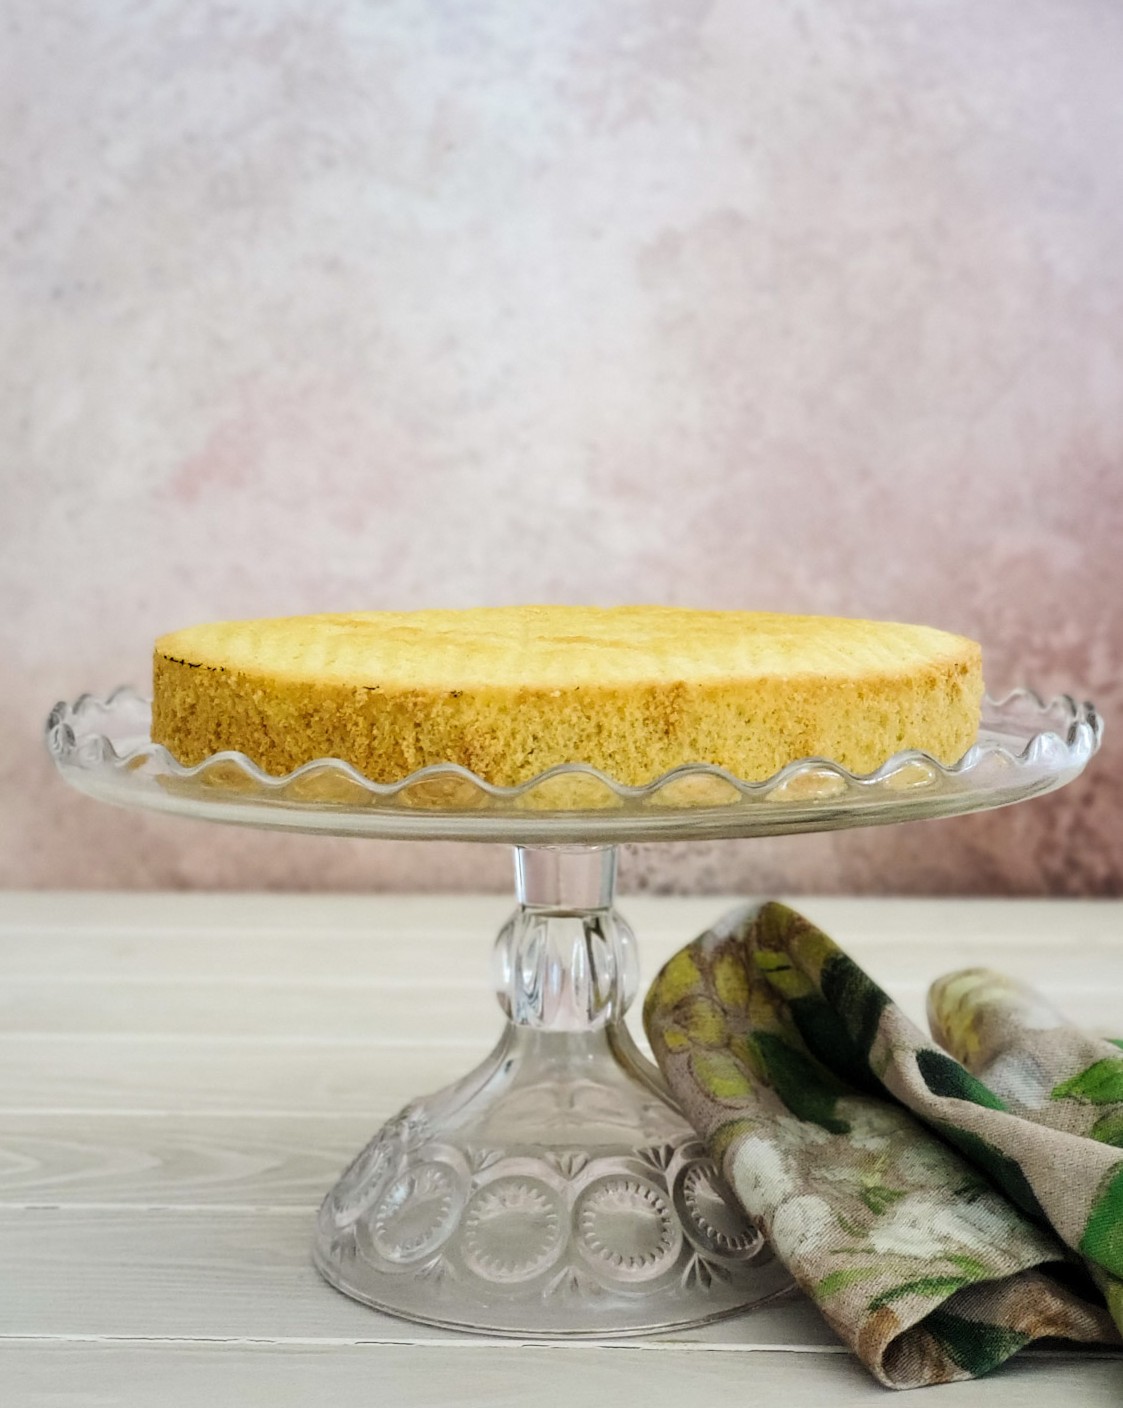
This cake is the most tender, light, melt in your mouth confection. It is the most versatile cake that you can bake up. Soak it with liquor and layer it with fruit, jams, frostings, etc of all kinds. The one I am sharing is actually the gluten free brain child of Alana over at The Bojon Gourmet. She never lets me down when it comes to gluten free flours and perfect bakes. This recipe is no exception. It always bakes up like a charm, and even freezes perfectly. Jim has no idea that this is gluten free (well maybe he does, because he knows that I have to eat gf). It tastes and acts like the real deal. Trust me. This recipe can be made in an 8 or 9 inch cake pan, or two, if you don’t want to slice it in half. Using two pans gives you ready made layers. And if you don’t need them both, then you can freeze one. Just make sure it has cooled completely, and then wrap in several layers of plastic wrap. I then place it into a freezer bag. It is good for up to 6 months in the freezer this way. This is exactly what I do for this cake here. While the recipe I am sharing is gluten free, the sponge cake that I suggest using if gluten isn’t a concern is over here at Recipe Tin Eats You will end up with 2 8 inch rounds just like the recipe below, giving you one to freeze for future use.
No matter which recipe you use, a sponge or chiffon cake should be in your repertoire. It is an easy bowl and mixer recipe which comes together quickly, and bakes up wonderfully. No difficult or obscure ingredients to source, in fact you probably have everything you need to make this right now.
Using Springform Pans for Cakes
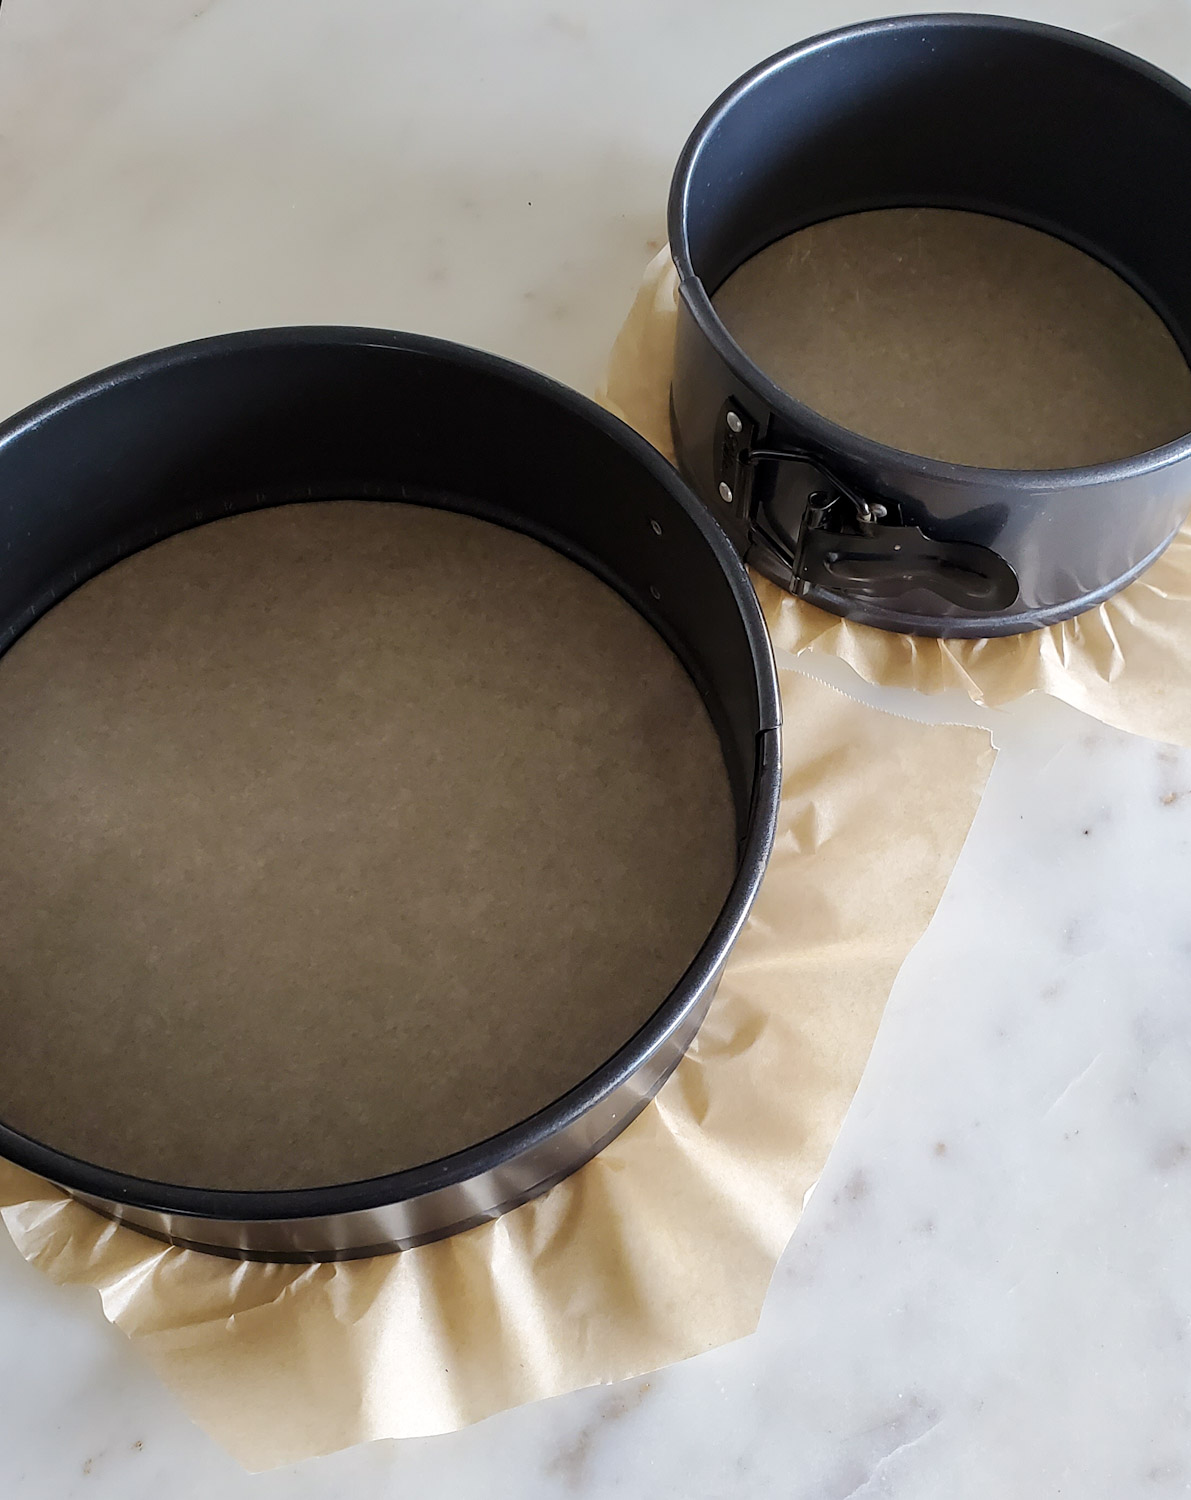
I’m also just going to say it here, I use my springform pans for all my cakes. I know, I know, they will tell you not too. That the batter will leak. I have never had a cake leak yet. I guess I have good pans. But you can take the precaution of wrapping foil under and around the bottom up the sides and press it firmly against the sides of the pan. I just like the ease of removal when using a springform pan. There is no need to tip the pan upside down and coax the cake out. Of course, if you look hard, you will find round cake pans with removable bottoms that are hard sided, not springform. I have yet to add any to my collection. Until then, I am happy with my springform pans! And it goes without saying, if you are more comfortable using a traditional cake pan, I will totally understand.
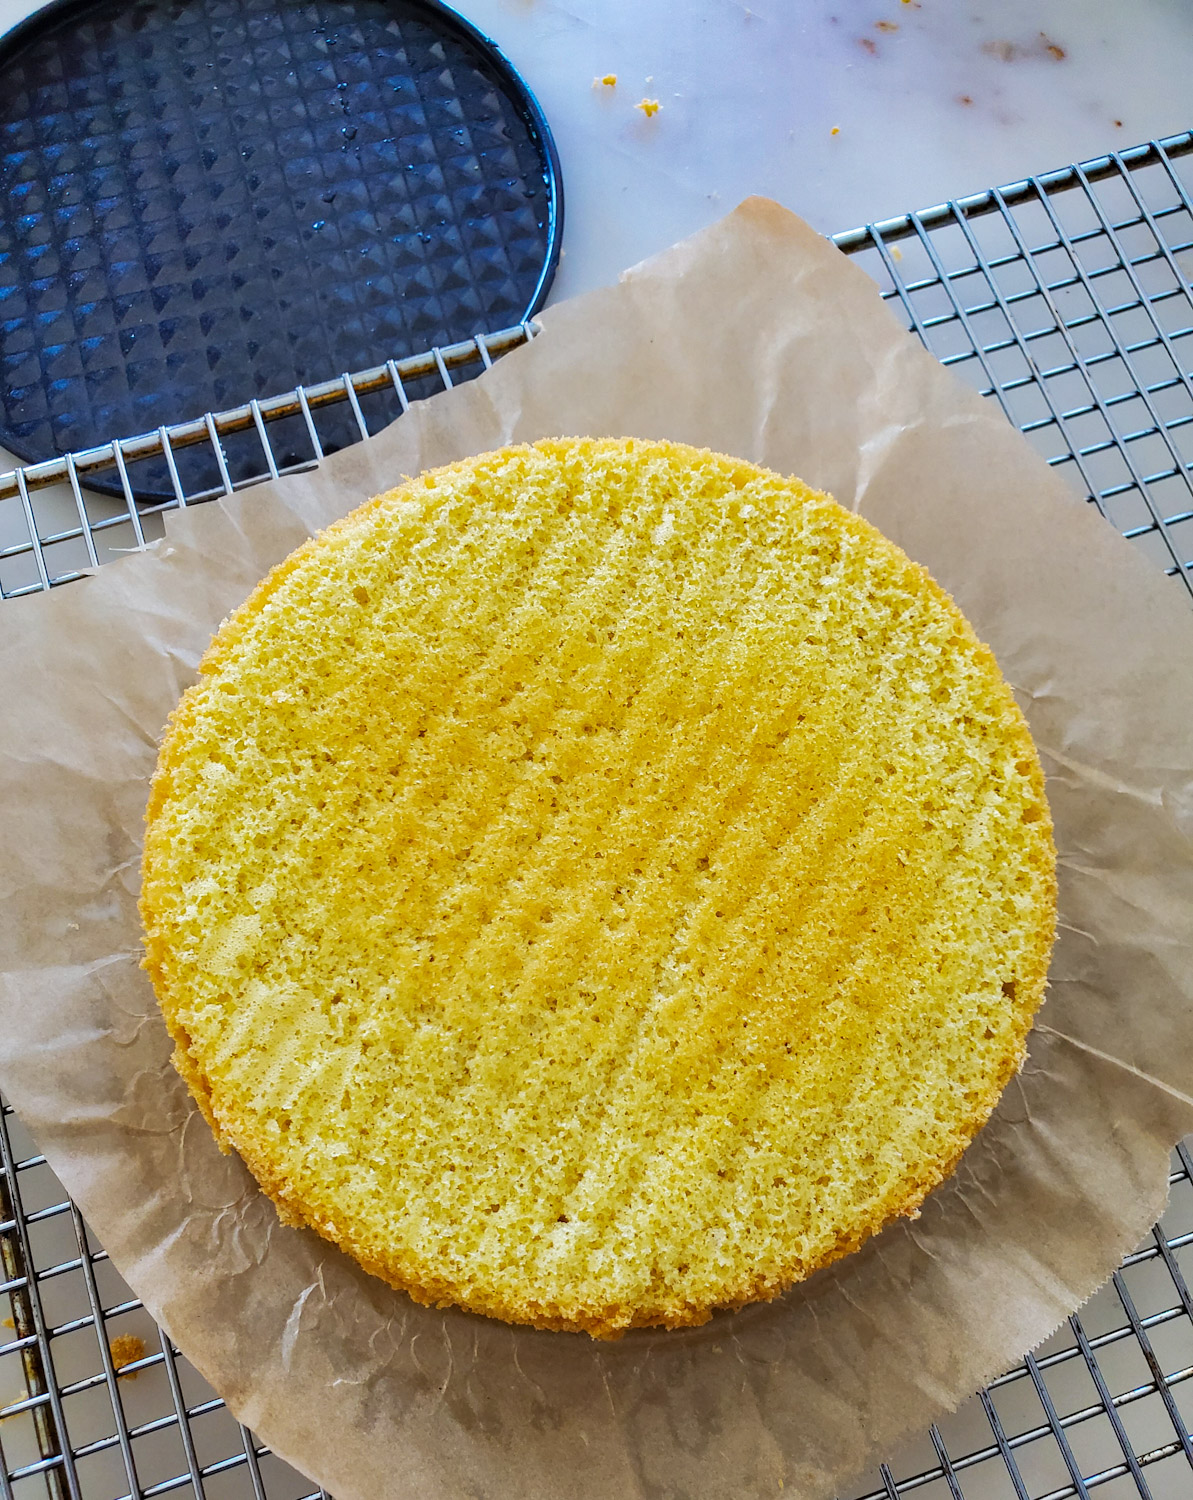
Here is my technique for prepping the pans for easy removal of the cakes from the springform base once baked: I lay out the parchment paper over the base of the pan. Then I place the round sides around the base and clamp it shut. I think this also creates a better seal and makes the bottom of the pan taut, so the worry of any leaking is lessened even more. Just place it on a baking sheet and pop it straight into the oven once it is filled with batter. Afterwards, once the cake is cooled, you’ve run a knife around the sides to release the cake cleanly, and the sides of the pan are removed, just lift the entire piece of parchment and transfer the cake to wherever needed. It is easy to remove the cake round of the parchment at this point.
Mascarpone Whipped Cream Layer
This is just a simple whipped cream with mascarpone cheese whipped in towards the end. I sweeten the whipped cream with a heaping spoonful of icing sugar. I always use icing sugar when working with anything whipped that I want to keep full and fluffy. Icing sugar contains cornstarch which is a stabilizer for the cream or egg whites. My other tip, if you can source 45% heavy cream, it will also maintain its shape better even a few days later. And of course, the mascarpone also adds to this stability. It also adds the best richness without being heavy at all. I flavour mine with a tbsp of whisky or bourbon, but you can omit, or use vanilla. Don’t whip to completely stiff peaks, you want that little bit of flow as it sits on top of the cake. Aim for the middle between soft and stiff peaks. And yes, this can be prepared and stored in the fridge till needed.
Strawberry Layer
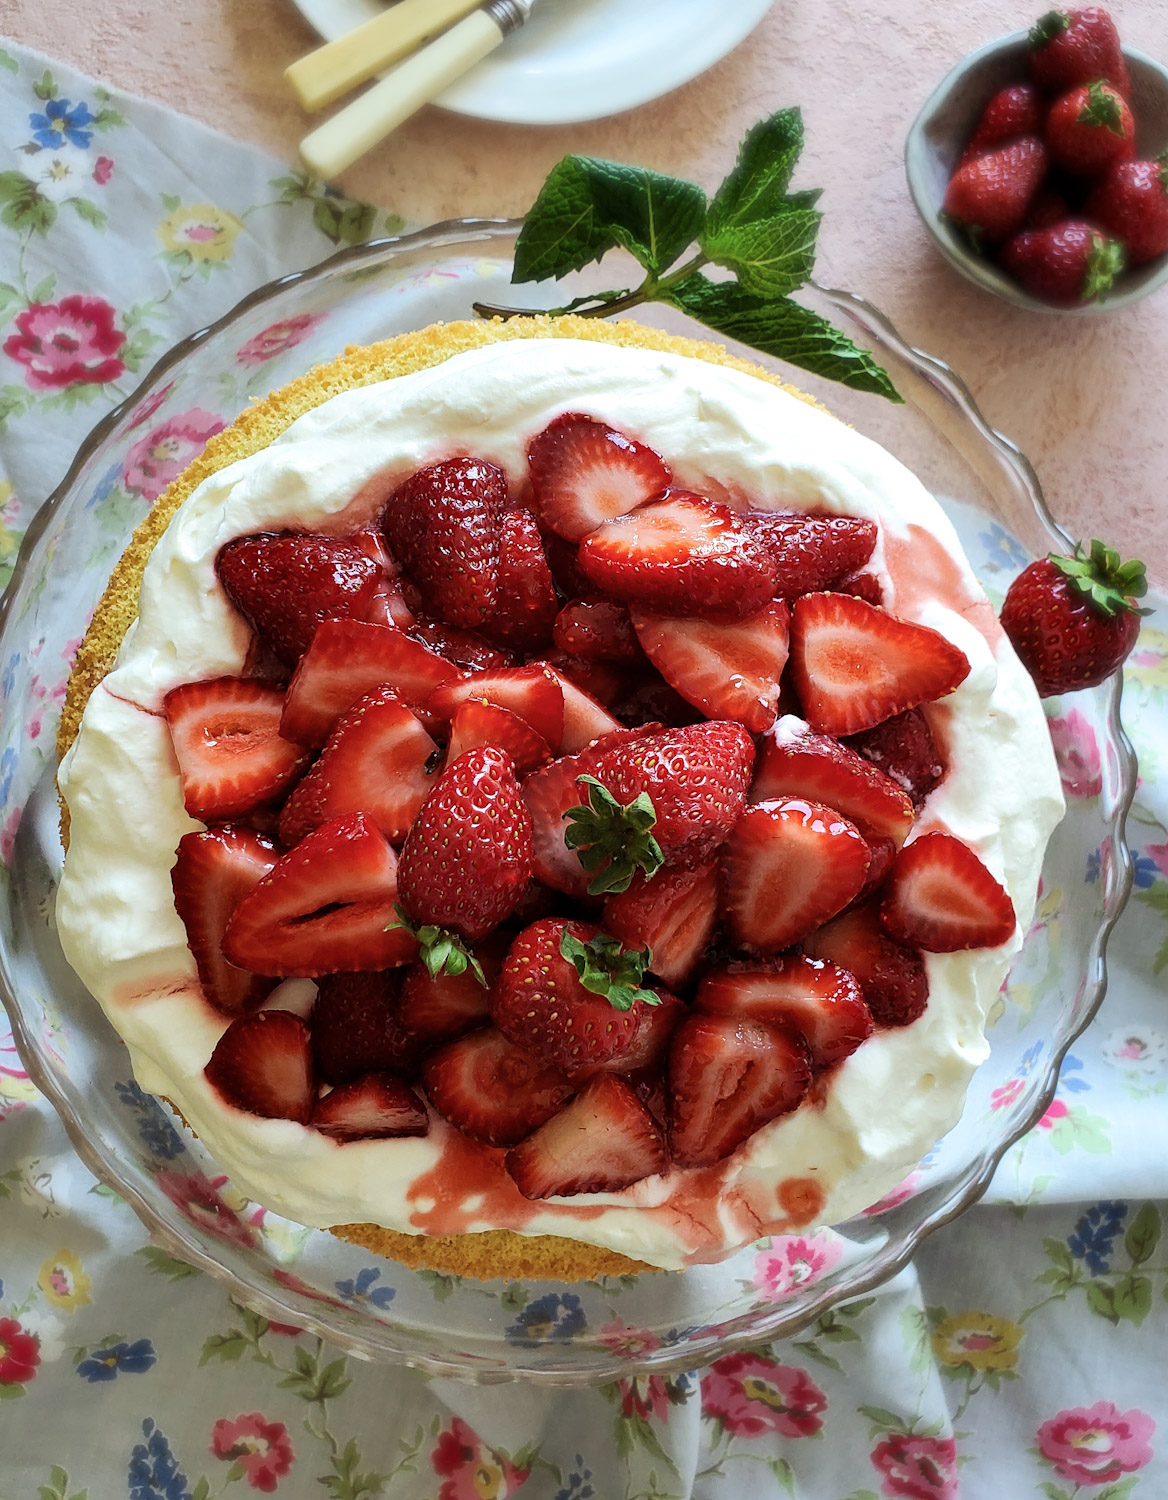
This is just a simple combination of sliced berries, a little bit of sugar, and a tbsp or two of jam. When they are combined and allowed to sit for a few minutes, the sugars help soften the berries, and the jam lends a lovely glisten to the berries as they sit on top of the whipped cream. It also helps create a lovely syrup. You can use store bought jam, or if it is strawberry season as it is here, why not make up my Oven Rose Harissa Roasted Strawberry Jam! So easy, and an amazing flavour. Have the batch made up and ready to go. And the other option is a gorgeous wine jelly. It has a lovely pink tone and melts into a super luscious glaze. But if you can’t find it, no worries, any pink or red jam or jelly will work just fine.
Assemble the Cake
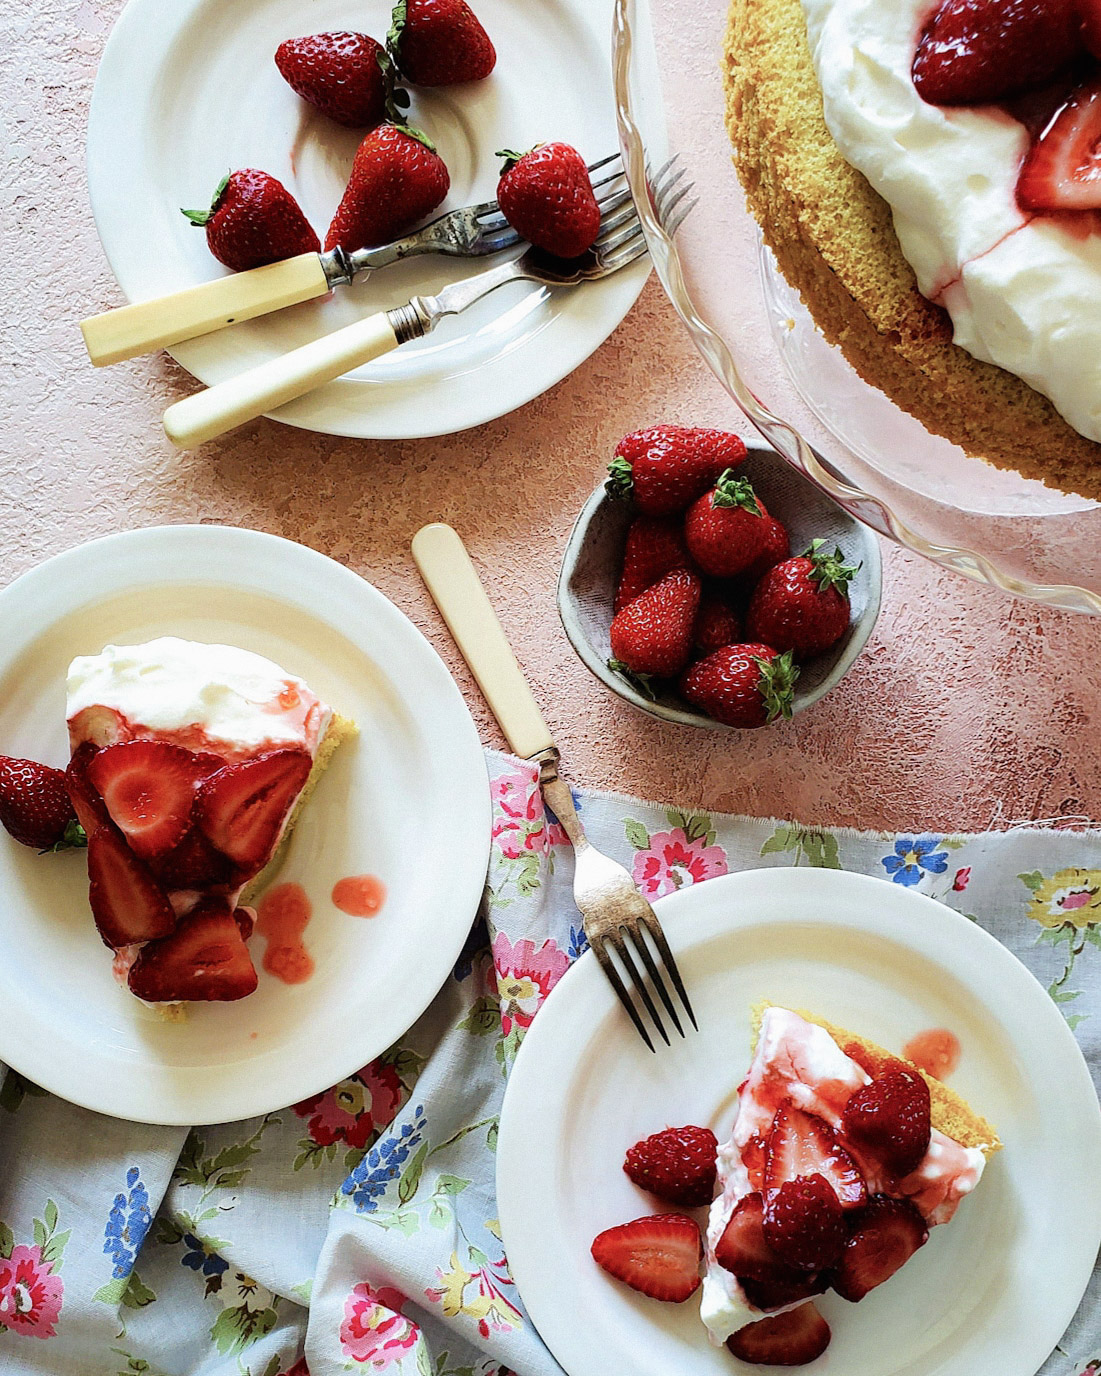
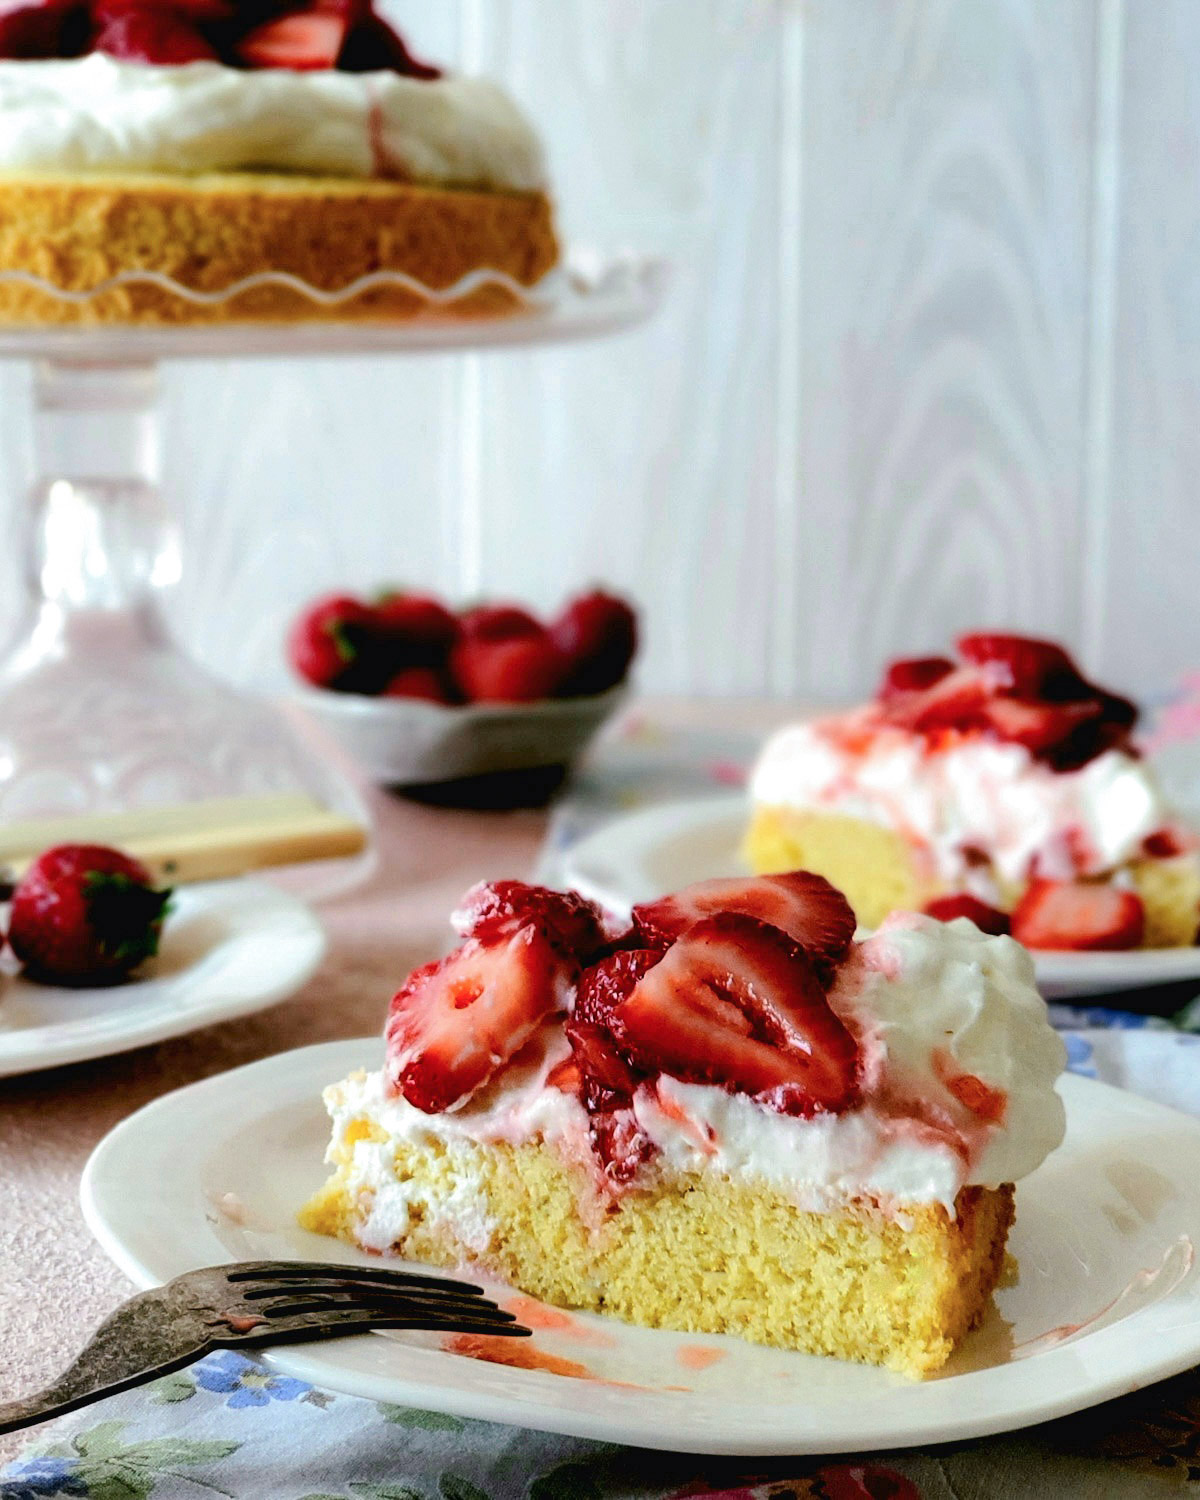
It couldn’t be easier. First the cake round, then the whipped cream, and then mound the berries on top. You may find that some of the juices from the berries form little rivulets over and down the whipped cream, it just adds to the charm. You can serve this right away, or if needed, it will keep in the fridge, lightly draped with plastic wrap for quite a while. We have had one in the fridge for days, just sneaking slices whenever we pass through the kitchen!
Picnic and BBQ Prep
If you want to take this on a picnic or to a backyard bbq, which is what we all want to be doing once the weather is bright and sunny, here is what you do: Slice the cake up and store it in a sealed container. Store the whipped cream separately, as well as the berries. Once you are getting to where you want to eat, just serve up with ease! A glass of lemonade or Rosé, and what more could you ask for? This cake is pure summer!
Love Jen
The Lightest Strawberry Shortcake
Ingredients
- 1/4 cup sunflower oil or other neutral oil, or 60 ml
- 1/4 cup plus 2 tbsp water, or 90 ml
- 3 large egg yolks, use the whites for below
- 1 1/4 tsp pure vanilla extract or paste
- 1/2 cup + 2 tbsp organic cane sugar
- 1/4 cup plus 2 tbsp sweet rice flour 55 g (or sub cassava flour by weight)
- 1/4 cup plus 2 tbsp millet flour 50 g(or sub sorghum flour by weight)
- 1/4 cup plus 2 tbsp oat flour 40 g (or sub teff flour by weight)
- 1 1/4 tsp baking powder
- 1/2 tsp fine sea or kosher salt
- 5 large egg whites, at room temperature
- 1/4 tsp cream of tartar
Mascarpone Whipped Cream
- 3/4 cup heavy whipping cream, 35% or higher
- 1 heaping tbsp icing sugar
- 1/3 cup Mascarpone cheese
- 2 tsp bourbon or scotch, optional
Strawberry Layer
- 1 3/4 cups sliced strawberries
- 1 tbsp organic cane sugar
- 2 tbsp strawberry jam, see Notes
Instructions
Cake, makes 2 8 inch rounds
-
Position a rack in the centre of the oven and preheat to 325ºF. Line 2 ungreased 8-inch round cake pans (see blog post for more information) with rounds of parchment paper cut to fit. The cake batter will crawl up the sides of the ungreased pan as it bakes, making the cake extra fluffy.
-
In a large bowl, whisk together the oil, water, egg yolks, and vanilla. Then whisk in 1/2 cup (100 gr) sugar.
-
Place a strainer over the bowl and sift the sweet rice, millet and oat flours with the baking powder and salt directly into the yolk mixture, adding back any bits left behind in the strainer. Whisk until very smooth.
-
In the clean, dry bowl of a stand mixer fitted with the whip attachment, whip the egg whites with the cream of tartar on medium-high speed until soft peaks form. Slowly add the final 2 tbsp sugar and whip until the whites are glossy and just hold a firm peak when lifted from the bowl and turned upside down, 1–3 more minutes.
-
Use a flexible silicone spatula to fold one-third of the whites into the batter, then gently fold in the remaining whites until just combined and no streaks remain.
-
Immediately pour the batter into the prepared pans and quickly but gently use an offset spatula to spread the batter into a thin, even layer.
-
Transfer the pans to the oven and bake until the cakes are golden, spring back to the touch, and a toothpick inserted near the centre comes out clean, 20-30 minutes. Remove to a rack and let cool completely in the pan.
-
Run a knife around the edge between the cake and the sides of the pan. Loosen and invert the pan to release the cake.
-
Cool and then wrap until needed. The cake can be made a day in advance and stored in an airtight container till needed. Alternatively, wrap well, place in a freezer bag and freeze for up to six months.
Whipped Cream
-
Pour the cream into the bowl of a stand mixer (or use a hand mixer) Start on medium speed. Once the bubbles are everywhere, add the sugar and increase the speed gradually to high. Whip until medium peaks form. Then fold in the mascarpone and whip it through. Don't go to the point of stiff peaks, since the softer peaks will actually look nicer on the cake.
-
The whipped cream can be made in advance and stored in the fridge till needed.
Strawberries
-
Combine the sliced strawberries, sugar and jam in a bowl and toss gently. The sugars will help the berries release their juices and soften the jam which will help the berries glisten and create a lovely bit of syrup.
Assemble.
-
Place the cake round onto your serving plate or cake stand. Top with the whipped cream, mounding it in the middle and pushing it out towards the edges gently.
-
Spoon the berries and juices on top of the whipped cream.
-
This can be served right away. It will also keep in the fridge, in case you have leftovers.
-
See the blog post for additional information and ideas for serving.
Recipe Notes
The cake recipe comes from Alana over at The Bojon Gourmet.
Instead of using cake pans, I always use springform pans with great success. It makes for ease of cake removal. See the blog post for details.
You will only need one round of the cakes, freeze the second for future cakes.
Use my Rose Harissa Roasted Strawberry Jam for great flavour!

I love that this is gluten free and makes an extra cake that freezes well. I made the original recipe. With the second cake I made a version with blackberries, apricots, and fig jam. Both were delicious.
Hi Karen, thanks for your feedback. Isn’t it great to know that there’s a second cake in the freezer if you need it. That apricot version sounds amazing! Love Jen
Thank you for so many good recipes.
Do you have a cook book available?
I have been trying to find your recipe for olives and cheese that I think were marinaded in a pesto oil.
Hi Barbara, Thank you kindly. Yes, there is a link to pre-order the book on the homepage of my website. It will be released on Nov 1st. I don’t have the recipe posted yet, but apparently, so many are liking it, that will be up shortly! Have a great week, Love Jen