The first pie of Spring this year. And of course, rhubarb is involved.
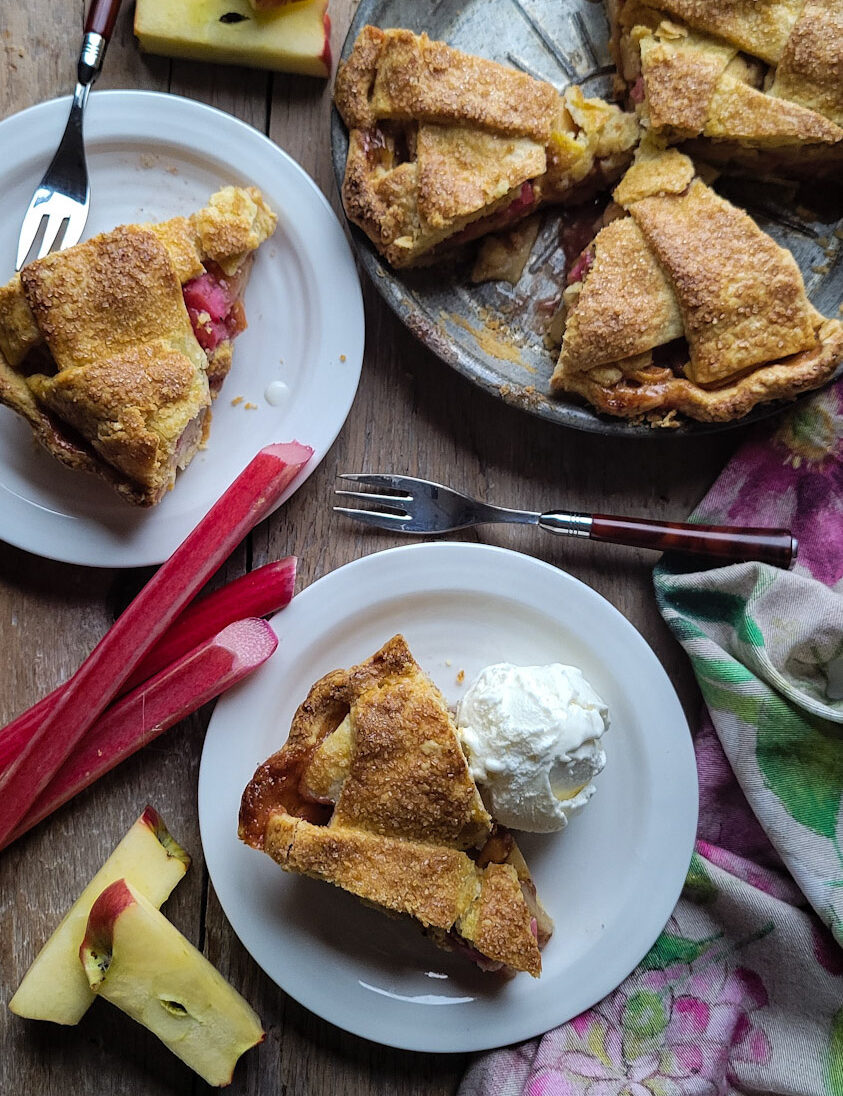
I always get giddy when I see the first forced or greenhouse rhubarb showing up at the market. Unlike the garden variety rhubarb, these stalks are always a bright pink, more evenly hued inside and out, and with smaller pale almost chartreuse coloured leaves. And they are usually slightly sweeter than what we will see later in the season.
Once the garden varieties start popping up in late May or June up here in Canada, you will notice that the stalks have much more green in them, the inside is definitely more green, and the leaves are much larger. The flavour is definitely on the sour side. While the summer rhubarb is wonderful in crisps etc, I do love using the pink stalked rhubarb for the times when the stalks are part of the final visual of the dish.
So this time around, using this newly found rhubarb, and National Pi(e) Day (March 14th) have occurred right at the same time. So I am releasing the recipe for one of my favourite foodie days of the year!
Apple Rhubarb Pie
Here I am using the rhubarb I picked up by combining it with apples. We still have amazing late autumn/winter apples like Cosmic Crisp, Red Prince and Gala. I like to use a sweeter, firmer apple to counteract the melting nature of rhubarb, as well as it’s very tart flavour. This is not the time for Granny Smith apples (or else be prepared to use much more sugar). I’m keeping the flavour add-ins to cinnamon, ginger and cardamom. Along with the sugar and spices, arrowroot starch, or flour is added to the fruit to help thicken the juices as the pie bakes.
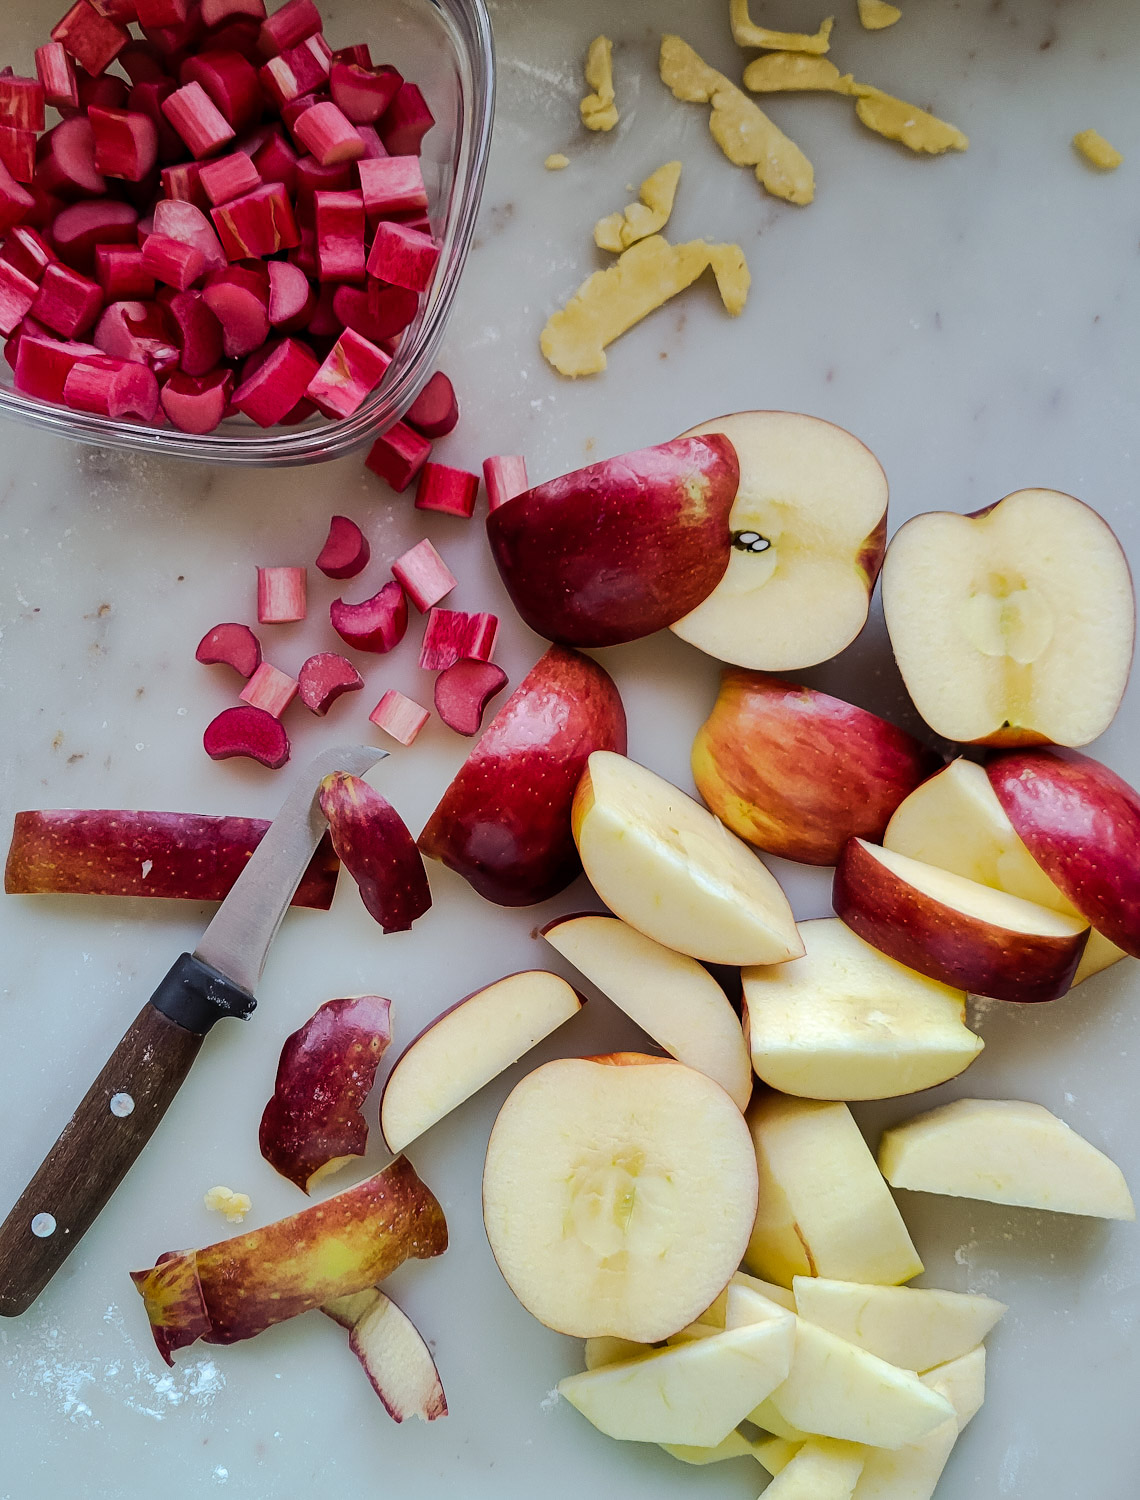
The best thing to do is combine the sugar, starch and spices in a small bowl to blend well. This will ensure that these are equally mixed before adding them to the chopped fruit, so that you will have an evenly mixed filling. Let it sit long enough for the sugar to help release the juices from the apple and rhubarb. This will help the apples from shrinking as they bake.
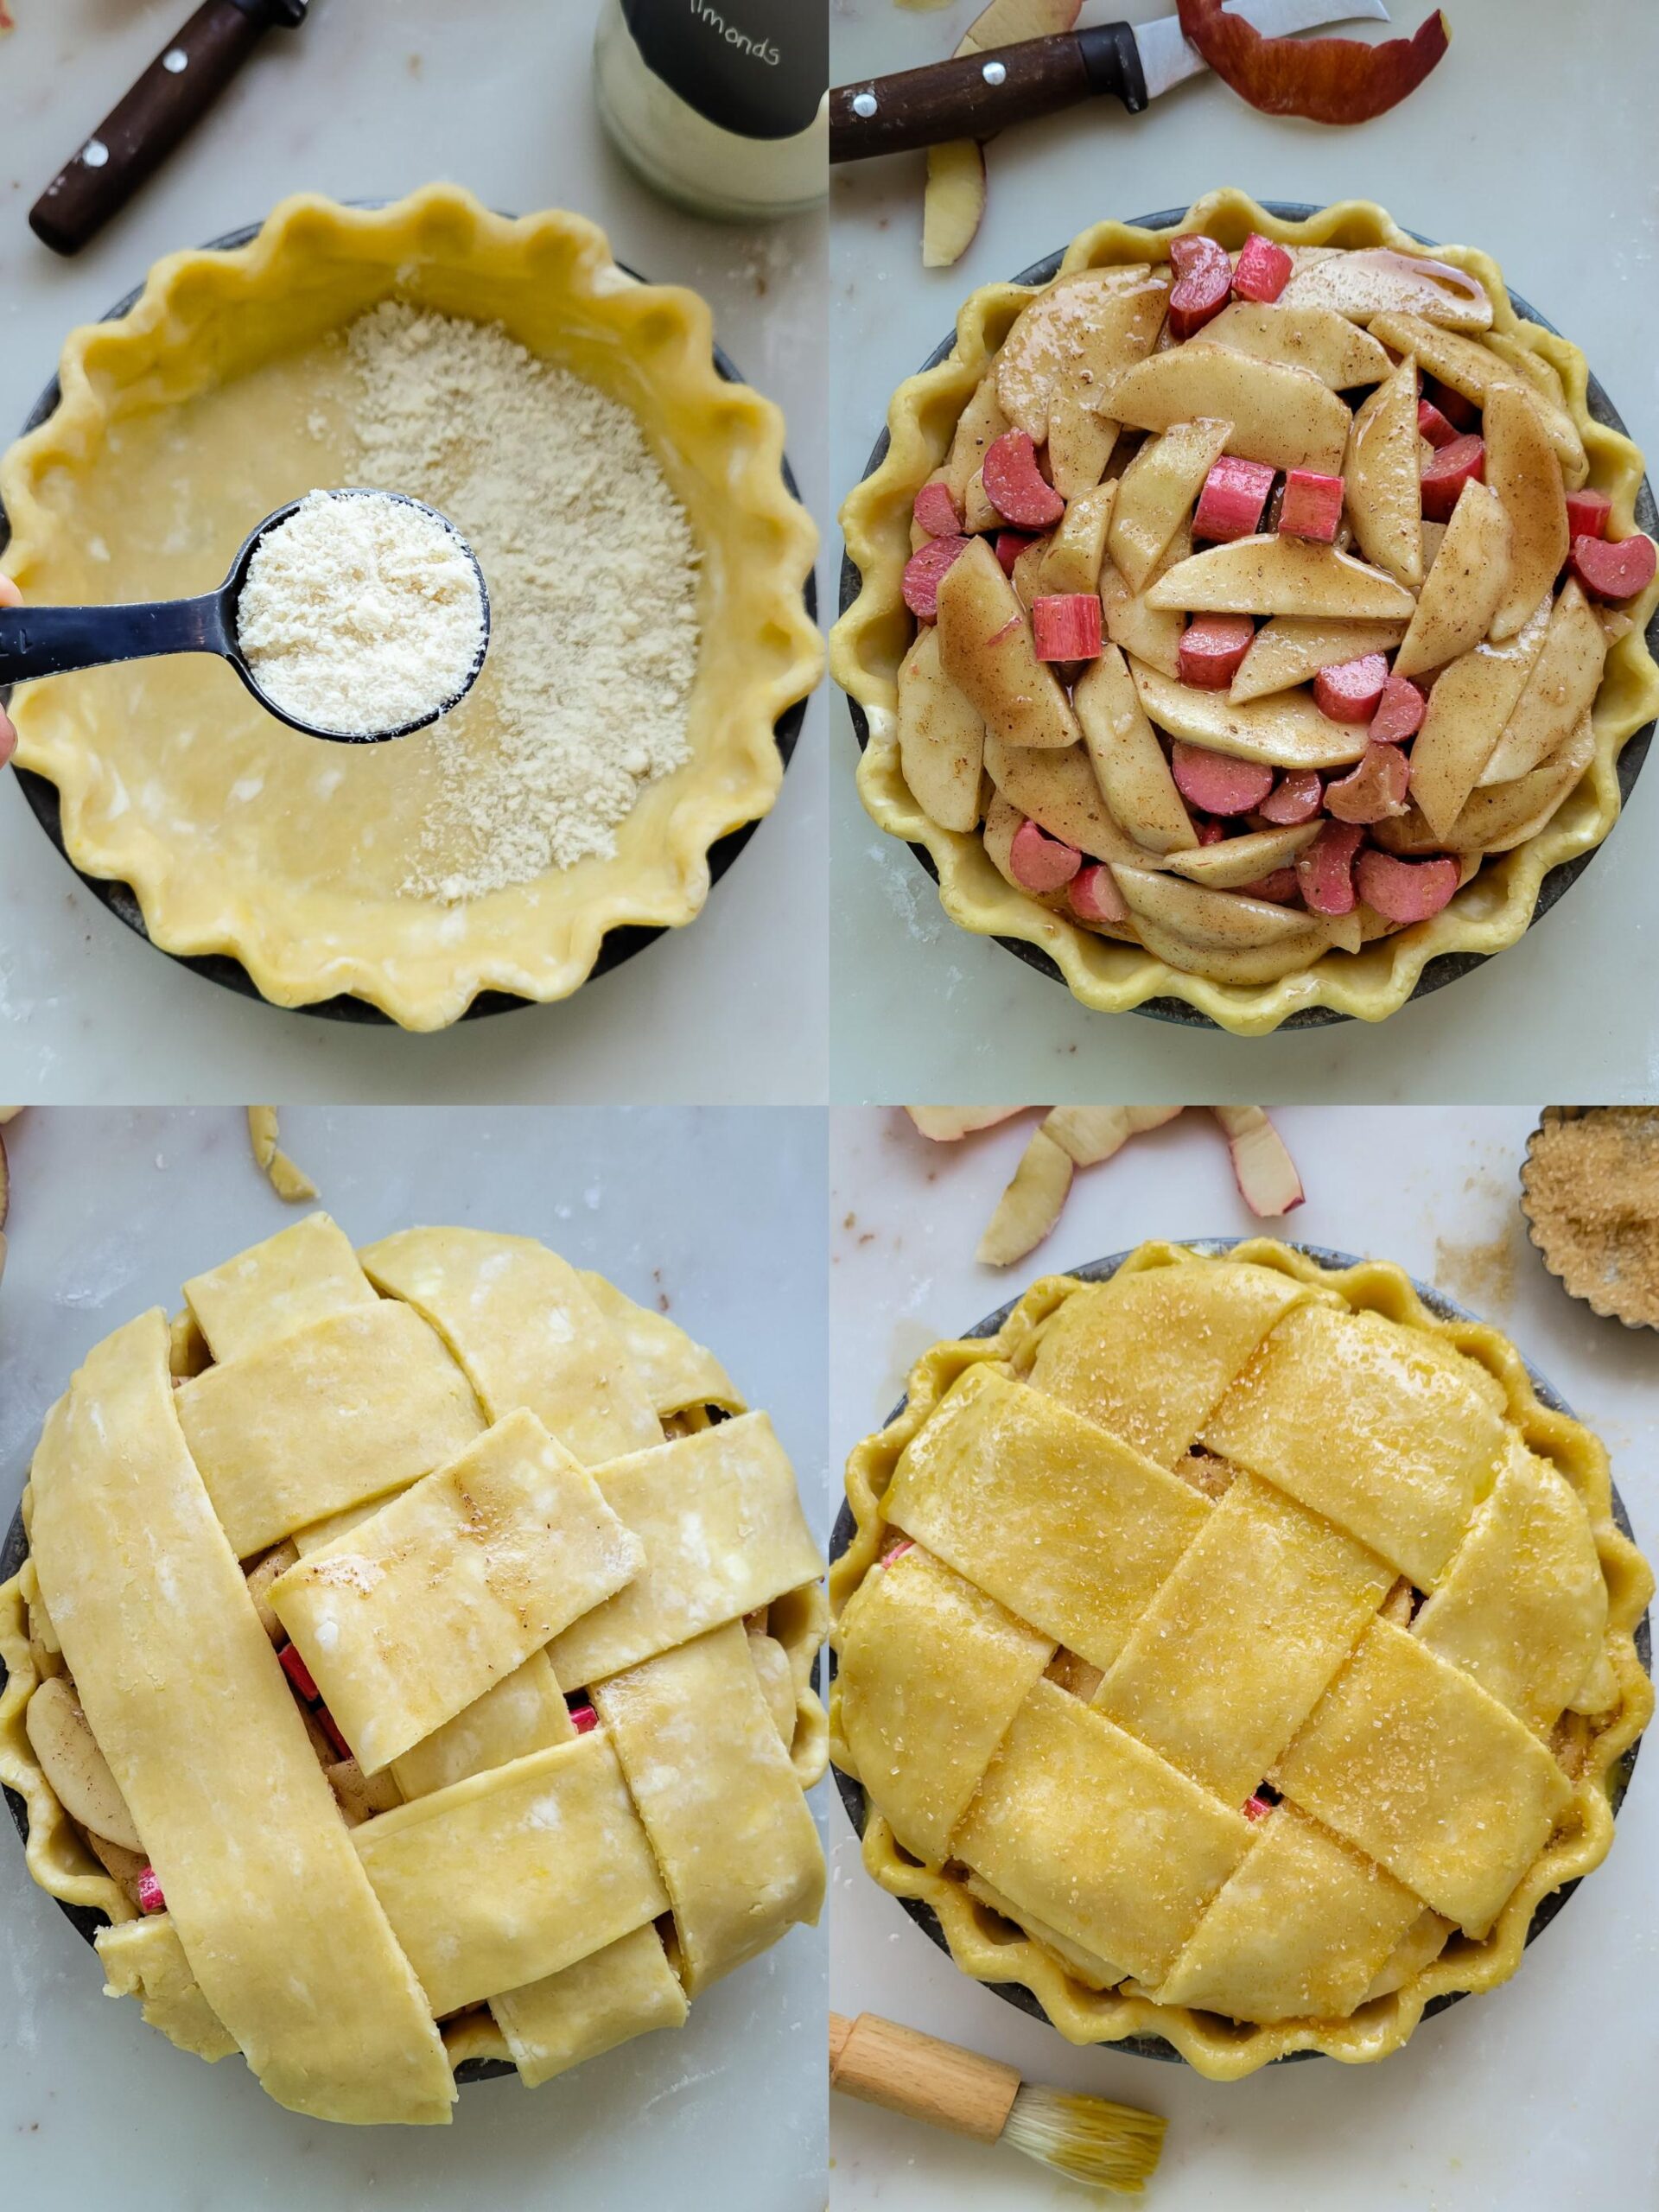
You will always sprinkle almond meal or ground almonds at the bottom of the pie shell before turning the filling into the pie shell. This step is there to absorb any excess juices that occur during baking. You won’t even know the almond is there once the pie is fully baked and cooled.
Pie Shell
You can use store bought pie shells. You will need a top and bottom. But if you haven’t already tried out my Perfect Pie Crust recipe, you will love it! It works with both wheat and cup for cup gluten free flour blends. You will find that my pastry recipe uses both butter and shortening. The butter is for flakey, the shortening is for tender. Plus, not using only butter means that the pastry is a bit more forgiving, and is easier to handle. This is important if you are working with cut outs, lattices etc. All the tips and tricks for working with this pastry are found here.
Feel free to do a simple topper by just laying the second pastry round over the filling, and pressing the edges together and crimping them, either by pinching with your fingers, or just using the tines of a fork.
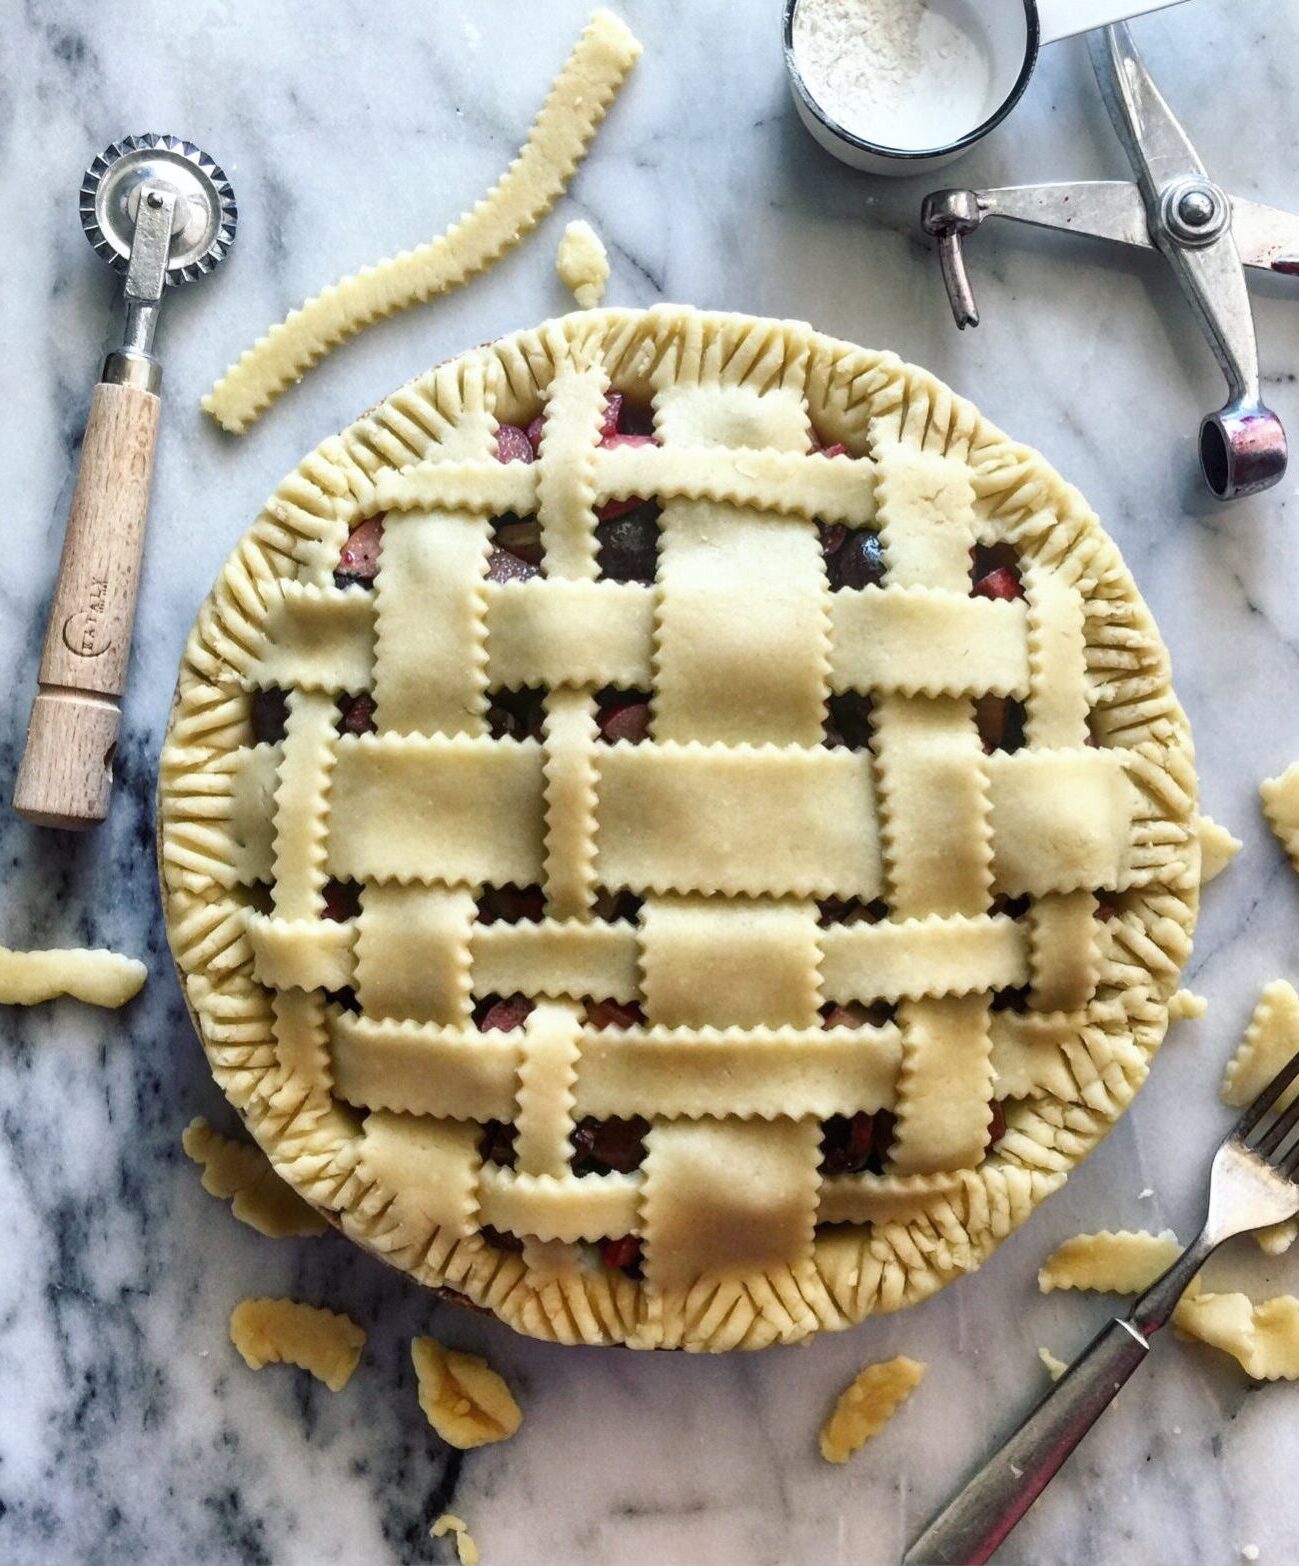
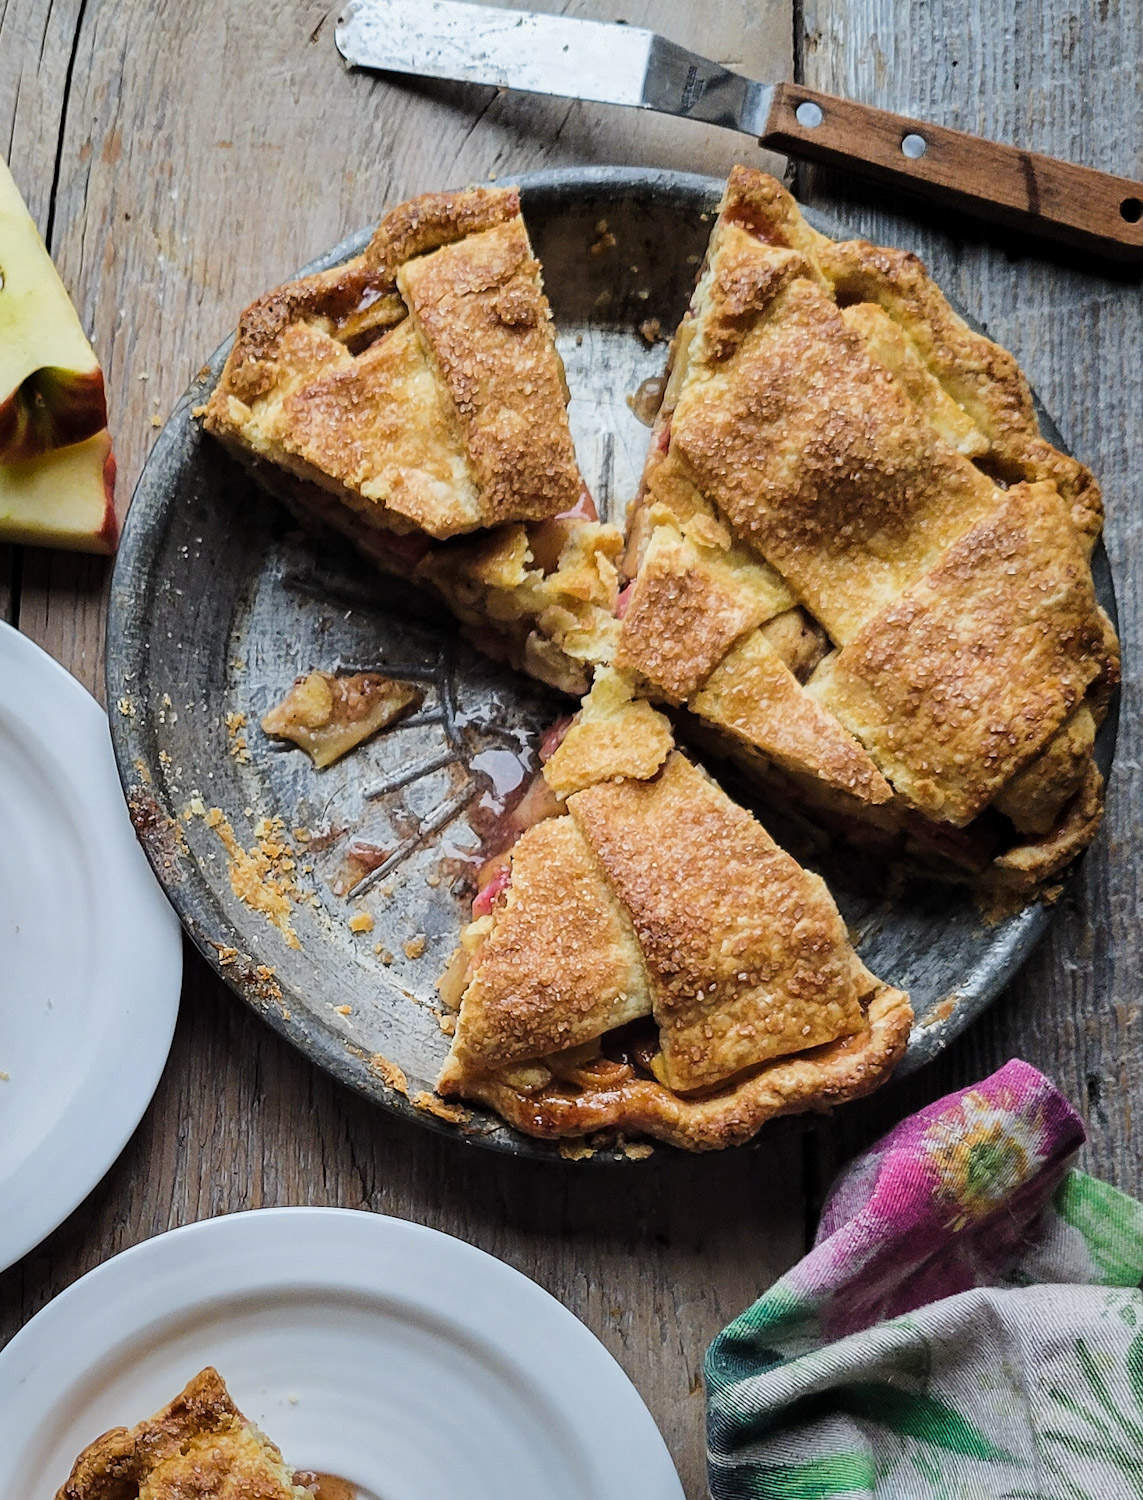
You can also do a simple lattice as I did here above, using only two sets of three larger strips overlapping both ways. I first crimped the edges with my fingers, and chilled it before filling it. Then once filled, I cut out the six strips from the second amount of pastry and laid them out over the filling. I trimmed them to be just the length of the pie plate. The overhanging portions just got tucked down over the filling between the filling and the crust.
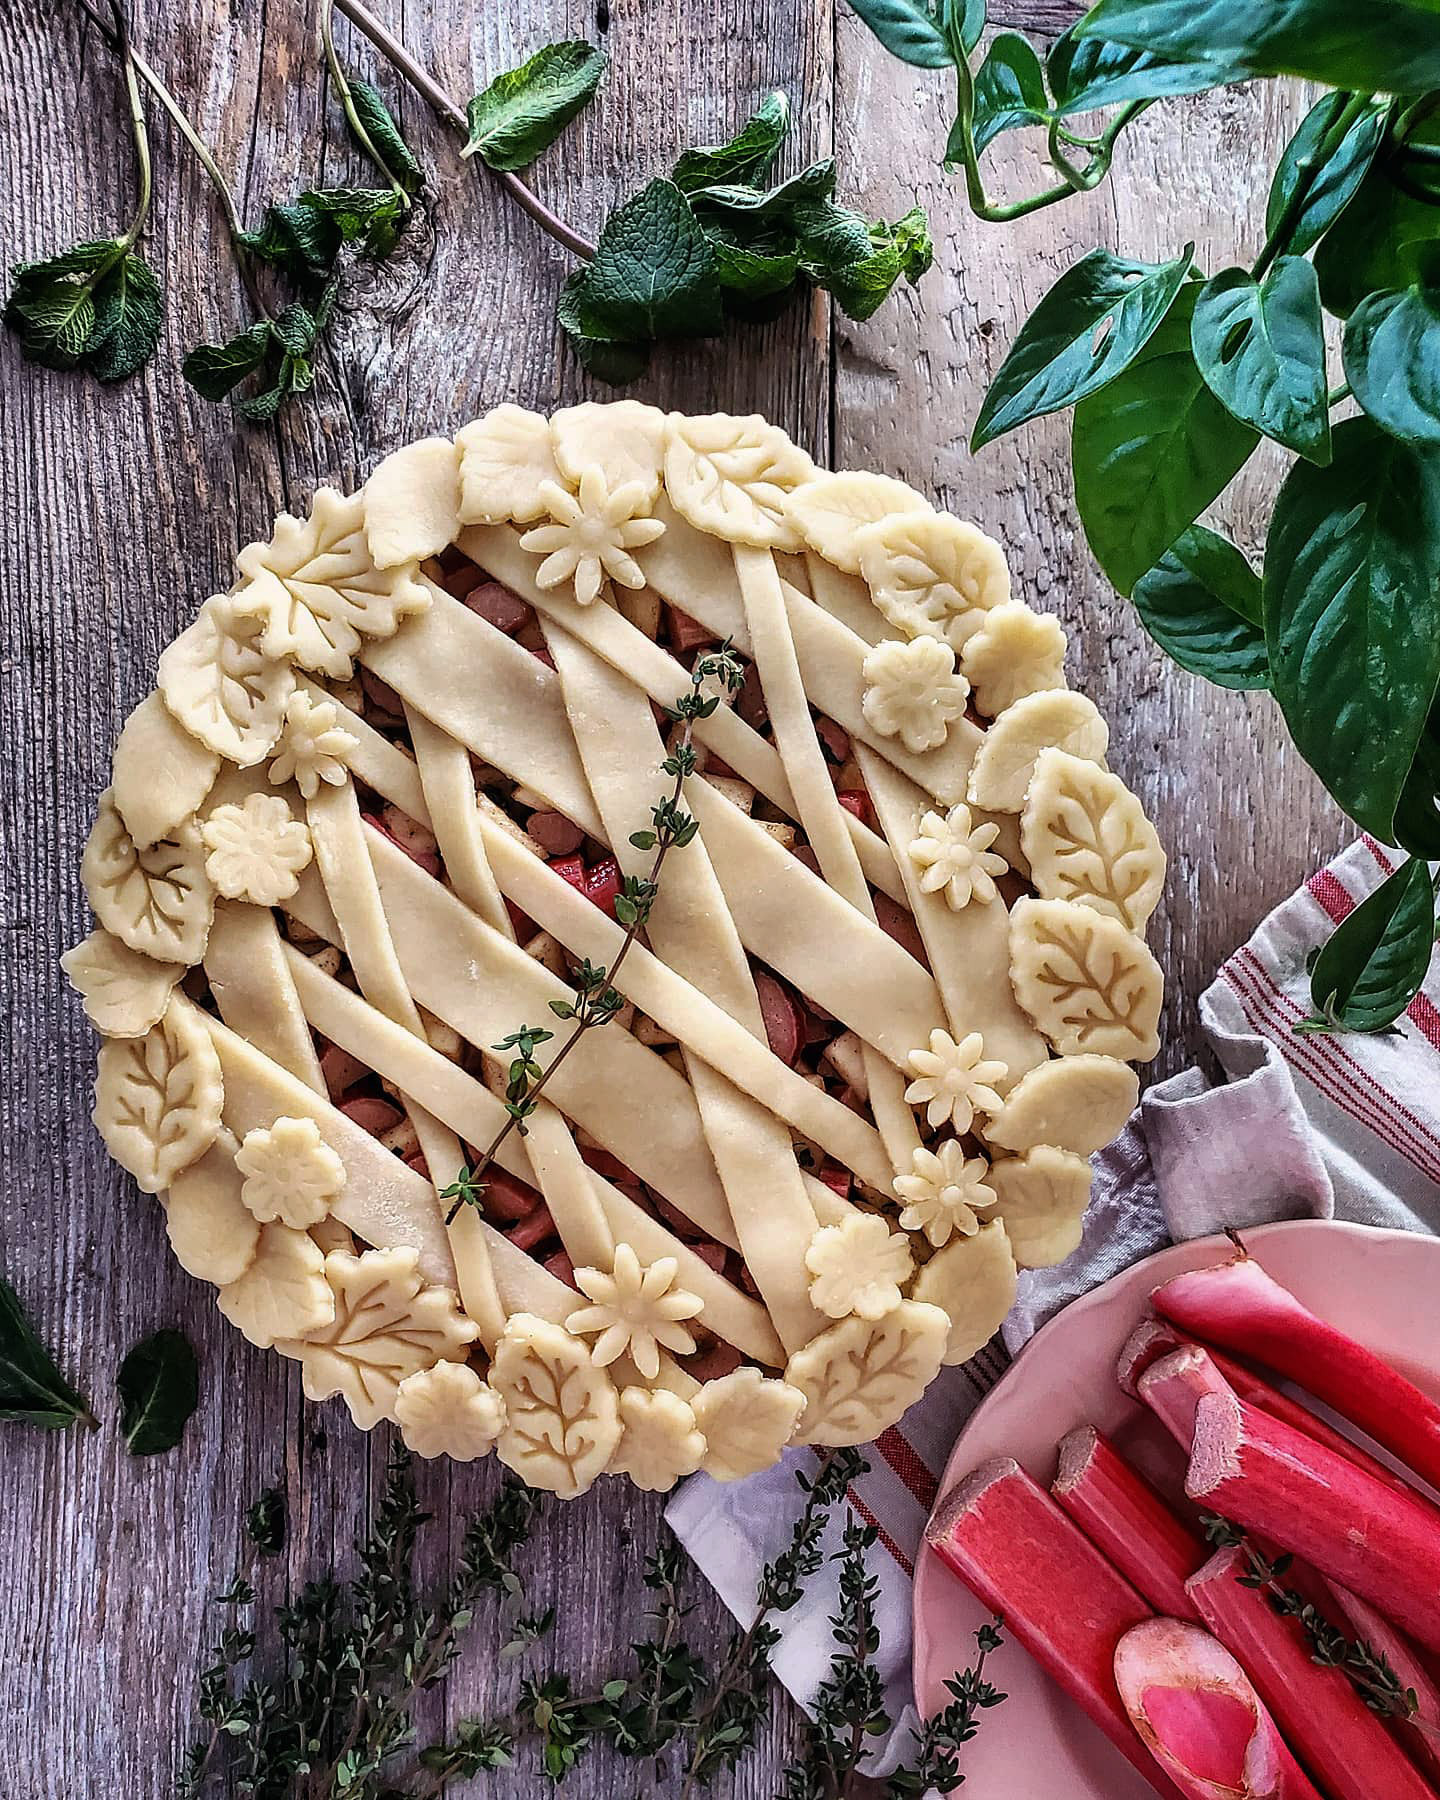
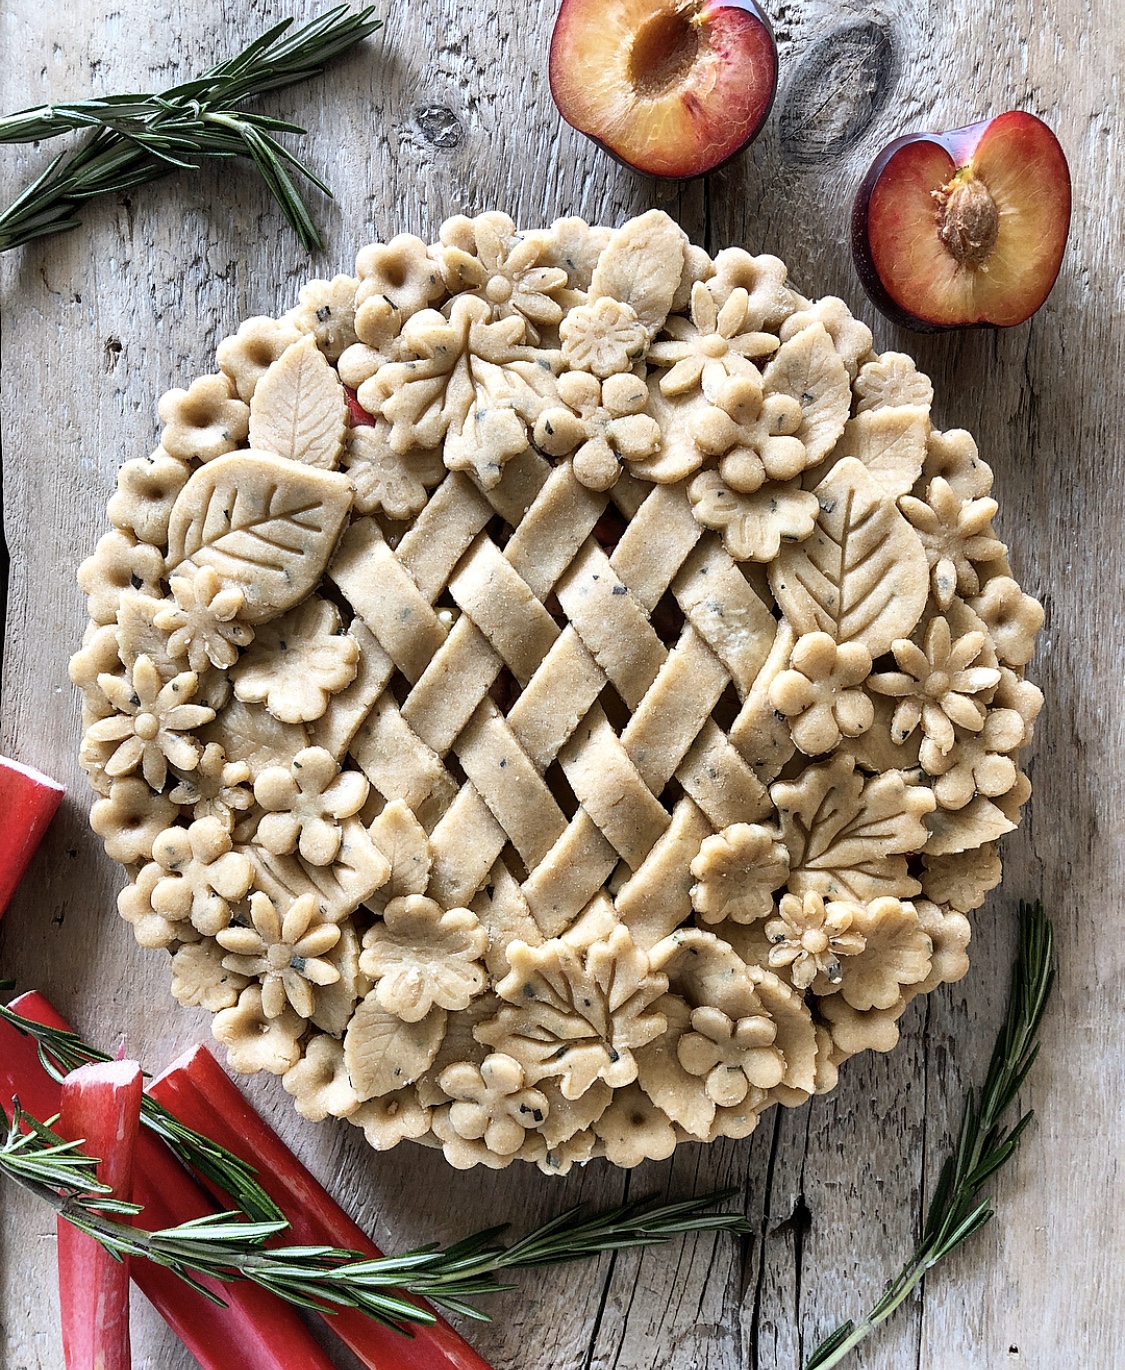
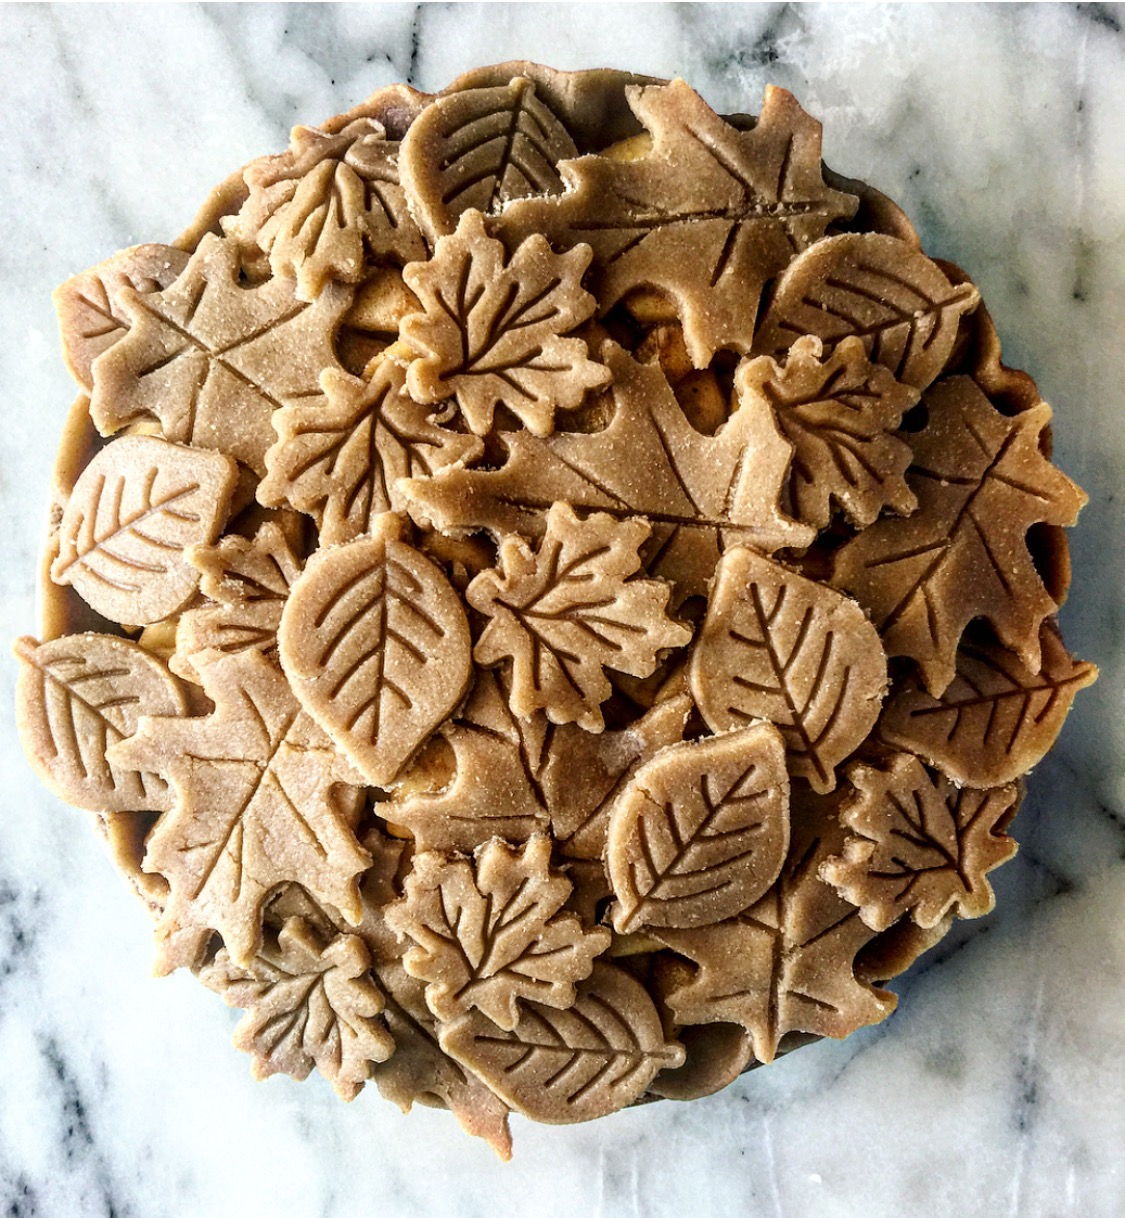
Or why not use cookie cutters to form pastry toppers that you can layer in all sorts of patterns? Below are some options:
Sugary Topping
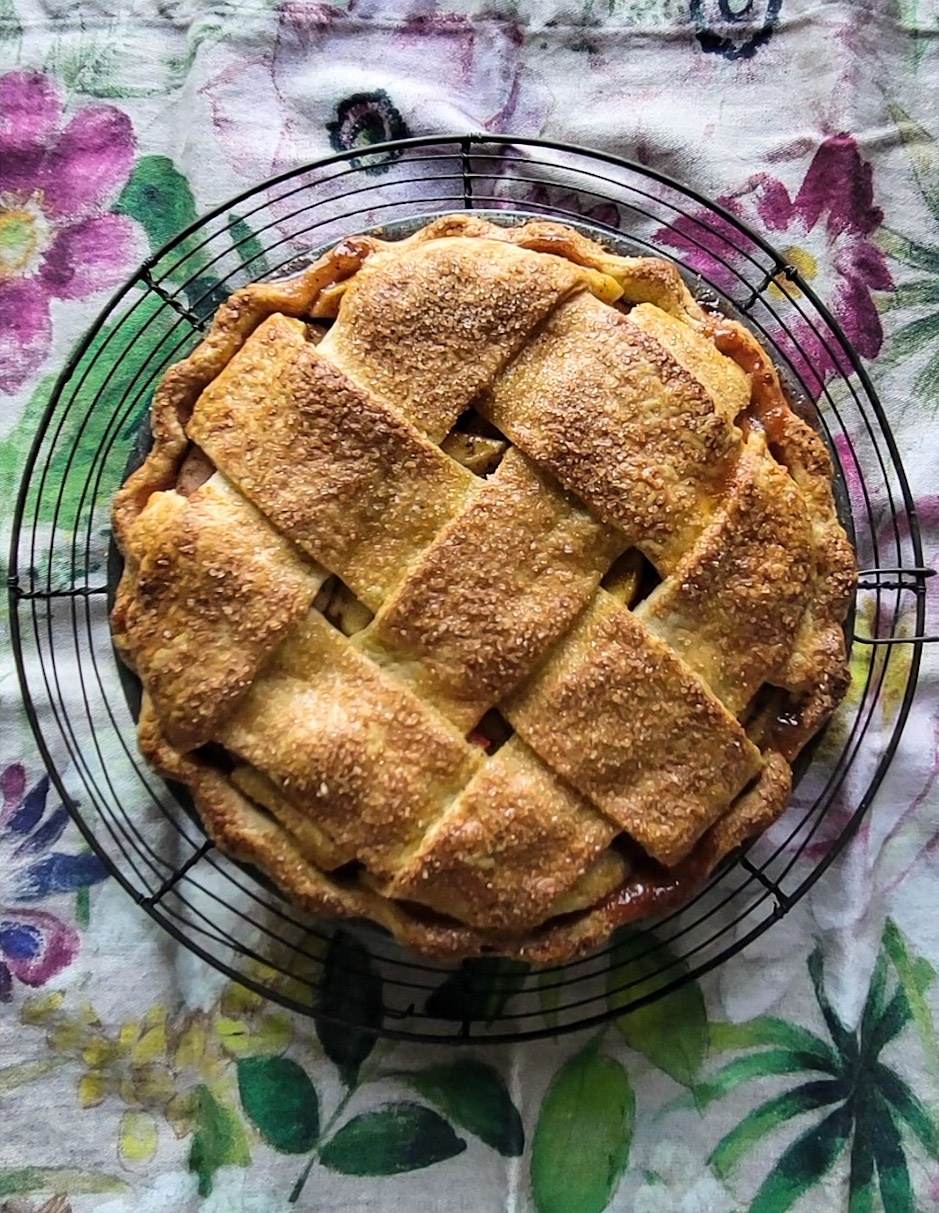
Once you have chilled the finished pie for 30 minutes in the fridge while the oven is warming. you will brush the entire top with an egg wash. This is just a simple egg and splash of water whisked together. Brush it all over, not letting too much puddle in any of the crevices etc. Then you will take a good two tablespoons of turbinado sugar and sprinkle it evenly over all the top, including the crimped edges.
Bake in the lower third of the oven to ensure that the bottom of the pie and filling get a head start to being fully baked and browned. Then transfer the pie to the middle rack and finish baking until the juices are bubbling out of any vents or holes. Don’t rush this. The bubbles and thickened juices are proof that the starch or flour that you added to the filling are fulfilling their assignment of thickening the the pie so that it won’t be a watery mess when you cut into it. You need to let this happen. This is the reason for dropping the oven temperature and baking in the middle of the oven for the second half of baking time. If needed, use foil or pie guards to protect the edges or any parts of the crusty that are browning too much.
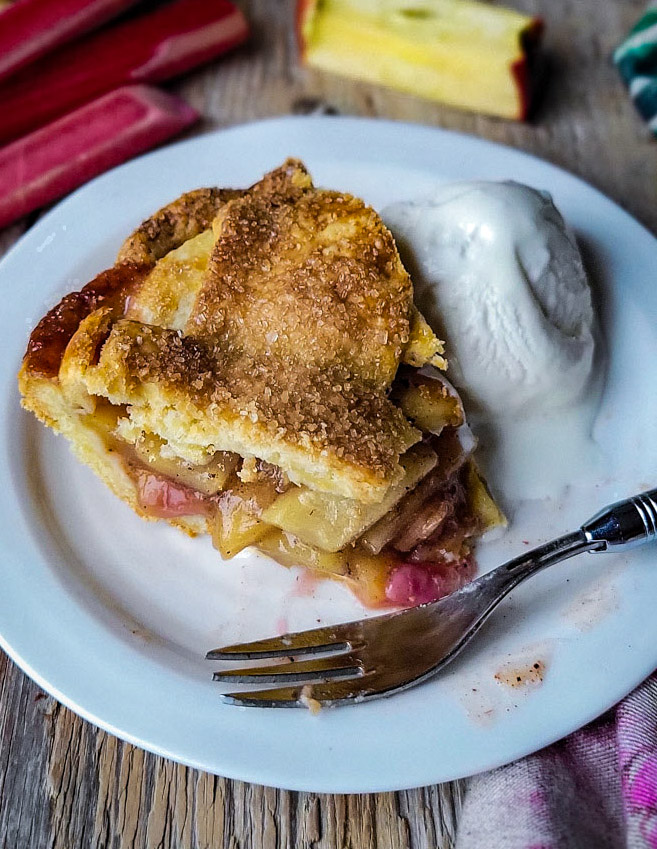
The end result is a tender, flakey crust, sugary and crunchy in the best way, and the perfect contrast to the filling.
Cool Down
For any fruit pie, you need to wait at least three to four hours for the entire pie to cool down and let the juices settle so that they won’t leak out when you cut the pie into slices. Don’t rush this. In fact my suggestion is: always bake the pie the day before you want to serve it. This way you will know for sure that the filling is perfectly cooled and set.
Of course, some fruit will always release more juice than you expect, so a little liquid at the bottom of the pie shell is normal. You don’t want to add so much starch or flour to counteract this that the final filling is rubbery from too much thickening agent. That will detract from the filling, don’t you think?
Final Thoughts
You can serve this pie at room temperature or slightly warmed from a few minutes in a 300F oven. A generous amount of vanilla ice cream, or whipped cream, or even Creme Anglaise is a perfect way to finish this pie!
It will keep up to four days, in the fridge, or for a couple of days in a sealed container on the counter.
Yes, you can use frozen rhubarb. Just don’t thaw it before you use it. In fact, give the apples and the sugar mixture a head start in the bowl, and then add the frozen rhubarb at the end. Stir it all together and immediately fill the prepared pie shell.
If you make this Apple Rhubarb Pie, please be sure to leave a comment and/or give this recipe a rating! It’s always lovely to hear from you guys, and I always do my best to respond to each comment or question. And of course, if you do make this recipe, and you post it on Instagram, don’t forget to also tag me so I can see! Looking through the photos of recipes you all have made is such a treat.
Love Jen

Apple Rhubarb Pie
Ingredients
- Full amount of my Perfect Pie Crust recipe, or use store-bought pastry, enough to cover the pie as well; see Notes
- 5 cups peeled and 1/6 inch-thick sliced apples, about 4 medium apples, or a total of 575 grams; see Notes
- 2 1/2 cups 1/4 inch thick-sliced rhubarb, about 240 grams
- 2/3 cup granulated sugar
- 4 tbsp arrowroot starch or all purpose flour, or gluten free cup for cup blend
- 1 tbsp cinnamon
- 1 tsp ginger
- 1/2 tsp cardamom
- 1/4 tsp salt
- 2 tbsp ground almonds
- 1 egg for egg wash
- 2 tbsp turbinado sugar
Instructions
-
Prepare the pie shell by lining a pie plate with one half of the pastry. Trim the outside edge to have a 1/2 inch overhang past the pie plate. Chill till needed. Have the remaining pastry ready, but wrapped in plastic waiting in the fridge till needed.
-
Combine the apple slices and chopped rhubarb in a large bowl.
-
In a small bowl, combine the sugar, arrowroot starch, cinnamon, ginger, cardamom and salt till well blended.
-
Pour this over the fruit in the large bowl. Toss gently to ensure that everything is well coated with the sugar mixture. Let it sit to start releasing the juices from the fruit.
-
Pre-heat the oven to 425F and place a rack at the lower third level in the oven. Take the chilled pie shell out, as well as the remaining pastry.
-
Spread the ground almonds evenly over the bottom of the chilled pie shell. Spoon the filling over the almonds, pressing the apples and rhubarb into the shell to eliminate any air pockets. Pack it all firmly, mounding the final amount so that the middle of the filling is higher than the outer edges.
-
Roll out the remaining pastry and cover as you desire. If you end up just placing the entire pastry over the filling, trim it so that the edges of the lower pastry can come over and cover the top layer. Then crimp or use a fork to finish the edges. Make sure that you cut vent holes in the pastry.
-
See the blog post for more details and other suggestions for preparing the pie.
-
Bake on the lower rack for 35 minutes, till just turning golden brown. Move the pie to the centre rack and drop the temperature to 375 and continue to bake. Once the juices are bubbling, and the crust is golden brown, about another 30 minutes, it is ready to come out of the oven.
-
If the crust or edges are browning too much, cover with a pie guard or foil and continue baking.
-
Cool for at least 3 to 4 hours, or overnight to allow the juices to settle and the filling to firm up.
-
Serve with ice cream, whipped cream or Creme Anglaise.
Recipe Notes
Here is my Perfect Pie Crust recipe link. Feel free to use a store-bought pie crust, just make sure you have enough for the top and bottom of a standard pie plate.
The best apples for a pie like this are Gala, Honeycrisp, Red Prince or other firm, crispy sweet apple. Avoid apples that will melt too much as they bake up.
Here is my recipe for Creme Anglaise.

First pie of the season, 10 stars
Hi Shar, so happy to hear! Thanks so much 🙂 Such a fun pie. Love Jen
Such an amazing pie! My whole family loved it of course! Will be baking again!
Hi Holli, so happy to hear! It’s definitely a favourite over here as well. Love Jen
I haven’t made a pie in forever and I am not usually a baker but this pie was delicious and ready make another.
I do have a question on when you apply the egg to the top crust for the egg wash ?
Thanks
Hi Heather, Thanks for your kind feedback. It’s a favourite around here for sure! Apologies for the missing step. Thanks for catching it! I get so used to writing out recipes, and sometimes forget the most obvious details! The egg wash goes on the top crust before baking. Sprinkling some raw sugar over the egg wash before putting the pie in the oven gives a beautiful finish to any pie. Going to go rectify the recipe now!
My rhubarb was late growing this year so was looking for something to do with the left overs after canning .I had seen your Recipe and gave it a go . It was amazing the whole family loved it I will be making it again thankyou
Hi Rita, So happy to hear! Definitely a favourite pie around here. And I am just slightly jealous of your personal rhubarb patch! Love Jen
Is there a substitute for the ground almonds?
Hi Leanne, if you can have other ground nuts, use those. If not, breadcrumbs will also work. Hope this helps. Love Jen
Used up my rhubarb from garden today and made the pies, pastry is lovelly & the whole house smells like a bakehouse cant wait to eat one, off tothe shops to grab the cream yummy, pity i couldnt post a photo
Hi Donna, so happy to hear, thanks for your kind feedback! Enjoy, Love Jen