What’s your favourite thing to stress-bake or procrasti-bake? Mine is biscuits or focaccia. Both are just so versatile, and easy to whip up.
 Okay, biscuits are ready in a fraction of the time, so they win on the immediacy chart. But focaccia is just so fun to play with. The dough feels so good, and really, compared to most breads, it is ready relatively quickly. And it usually accompanies the best Italian pasta meals. Not to say it can’t be a meal or snack in itself.
And the other thing I love about both bakes, is what can be added to them. Biscuits can be loaded (see my Everything Apple Bacon Breakfast Biscuits) or a simple biscuit like my Herb Kefir Biscuits. And anything in between. These can stand on their own, or become part of a fantastic brunch spread.
Same goes for focaccia. The toppings can be simple (or nothing at all, just a sprinkling of good salt) like some cherry tomatoes or onions, or how about something a bit more substantial like Potato Rosemary and Gorgonzola? Next to this version, I really love what happens when thinly sliced Meyer lemons are added to the top to crust up as the bread bakes. See my Lemon and Parmesan Focaccia)
This one today is no different. This time I decided to make it suitable for the cooler weather and the foods we may be serving the focaccia with. Plus, a bread like this one, is almost a quick meal unto itself, wouldn’t you agree?
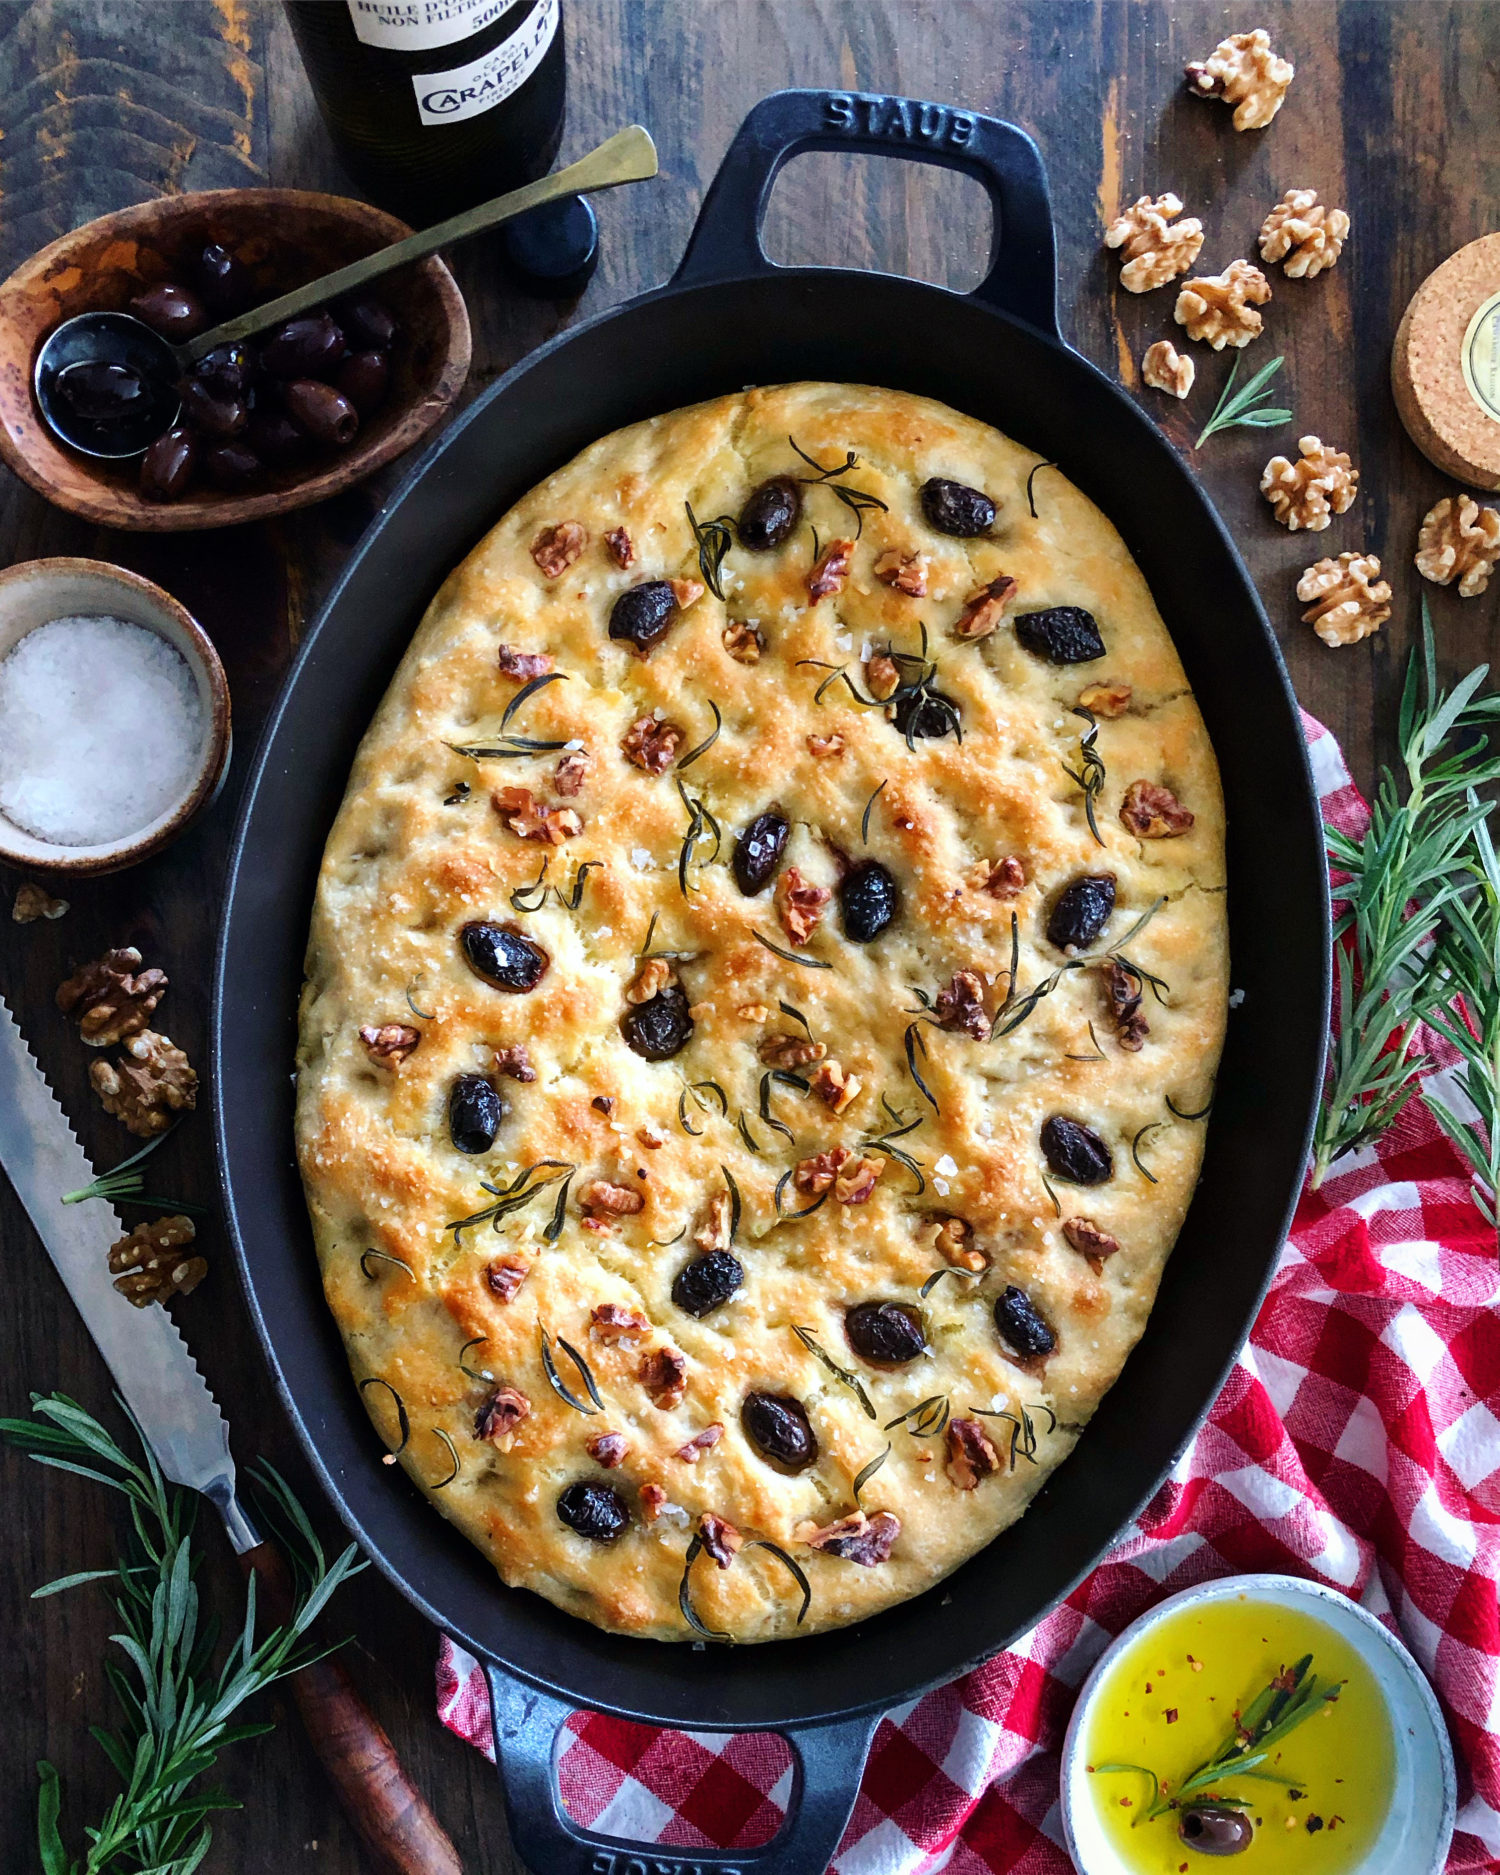
Enter Walnut, Olive and Rosemary Focaccia. It just evokes fireplaces, robust red wines, soup or a rich baked lamb ragu and rigatoni meal. The perfect bread to serve everyone after spending the day outside snowshoeing or skiing. Or how about on a great cheeseboard, or as an appetizer with a great dipping olive oil. Okay, I’m getting really hungry right now!
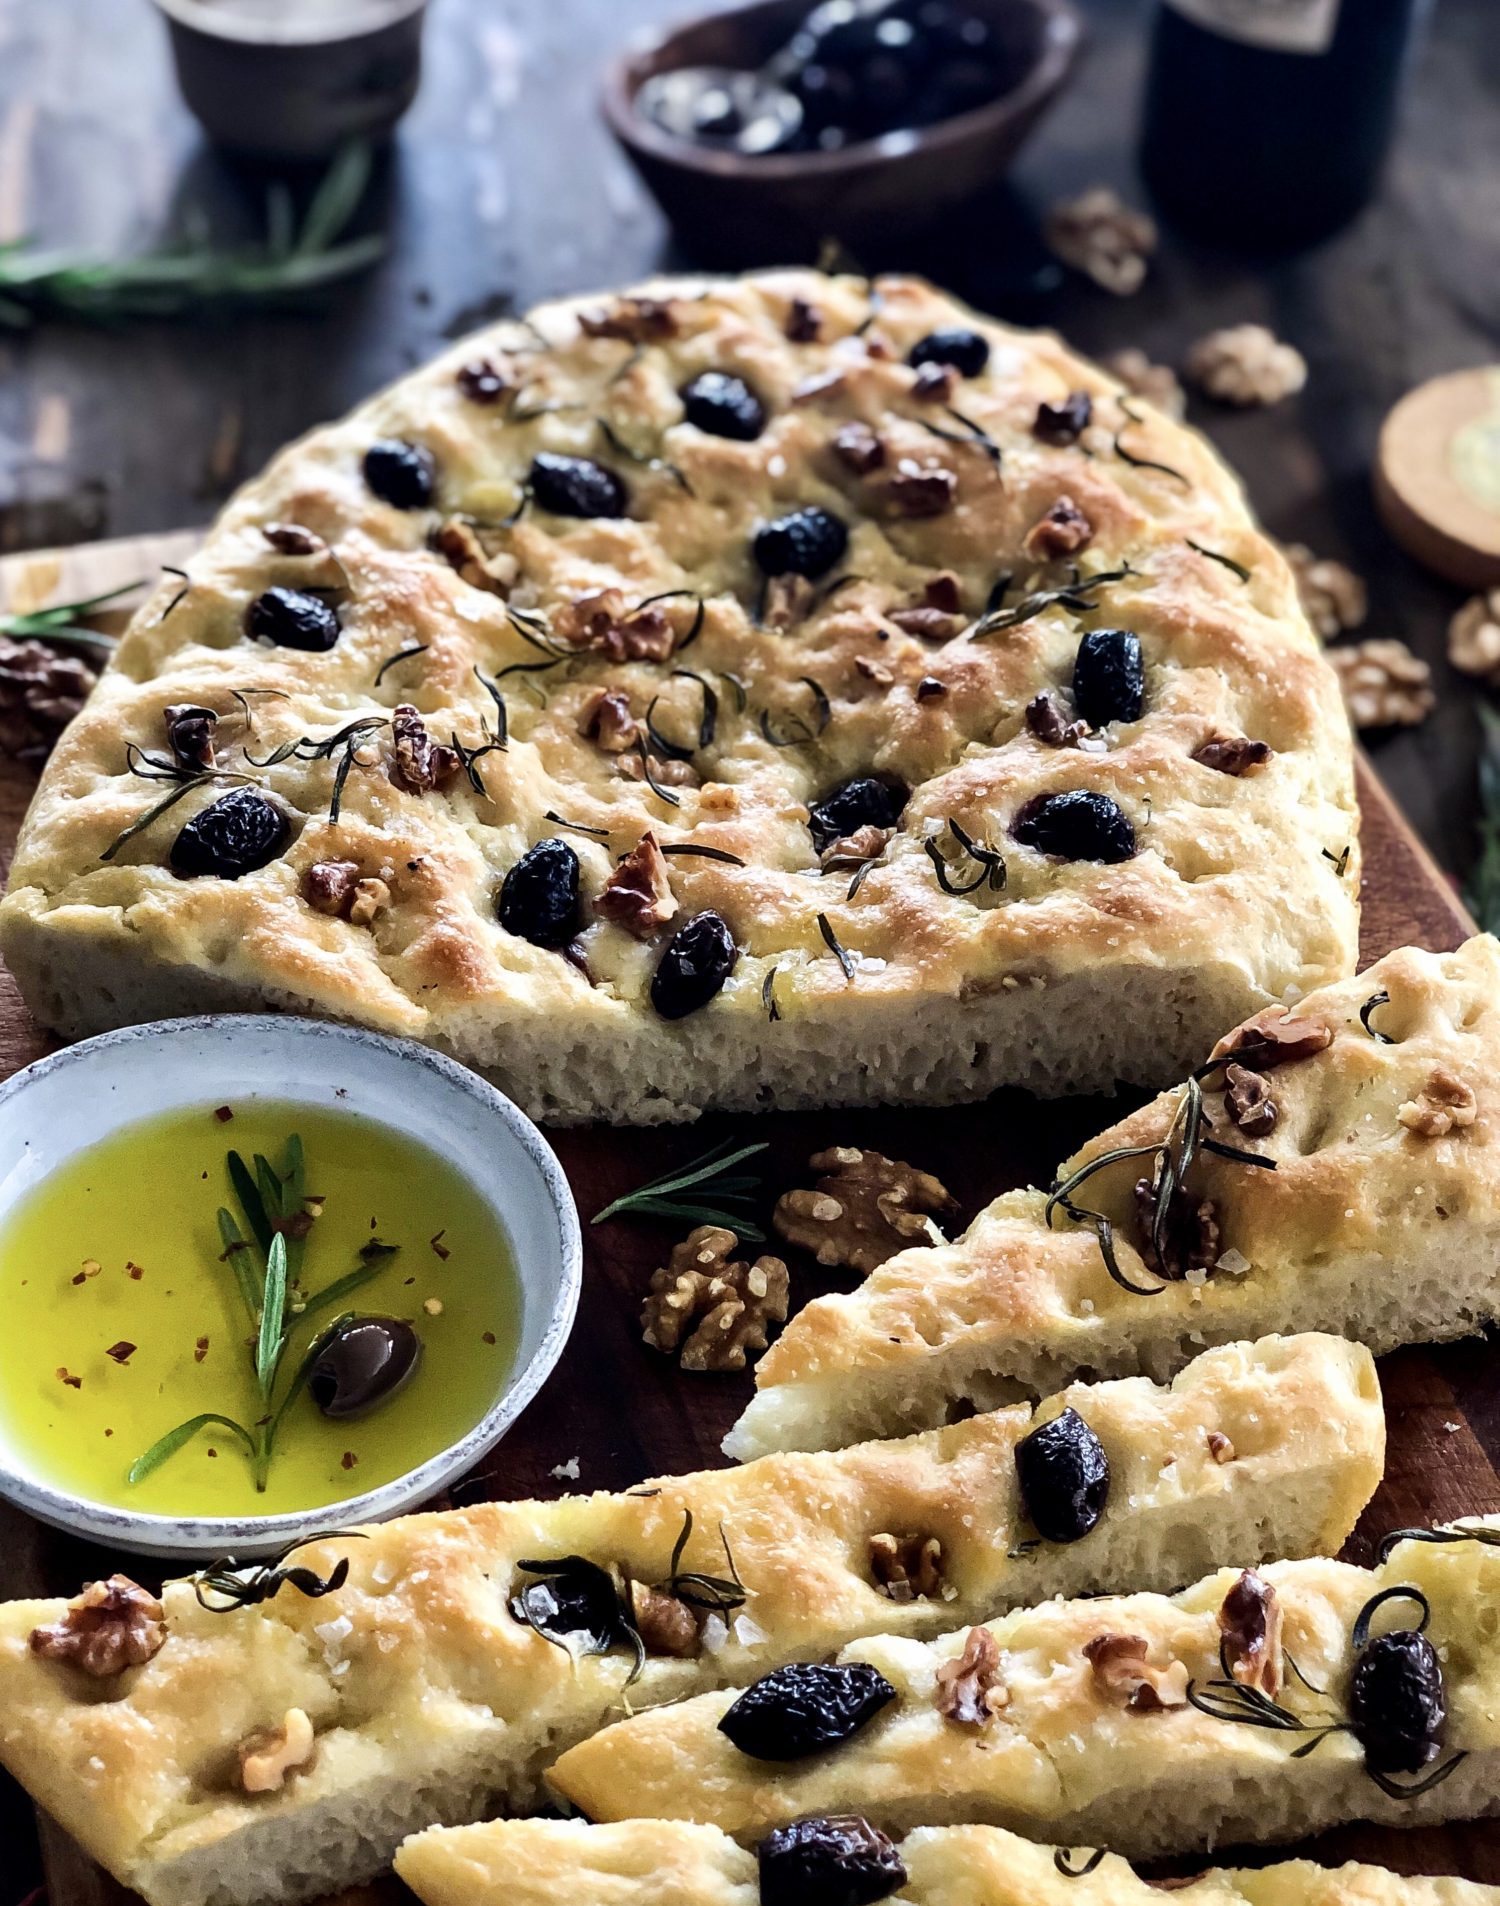
And unlike my other focaccia recipes which require a bit of kneading (by machine or hand) I decided to share a less strenuous version. There are so many no-knead recipes out there these days. For a sourdough version of no-knead focaccia, I stick to the one found in Emilie Raffa’s book, Artisan Sourdough Made Simple. Yes, I know I refer to this book a lot. But when you find something great, that never lets you down, you stick to it. I am not a bread baker by trade. But by using her recipes, my bread-making confidence has grown exponentially, and I thank her for the simple direct recipes that she has shared.
Emile also has a no-knead yeast version on her website. This one is a great little recipe to add to your repertoire. And like any good focaccia recipe, it can be totally customized. Which is what this recipe today is. See, I’m good at the customizing part! I seem to have the creative side that lets me put strange things together and have them work out. But the initial bread recipe had to come from somewhere else. I will admit my limitations!
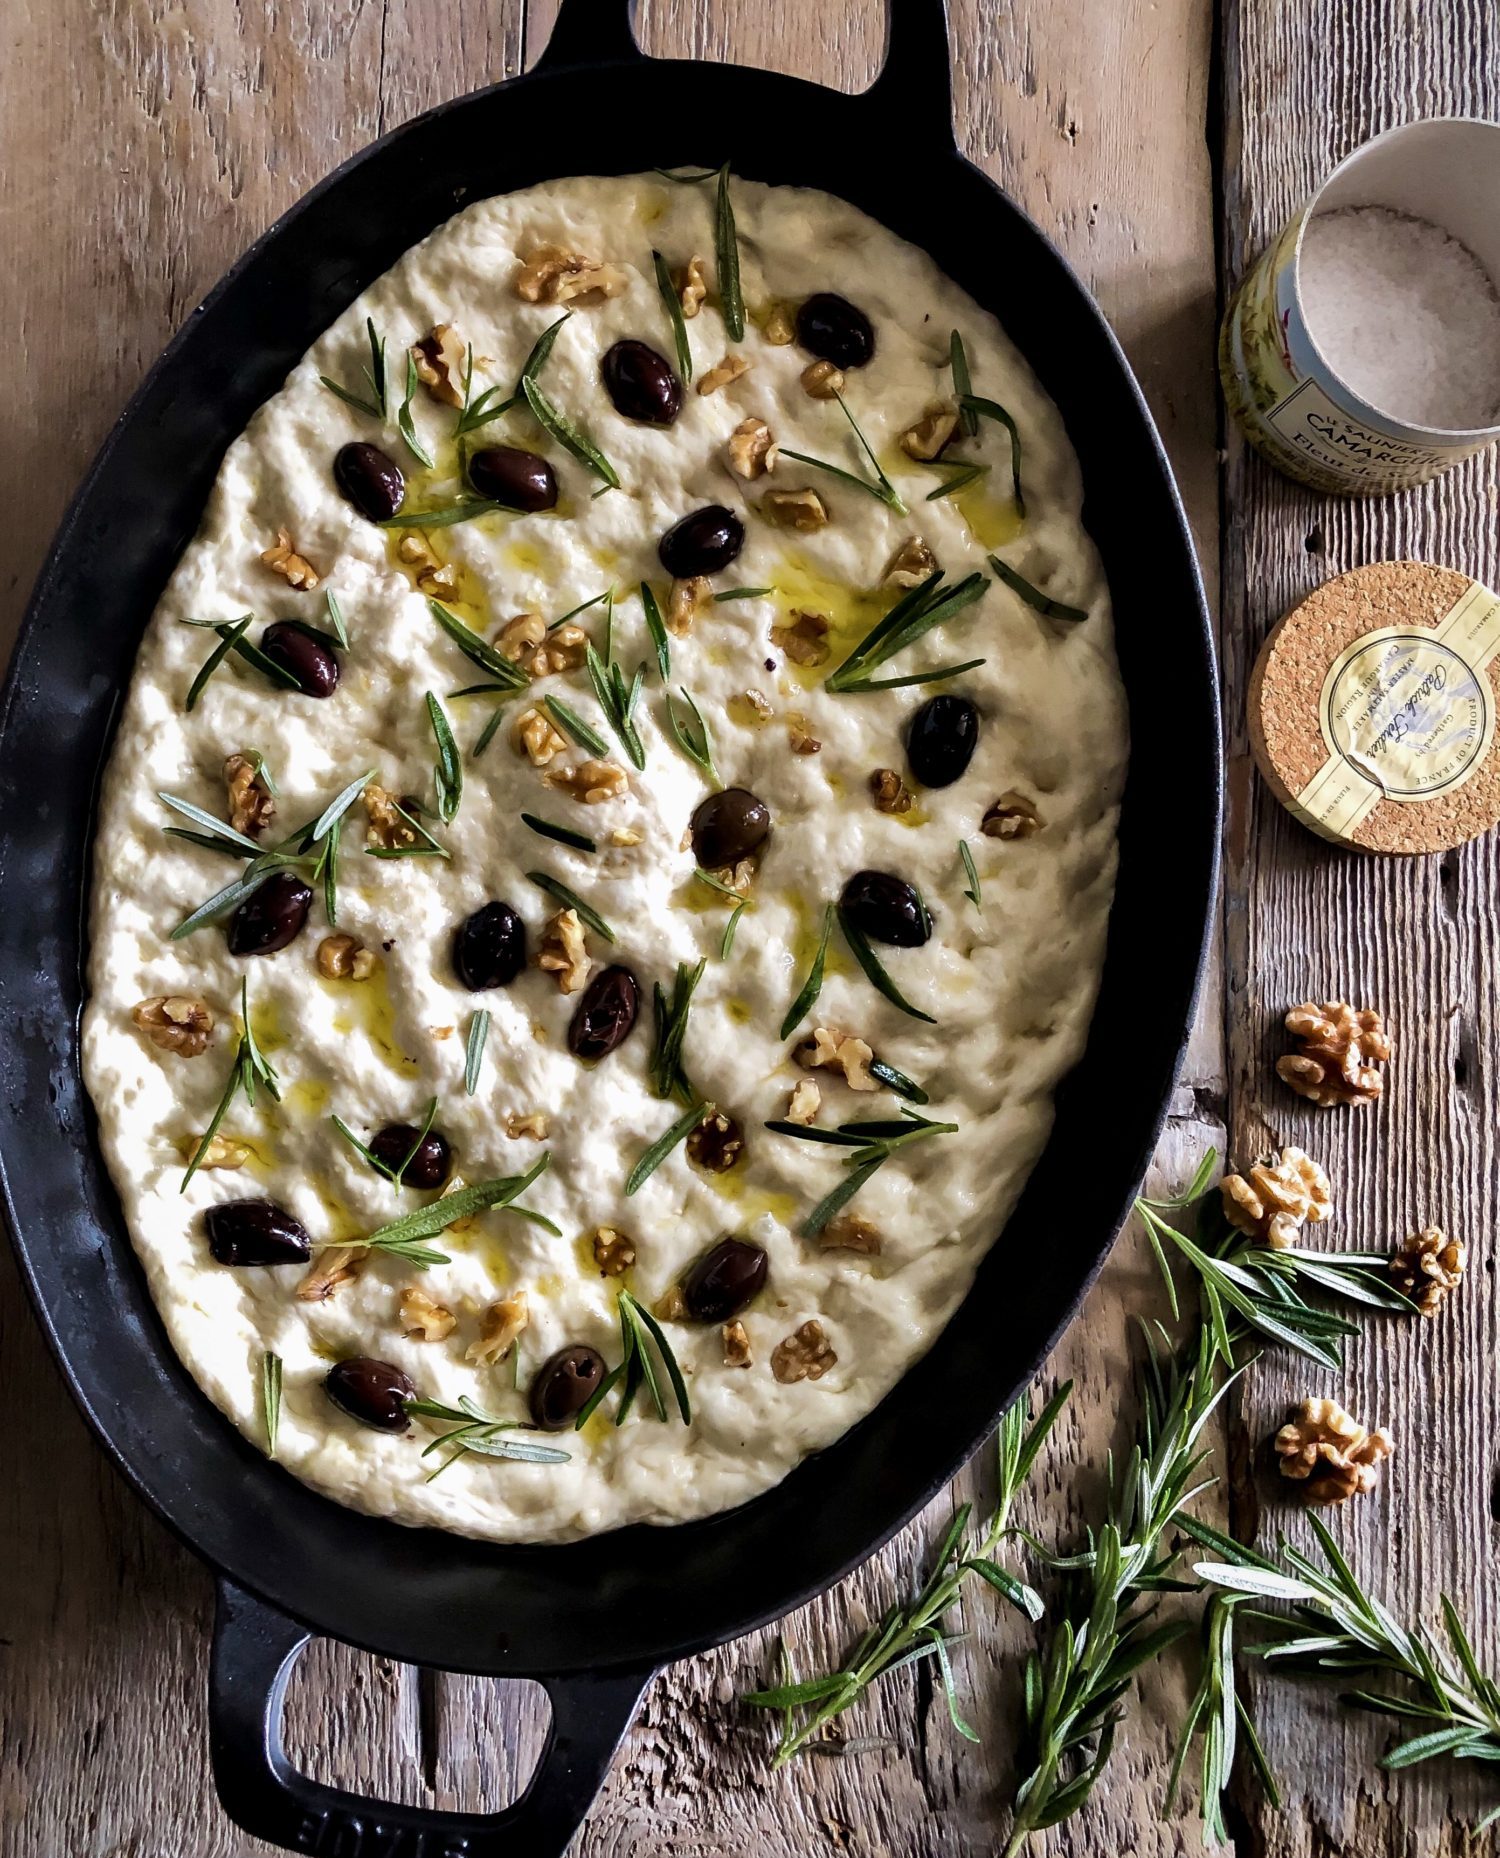
After creating the dough and letting it rest (either on the counter for a couple of hours, or in the fridge overnight), it will be stretched out into an oiled baking sheet or pan. Then you will add your toppings. One of the fun things about making focaccia is the step where you take your fingers and poke holes all over the dough. This time around, you will be popping the olives, walnuts and rosemary into the holes as you go. Pushing them down into the holes will help keep them from popping out and off the dough as it bakes. Then you will let it rest another 30 minutes, covered with a tea towel.
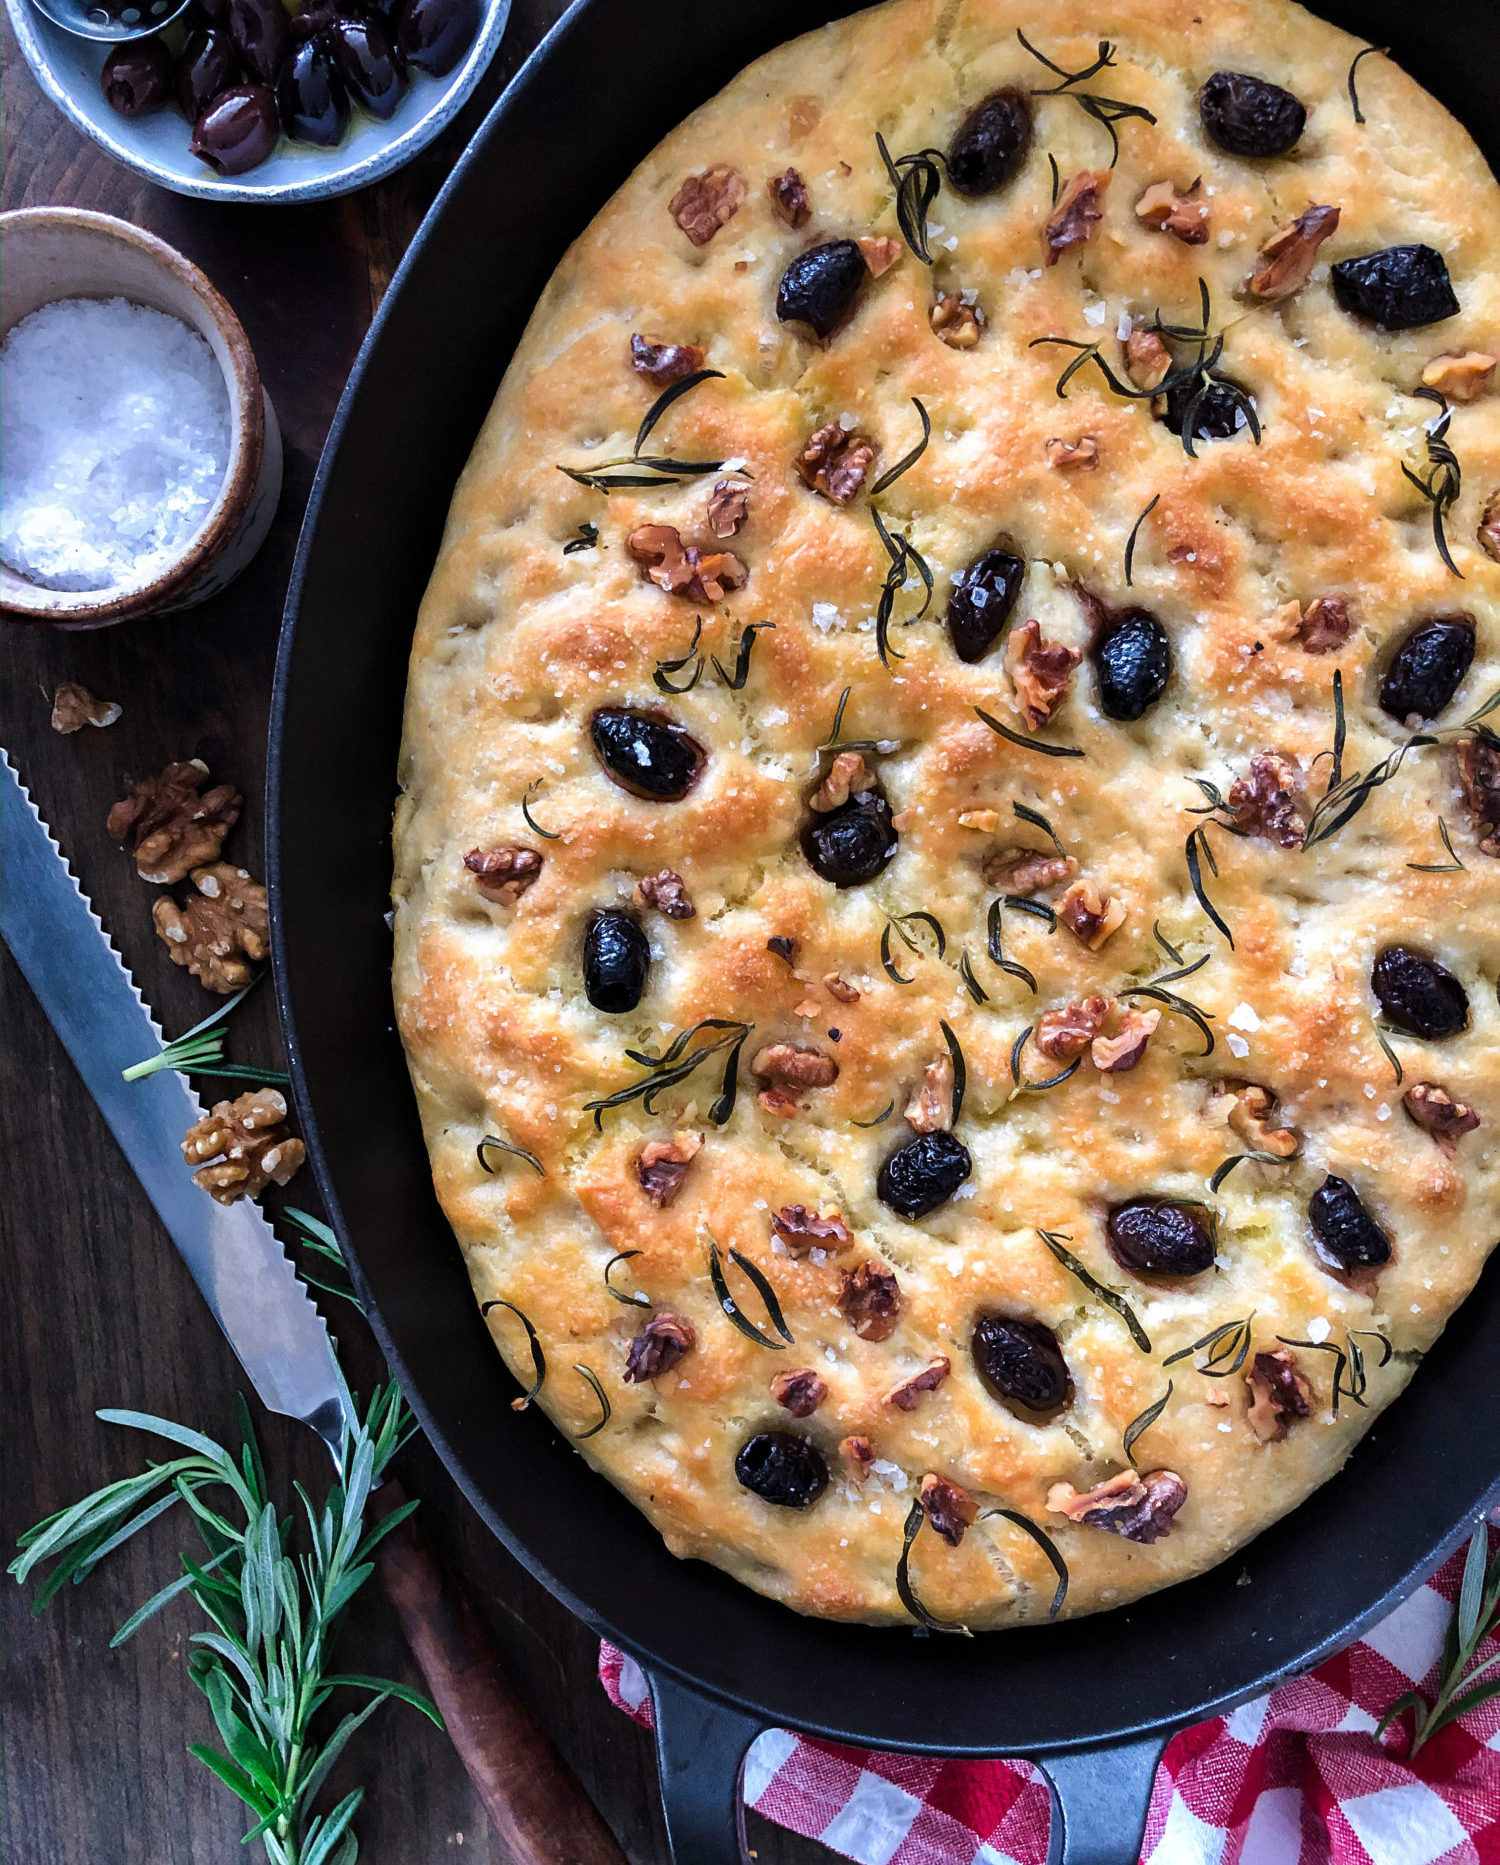
Baking is a snap. It’s only in the oven for about 35-40 minutes, or until it is golden brown and crisped at the edges. The hardest part of this recipe is waiting for it to cool. I know, we all want to cut into it right away, the fragrance is totally beckoning us. But resist it. Giving it a chance to cool will ensure that the interior stays nice and fluffy.
Like I said at the outset, this comes together so easily. You can start this on a Saturday or Sunday after lunch, and it will be ready for dinner. And it has all the bounce and texture that a good yeasted bread will have, with minimal work.
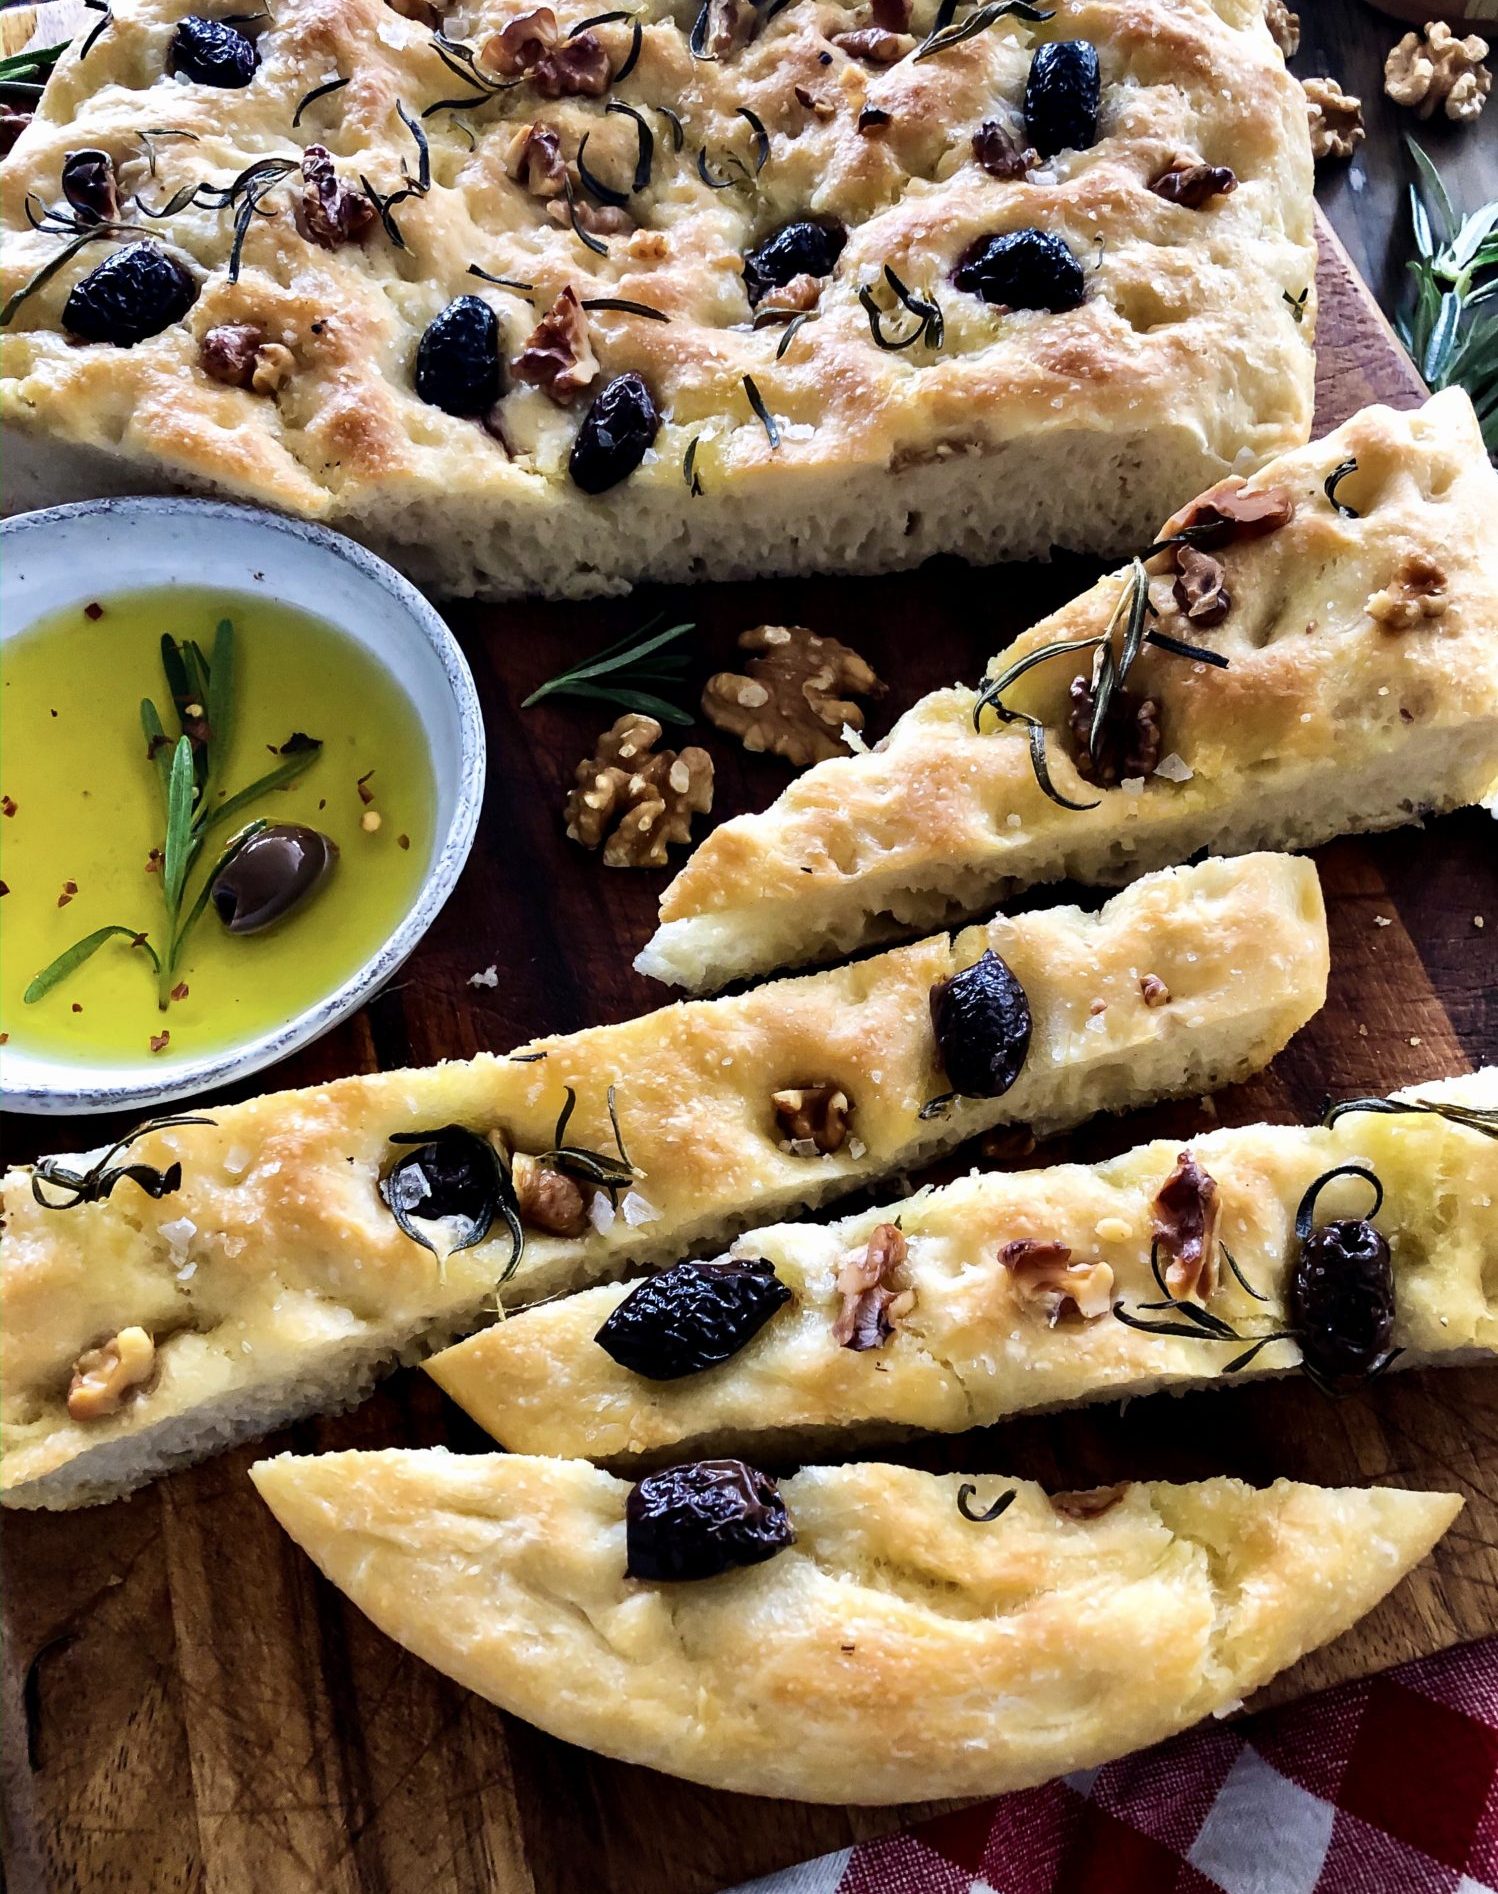
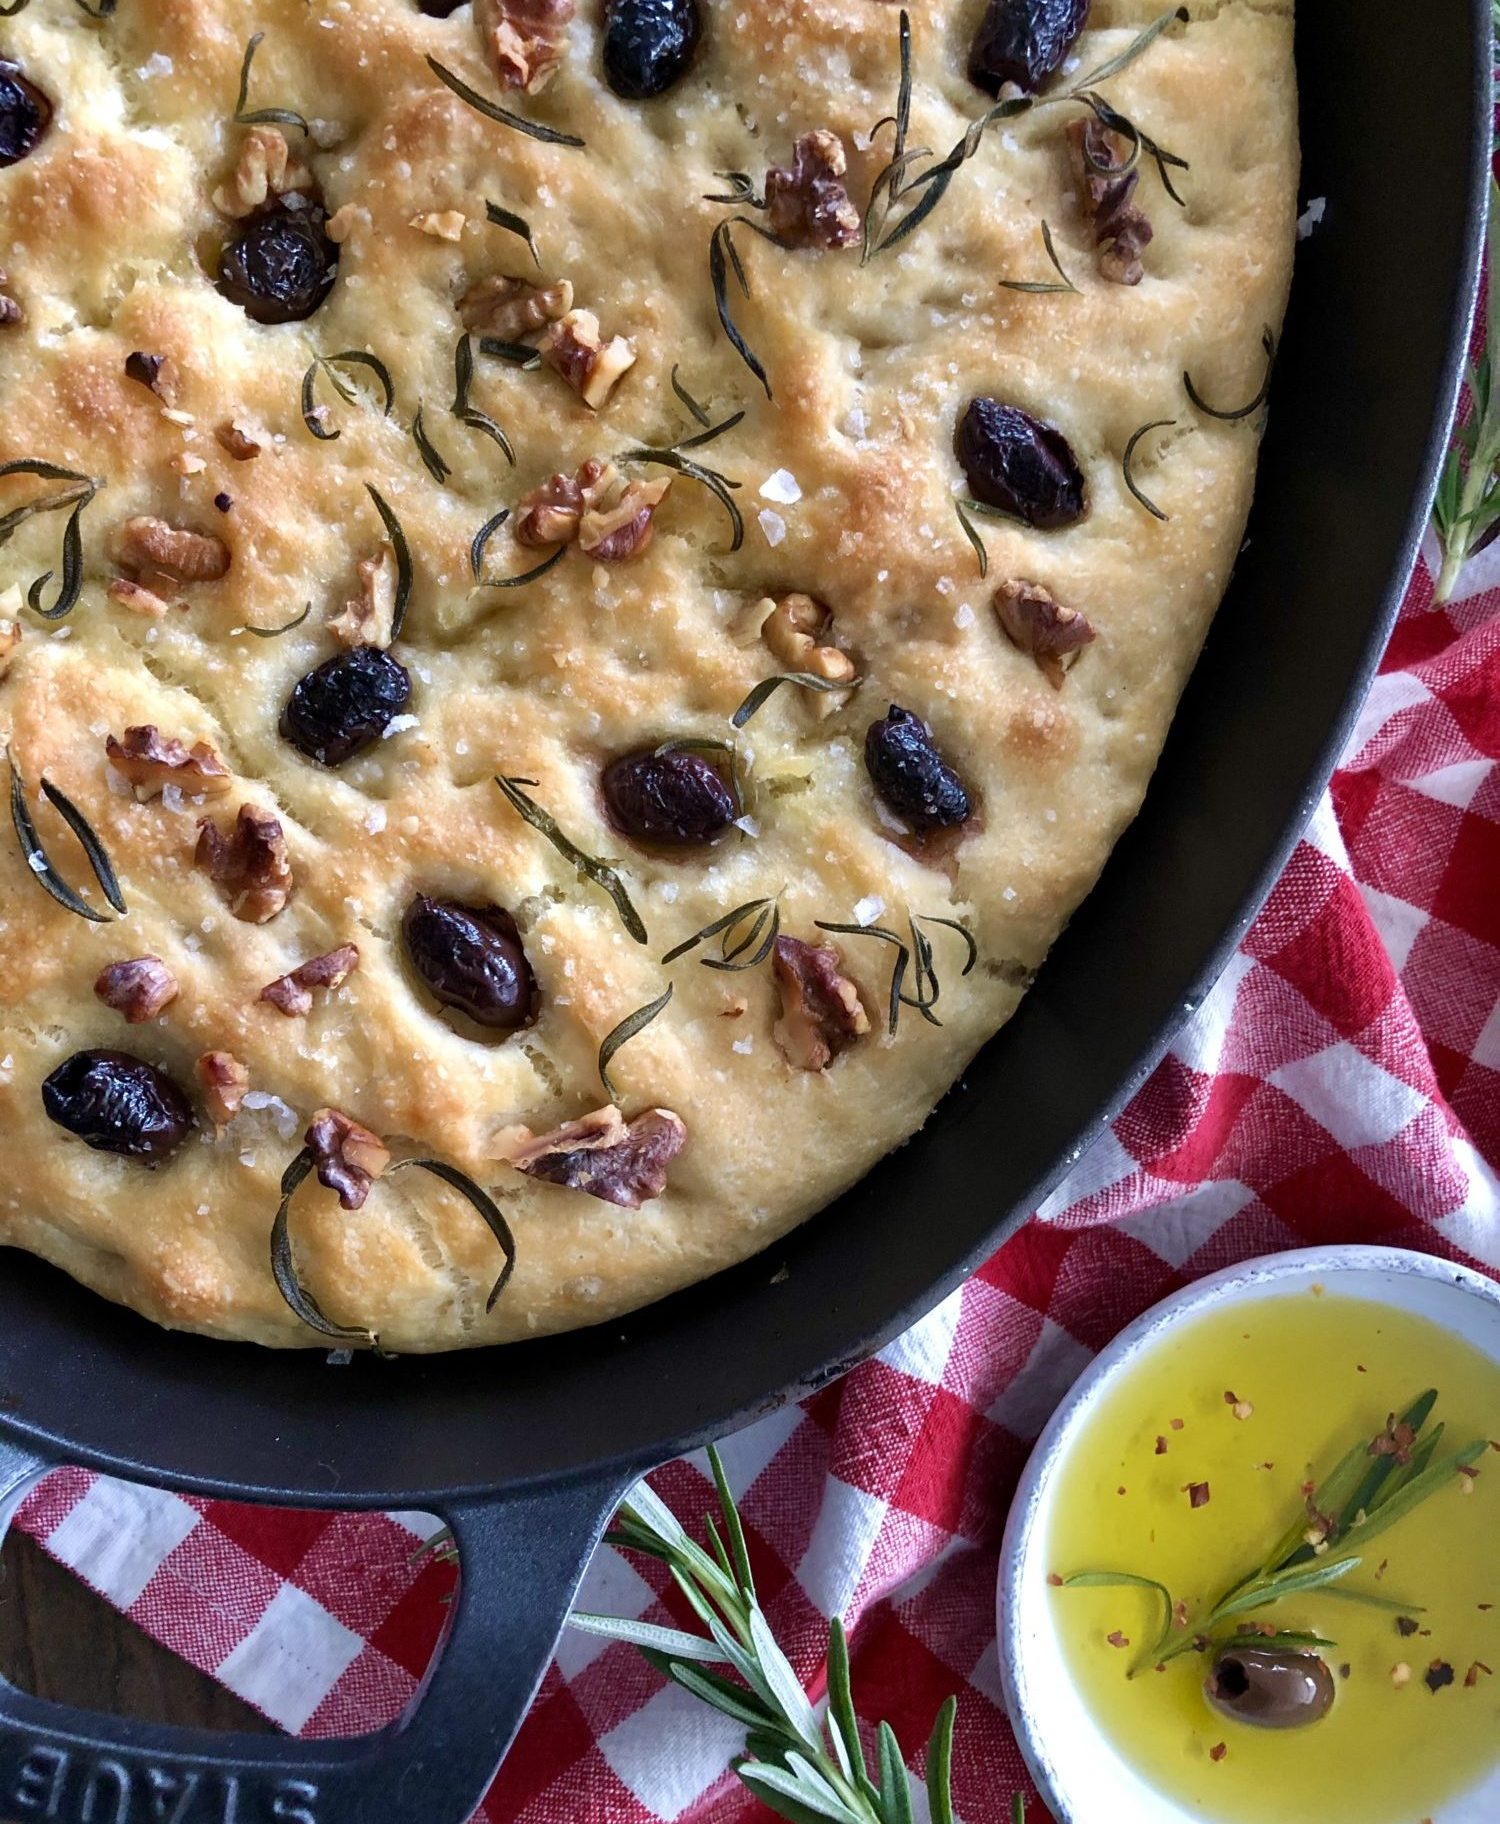
As you can see by the photos, I used a cast iron gratin dish for this version. Like any baking pan or sheet that you want to use, just make sure that whatever you use is oiled well. This will ensure that the bottom gets a nice crust as it bakes.
Bread like this should keep in a sealed container for a couple of days. Unless of course you are like me, and will constantly sneak slices, in which case, I give it about 5 hours.
Love Jen

Walnut Olive and Rosemary No Knead Focaccia
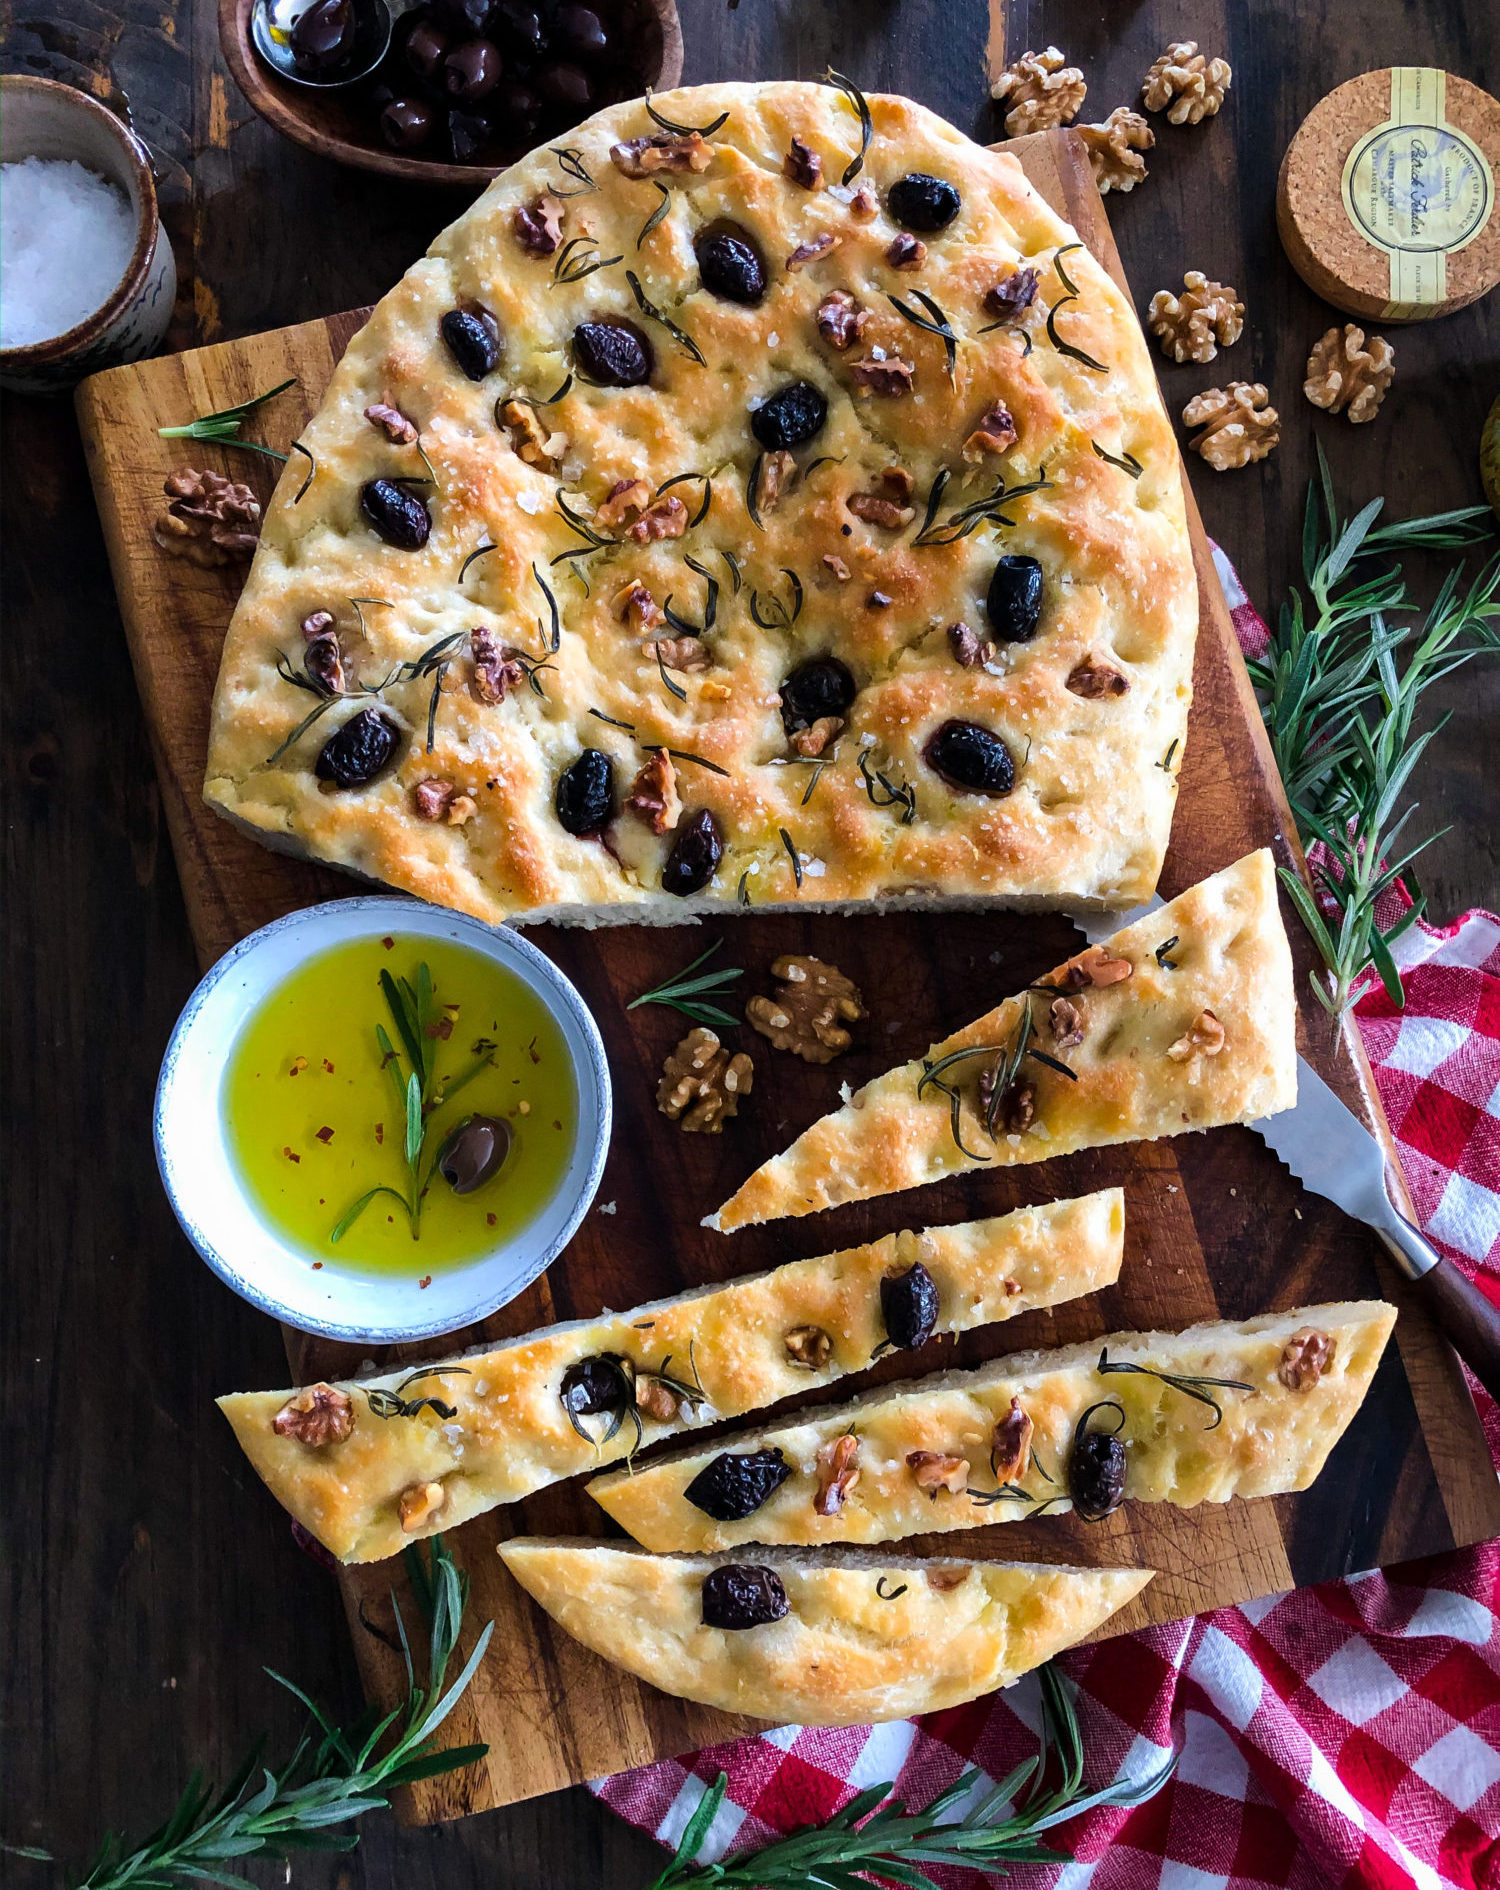
All the chewy, fluffy goodness of a great focaccia, with the added flavours and textures of walnuts, olives and rosemary. Just add a great dipping oil and life is good.
Ingredients
- 500 g bread flour not all-purpose flour
- 2 tsp coarse salt
- 300 ml water
- 2¼ tsp active dry yeast one package
- 1 tbsp olive oil
- 1/3-1/2 cup chopped walnuts
- 1/3-1/2 cup pitted olives I use kalamata, you do you
- 2 sprigs fresh rosemary removed from the stems
- 1 tsp finishing or large flaked salt or to taste
- 1/2 tsp fresh cracked pepper or to taste
- 2 tbsp olive oil, divided
Instructions
-
In a large bowl, add the flour, salt and mix well to combine.
-
In a separate bowl or glass measuring jug, add the water, yeast and olive oil. Mix with a fork to incorporate.
-
Add the water mixture to the flour bowl. Get in there with your hands and squish everything together. The dough should come together in rough ball with little to no flour visible. You really can't mess this up- just keep going till well blended. (Alternatively, mix the dough using an electric stand mixer fitted with the dough hook. Run the machine for 8-10 minutes on low speed).
-
Cover the dough with a damp kitchen cloth and leave out at room temperature to rise. The time needed to rise will depend on the temperature of the environment the bowl is in. Expect to wait anywhere between 1-3 hours.
-
Your dough is ready when it looks 1½- 2x it's original size. Take a picture with your phone to compare. (Alternatively, if you have to run out or can't bake for whatever reason, stop here. Cover the bowl of dough with plastic wrap and place into the fridge to rise overnight 8-12+ hours. Bake in the morning).
-
When your dough has risen sufficiently and you are ready to bake, preheat your oven to 400 F (if using a glass baking dish, preheat to 375 F).
-
Oil a 9x13-inch baking dish all over, sides and bottom with 1 1/2 tbsp olive oil. I use a cast iron gratin dish, you can also use a baking sheet.
-
Place the dough into your oiled baking dish. Turn it over so that both sides are oiled. Gently stretch the dough, extending to fit the corners and sides. If there is resistance or your dough shrinks back when stretched, the gluten is not relaxed; let it rest for 10-15 minutes and try again.
-
Poke plenty of holes into the dough. Place walnuts, olives and the rosemary into the holes, pressing down as you go. If the items fit snuggly they won't pop out when baked. Sprinkle lightly with salt and pepper, and drizzle the top with 1/2 tbsp olive oil for a nice, golden crust. Let the dough rise again but only for about 30 minutes or so, this time. It should look slightly puffed and less dense before it goes into the oven.
-
Bake in the oven for 35-45 minutes.
-
Your focaccia is ready when beautifully puffed and golden. Remove from the oven and let it cool for at least 30 minutes- 1 hour for best texture. Don't rush this step- you want the inside to remain light and fluffy.
-
When ready to serve, cut into squares and enjoy! Serving with a grassy, peppery olive oil is marvellous. Or on the side of a great pasta dish.
Recipe Notes
Here is the link to Emilie's original no knead focaccia recipe.

Just found this recipe and will be trying today. How do you keep the rosemary from burning in the oven and turning black?
Hi Michelle, Thanks for the question. Hmm, I just add it and hope for the best! No seriously, if that is a real concern for you, you can always add it half through, perhaps. What you see in my photos is just exactly what I say, push the herbs into the dough and bake. If these look too black for you, then you may want to add them later on. You could also lay a piece of foil on a rack just above the baking pan. This way the heat won’t be direct on the herbs, but there is still sufficient room for circulation of heat around the baking bread. Hope this helps. Love Jen
One more question. What size and brand is your cast iron gratin pan? I’m on the hunt for one as mine In that shape is a grill pan.
Hi, the pan I use is a large Staub gratin pan. But any large baking pan will will. If you have a large 12 inch cast iron skillet this would work as well. But it certainly doesn’t need to be cast iron. Many just use a rimmed cookie sheet. Hope this helps.