The time Winter Spices, Vitamix and the feedfeed got together to create a fragrant, comforting dessert.
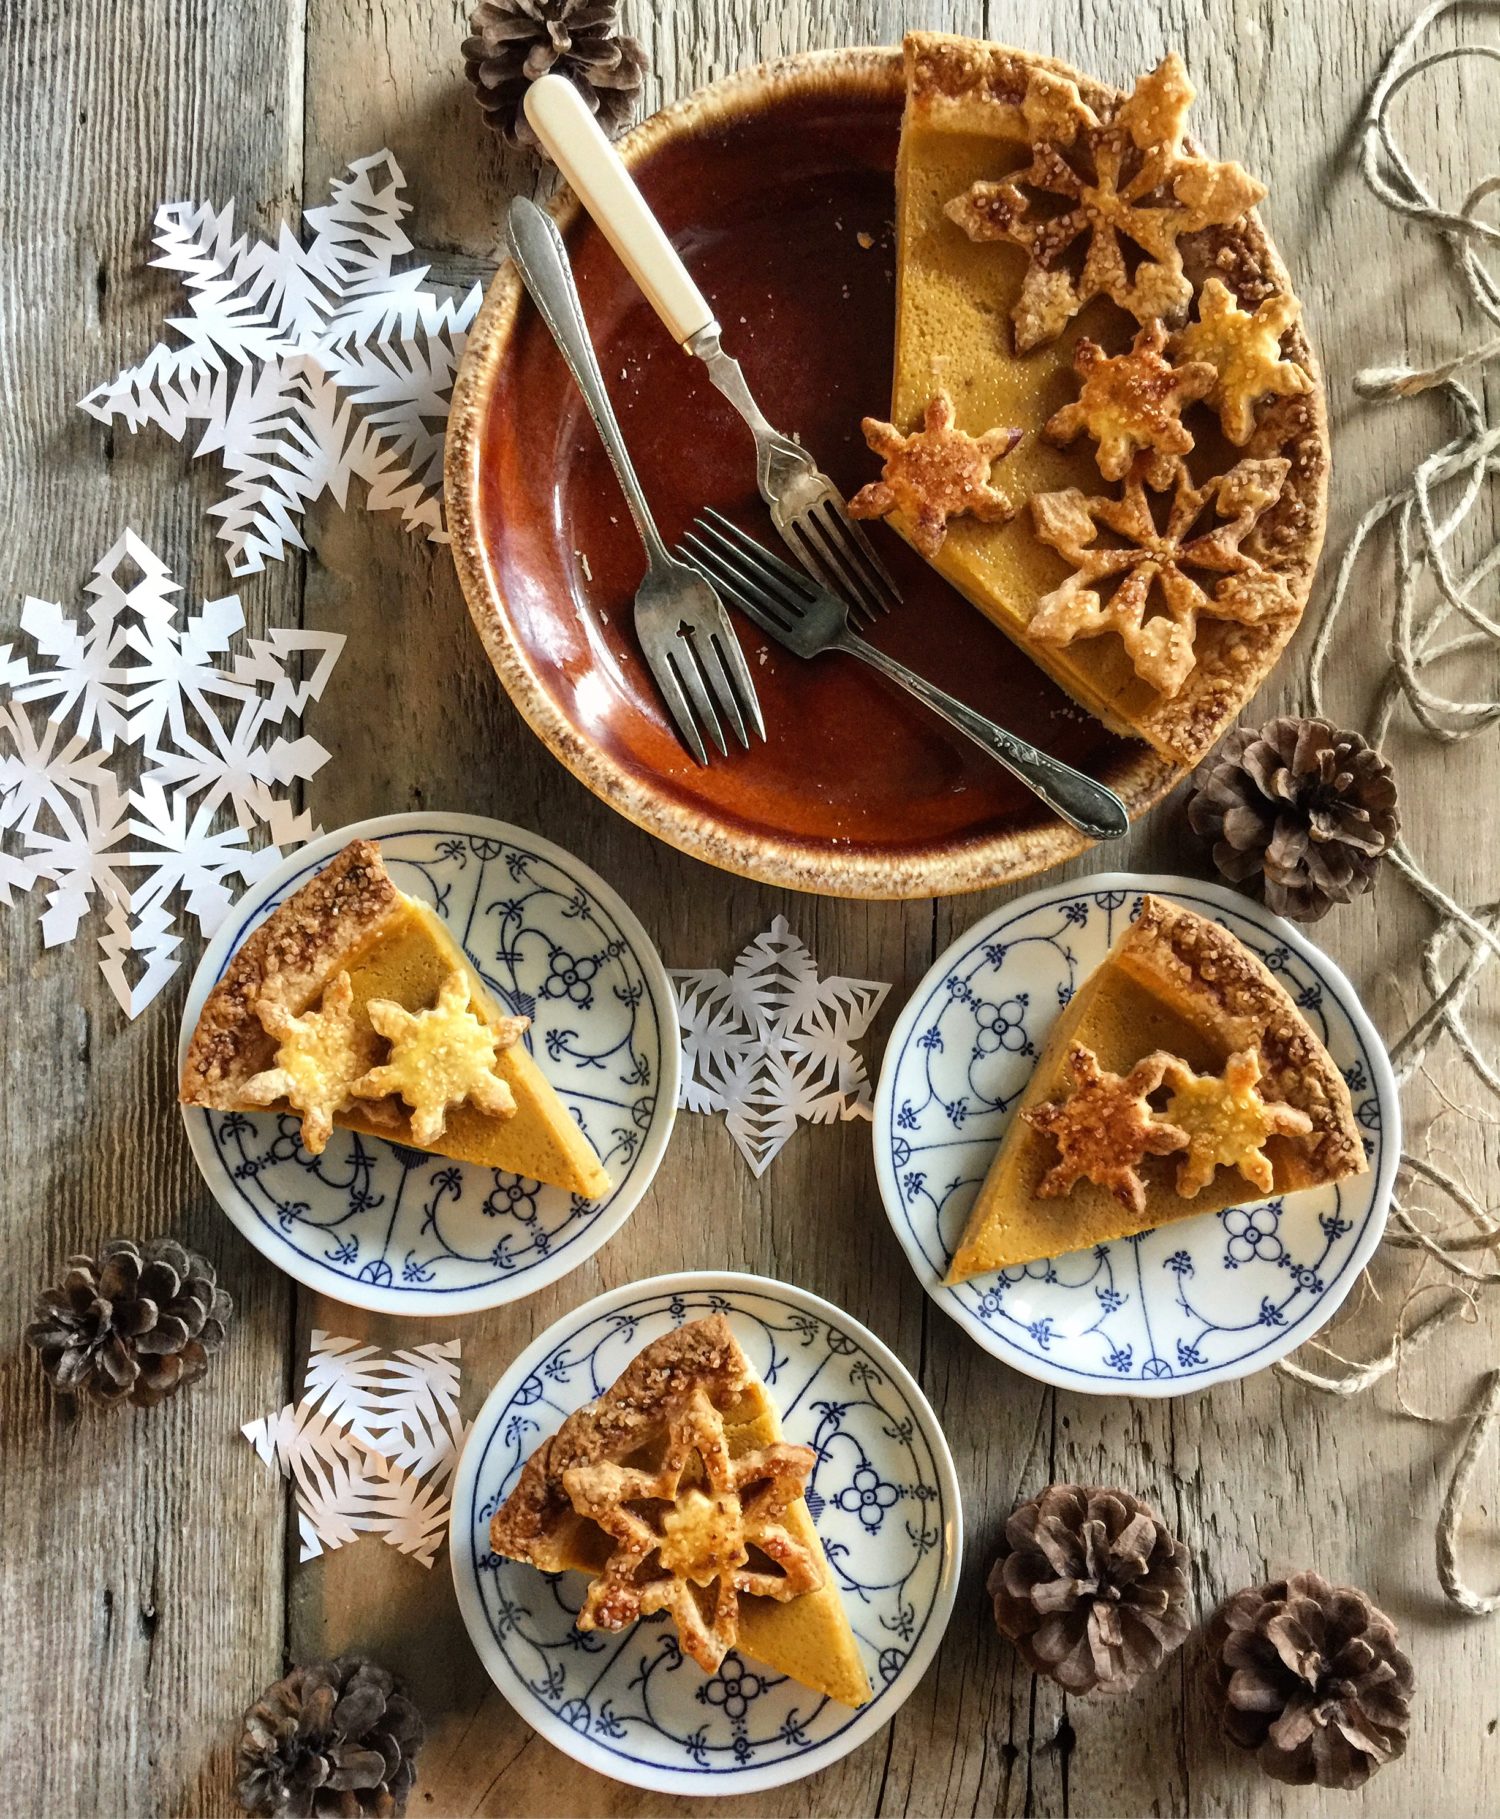 Today’s blog post has been sponsored by both Vitamix and the feedfeed. Thanks to them, I was able to experiment with a sublimely fragrant spice blend (which could easily be a perfume or candle!) as well as the new Ascent 3500 blender. To welcome and make the most of what could be a drab season, Vitamix has developed a most cozy combination of spices. Imagine crystallized ginger, pink peppercorns, cinnamon sticks, cloves, cardamom, dried orange peel, a touch of salt and brown sugar coming together. Enticing isn’t it!? Cozy, warm, and yet with a brightness that cheers up even the greyest of days. This Winter Spice Seasoning blend can easily move from sweet to savoury and back again.
So, naturally, I couldn’t resist making a pie. Now, most folks have decided that pumpkin is an Autumn ingredient. And for some reason, Autumn ends on December 1st, in the kitchen at least. I am here to squash that theory (get it, squash? pumpkin…come on, it was funny!) Why can’t we enjoy pumpkin through the entire winter? A pumpkin pie can still own centre stage, even in January. Especially with this spice blend. Besides, February deserves the coziness of the warm hues of pumpkin in a pie shell.
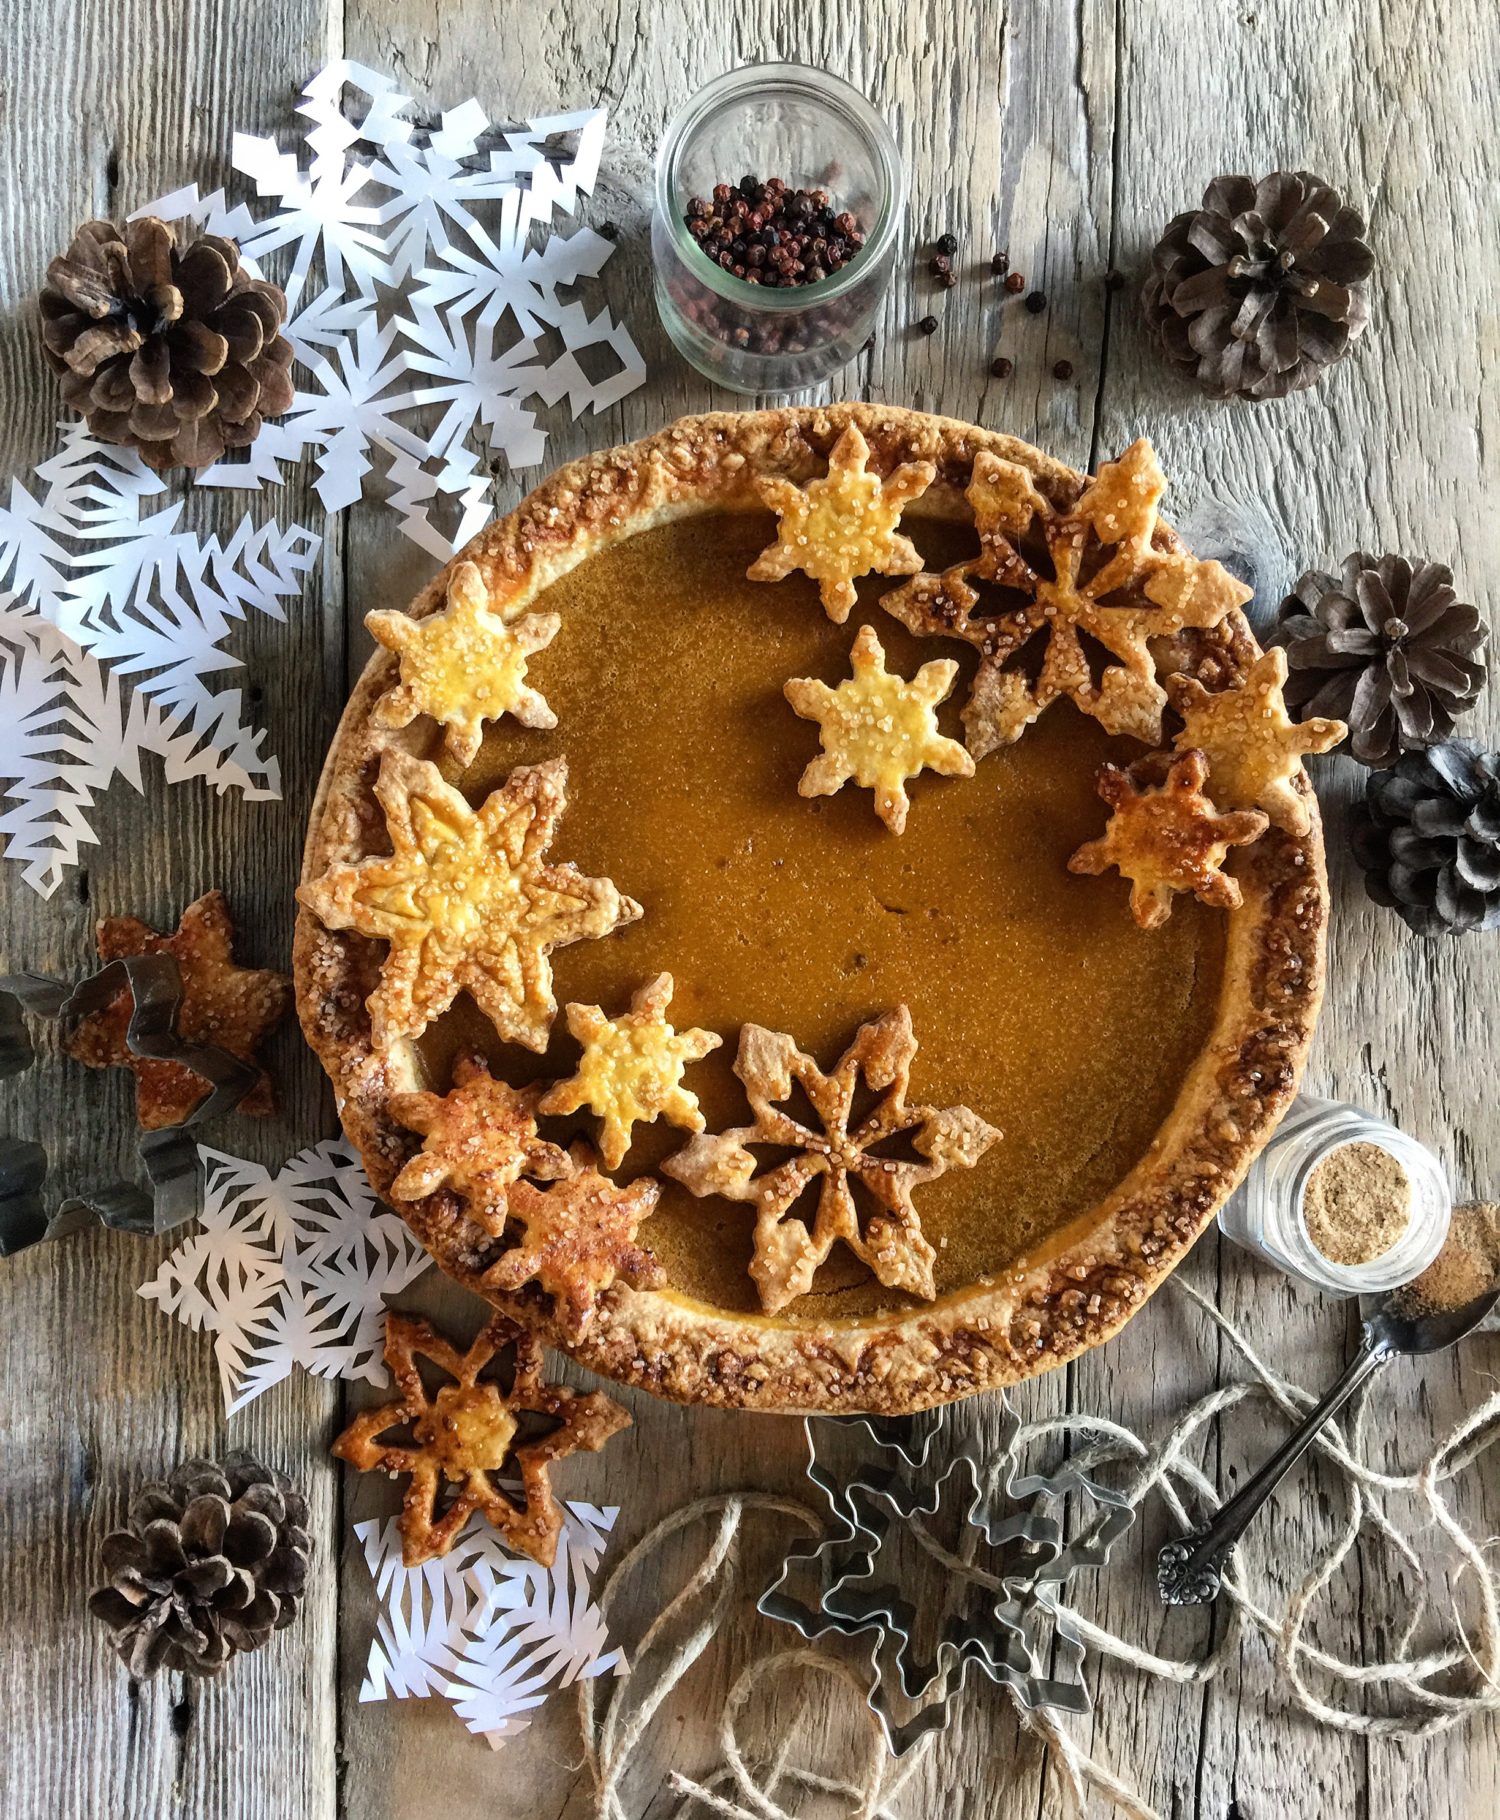
I took a traditional recipe for pumpkin pie that I love using, and replaced the autumnal spices with the Winter Spice blend. But I didn’t stop there. You guys know how much I love to play with pie pastry. So taking a cue from the Winter Spice blend, I decided that the pink peppercorns would be a kick of heat in the pie crust. To make it work and not fight against the pie filling though, I realized that the sweet heat of the peppercorns would need the help of some extra sugar. So, to my Perfect Pie Pastry recipe, I increased the sugar by 1 tablespoon, and the freshly cracked peppercorns. 1 took 1 1/2 teaspoons of the whole peppercorns used a mortar and pestle to grind them down to a manageable size. You don’t want them so small that you won’t see their lovely fleck dotting the crust, but you don’t want them so large that biting into one is well, distracting. These got added to the flour and sugar before the butter and shortening were added. I divided the dough into my typical 2/3 and 1/3 and chilled them. Then I filled my 9 inch pie plate (my favourite one that belonged to my MIL’s mother!) with the larger disk and set it back in the fridge to chill again.
Now it came time to put the Vitamix to work. And my does it work! My original Vitamix has been doing a bang up job of taking ANYTHING and turning it into a velvety smooth concoction. It gets used daily, with nary a whisper of complaint. So I had high expectations for this latest model. The motor must be strong enough to run a car (okay, a vespa 😀 ) When I read all the info that came with the new model, I was immediately impressed that not only is it digital, but it is wireless! Get out!! It can immediately detect the size of the container size (smaller personal sized containers as well as dry grain containers are options on the website) that is placed on the base, thus causing it to adjust all the program settings depending on the container. What I really like about this model is the touchscreen on the base. Not only does it look cool, it has presets for smoothies, ice cream, soup, nut butter, and even clean-up! Almost like a treadmill with preset workouts, you’ll see how the speed adjusts up and down on its own depending on what preset you choose. My favourite is the clean-up speed. Let the machine clean itself!! There’s also a timer will ensure that you won’t over-process anything. And guess what, I had no idea that the rubber base on the motor base where the container sits, can be removed for clean up as well. Really!! Oh you knew? Why didn’t anyone tell me before!? Or I guess I should have read the booklet that came with my original Vitamix a bit more thoroughly 😐
I put all the ingredients for the pie into the cannister, and set it on low. You don’t want to whip this up too much- too much air isn’t good for a custard. Blended is good, uber frothy is bad. And in mere moments, it was ready to get poured into that prepared pie shell. And with the remaining dough, I cut out snowflakes, one of my favourite winter motifs. So delicate, individually unique works of art, they even glitter like diamonds when they are falling down to the ground in the light of the moon.
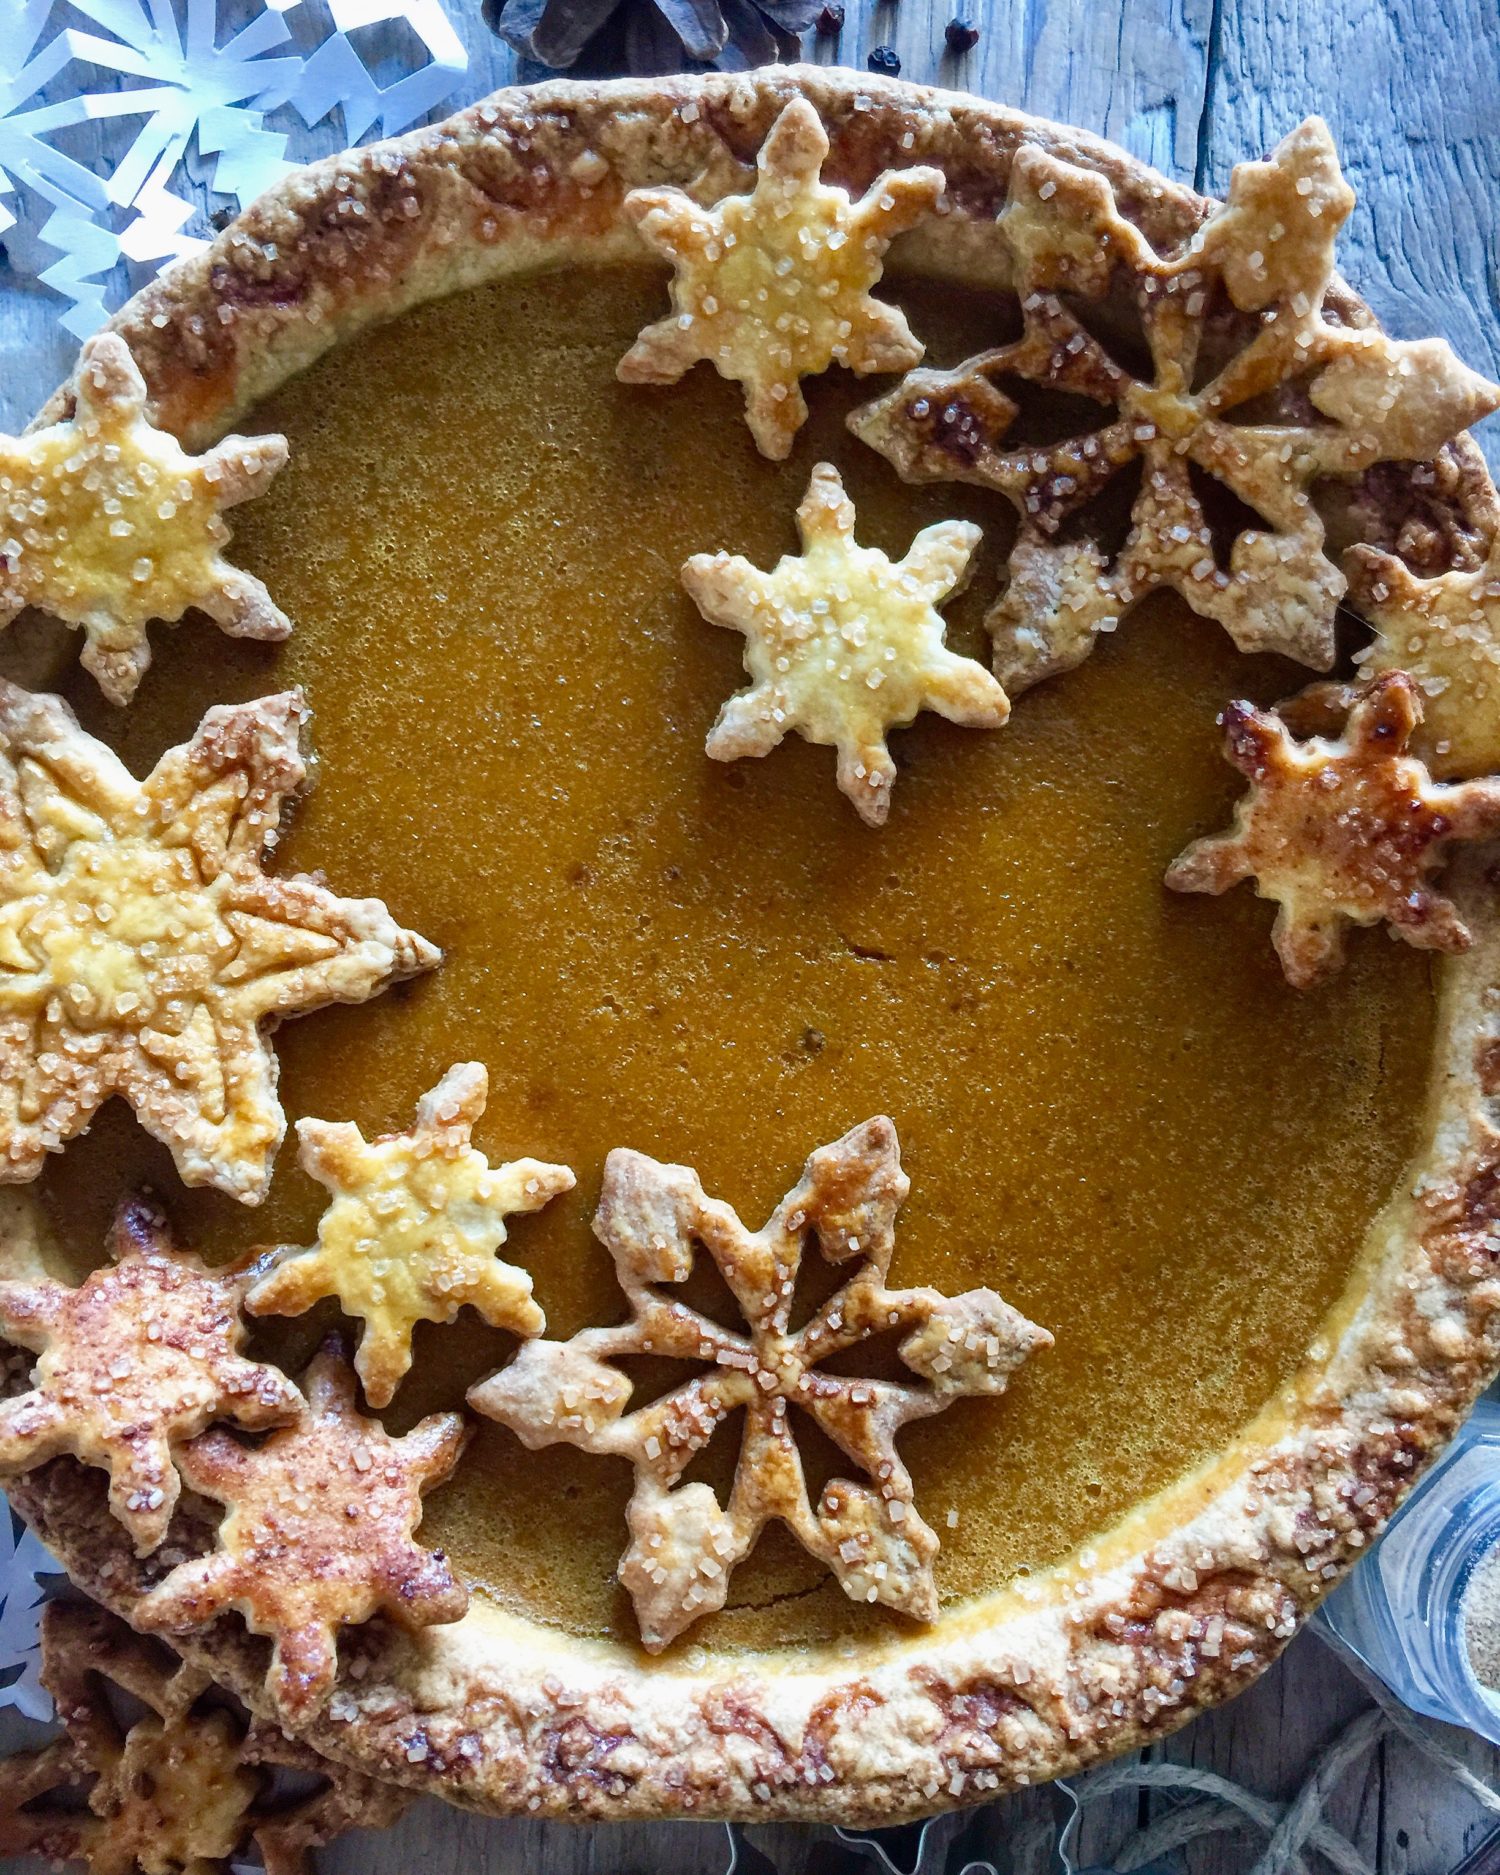
So, this pie. Yep, it turned out great- Jim loved it. He immediately noticed the flavour adjustments, and even loved the addition of the peppercorns to the crust. So I’m happy.
As I’m writing this, there is more snow blowing in for Toronto. Jim and I are probably 2 out the 68 people globally who love winter. From the minute I started this recipe project, childhood memories of cutting out snowflakes with my mom came back to me. She would let us make all these snowflakes out of white paper, and then we could hang them up in the windows for the entire winter. We had so much fun, even if we did leave bits of white paper scattered everywhere that my mom was still vacuuming up for weeks afterwards. I simply had to walk down memory lane, and cut out a few for you here today!
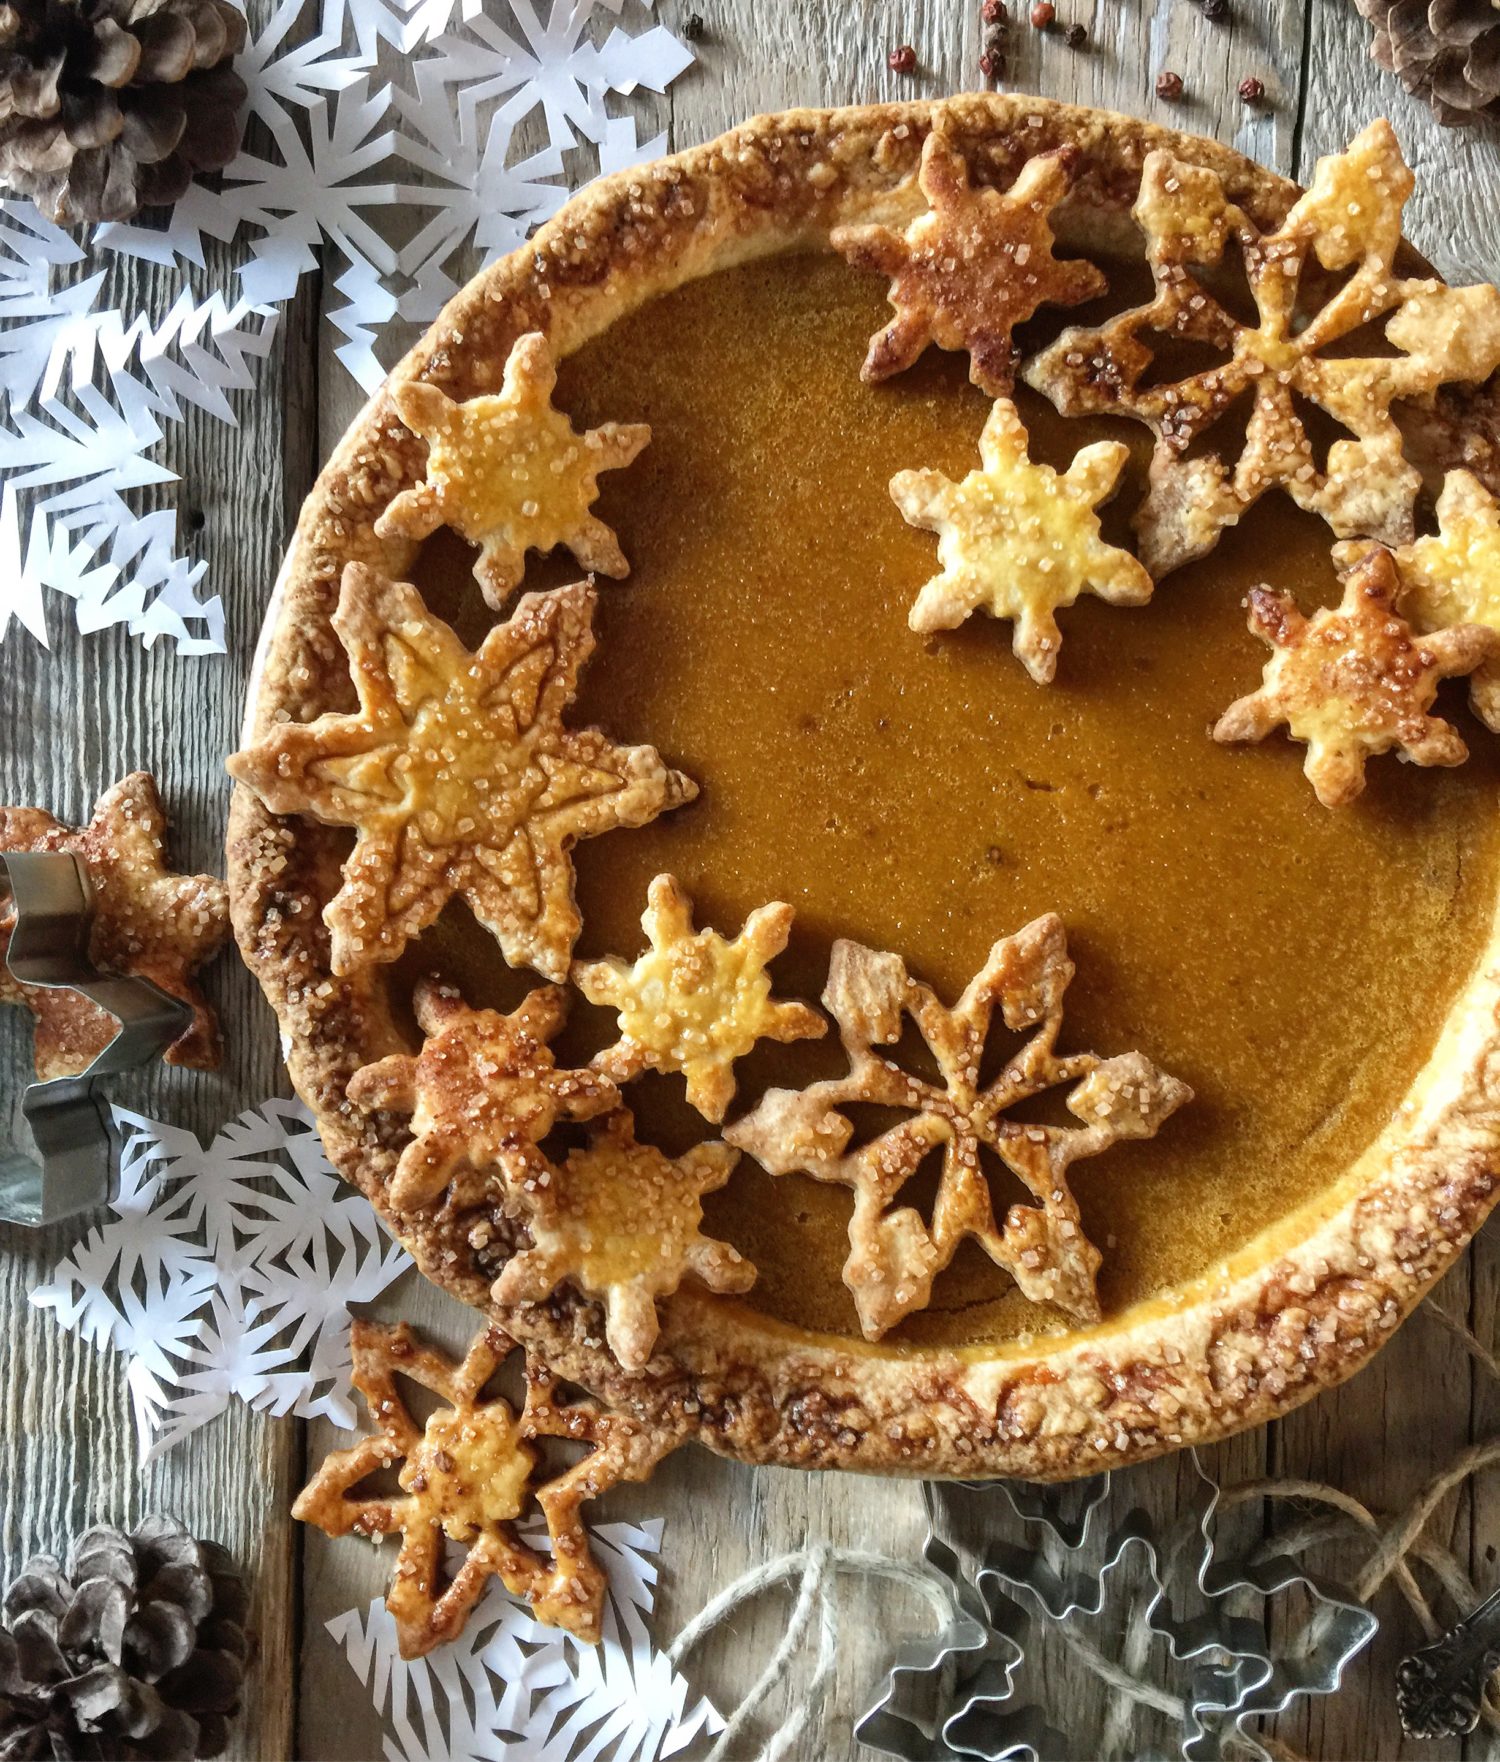
Embrace the cold that comes with winter. Without it, we couldn’t justify roaring fireplaces, hot chocolate, cozy sweaters and scarves, or that dram of scotch waiting for you after a good snow shoe hike or ski day. Remember, there is no such thing as bad weather. Just bad dressing! Get bundled up and go play in the snow!
Love Jen.
ps., I include the instructions for a traditional non-blender method in the recipe notes below. As well as the link for more autumnal spices for your pie if you so desire.
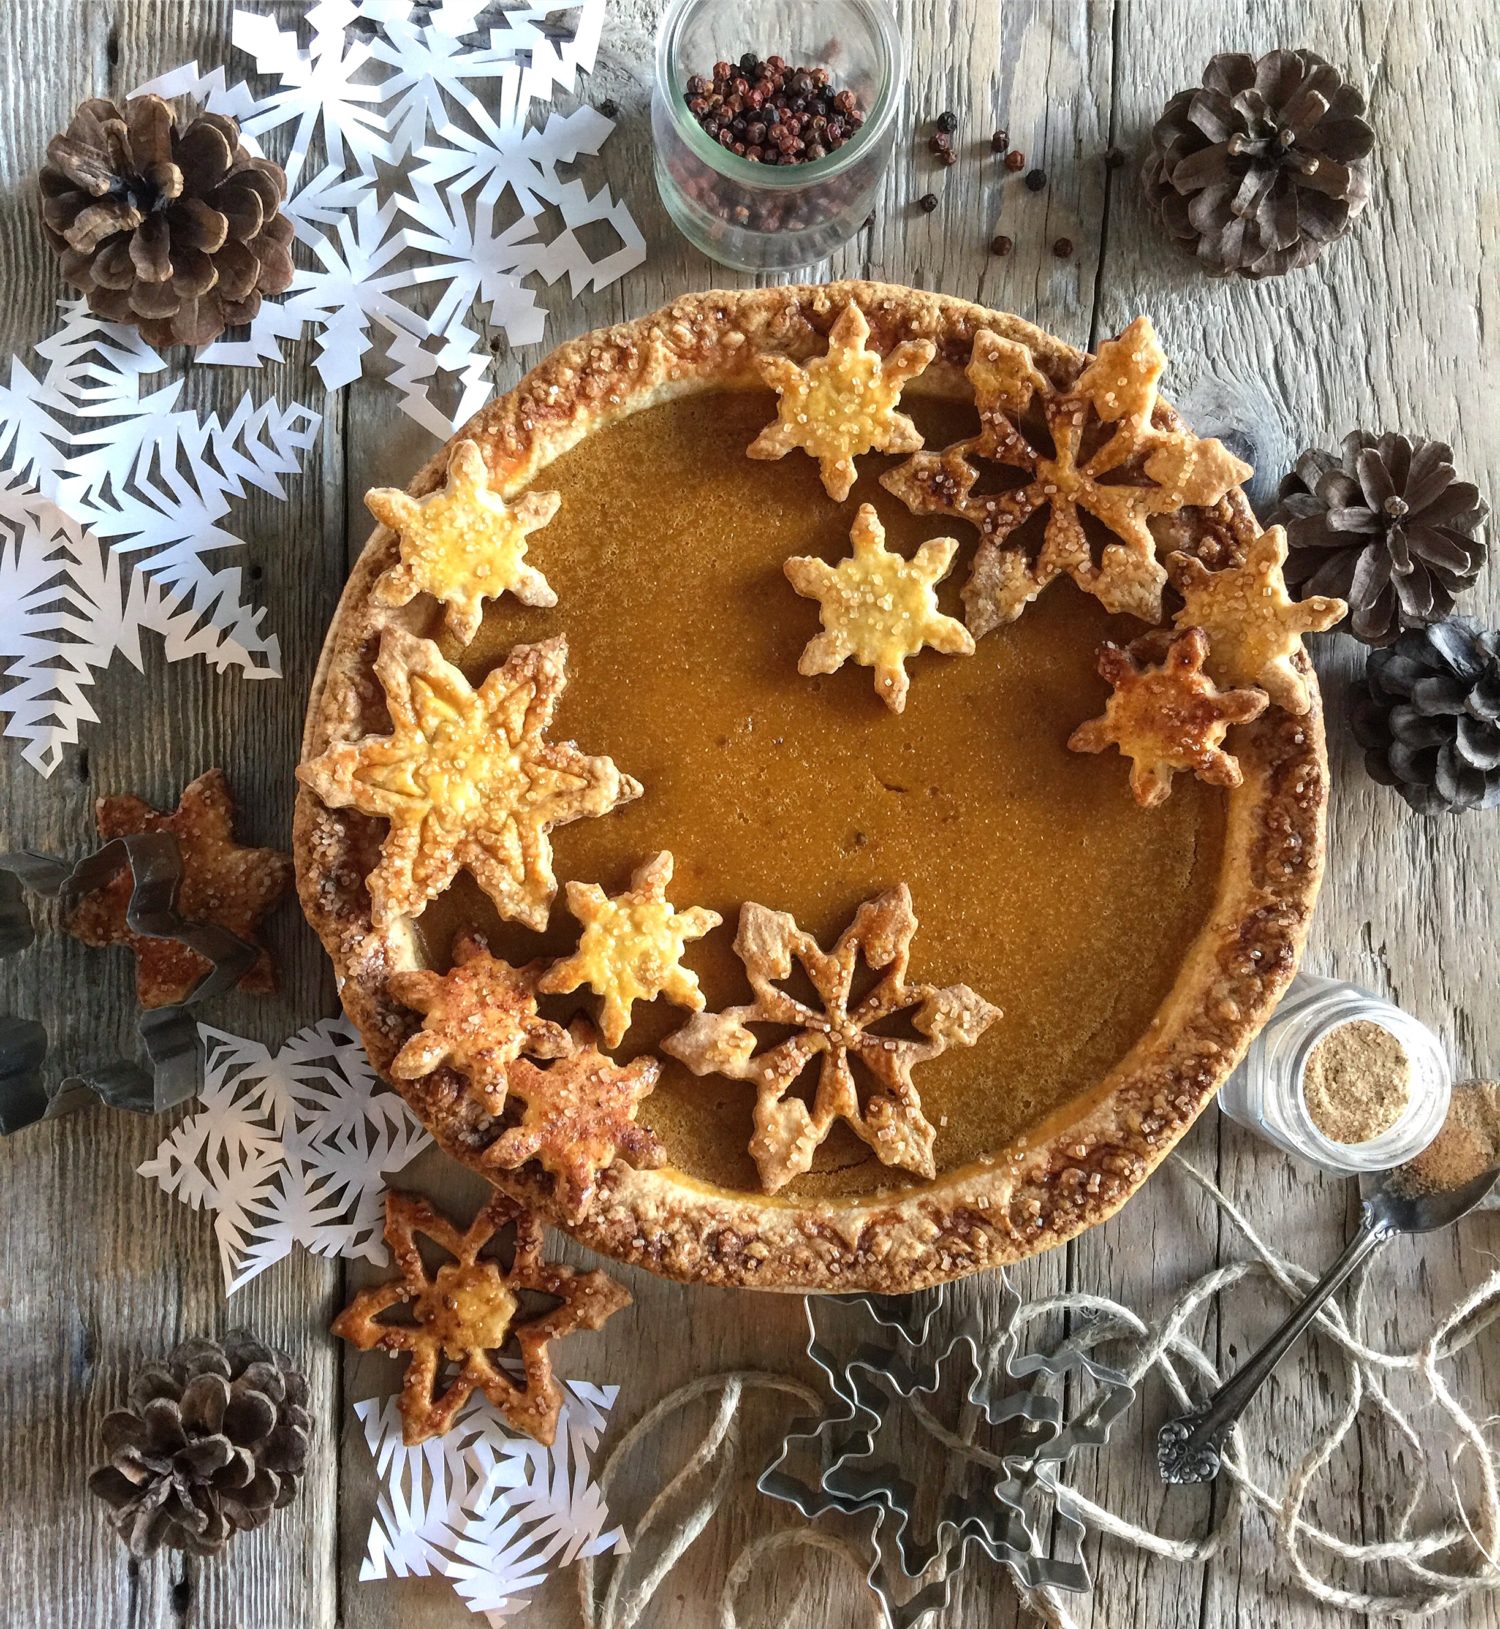

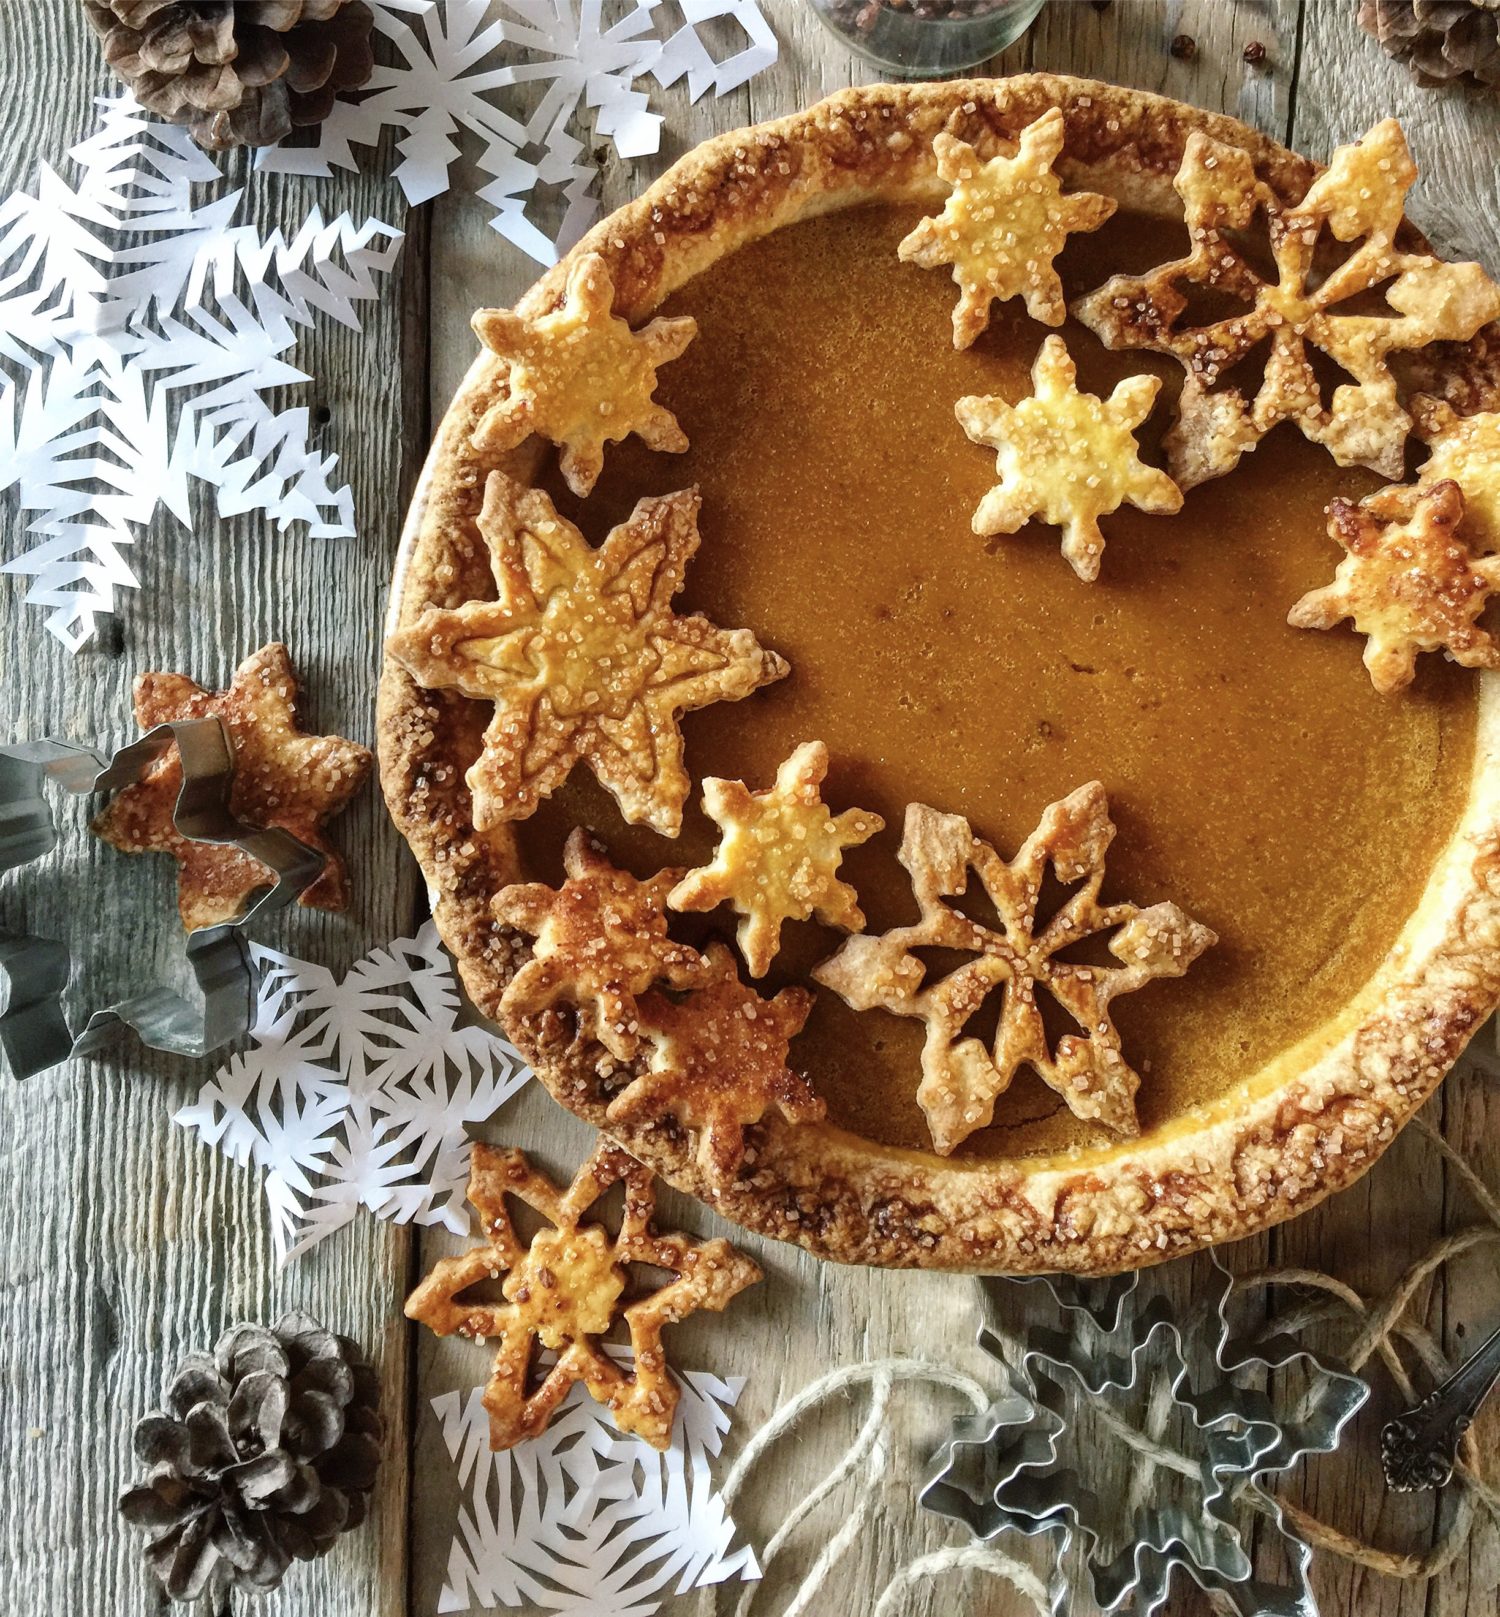
Winter Spice Pumpkin Pie
Taking a Pumpkin Pie from Autumn to Winter with a wonderful blend of wintry spices. Perfect with a mug of hot chocolate!
Ingredients
- 1 recipe of my Perfect Pie Crust recipe (see archives or link in Recipe Notes below)
- 4 medium eggs
- 2 tsp pure vanilla paste
- 1 tbsp Winter Spice Blend (see Notes below)
- 3/4 tsp kosher salt
- 2/3 cup pure maple syrup
- 2/3 cup heavy (35%) cream
- 1 1/2 tbsp cornstarch (or arrowroot starch)
- 2 tbsp golden brown sugar
- 1 3/4 cup canned pumpkin puree (not pumpkin pie filling)
- egg wash (1 egg mixed with a bit of water)
- 1-2 tbsp of raw or turbinado sugar
- Sweetened whipped cream for garnish
Instructions
-
Preheat the oven to 375F (190C)
-
Roll out 2/3 of the pie pastry and line a 9 inch pie plate. Crimp as desired. Chill till needed.
-
Roll the other 1/3 of the pie pastry to almost as thin as your pie crust. Cut out shapes as desired. Place these on a parchment lined baking sheet and refrigerate till needed.
-
In the container of your blender, add all the ingredients in the order listed. Blend at low speed till smooth. Don't blend on high as this will add too much air into the eggs- you don't want this for a creamy custard.
-
Place the chilled pie shell onto a baking sheet. Run a bit of egg wash along the edges of your crimped pie shell. Sprinkle the edges with a bit of your raw or turbinado sugar.
-
Pour the filling into the pie shell. If there is extra, fill a ramekin or two with the extra and bake alongside the pie till set.
-
Bake on the middle rack. Bake for 50-60 minutes, rotating the pie after about 30 minutes to ensure even browning of the crust.
-
When the centre of the pie jiggles only slightly, when you move the baking sheet, the pie is ready.
-
Cool on a wire rack.
-
While the pie is baking, remove the chilled 'cookies' from the fridge.
-
Brush each with a bit of egg wash, and sprinkle with raw or turbinado sugar.
-
Bake at 375F till golden, about 15-20 minutes. Remove and cool on the rack for about 5 minutes.
-
Place the cooled cookies onto the set custard in a pattern appealing to you.
-
Once the pie is at room temperature, you can cover it loosely with plastic wrap and keep in the fridge till ready to serve.
Recipe Notes
Perfect Pie Pastry recipe. To the flour add: 1 extra tbsp of granulated sugar (for a total of 4 tbsp) and freshly cracked/ground pink peppercorns (I used 1 1/2 tsp of fresh peppercorns that I ground in a mortar and pestle) After these have been blended in with the salt and flour, then move on to the step of adding your butter and shortening.
See here for the Vitamix Winter Spice Blend
To make this in a traditional non-blender method, whisk the eggs through the pumpkin filling, omitting the cream. Add the cream at the end once everything else has been blended together.
Also, if you want to use a more traditional spice blend, see my Winter Squash (or Pumpkin) Pie recipe here.

We can’t use pink peppercorns because they are related to cashews. (Daughter has a tree nut allergy.) …Could we sub a little ground black peppercorns? Would it be too biting?
Hi Melissa. Thanks- I had no idea that pink peppercorns are related to a nut! Are you referring to the winter spice blend, or to the pastry dough? If it is the blend, then I would omit the pink peppercorns and replace those with a touch of harissa powder or aleppo pepper. Black peppercorns are just too ‘savoury’ if you know what I mean. The harissa and aleppo both have a warmth that is also a touch sweet. I wouldn’t worry about the crust- just omit the peppercorns. If you wanted to ‘spice’ it up, why not a tsp of finely grated or minced crystallized ginger? That would be fun! Hope this helps, Jen
Thanks! Those sound like great paths to check out. 🙂
Thanks! Enjoy 🙂