
There is nothing quite as enjoyable to nibble on, than a tender, buttery, delicate scone.
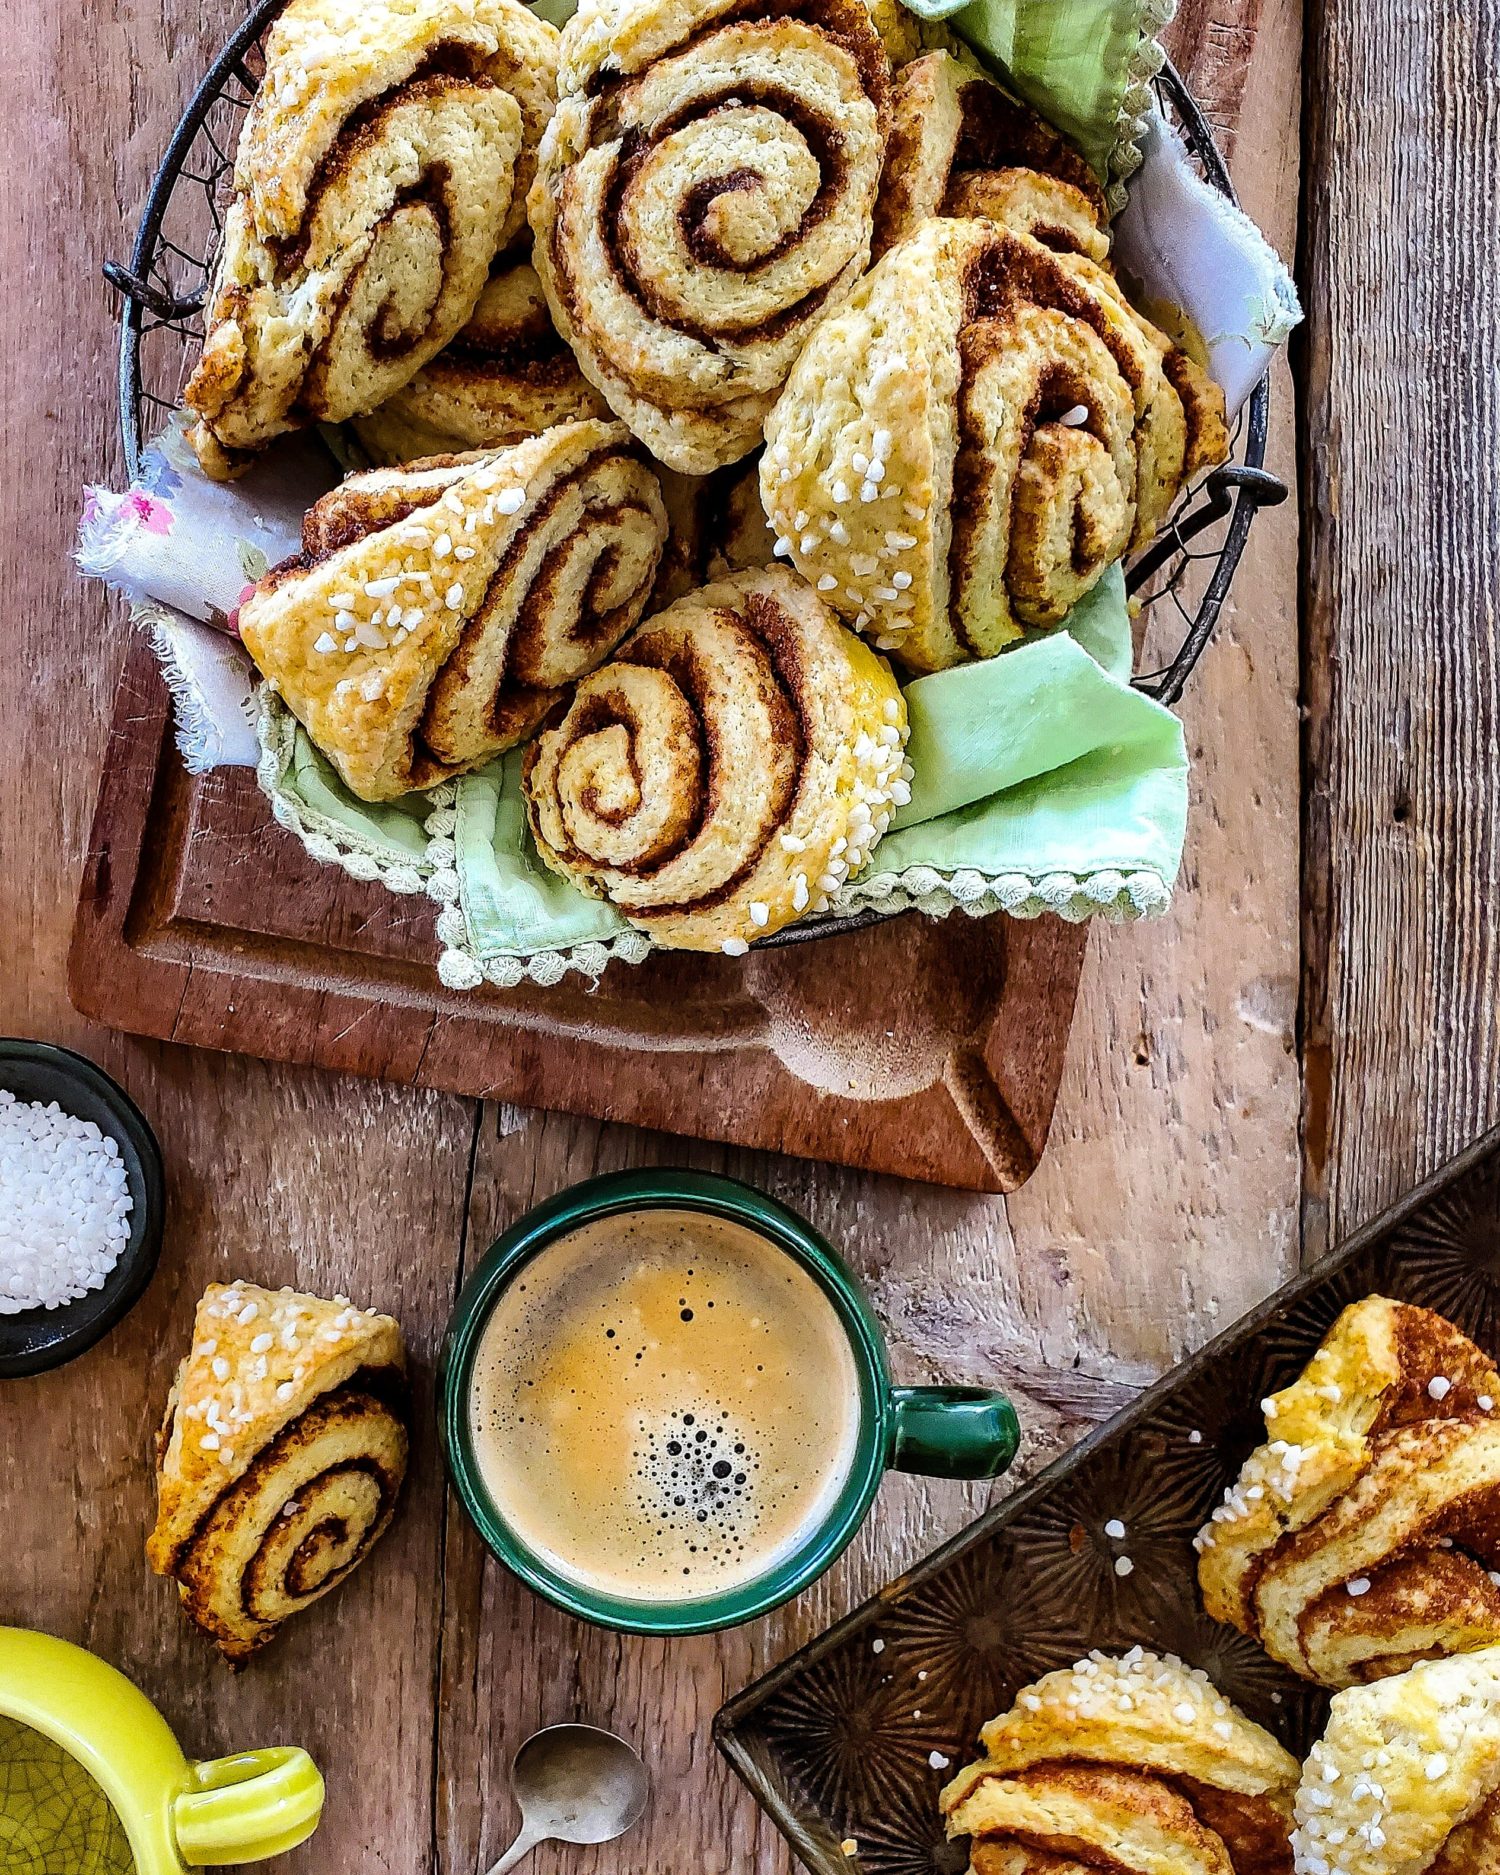
 Whether it’s fruit filled, icing sugar glazed, savoury or sweet, a crumbly little scone slathered with butter, and a hot cup of coffee or tea makes for an easy breakfast, or charming coffee break.
Today I want to share a recipe that I have made a few times, and love even more each time I make it: Cinnamon Roll Scones by Thida Bevington. Thida, who resides with her family in Norfolk, UK, is an amazing artist when it comes to cake creating and decorating. Her skills go beyond the frosting of a cake though, she bakes the most delectable cookies, creates the most intriguing knotty cardamom buns, and on and on. And she volunteers her time to bake beautiful coffee walnut cakes with the most stunningly piped toppers, for a local volunteer-run bakery. So far, the only way we can get access to her recipes is via her Instagram account @thida.bevington where she saves her creations as Highlights on her Profile Page.
I asked Thida’s permission, and now I get to share with all of you the scone recipe she shared earlier this year. It was one of the first things I baked when the Covid-19 quarantine started. And Jim, who isn’t overly excited when he sees a plate of scones on the counter, actually inhaled his fair share.
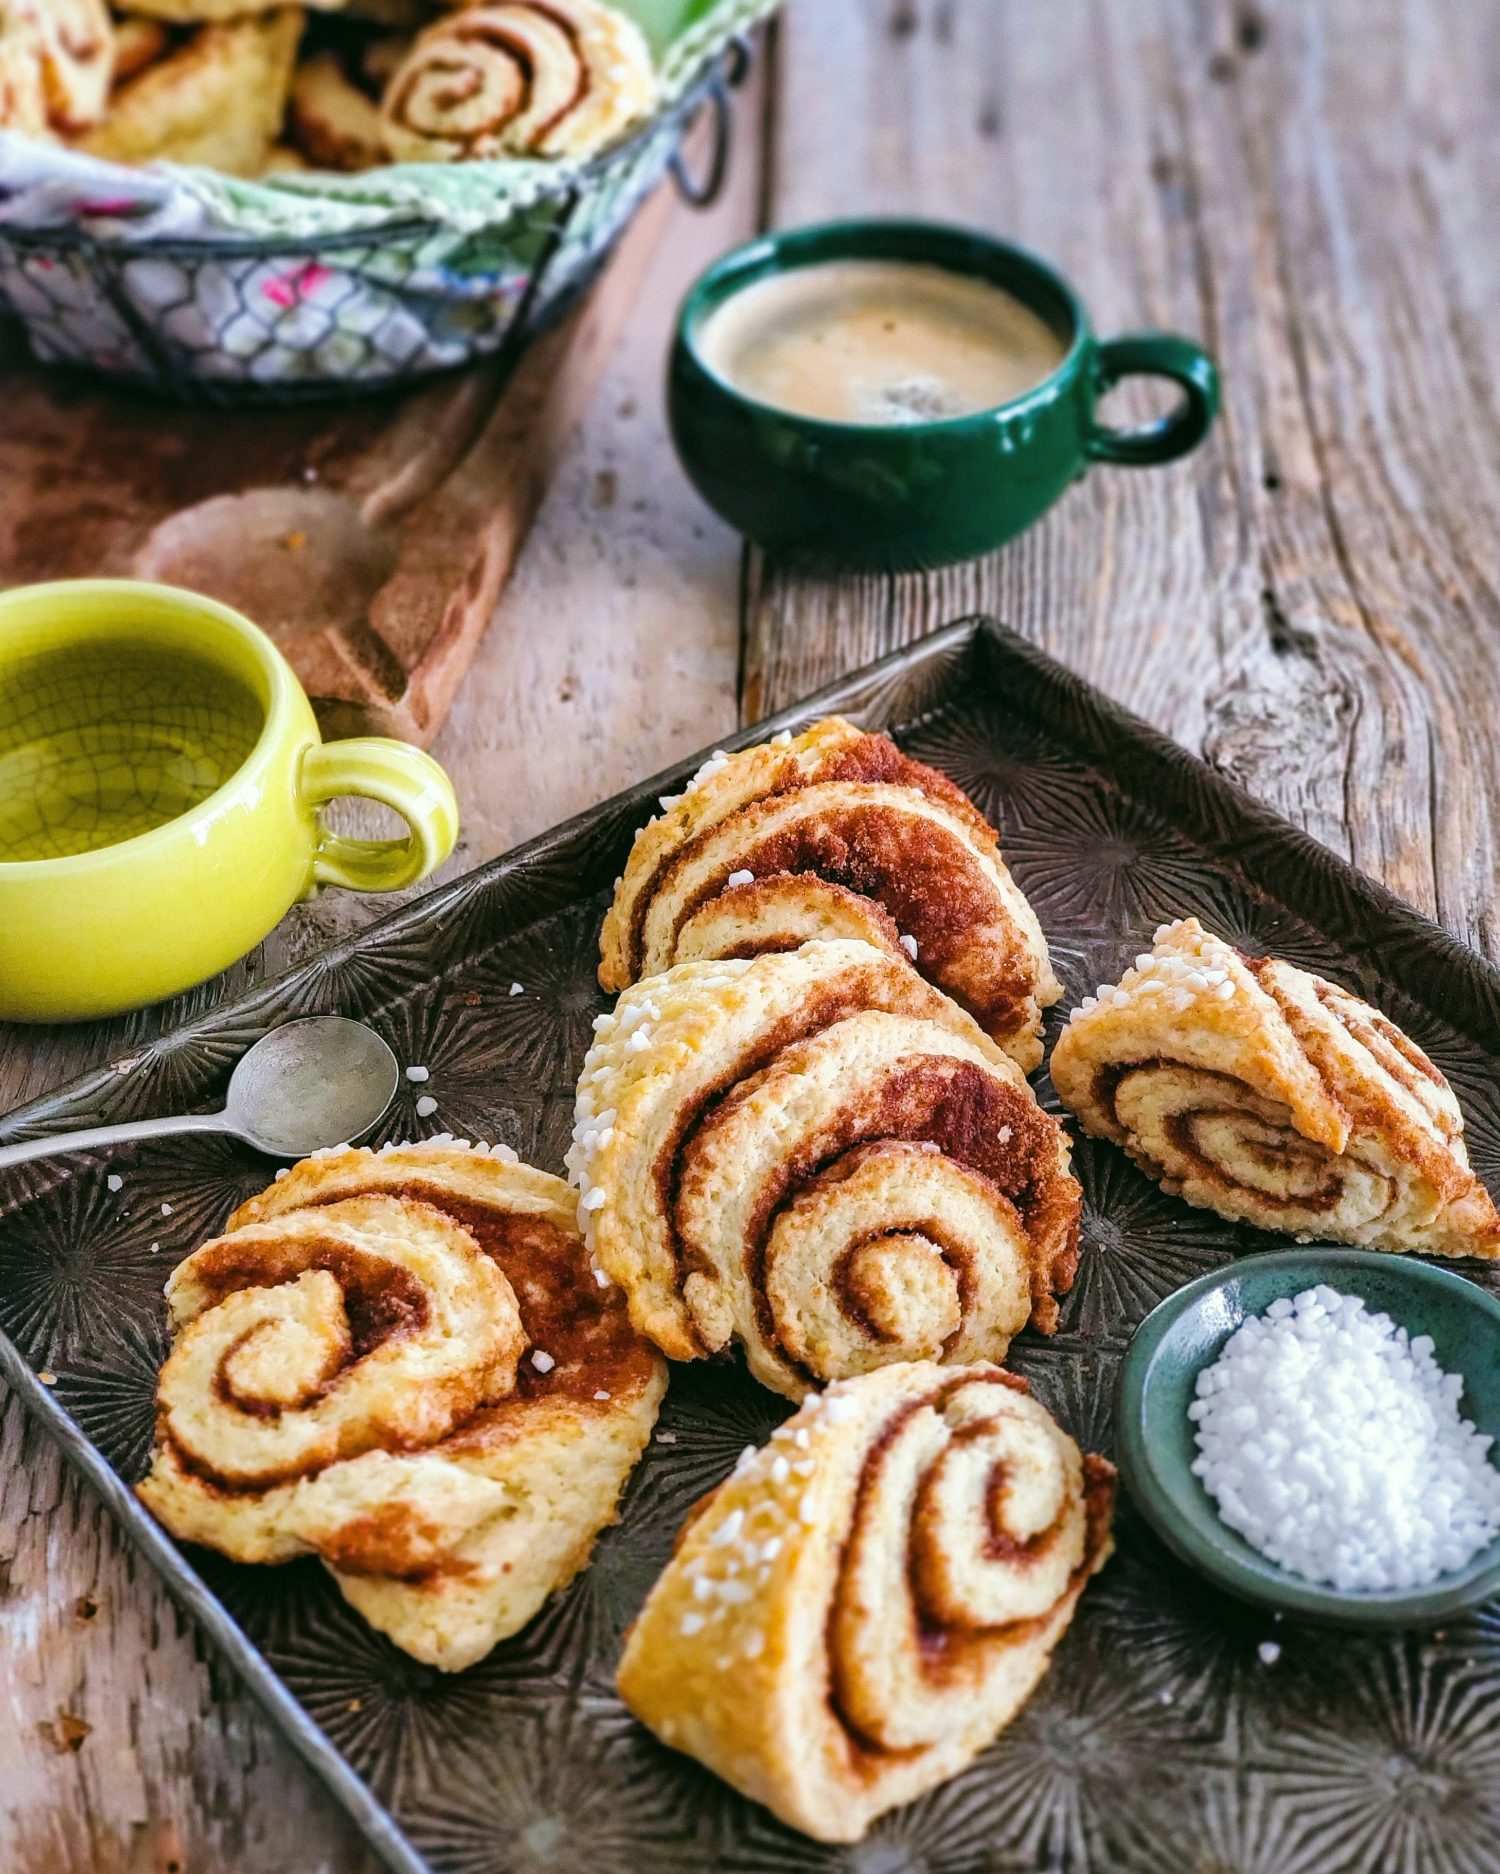
What can I say other than this is a tender, just sweet enough, buttery scone that is brimming with cinnamon and brown sugar. They are great at room temperature, or warmed up gently in a toaster oven. Lately, I compare every scone to the texture of this one.
How to measure dry ingredients: Now I want to discuss measuring out dry ingredients for baking. I get quite a few comments when I share both the weighed amounts, and the measured amounts by volume. Many readers find disparity between the two measurements I show, when they try to measure them out both ways. I will be honest, if I am sharing someone else’s recipe, I trust that they have done the leg work. Especially if they are trusted and seasoned bakers. Because I always use their weighed measurements, I know that I am using the amount of an ingredient that they want me to. But many people still want to use cups for measuring out flour etc, so they may find it challenging when a recipe doesn’t work out.
I am just going to say it, there is a right and a wrong way to measure out dry ingredients. Scooping the cup into the flour and levelling it off is NOT the correct way. As the cup pushes through the flour etc, the pressure and movement actually packs in more flour than is actually required. If you want to follow the volume measurements in a recipe, you need to fill your cups the following way: Use a spoon to gently fill the cup, going higher than the edge. Then use the back of a knife to level off the flour. Because everyone has a different hand or idea of how to accomplish this method, they get different results, and hence the comments that come back to me.
So in the end, I want to encourage you to get a digital scale of some sort. It will ensure that anything you bake has that much more opportunity to work out. In Europe every baker bakes by weight. This mindset has yet to reach North America. It’s definitely getting better here though. Having said all this, Thida’s original recipe is only in weighed amounts. I have measured out what those weighed amounts are, and am giving you the volume measurements. I hope it helps.
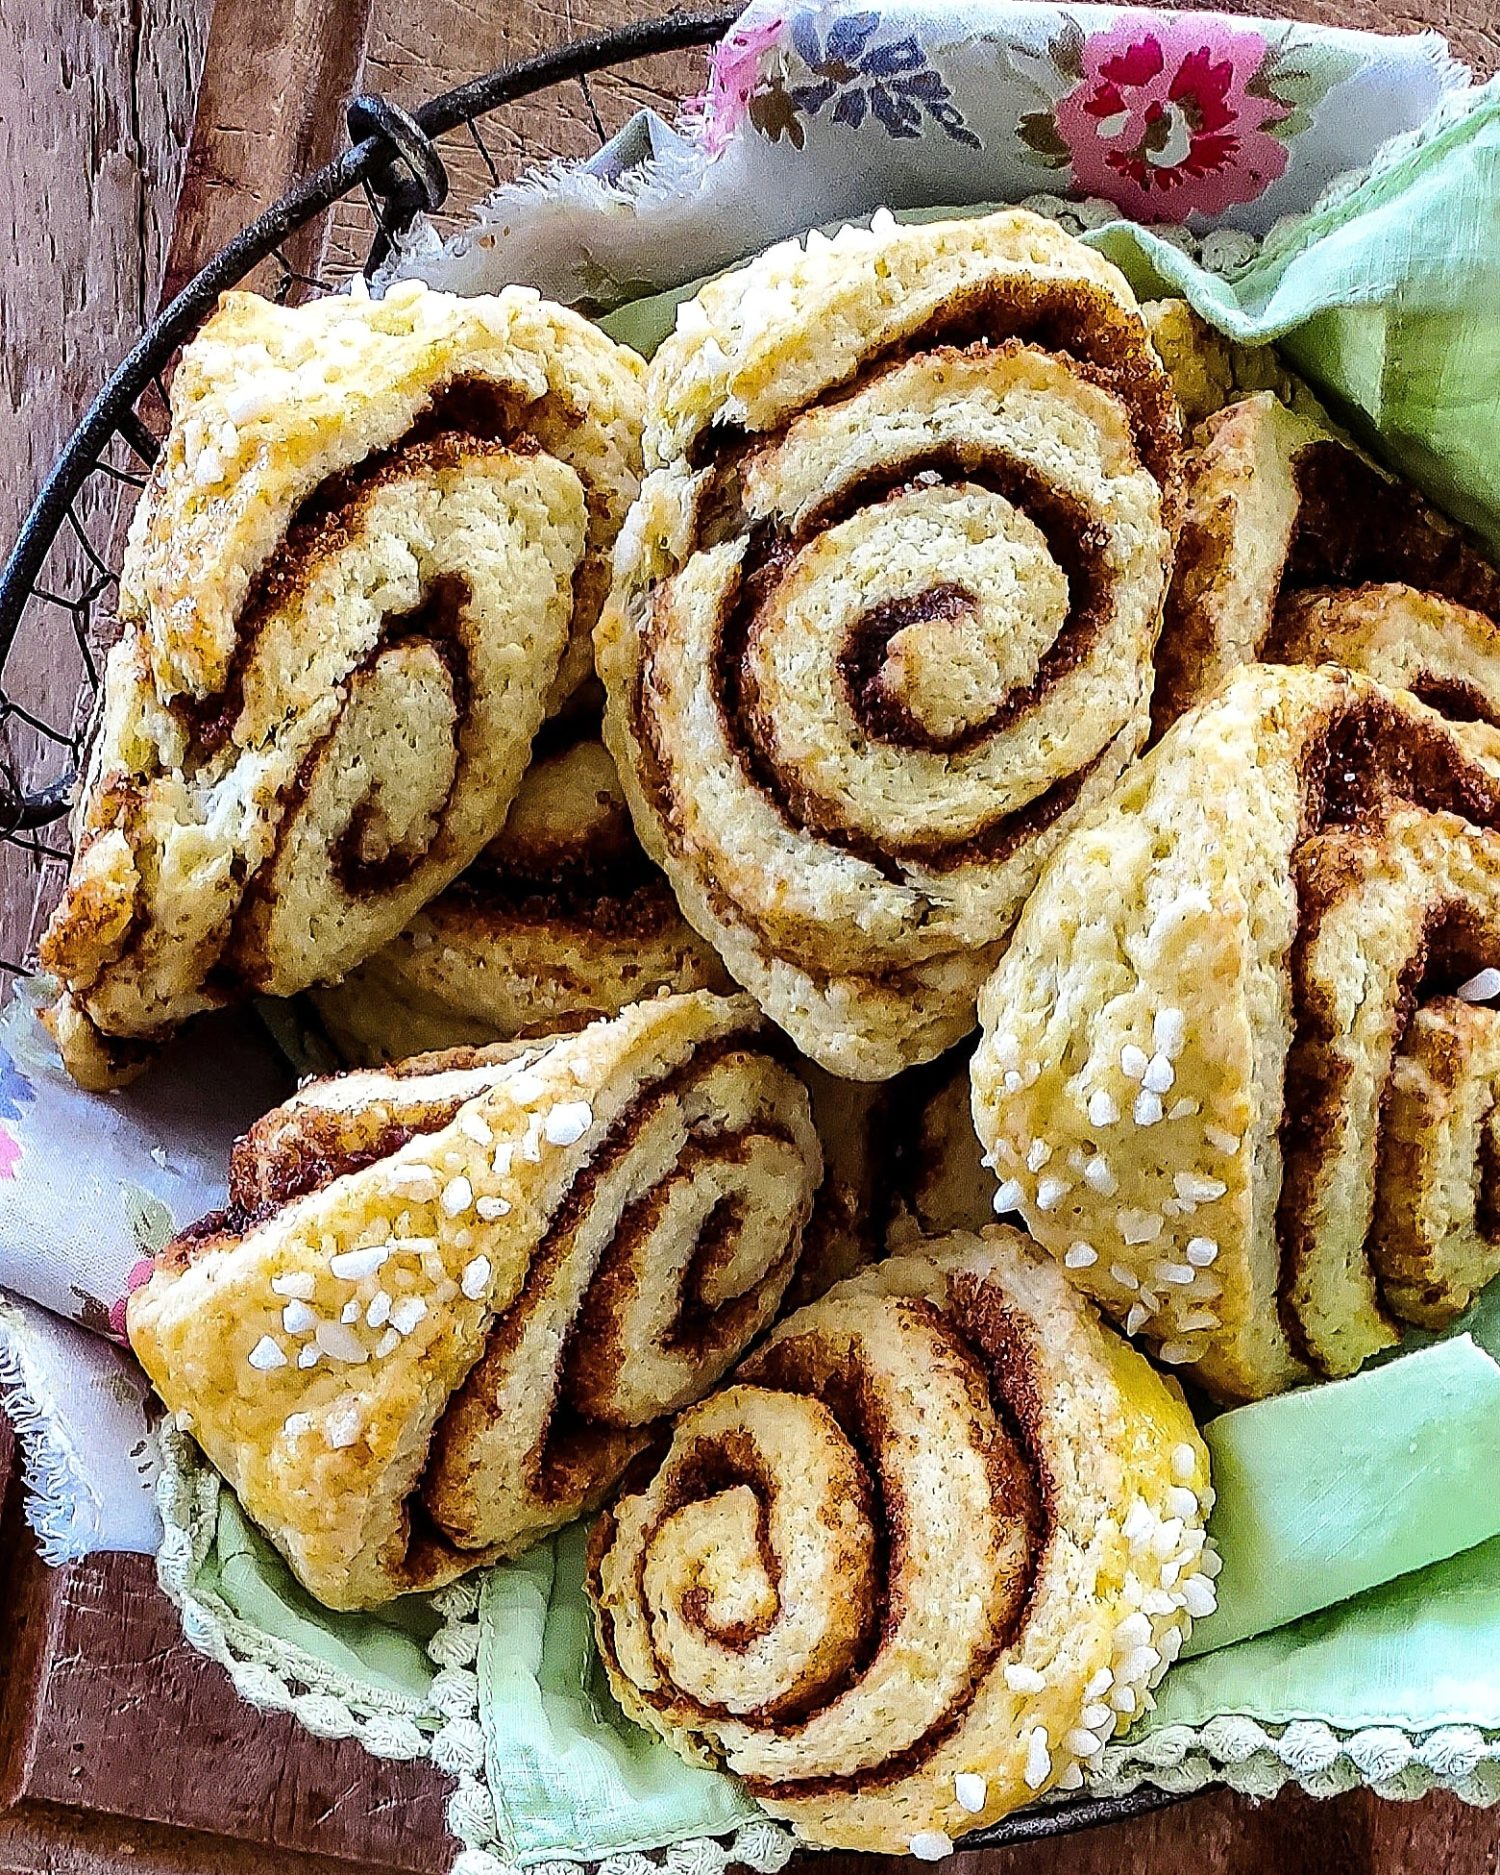
Here are the only changes I made to her recipe: I added just a touch of cardamom, just because I love that underlying citrus note, and the fragrance of the cardamom and cinnamon together always makes me think of Stockholm! And since I had added the cardamom, I just had to finish the scones with pearl sugar before I popped them into the oven. This is traditionally how cardamom buns are decorated in Sweden, so I thought, why not here as well! To me it is the perfect finishing touch to these scones. But if you don’t have any of this sugar, why not try some turbinado sugar instead? And of course, you can totally omit the sugar if you want. But still finish with the egg wash before baking.
When it comes to cutting the scones, you can do the following, as I do: First of all, you will roll the dough up into a log, just like traditional cinnamon rolls. But when it comes to slicing them, why not try slicing them into triangles? When you cut on an angle, and get to the point, try not to cut through the dough. Keeping the dough intact will help in the baking, to keep them together. I do find that no matter how hard I try, some always will flop over and bake into the most intriguing shapes. They definitely look rustic! So don’t worry if this happens to you. Of course you can just cut straight across to create the traditional cinnamon roll look. Either way there will be some spreading, but they should stick together. Roll them firmly of course.
I hope you enjoy these scones as much as we do. They’re quite irresistable!
Love Jen

Cinnamon Roll Scones
The most delicate, tender and buttery scone, filled with a superb cinnamon, brown sugar and cardamom filling. Bake them just for the aroma!
Ingredients
- 50 grams (4 tbsp) butter, melted and cooled
- 100 grams (2/3 packed cup) dark brown sugar
- 2 tbsp cinnamon
- 2 tsp cardamom
- 450 grams (4 cups) flour
- 2 Tbsp + 1 1/2 tsp baking powder see below
- 1 tsp salt
- 225 grams (1 cup butter), chilled
- 85 grams (7 tbsp) granulated sugar
- 150 ml (2/3 cup) milk
- 1 egg
- 1 egg for egg wash
- 2 tbsp pearl sugar optional
Instructions
-
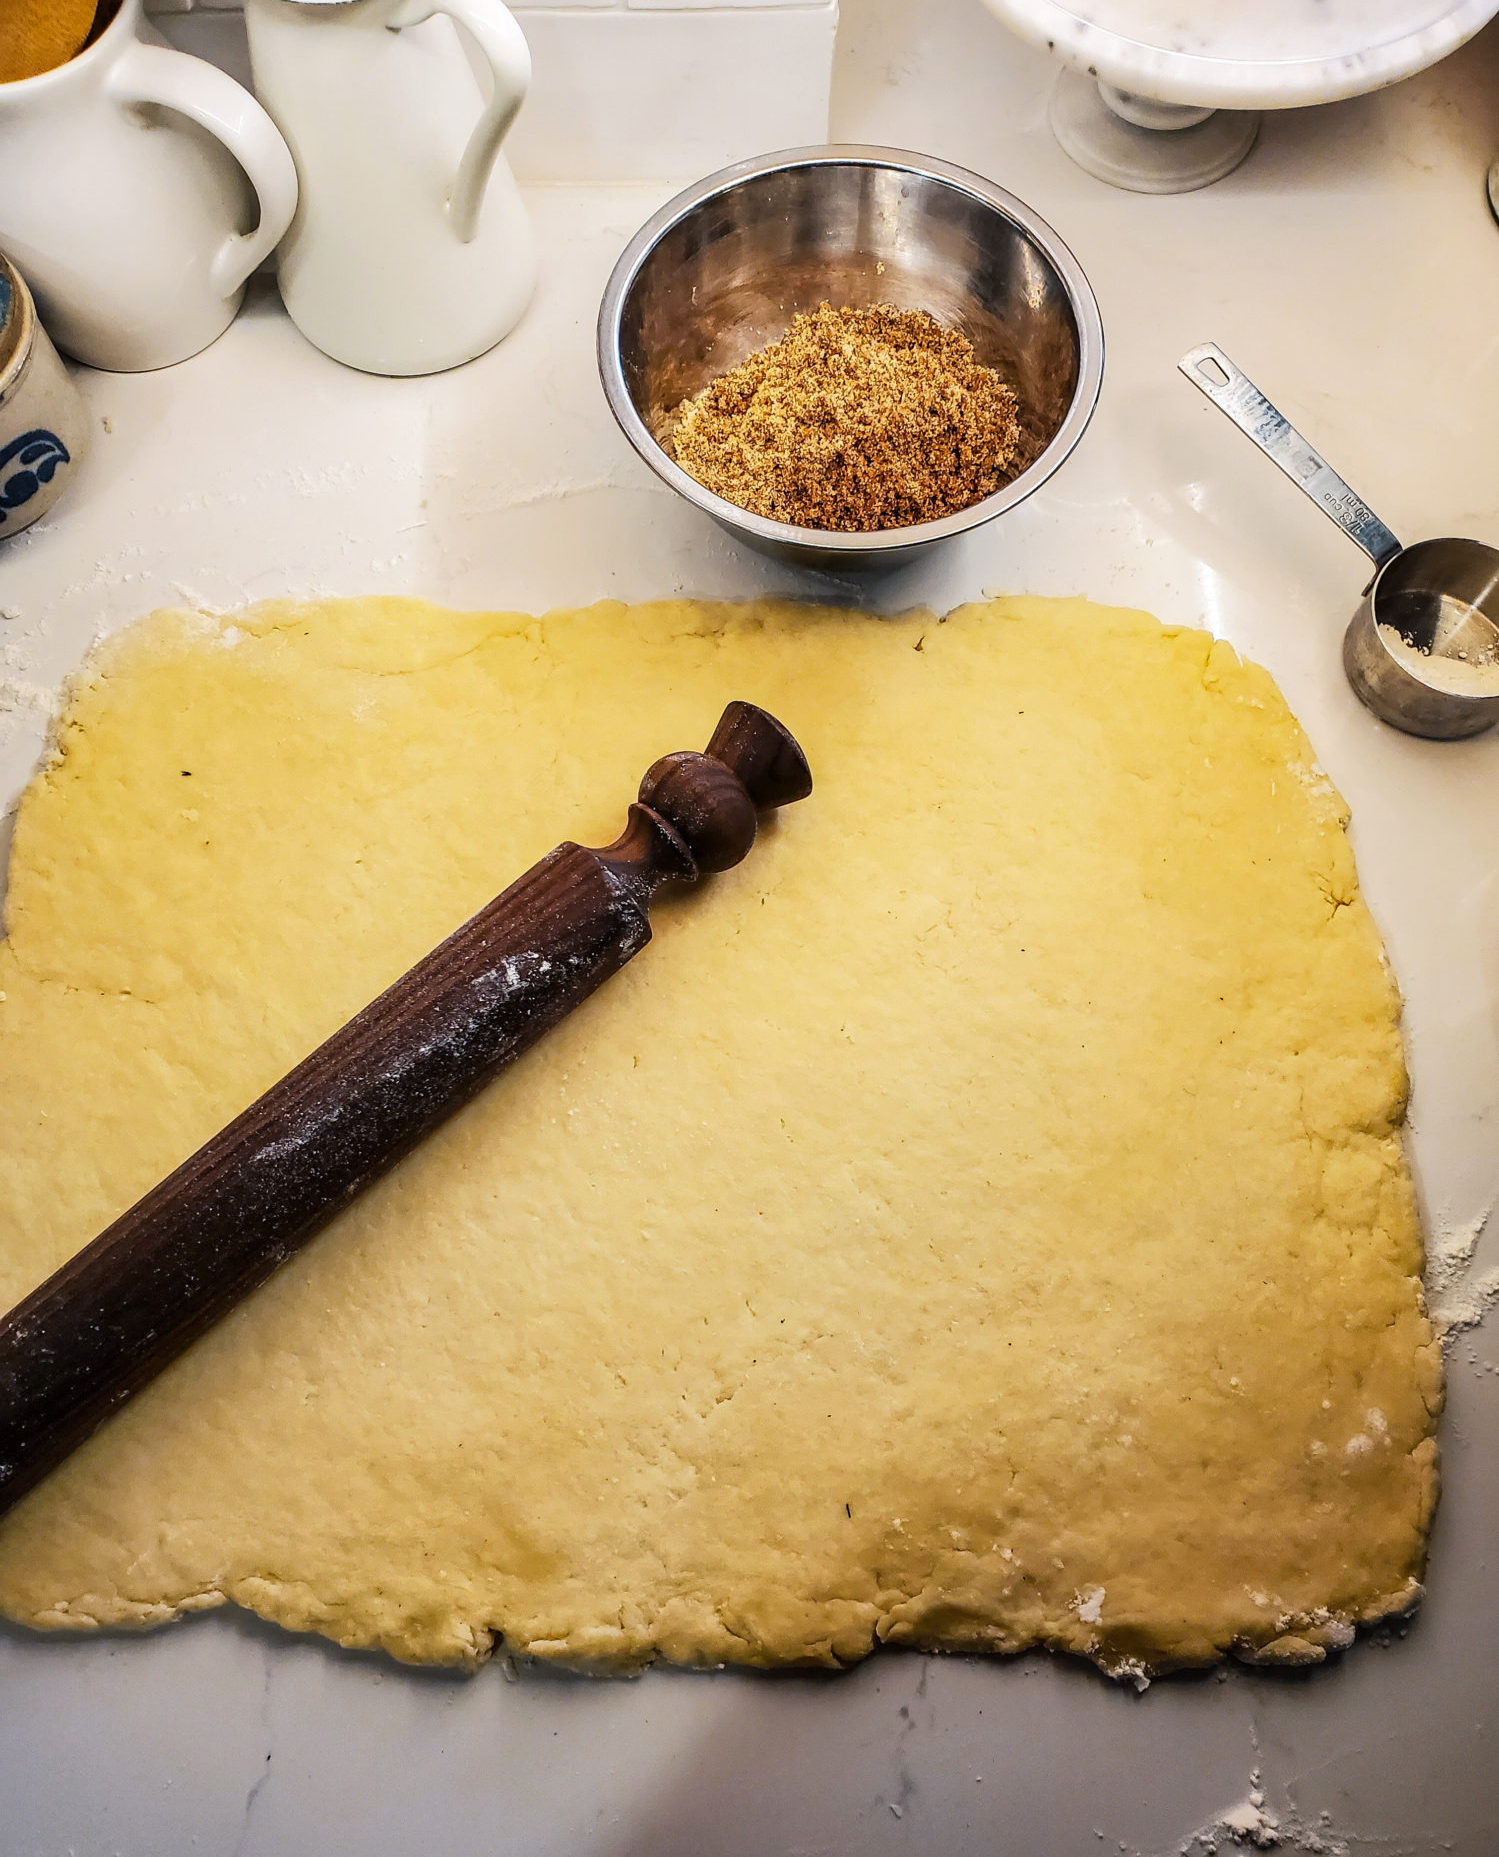
Prepare the butter so that it can cool down before using it. Blend the brown sugar, cinnamon and cardamom together in a small bowl. Set aside. Prepare two baking sheets by lining them with parchment paper.
-
Combine the flour with the baking powder and salt in a large bowl with a whisk to ensure it is evenly blended.
-
Grate the butter into the flour, using the large holes on your grater. Gently toss with your finger tips till evenly dispersed and broken down into a sandy texture. Add the sugar and toss through.
-
Whisk the milk and egg together. Add most of it into the flour and blend together with a wooden spoon. If you find that because it is a dry environment that it isn't coming together, add the rest. Finish by using your hands to bring it together into a dough. Go as quickly as you can, so as not to warm the butter too much.
-
On a lightly floured surface, roll out the dough into a rectangle roughly 13 x 17 inches (33 x 44 cm) it should be just over 1/4 inch (8mm) thick. Try to keep the counter dusted with flour, as well as the rolling pin. The long edge should be at the bottom as you look down on it (landscape mode)
-
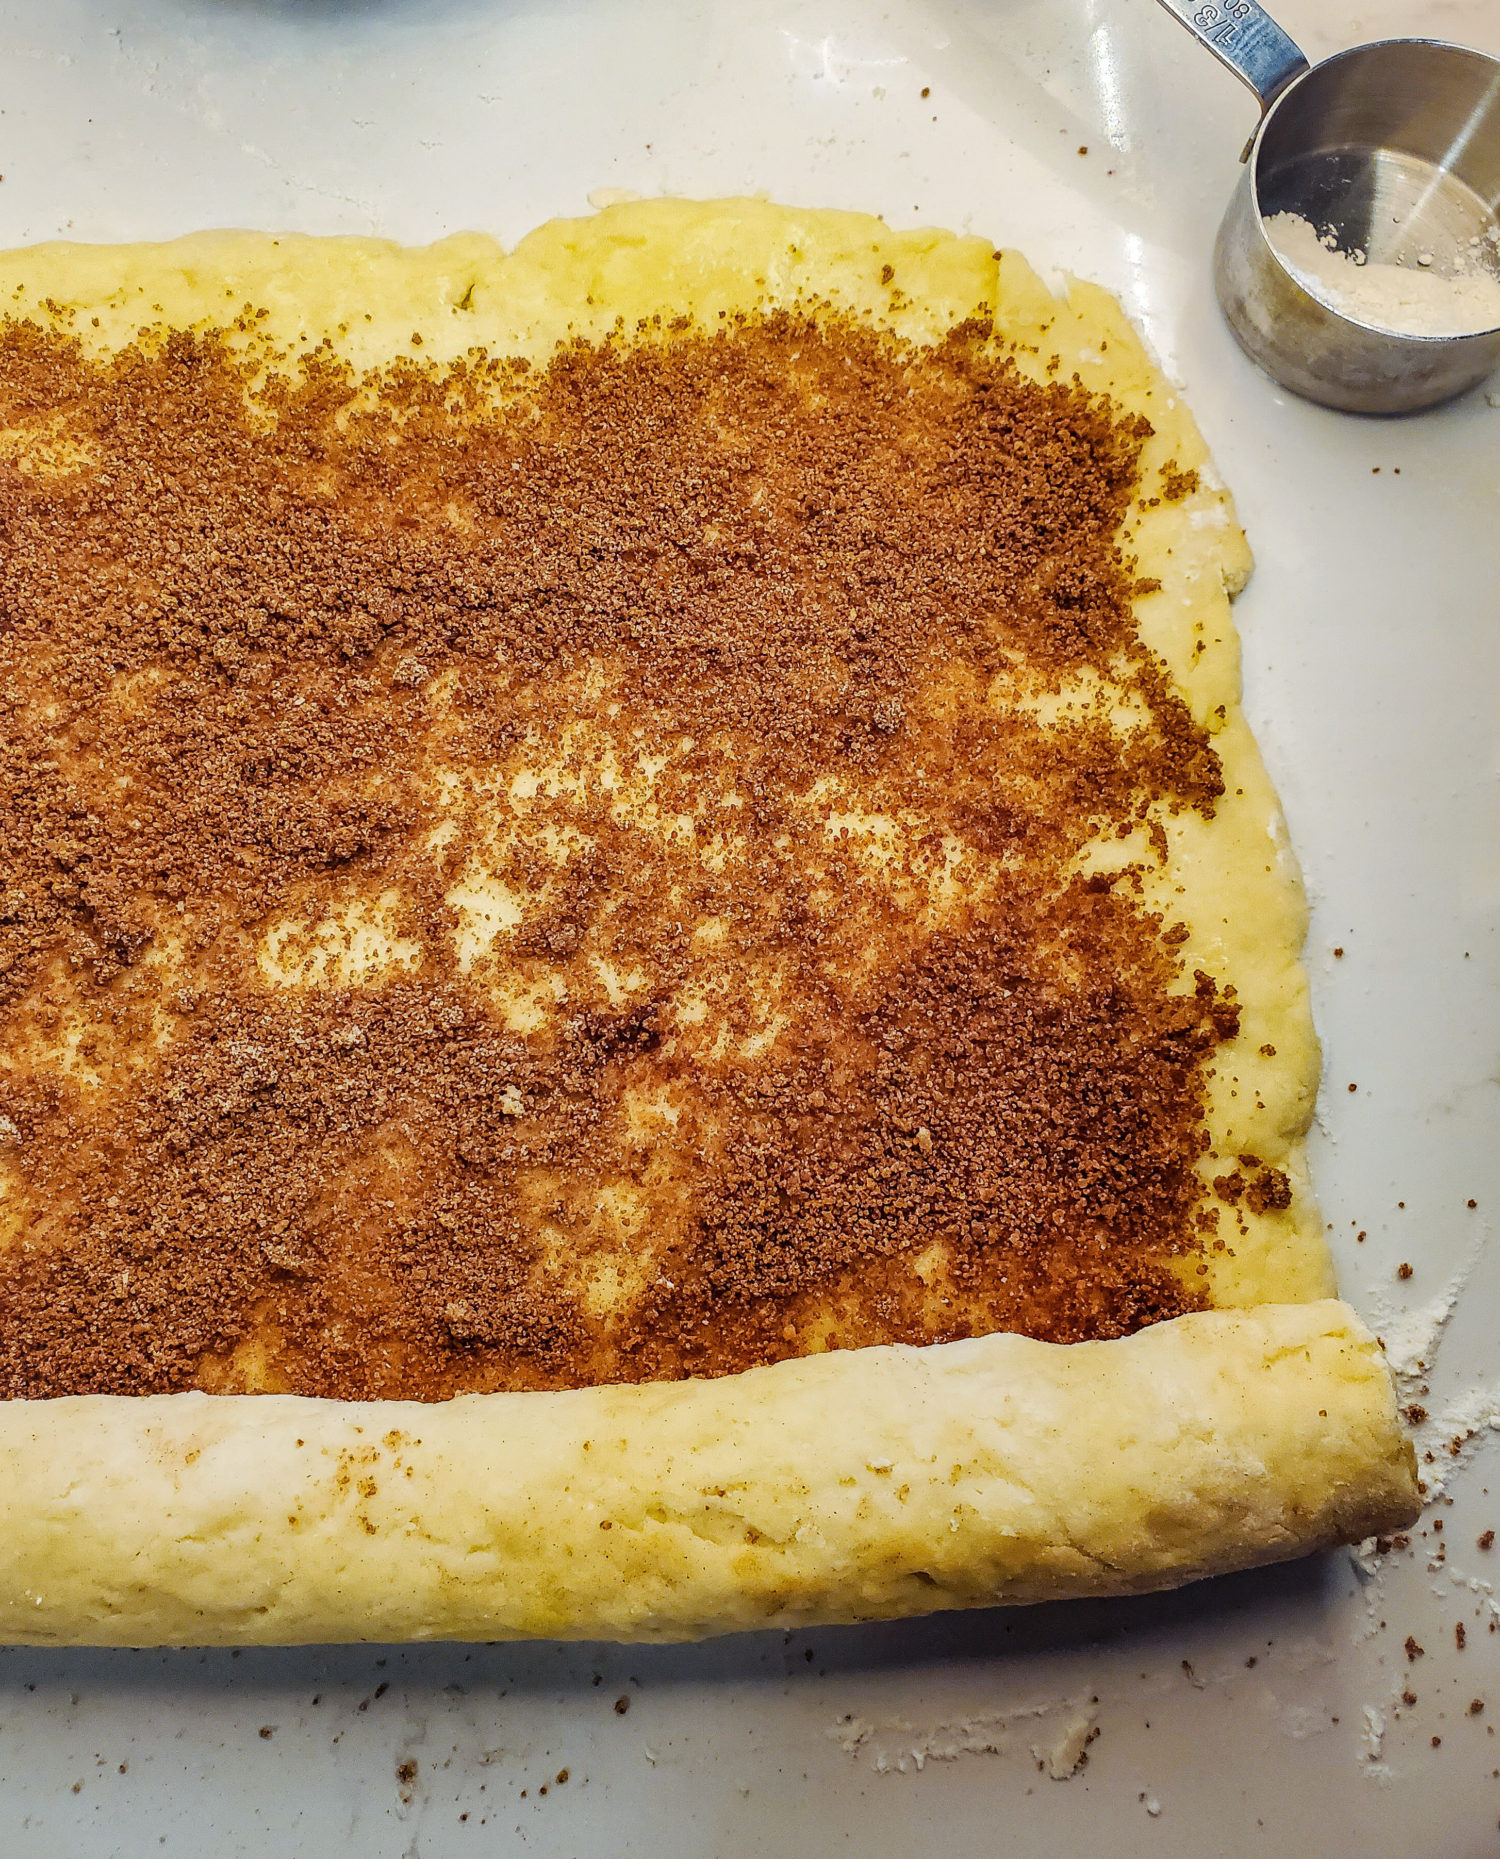
Brush the surface with the melted butter. Scatter the brown sugar mixture evenly over the butter. Using a bench scraper if necessary to loosen the dough, begin at the bottom end to firmly roll the dough up and over the filling till reaching the top. Press down firmly on the roll to seal the final edge. Trim away either end. Using a sharp knife to cut the roll into triangles. Aim for about 2 inches (5 cm) at the wide end, and 1/4 inch (6mm) at the point. Try to keep the pointed end intact. You should get between 12-14 triangles. The triangle echoes the traditional scone shape. Place all the scones onto a tray and refrigerate while you heat the oven.
-
Preheat the oven to 350F (180C)
-
Once the oven is heated through, lay the scones out between the two baking sheets. Gently whisk the final egg with a splash of water. Using a brush to apply this to the top of each scone. Then sprinkle with the pearl sugar. This step is optional.
-
Bake on the centre rack until the scones are firm and golden, about 18-20 minutes. Check after 15 minutes though. You may find that some of the scones spread out in wonky patterns. That's the joy of the triangle. But no worries, they will still hold together amazingly and taste fabulous!
-
These will last for a few days in a sealed container, reheated in a toaster oven if so desired. They can also be frozen and removed one by one to heat up for a quick breakfast.
Recipe Notes
In the orginal recipe Thilda uses self-rising flour. To make up for the amount of salt and baking powder in ready made self-rising flour, I have shown these ingredients separately along with regular all purpose flour. Yes, this is the traditional amount of baking powder that would be found in self rising flour!
I love Tilda Bevington! She is amazing, everything she bakes is a work of art. Thank you for sharing this recipe I cannot wait to make it.
Hi Elizabeth, Yes, Thilda has so many skills!! Her piping art is just a joy to behold. I hope you enjoy these as much as we do. Love Jen
These look so incredibly awesome!
Hi Matt, Just seeing this. Thanks. Thida came up with such a great recipe, I was so happy that she let me share the recipe. Love Jen
Could I substitute almond or coconut flour?
Hi Marilyn, That is a good question. Almond flour (as with most nut flours) is heavier that grain flours, which would affect baking. I would hestitate only using a nut flour in a recipe like this. You may be able to substitute 1/4 of the flour byt not any more. For a truly grain free recipe, you may need to check out Pinterest etc. Hope this helps. Love Jen
Delish, I’ve made it 2x already! Cant seem to perfect the roll out or the seal yet, but its my two favorite things combined and delicious!
Hi Leah, Yay! Don’t worry, they are supposed to be rustic!! Love Jen
Have you tried baking them with gluten free flour (maybe Robin Hood or cup4cup). I wondered if the dough would be sturdy enough to roll? I’ll try them first with AP flour because they look delicious
Hi Susan, I usually can take a recipe like this and switch it to a gf blend. I haven’t with this one. There is a good amount of flour in this recipe. If you are adventurous, you could cut the recipe in half and then try it with a gf blend and see what happens!! And then let me know! Love Jen