
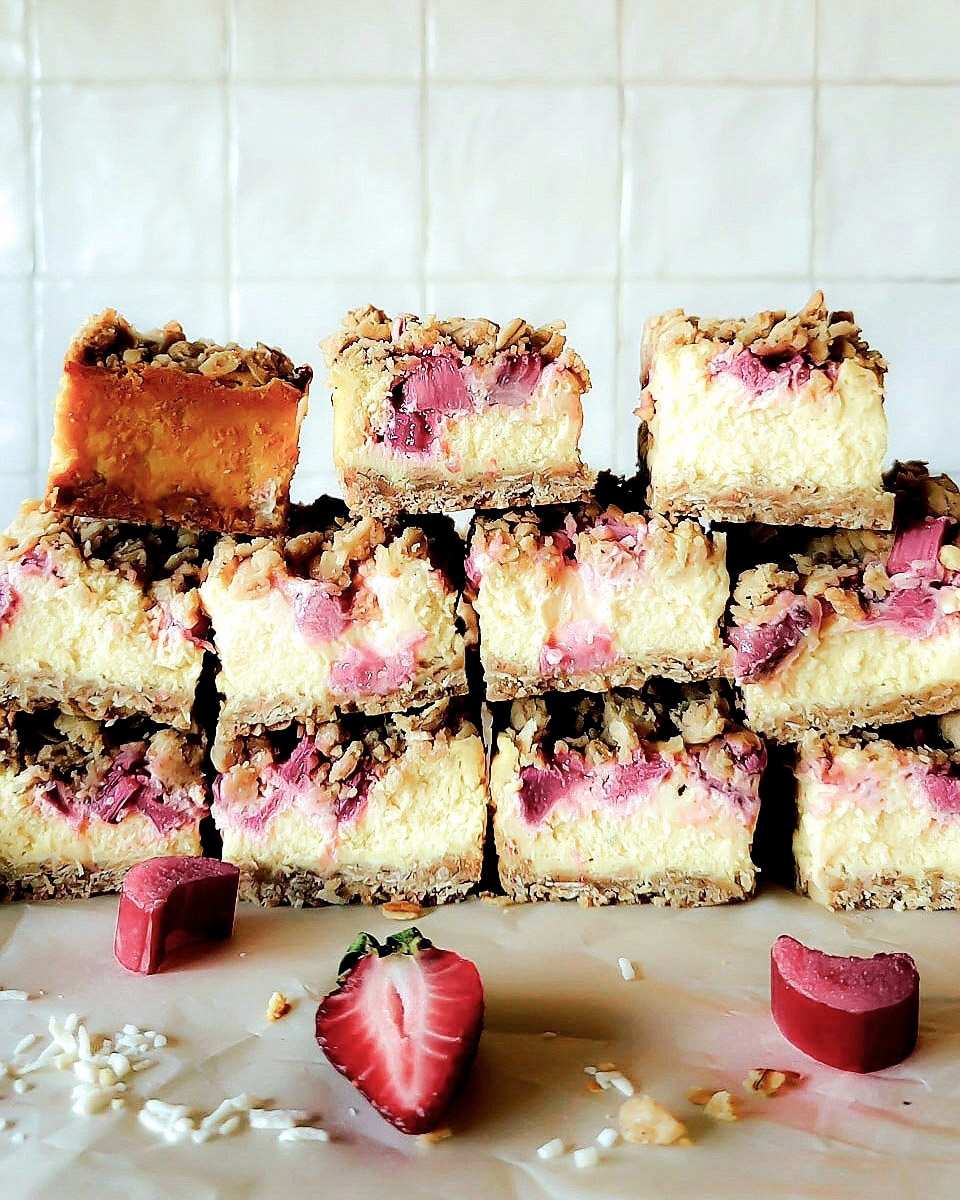
What do you get when you combine the best of spring flavours with cheesecake?
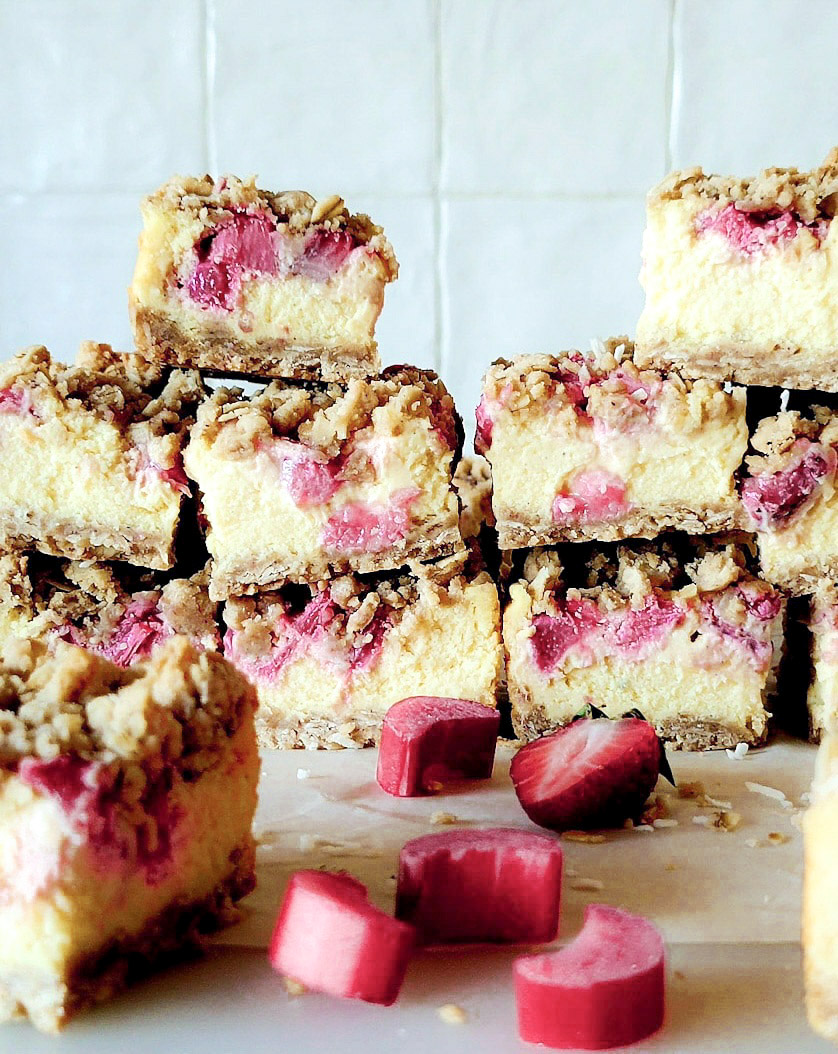
You get these fun, delicious but not heavy, squares. Perfect for casual gatherings, potlucks, snacking, and any time you want cheesecake, but don’t need to commit to a large slice.
If you have been following me for years, you know that Strawberry Rhubarb is one of my most favourite flavour combos of the season. This flavour combo probably shows up in more recipes than most others on the blog. It’s just so versatile. One of our favourite ways to enjoy it is in this Strawberry Rhubarb Jalousie, but I think these cheesecake squares may come in a close second.
What You Will Need
Obviously, fresh strawberries and a couple of rhubarb stalks are key. These will get chopped and tossed with sugar and a thickening agent, whether tapioca, arrowroot or cornstarch. And yes, if you have chopped frozen rhubarb, go ahead and use it, just don’t thaw it before adding the sugar.
And yes, you will will be making a cheesecake filling. Cream cheese, sugar, greek yogurt, heavy cream, vanilla and cornstarch.
The base and the topping are made from the same mixture: butter, flour, oats, flaked coconut, golden or light brown sugar, and spices. Most of it will create the base layer. Save about 1/3 or a little less for the crumble topping. Note on flaked coconut: use what you have, I like used sweetened, only because the fruit layer has that tartness, so it can handle that bit of sweetness in the crumble.
Method
The dry mixture is pressed into an 8 inch square baking pan which has been sprayed and lined with parchment paper. If you have small metal clips (not coated in any type of paint) use these to secure the two longer ends to the pan. This base layer bakes in a 350F oven till just golden and partially baked, which takes about 15 minutes.
While the base is baking, the cheesecake layer is made. I find that a stand mixer is the easiest way to do this, but if you only have a hand-held mixer, that will work fine as well. The cheese is blended with the sugar. Then the yogurt, cream, vanilla and eggs are blended in till smooth. Finally some cornstarch is sifted over the mixture and carefully folded in.
A Note on Halving Eggs
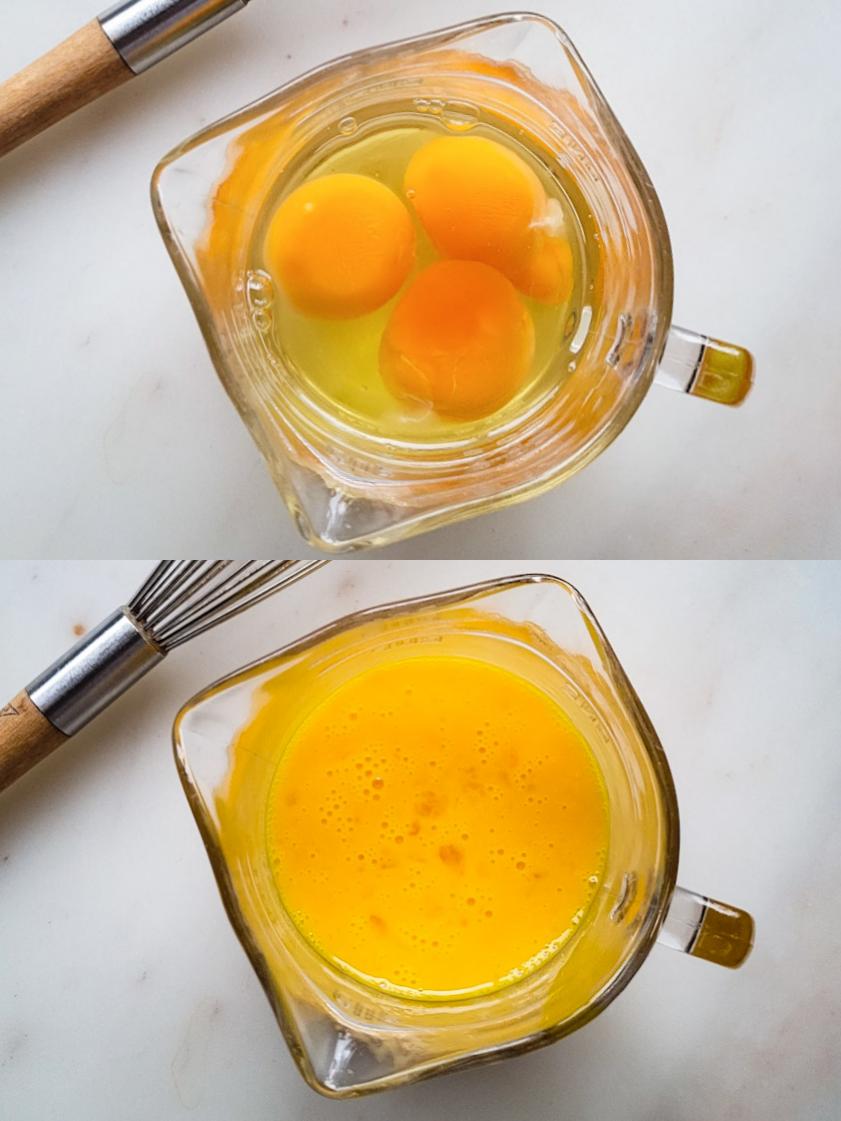
For the eggs, the recipe I was inspired by uses 1 1/2 eggs. This tells me that it may have come from a larger recipe where three eggs were originally used. (telling me that this recipe if doubled can probably be used with a 9×13 inch baking pan) But that recipe doesn’t say how to get the required 1 1/2 eggs. Some have asked if this means they can just use one egg, plus an egg yolk? NO. Both the yolk and the white perform different functions in baking. The yolk is a binder, the white helps with rise. So instead, this is what you will do:
Take three eggs and place them into a measuring cup. Whisk them till completely smooth. Look at the line the liquid sits at. You will pour out half of this egg mixture into your recipe. The remaining 1 1/2 eggs can be stored in the fridge for scrambled eggs the next day. Now you have exactly the right amount of egg, and it is the correct makeup of eggs required for baking.
The Fruit Layer
Do not prepare this too far in advance. If you do, the sugar will release too much of the liquid from the fruit and will break down the fruit. Just toss it a minute or two before layering over the cheesecake filling. I always reserve some of the fruit to dot in with the final crumble layer on top. This gives colour to the crumble, and lets everyone know what they will find inside!
Baking and Cooling
Everything will bake until the edges are set, and the centre has only the faintest jiggle. It will continue to cook and set as it cools. Aim for the outer 2-3 inches to be set, and only the centre 2-3 inches with that bit of movement. Don’t pull it out too soon though. I find that my oven bakes this in 40-45 minutes, your’s may get there in 35 minutes, so start checking then. Cool on a wire rack till room temperature, and then transfer the pan to a fridge for at least four hours, or overnight. I like overnight, because then I am assured that the cheesecake layer is fully set and easy to cut.
Serving
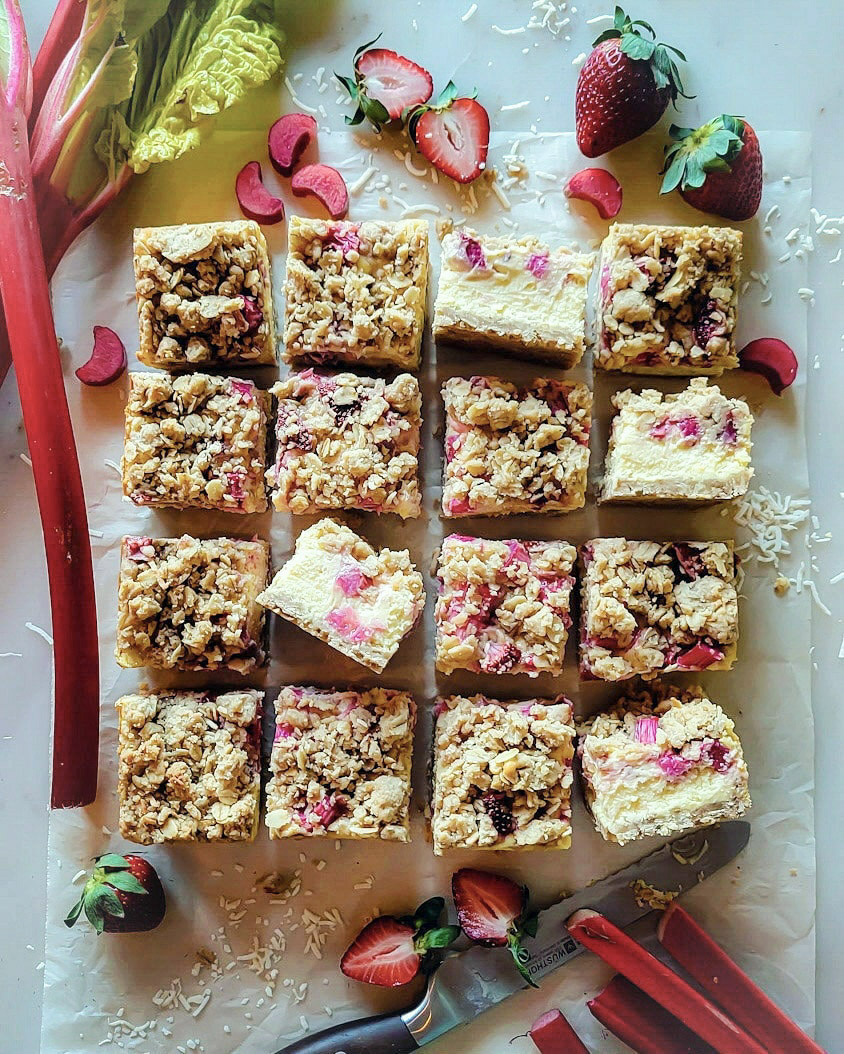
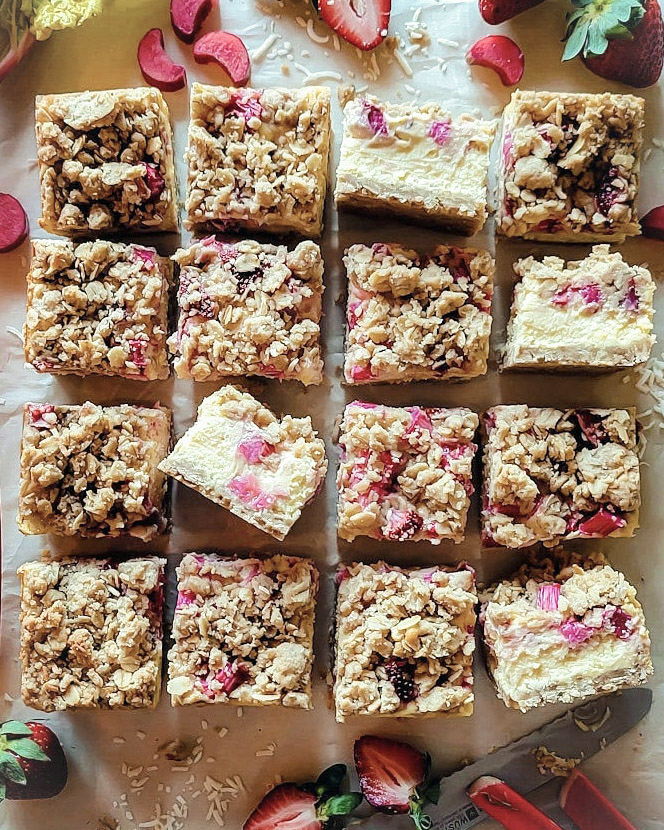
Use a sharp knife to loosen the edges that are not protected with parchment paper, from the sides of the pan. Gently lift up with the parchment ends and transfer everything to a cutting board. Cut into 16 squares. I find that a good serrated knife is best to cut through the top crumble layer: other knives may push the crumble layer into the cheesecake layer. Use a sawing motion slowly to cut through the crumble, and then you can switch to a sharp knife to cut through to the bottom of the cake. Cut in half the opposite way. Then cut each section in half again. You will get 16 squares this way. I find that this is the perfect size, not too large, but not so small that you don’t feel like you got to enjoy some cheesecake!
Storing
Store any uneaten squares in a sealed container in the fridge. These will keep for a good four or five days in the fridge. The cake can also be stored in the freezer for up to a month, if wrapped well in plastic wrap and foil. Thaw in the fridge overnight before slicing and serving.
For other Strawberry Rhubarb Bakes, check out Strawberry Rhubarb Baked Seeded Oatmeal, Strawberry Rhubarb Cardamom Louise Cake, Mojito Strawberry Rhubarb Pie, Strawberry Rhubarb Lokum, Turkish Delight
If you make these Strawberry Rhubarb Cheesecake Squares, please be sure to leave a comment and/or give this recipe a rating! It’s always lovely to hear from you guys, and I always do my best to respond to each comment or question. And of course, if you do make this recipe, and you post it on Instagram, don’t forget to also tag me so I can see! Looking through the photos of recipes you all have made is such a treat.
Love Jen
Strawberry Rhubarb Cheesecake Squares with Coconut and Oat Crumble
Ingredients
Base and Crumble Layers
- 1 stick (112g) butter, room temperature
- 1/3 cup (45g) light or golden brown sugar, lightly packed
- 1 tsp cinnamon
- 1/4 tsp kosher salt
- 1 cup (125g) all purpose flour, can use a cup for cup gluten free blend flour
- 1/2 cup (50g) old fashioned rolled oats
- 1/4 cup (22g) flaked or shredded coconut, I use sweetened, but unsweetened is fine as well
Cheesecake Layer
- 14.8 oz (420g) cream cheese, at room temperature (two 8 oz or 250g packages of cream cheese, minus 2.3 oz or 64g)
- 1/2 cup (100g) granulated sugar
- 5 tbsp (70g) greek yoghurt
- 4 tsp (20g) heavy cream
- 2 tsp vanilla extract
- 1 1/2 large eggs, see Notes
- 2 tbsp cornstarch
Strawberry Rhubarb Layer
- 1 cup (115g) chopped rhubarb, lightly packed, see Notes
- 1 cup (115g) chopped strawberries, lightly packed
- 1 tbsp granulated sugar
- 2 tsp arrowroot or tapioca starch
Instructions
Base Layer
-
Preheat the oven to 350F or 180C. Grease an 8″ square baking tray and line with parchment paper, having two ends hanging over the edge by an inch. If you have metal clamps, they will help hold these ends secure.
-
Cream the butter with the brown sugar, cinnamon and salt with a hand held or stand mixer.
-
Add in the flour, oats and coconut until combined and the mixture holds together in clumps.
-
Reserve 1/3 or a less of the mixture for the top crumble and set it aside. I'd rather have a little less on top, just so that the fruit filling can peek through. This will also give you a sturdier base.
-
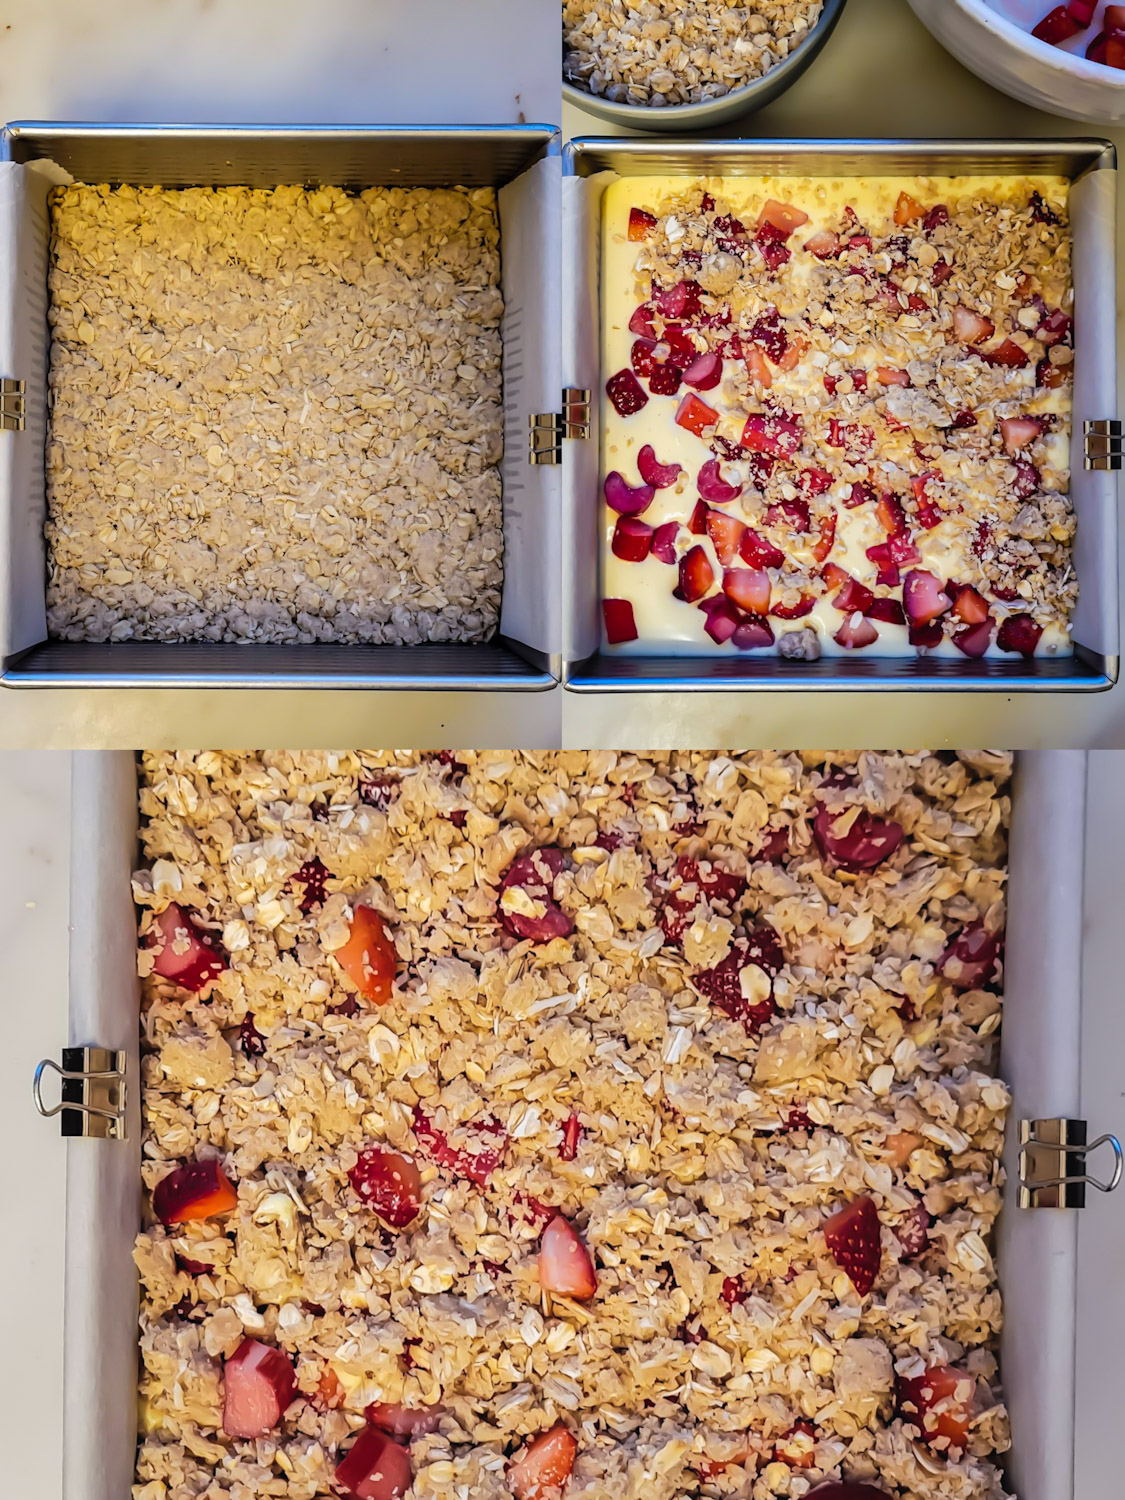
Take the remaining 2/3 or more of the mixture and spread it evenly over the bottom of the prepared tray. Gently pack it down into an even layer. Place the pan in the freezer for 10 minutes to firm and chill.
-
Bake for about 15 minutes or until the bottom crust begins to lightly brown. Set aside to cool slightly.
Cheesecake Layer
-
While the base bakes, begin on the cheesecake layer.
-
In a large bowl, cream the cream cheese and sugar together until smooth and no lumps remain. You can use a stand or hand held mixer.
-
Add in the yoghurt, cream and vanilla extract till smooth. Mix in the eggs. Lastly, sift the cornstarch overtop and mix until just combined. At this point, do not overmix.
-
Pour the cheesecake layer over the partially baked crust and spread into an even layer. You can do this by gently tilting the pan till the cheesecake is smooth on top.
Fruit Layer
-
Stir together the rhubarb, strawberries, sugar and tapioca starch in a medium bowl. Reserve about 1/4 cup (55g) Spoon the remaining fruit evenly over the cheesecake.
-
Sprinkle the remaining crumble over the fruit. Form some of the crumble into smaller pieces, and other into medium bits, to create that wonderful craggy surface. Gently place the remaining fruit into the crumble, spacing it around. This way you will have some fruit on top showing what is baking underneath.
-
Return the pan to the 350F (180C) oven and bake for another 35-40 minutes or so, or until the crumble is browned, and the cheesecake layer is mostly set (you want all the outer edges set, and only the centre 2-3 inches to have a faint jiggle). This may take up to 45 minutes, depending on your oven.
-
Let the pan cool on a wire rack, and then transfer the pan to the fridge for at least four hours or overnight. Run a knife along the two edges baked directly against the pan to loosen the bars first before removing. Use the parchment paper wings to transfer the cake to a cutting board.
-
Use a sharp serrated knife to cut through the top layer of crumble. I find a serrated knife is most successful, especially when using a gentle back and forth sawing motion. This will ensure that the knife doesn't push the crumble down into the cheesecake. You can switch out the knife after you have gotten through the crumble. Cut the cake into 16 squares.
-
Store in a sealed container in the fridge for up to five days.
-
You can also store the cake in the pan in the freezer for up to one month. Seal well with plastic wrap and foil. Thaw in the fridge overnight before removing and cutting into squares.
-
See blog post for more details and suggestions.
Recipe Notes
To achieve 1 1/2 eggs you will start with 3 eggs. Place these into a measuring cup and whisk well with a fork till completely blended. Look at the measuring line and then determine what half is. Pour this half into the batter, and keep the remaining half for scrambled eggs the next day!
Feel free to replace the fresh rhubarb with chopped frozen rhubarb. Just don't thaw it before adding it to the bowl with the strawberries. Add the sugar at the very end, toss and then spread out over the cheesecake mixture.
I was inspired by the recipe found here
Hi Jen,
Rhubarb is a favourite of mine too! Definitely making these! I’d love to use up my last bag of frozen rhubarb. Do you think frozen would work, or should I stick to fresh? If so, any tweaks or recommendations?
Love your blog and book!
Jane
Hi Jane, of course, frozen will work great. Thanks for reminding me, I’ve updated the recipe card. Just don’t thaw the rhubarb first. Add it to the bowl with the strawberries, toss with the sugar, and then get ready to spread it over the cheesecake layer within a minute or so. Hope this helps, Love Jen
And thank you so much for your kind words about the blog and book! I’m not sure if we’ve chatted before, but just in case, at the back for the Salted Bourbon Caramel Sauce, it should read 1/8 tsp salt. Oops!
Hi Jen,
I’m delighted to report that I successfully made the squares, using frozen rhubarb as per your instructions! They were delicious, and enjoyed by all at my dear Mom’s 88th birthday gathering!
I know I’ll be making these again, (and again) maybe all rhubarb next time, or perhaps with roasted peaches with your Salted Bourbon Caramel Sauce drizzled on top…..oh my!
Thanks for a new family favourite!
Jane
Hi Jane, so happy to hear that everyone enjoyed them! I love the idea of using the peaches and caramel sauce! Brilliant. Love Jen
Hey Jen, these look great, have you ever tried to make this protein packed? I’m considering adding into these a vanilla protein powder I usually cook with. Wondering if I need to add more liquid to offset the quarter cup of protein powder. Additionally wondering if I could get away with not using heavy cream? Let me know if you have tried anything like this. Cheers,!
Hi Kait, these are always a hit when I bring them to gatherings. No, I have never added protein powder. It will definitely change the texture of the cheesecake batter. There is not that much cream in the batter, but if you feel the need to remove it, replace it with more yogurt. If you decide to play with the batter, let me know how it turns out.
I have some chopped rhubarb in my fridge. Would it be ok to use that, or should I freeze it first?
Hi there, you can use fresh, just chop it and continue. If you do use frozen rhubarb, use it frozen, do not let it thaw. Hope this helps.
These were delicious!
I made in 9×13 pan using 2 eggs. I increased all other ingredients by 1/2.
Turned out great!
Hi Laurie, so happy to hear you went with the full size! Thanks for your feedback. Love Jen